Crib Sheet Tutorial
This quick and easy crib sheet tutorial by Sarah Gustason from Frond Design Studios is the perfect project to make for a shower gift or for your own little one.
When you have a baby it is always amazing how much laundry such a little person can create. Even though my children are older now I remember clearly what it was like to have a newborn, a 2 year old, a 4 year old and a 6 year old. Laundry was endless. And there were those certain household items like sheets and towels that while they got washed regularly they never got folded, and simply sat in the laundry basket until needed.
One evening the baby had an accident of some sort or another that was going to require a new crib sheet. As I left the baby with my husband I headed in the direction of the sewing room instead of the laundry room. When he asked what I was doing I told him I could make a crib sheet faster than I could find one among the baskets of clean, unfolded sheets and towels.
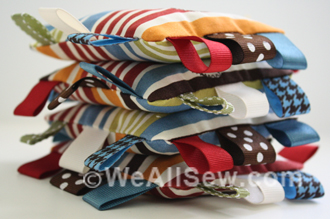
This is a quick and easy crib sheet that takes less than ten minutes. They are fabulous baby gifts as I find a first time mom has no idea how many she will need and even for baby 2, 3, 4 and so on, the sheets tend to get stained and a beautiful new one is always greatly appreciated.
Materials to make a crib sheet:
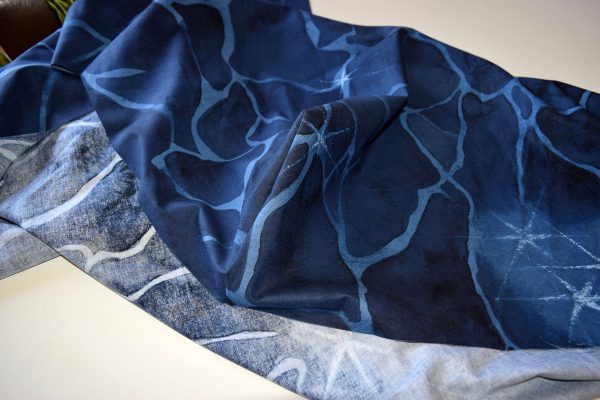
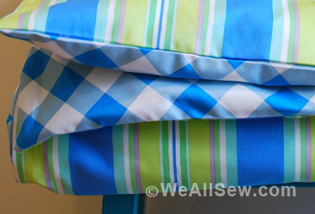
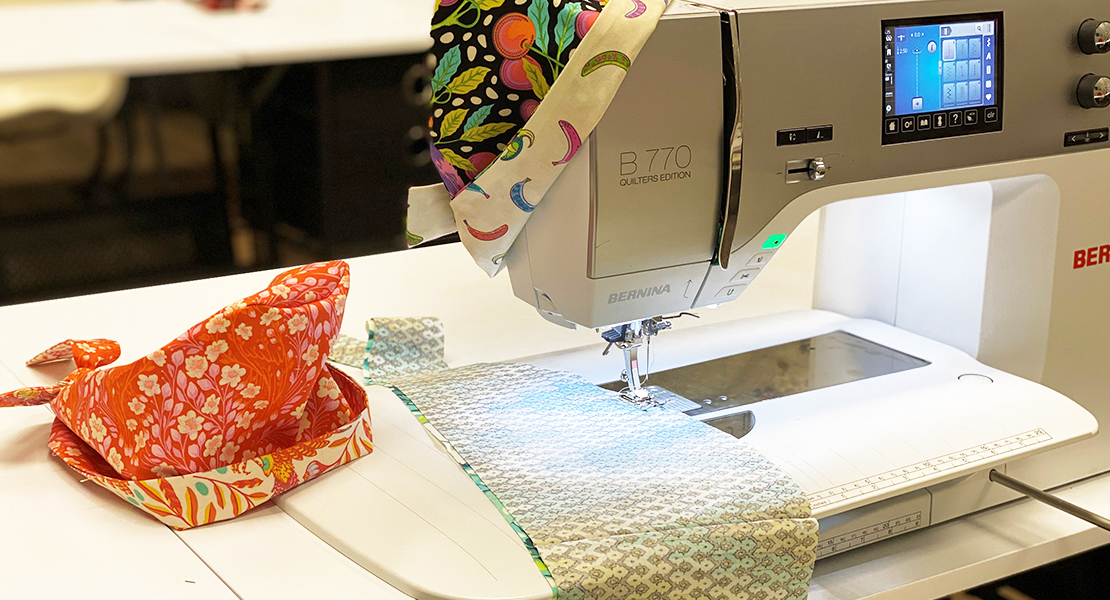
- 2 yards of a quality cotton fabric (Used in our examples are Water Night by Rosewood Organics and Back and Forth by Melissa Marie Collins)
- 3/8″ wide knit elastic – it’s very important that it’s knit elastic as we will be sewing through it. Woven or braided elastic will not work as well.
- 3 spools of coordinating thread. I used my Sulky polyester embroidery thread. I have tons of similar colors that worked well.
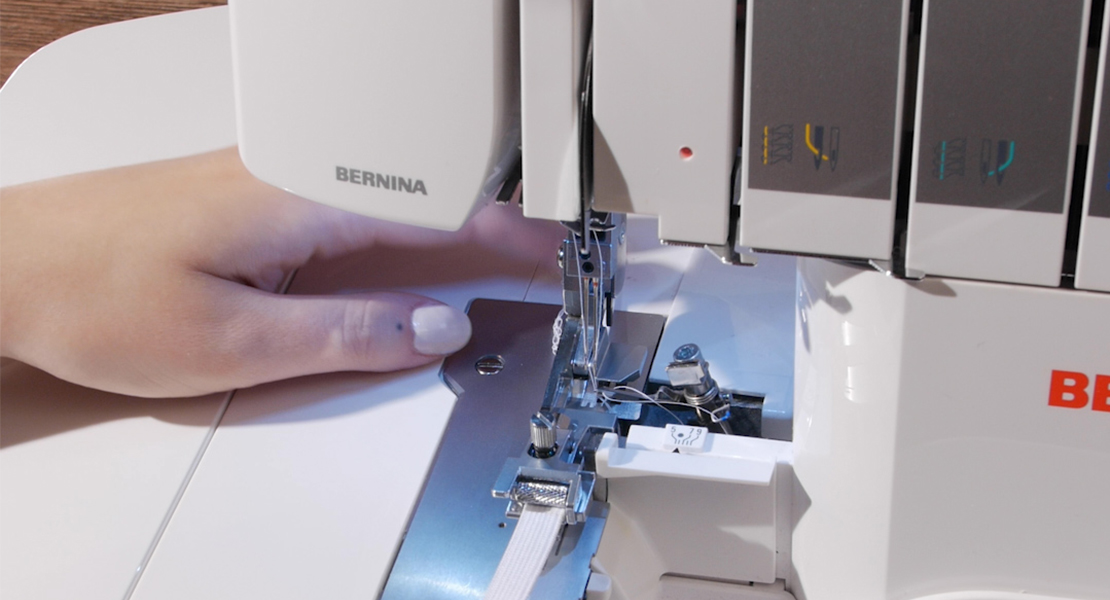
- Size 90/14 needle sharp or stretch. I love that my BERNINA Serger takes the same needles as my sewing machine so I always have them on hand.
I’m using the 3 thread overcast stitch on my BERNINA serger and the BERNINA Elasticator foot, which make it so easy!
Sewing Instructions:
Step 1
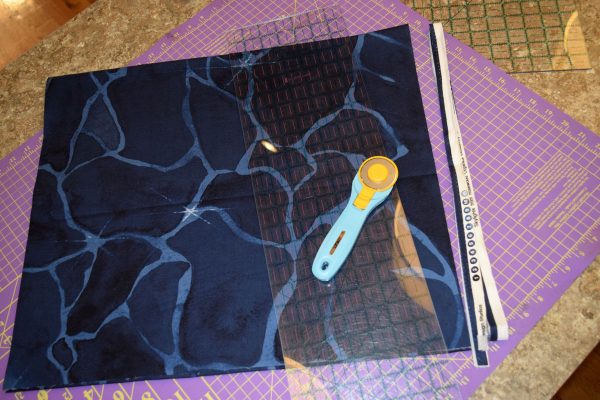
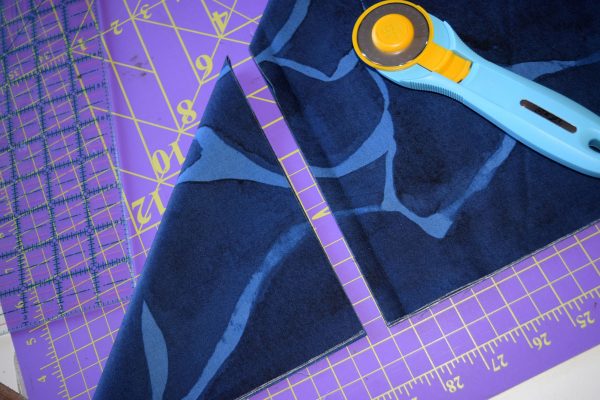
Take your 2 yard cut of fabric, leave it folded with selvedge edges together. Fold the fabric in half lengthwise twice to make it easier to cut. So the dimensions of the folded fabric will be 18″ long and 22″ to the fold. Using your ruler and rotary cutter trim off the selvedge edge cutting through all 8 layers at once.
Step 2
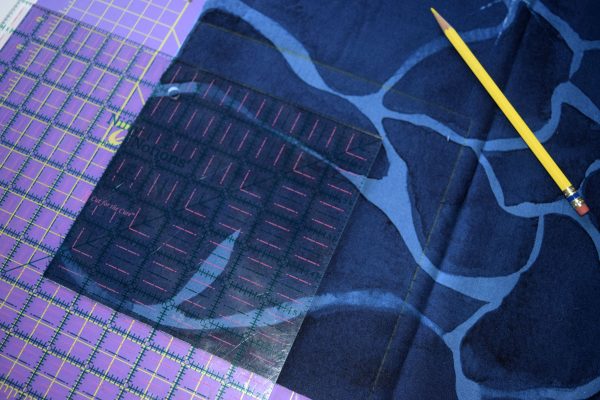
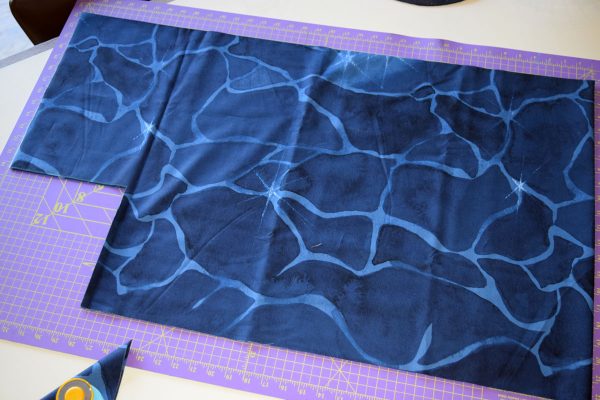
Unfold the fabric once so it is the length of 1 yard and is still folded with selvage edges together. Find the one corner that is all raw edges. In this corner use your ruler to draw an 8″ square.
Step 3
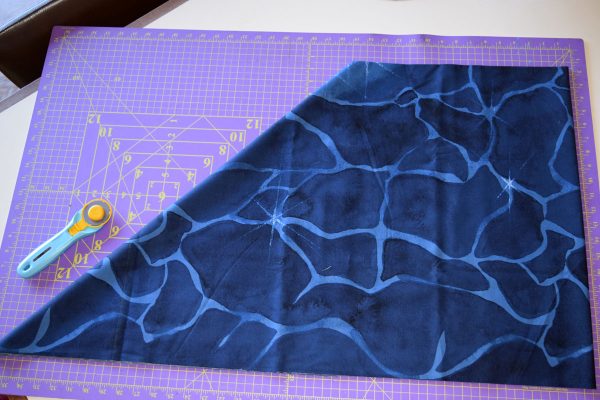
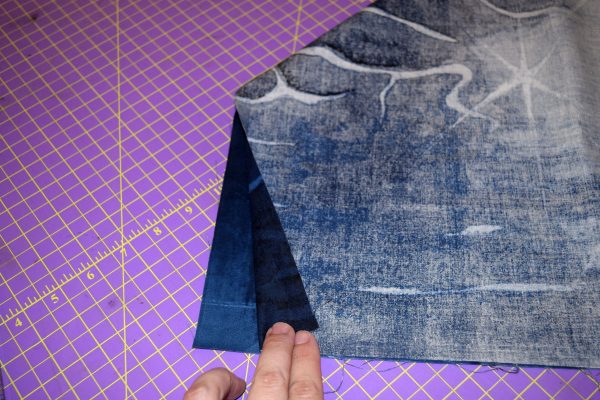
Fold the fabric in half on the diagonal. This will allow you you cut out the square without worrying about cutting too far into the fabric at the inside corner.
Cut along the marked line.
When you unfold it on the diagonal you will have a square in the corner.
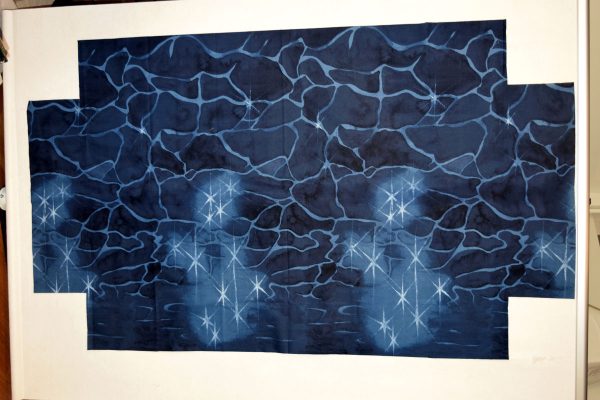
When you open up your fabric all the way it will look like this.
Step 4
With the standard foot on your serger and the serger set for a wide three thread stitch we are going to sew up the corners to make the sheet the box shape of a fitted sheet. Using just a single layer now fold the corner on the diagonal like you did when we cut out the corners, but this time have the fabric folded right sides together.
Step 5
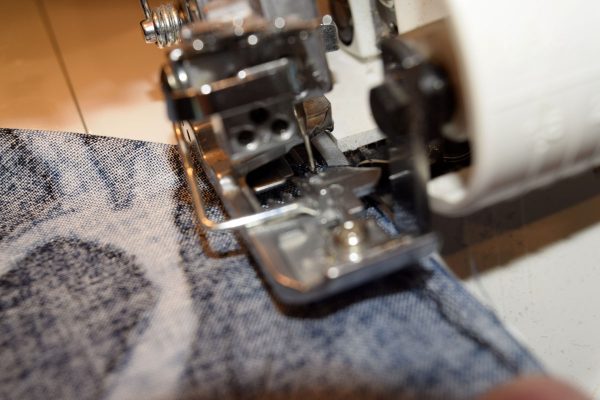
When you start stitching keep a hold of the thread chain. Start at the fold and take 2-3 stitches on the fabric. Lower the needles into the fabric. Raise the presser foot and with your left hand gently pull the thread chain around the needles to the knife.
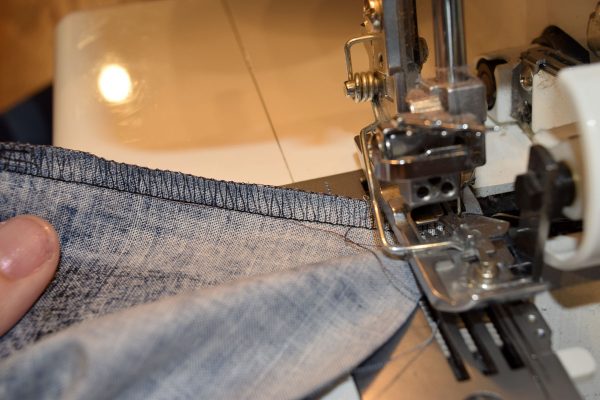
Lower the presser foot and continue serging (cutting off the excess thread chain) until you are one stitch off the end of the fabric.
Raise the presser foot and carefully flip the fabric over so that the lower looper side of the previously serged seam will be overstitched. Place the fabric under the presser foot so that the first stitch will enter the fabric when you begin stitching. Serge for about 1”, overstitching the previous stitching. Guide the fabric so as not to cut the previous stitching. After an inch or so simply more the fabric to the left to serge off the fabric.
Now the sheet has the 3 dimensional box shape.
Step 6
Before putting the BERNINA Elasticator foot on the machine thread the elastic. Flip the front of the foot up to feed the elastic.

We are using about 3 yards of 3/8″ inch elastic. Adjust the front screw to fit the guide snugly against the elastic. Don’t worry about cutting it to length, but you will want at least 3 yards.
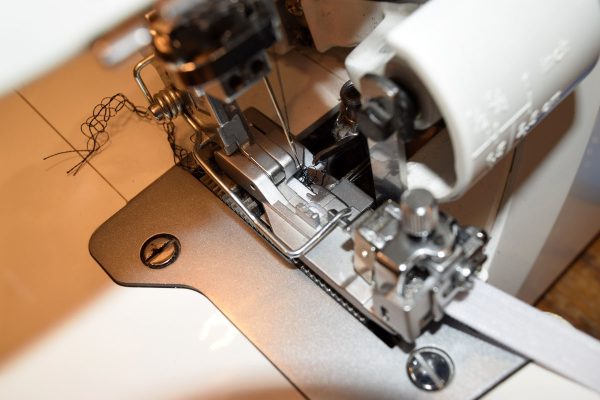
Replace your regular presser foot with the Elasticator foot, making sure the elastic is threaded all the way to under the needle of the serger.
Step 7
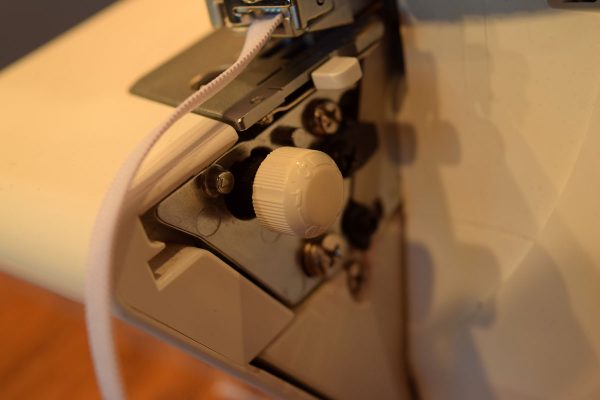
Adjust cutting with to 4, stitch length to 4. You may need to adjust your thread tension, it’s always good to practice on a scrap before starting.
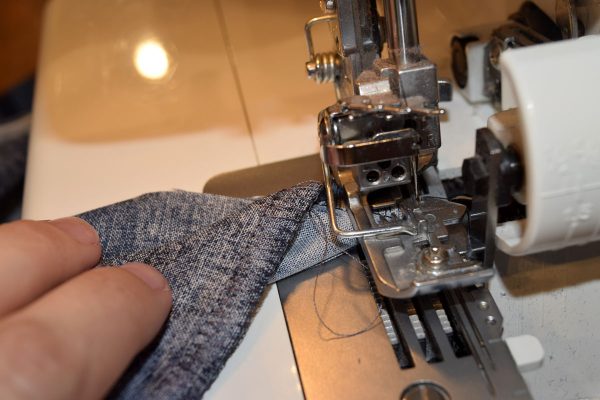
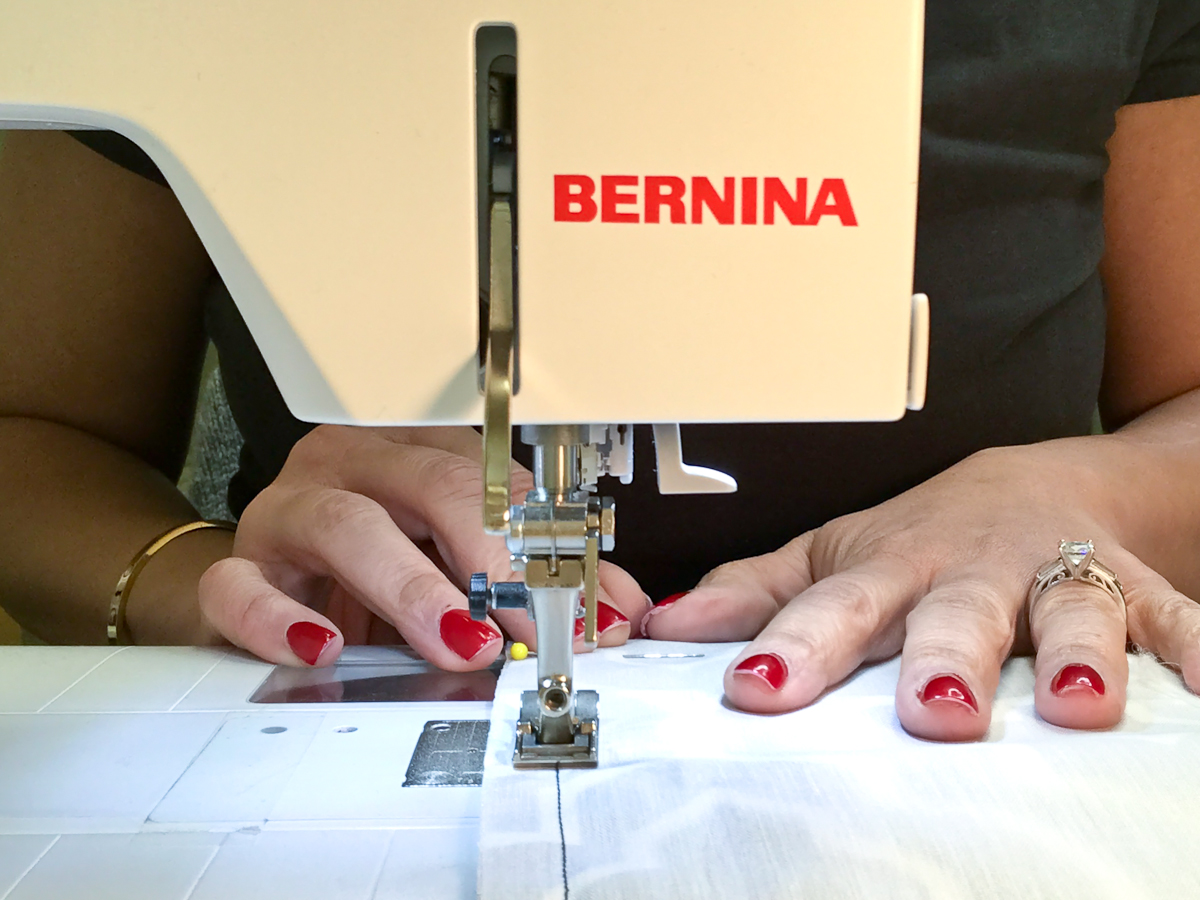
Step 8
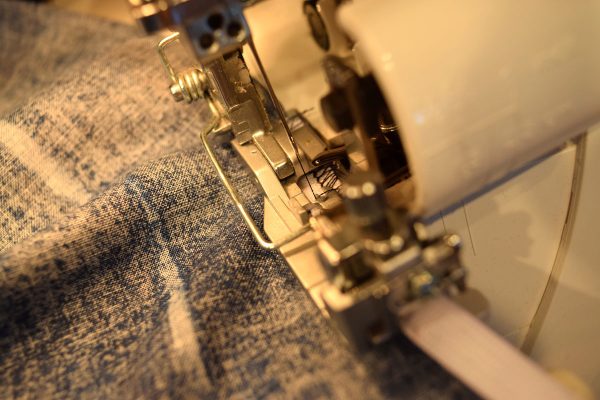
With wrong side up start attaching the elastic to your sheet. You will need to apply gentle pressure to the fabric behind the presser foot to move the fabric and elastic through. Continue all around the sheet until you reach the spot where you began.
Simply cut your elastic in front of the elasticator foot to allow for a little overlap.

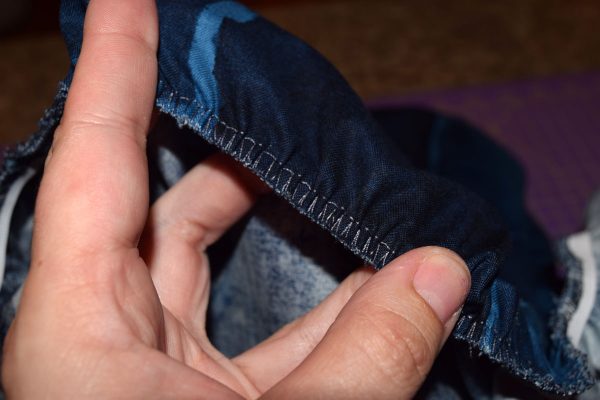
So that’s it! Simple, easy-peasy crib sheets from your BERNINA serger – sewing made smarter, not harder.
Used Products


What you might also like


3 comments on “Crib Sheet Tutorial”
-
-
Pingback: Monday Motivation | Sweet Carolanne
Leave a Reply
You must be logged in to post a comment.

I made these for our grandkids. Our daughter said she liked these better than purchased sheets. They fit much better. And there are so many wonderful fabrics to choose from. Do use good fabric, very important.