Statement Necklace T-Shirt Tutorial
If you love jewelry as much as I do then you will love this easy statement necklace T-shirt tutorial. I have to tell you that I am most comfortable wearing jeans and a T-shirt. If I need to dress up my casual look, I can dress it up with one of my statement necklaces. So I thought why not improvise by sewing a statement necklace on my T-shirt? The best part about this super easy statement necklace T-shirt tutorial is that you probably have all the supplies you need right in your sewing room. Let’s get started!
Materials to make a Statement Necklace T-Shirt
- T-Shirt
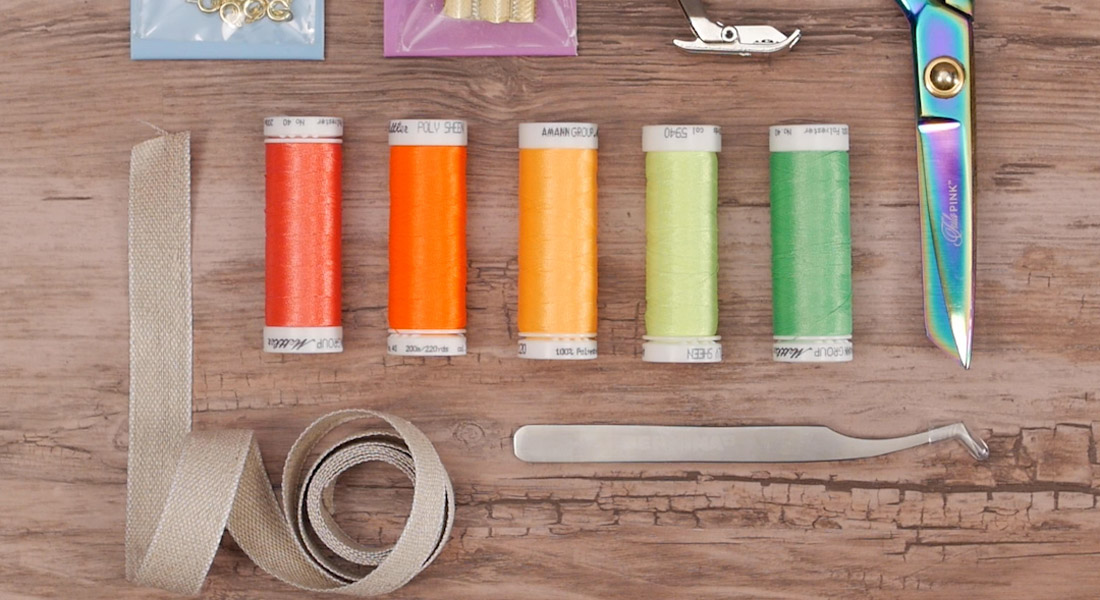
- Trimmings to build your statement necklace
- Thread to match your trimmings
- Straight Pins
- Seam ripper
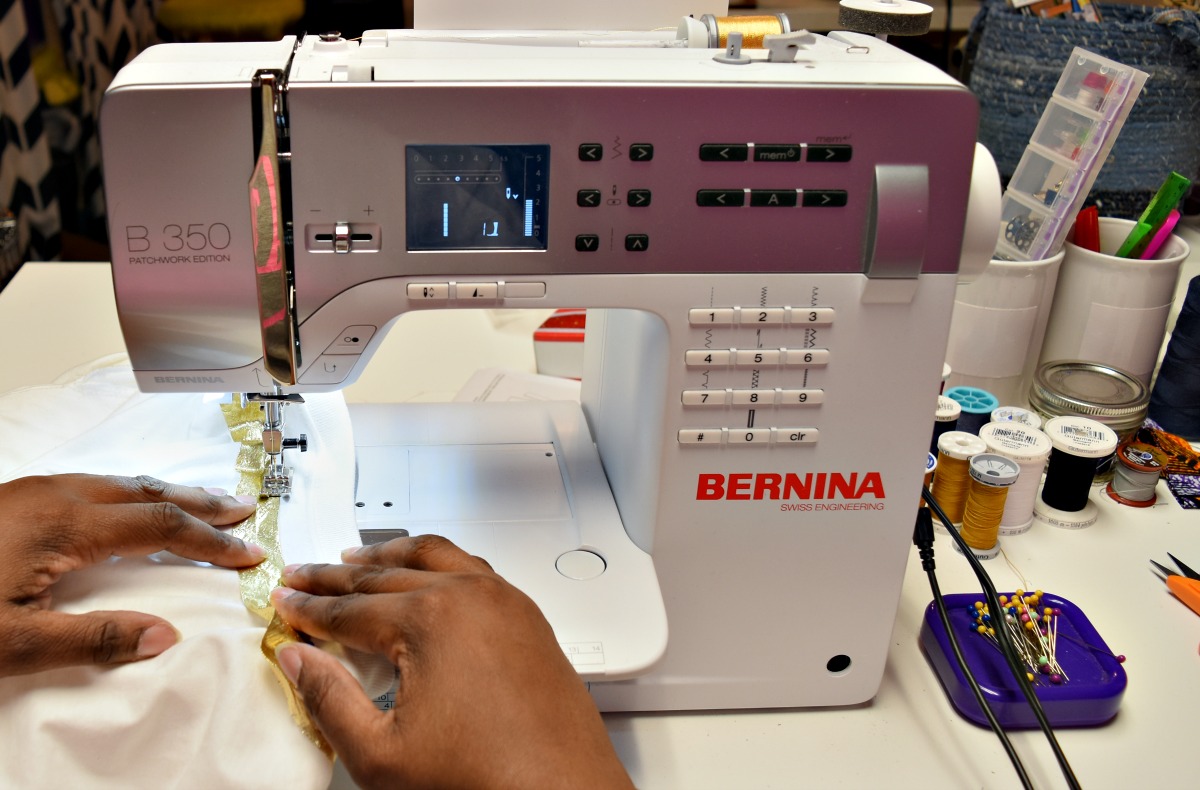
- Sewing machine (I’m using BERNINA 350 PE by the name of “Bebe”)
- Useful feet for this project: Zigzag foot # 0 Embroidery foot # 6
A note about trim options:
- Crew-neckline T-shirt: You can use any trimmings that will curve around your neckline.
- V-neckline T-shirt: You can use any fabric ribbon and or any type of trimming.
- Bias tape and cording work well around curves.
- Trimming from the home décor is an option.
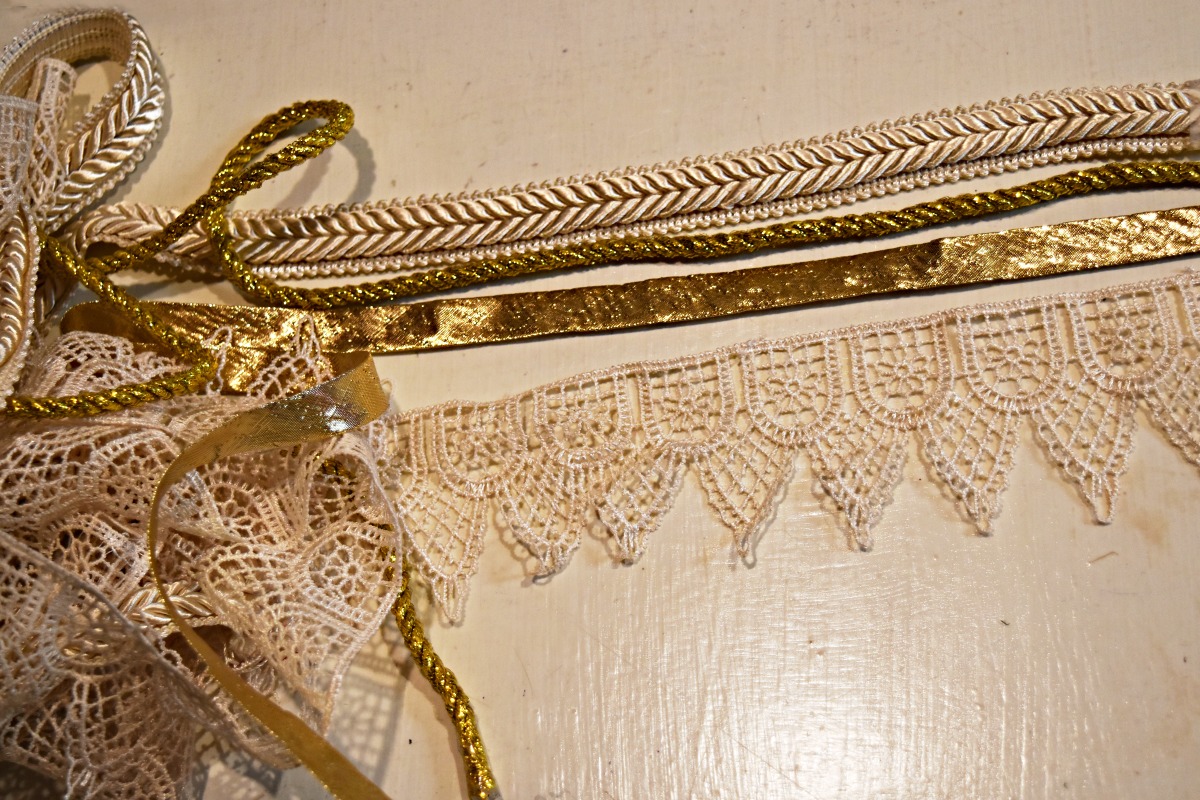
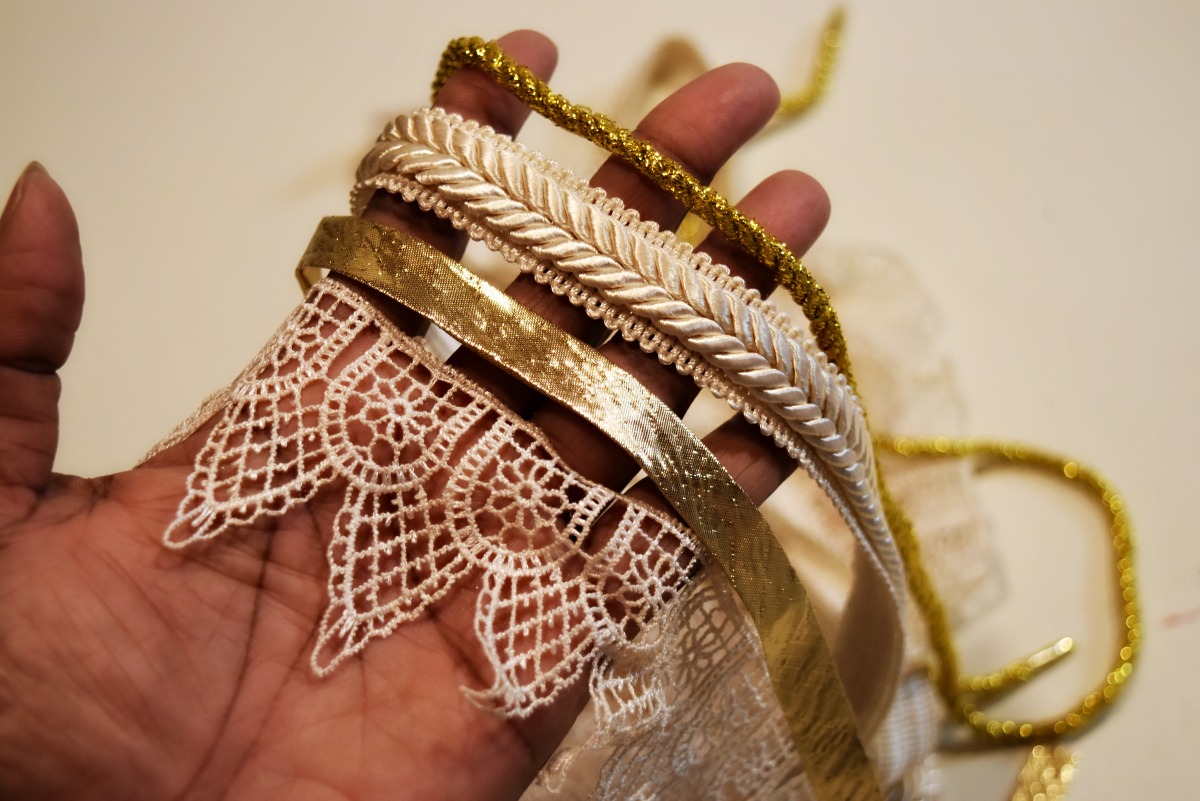
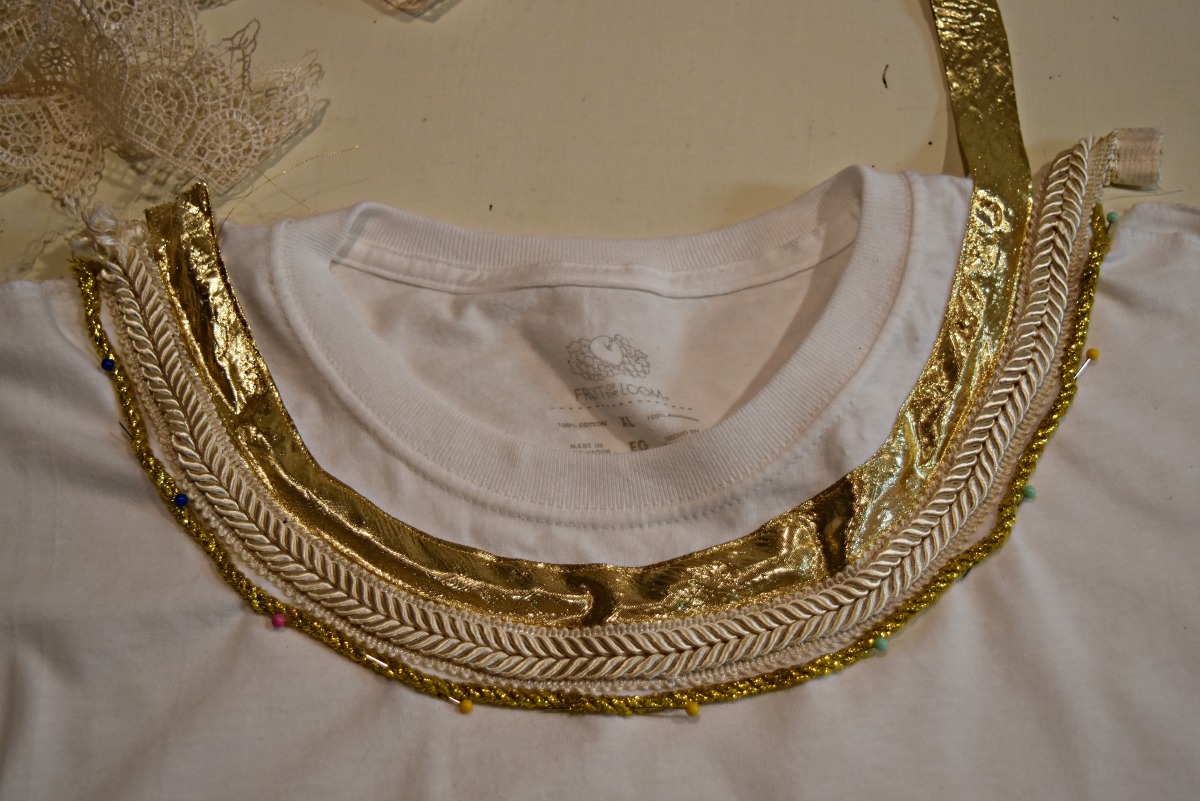
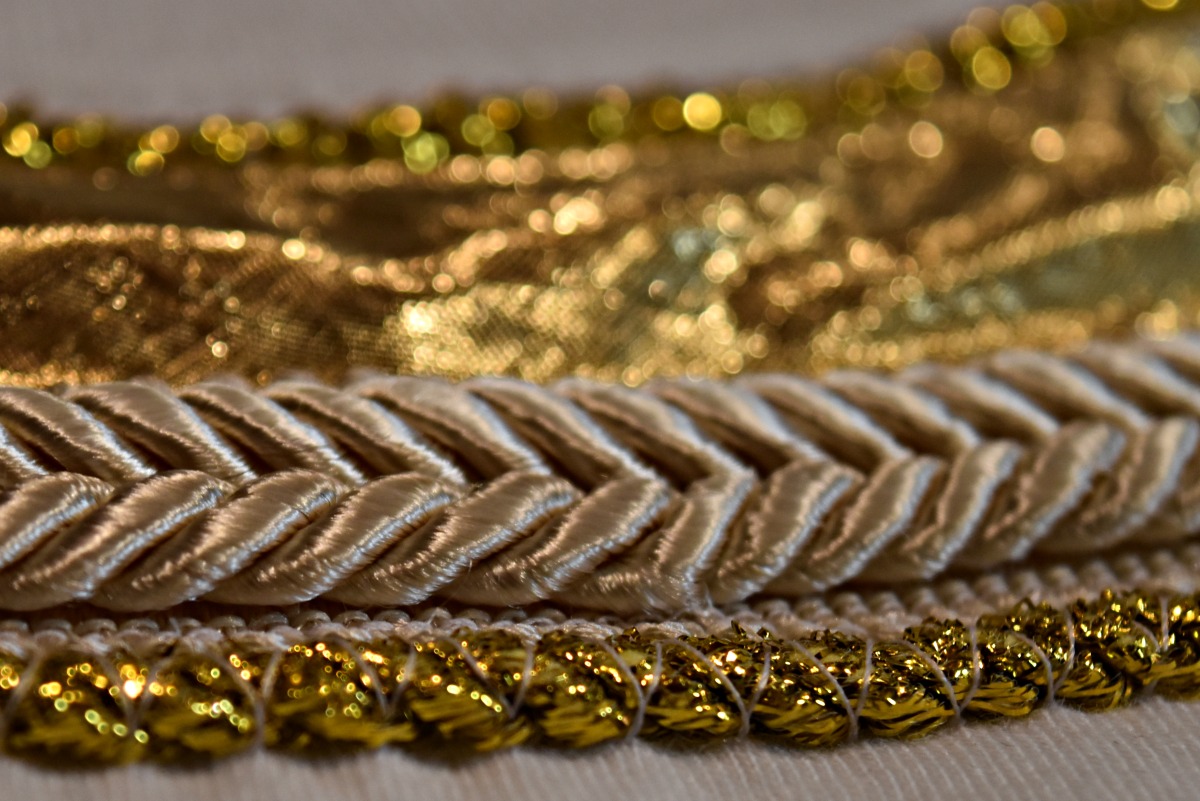
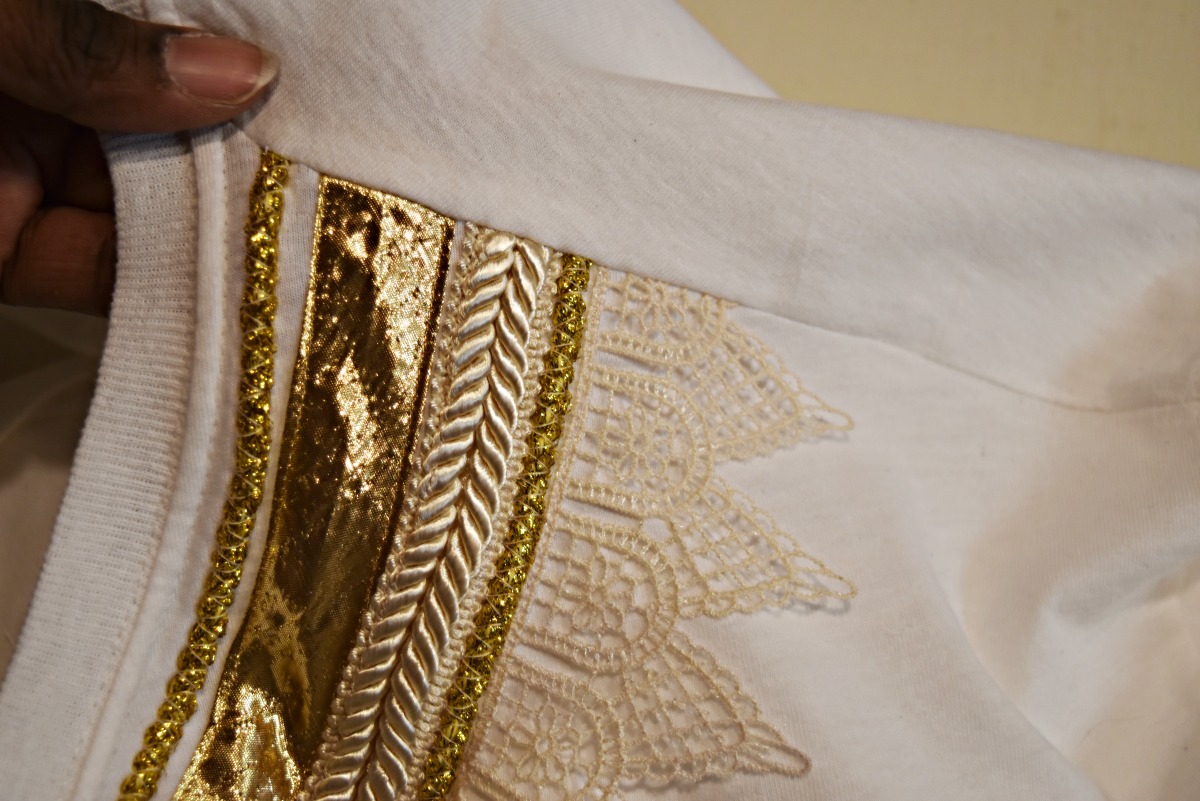
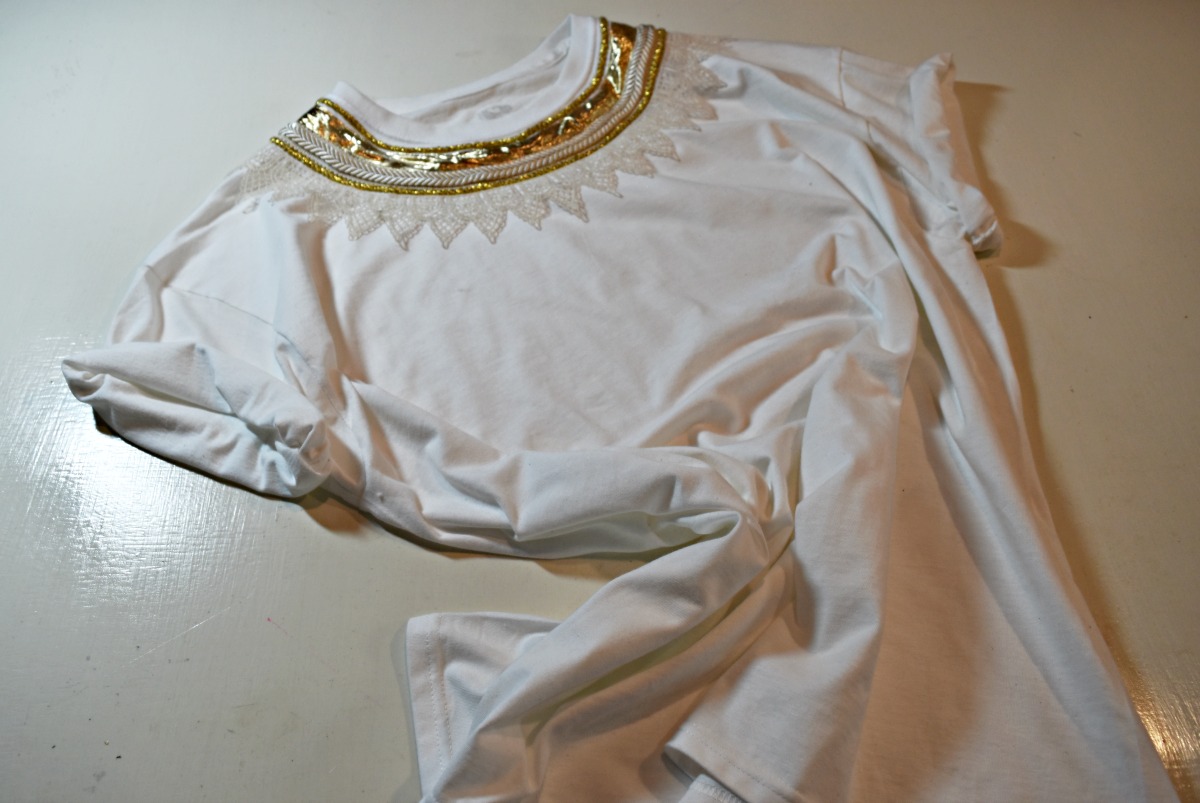
I just dumped out all my trimming that I had on hand, some were new and some were saved from prior projects. I decided to work with my gold and ivory pieces for this project. I used four different trimmings for my statement necklace.
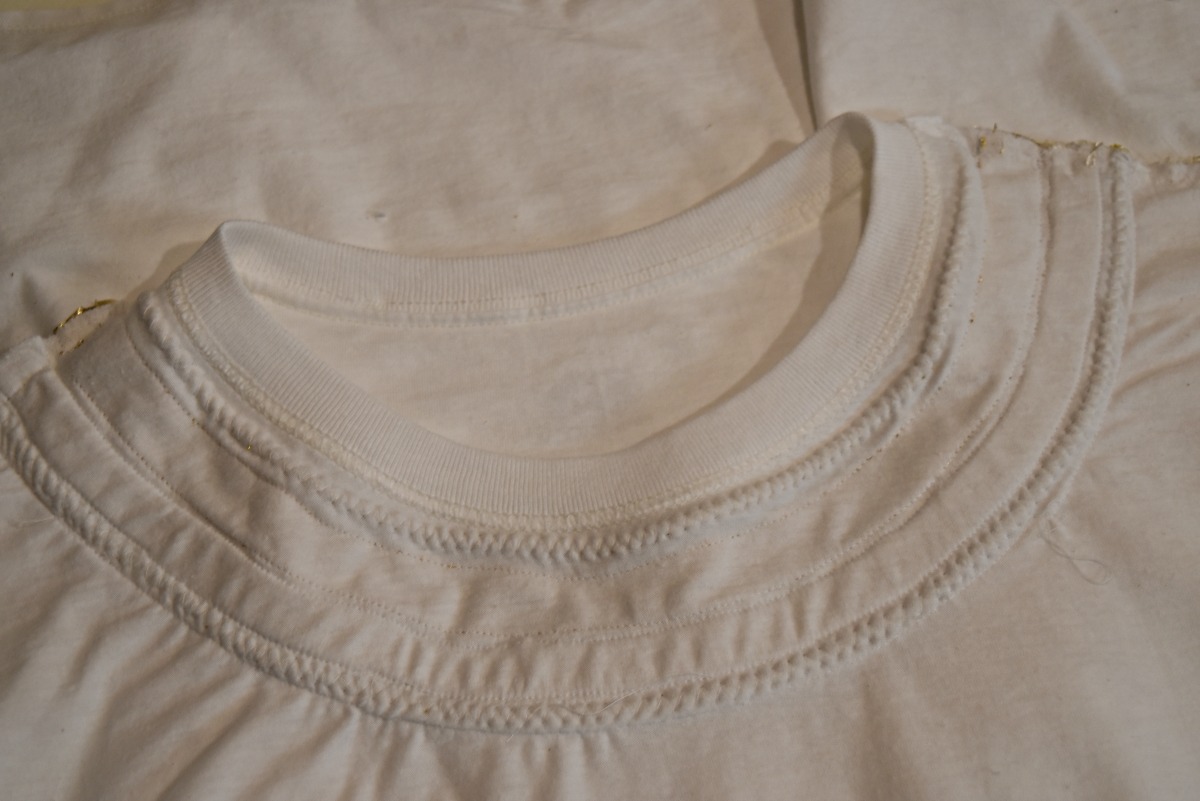
Step 1: Press your T-shirt so that you have a flat surface to work with.
Step 2: Now lay out your trimmings in an order that suits you for your statement necklace.
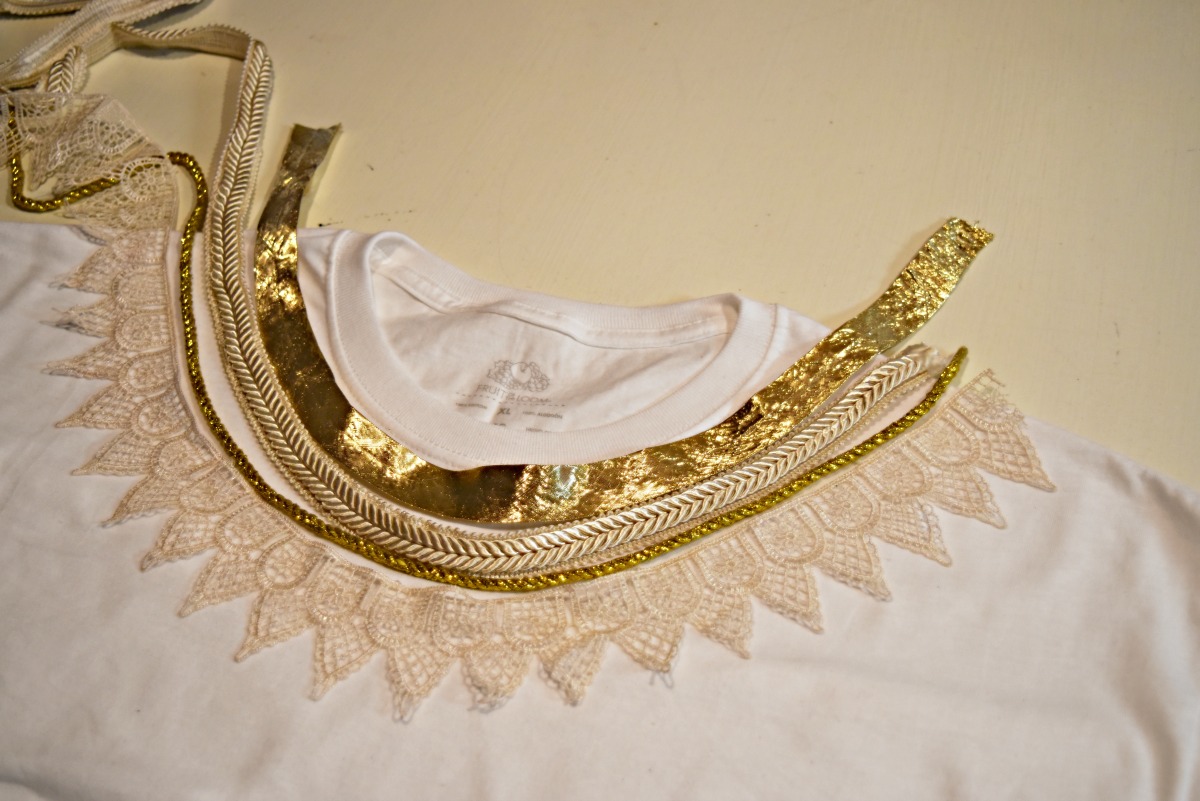
Step 3: Trim all your trims to the lengths that you need around your neckline.
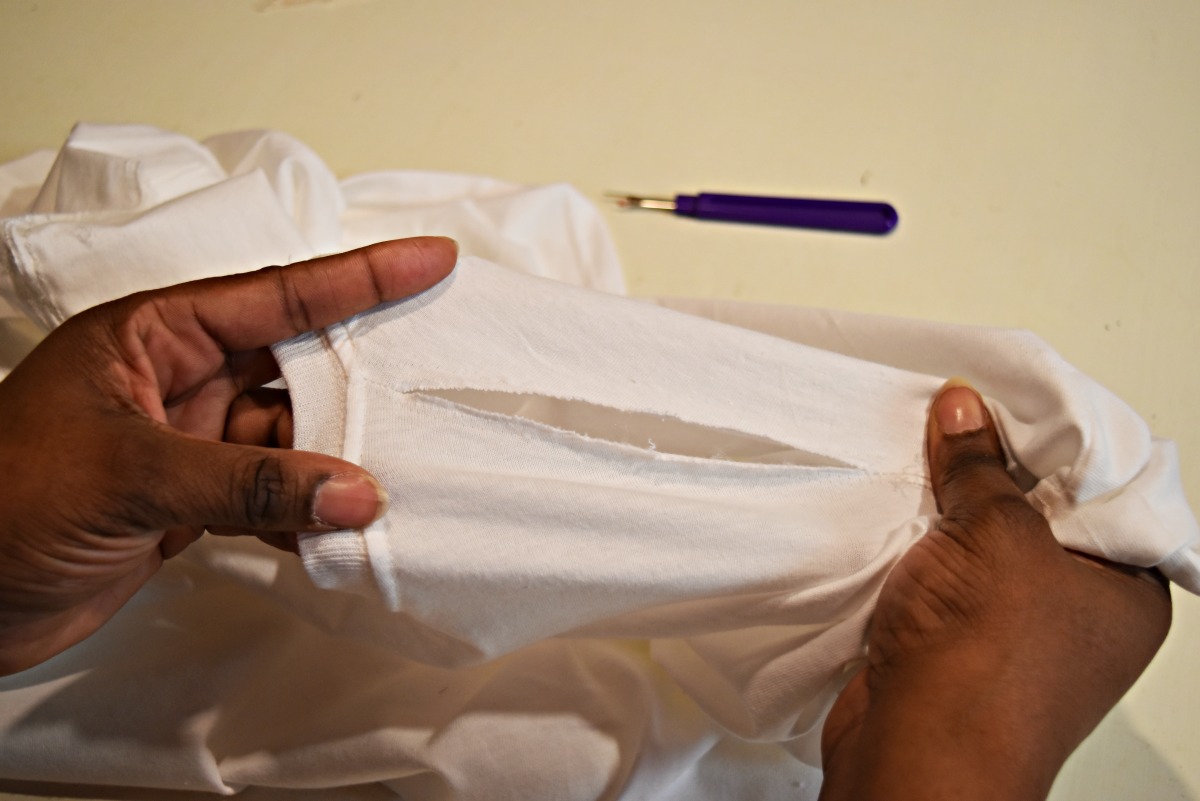
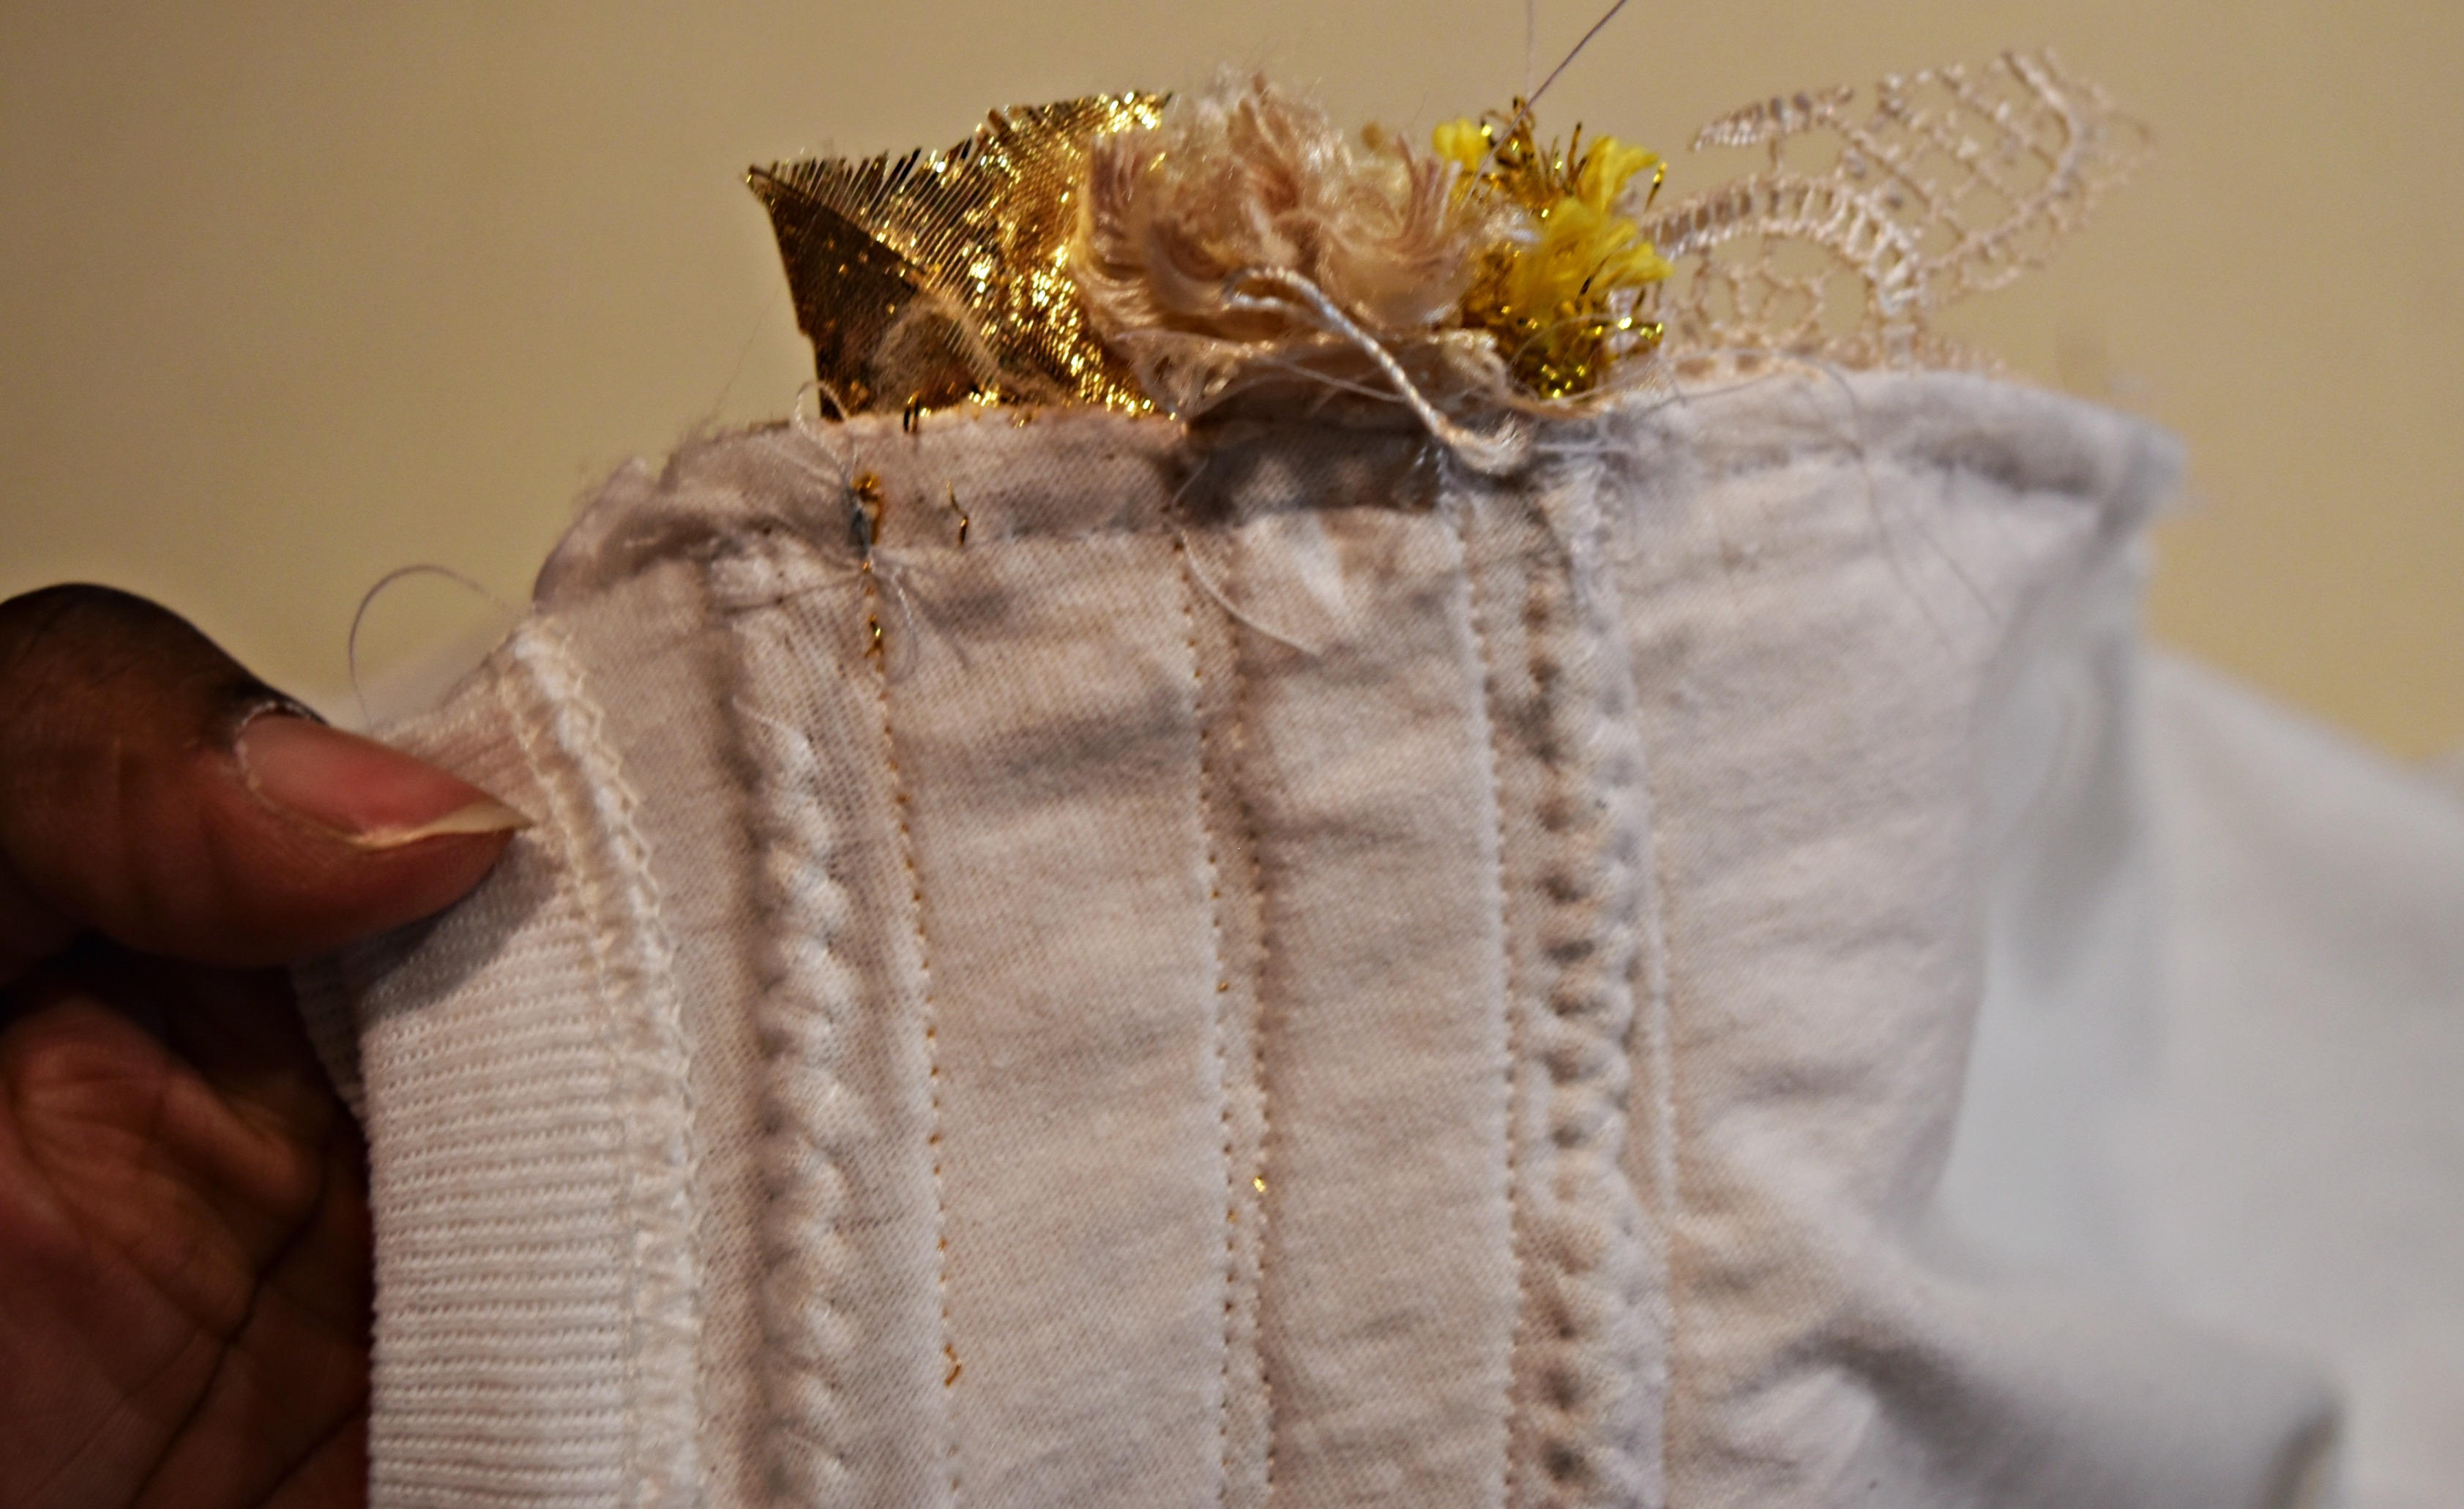
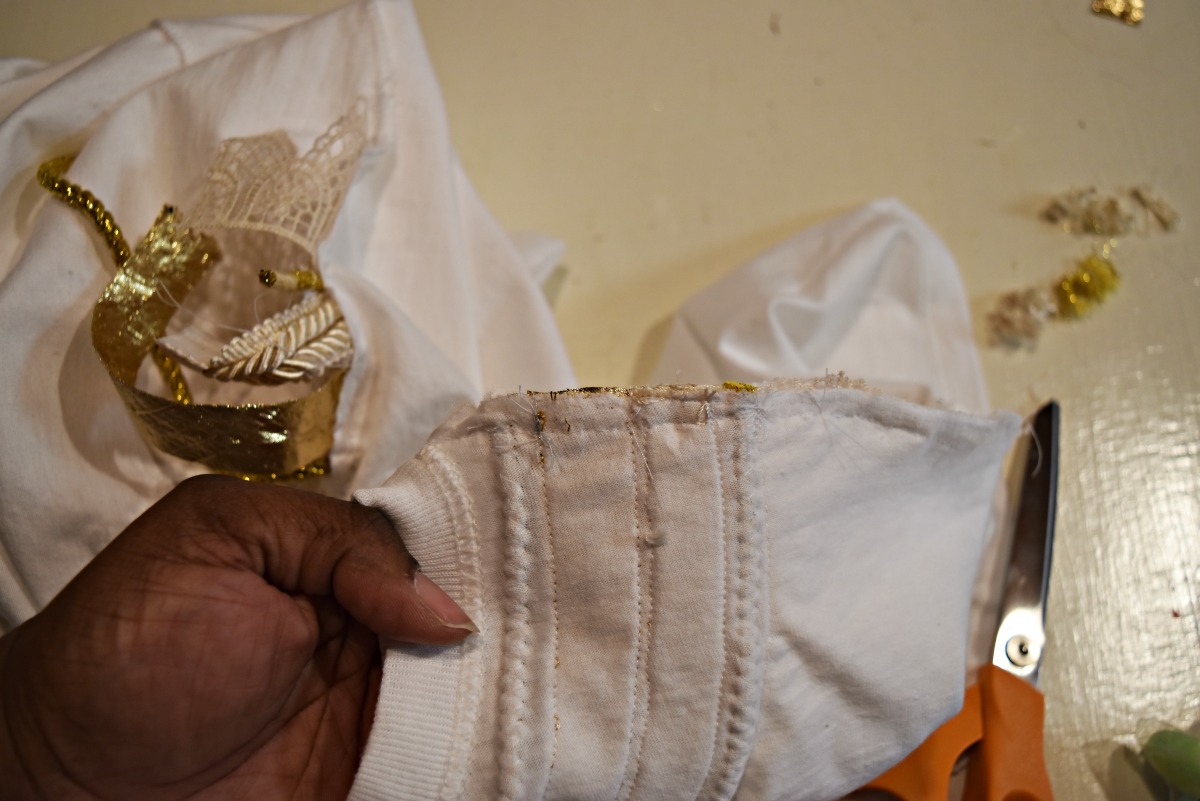
Step 4: Using your seam ripper, open the seams on each shoulder so that you can tuck the ends of the trims and close them in the seams.
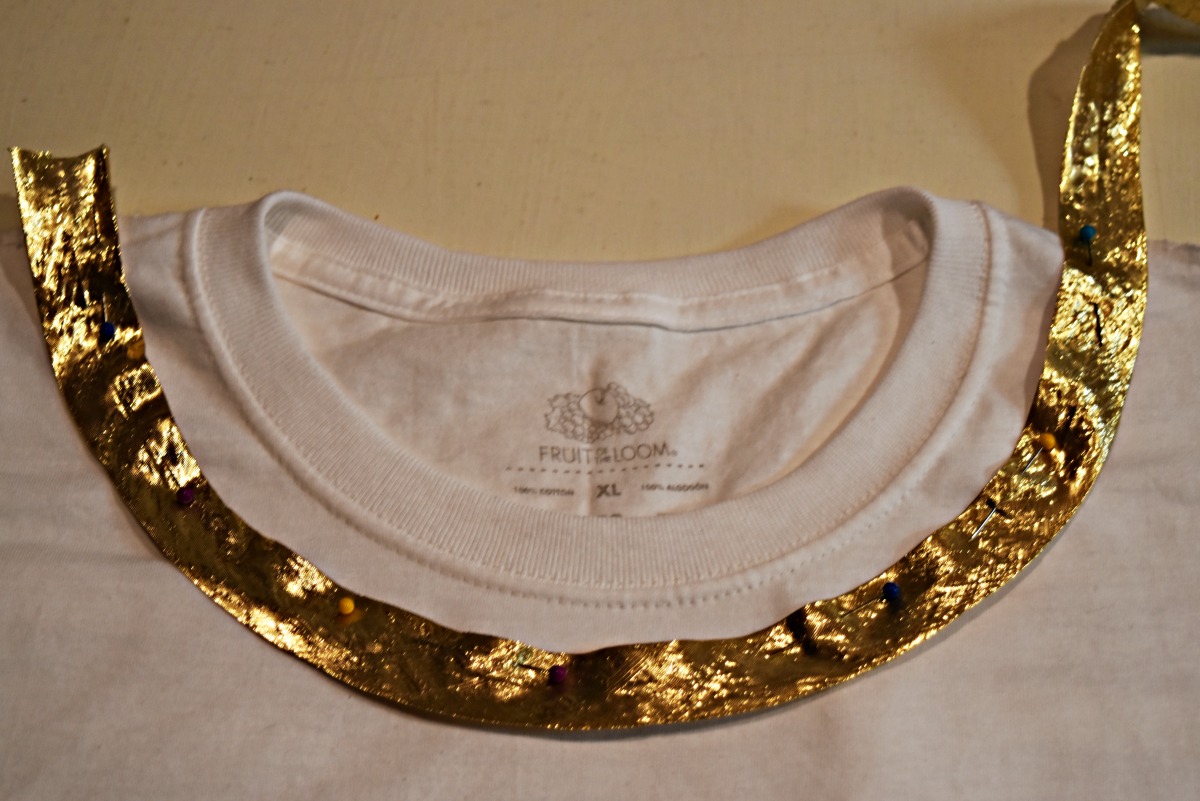
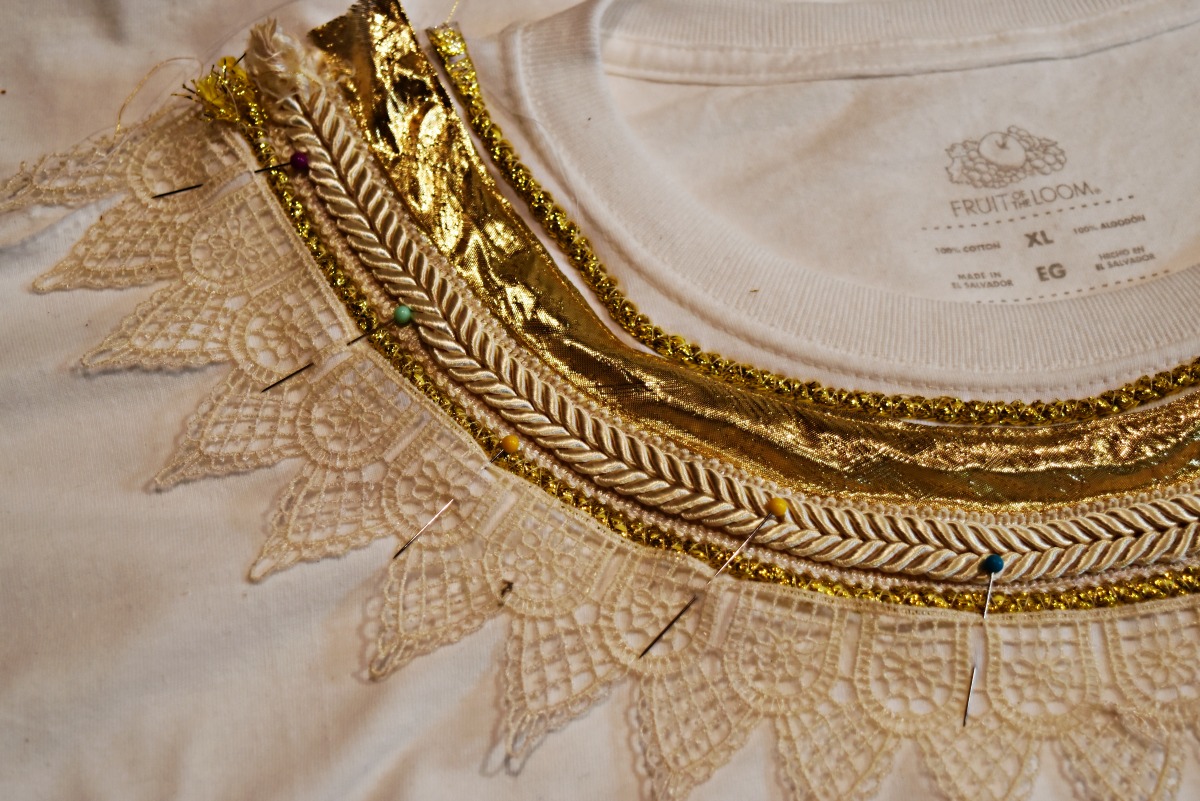
Step 5: Now it’s time to pin and sew on your statement necklace, one strand at a time. Feel free to use decorative stitches to attach your strands.
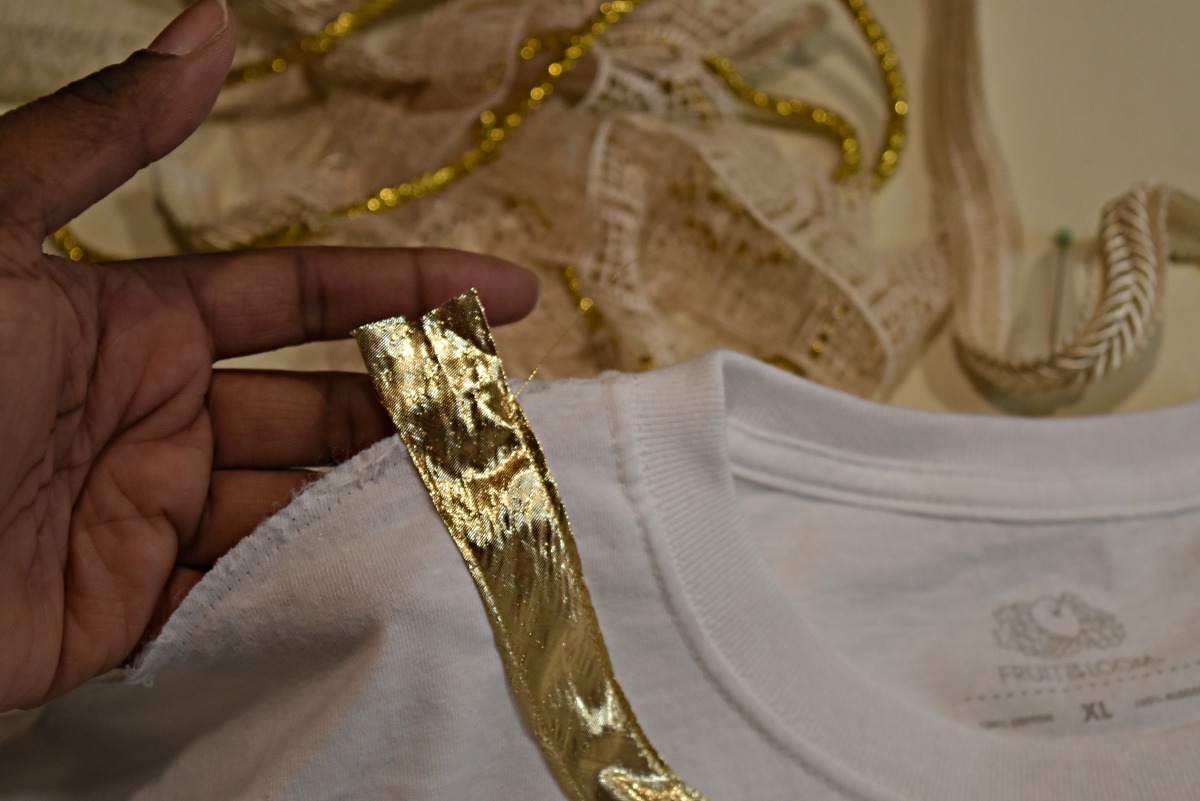
Step 6: You’ve built your necklace now give it a nice pressing (watch your temperature on the iron for the trims) and push the ends through the shoulder seams. Pin the seams together, stitch, trim and press.
 .
.
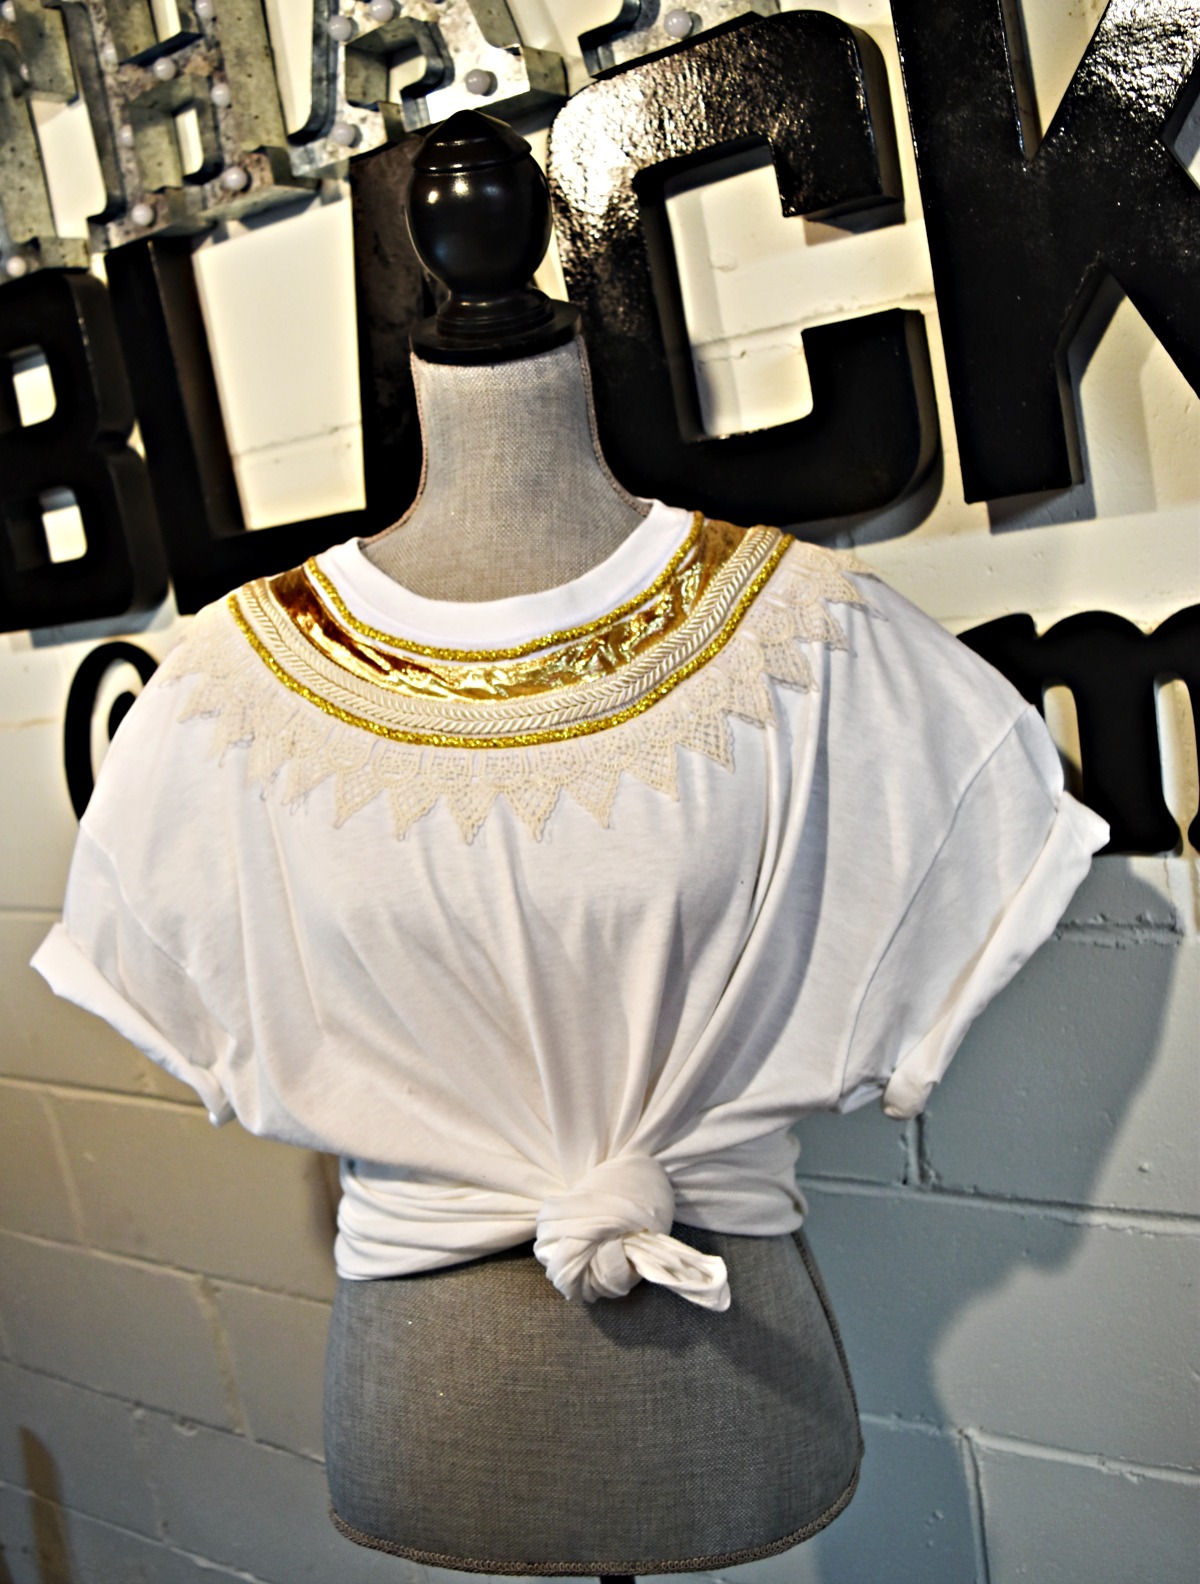
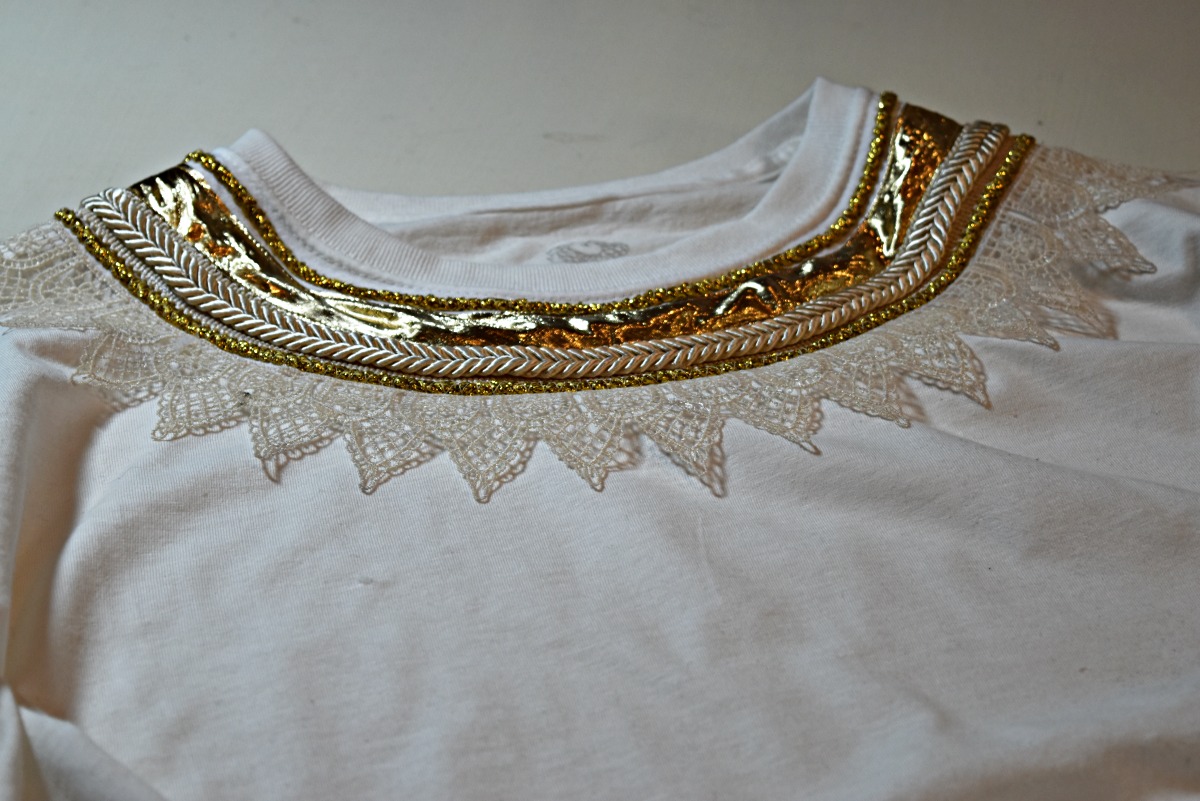
You now have a stunning Statement Necklace T-Shirt!
What you might also like


One comment on “Statement Necklace T-Shirt Tutorial”
Leave a Reply
You must be logged in to post a comment.

What a great idea ! I have always loved that look. Thanks for showing how to sew it !