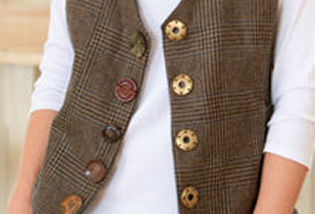
Steampunk Needle-Punched Vest
A note from Carol Nunns, Sew Generously, St. Charles, Illinois:
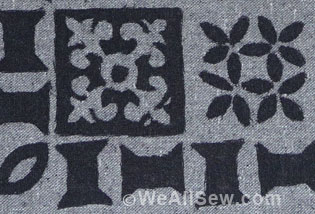
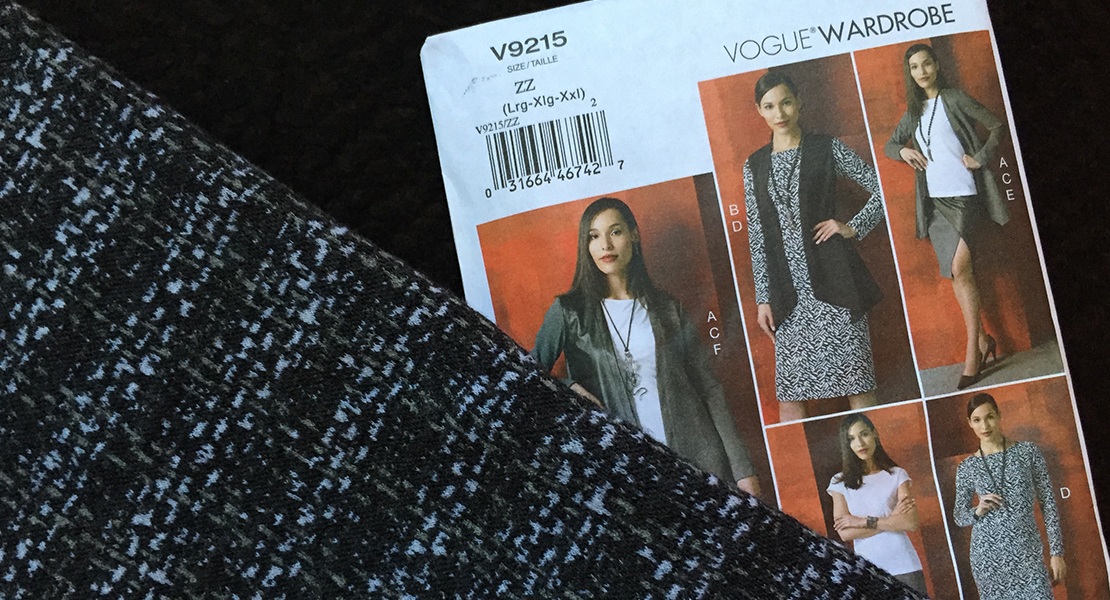
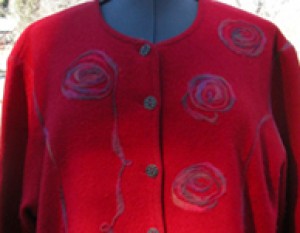
I wanted to try BERNINA’s Needle Punch Accessory, but I’m truly not a daisies and vines person. I was looking for a way to make needle punch texture work for me…something simple with interest. The vest was a very easy Kwik Sew pattern (Kwik Serge 3791). It was made from a lightweight wool fabric that we have at Sew Generously. Again, the vest didn’t really lend itself to anything floral or dainty.

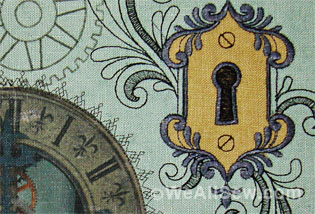
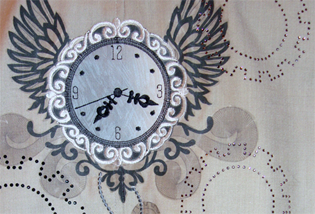
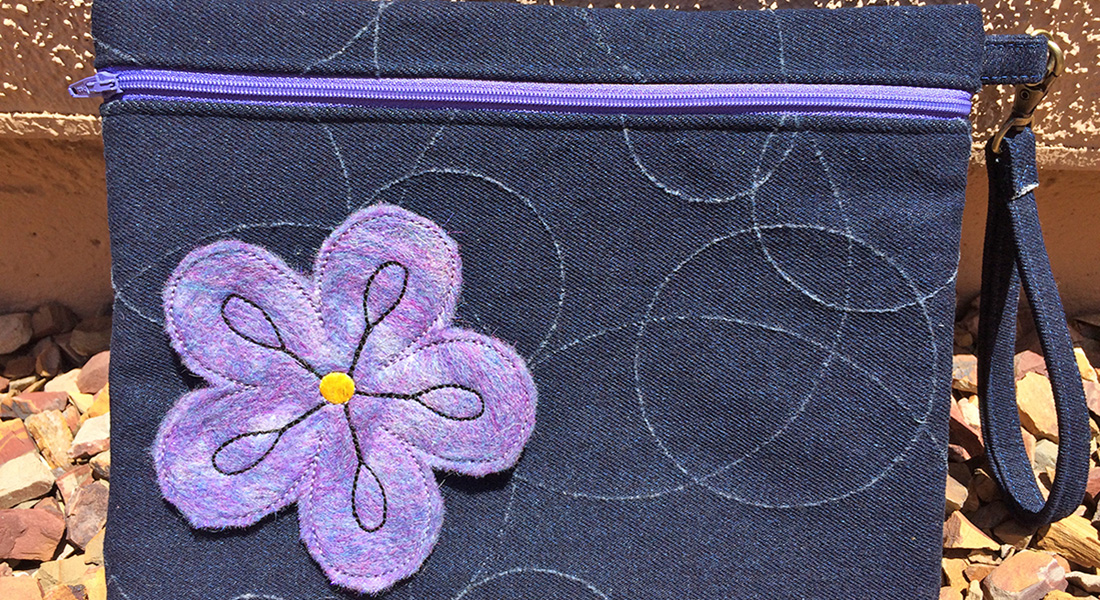
I liked OESD’s Steampunk collection #12378 for its lightweight stitching and current look, so I used a couple of the designs for this project. I wanted to add texture, depth and color using needle punch, so I added a bit of digitizing to the design using BERNINA Embroidery Software 6. First a placement stitch for the roving, then I created a couple of circles that worked within the design to punch down the roving. (Instructions for digitizing the circles were in Amanda Whitlatch’s February Software Sampler webinar.)

It worked out really well to combine needle punch with an already-digitized design. With the needle punch tool and stitch plate on the machine, I “embroidered,” (punched) the background circles for color. For more punching on the roving, I just ran the “thread color” again, and the machine punched another round. Then I switched back to embroidery, and finished up the design.
Bonus: The backside of the embroidered needle punch looks awesome!
(I’d love to play with this more, I just need more than 24 hours in a day.)
Used Products


What you might also like


One comment on “Steampunk Needle-Punched Vest”
Leave a Reply
You must be logged in to post a comment.

Carol, this turned out so cool! I love the needle punching combined with the embroidery–definitely need to try that.