Tiny Piecing with Emily Lang
I’m Emily and I quilt. I’m a wife and a mother to a silly four year old. I work at a fabulous used book store, and I usually sew late into the night. I blog at Mommy’s Nap Time.
(High five to all you left-handed people out there. Those of you who are right=handed take note that the photos of cutting are all left-handed. Adjust accordingly.)
As a quilter I love a challenge. I’m willing to try any technique and I have fun pushing the limits of my sewing ability. My favorite way to push these limits is by making things tiny! I love to do tiny piecing – I love the thrill of attempting to make things even smaller and smaller. You’ll find some examples here, here, here, and here.
I’d describe “tiny piecing” to be anything with pieces one inch and smaller. Today I’m going to explain how to achieve precision while using tiny pieces.
Use a 1/4″ seam allowance throughout. It’s hard to be constantly precise using a smaller seam allowance. Occasionally it’s necesary to trim this seam allowance after sewing (if you’re using pieces smaller than 1/4″ finished). It’s much easier to stick with what you know, and as quilters we know our 1/4″ seam allowance. Now go and measure yours – is it really 1/4″? If not it’s ok, just keep it consistent!
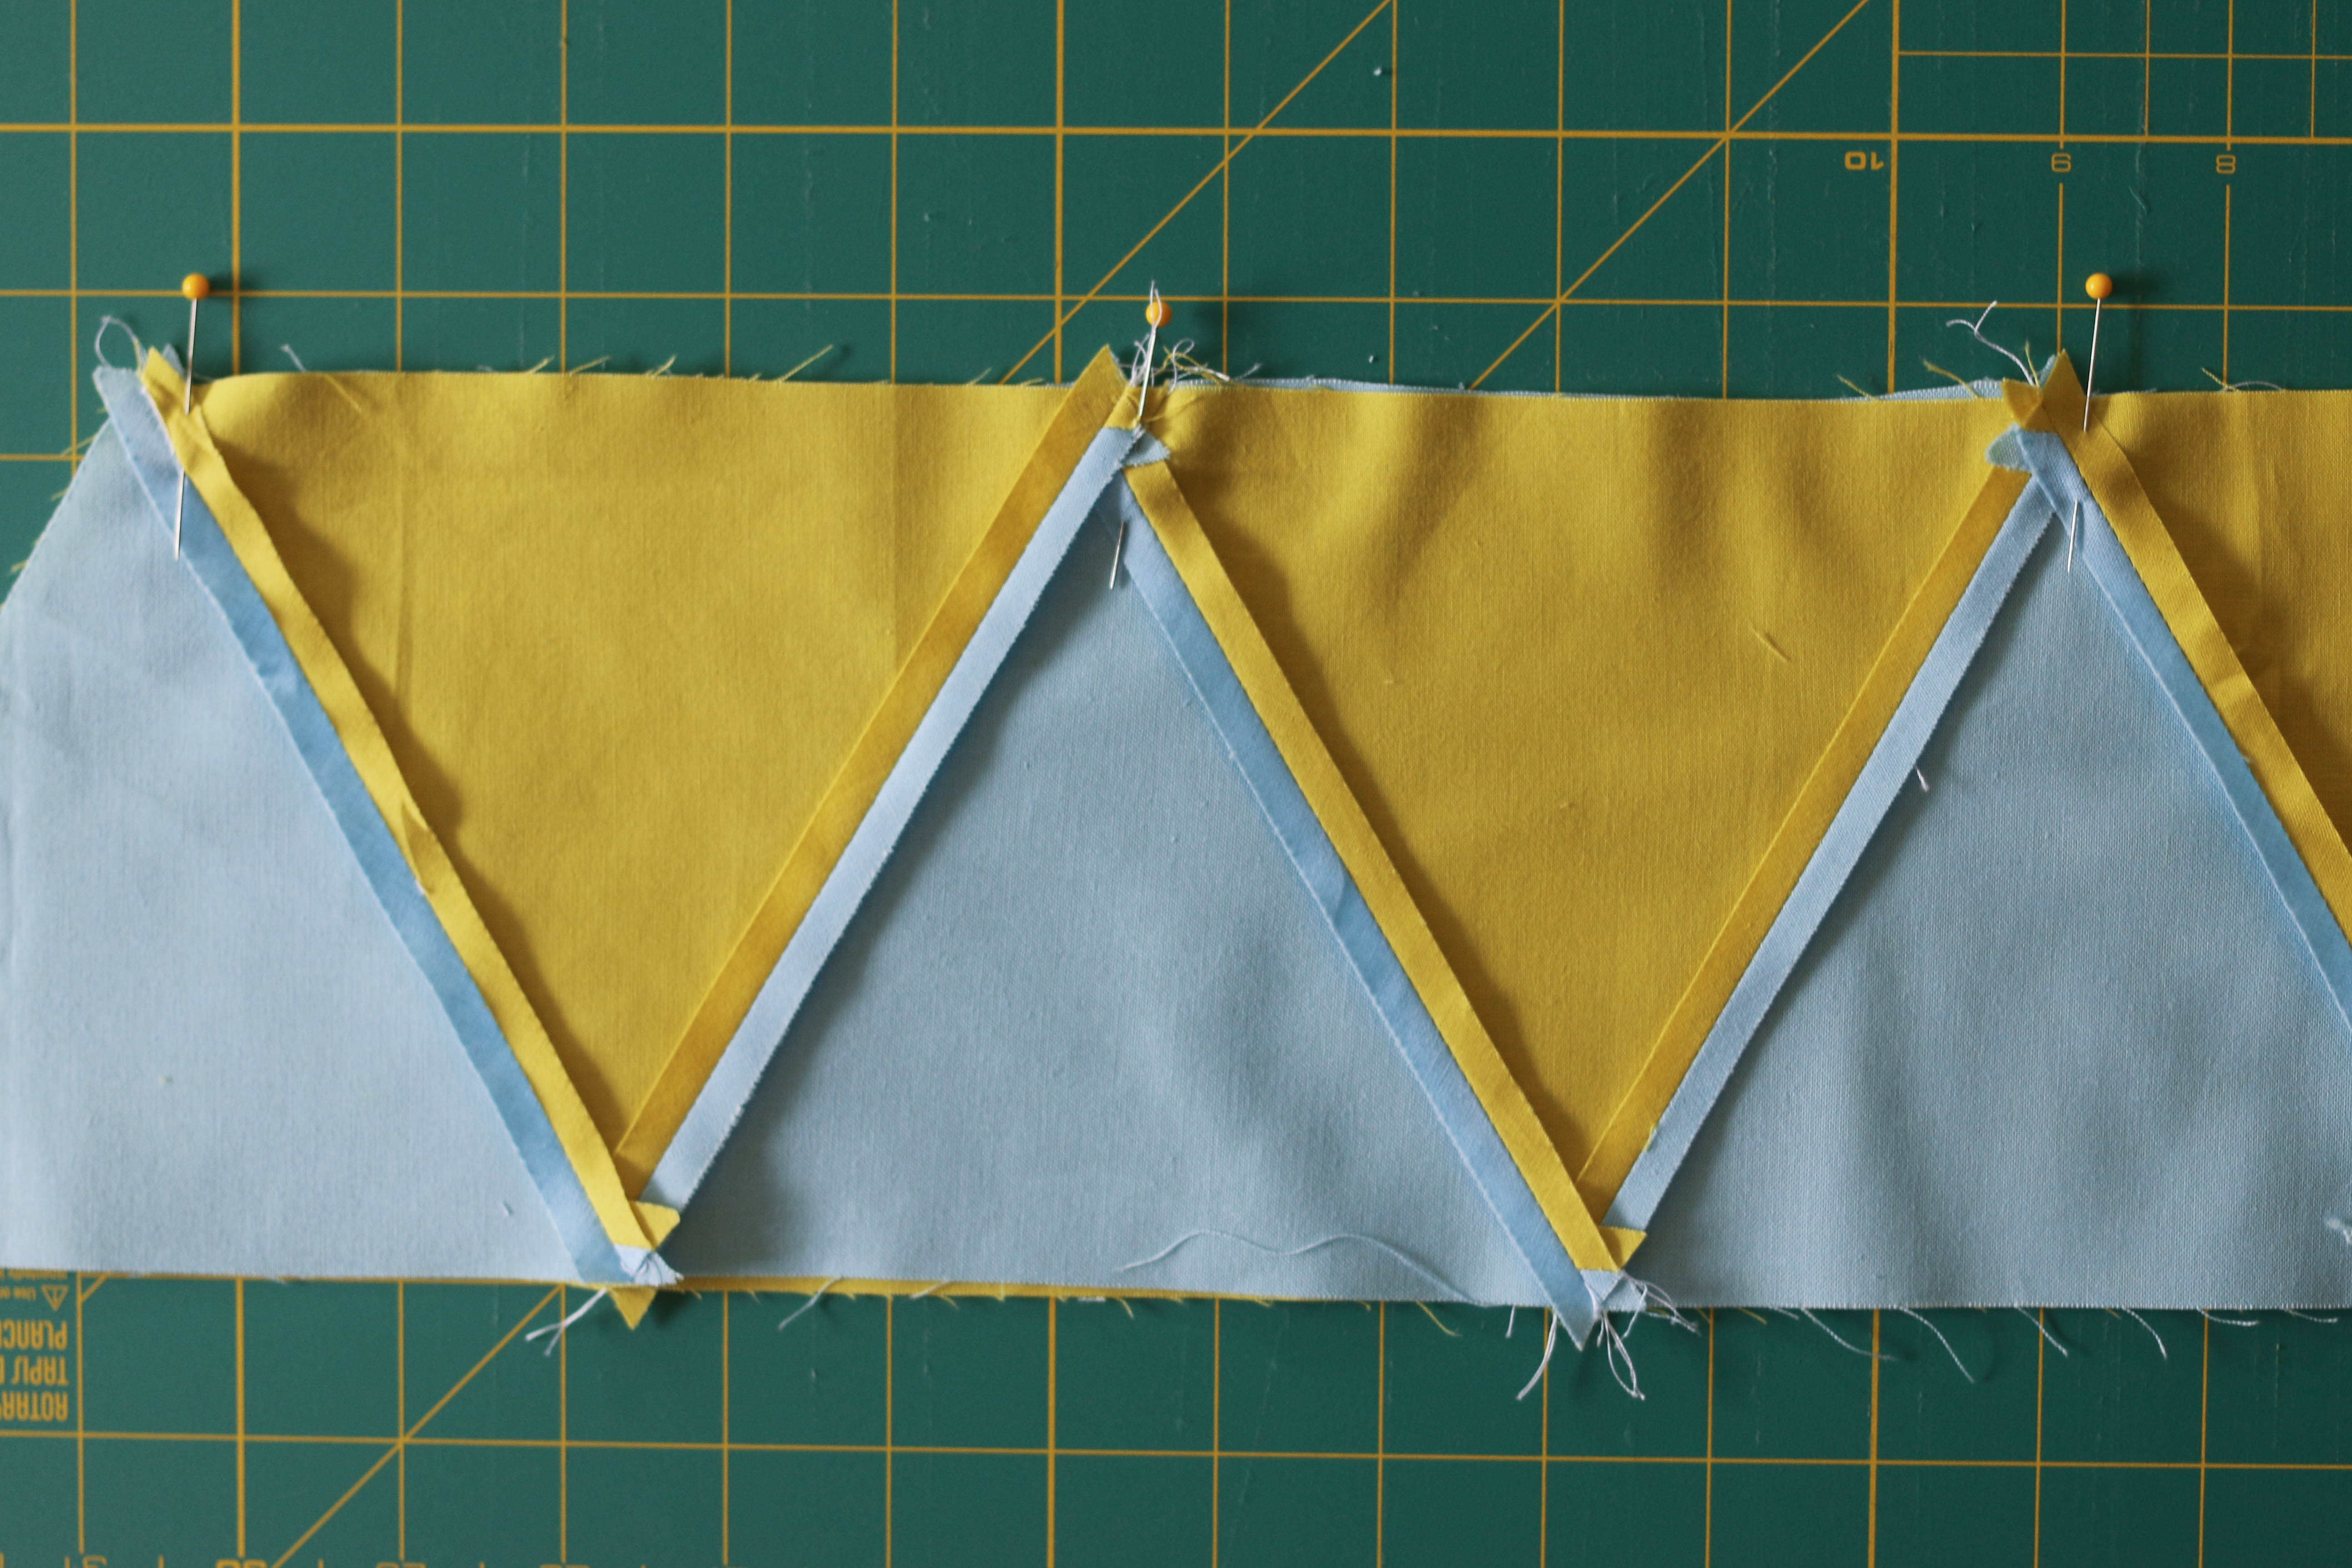
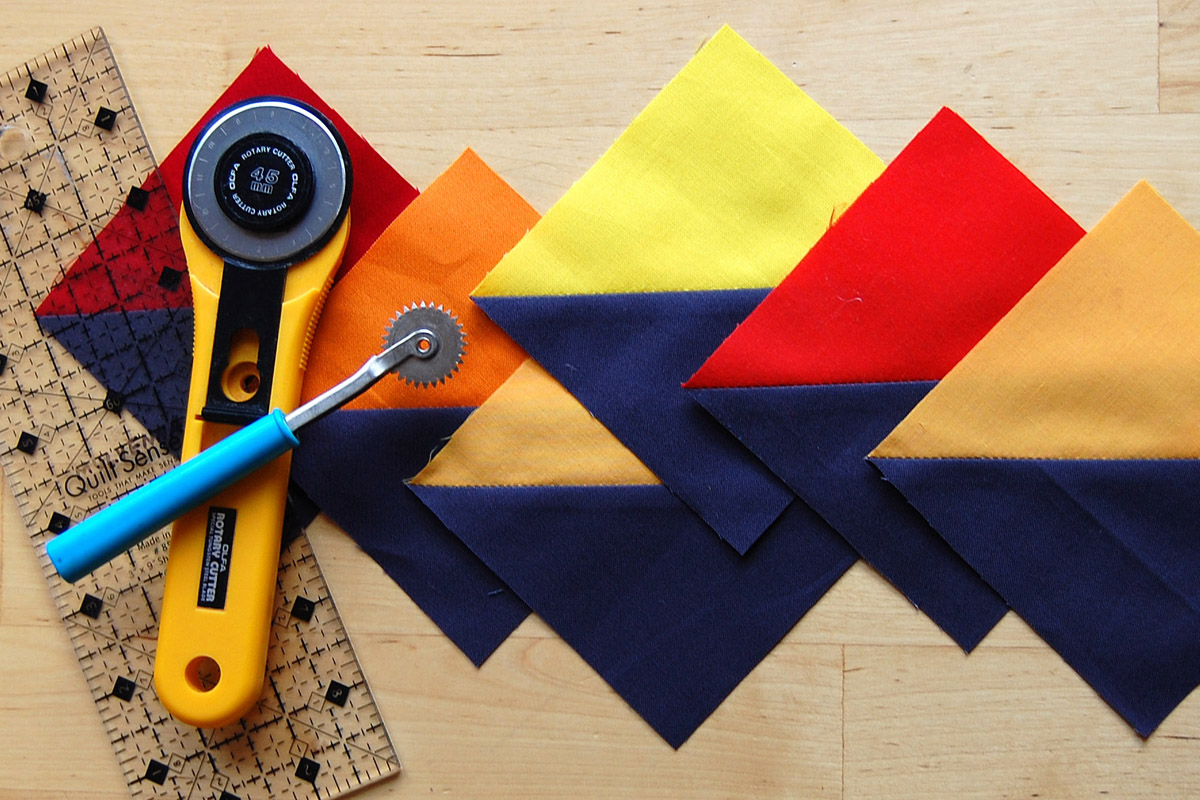
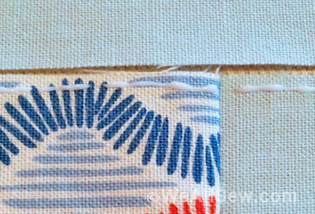
Sew big, then trim. Working with slightly larger pieces (1/2″ or so), then trimming after piecing will make your life so much easier. Remember to always double check that you’re leaving 1/4″ on each edge for your seam allowance. Be aware of where your points are. If you’re making stars or flying geese you won’t want to drop those points. Instead measure a 1/4″ away from those points – and cut there. Read the full tutorial on subcutting wonky star units here.

This image shows sub-cutting. Be sure to pay attention to any points when sub-cutting so you don’t lose them in the finished piece.
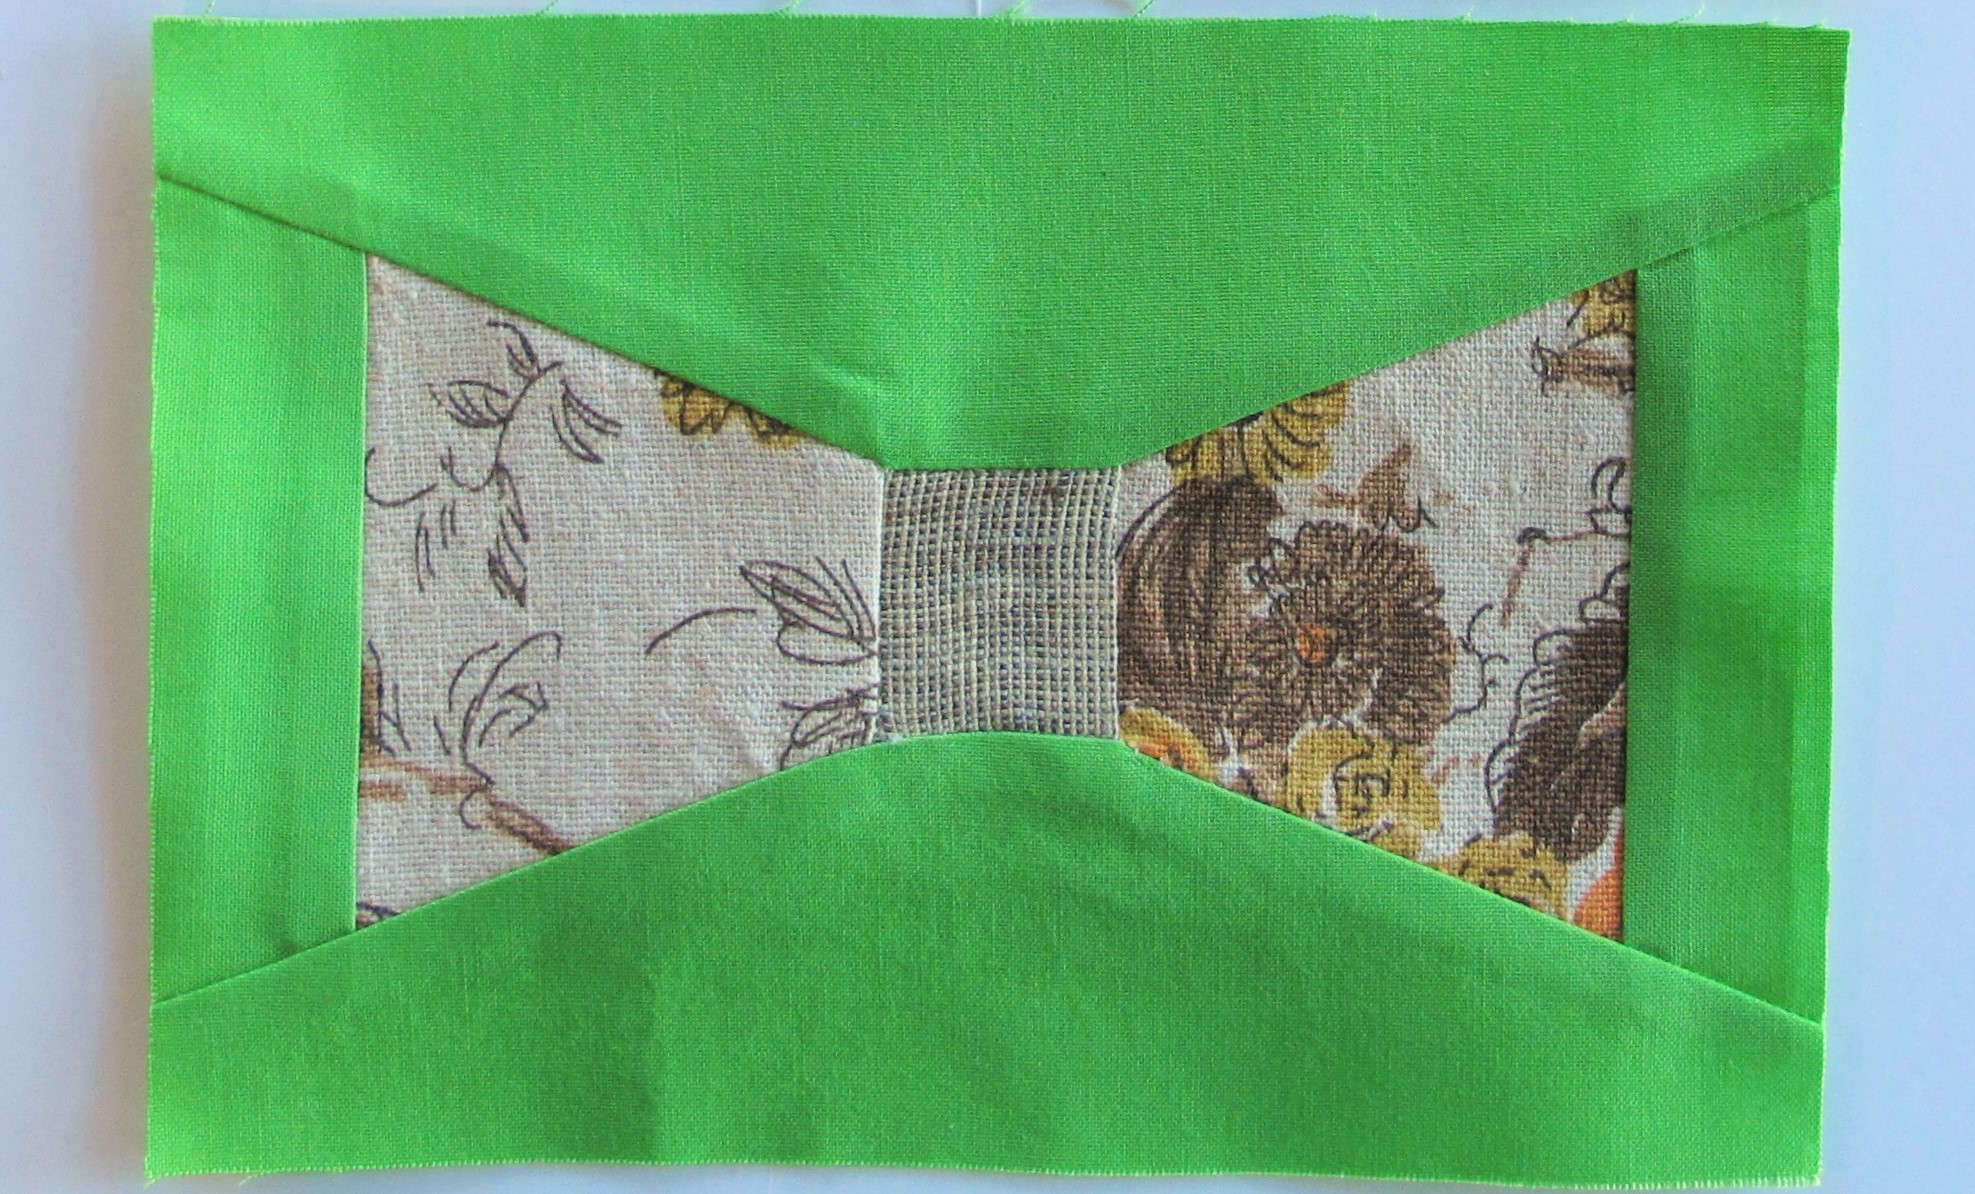
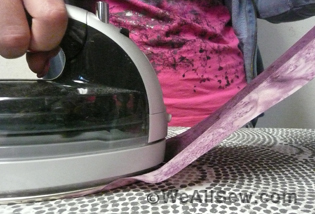
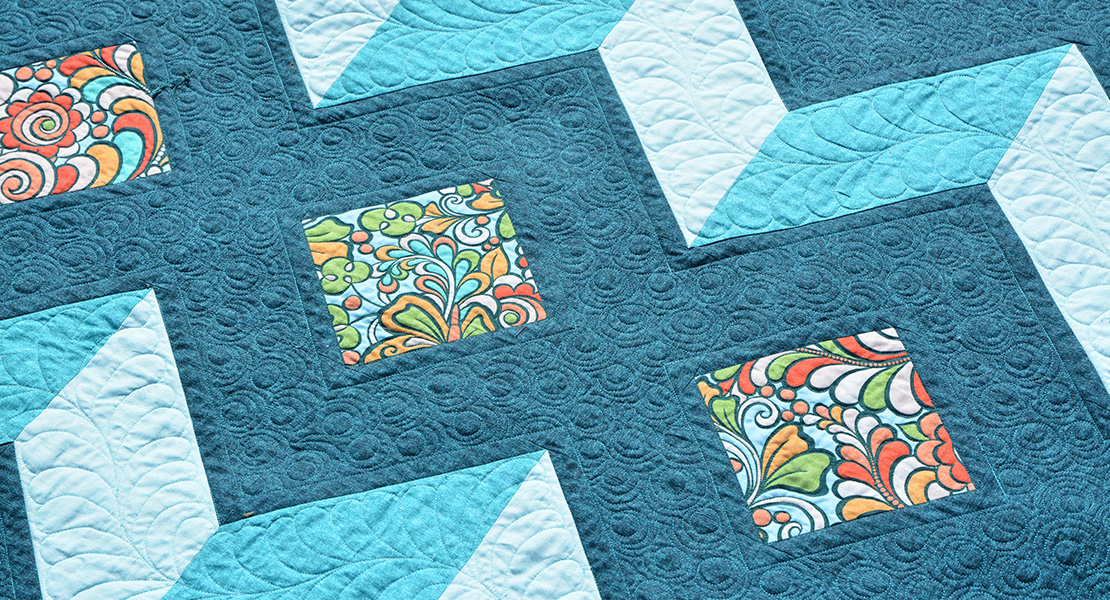
It’s also helpful to add borders that are a bit larger. For example, add a 1″ border to a block, then use your ruler to trim it 1/2″ away from your seam line – this will give you greater accuracy in making 1/4″ borders.

Sew the border larger than necessary, then trim it down 1/4″ larger than the finished border size.
Strip piece then sub-cut. Sewing 1″ x 7 1/2″ strips together is much easier than sewing ten pairs of squares that measure 1″. Sew the strips together then sub-cut into units every 1″. It’ll save you a lot of time.

This photo shows how 1: strips become 1/2″ squares.
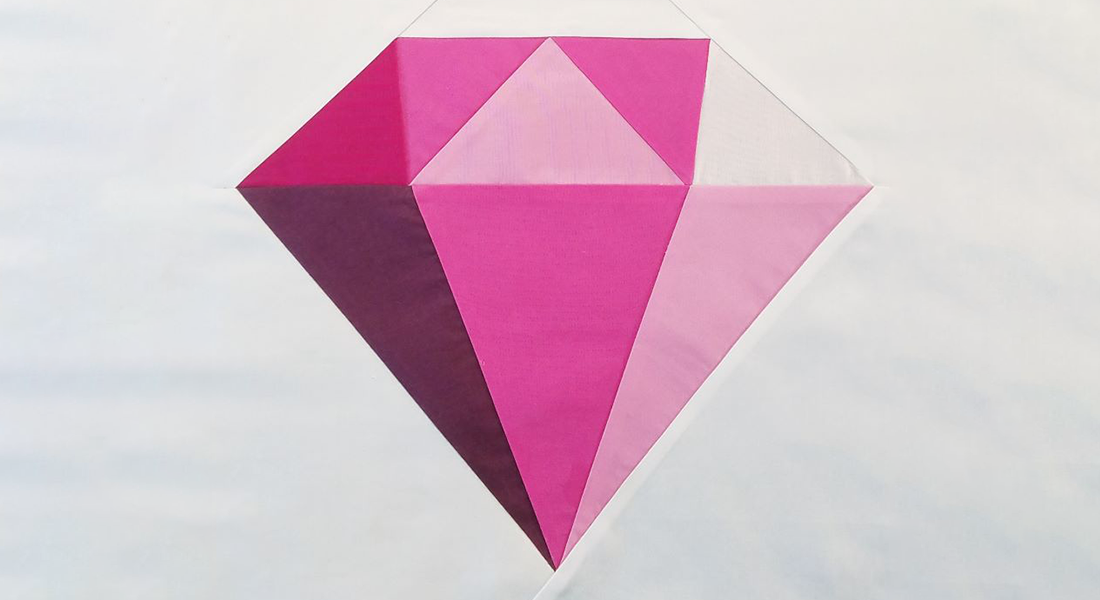
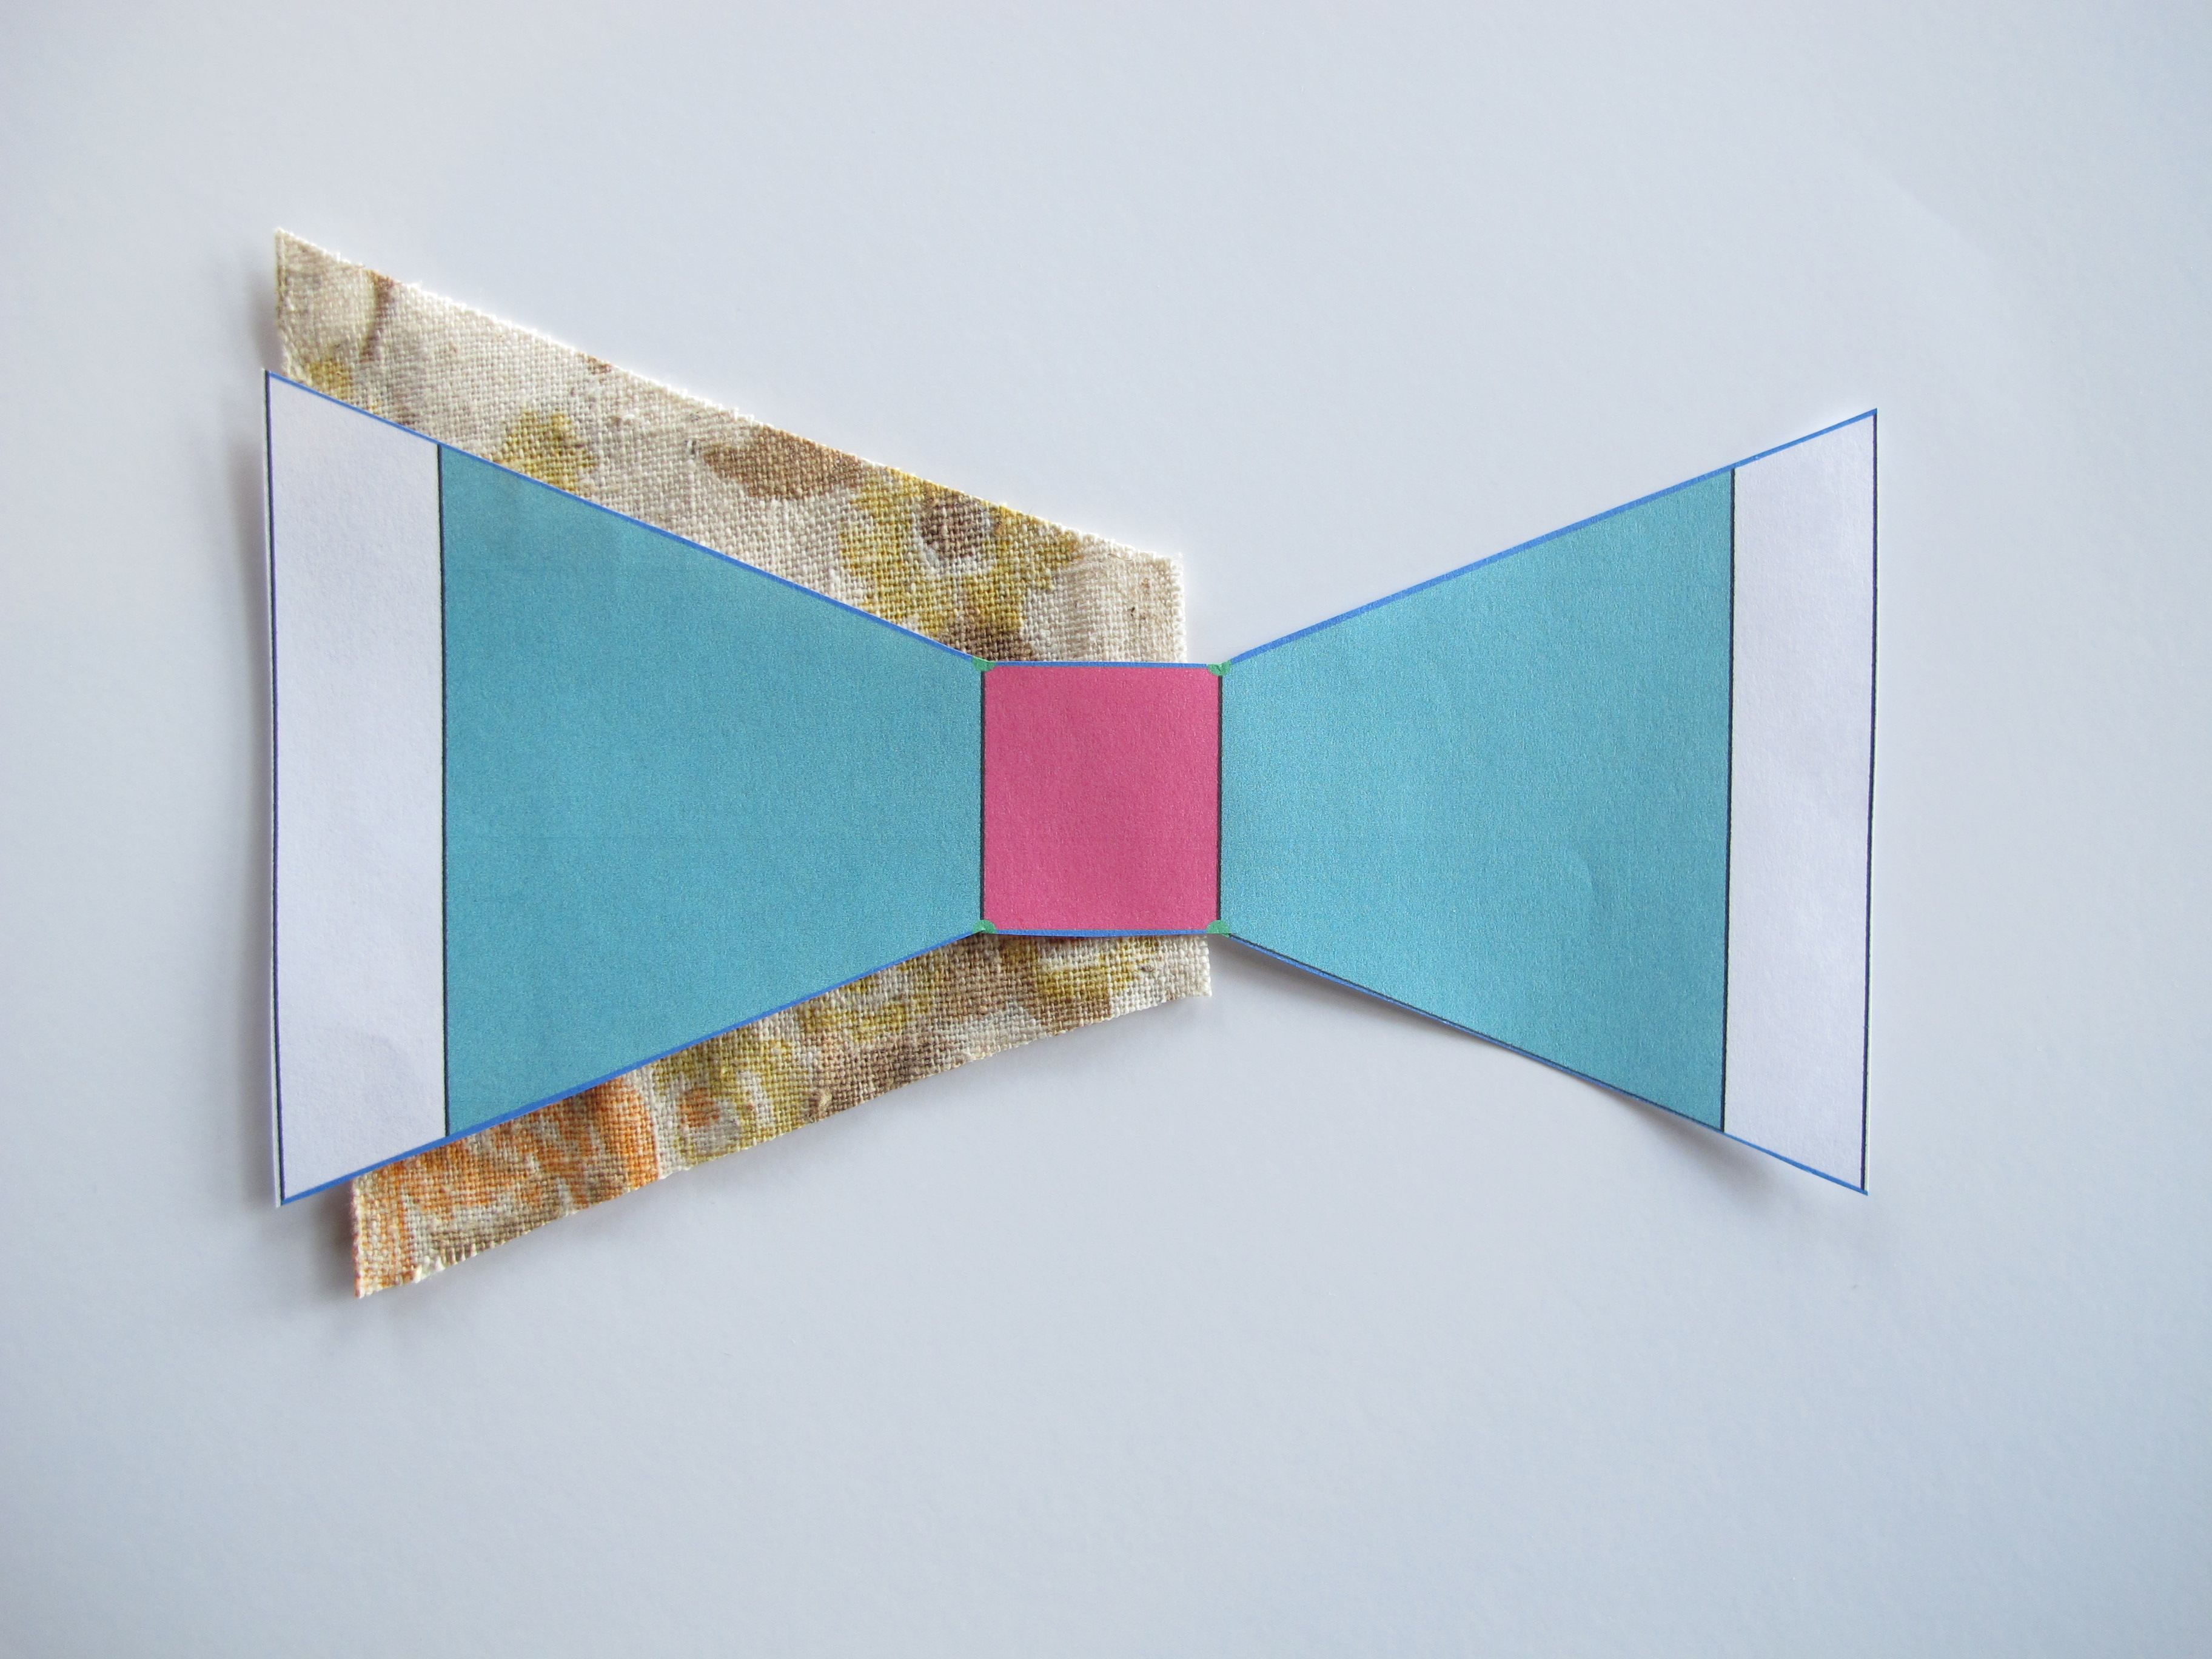
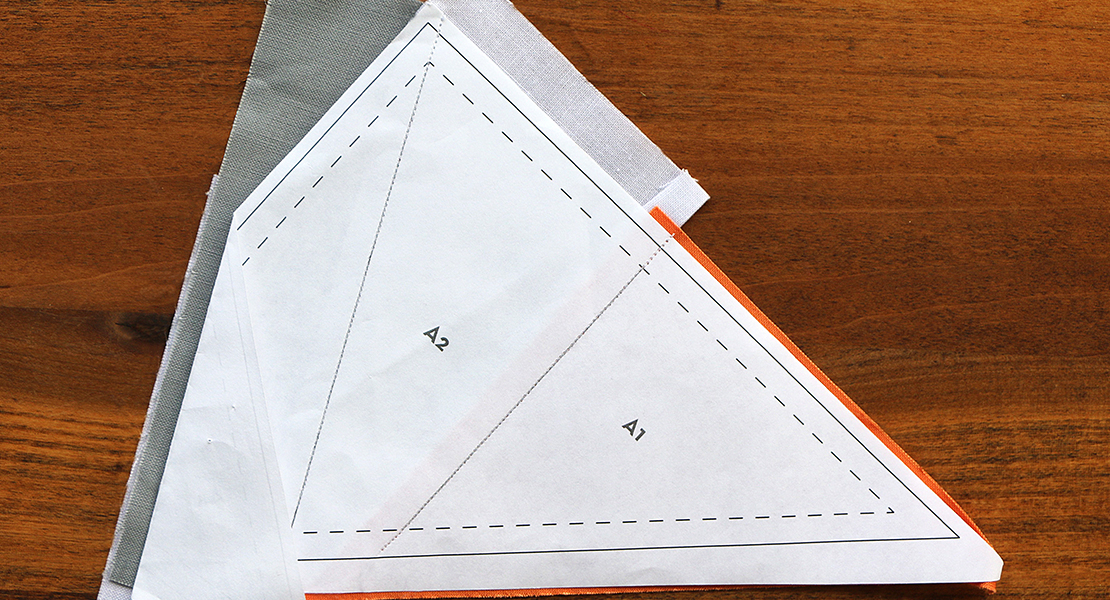
When possible, foundation paper piece. Paper piecing is not any harder when done in miniature. It’s actually really simple to do – print (or copy) your paper-pieced pattern scaled down tow 50% or 75%. Play around with it until it suits the size you need. Or draw your own! For my example I used this free pattern.

For using the Paper-Pieced Flying Geese pattern mentioned above, print two pages per sheet (image will be half as big as the original). Cut out, removing the extra seam allowance (scaling down the image leaves the added seam allowance around the outside inaccurate). Paper piece as usual, leaving at least 1/4″ extra around the paper pattern.
Use Thangles. Thangles are special papers that help you to make perfect half square triangles using strips of fabric. They come in a mini pack which has strips to make 1/2″ and 3/4″ finished HST’s. They work wonders!

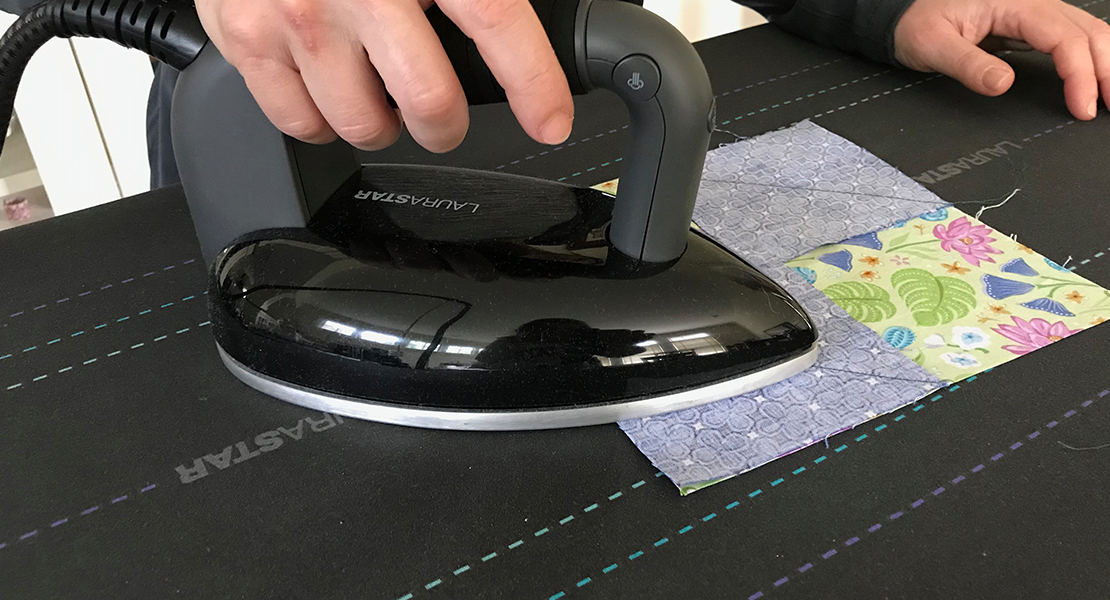
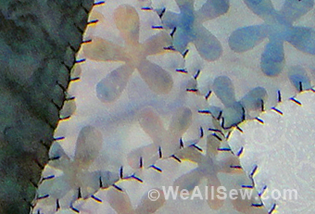
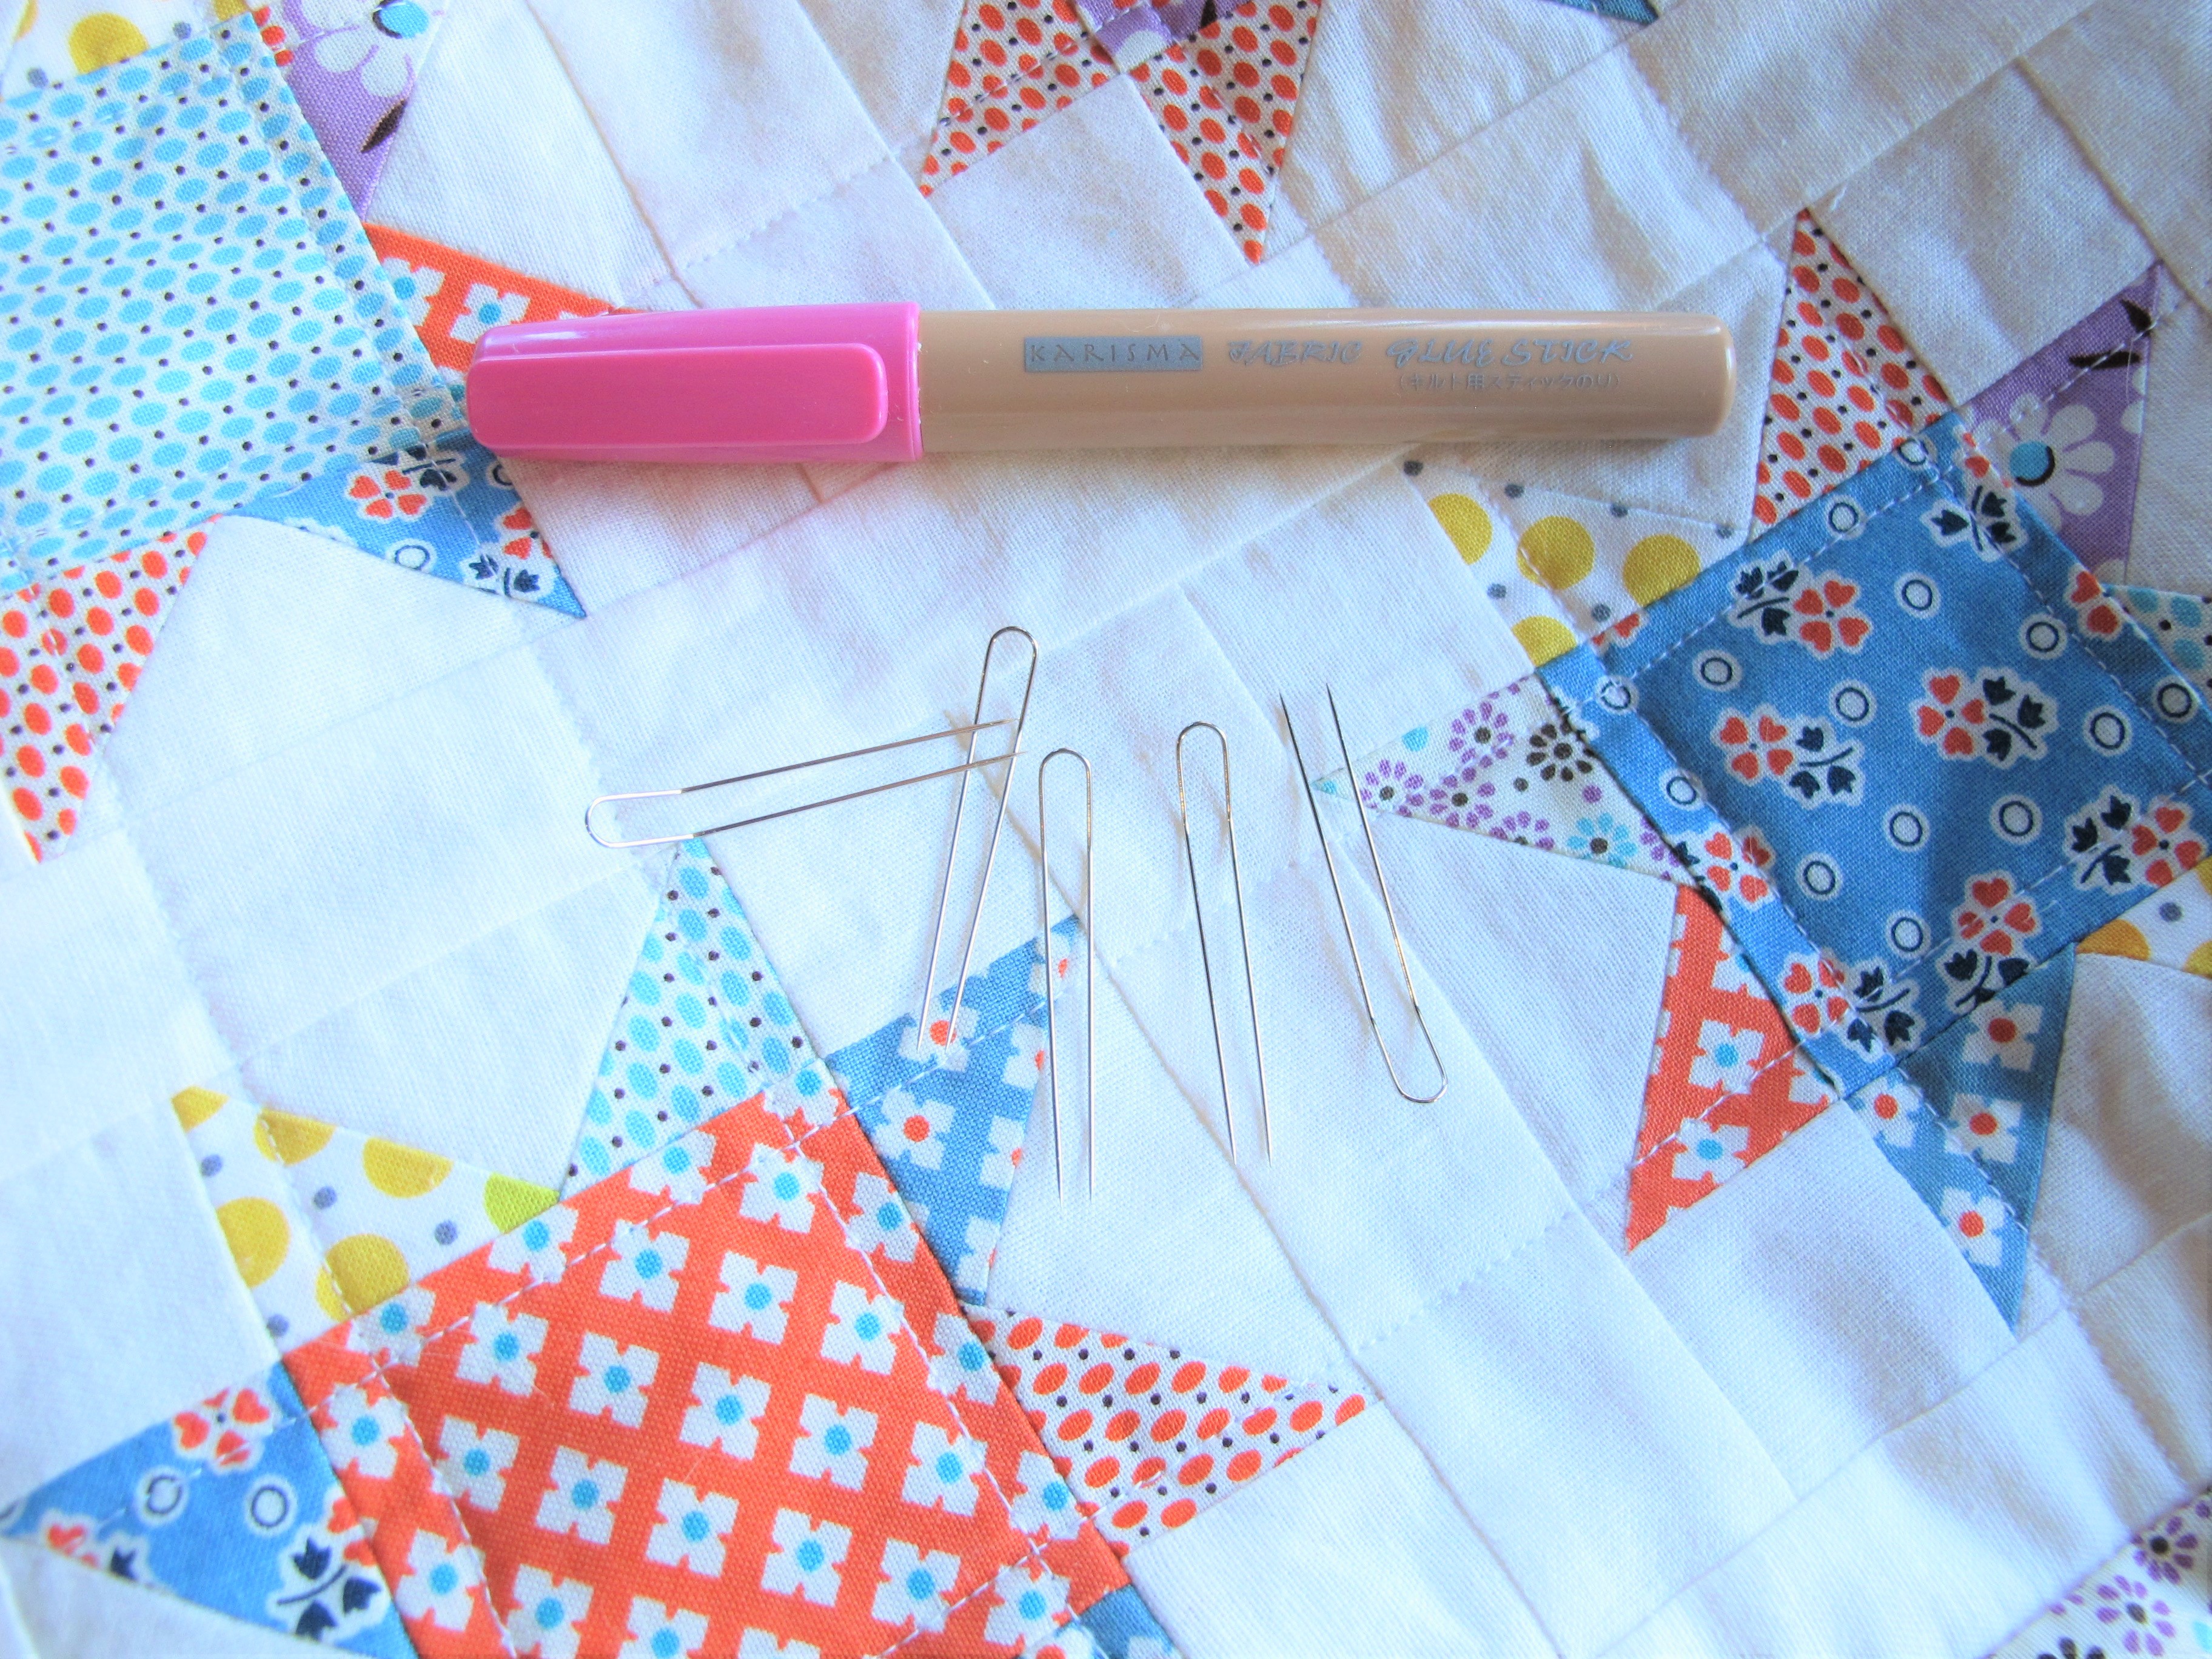
Use Pellon featherweight fusible interfacing (Pellon 911FF) to line up your blocks. Arrange your blocks on top of the glue side of a piece of featherweight or lightweight fusible interfacing and press them according to the interfacing directions. This allows you to sew groups of blocks all at once, without worry of them shifting. Check out Elizabeth’s full tutorial on SewMamaSew. I use this method when piecing my tiny stars.
I hope you’ve enjoyed these tiny sewing tips; If you give these a try I’d love to see what you make! Add your tiny projects to the Mommy’s Nap Time flickr group!
Used Products


What you might also like


4 comments on “Tiny Piecing with Emily Lang”
-
-
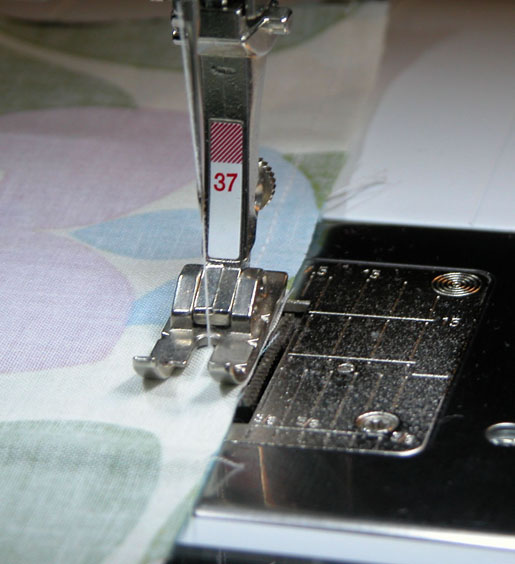
I love my 37D foot
-
I am a BRAND NEW Bernina B79 owner!! I would choose the 57D foot.
-
I usually use my 37D. But I have several other feet that work also depending of what project I’m working on. I’ve been a BERNINA girl since 1970!
Leave a Reply
You must be logged in to post a comment.

I use foot 37 as my go to for piecing.