Tips for Sewing Bulky Fabrics
Quilter Charlotte Warr Andersen shares some great tips for sewing with bulky fabrics she picked up while sewing heavy home dec fabric into a new cover for a footstool.
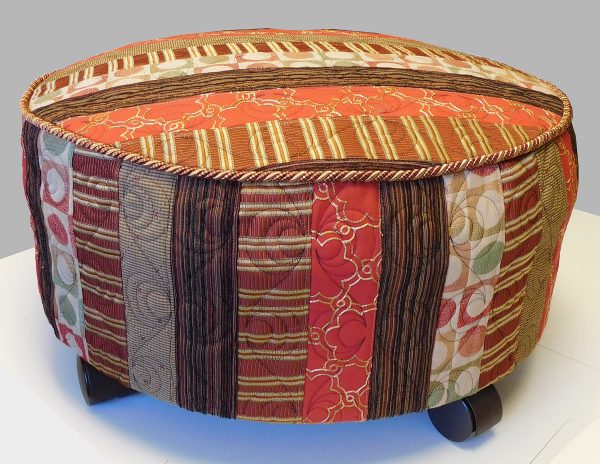
I recently needed to update my footstool, which is just the right height but has been used and abused. I really enjoy looking at all those cute tuffets quilters are making these days, and decided to make a similar cover for my footstool with upholstery fabric. Sewing through so many layers of thick fabric can be difficult, but Lucy (my BERNINA 880) made it so easy! Here are some tips I learned that can help you sew with bulky fabrics or thick layers.
Needle and Thread
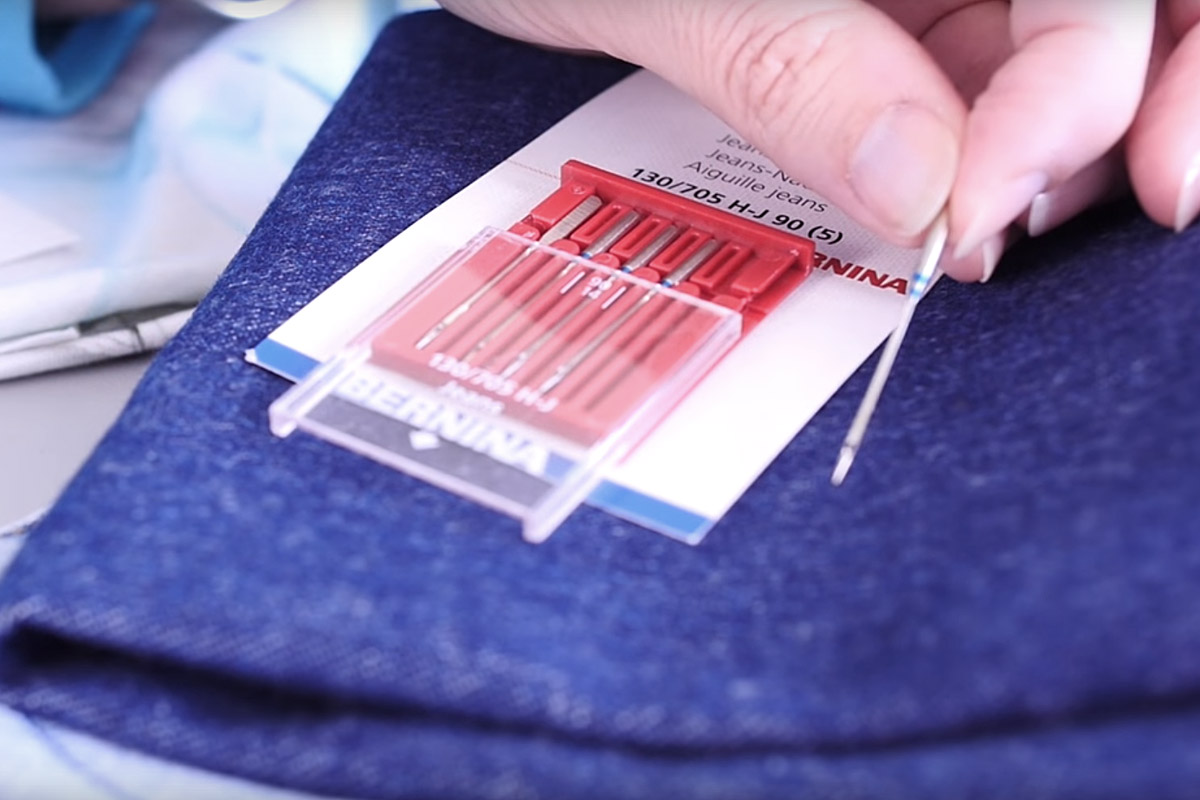
Use the right sized needle and thread for the project. Needle and thread size should closely match in size, and correspond to the type of fabric you are using. For thick upholstery fabric, use upholstery weight thread with a size 16/100 or 18/110 sharp needle. If you’re sewing denim or canvas, try heavy duty thread with a denim needle size 90/14.
Presser Feet
Here are a few feet that I used to help sew with bulky fabrics.
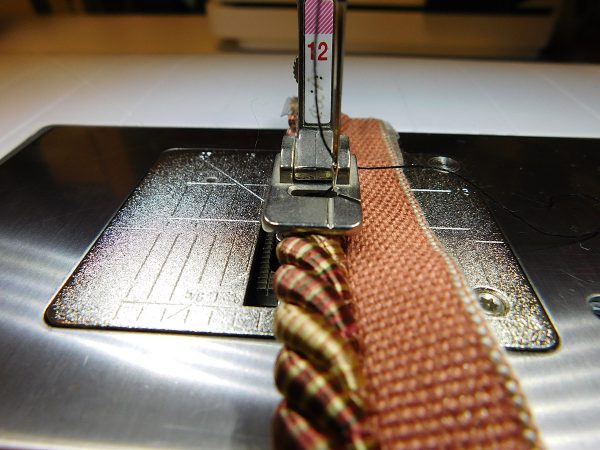
One side of the Bulky overlock foot #12/#12C is higher than the other to accommodate multiple layers of fabric in the piping seam allowance. When using this foot, the piping rides in the channel right under the foot, and you can move the needle position all the way to the right to sew very close to the piping edge.
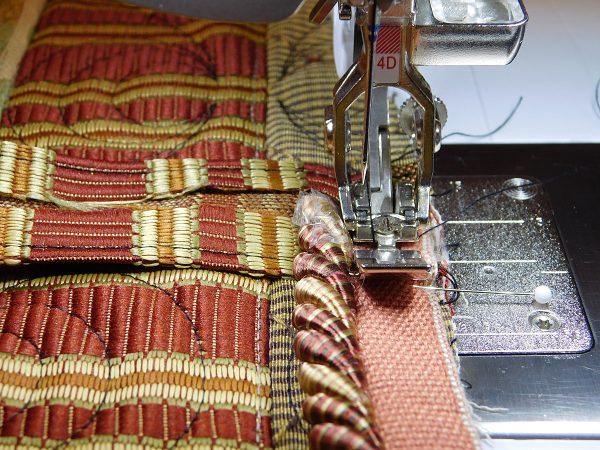
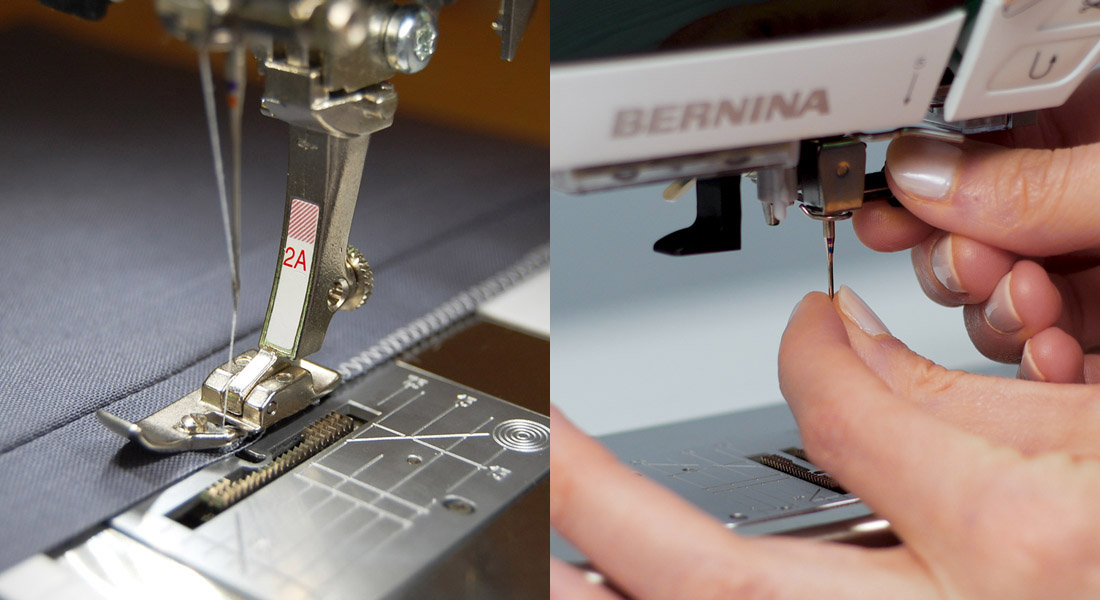
The notches on each side of the Zipper foot #4/#4D make room for the needle to pass through and sew very close to an edge. Just remember that the needle position must be moved to the far right or far left when using this foot! I also found that using the Dual Feed along with the #4D foot helped to evenly move the bulky fabric through the machine.
Reverse pattern foot #1/#1C/#1D

This foot has a very smooth, flat sole and features an engraved line at the center of the foot. This engraved line can help when aligning the foot for precise stitching.
I used this foot to help stitch over slightly from my basting stitches when sewing in the piping to my ottoman project.
Sewing Machine Settings
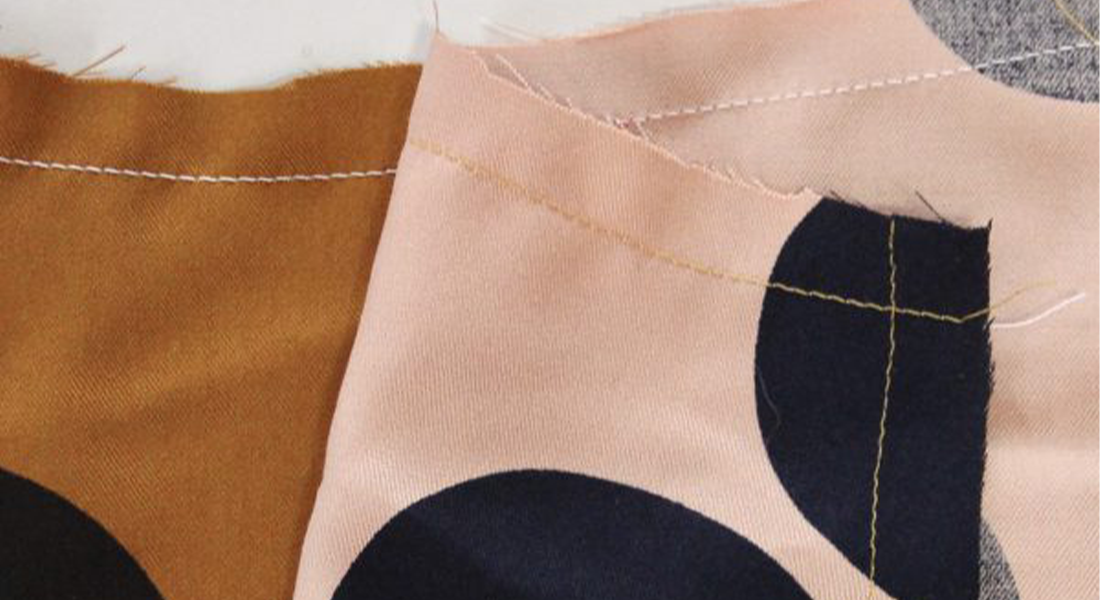
- Always use some scraps of your fabrics to test-sew first and check your settings! You may find that working with thicker threads and bulky fabrics means you will need to make some adjustments on the upper thread tension. Try the tension settings with all the stitches you will be using (straight stitch, zig-zag stitch, and any others) and remember to make a note of the settings that work best with your project.
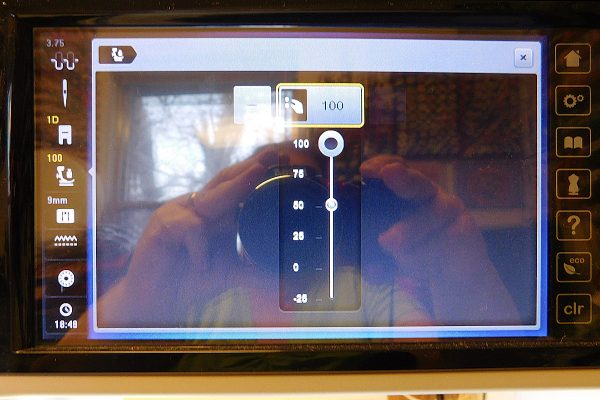
- I’ve also found that it can help move the fabric through the machine when sewing bulky fabrics to increase the presser foot pressure on my machine. Increase the pressure in increments while testing out your settings until you find a setting that works well.
- Use a “D” style foot with the Dual Feed feature if you have it on your machine. The Dual Feed works in conjunction with “D” style feet to give your fabric an extra tug from the top while the feed dogs are also moving the fabric through the machine. The Dual Feed can help keep multiple layers from shifting or puckering.
- Use the Free Hand System to give you that extra bit of lift with your presser foot.
Sewing with Bulky Fabrics
Here’s how I created my custom footstool cover using these tips!
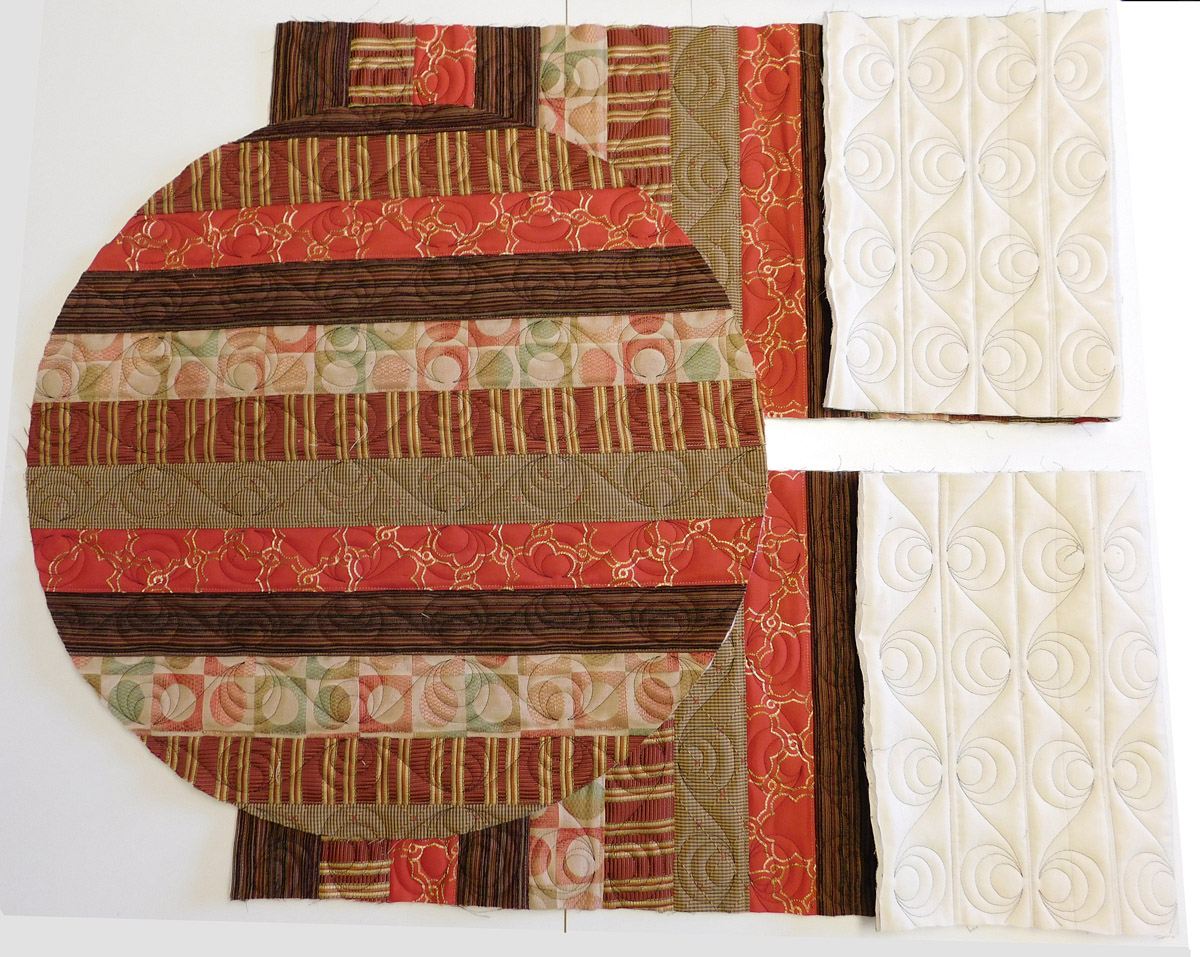
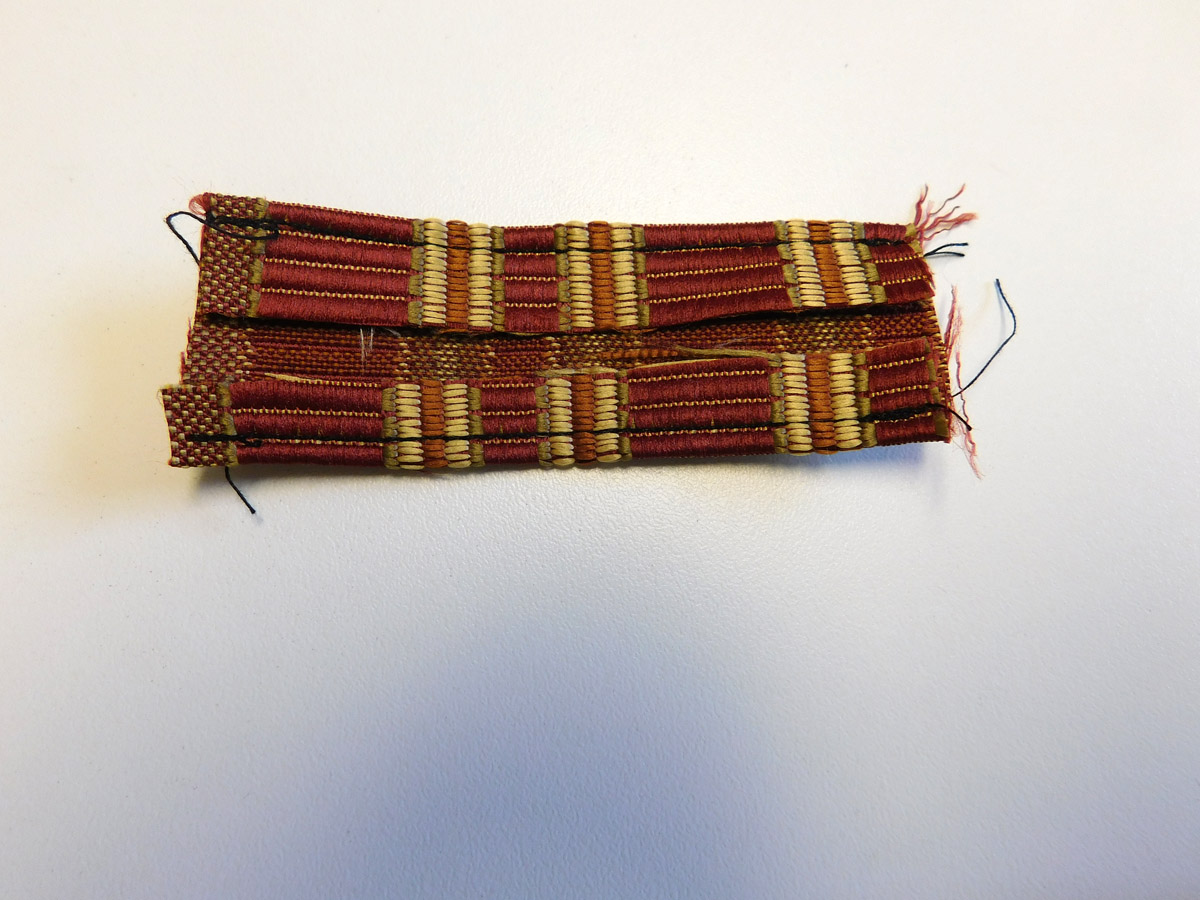
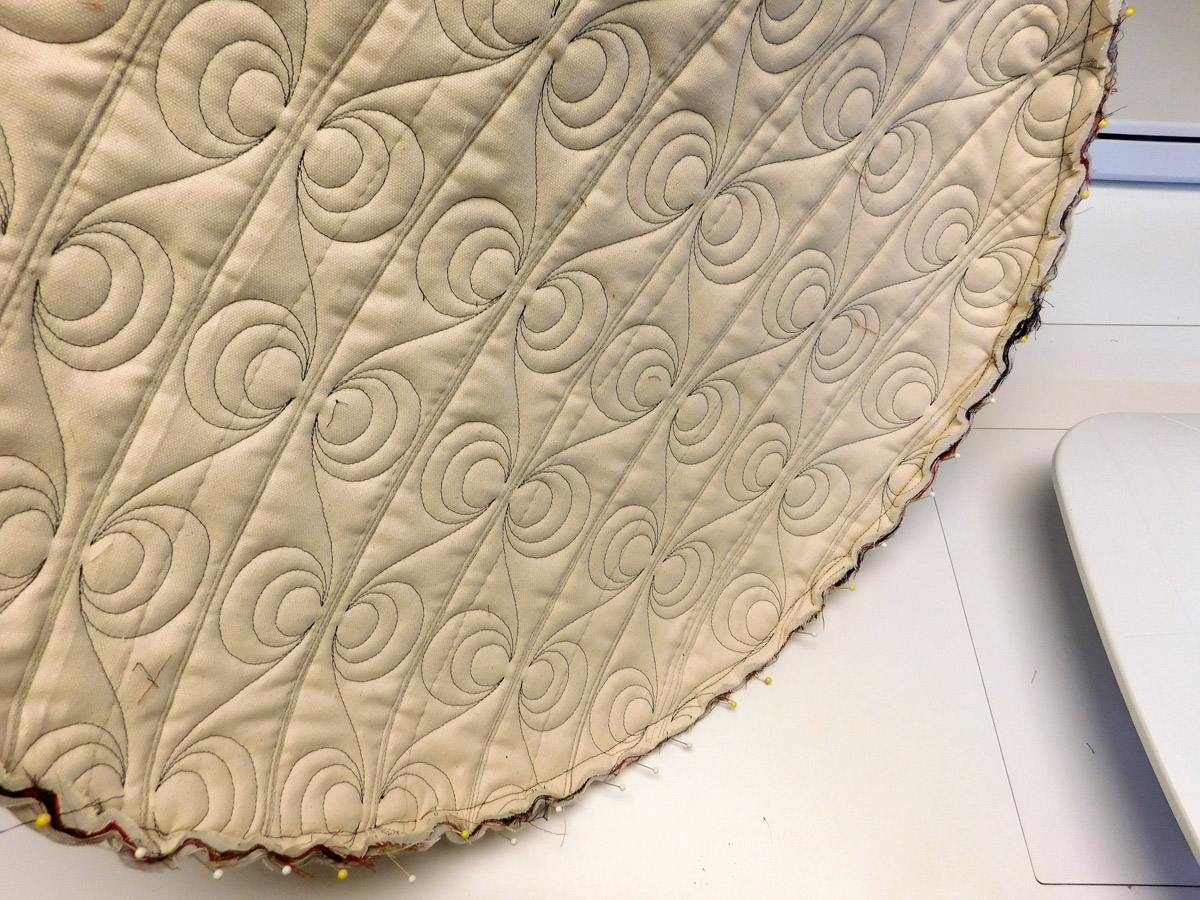
The top of the cushion was created using 3″ strips of upholstery fabric stitched together, and then quilted with a layer of cotton canvas as a backing and cotton batting. From the quilted fabric I cut one circle to fit the top of the footstool with 1/2″ seam allowance added all around. From the remainder of the quilted fabric I cut two rectangles for the side of the ottoman. (I didn’t want to make the side in one long strip because I would have wasted a lot of the quilt sandwich.)
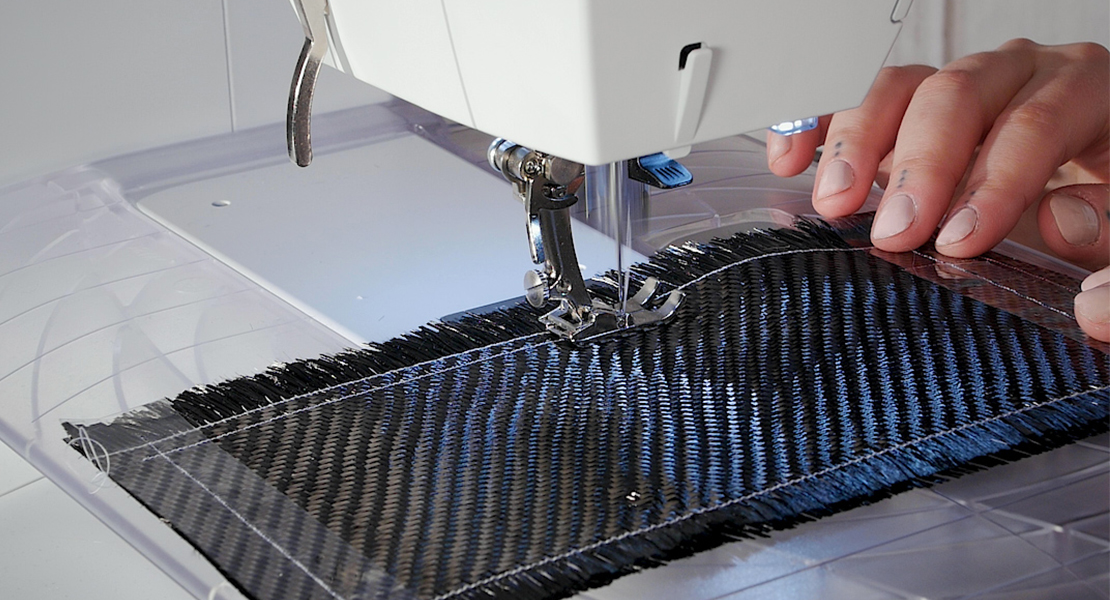
It was time to sit down to the fabulous BERNINA 880. I said, “Lucy, (Lucy is the machine’s name) I am about to work you hard here. Let’s see if you can handle all these layers. I trust you. I know you can do it.” Lucy got a good dusting and her drop of oil before starting. I loaded a jeans 100/16 needle and used heavy duty thread in the bobbin and on top.
The two rectangles needed to be sewn together on the short side of the rectangles, then wrapped around the ottoman for fit.
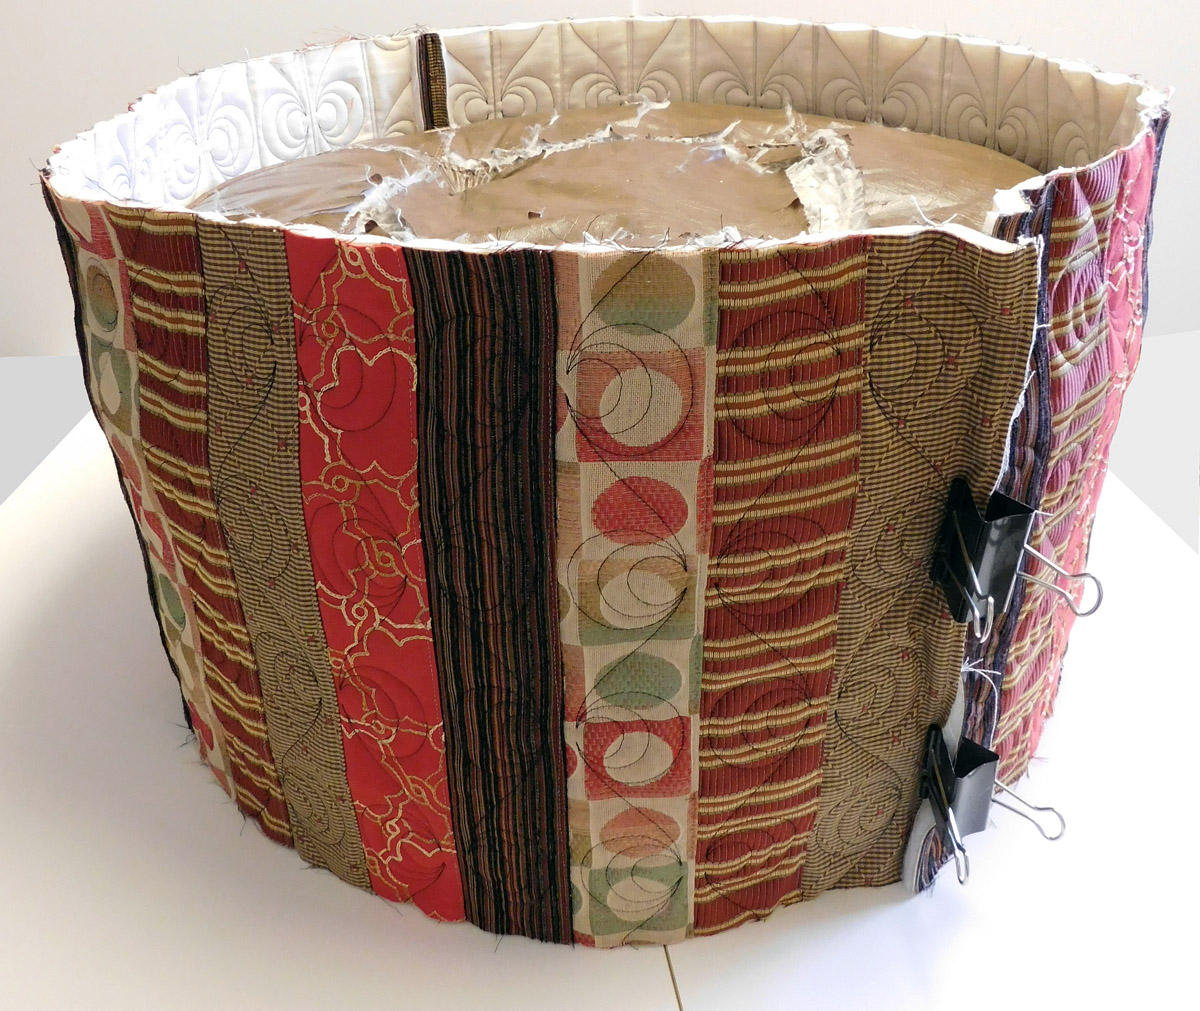
I really lucked out here because I had intended the sandwich to have an extra 2″. I just barely made it as you can see by the binder clips holding it in place. Quilting had compacted all the layers and reduced the anticipated size.

I sewed the remaining straight seam which created the tube that covered the sides of the ottoman.
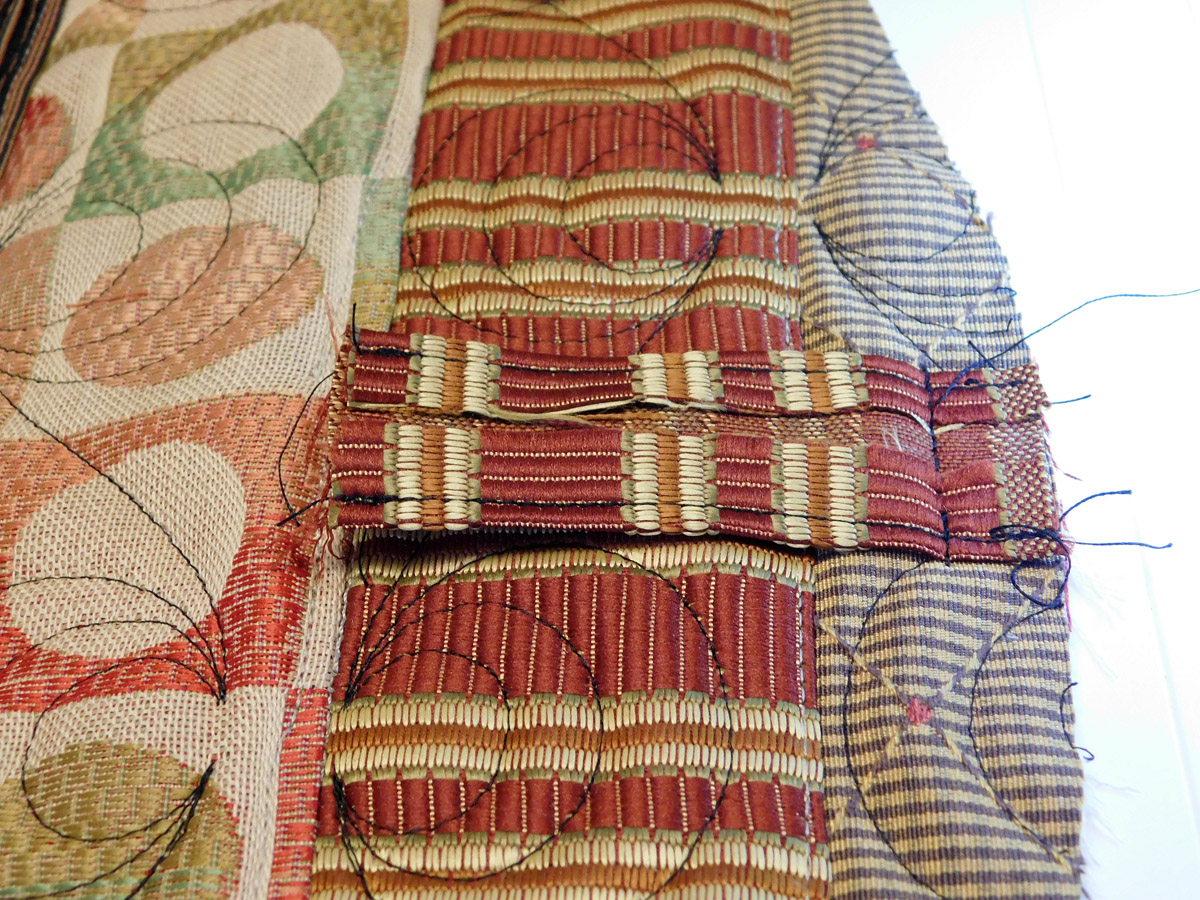
I decided that I wanted a piped cording around the edge of the ottoman, and made a strip of fabric to cover where the ends of the cording met.
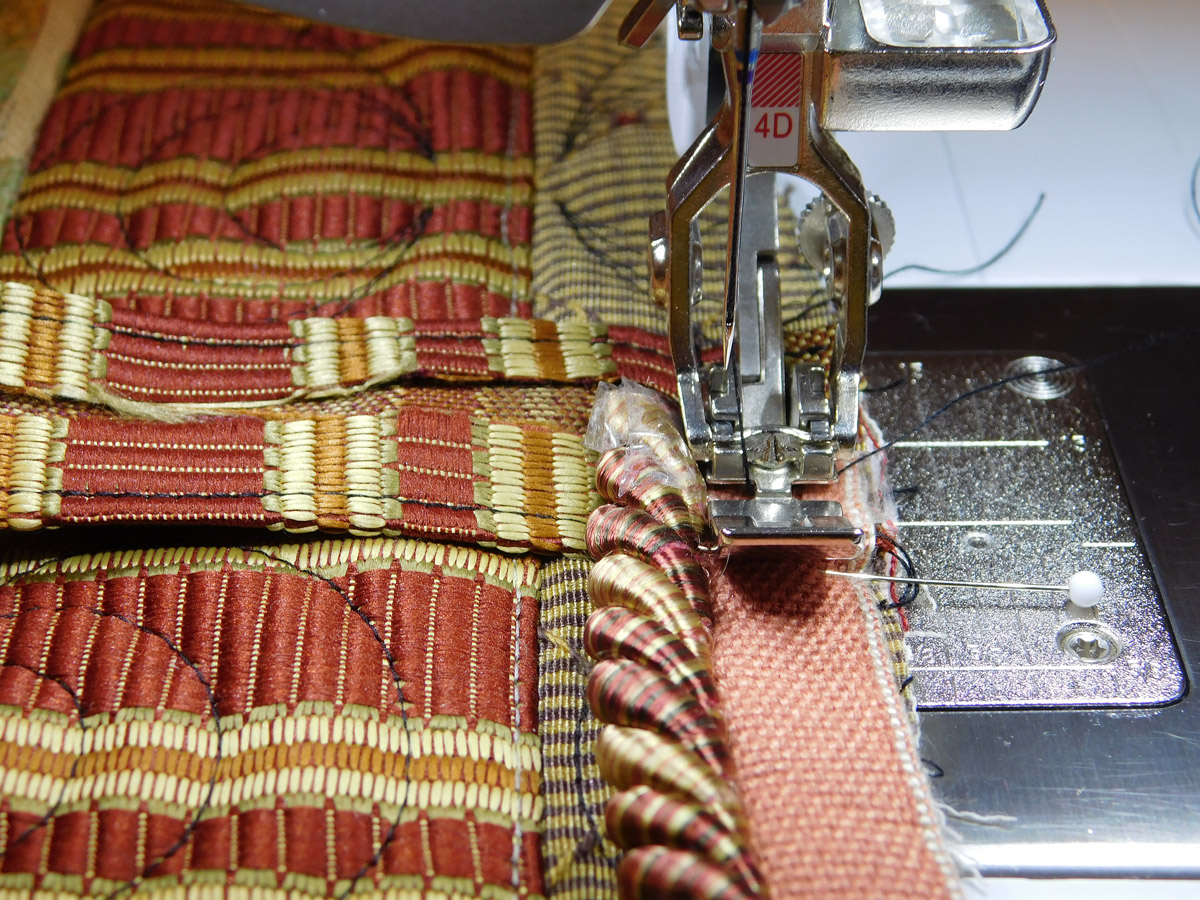
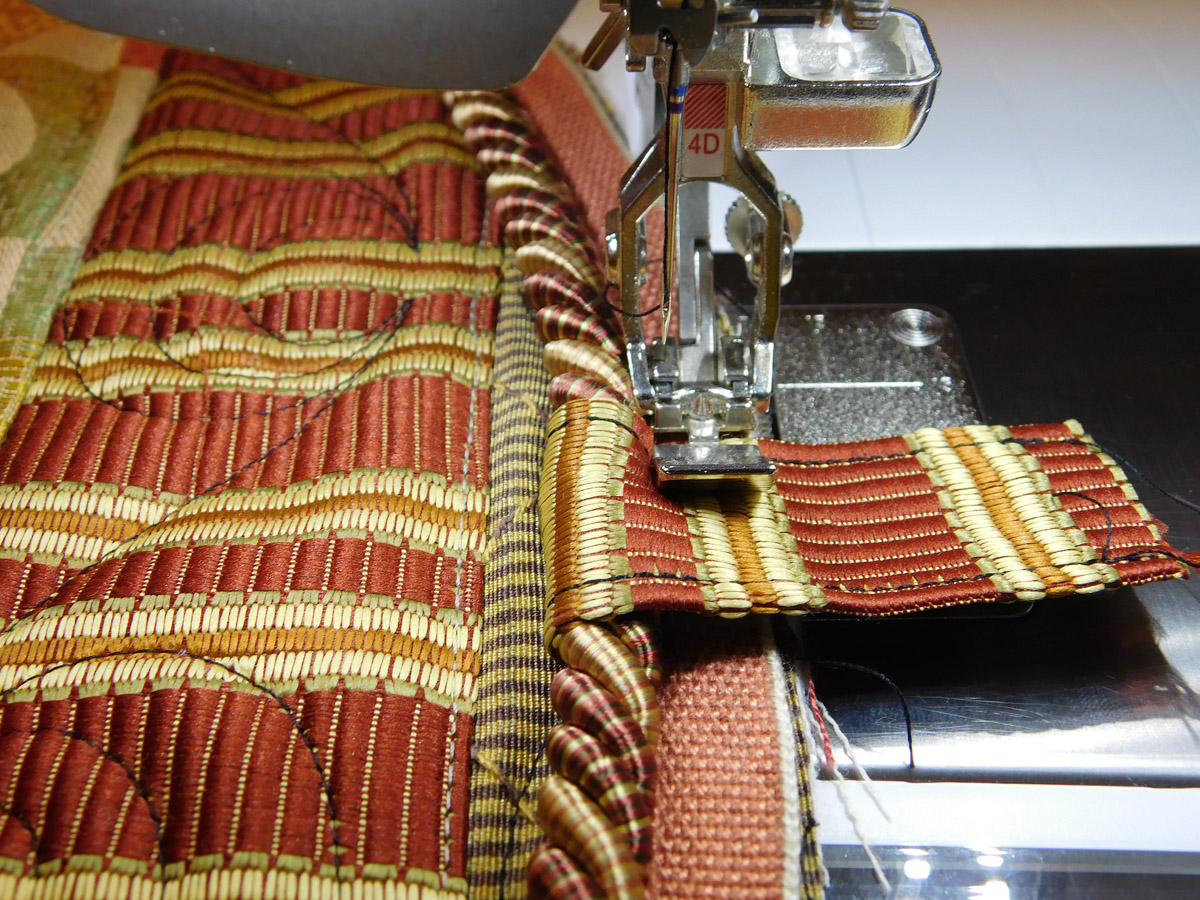
I used the Zipper foot #4D with the Dual Feed feature for the next step. I first sew a strip to cover the cording ends. The center of this strip is where I began to attach my cording, which is wrapped in tape to prevent raveling.
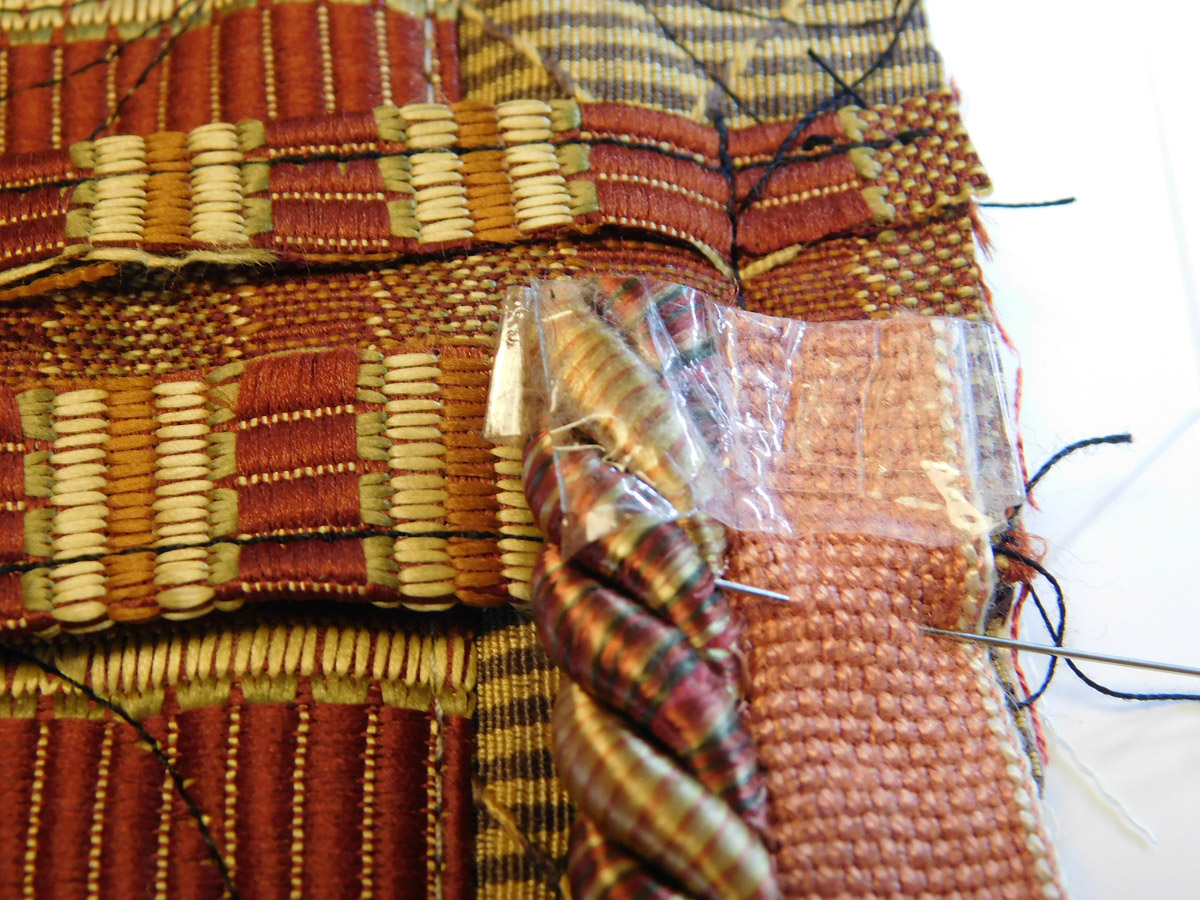
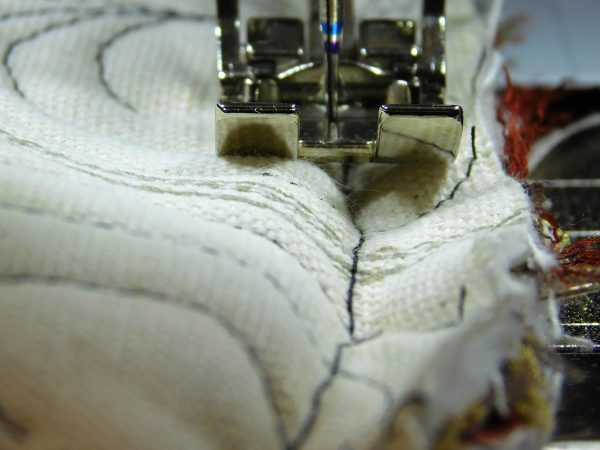
I pin a few inches of the tape in place and begin to stitch as close to the cording as I can. (using which foot and what technique?)
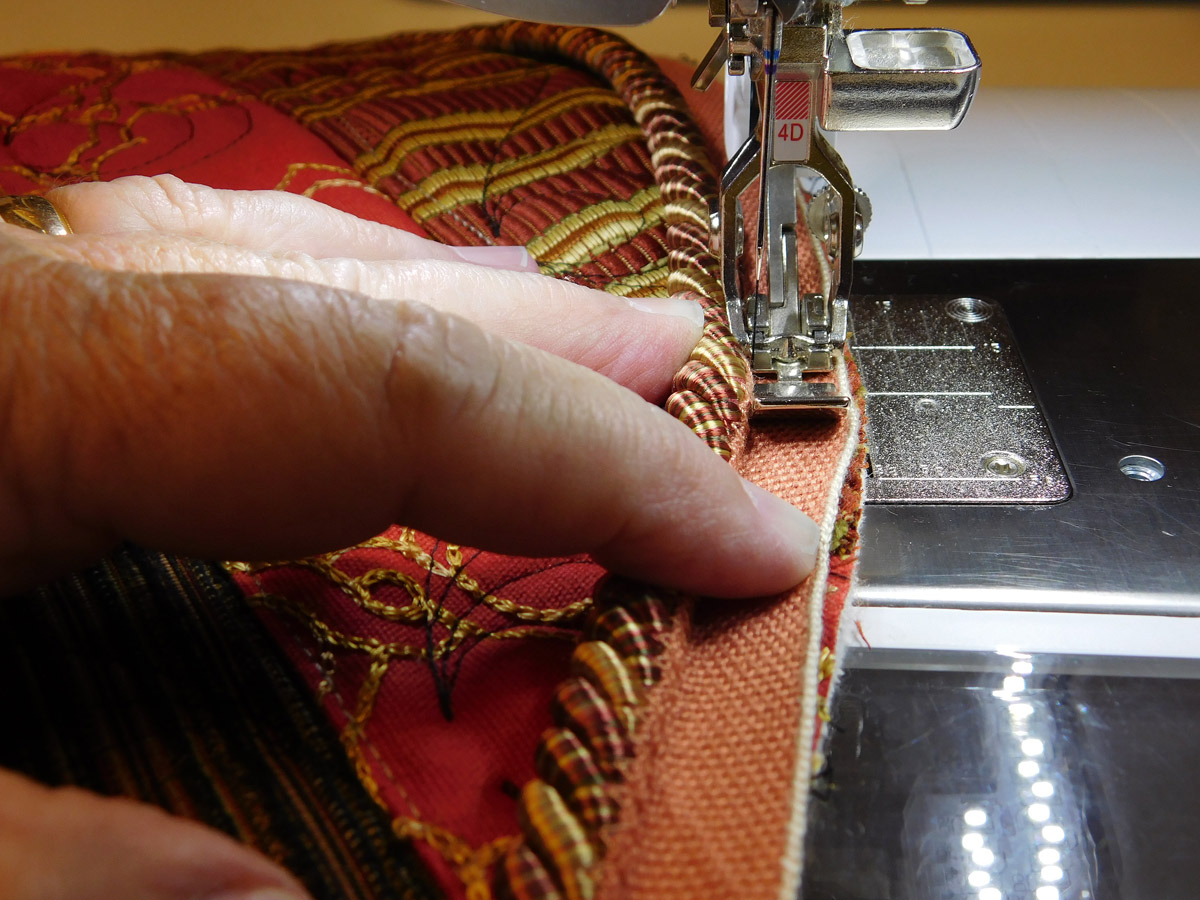
The photo above shows me using a finger to push the cording against the foot while guiding the cord with my other fingers. After stiching all the way around the circle I stopped to wrap the cording with tape where I planned to cut it.
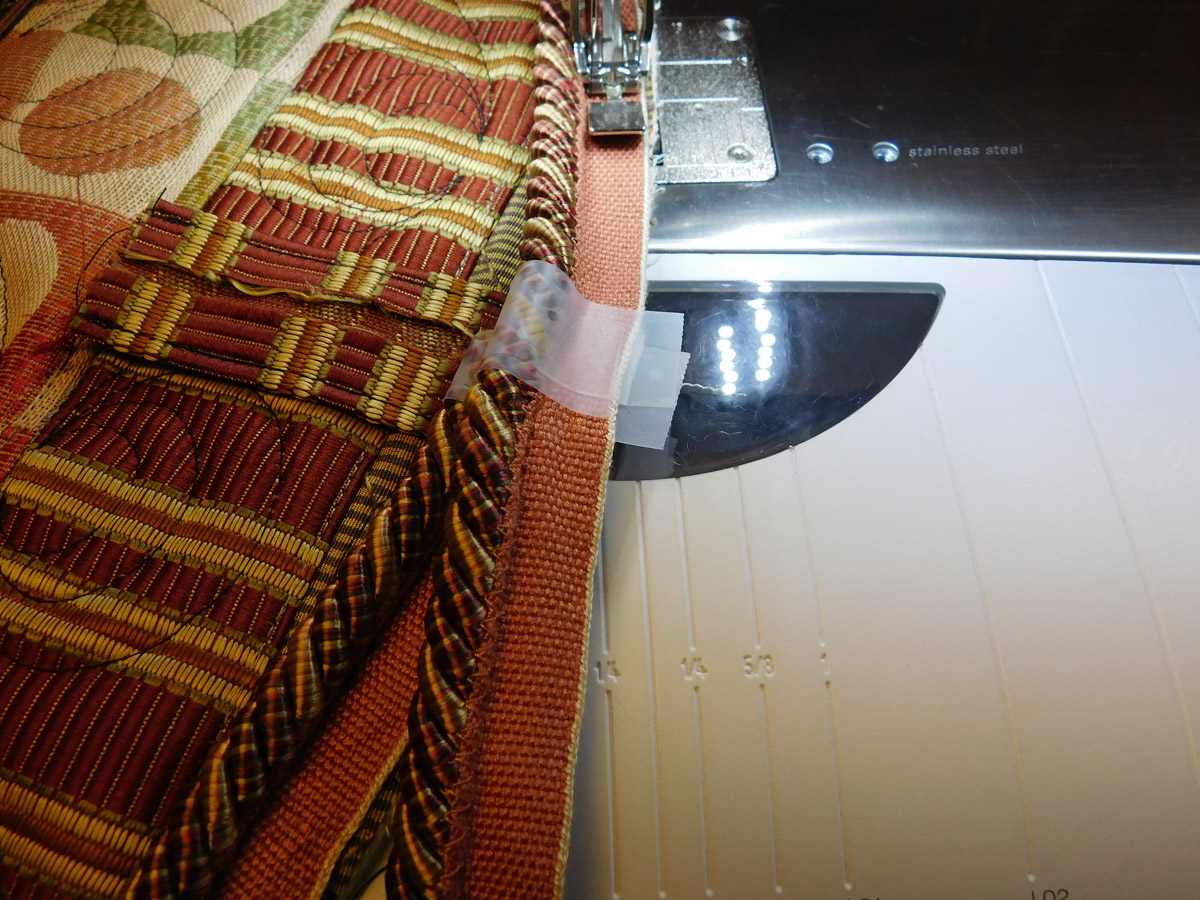
This allowed me to cut the cording without it raveling on this end.
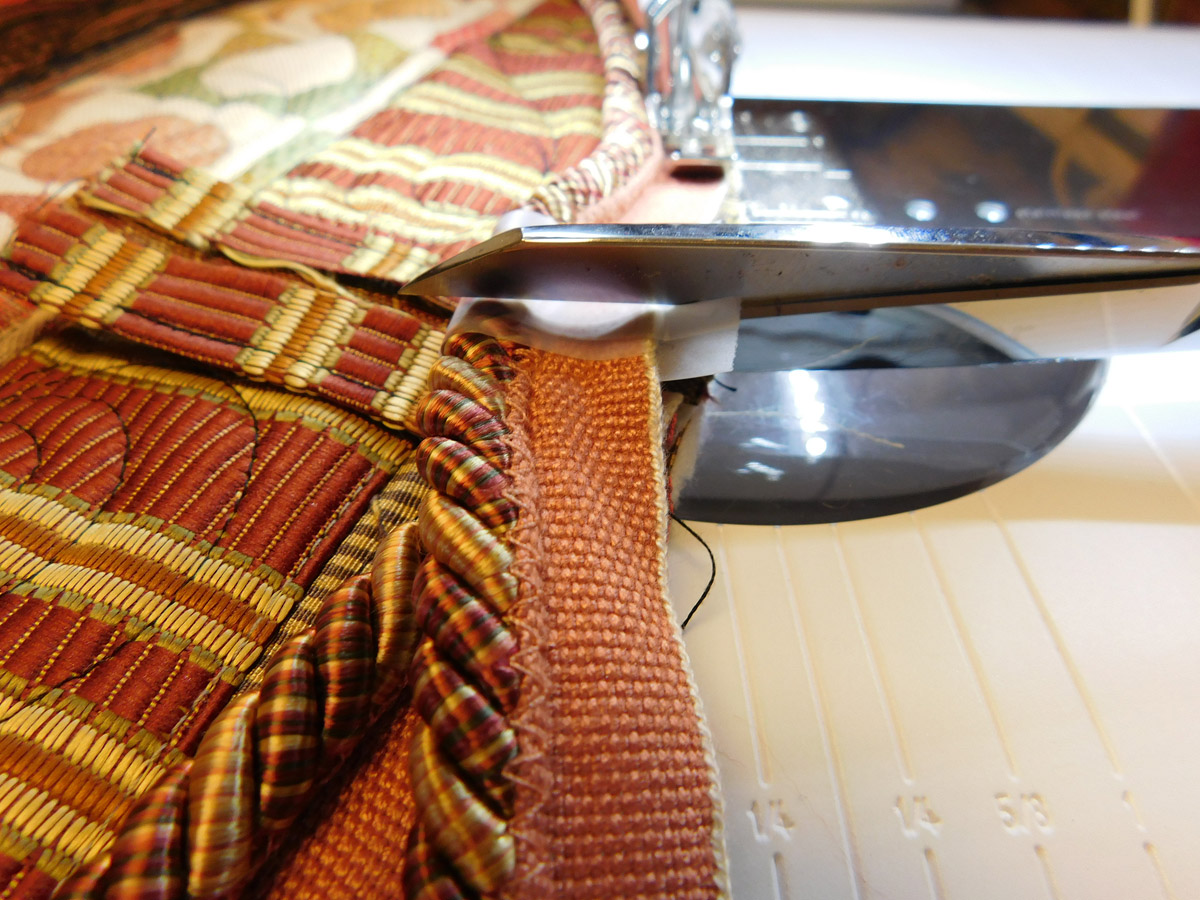
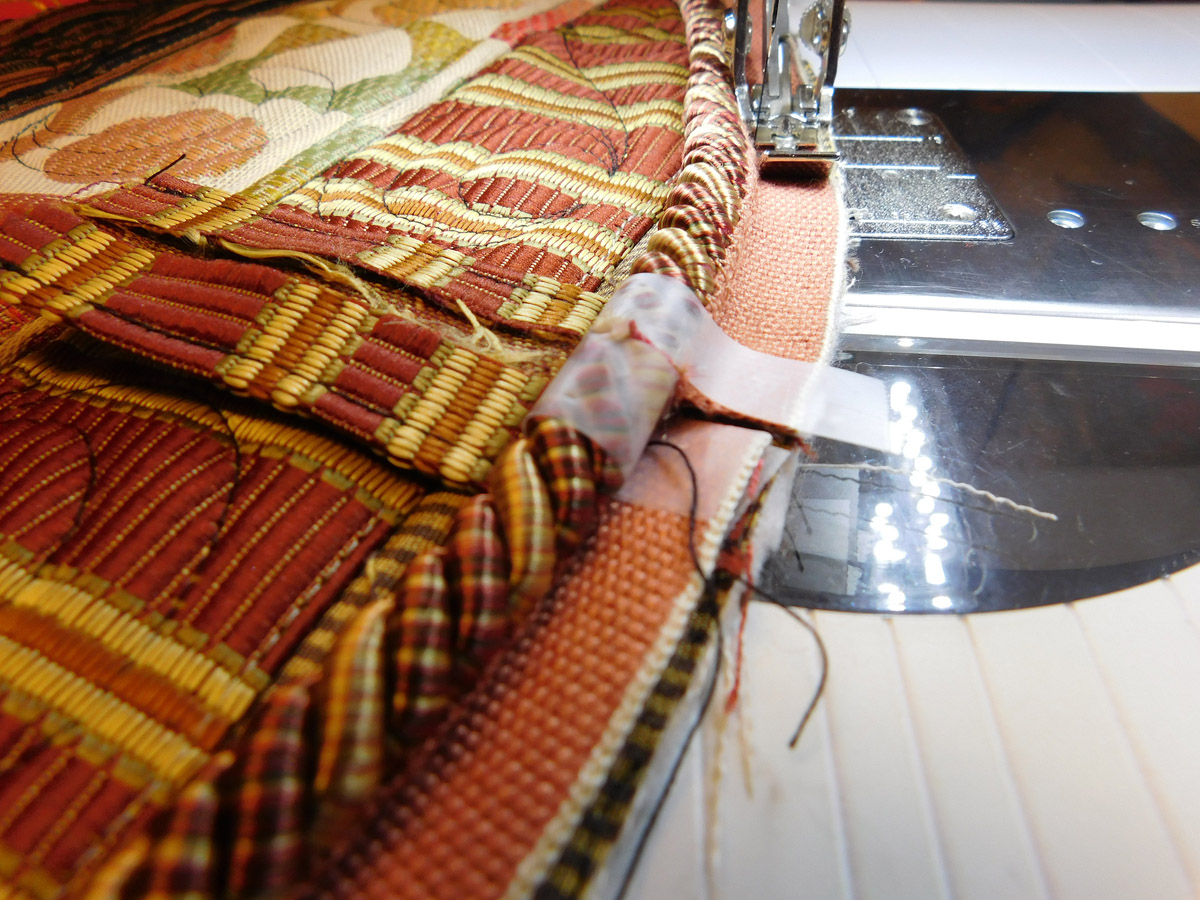
The photo above shows that the two ends have been blunted together. Before I continue to stitch I wrap the cover strip over the ends.
Holding the strip tight over the ends, I stitch over the strip and backstitch to secure it well. Then the excess length of the cover strip can be trimmed off.
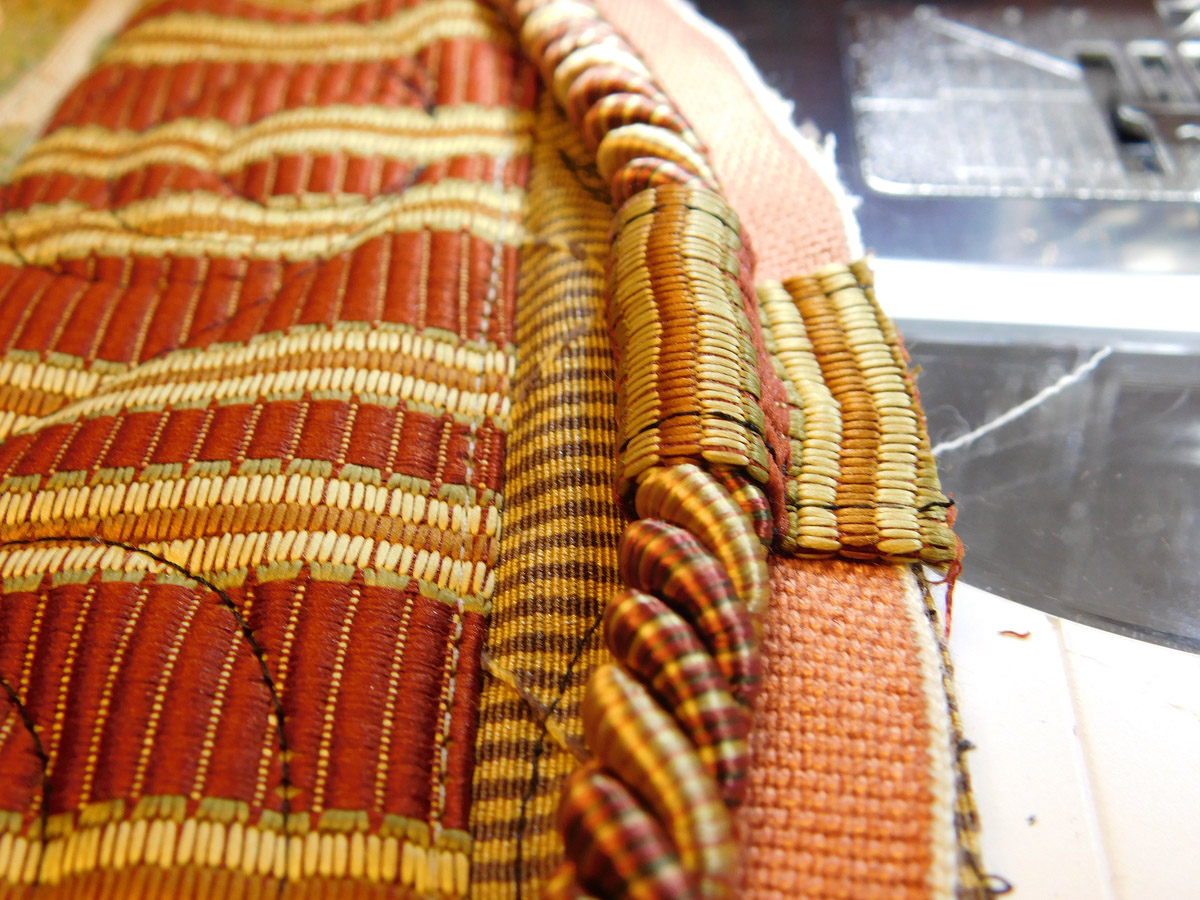
The cording has been applied to the top.
Next, I was ready to attach the side of the cover to the top. I pinned the sides to the top at about 2″ intervals.
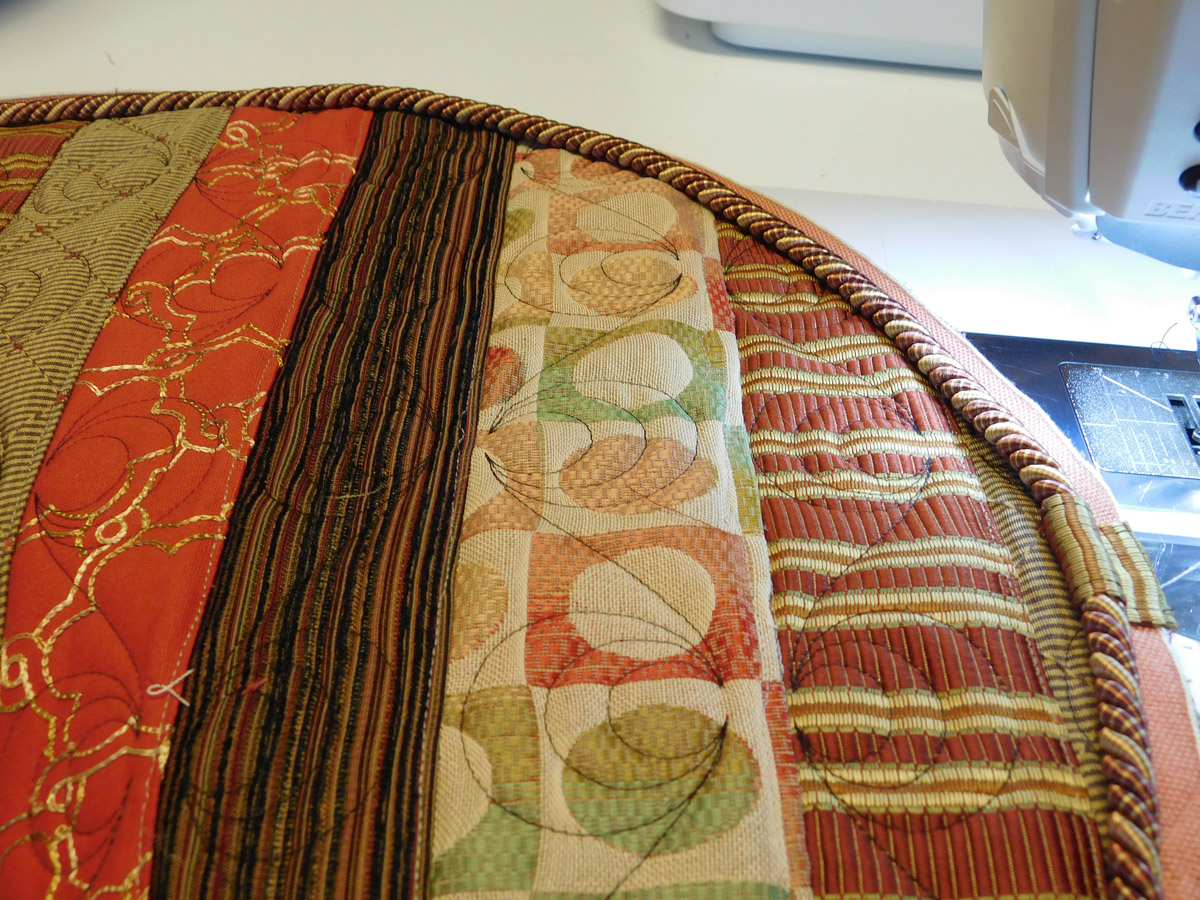
I wanted to get even closer to the piping, past the previous round of stitching to be sure no tape was left showing. I decided to use the Reverse pattern foot #1/#1D so I could engage the dual feed system.
When working with this many layers, use the Free Hand System (FHS) to help you raise the presser foot to its full height. You may also need to change the presser foot pressure to make it a bit easier for the feed dogs to move the thick fabrics through the machine. Sew a test swatch first!
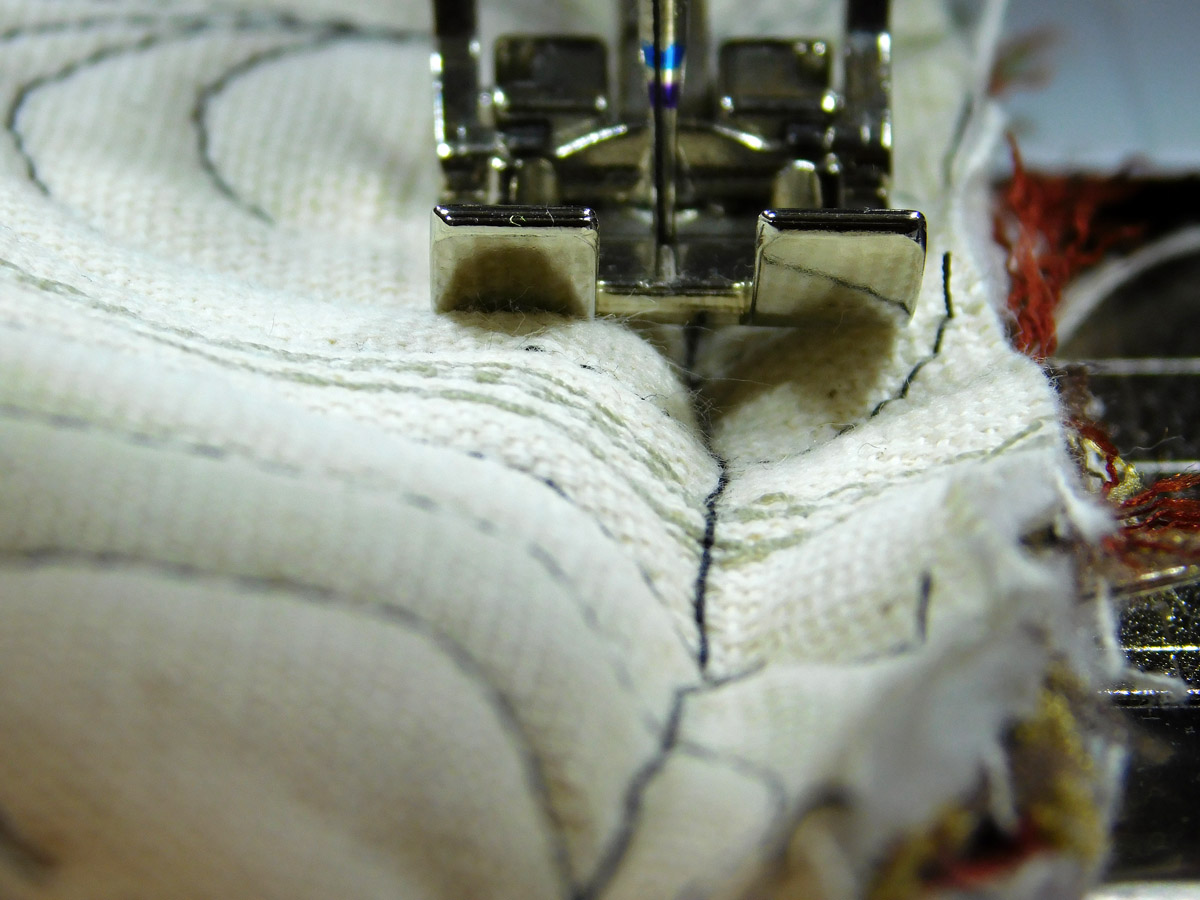
Notice that the needle is positioned to go in about 1/16″ inside the previous stitching. I use the center line on the foot to envision that space. I stitched very slowly, trusting that the easy feed system was moving the sandwich nicely along until I had stitched all the way around the circle. Now I had a bottomless cylinder to slip over the form of the ottoman.
I decided to put several more layers of cushioning including foam and batting.
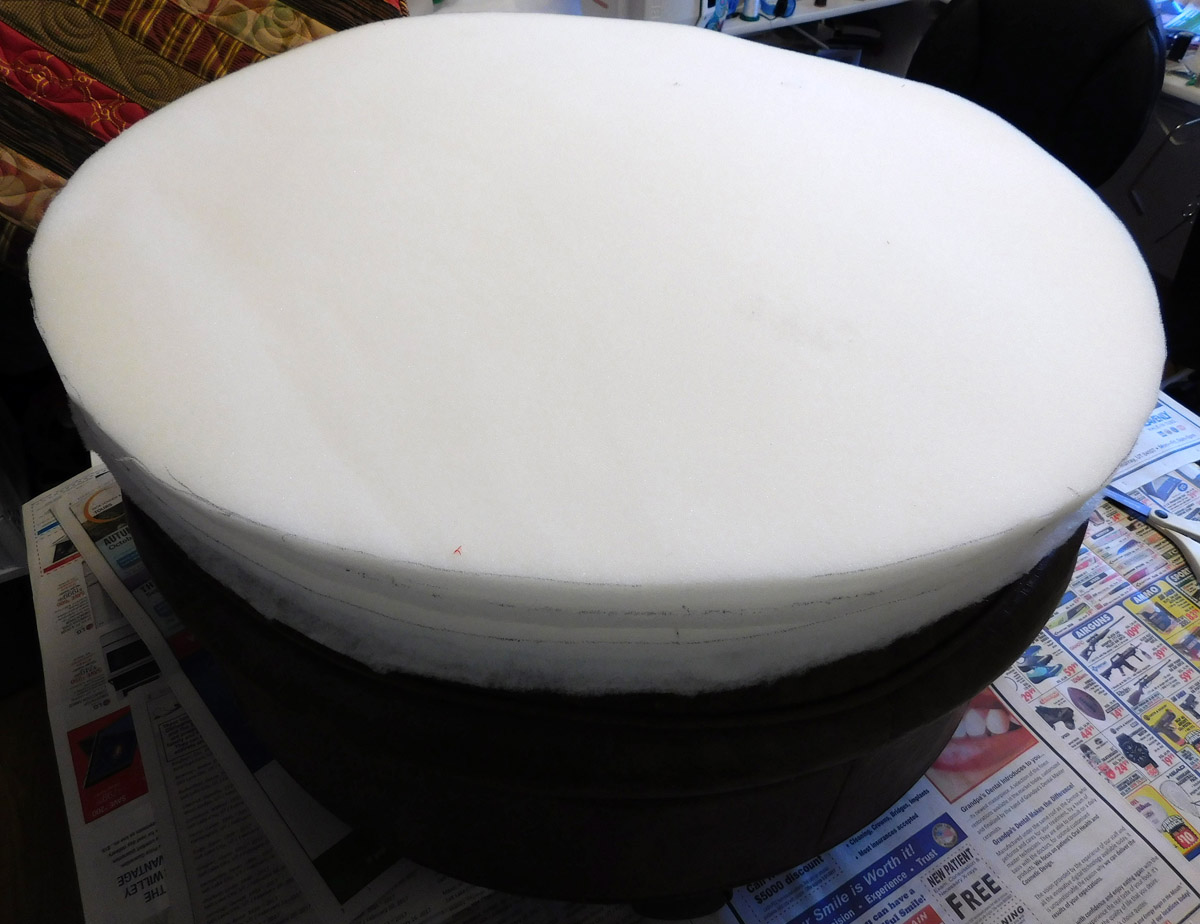
I used spray glue to stick the layers together and to adhere it to the top surface. The layers would become very compressed when I put the ottoman cover on.
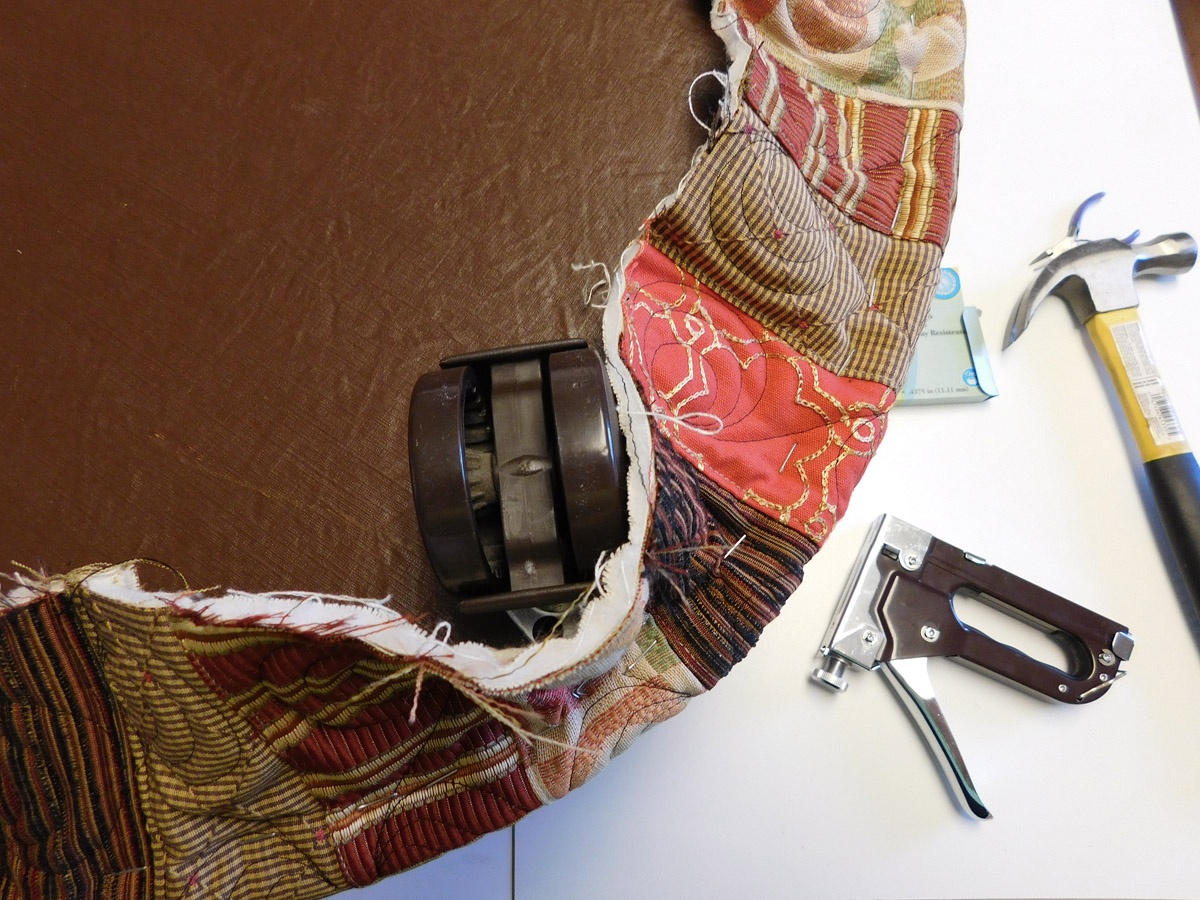
I slipped the cover over the ottoman and then place it upside down on the floor. I knelt on the ottoman to compress the additional stuffing. Using a staple gun (and hammer when the staple didn’t go all the way in) I pulled the excess fabric around the bottom edge of the ottoman and stapled into the wood frame. Staples were placed on 4 sides then centered between the first set of staples. After that, I could put the ottoman back up on the table and finish stapling the edge down about every 1″ to 1.5″.
After trimming off the excess fabric I applied Fray Check to the raw edges.
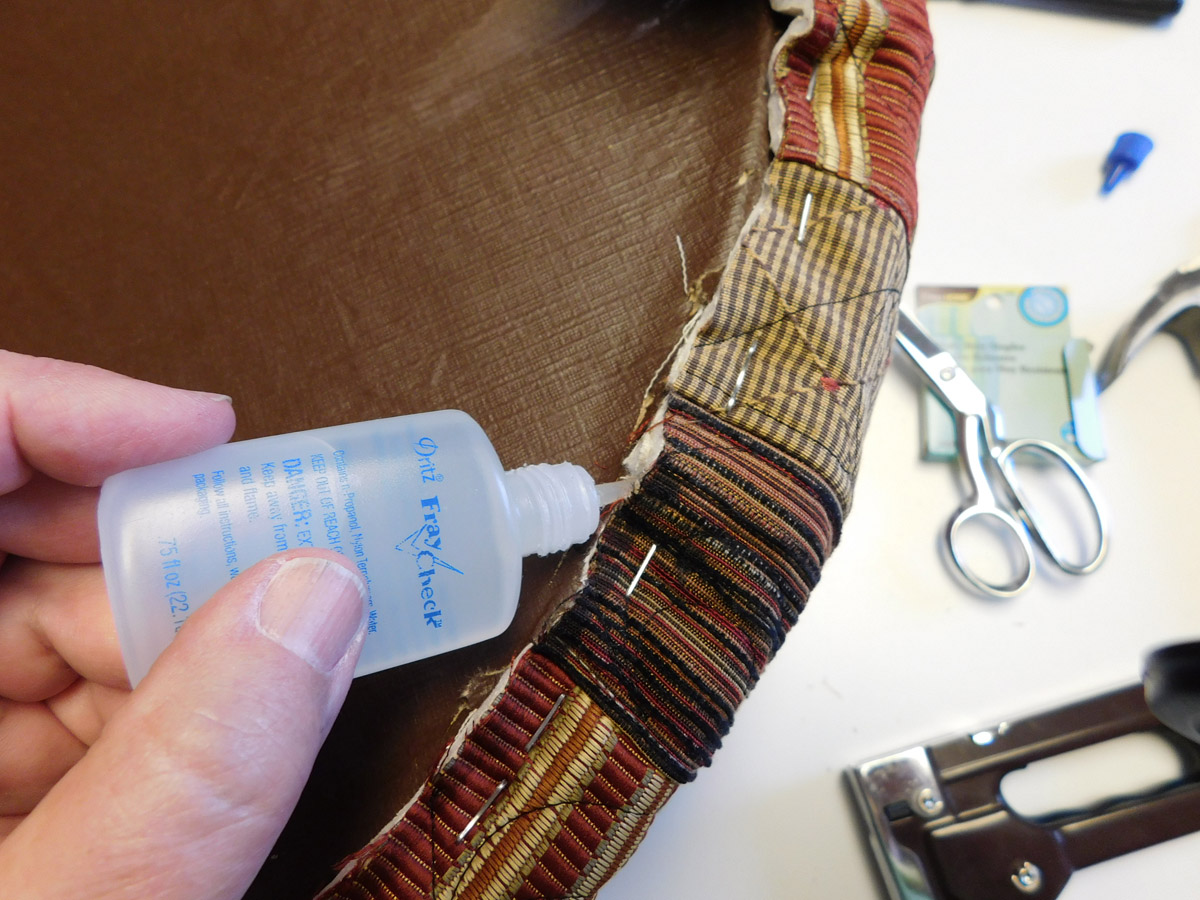
This was not really enough to nicely finish the edges. I purchased single fold bias tape and used a glue gun to cover the edges of the fabric. My refurbished ottoman is now ready for use.
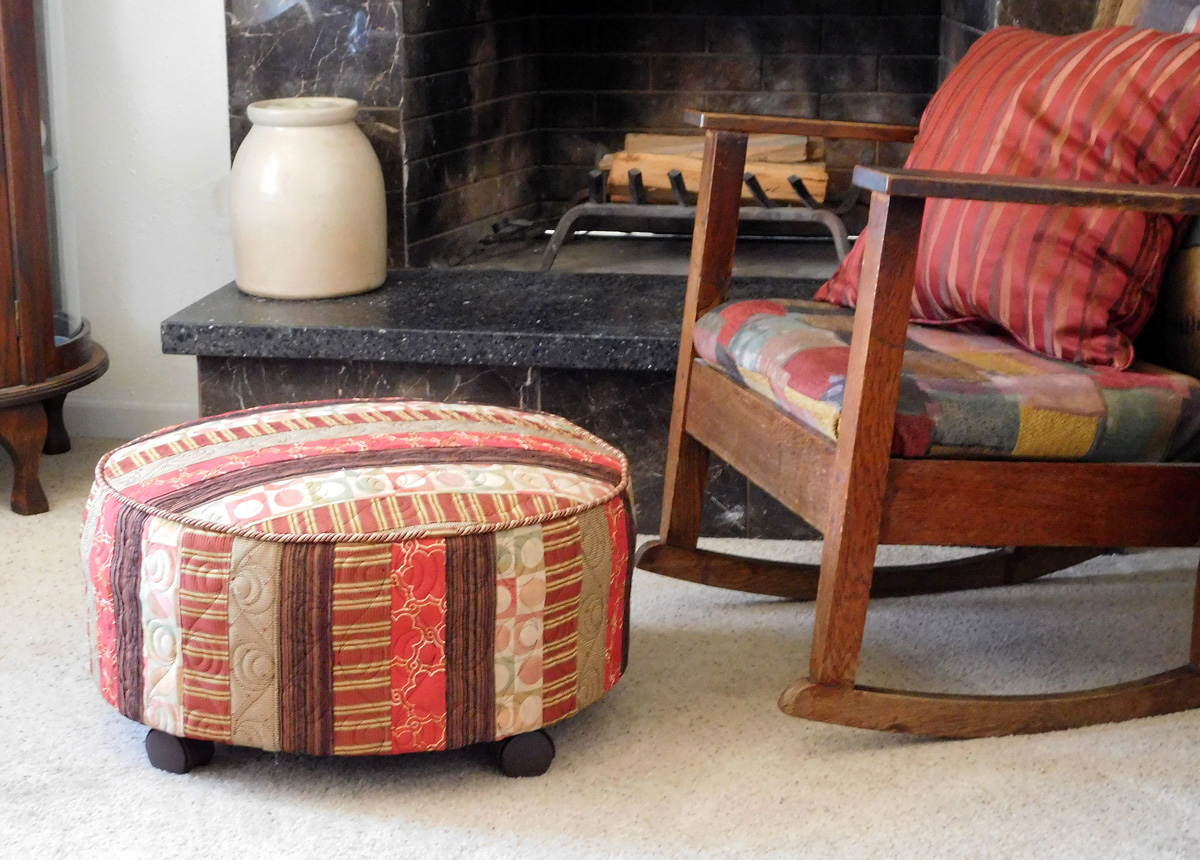
Here’s the ottoman where it will be used—in front of the fireplace and my grandmother’s rocking chair.

And I don’t even mind if the Rowdy and Rusty enjoy it as well—they can look out the window when they stand on it.
Used Products


What you might also like


2 comments on “Tips for Sewing Bulky Fabrics”
-
-
I’m sorry it took me so long to reply to your comment. I hope that some of my tips were useful for you. I can’t quite remember if I used the same thread in the top and bobbin but I think I did. I think the best hint was to increase the pressure of the presser foot. Let me know if you had any success. Charlotte
Leave a Reply
You must be logged in to post a comment.

Charlotte, so glad to see this topic as I have been trying to figure this out on my 830LE. Do you use thick thread on bobbin also? I have tried upholstry thread, cordonnet, and 69 bonded nylon, and needles up to a 110, and have mastered getting this fat thread to wind on the bobbin. But the 830 jams immediately when I try to take a stitch. Needle goes down, but does not want to pull the thread up. Sometimes it will “miss” the bobbin thread and come back up, but on the next stitch the needle is stuck in the needle hole and I have to cut the thread to bring the needle up. ? You suggest increased tension on upper thread, right? Do I also decrease bobbin thread tension? I am going to try again with your sample right next to my my stubborn machine. Sharon