Turning Perfect Corners with the New 38 mm Binder Attachment #88
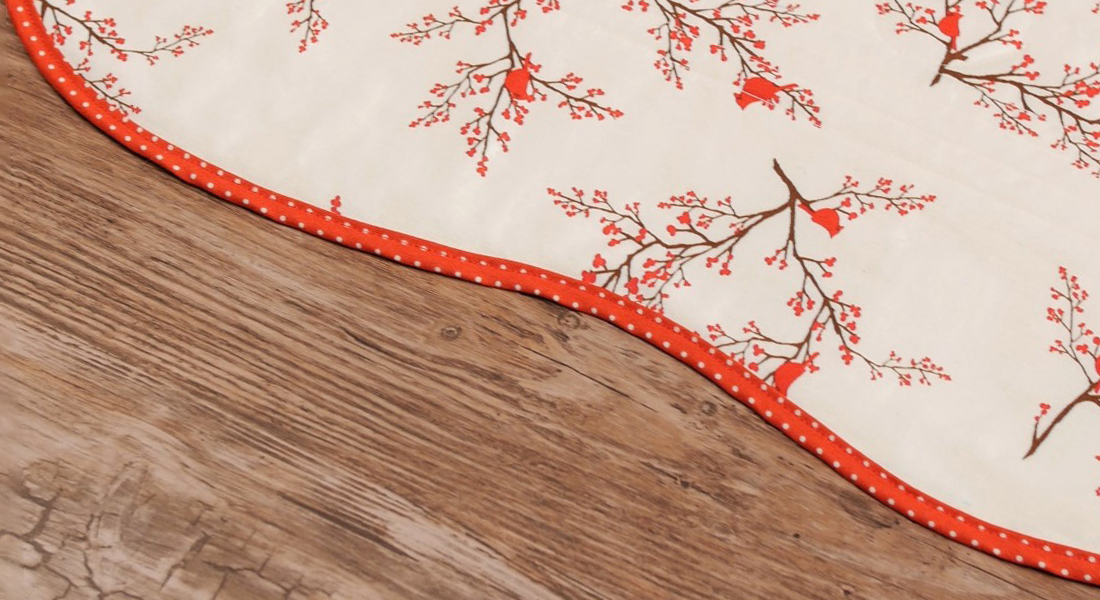
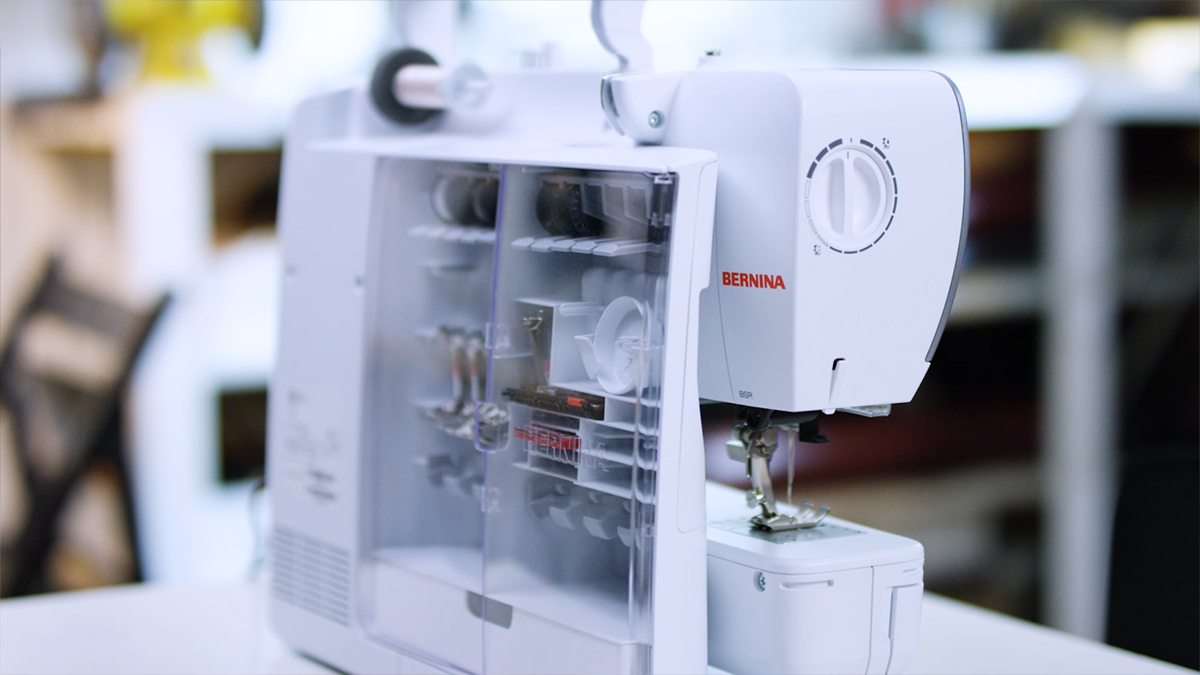
BERNINA has a new Binder Attachment that I absolutely LOVE! The arm that the bias binding is loaded into swings away from the machine making it so much easier to load. But, the best part of that feature is that I can swing the arm out and easily miter the corner of the quilt. While I like the look of rounded corners, I much prefer to finish my quilts with mitered corners.
If you haven’t seen Binder Attachment #88 in action, it is a must to ask for a demo at your local BERNINA shop. There are three sizes to choose from: 28 mm; 32 mm; or 38 mm. I used the 38 mm binder, which produced a binding approximately 7/16” wide.
Here’s how to stitch your own mitered corners:
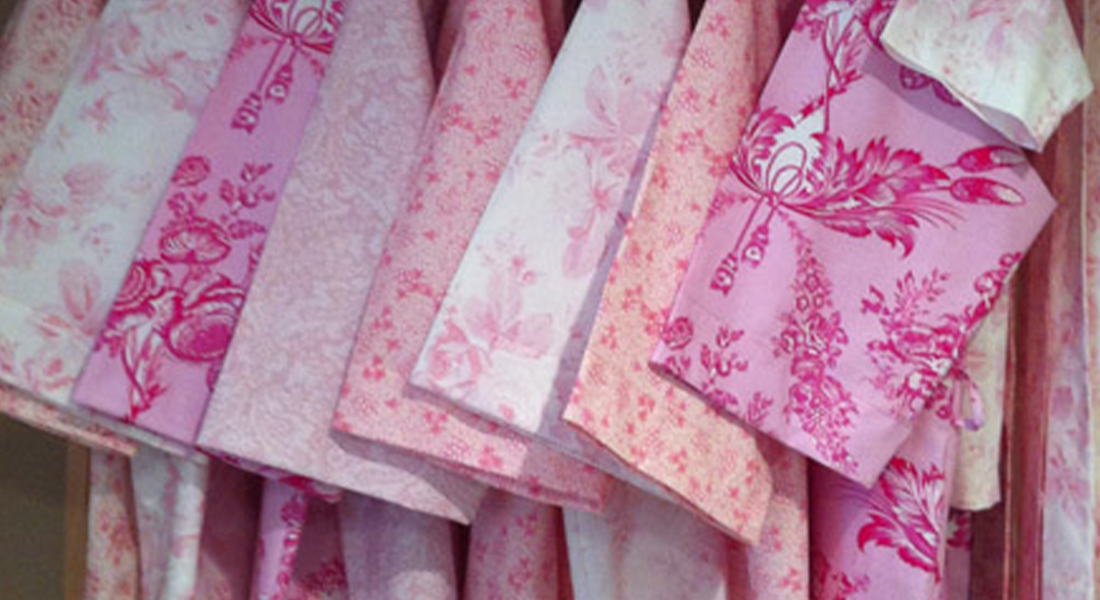
• Cut 1.5″-wide bias strips for the 38 mm binder. (Note: The width will vary depending on the thickness of your fabric, but this width works well for cotton quilting fabrics.)
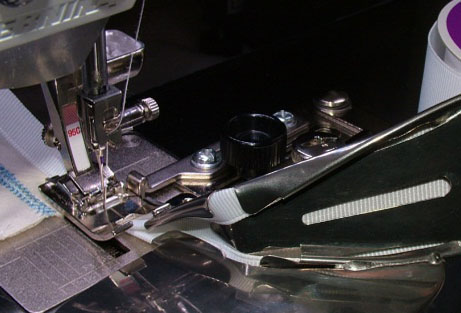
• Attach the 38 mm Binding Attachment #88 and Foot #95/95C to your sewing machine.
• Load the bias binding strip into the binding attachment with the wrong side of the fabric showing. Swing the binder away from the needle for easier access while loading. Ensure that the strip lays flat in the binder.

• Select a straight stitch. Adjust the needle position so it catches both folded layers.
• Set the Needle Stop Down function so the needle will be down in the fabric when you are not stitching, ensuring that the quilt and binding will not move.
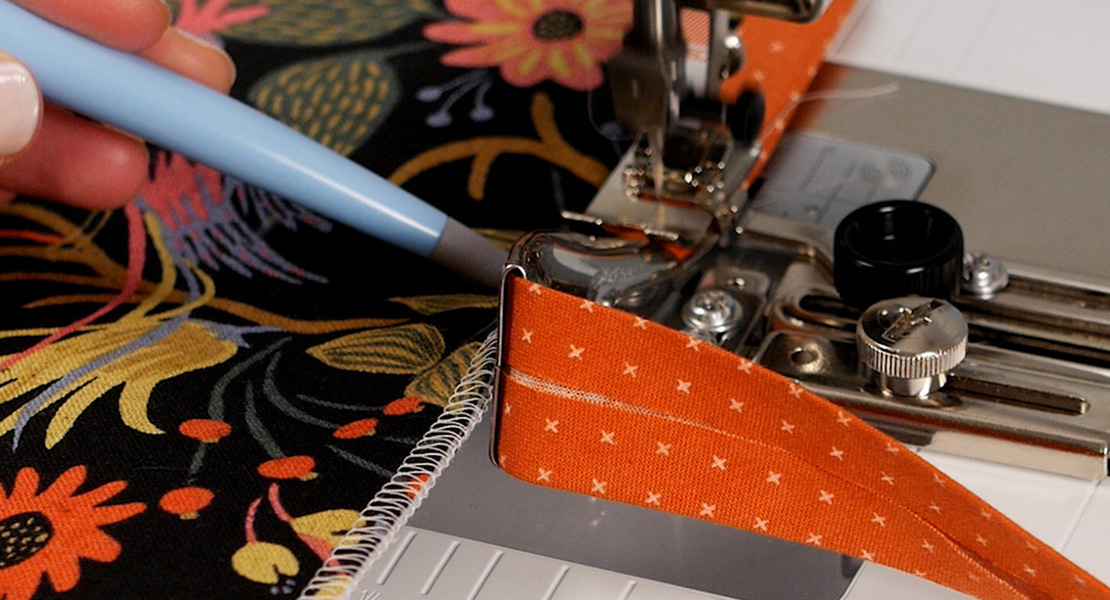
• Stitch the first 1″ of the binding.
• Insert the top left corner of the project into the fold of the binder attachment and up to the needle. Begin stitching and binding the first side of the project.
• Sew slowly and stop when the needle is one stitch off of the edge of the project at the corner.
• Sew a securing stitch by setting the stitch length to 0 mm and stitching in place. Raise the needle.
• Gently remove the project from under the needle and clip the thread tails.
• Swing the binder arm away from the needle and gently pull a few inches of the bias strip through the binder.

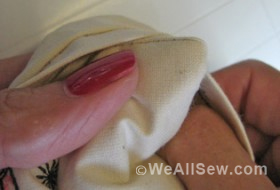
• Allowing enough excess to create the miter, fold the bias into a miter and pin it into position on the front and back of the project. 
• Place the mitered corner under the presser foot and line up the needle with the fold of the miter. Sink the needle into the project to hold it in place.

• Swing the binder arm back in towards the needle while gently pulling the excess binding back through the attachment. Ensure that the bias strip remains flat in the binder and is not twisted.
• Reinsert the project into the fabric-folding part of the binder. 
• With the stitch length still set at 0 mm, sew a few stitches to secure the stitching.
• Reset the stitch length to the default setting.
• Remove the pins and continue sewing to the next corner.
• Repeat these steps for the next two corners.
• At the starting corner, trim the beginning of the binding even with the edge of the project.
• When stitching the last corner (which was the starting corner), continue stitching beyond the end of project until the tail of the bias strip is about 1/2″ from the binder attachment.
• Fold the tail in and insert it into the binder attachment. This will finish off the end of the binding.
• Continue sewing until all of the binding has been sewn.
Used Products


What you might also like


16 comments on “Turning Perfect Corners with the New 38 mm Binder Attachment #88”
-
-
It sure will 🙂 You’ll love it! Jo
-
-
It would have been great to have a photo to refer to for the ending portion. I cannot quite visualize what you are saying about ending (when you come to the start corner). Please revise and possibly post a photo to further describe how to end. If I am not sure of the process, I won’t buy the attachment.
-
I agree with pigtailpat, it would be helpful to have a photo, or better yet a video of the finishing step in the binding process. I really want to purchase the binder but don’t want make the investment unless I can see the binder at work and be sure the final step is as easy as the first.
-
I’m working on getting more photos for finishing the binding – check back later this week. Jo
-
-
I recently purchased the binder foot #88. Straight binding is perfect, corners not so great. A lot harder than it looks. I will keep practicing , hopefully I will master the technique.
I have watched the video several times, how difficult could it be? Ha -
Any news on the additional photos for finishing the binding?
-
I’m looking for photos of ending at a corner, but haven’t found one yet. Most of the projects I’ve seen either end in loops or are inserted into seam. But maybe I can describe the technique differently:
– As you approach the last corner, clip the excess starting corner bias even with the raw edge of the quilt.
– Continue binding, stitching toward the corner until you about about 1/2″ from the end.
– Clip the unstitched bias about 1/2″ past the end. You now have about an inch of unstitched bias strip, half one the quilt, half off.
– Here’s where I do things a bit differently than Debra, but only because this is the way I’ve always done it and it’s easier for me. (Sometimes I’m not very coordinated.) Debra leaves everything under the binder; I take everything out of the binder.
– Unfold the binding and turn it under about 1/2″ (so it’s even with the first side of the quilt). Stitch the end in place – Debra puts it back into the binder and stitches the last little bit; I take the binder off and put my edgestitch foot on to finish the end.Note: Using the above technique leaves a “square” corner (the other three are mitered). To miter all four corners, begin binding in the middle of one side. Stitch around all four corners, mitering as you go. Before you reach the starting end, trim away the excess so everything is even with the edge. Stop about 1/2″ from the starting end, clip the bias about 1″ past the starting end, and fold the end under 1/2″ (the ends will overlap about 1/2″). Stitch in place. Jo
-
-
Where can I buy one of these 2nd hand?
Great tutorial, -
i love my bias binding foot. it’s fabulous. i got it especially for making my round pot holders. i can quickly add a binding and add loop with the bias binding foot.
i need to practice ending on straight pieces. if i figure out a good way to end it, i’ll submit it. It’s also why i love my job… we sell bernina’s so i like to ask other bernina owners how they use their feet! -
After a few practice pieces, I just finished binding my first quilt with #88 and 95C. It came out pretty good for my first official try. I don not like three mitered corners, with one squared off corner. If anyone has alternative technique for starting which would result in four mitered corners please post. Be Brave don’t round be Square! Thanks!
-
I start binding about 1/3 of the way down one side, leaving a tail about 4″ long, then continue around, bind all four corners, and stop about 4″ from the starting point. Remove from binder, leaving another long tail. Then I fold and trim the layers and baste the ends in place by hand or machine (or hold them with lots of pins). Then I finish up by stitching close to the edge with Edgestitch Foot #10. Jo
-
-
I was able to do the corners ok but the quilt keeps pulling out of the binding so that the binding is not filled with material or the quilt comes out of the binding. Is there any adjustment I need to make to make sure the quilt goes through the binding attachment correctly?
-
Hi, Gayle – I think it’s a matter of keeping the quilt pushed over to the right when it wants to go to the left. I find it helps if I almost overcompensate a bit, keeping the edge of feeding from the direction of my right shoulder. I also use a brass stiletto whenever I use the binder to help keep everything pushed in place. It’s also useful for pulling the bias strip into the binder. Another thing I do with all my quilts is to serge the edge; that compacts the layers and makes them easier to handle. Even just straight-stitching or zigzagging would help. I’ll ask some of the other staff and see if they have more suggestions. Jo
-
The serging is a great suggestion, thanks!
-
-
-
I have a problem with a friend who is trying to sign in.
The website won’t accept her.Help
Leave a Reply
You must be logged in to post a comment.

Will the 38mm binder attachment work on both my 165 and the new 830?