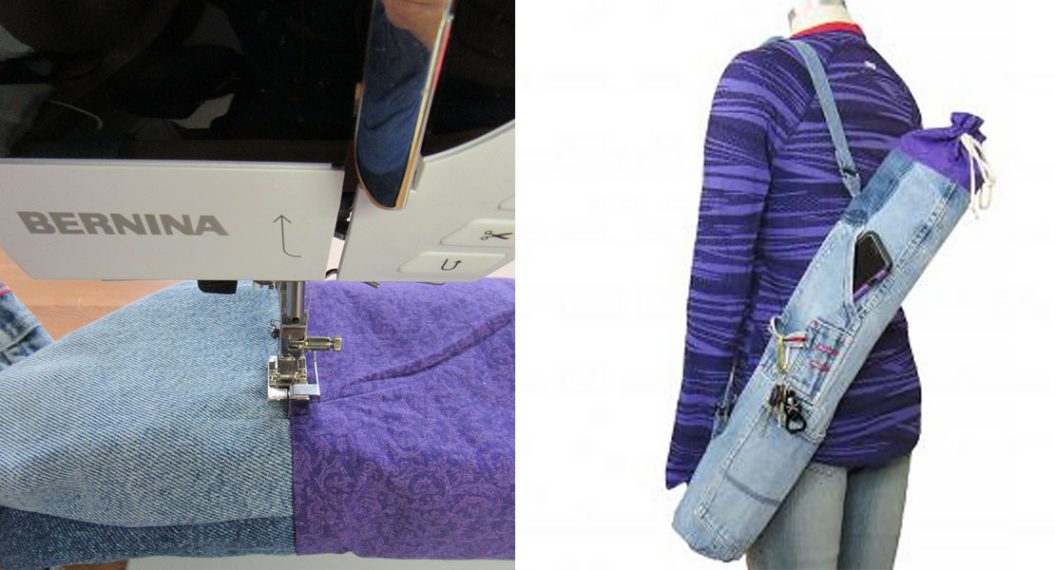
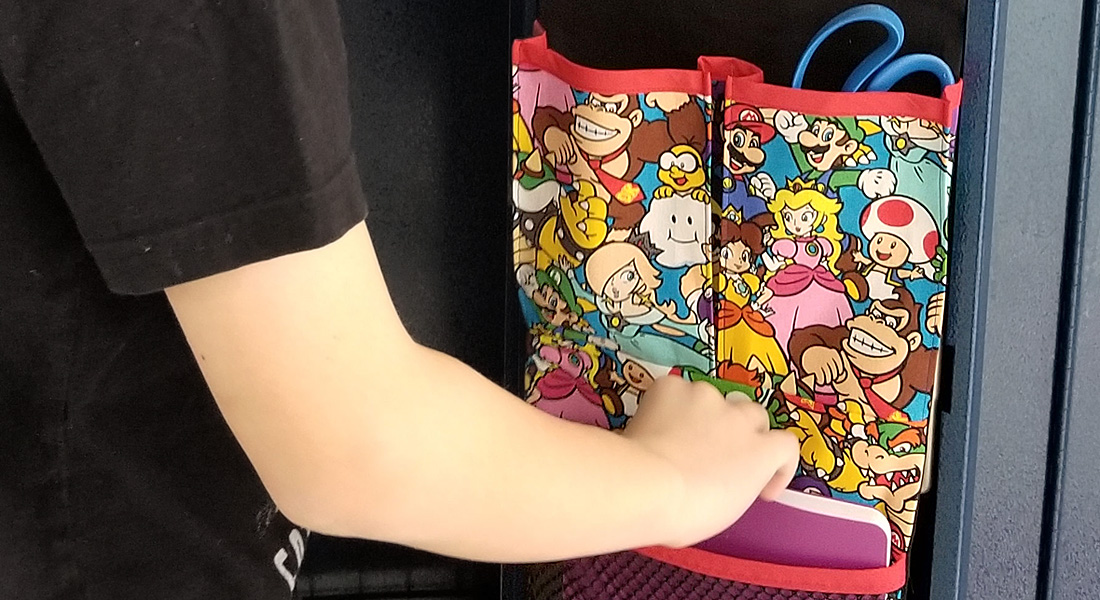
Upcycle Old Jeans Pockets into a Fun Organizer
This quick, easy, and fun project features pockets from your favorite worn-out or outdated jeans. Embellish pockets with crystals, applique, paint, or embroidery – express yourself!
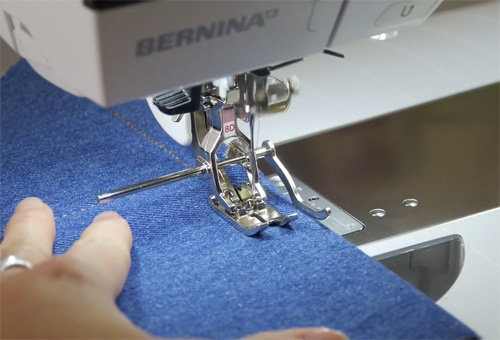
I found it very helpful to use Jeans Foot #8. It’s hinged design makes it easy to go up and over bulky denim seams without flexing and breaking the needle. This is also a good place to use the Height Compensation Tool that comes in the BERNINA accessory bag; use it to keep the presser foot level and the fabric in contact with the feed dog when sewing over uneven edges.

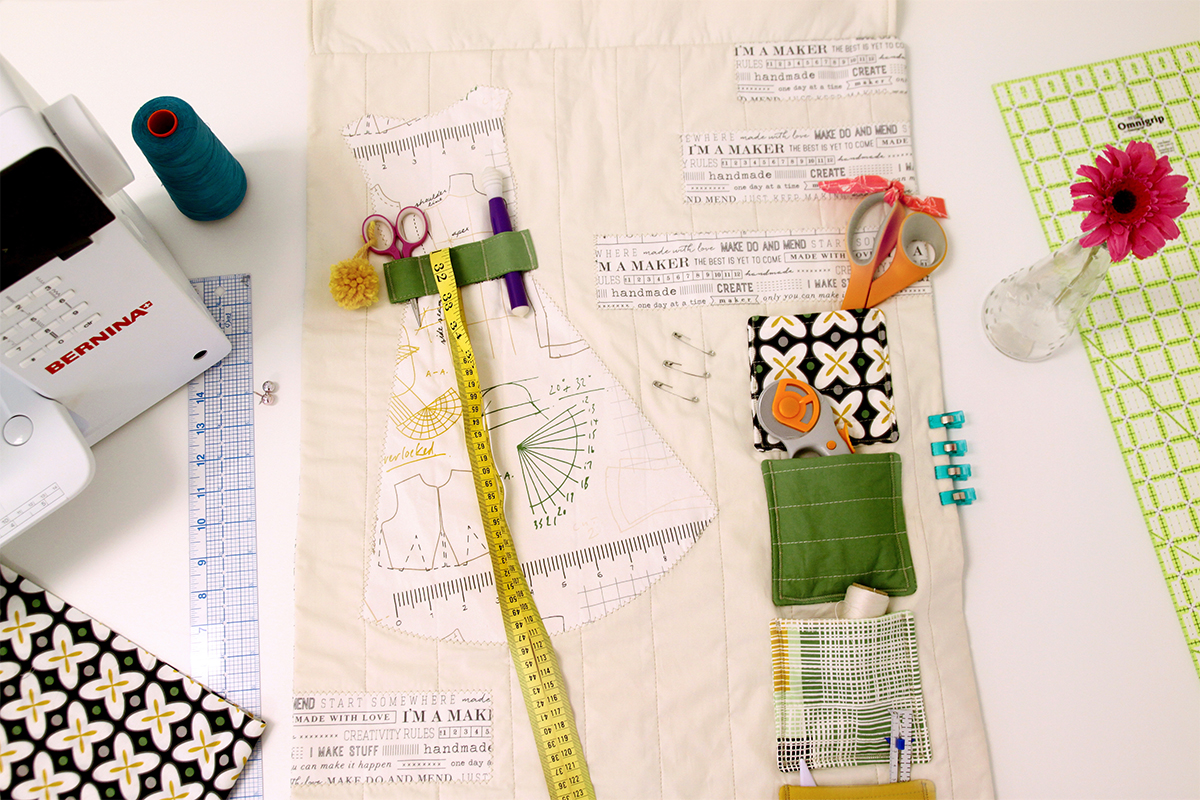
Supplies
• Sewing machine
• Denim or heavy-duty presser foot (such as BERNINA Jeans Foot #8)
• Freehand darning or embroidery foot (such as BERNINA Darning Foot #9)
• Height Compensation Tool or Jean-A-Ma-Jig
• Seam sealant (optional)
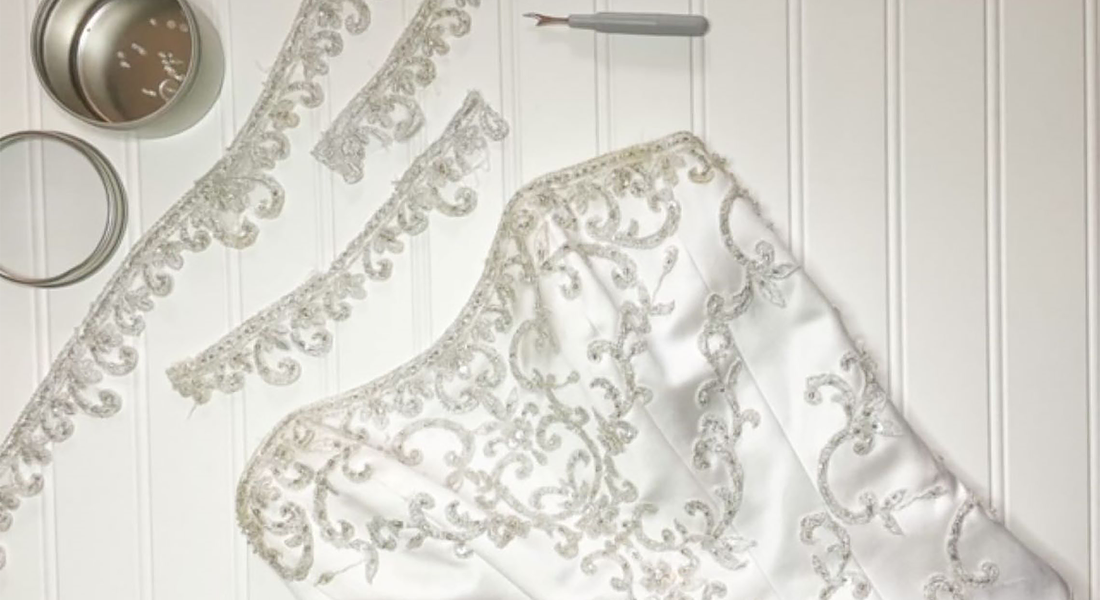
• EZ Glitzer and crystals (OR a CrystalWorks template (see below) and size 10 SS crystals – I’ll tell you more about that in my next post.)
Prepare the Pant Leg
• Trim along the edges of one leg, cutting just inside the seams; leave the hem intact. Cut across the top of the leg, just below the crotch, parallel to the hem.
• Turn under 1/4″ along long edges; press. Turn under another 1/4″; press. Attach the denim or heavy-duty presser foot to your machine, and set the machine for a straight stitch with a 3 mm-long stitch length. Using a denim or heavy-duty presser foot, stitch along each edge.
Tip: Use a Height Compensation Tool or Jean-A-Ma-Jig at the beginning and end of the stitching to keep the sole of the presser foot level, enabling it to correctly hold and transport the fabric under the foot.

• Turn under 1/4″ at the upper edge of the pant leg; press. Turn under an additional 1″; press. Stitch along the inside edge of the fold to create a casing at the upper edge of the organizer.
Add the Pockets
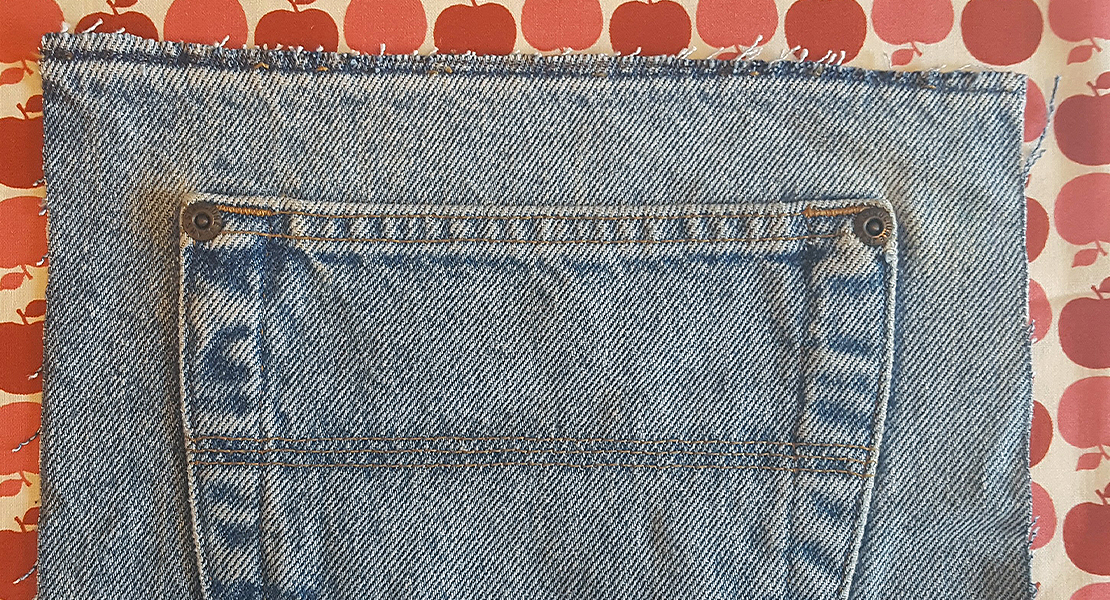
• Trim around the outside edges of the pockets, leaving 1/2″ of jeans fabric around the outer edges, including around the top of the pocket.
• Position the pockets on pant leg as desired. Mark lines across the pant leg indicating where the upper edges of the pockets are to be placed.

• Mark the center of each pocket and the corresponding point on the drawn line. Flip the first pocket up, right sides together with the pant leg, and then slide it down so the marked pocket center is aligned with the mark on the pant leg. Stitch the top of the pocket piece to the pant leg using the edge of the foot as a guide, stitching only through the fabric behind the pocket and not through the pocket front. Use the height compensation tool as needed to keep the foot level.
• Flip the pocket down and topstitch along the folded edge, being careful not to catch the pocket in the stitching – you don’t want to sew it closed! Use the height compensation tool under the side of the foot to keep it level, moving it forward as needed.

• Fold under the remaining pocket edges and stitch along the folded edges. If necessary, use a freemotion darning or embroidery foot to secure the sides when you get to the especially bulky area at the upper corners of the pocket.

• Repeat for the remaining pockets.
• For the strap, cut along the sides of the flat-felled seam trimmed from one side of the pant leg. If desired, apply a seam sealant such as Fray Block to keep the edges from unraveling, or you may choose to let it unravel a bit (it won’t come undone, just fray a little). Place the ends on the upper corners of the organizer, wrong side to right side, and stitch the ends in place.


Stay Tuned! In my next post I’ll show you how easy it is to create your own iron-on crystal transfers using the BERNINA CrystalWork Software and Tool.