Vintage Dress-Along Week Two
![]()
Welcome back to week two of the Vintage Dress-Along! (If you missed part one, the first post is here.)
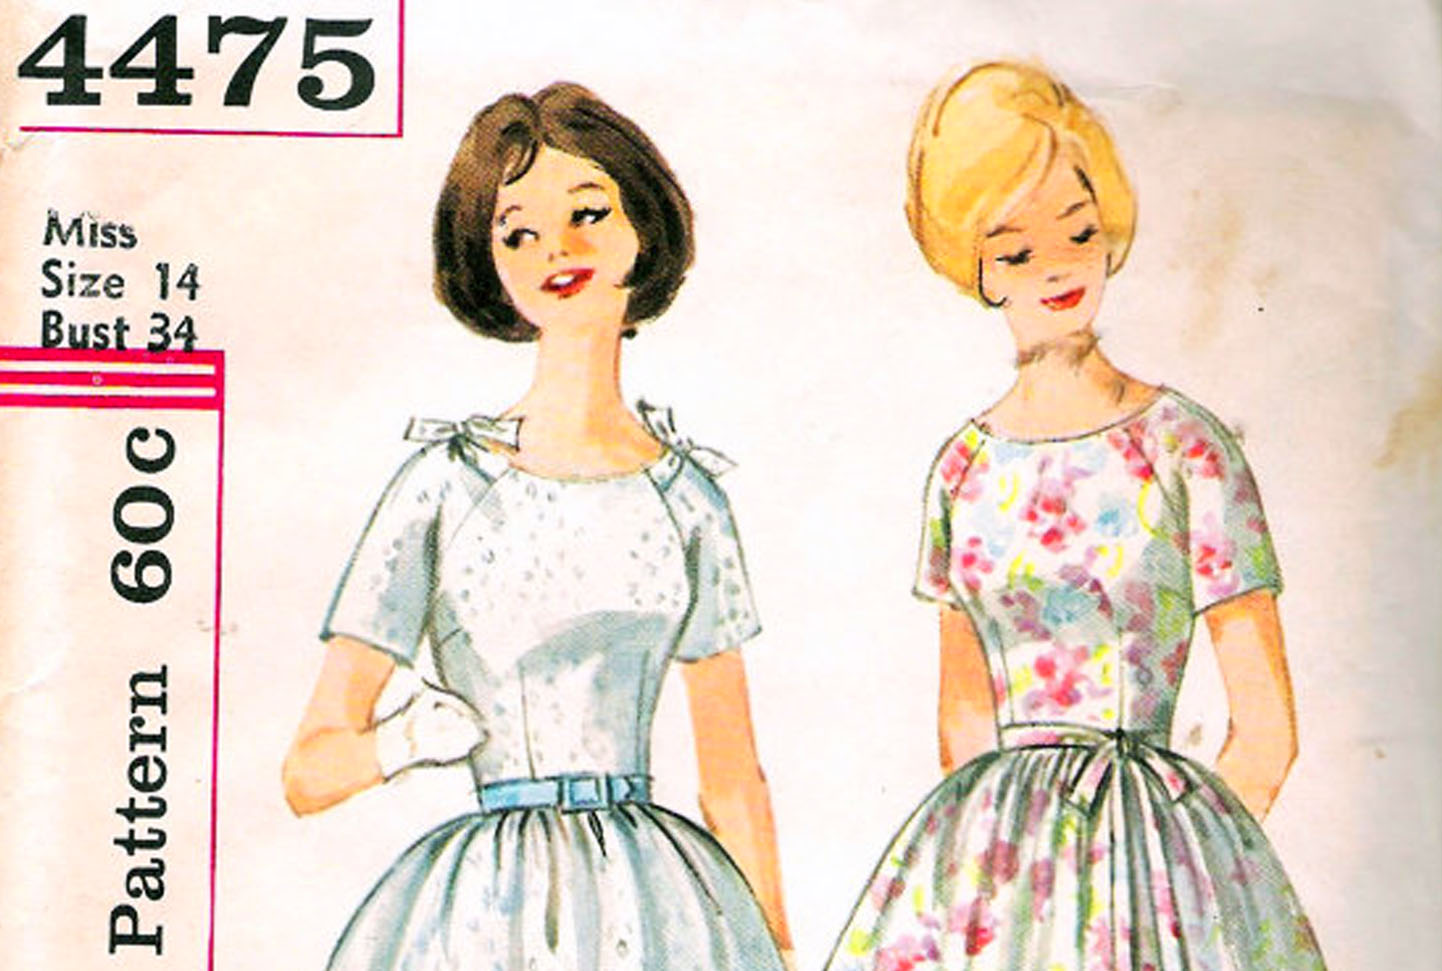
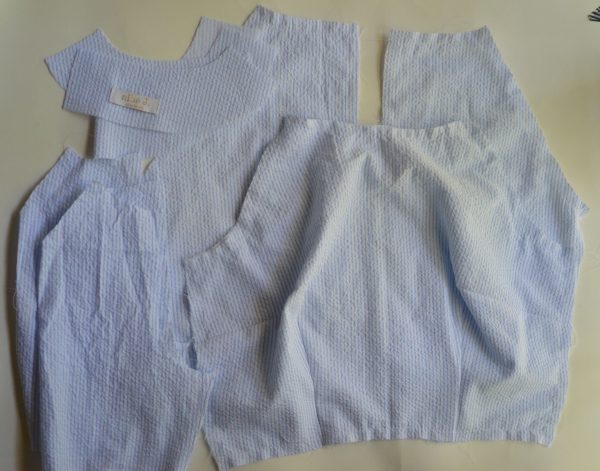
Now that our fabric is washed, dried, and pressed and our pattern pieces are prepped, it’s time to cut out our dress.
With the fabric folded in half lengthwise, pin the bodice front pattern piece aligning the center front with the fold of the fabric. Next to this, pin your bodice back pattern piece next to your bodice front, aligning the straight grain of the fabric with the arrow marking the grainline. Super easy with a striped fabric like mine! Cut around your pattern pieces, snipping any notches. Mark dart points with a fabric pencil. (Do the same with the lining fabric if you are lining or interlining your bodice!)
Sewing the Bodice
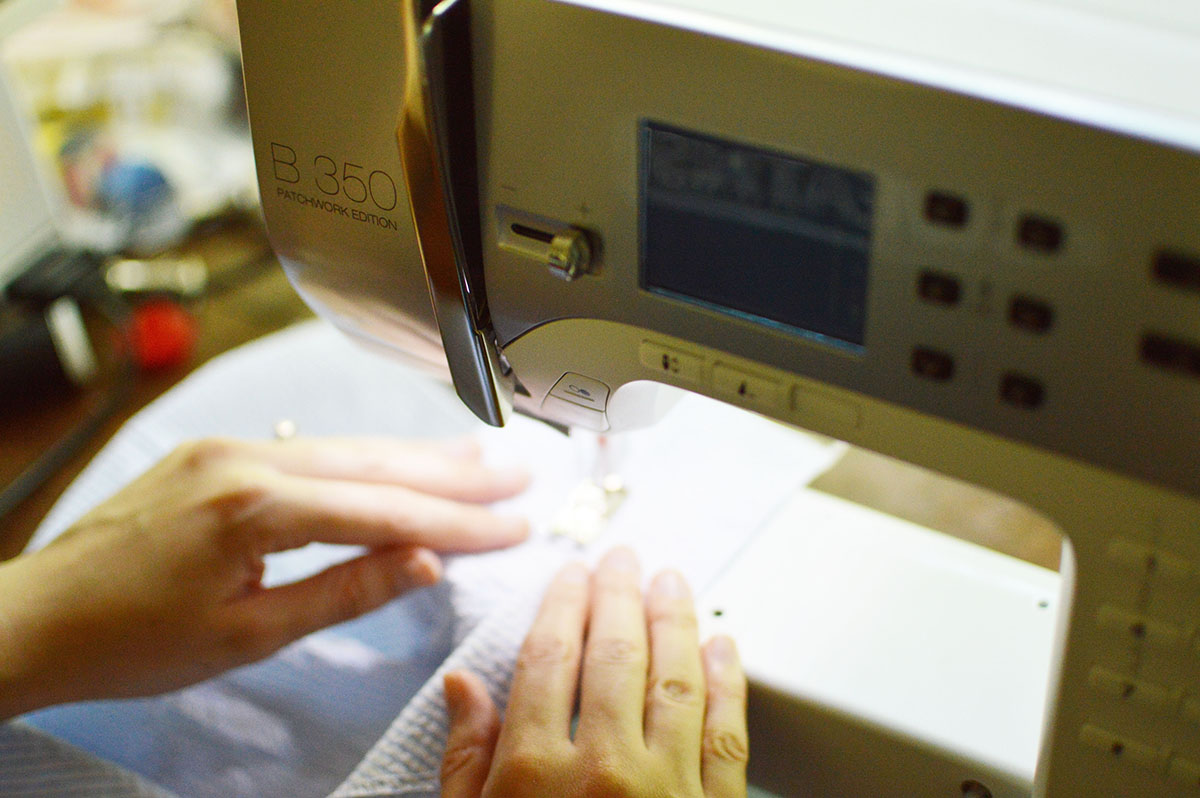
Prep all your pattern pieces by stay stitching the neckline and/or armscyes (arm holes): hand or machine baste just inside the sewing line to keep the fabric from warping. If you are using a vintage pattern, it will likely have a little diagram showing you where to sew. Then, sew and press your darts according to your pattern instructions. If your pattern has neck or arm facings, apply your interfacing to the wrong side. I have a little label with my name on it, and I like to put it on my neck facing at this point so there’s no fiddling around with it at the end. I also sewed my neck facing pieces together and finished my neck facing on my serger at this point.
Stitch your bodice front to bodice back pieces, right sides together, and finish your seam allowance as you like (I serged mine, but you could pink your seams for an appropriate vintage look!).
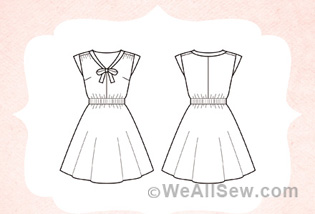
I chose a raglan-sleeved dress, which is an uncommon (but super easy) style of sleeve for this type of dress—yours is more likely to have set-in sleeves (or secondarily, grown-on sleeves). For those sleeve styles, you’ll be attaching your shoulder seams at this time (if you have grown-on sleeves, you’ll be all set). For set in sleeves, ease the sleeve into your armscye. This can take some fiddling!
Since my sleeves are both sleeve and shoulder, I’m stitching them on to the raglan sleeves of my bodice to complete the body of the dress. Again, finish your seams! Hem your sleeves.
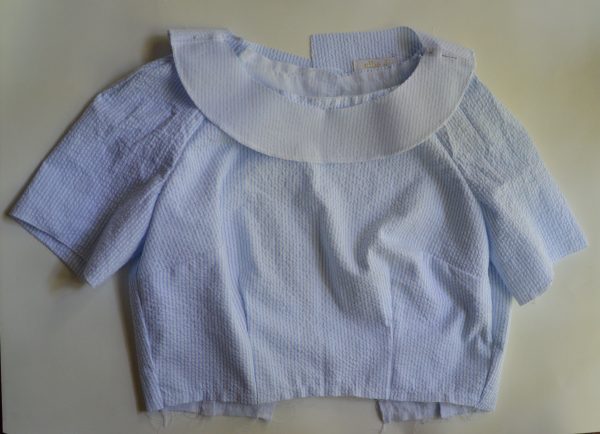
The last part of your bodice sewing is to attach the neck facing. Pin around the neckline and sew wrong sides together. Then, flip your facing towards the seam allowance and understitch—your pattern may or may not have instructions for this, but it is essential! Basically, you will roll the seam allowance towards the facing and topstitch the two together, close to the seam line. This will help prevent your facing from flipping out of your dress—that’s the worst, isn’t it? Trim your seams and tack your facing down at the shoulder seams, but leave it flopping free at the center back.
Your bodice is complete! Next…
Sewing the Skirt

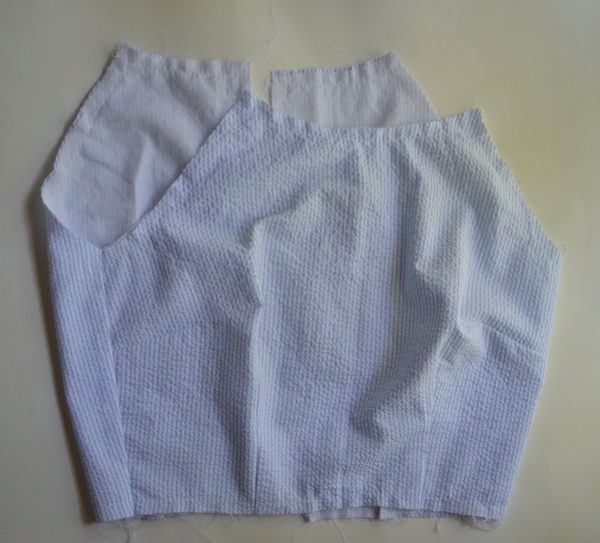
Sew your skirt panels together at the side seams, and finish by serging or pinking. Then, sew three parallel lines of stitching along the top to gather with. I usually do two within the seam allowance and one slightly wider than the seam allowance.
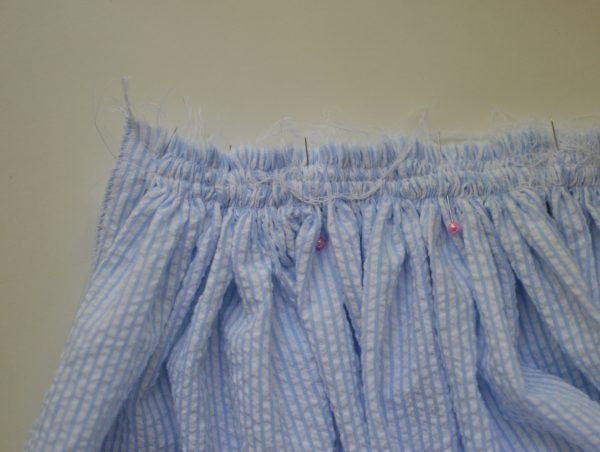
Pull the threads on either side and adjust the gathers until they are evenly distributed and pin to the waistline of the bodice, wrong sides together. Pin, and sew.

Your skirt is attached—you should have something that looks like a dress now! If you are documenting this project, I’d love to take a look! Share your steps within the community section here on the WeAllSew blog, or tag me @helloalliej on instagram 🙂 All we have left is the back seam with the zipper, the hem, finishing the center back neck facing, and any other little finishing details you’d like to add… we’ll tackle those next week, see you then!