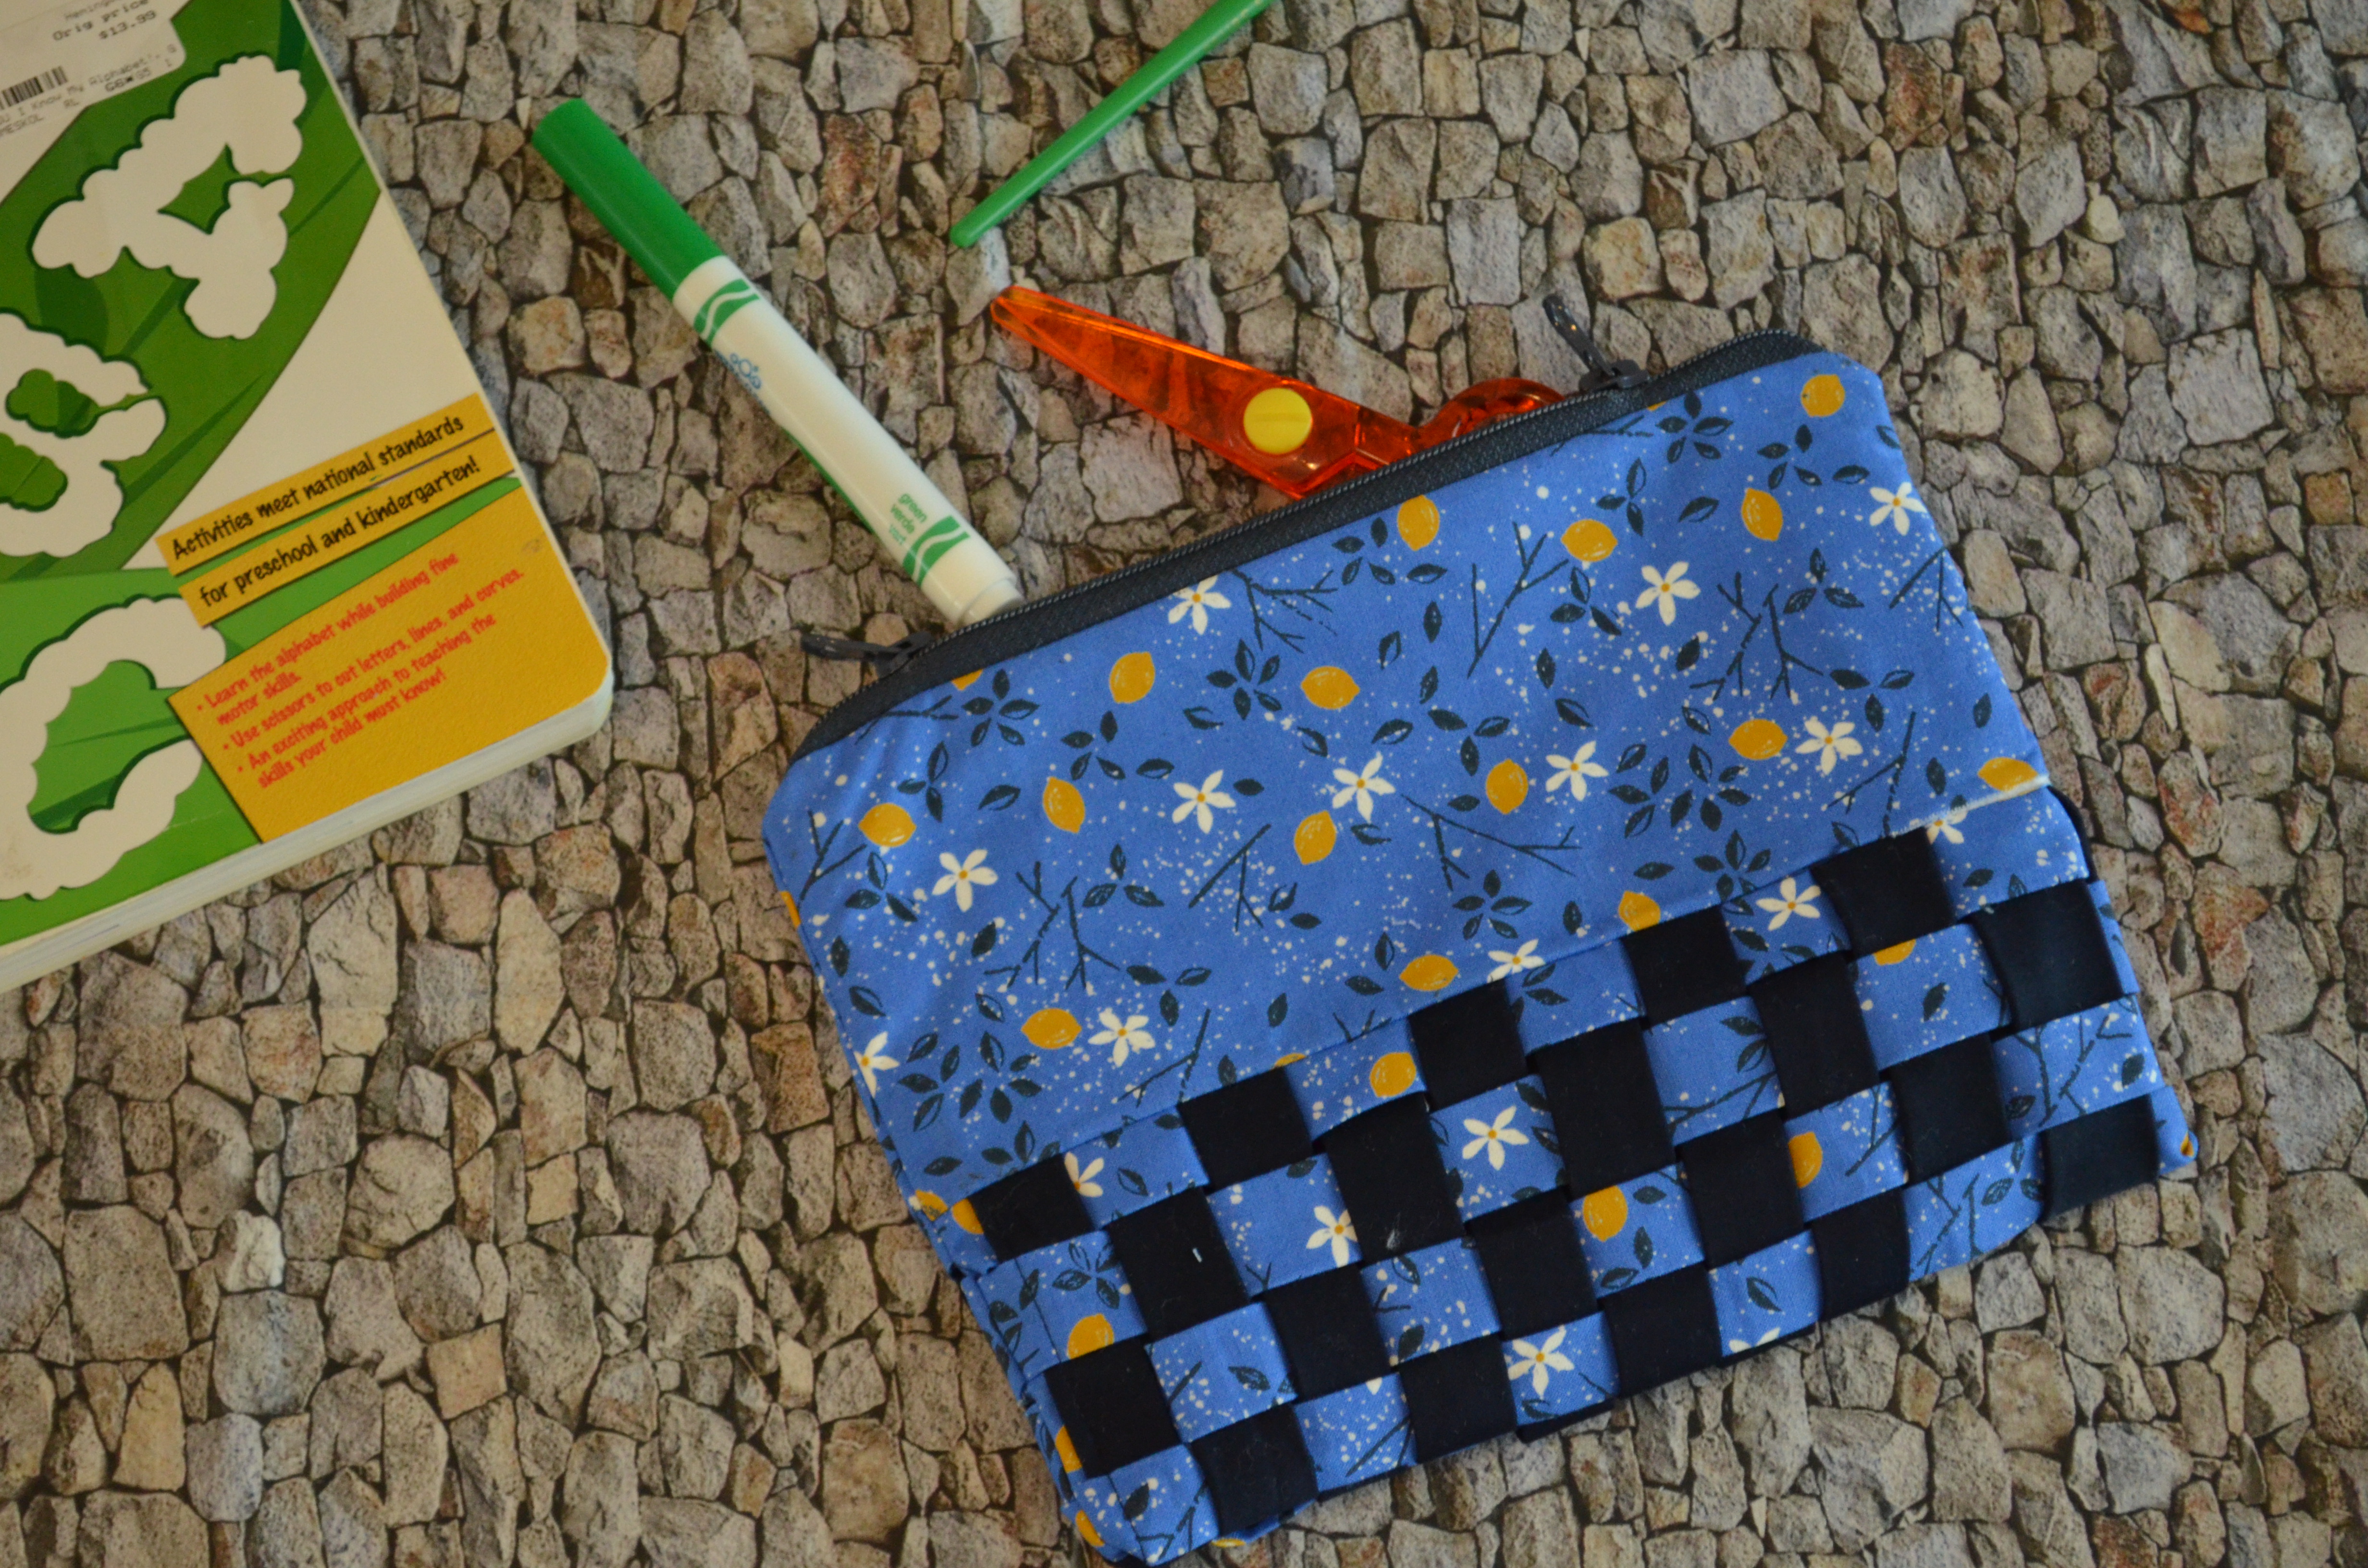
Woven Zipper Pouch
Hi there! I am, Daniela from On the Cutting Floor. I am glad to present this easy project on how to make a woven zipper pouch. This is a quick project, ideal for beginners or quick weekend sewing projects. The woven bottom part of the zipper bag is a great variation to a simple tutorial.
Enjoy!
Materials to Make a Woven Zipper Pouch
- 2 10” x 4” pieces of fabric for the top of the zipper bag
- 2 10” x 4” woven interfacing
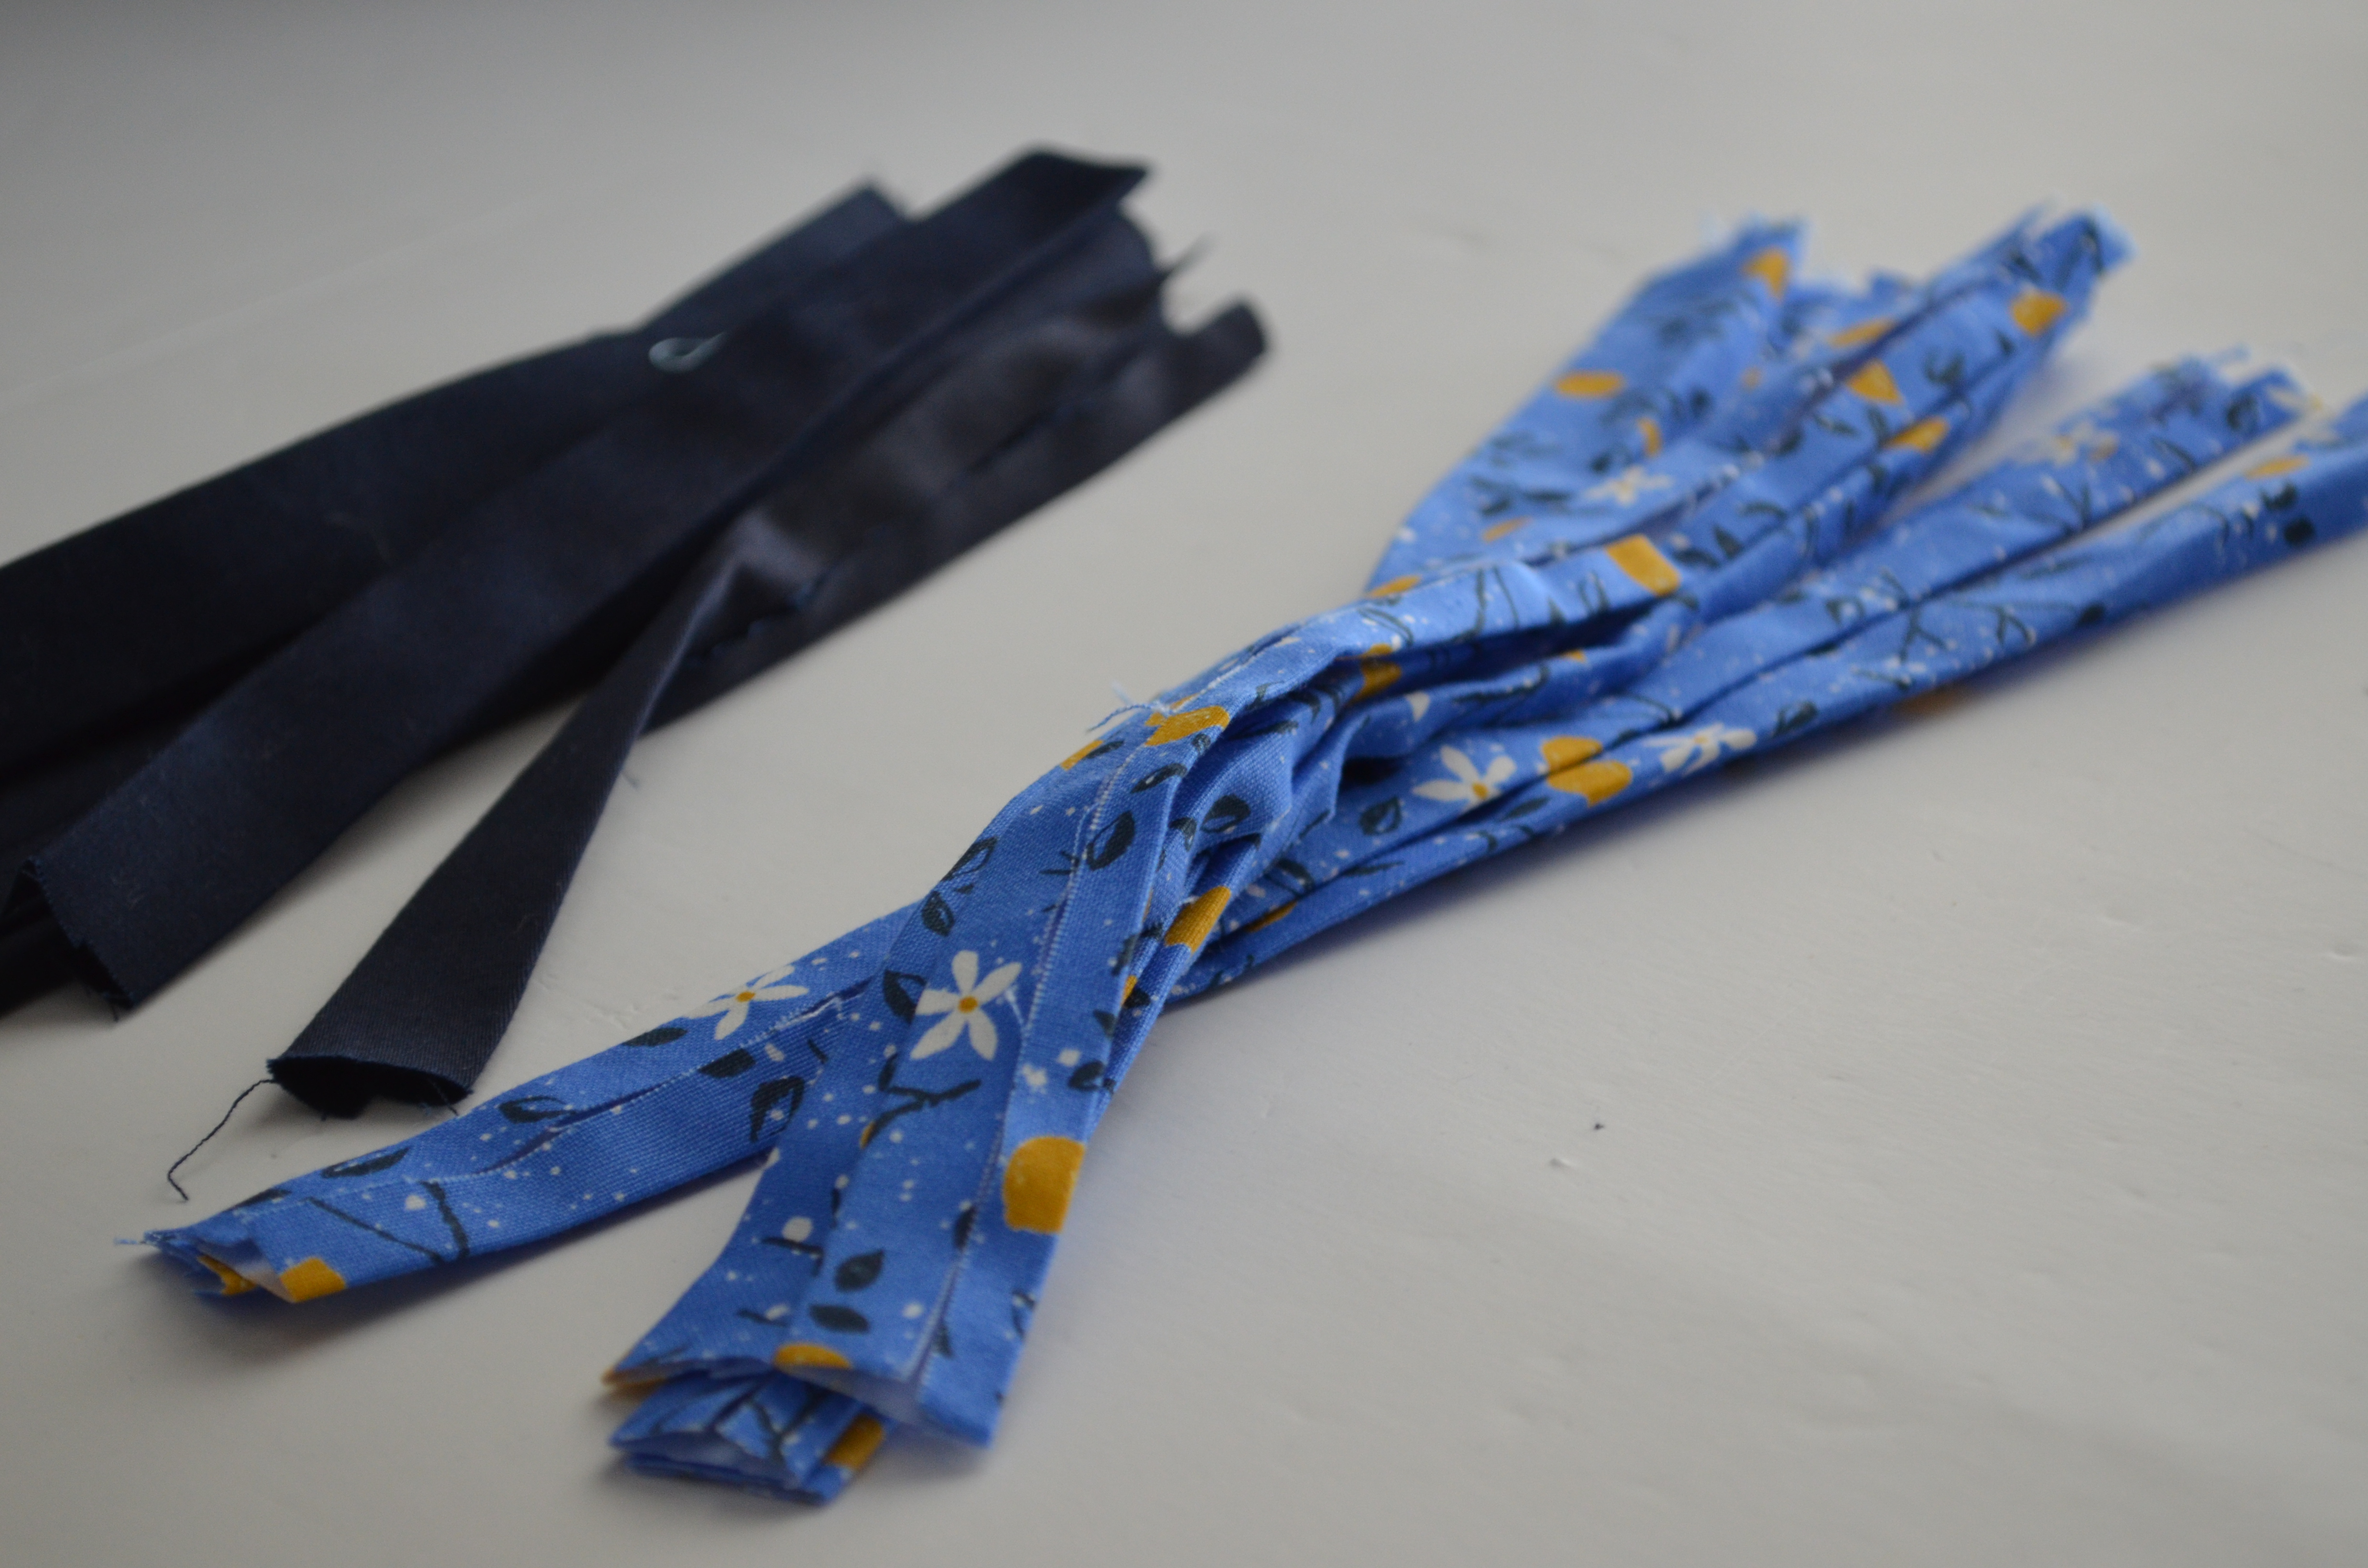
- 8 straps of 10” x 1 1/2” fabric for the woven area (in this project, the printed fabric)
- 11 straps of 7” x 1 1/2″ for the woven area (in this project, the solid fabric)
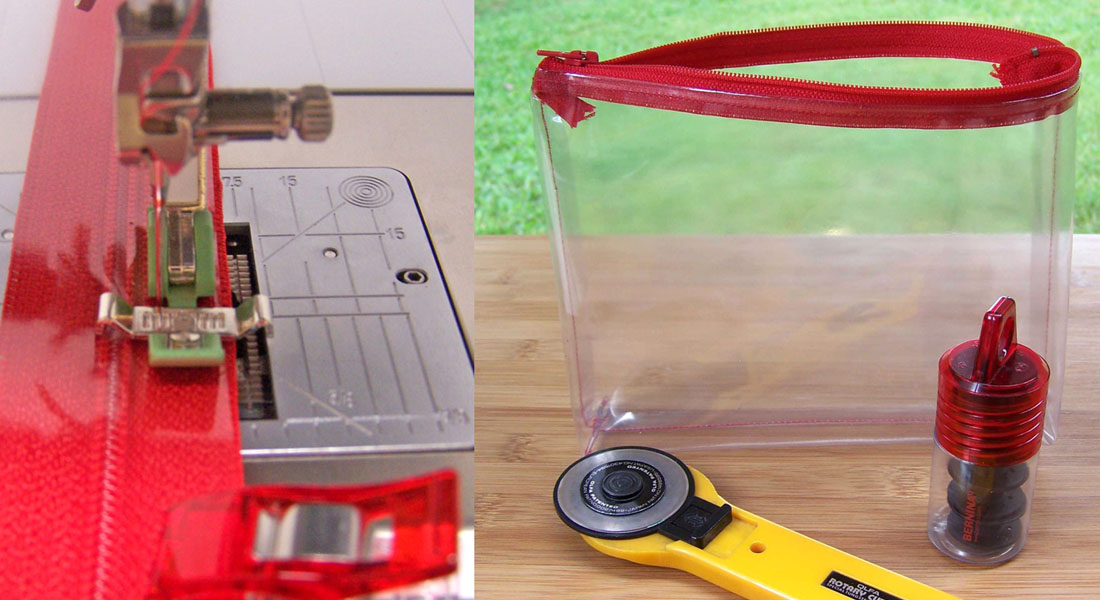
- 9” zipper with double zip pulls
- 2 8” x 10” pieces of fabric for the inner fabric
- coordinating thread
- Sewing machine (I use a BERNINA 330 PE)
- BERNINA Patchwork foot # 37
FINAL PROJECT MEASUREMENT: 9” X 7”
How to Make a Woven Zipper Pouch
1. Cut 8 long straps (printed fabric) and 11 short straps (solid fabric) to create the woven area for the zipper bag.
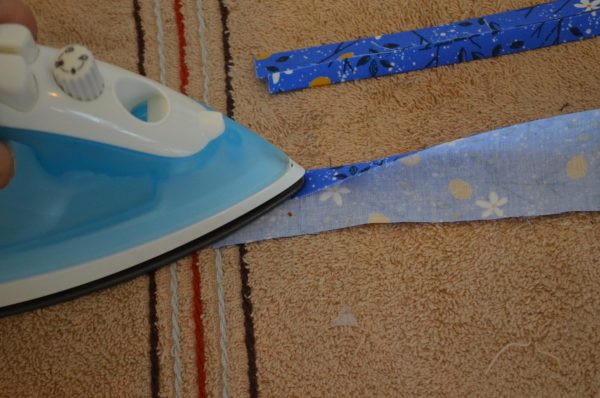
2. To do this, press the longest sides of the of the straps in to the middle, by about 3/8 inches.
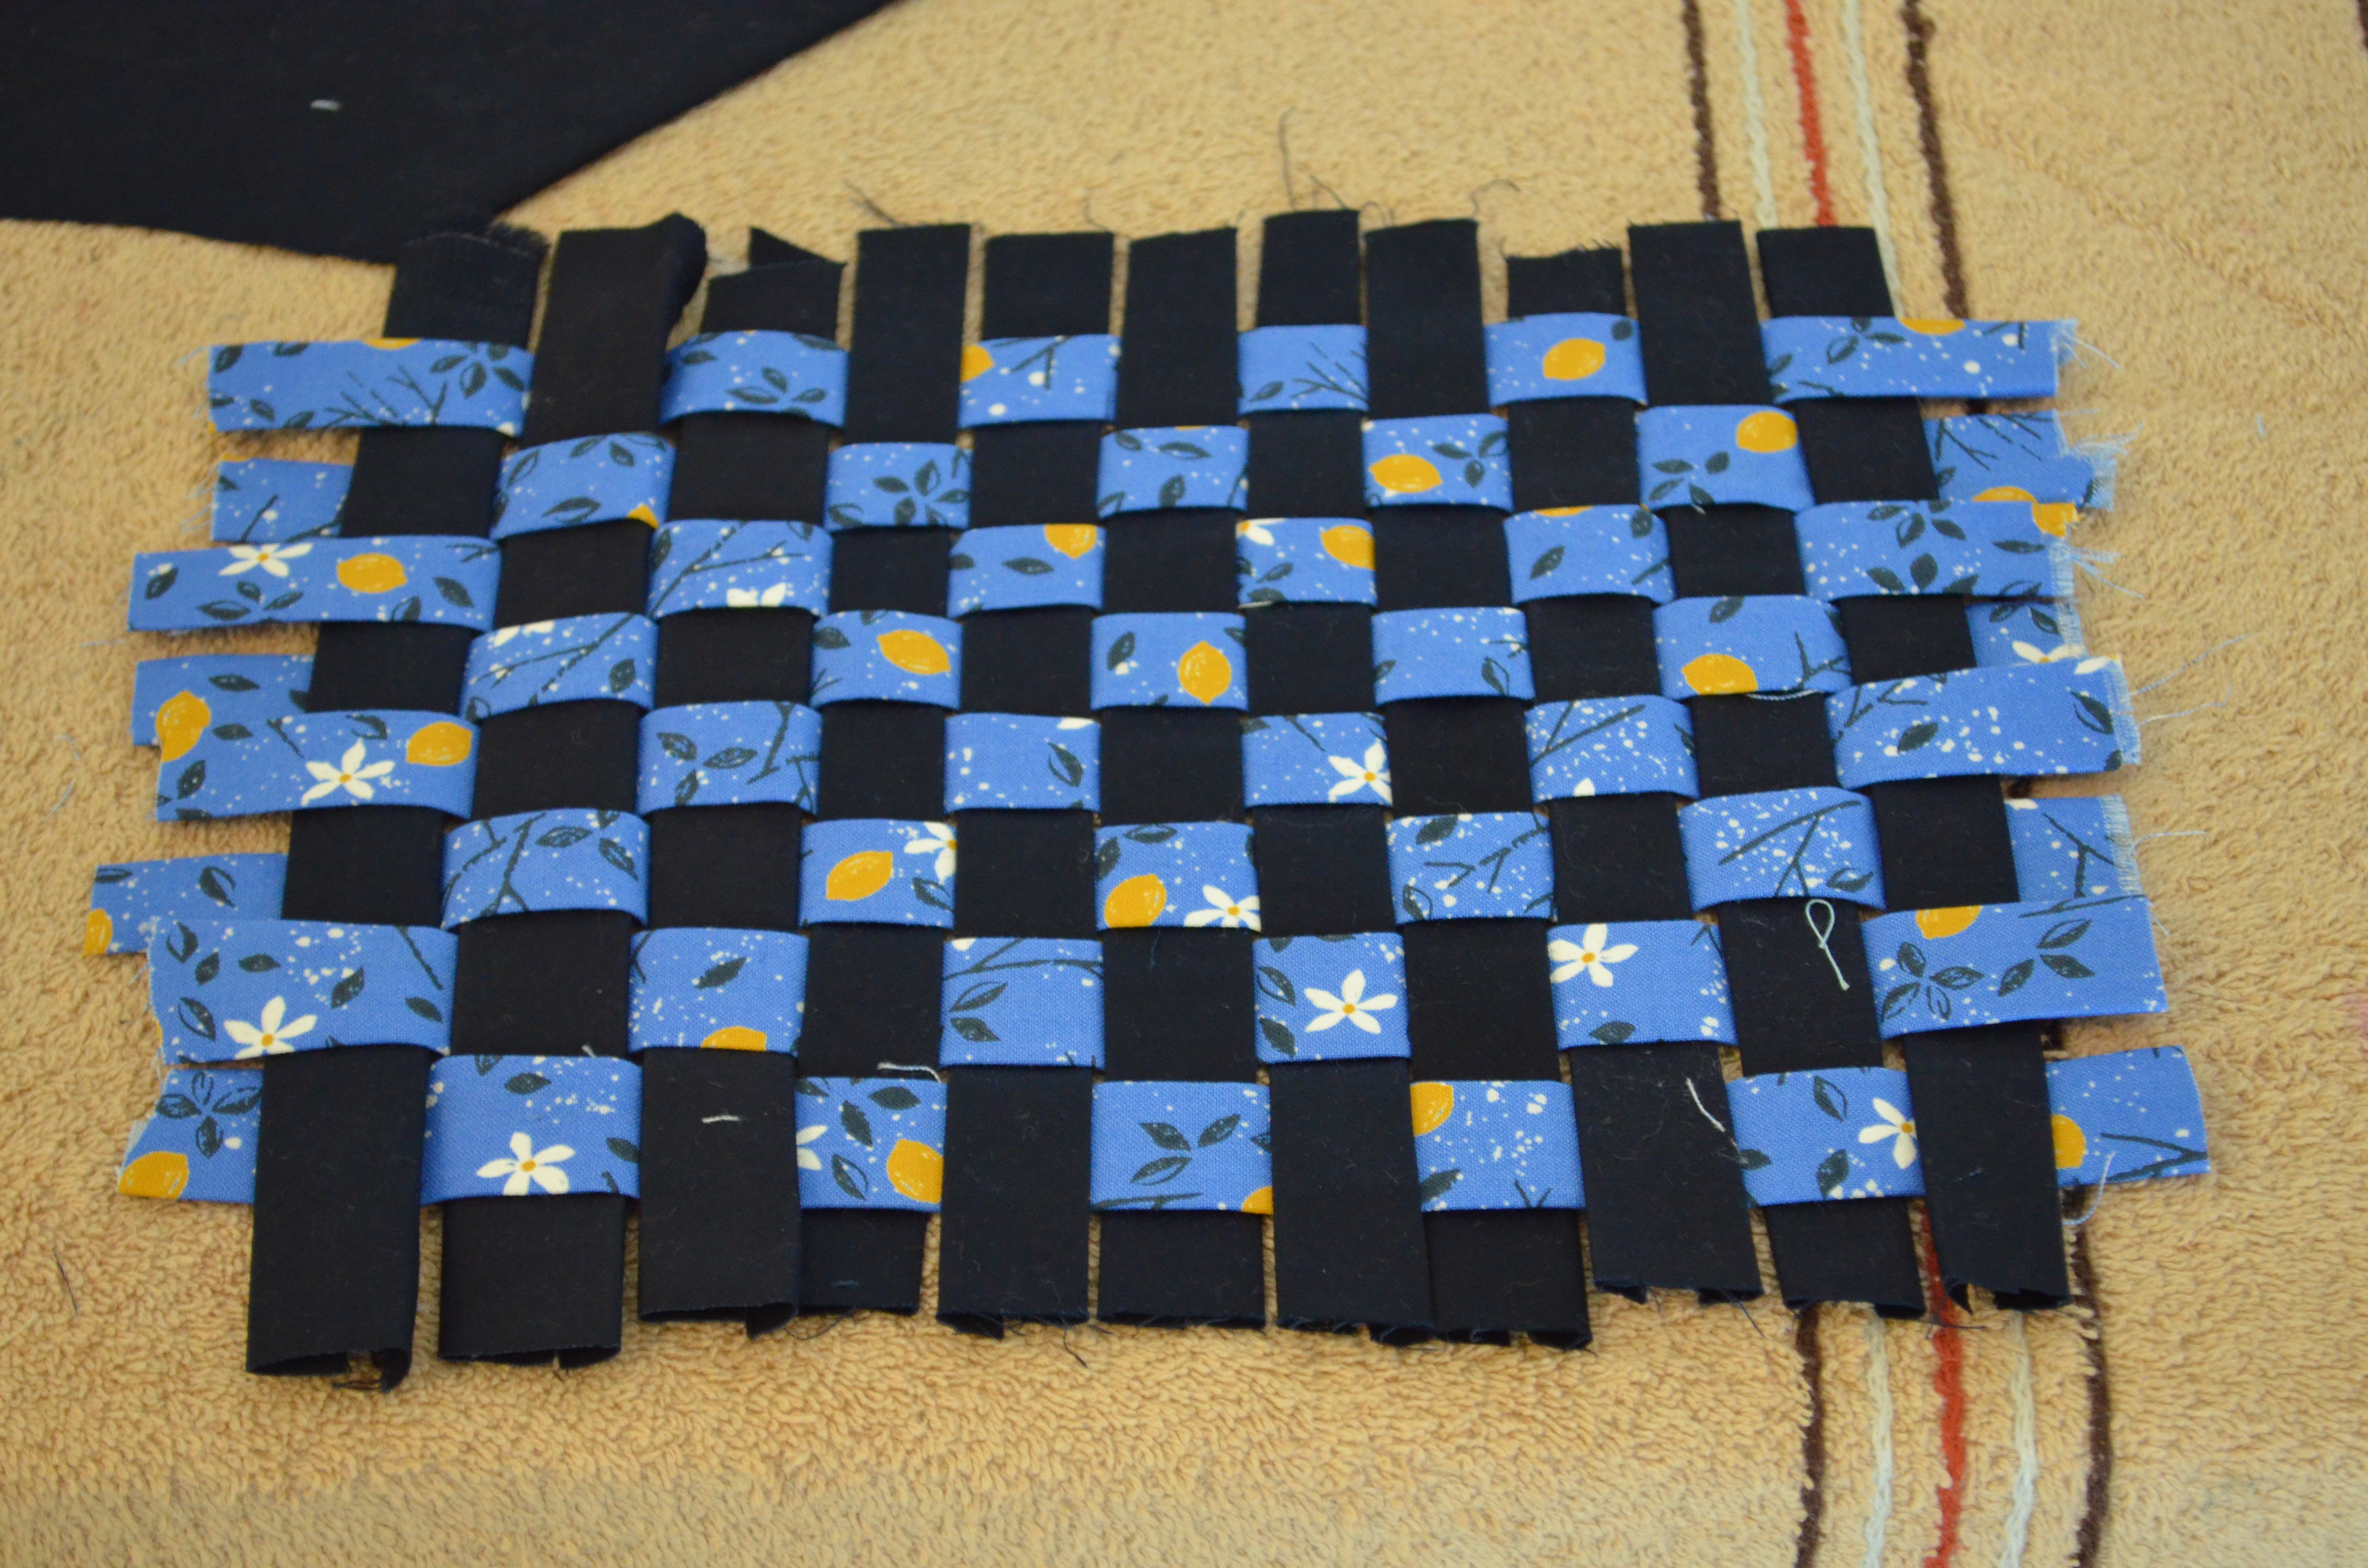
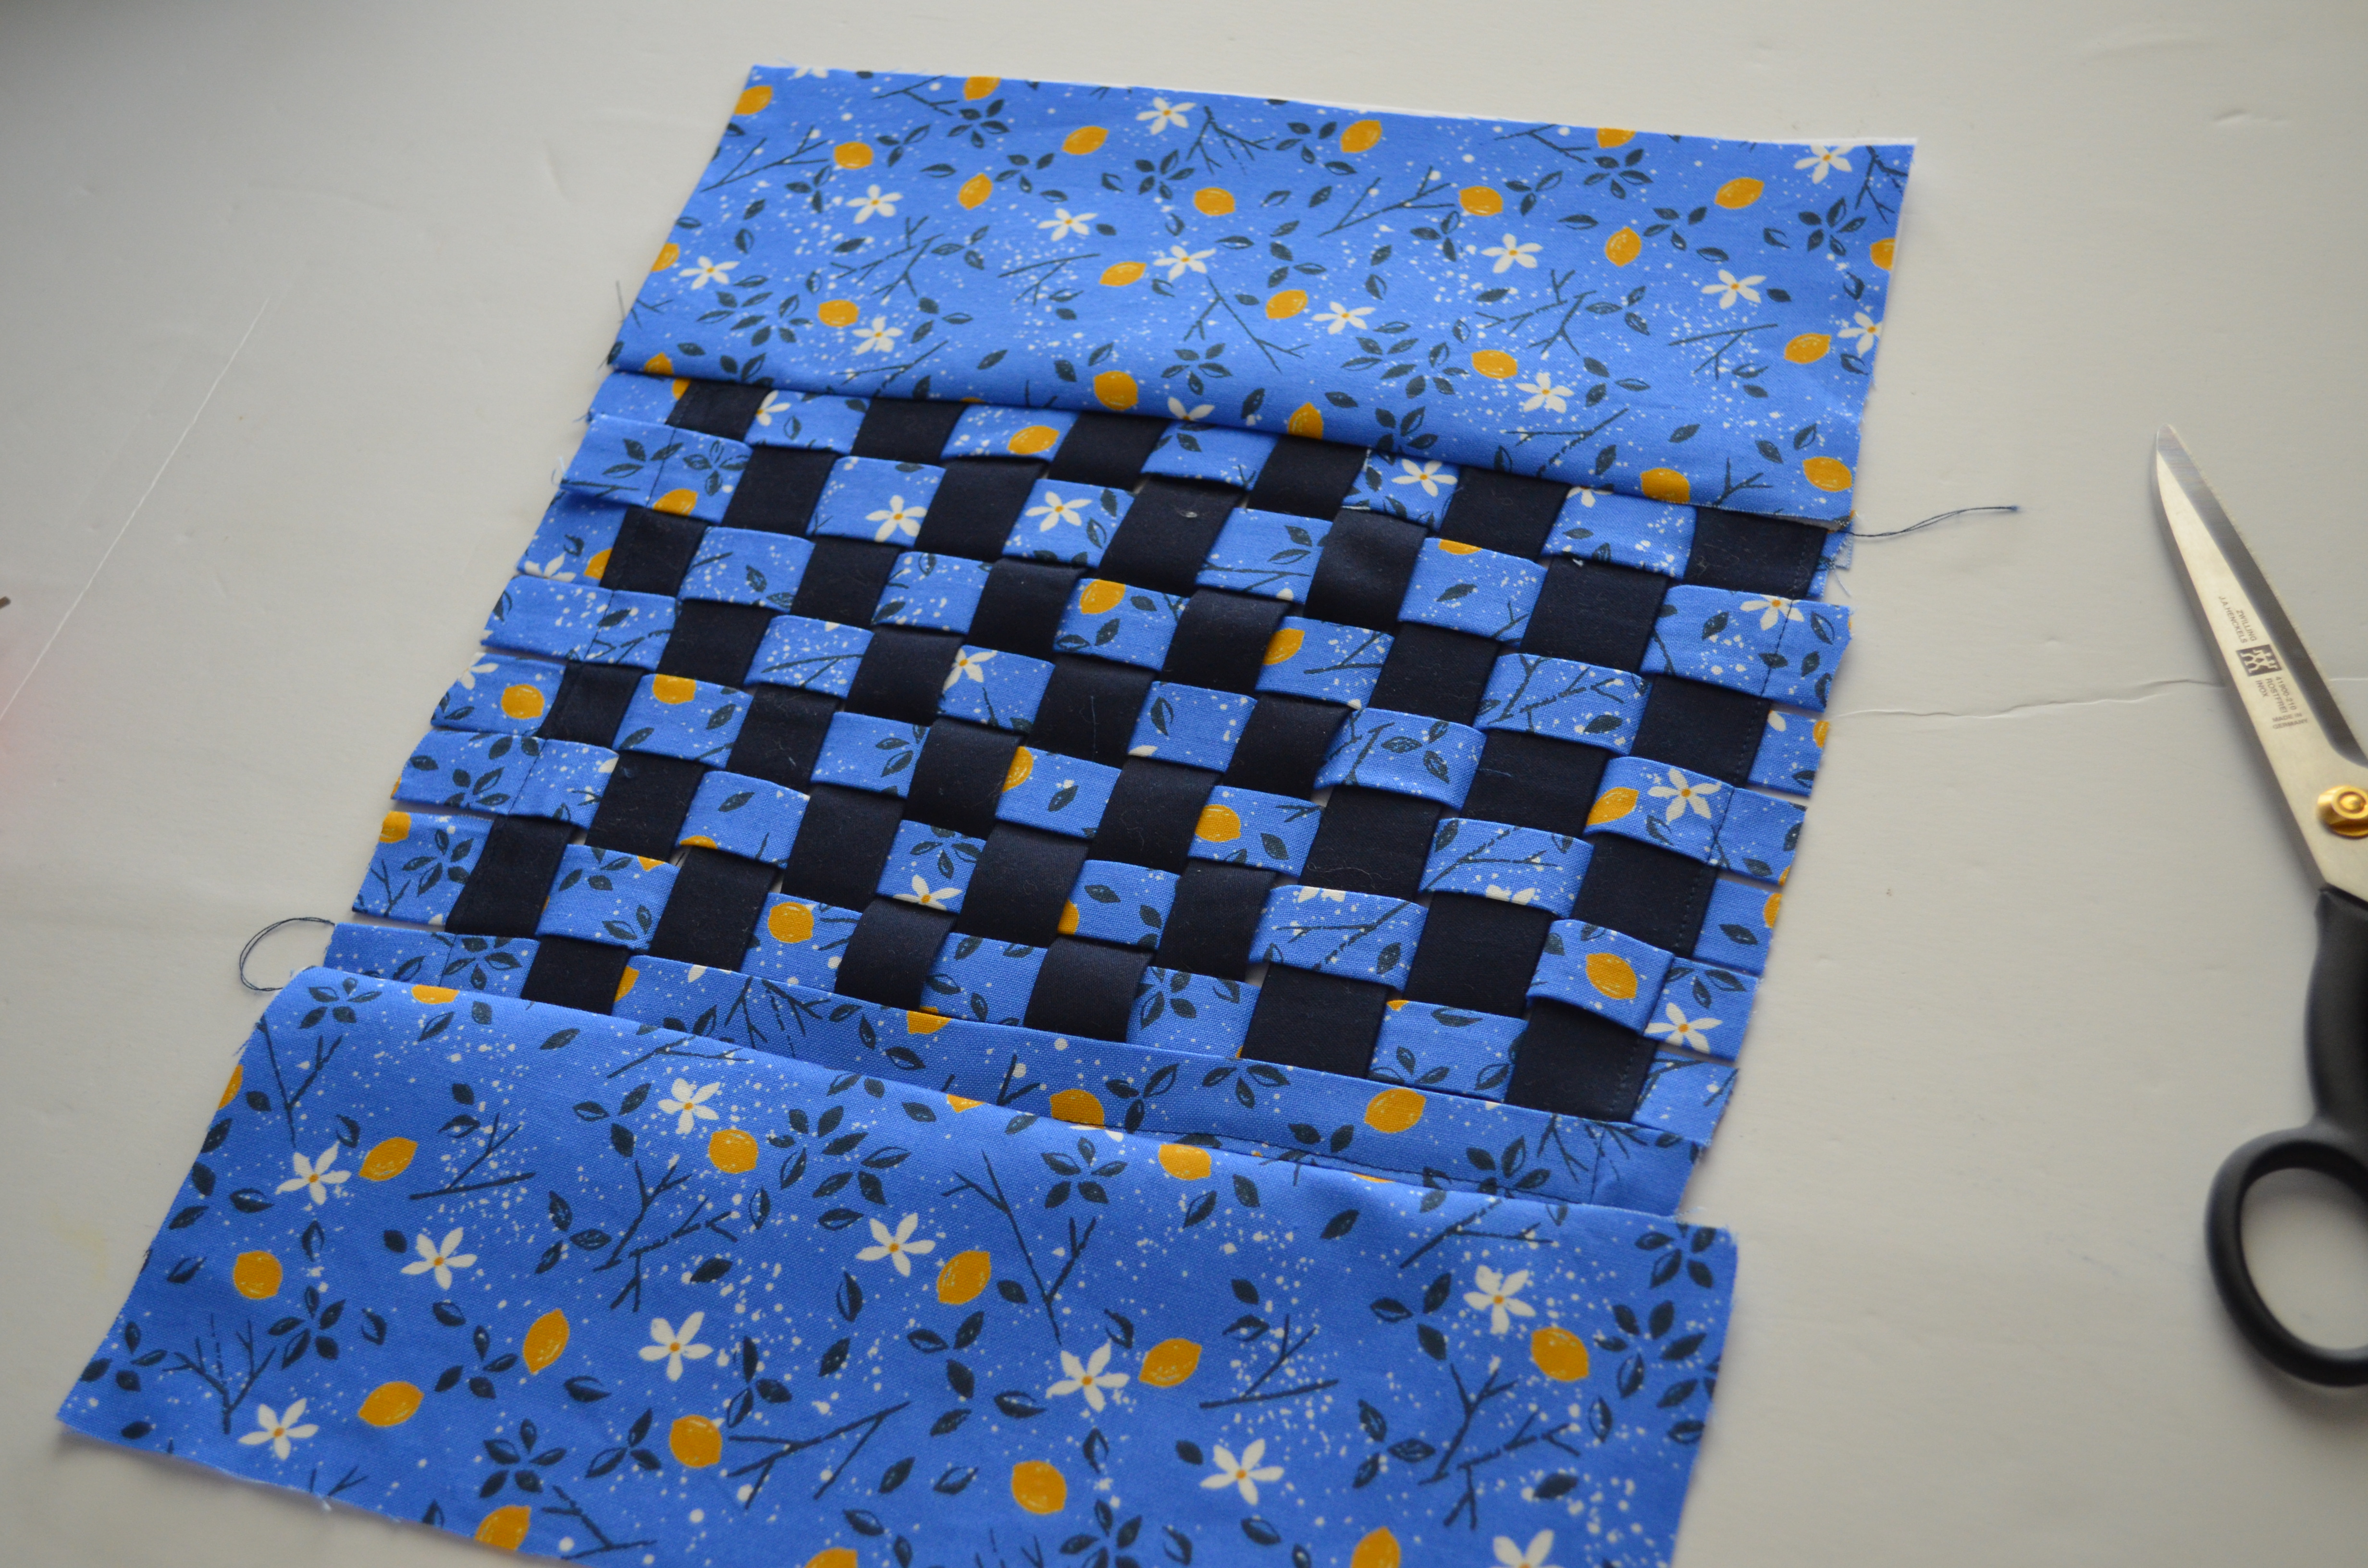
3. After this, start weaving the strips together by putting the longer strips horizontally and the shorter straps vertically.
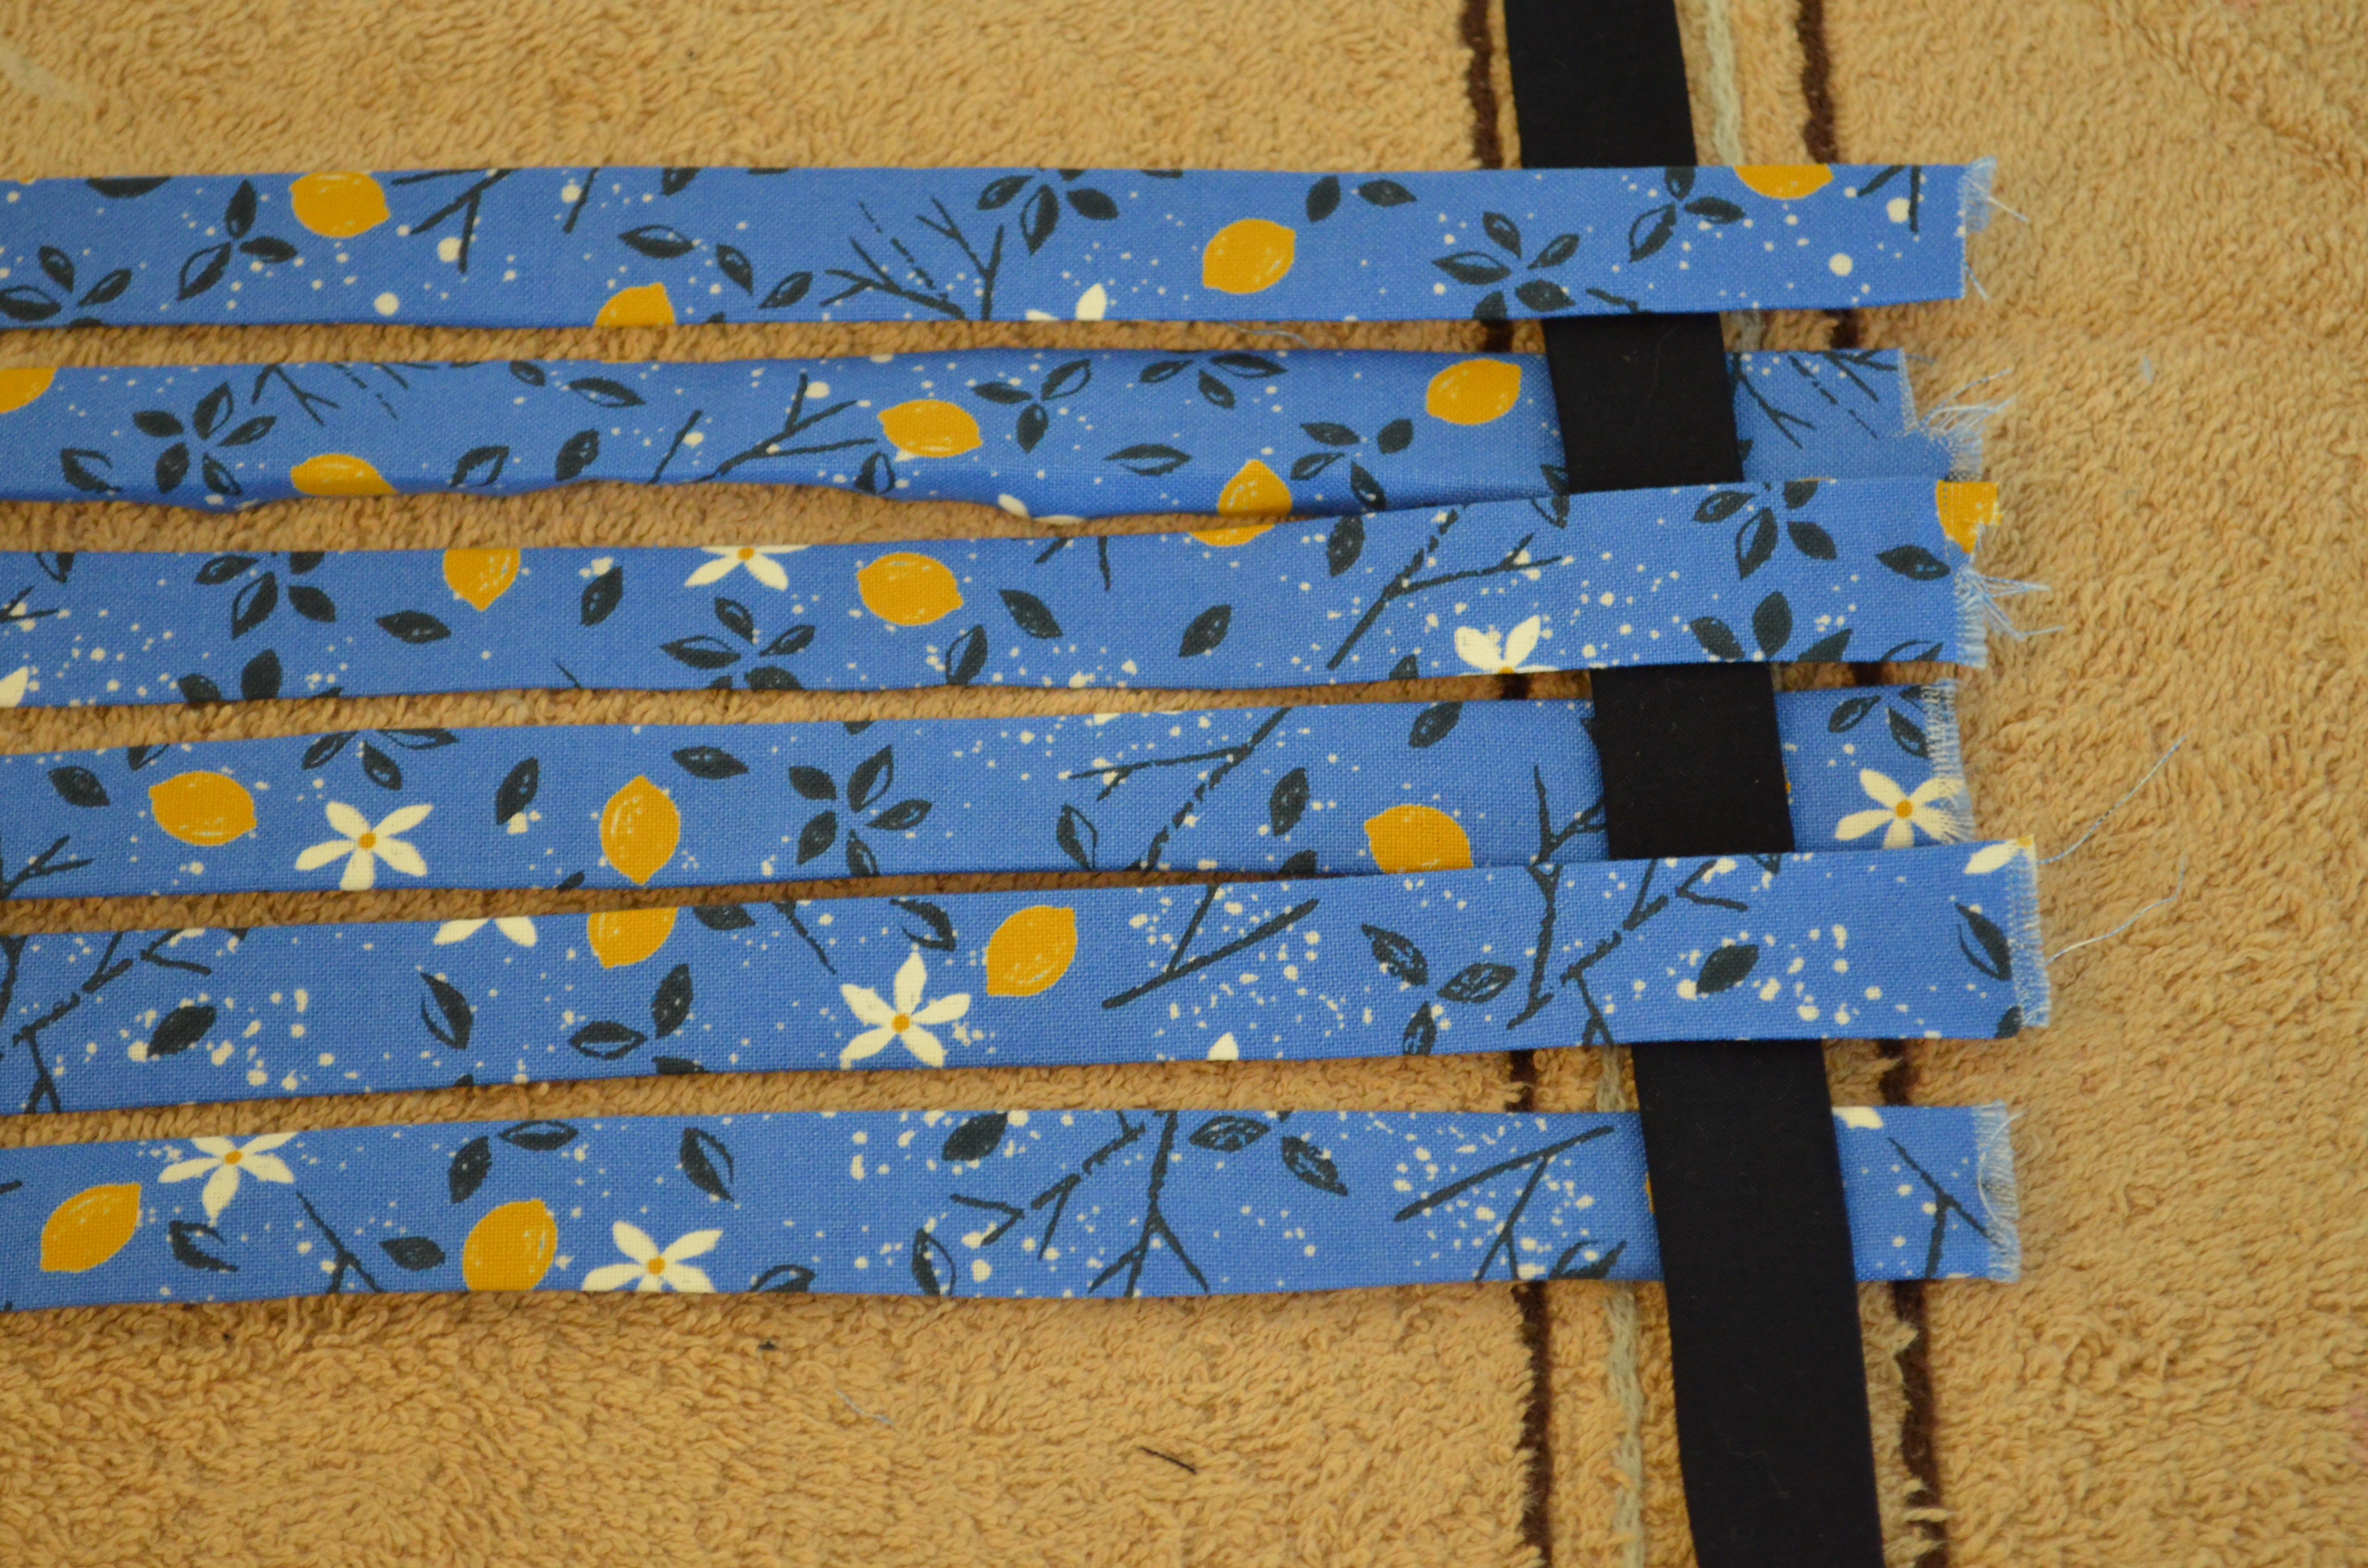
4. Complete the woven area and press flat.
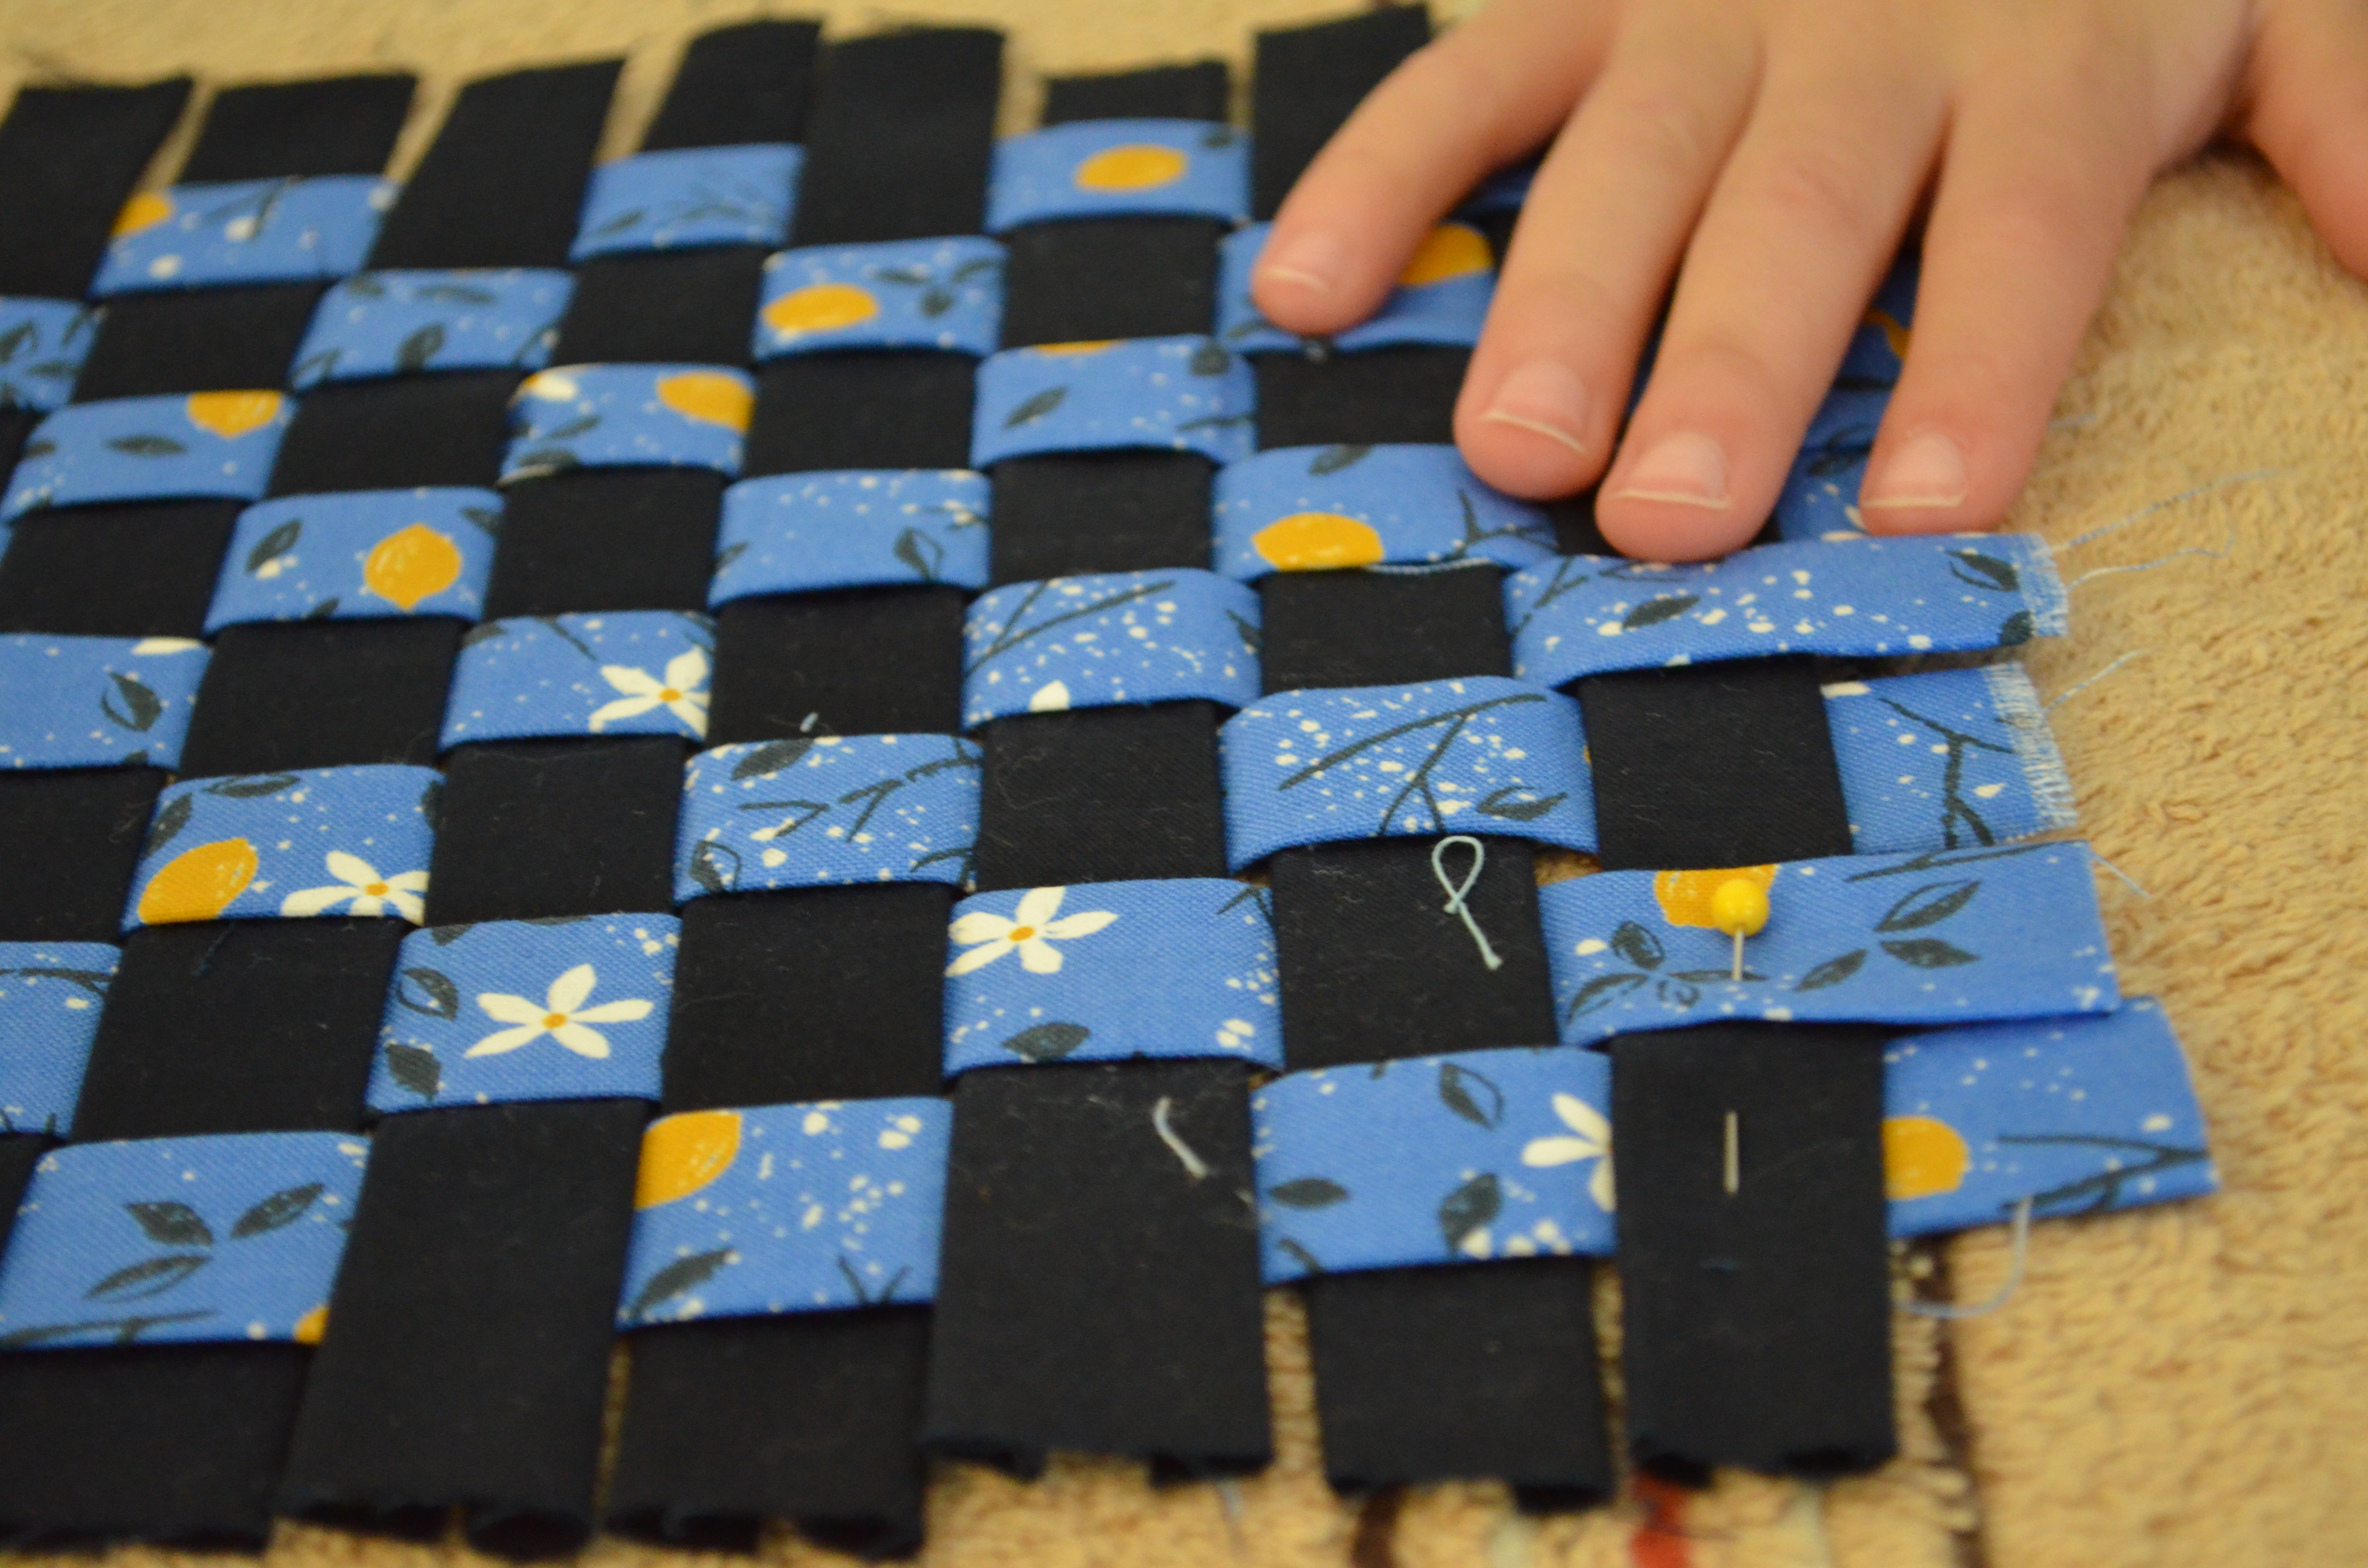
5. Pin the corner strips together as my son shows in the picture below. 🙂
6. Then, stitch the sides, top and bottom of the woven area together along the edge of the outside strips.

7. Add the woven interfacing to the upper part of the zipper bag, following manufacturer’s instructions. Pin the interfaced fabric to the woven area and stitch them together with about 1/4 inch seam allowance.
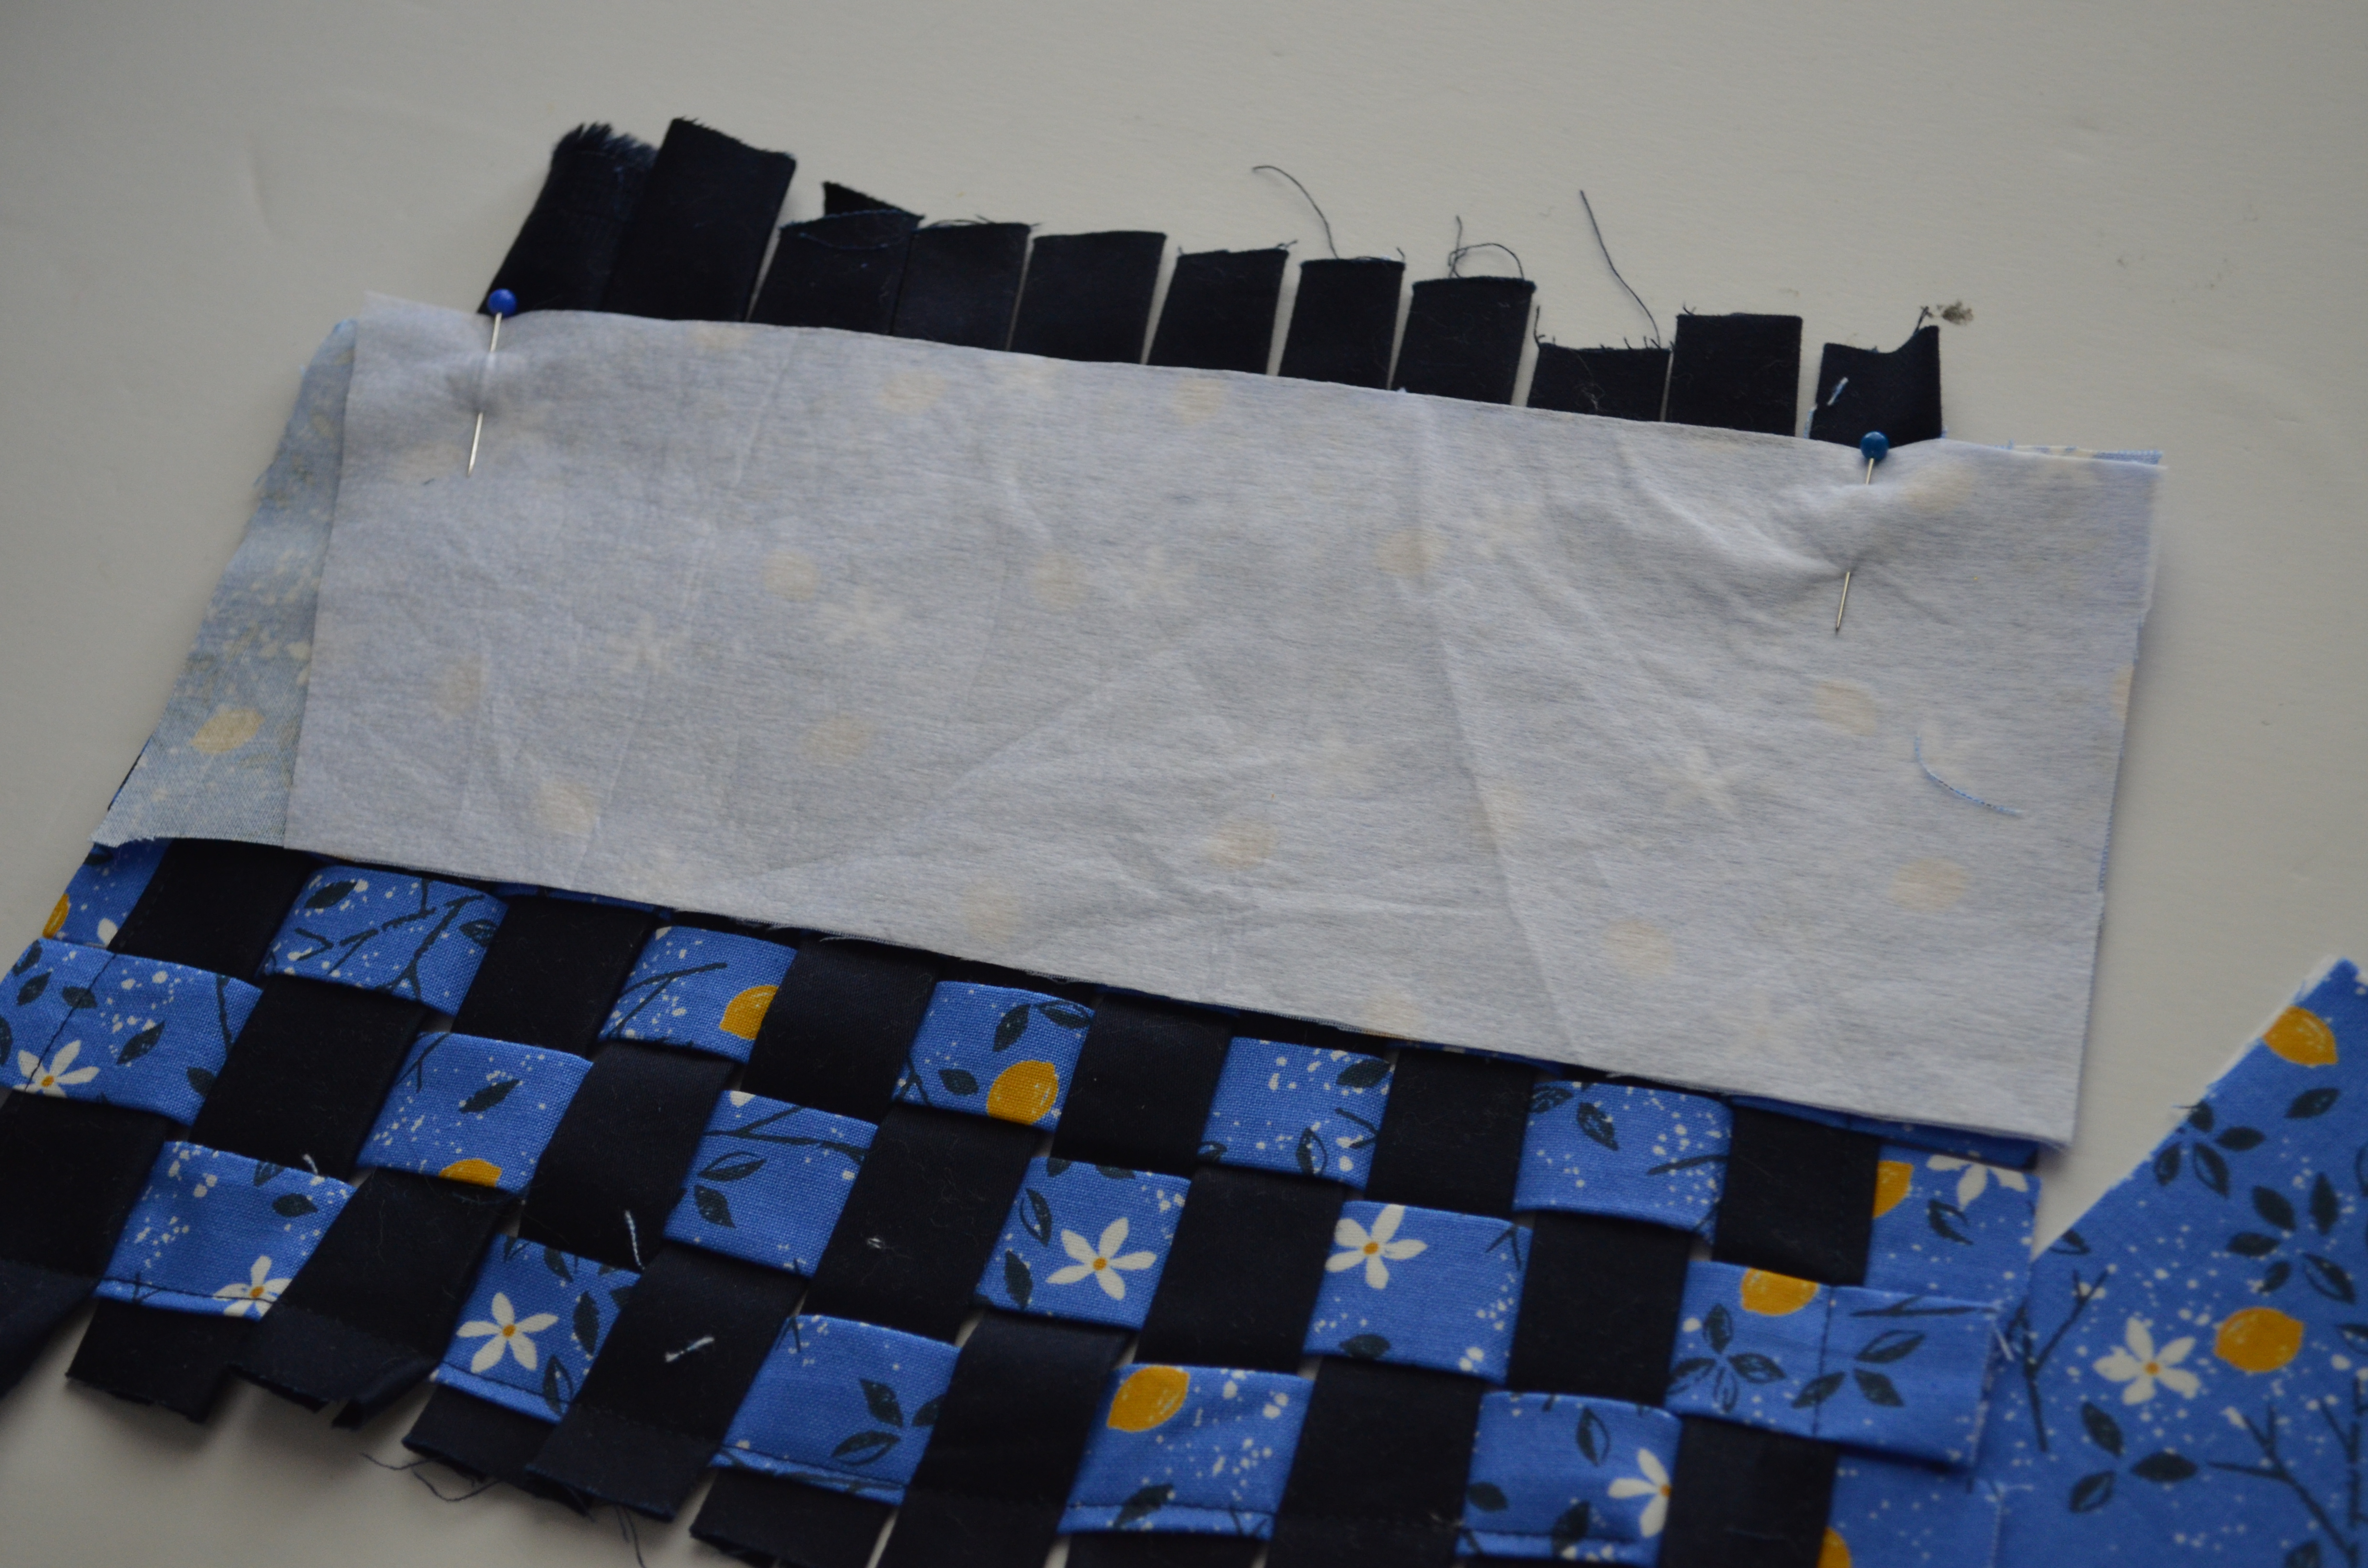
8. Repeat with the other side
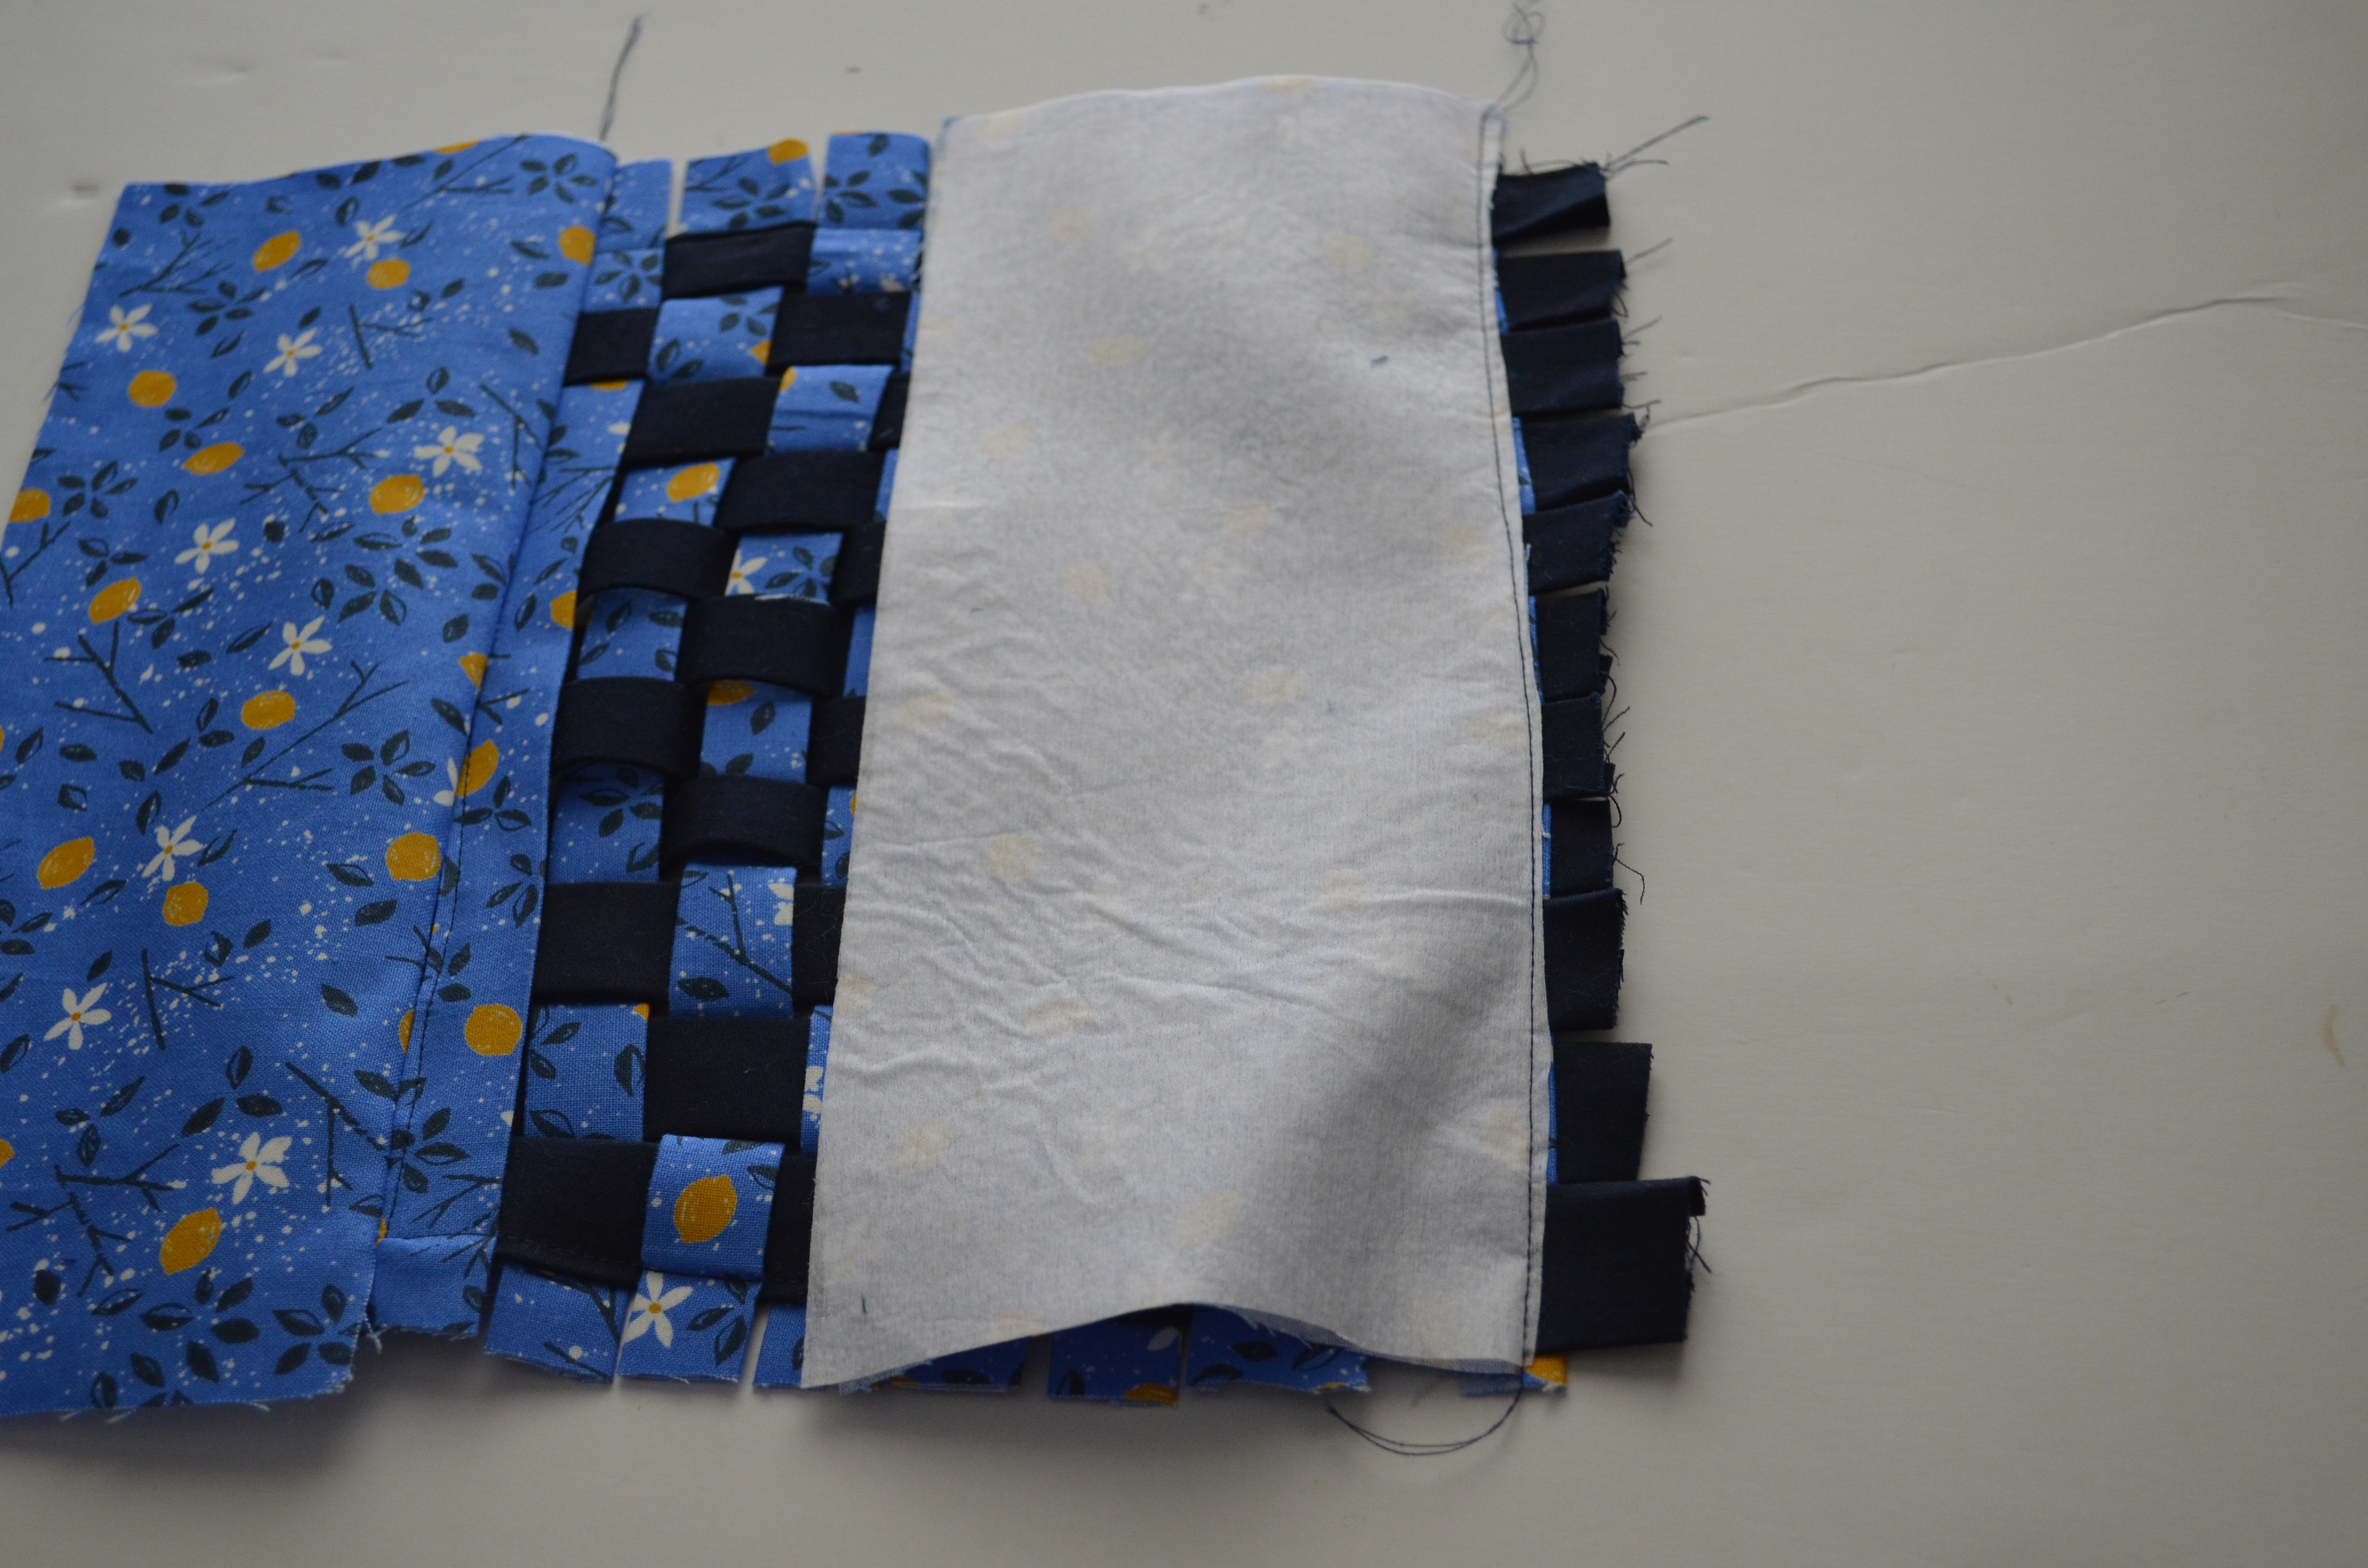
9. Press the fabrics flat. Then flip the top fabric back down, and trim off the extra fabric from the woven strips close to the stitching.
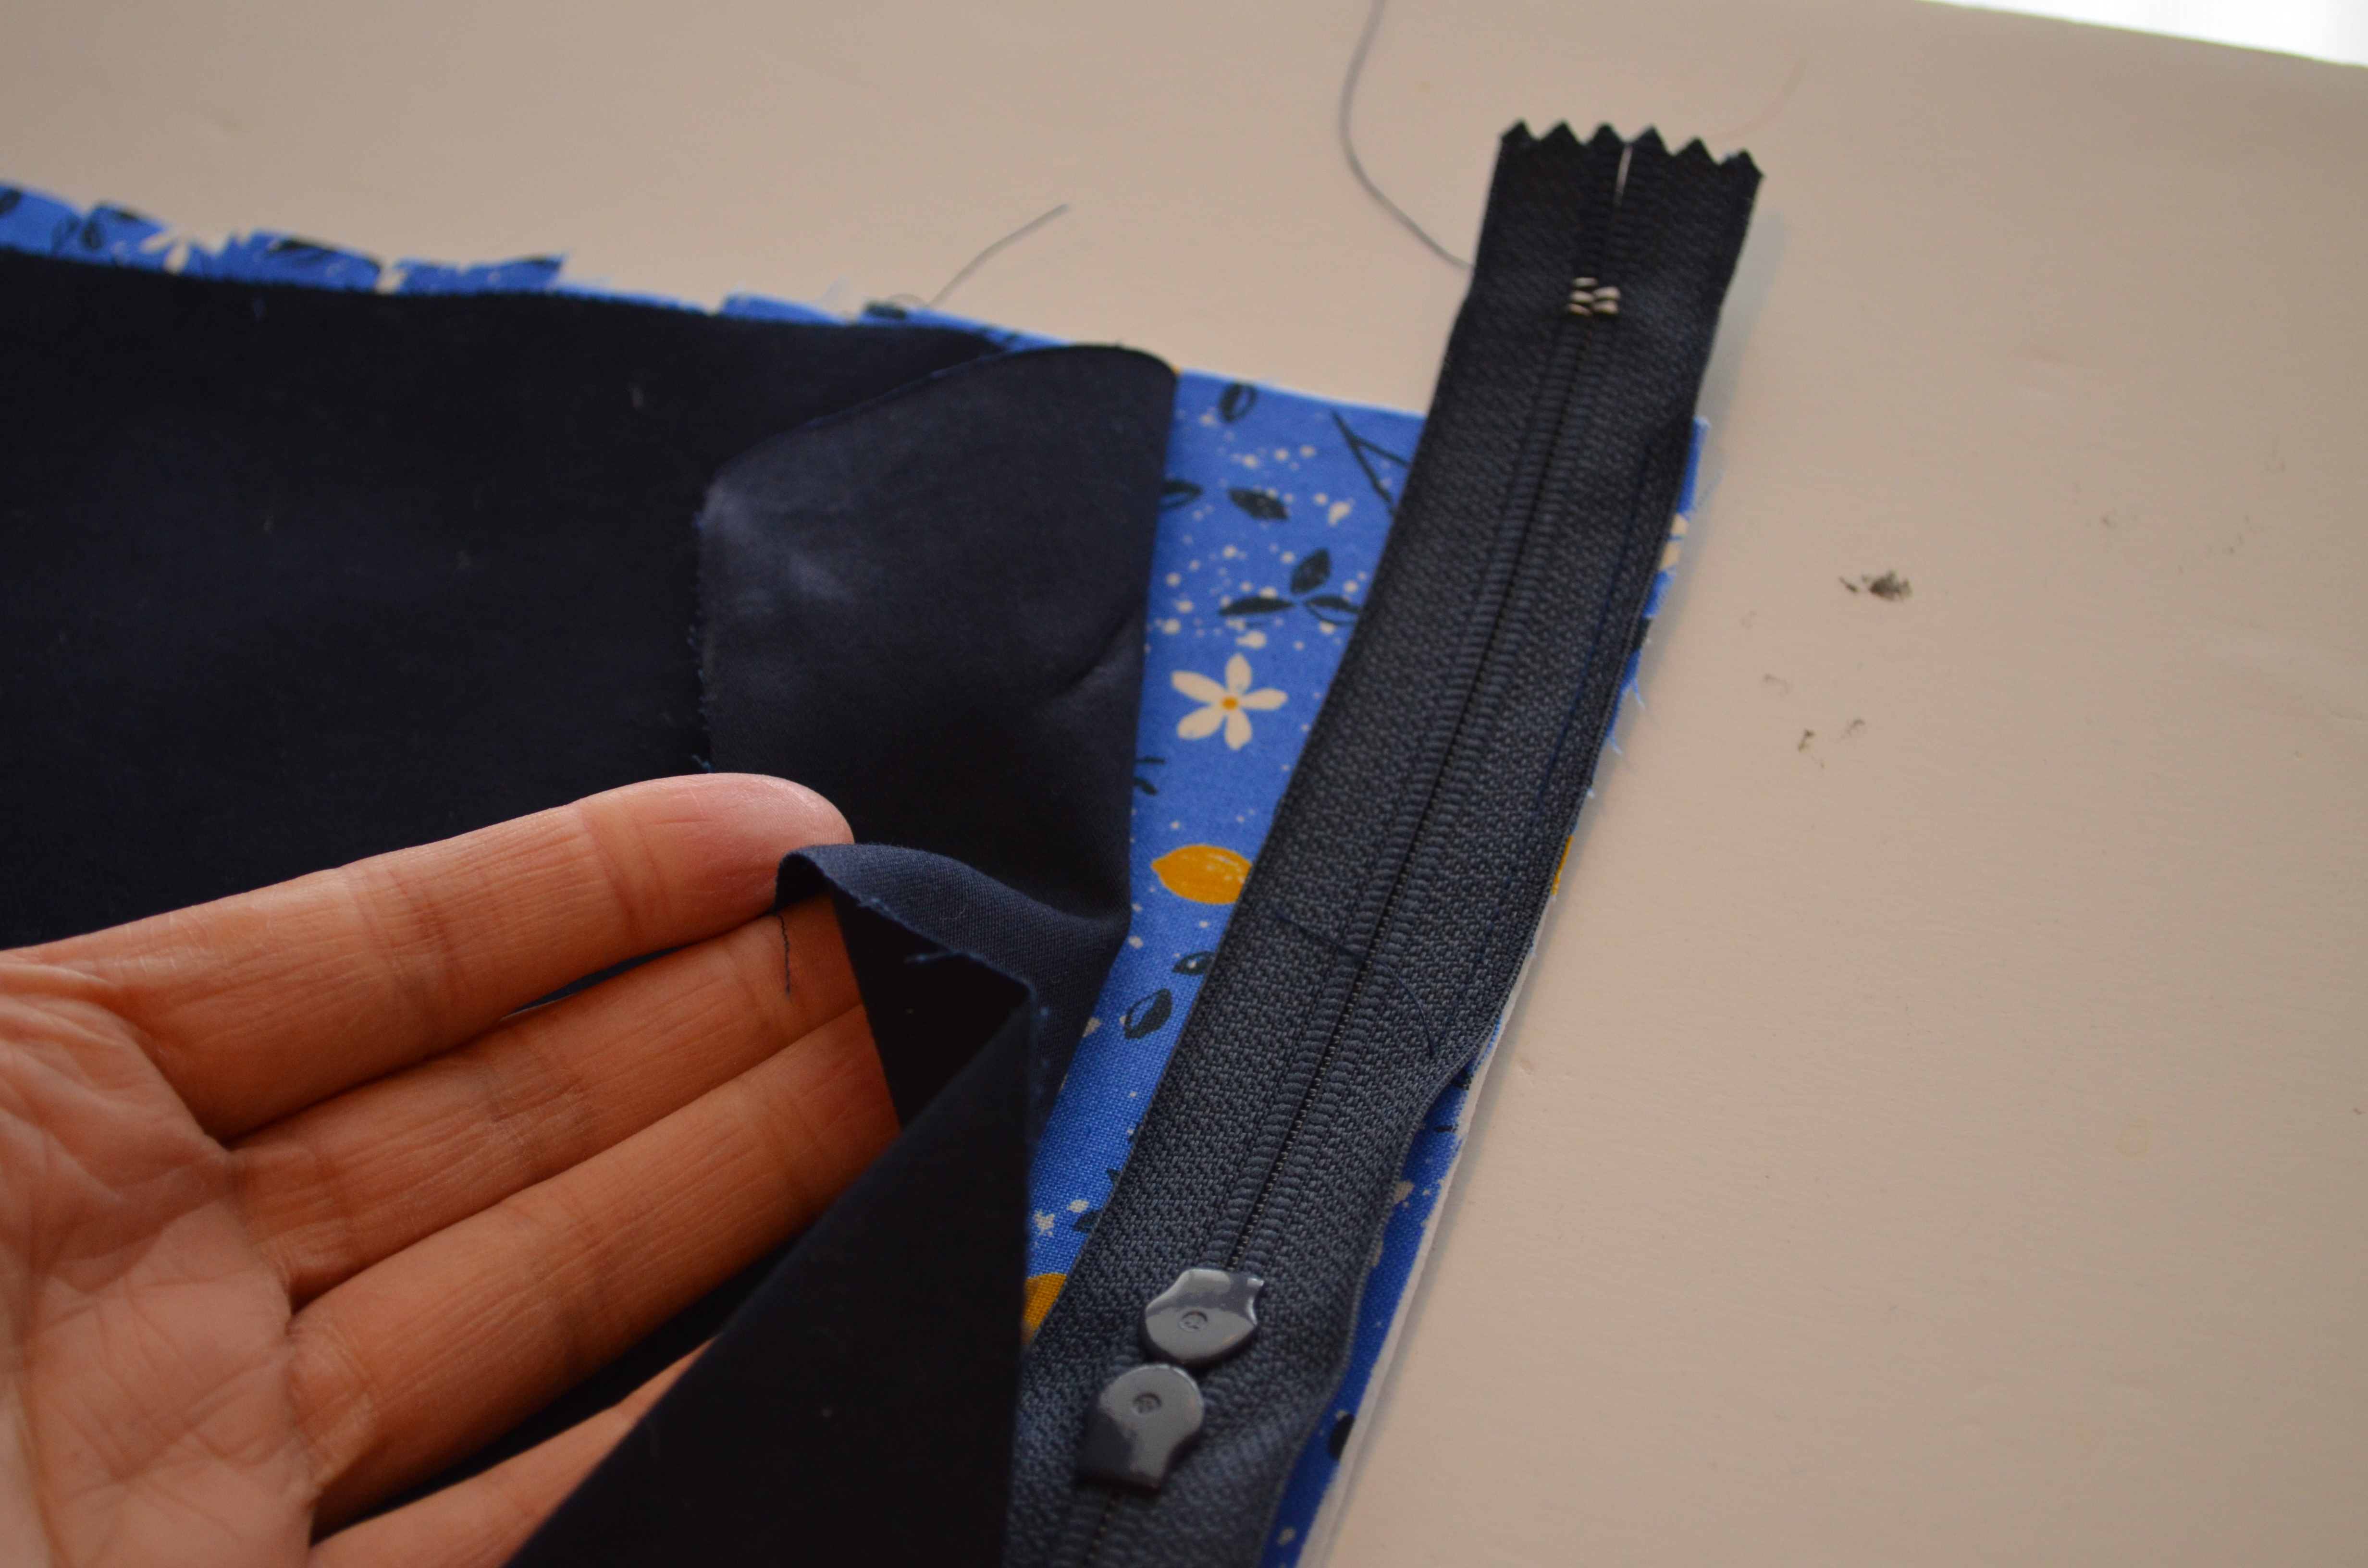
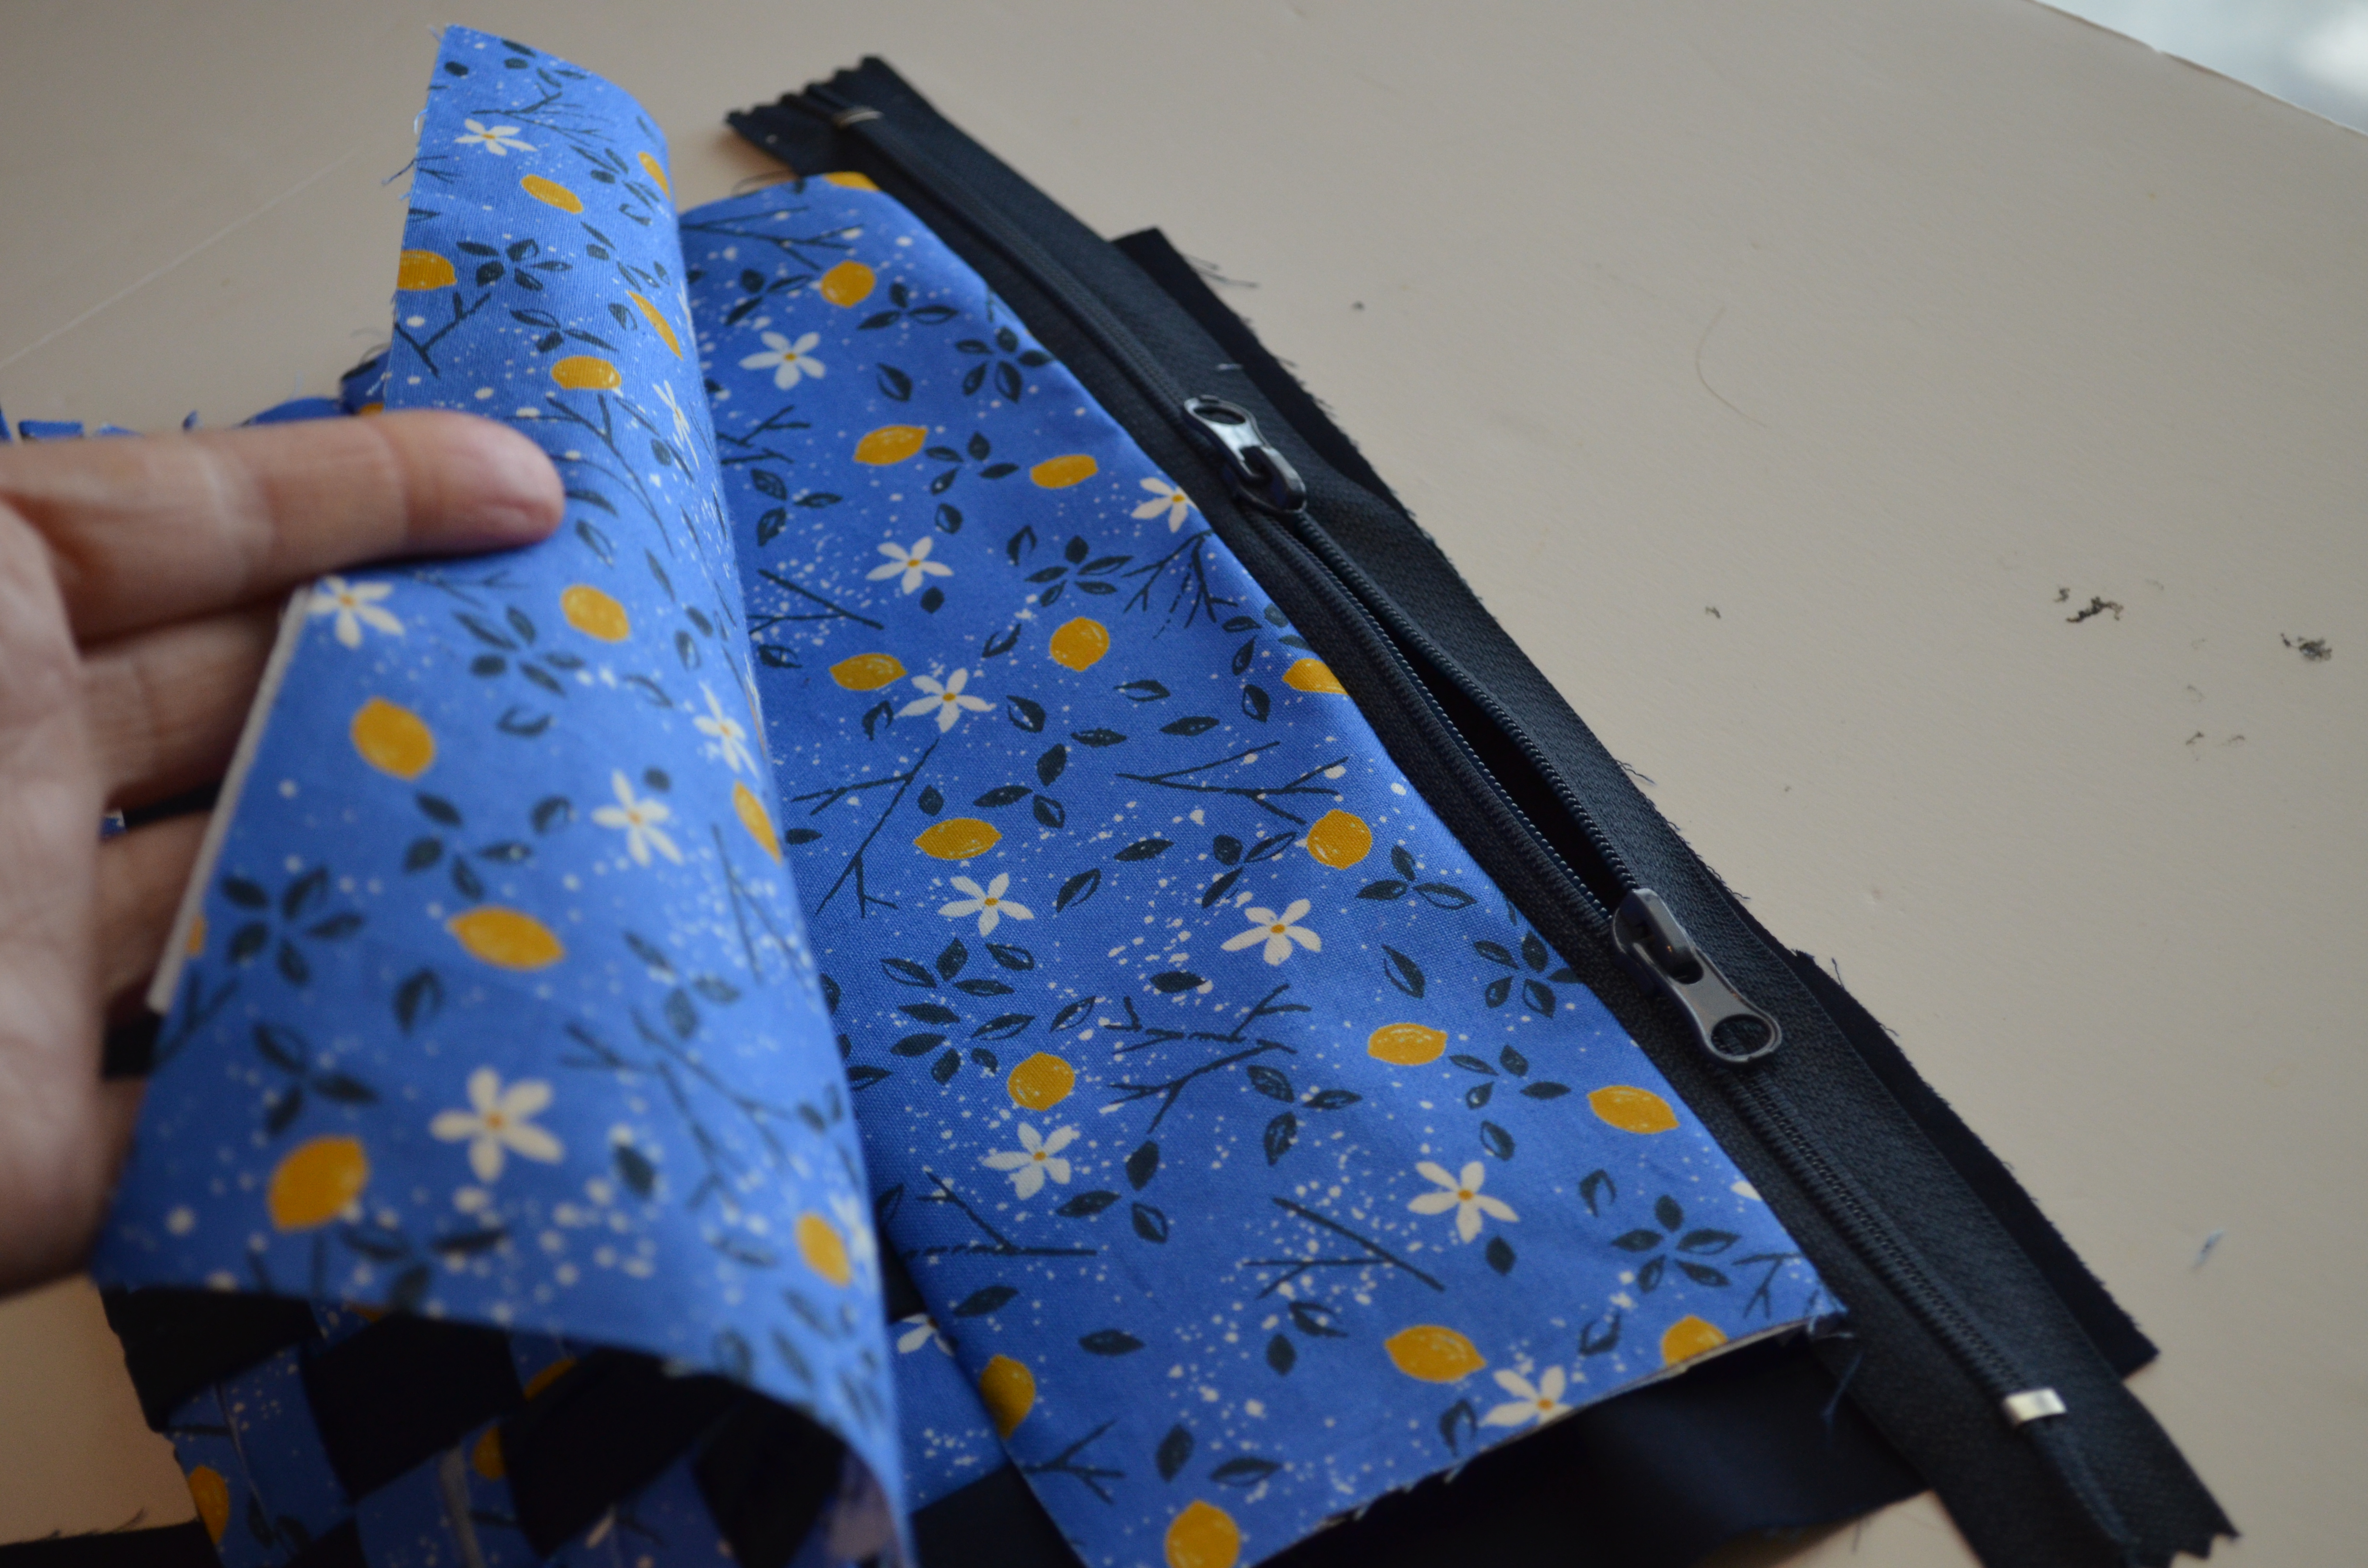
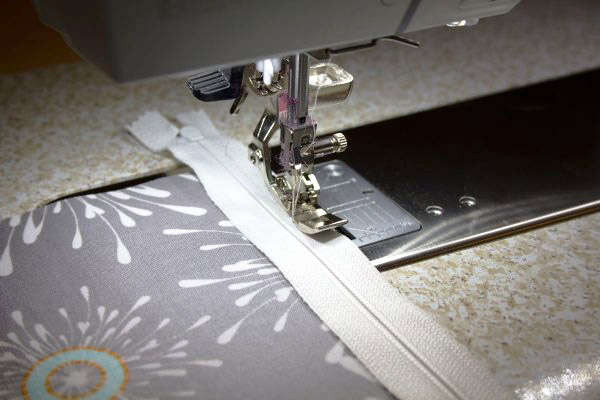
10. Now, bring the zipper to the table.

11. Place the zipper in between the inner fabric and the outer fabric, right sides facing.

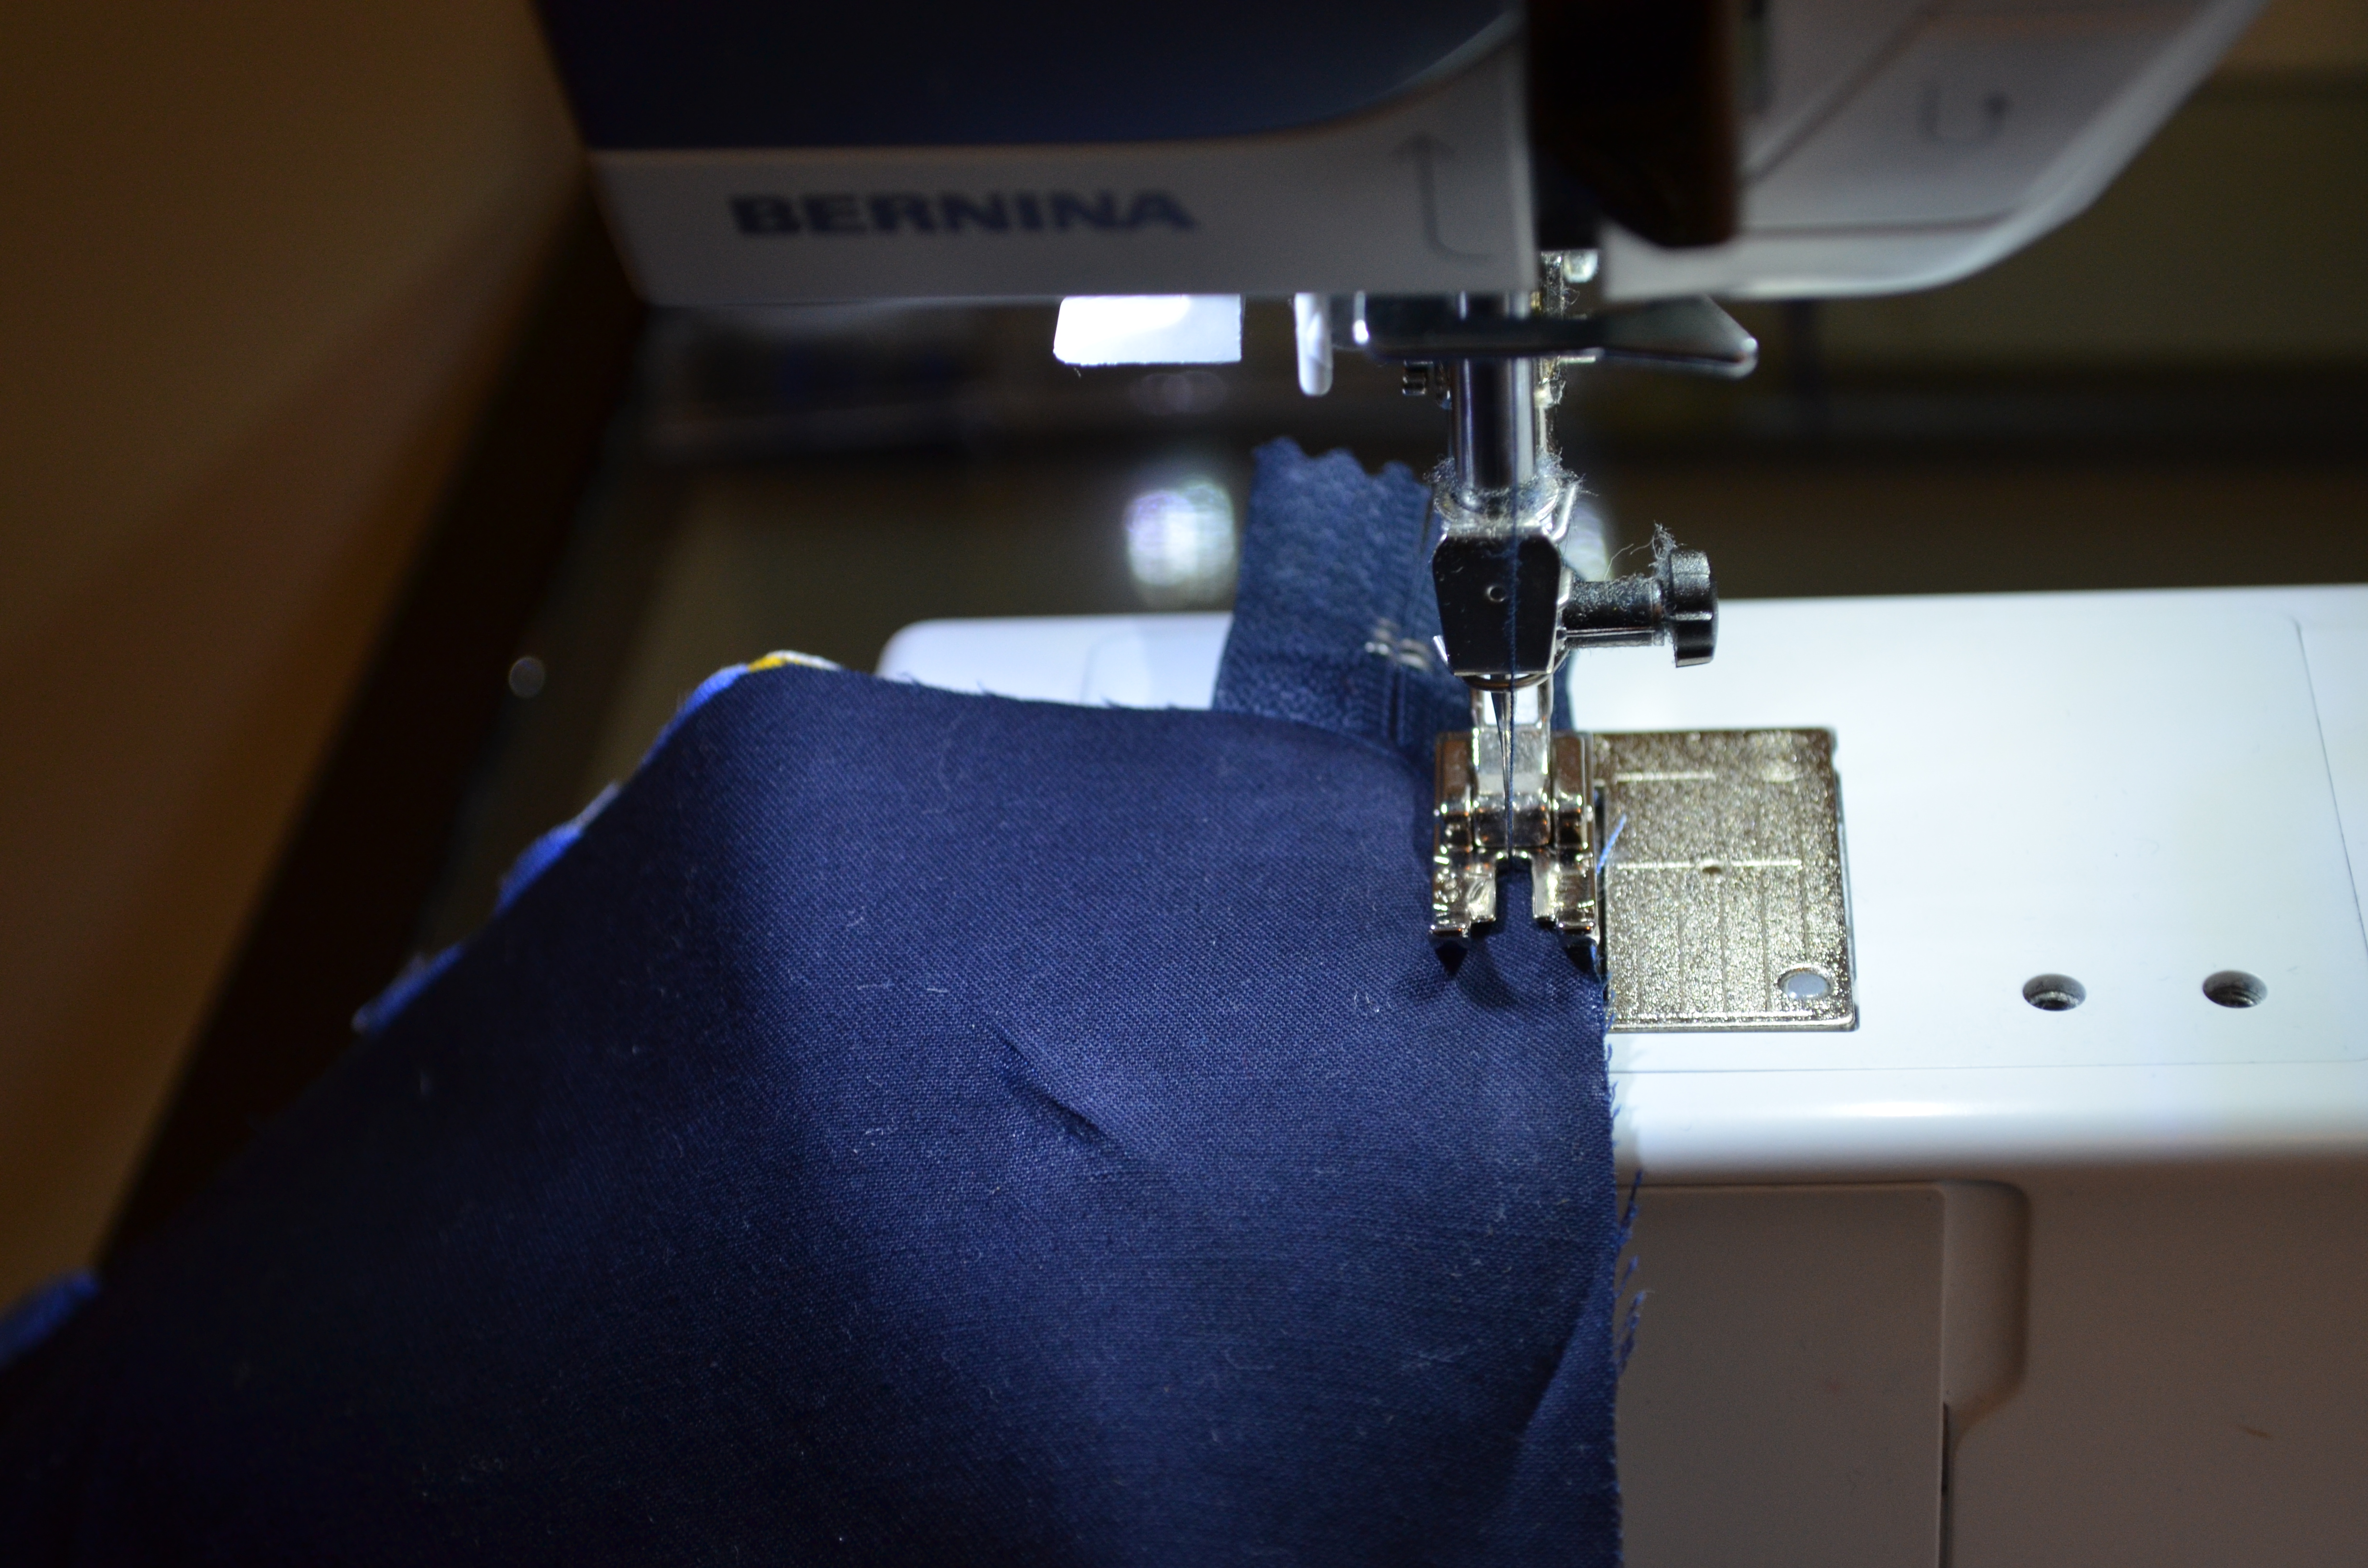
12. Using the BERNINA Patchwork foot # 37, I stitch the zipper with a 3/8 inch seam allowance.
13. Open the fabric sideways and press flat.
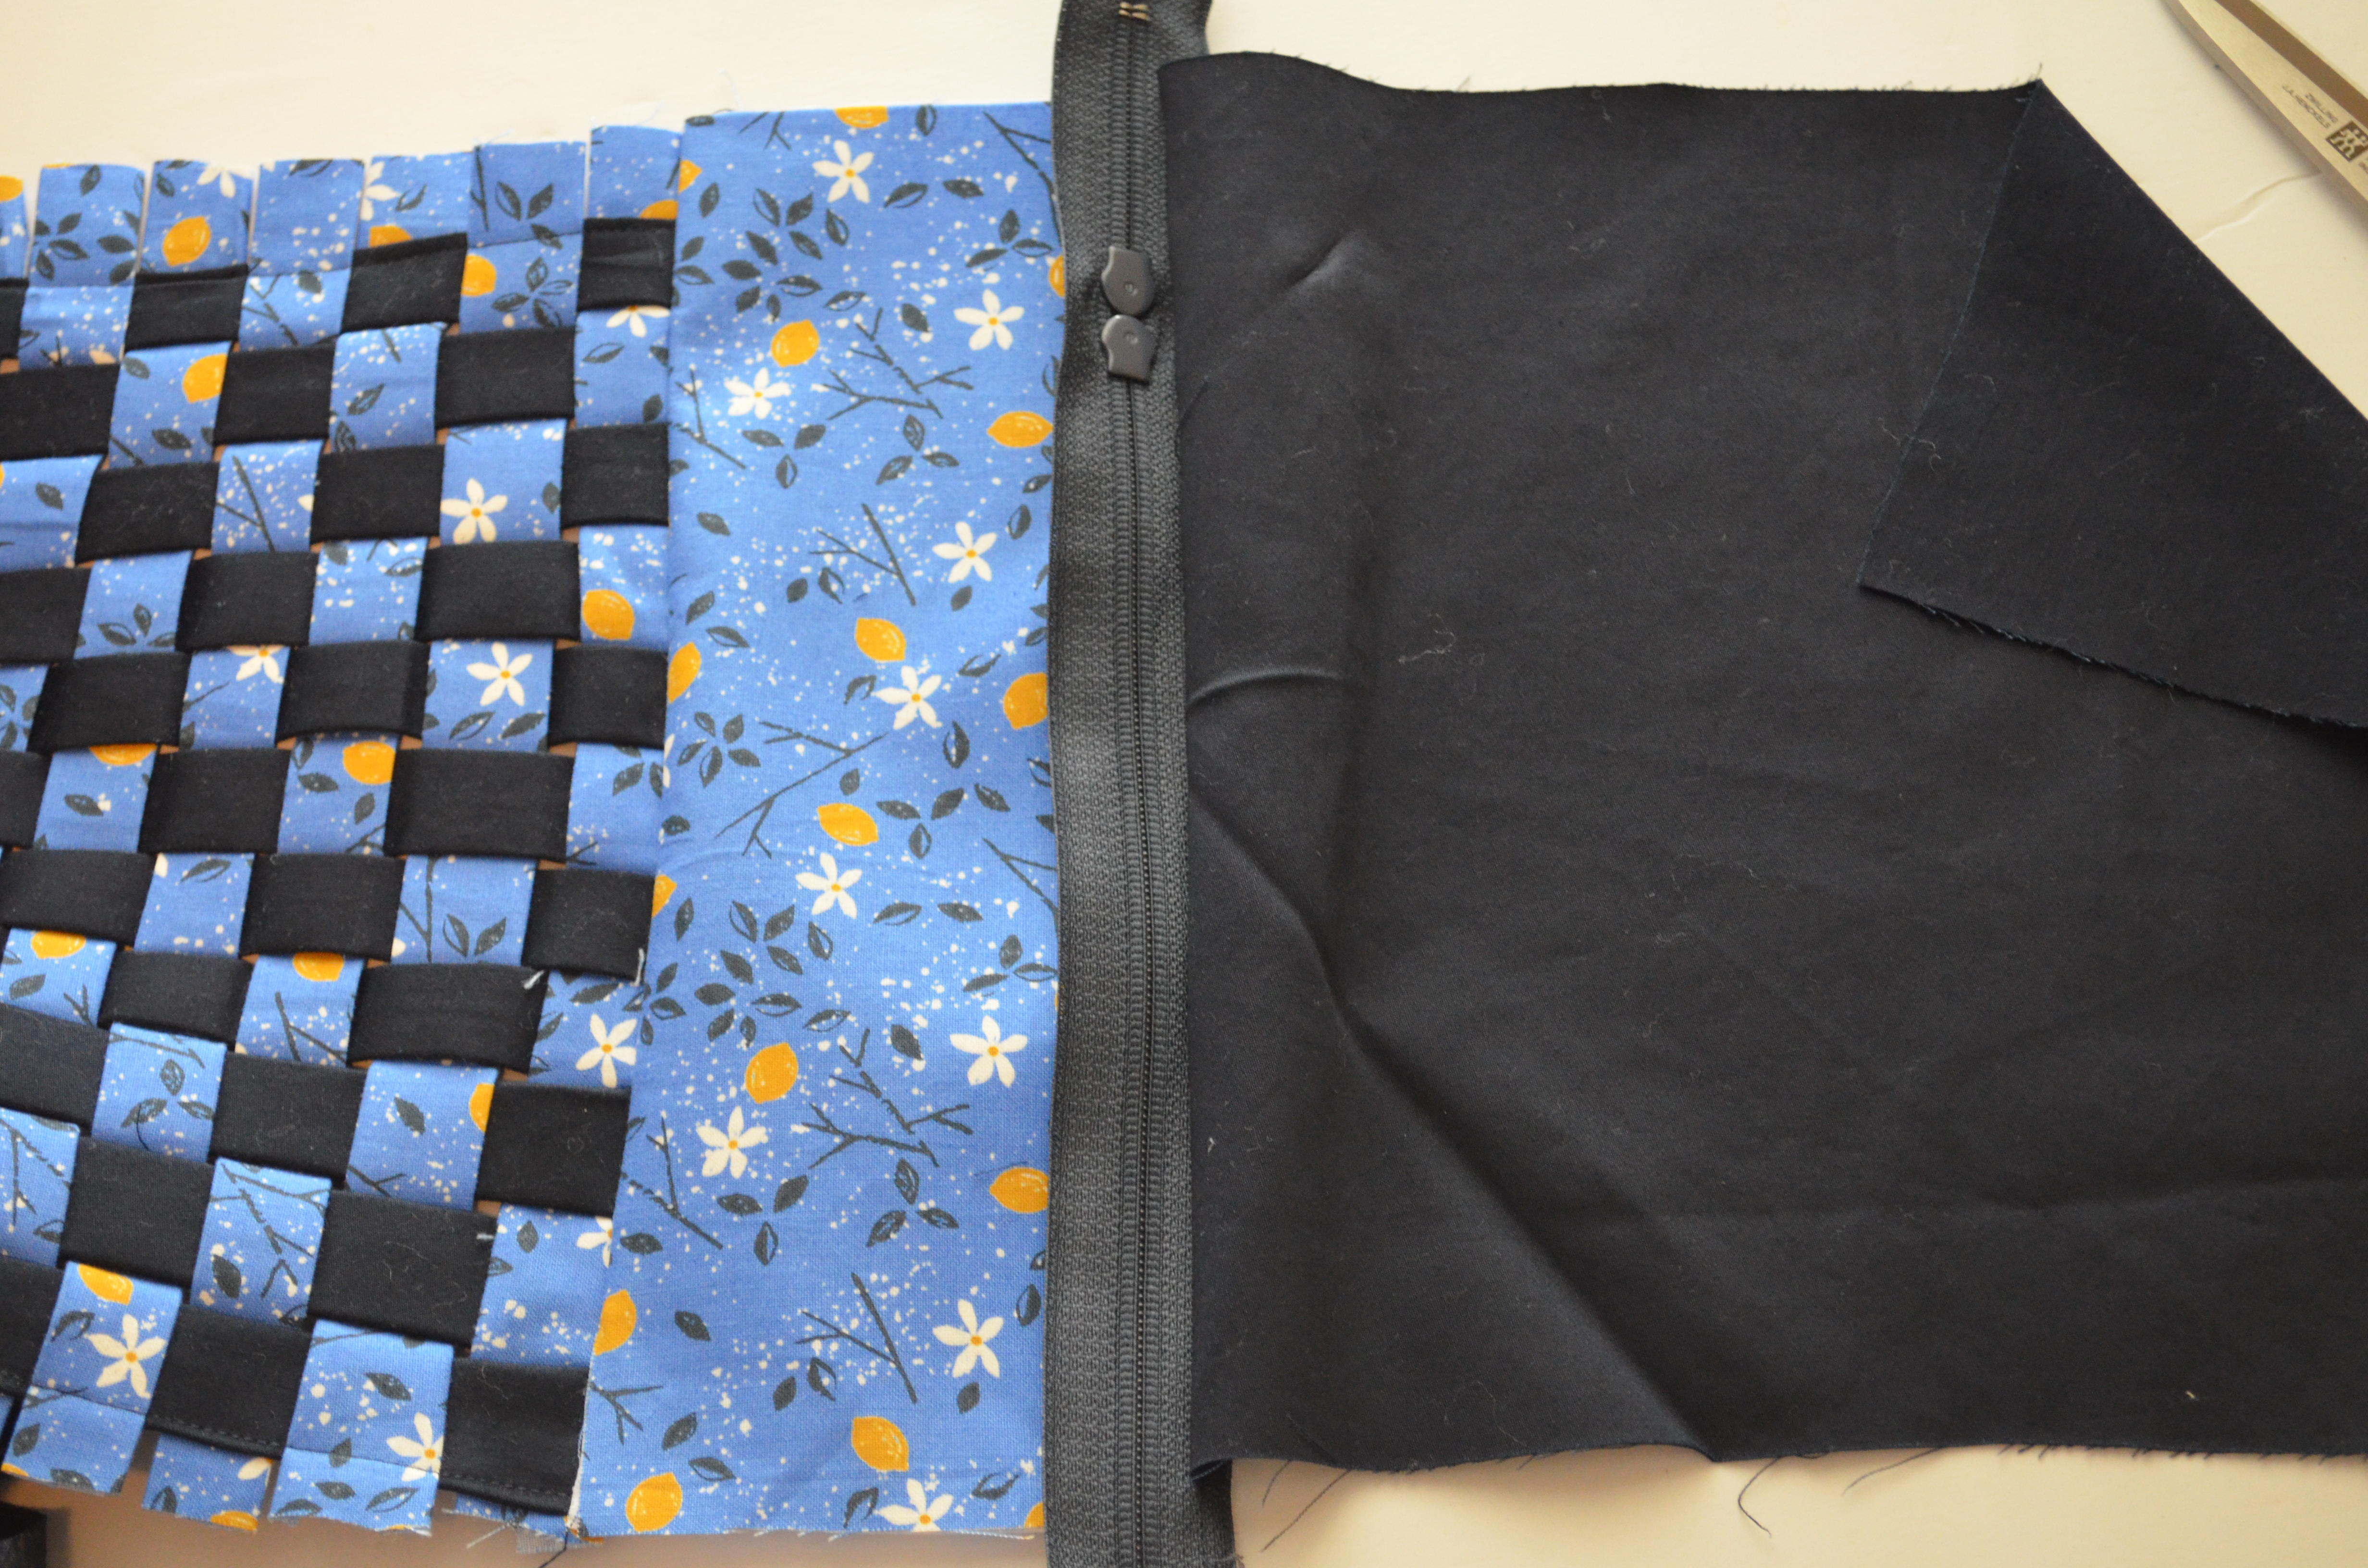
14. Fold the main fabric in half and match it with the zipper’s other side.
15. Place the inner fabric on the back of the zipper and stitch them together, right sides facing.
16. Spread the fabrics onto your table, matching inner fabrics together and the folded main fabric on the other side. Make sure to leave the zipper open a few inches to turn the bag inside out after stitching.
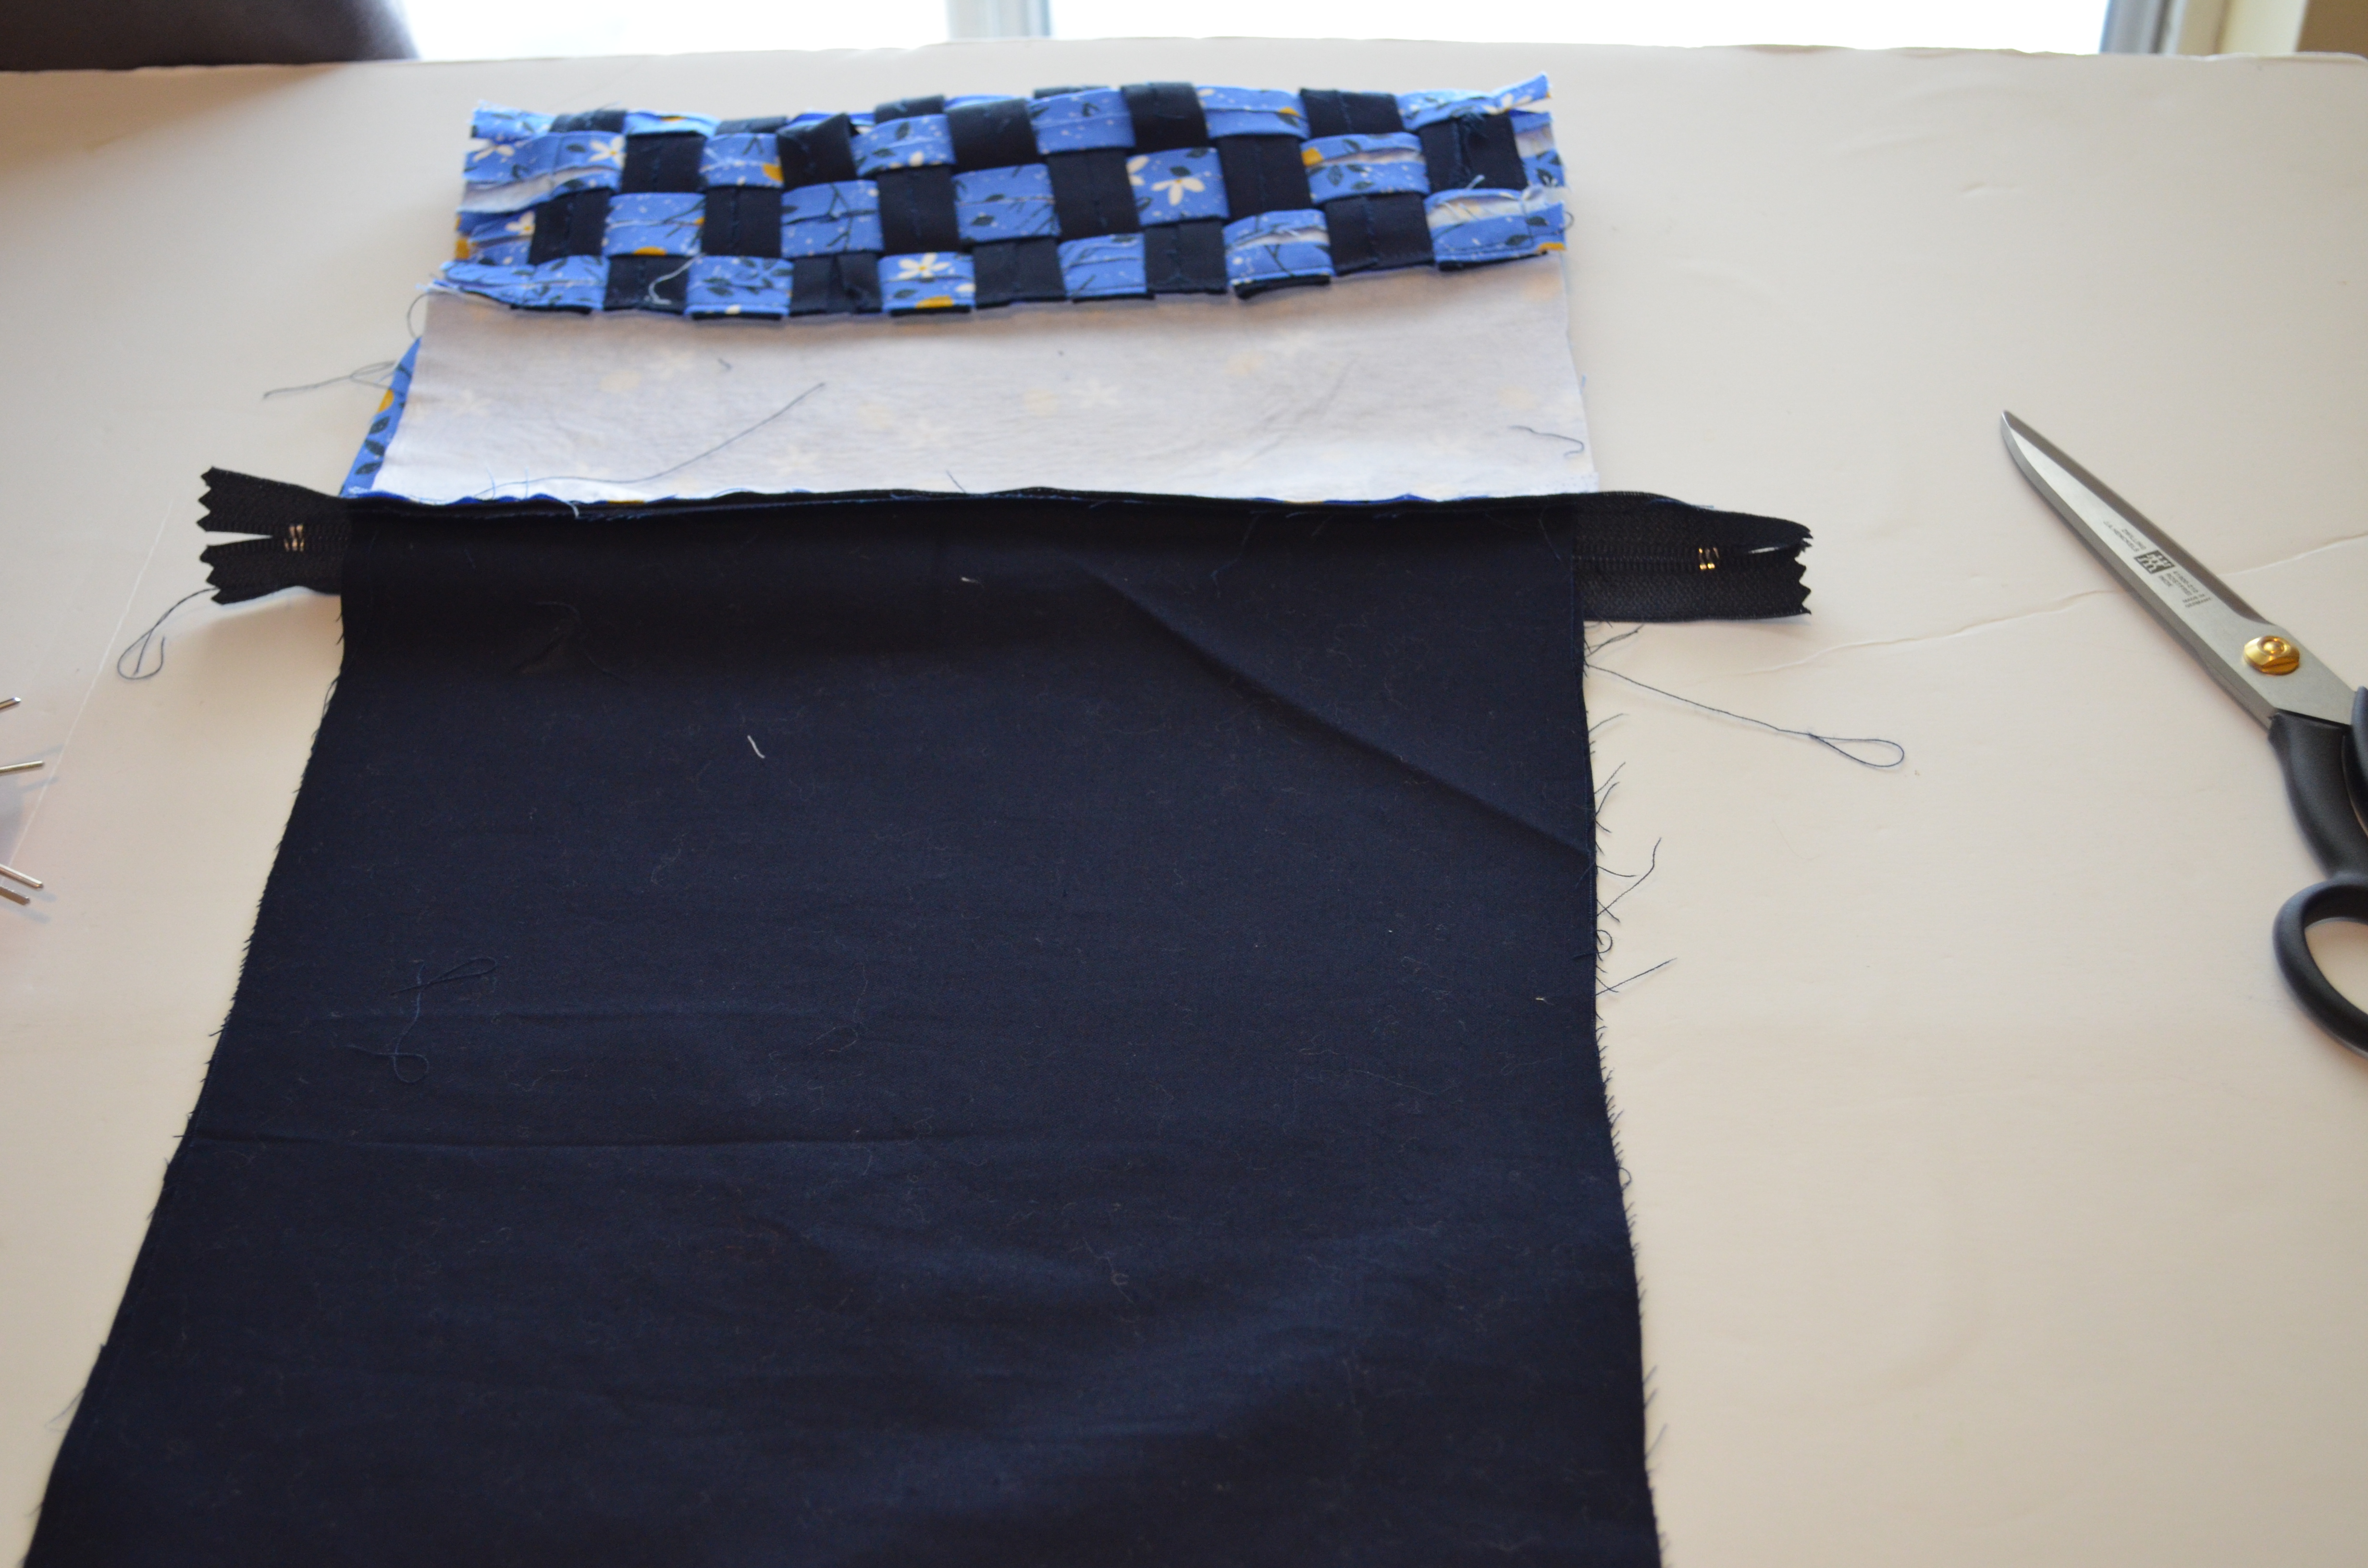
17. Stitch the bag all along the sides of the main fabric, and the inner fabric sides and bottom. However, leave a 4” opening at the bottom of the inner fabric to turn the zipper bag to the right side.

18. Now, turn the bag to the right side.

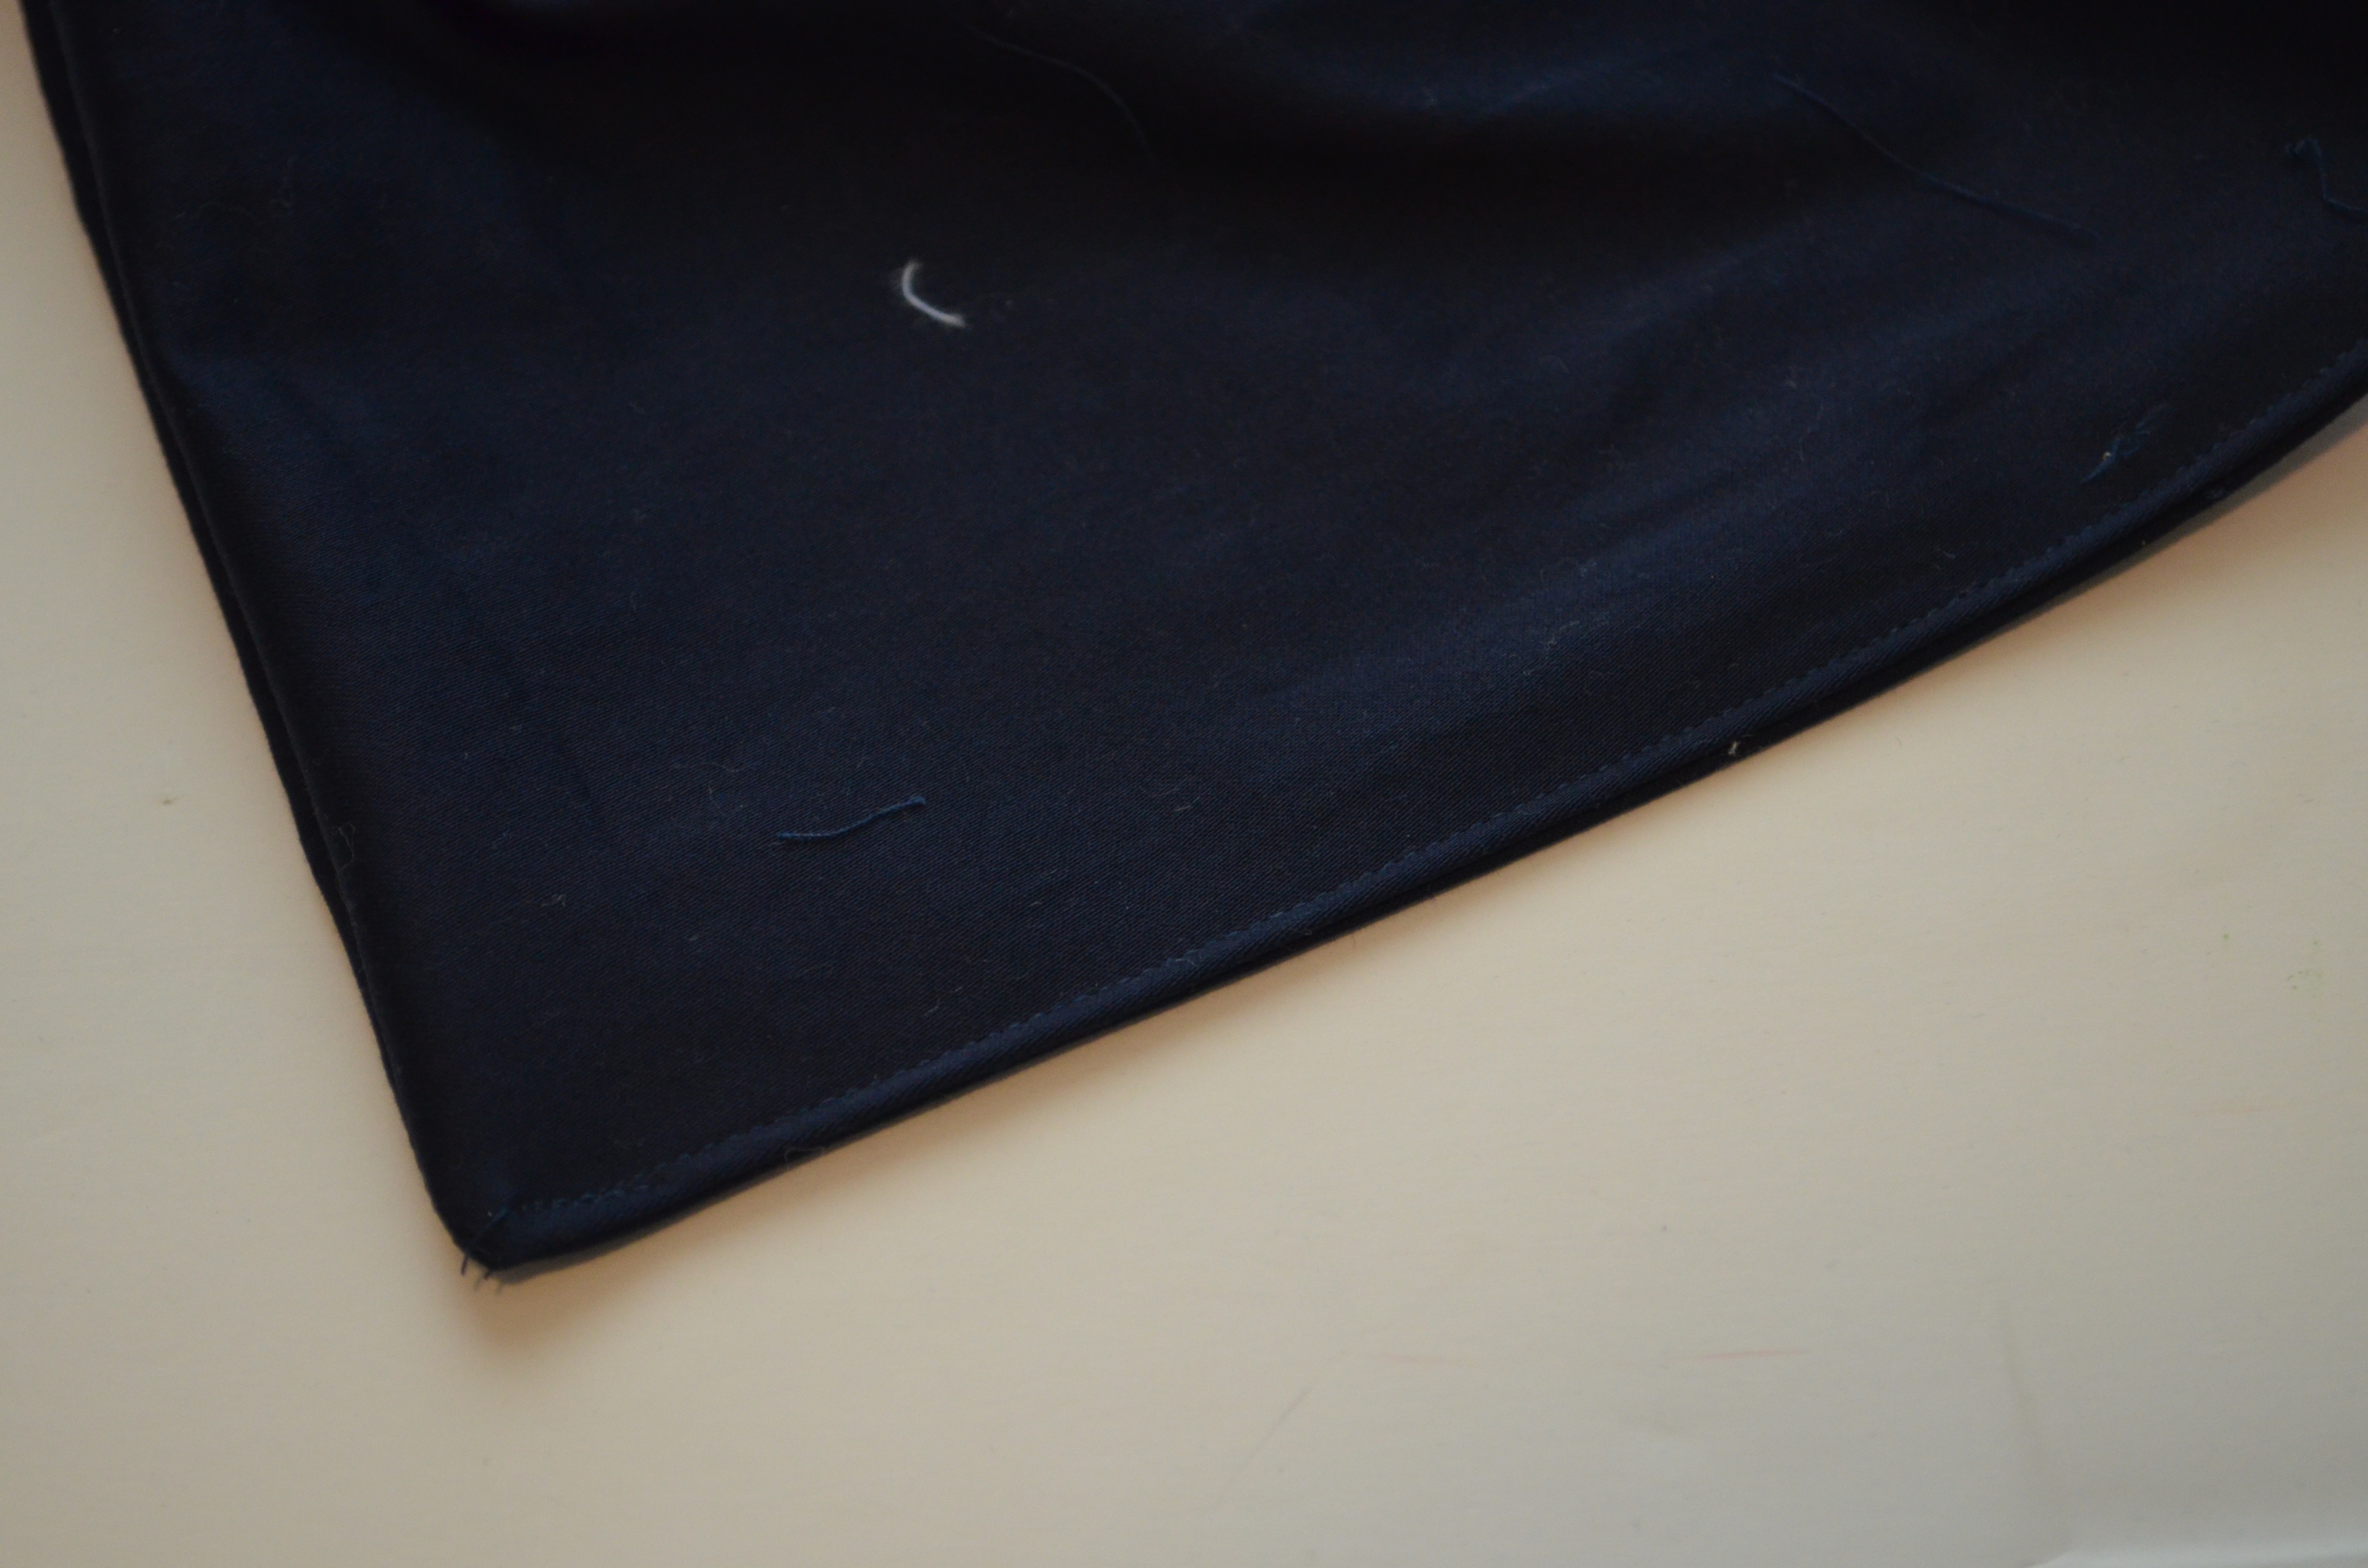
19. After this, fold the 4” opening to the inside and press it.

20. Then, stitch the bottom with 1/8 inch seam allowance.
And that’s it!
I hope you enjoy this project and please, let me know your thoughts.
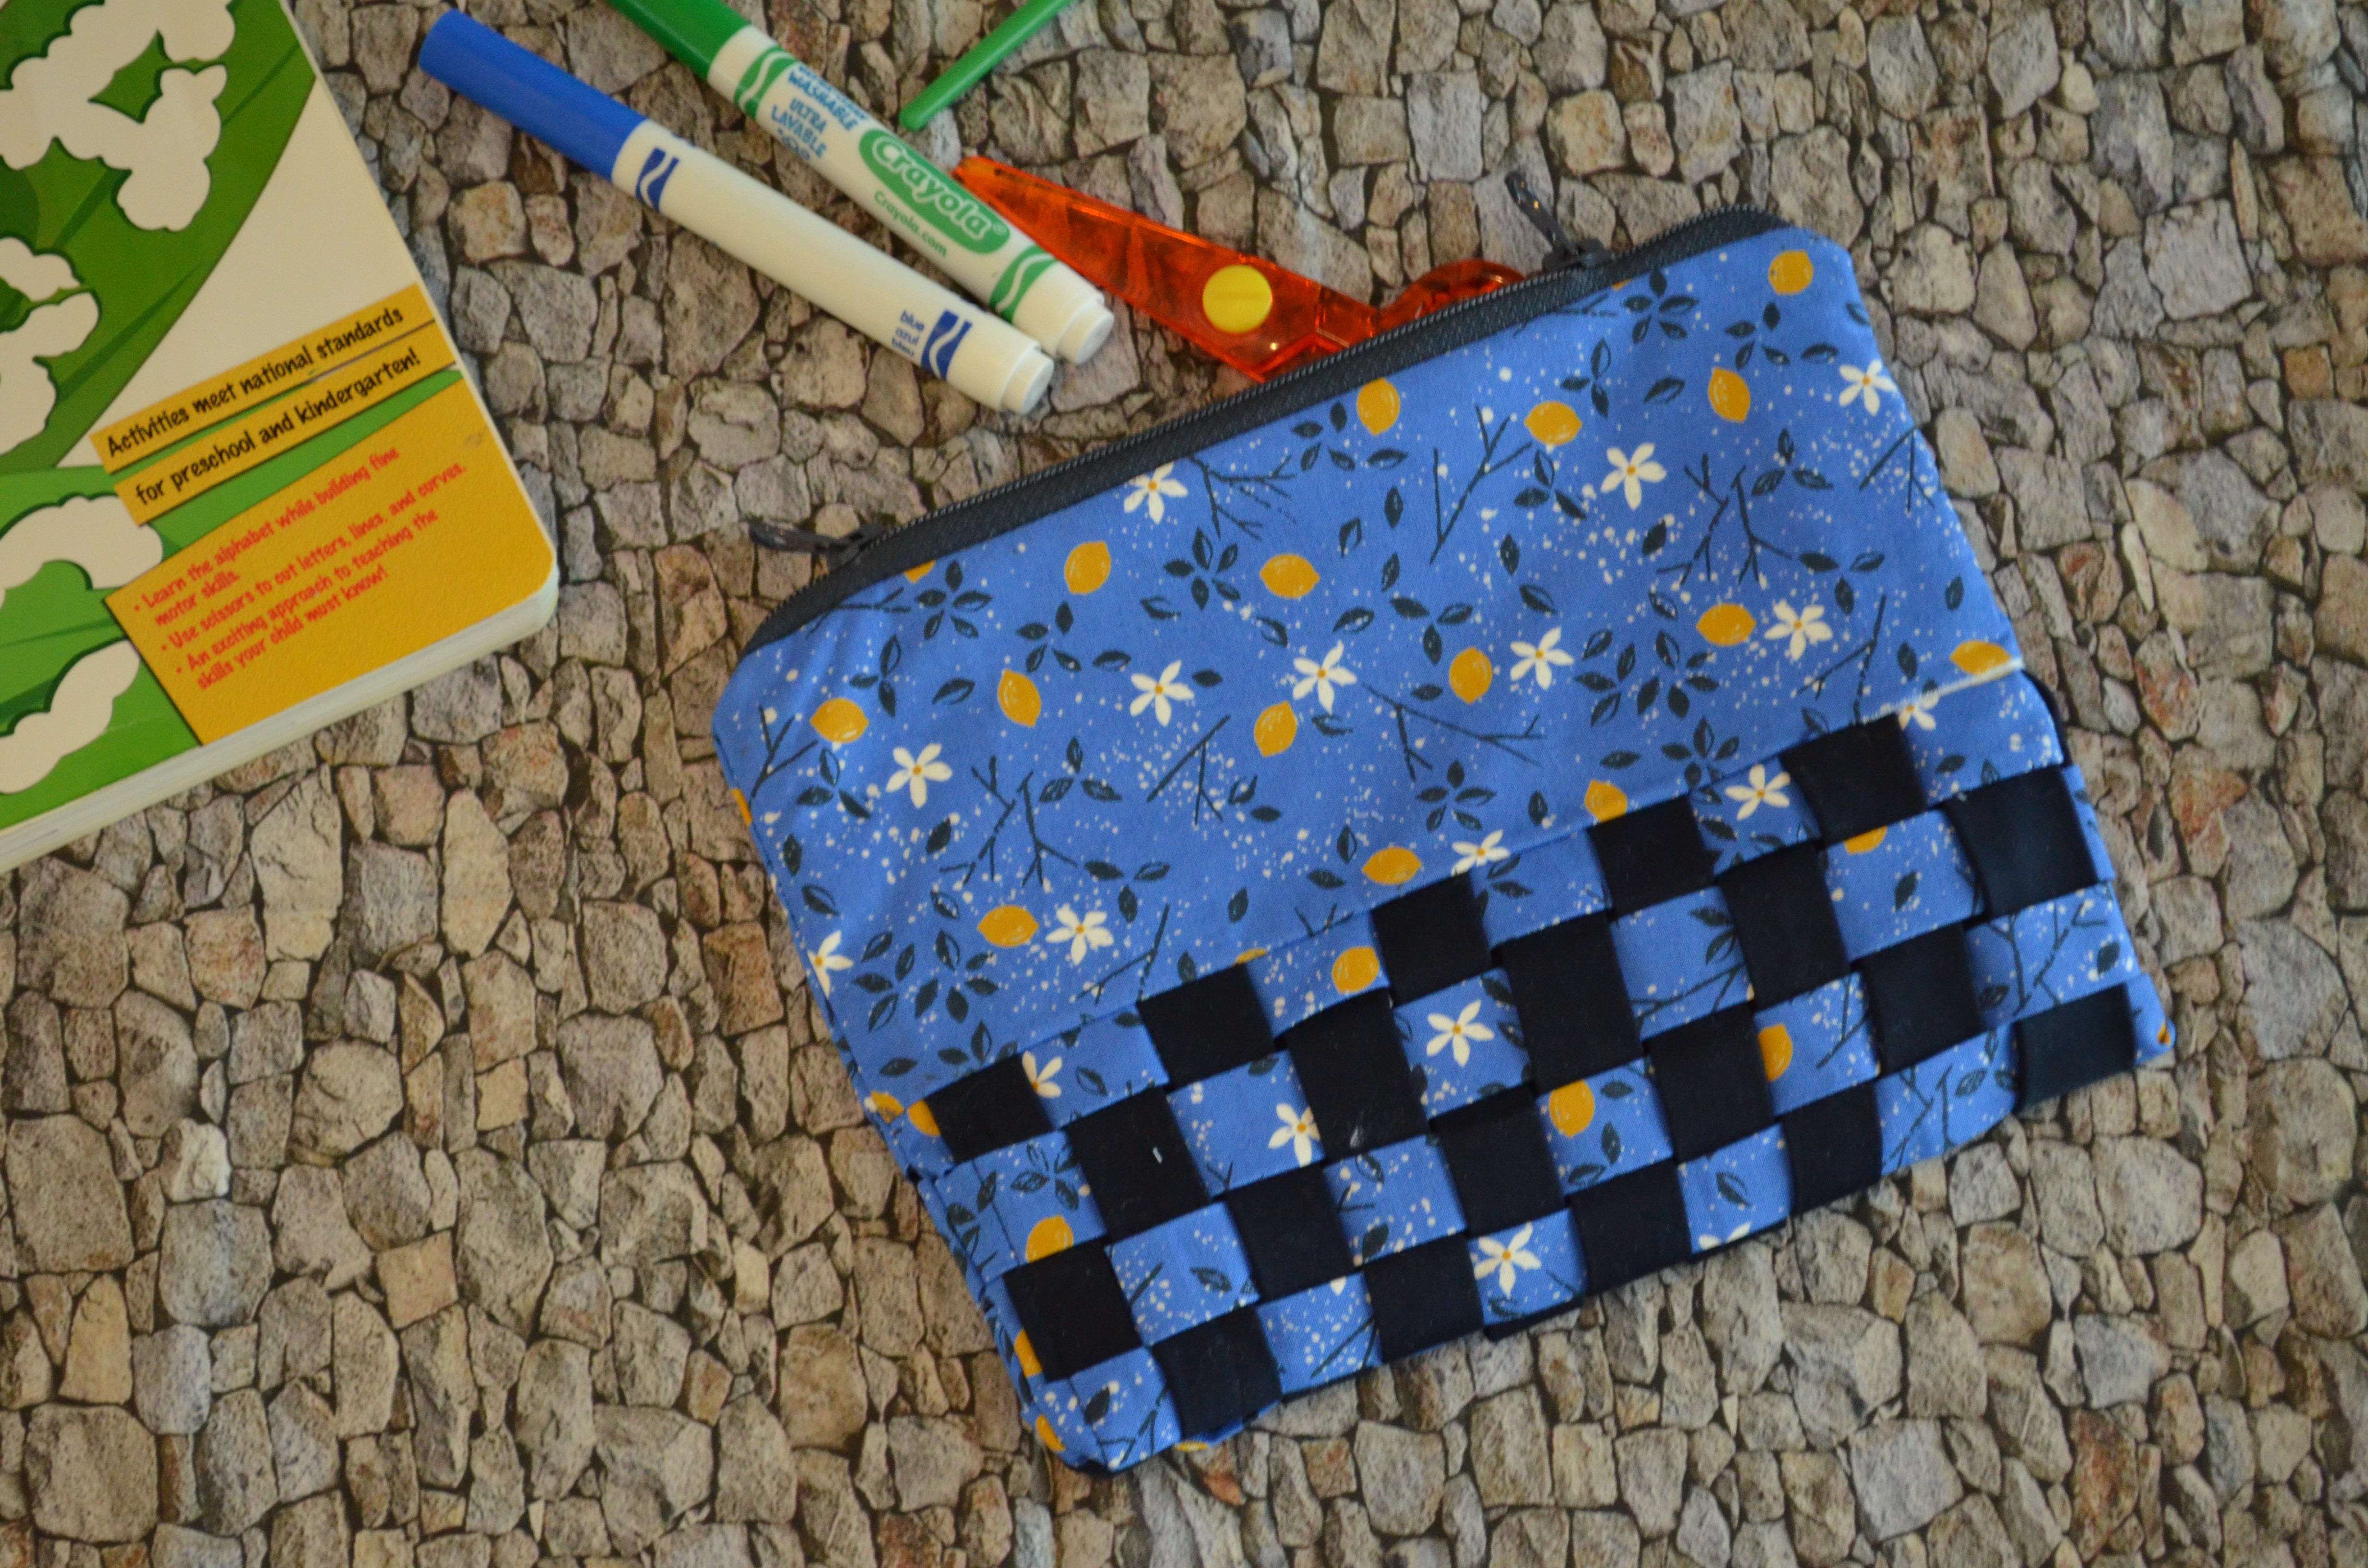


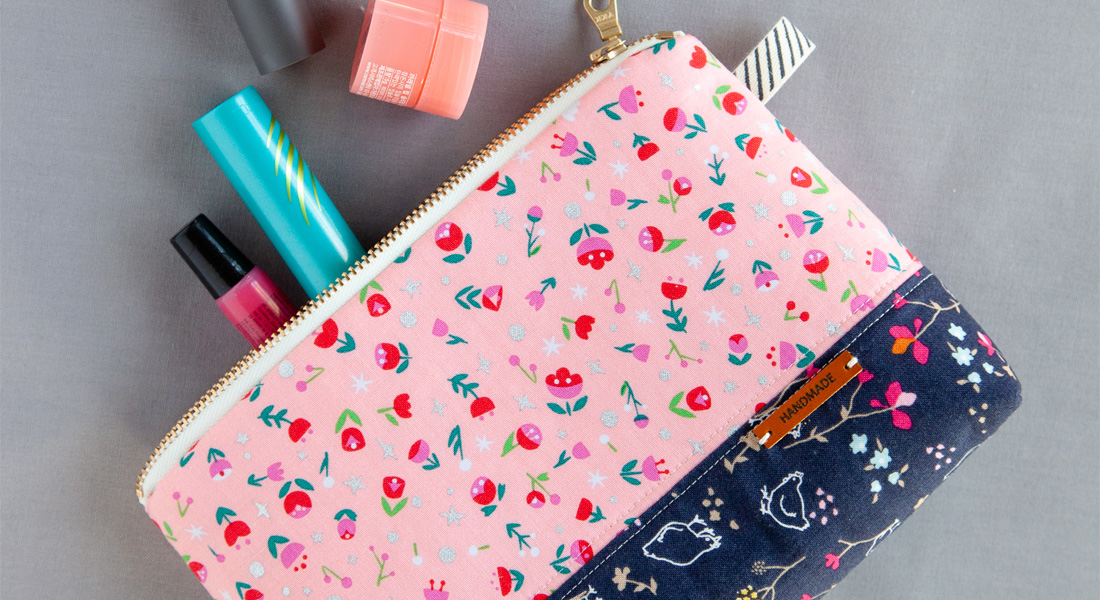


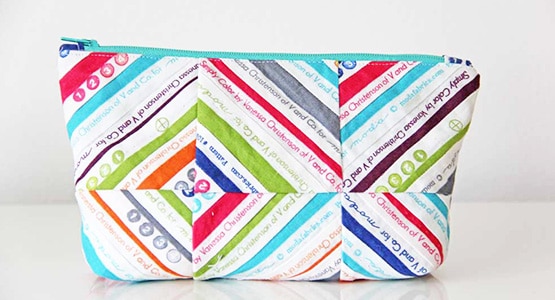


I really love the weave on this pouch – can’t wait to try it.