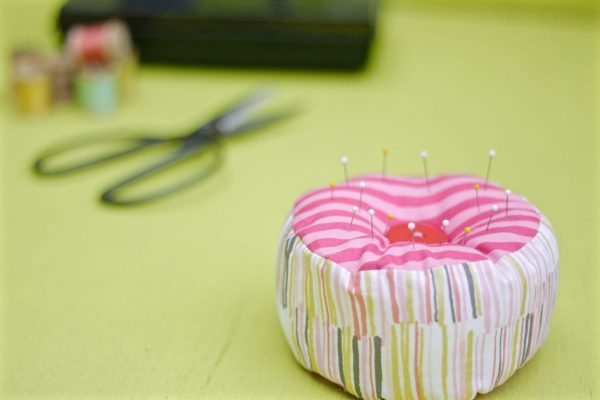
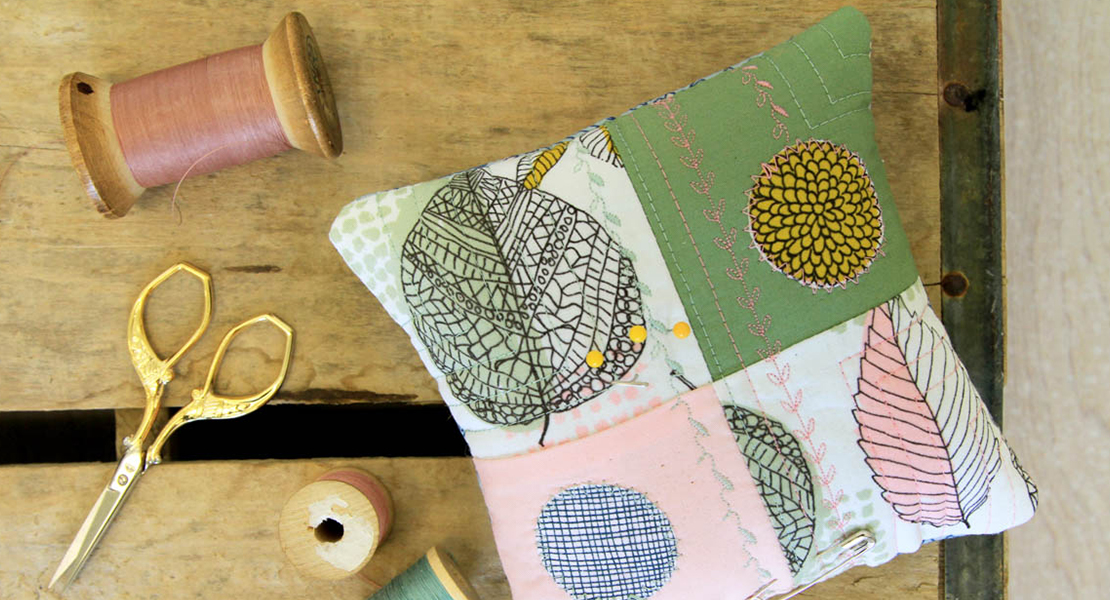
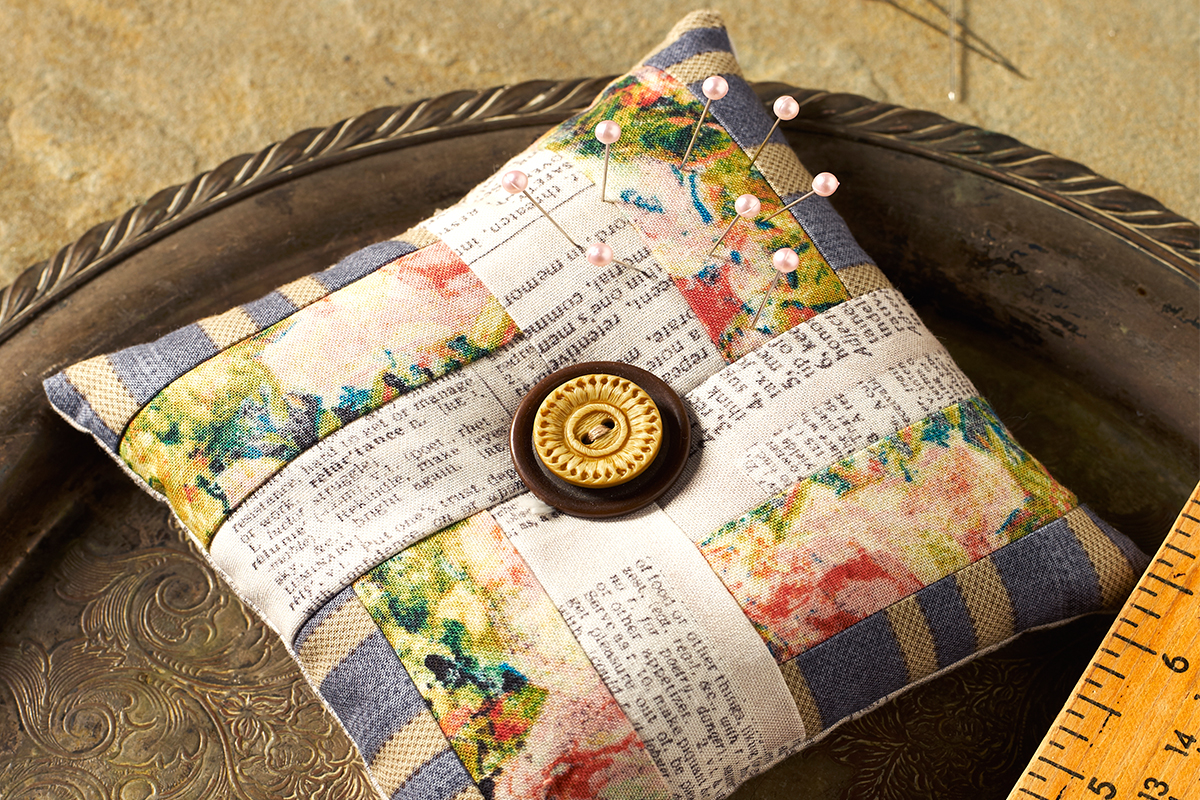
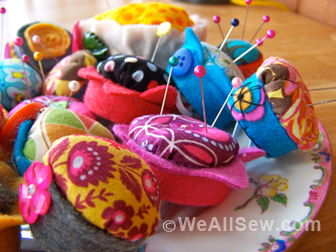
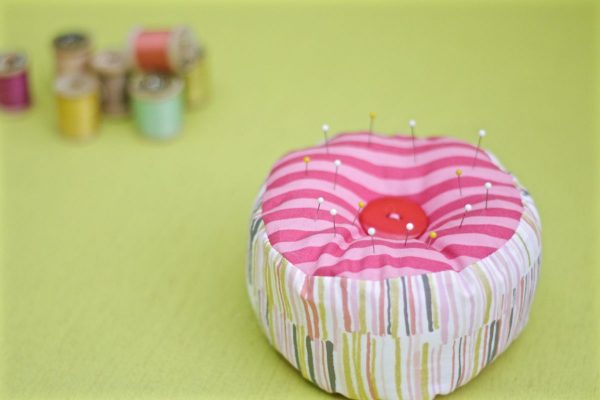
The 15-Minute Pincushion
If given the choice between tackling emails and diving deep into spreadsheets or sitting at my sewing machine, these days, it’s unfortunate that the laptop is winning. Fitting in time for making things is tough this time of year as we’re busy getting ready for our annual business and makers conference, Craftcation and our spring Patchwork Show season.
That said, making is my yoga, meditation and exercise all rolled into one. If I go too long without holding a paint brush, needle or hammer, I’m not the nicest person to be around. And I think my business suffers too—as I’m not as flexible in decision making or choosing what direction to go in next.
What I’ve found over the years is that making something with my hands is a way of taking care of myself. Even a quick project will do – it’s still 30 minutes away from my computer, and it’s calming and centering.
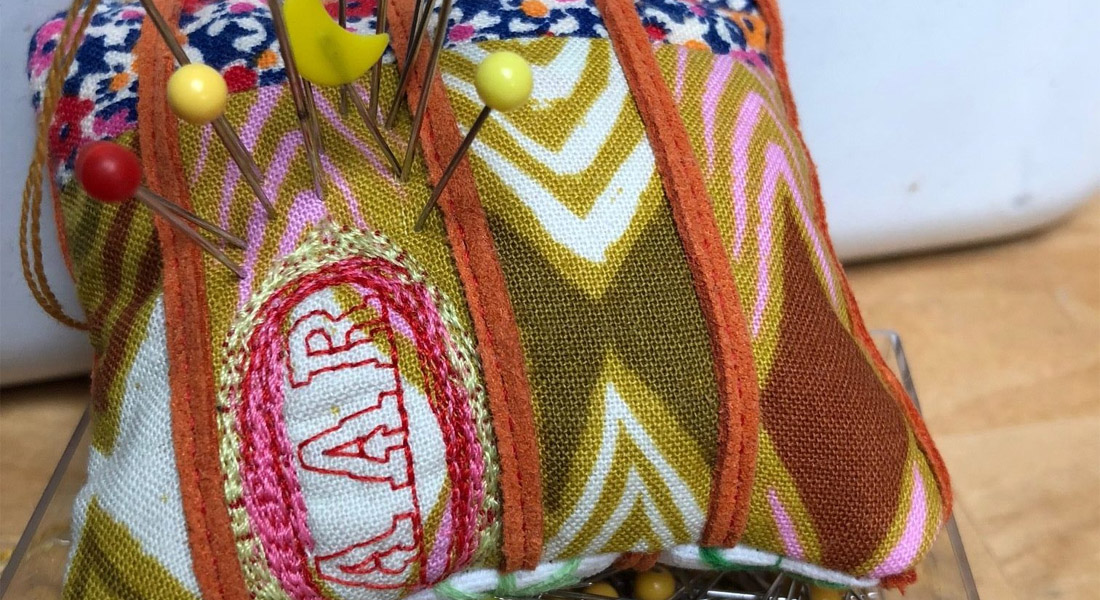
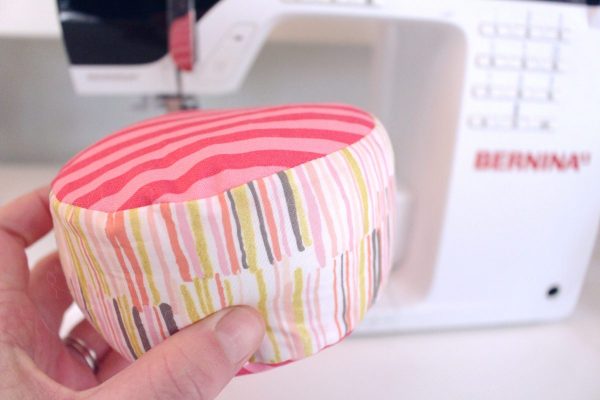
So I took some time this weekend for just this thing. I forced myself to find some pretty fabric, sit down and sew this cute little pincushion. And I purposely placed it next to my laptop—to remind me of the things I need to make time for.
Materials to Make a 15 Minute Pincushion
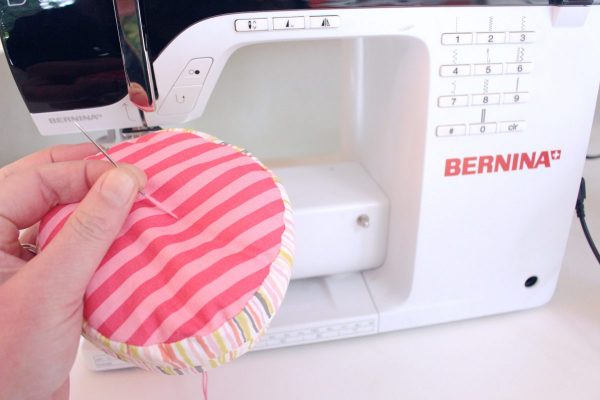
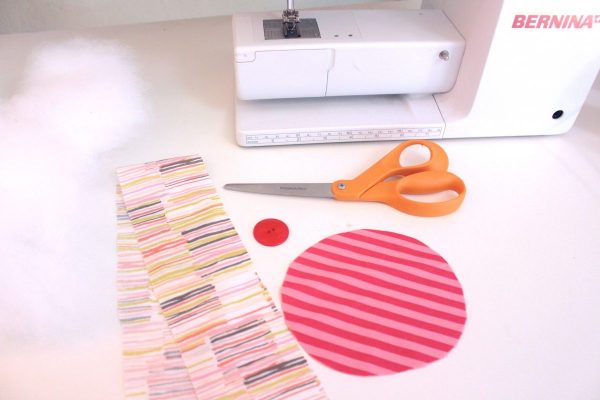
- Sewing machine (I used my BERNINA 380)
- Fiberfill stuffing (about ¾ of a paper lunch bag)
- Fabric
Two pieces that are 5″ x 5″ for the top and bottom
One piece that is 3″ x 18″ for the side - One button
- Thread to match your fabric
- Embroidery thread and a hand sewing needle
How to Sew a 15 Minute Pincushion
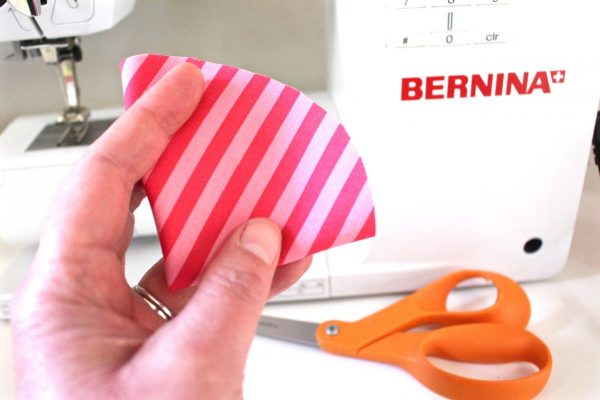
1. Round the edges of the two pieces of top and bottom fabric by folding them in half then in half again so you have a triangle and then round the corners. Or you can use a bowl for an perfect circle.

2. Fold over both of the short ends of the side fabric about ¼” and iron.
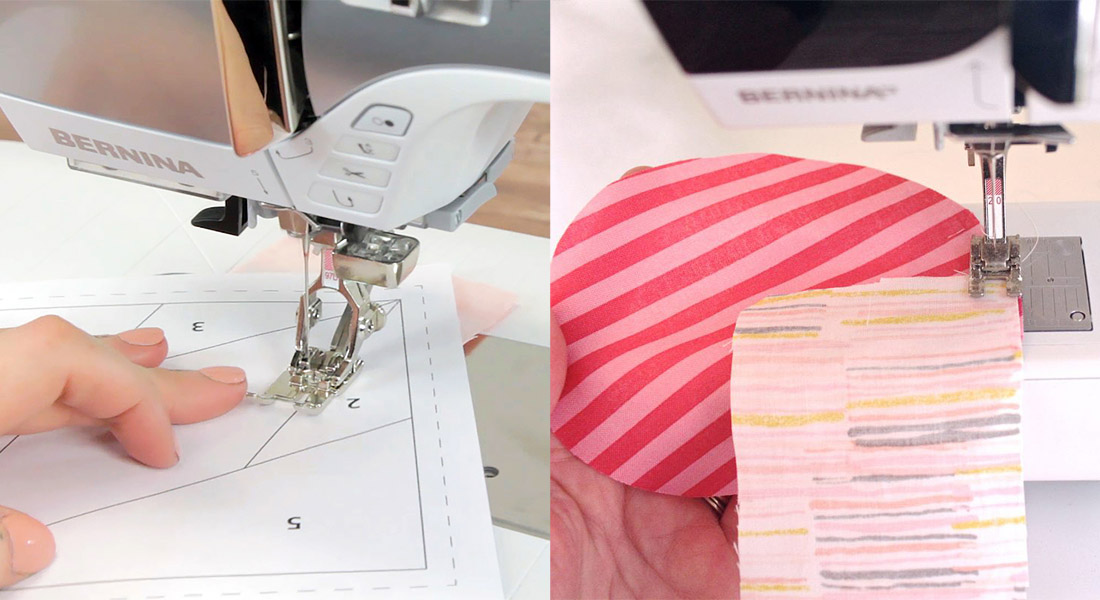
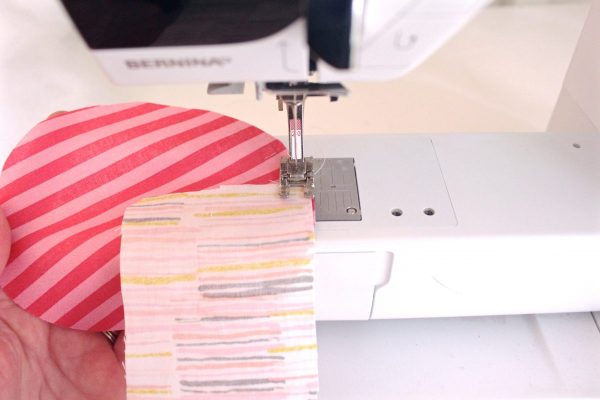
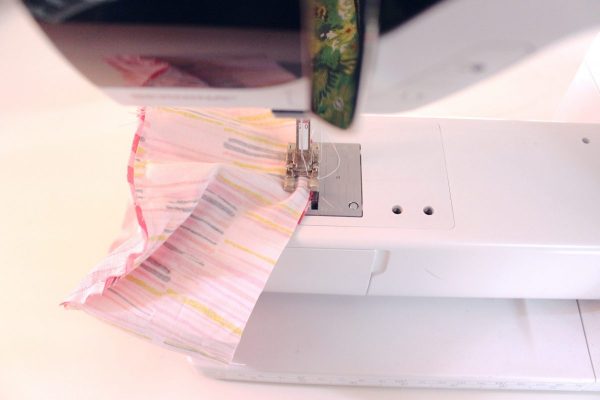
3. Place the side fabric on top of one of the top/bottom pieces of fabric with the right (printed sides) facing in and slowly sew them together with a 1/4″ seam. Go slowly and reposition the fabric as needed so you don’t end up with gathers.
4. The short ends of the side fabric should overlap when you’re finished. At the point the in-progress pin cushion will look like a fabric cup.
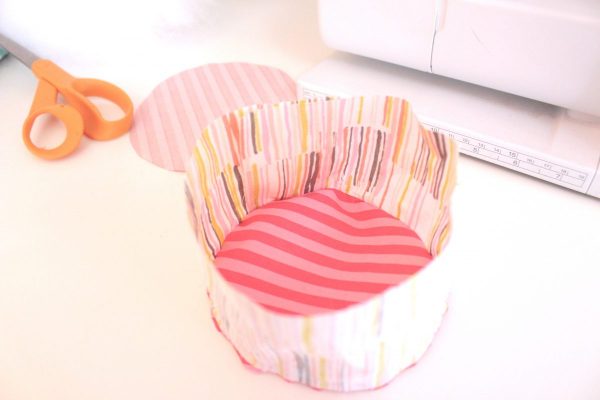
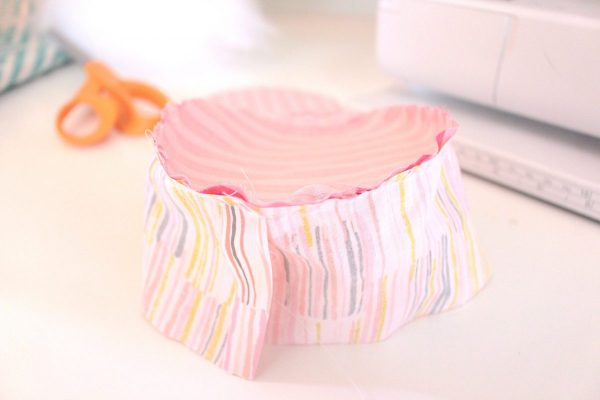
5. Repeat step 3 and sew the other piece of top/bottom fabric to the side.
6. Turn the cushion right way out by pulling it out through the overlapped opening on the side.

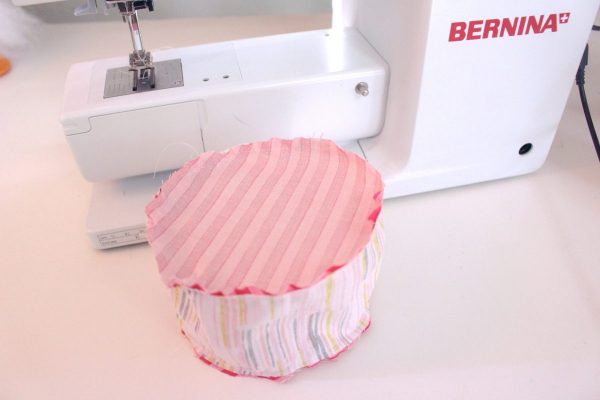
7. Stuff the cushion through the overlapped opening on the side.

8. If you want to, you can sew the opening closed by hand but I left mine open in case I need to add more stuffing the cushion at some point.
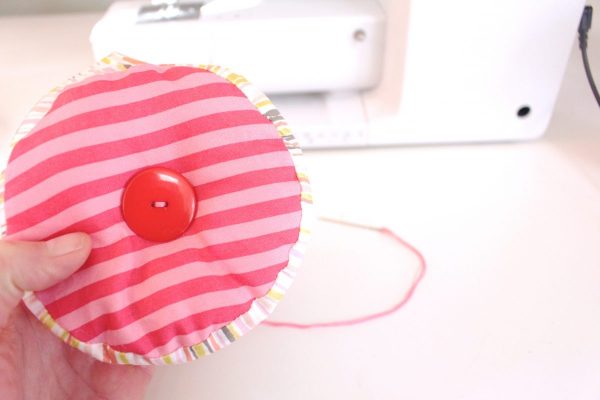
9. Push the stuffing out of the middle of the cushion and sew the button in the middle.