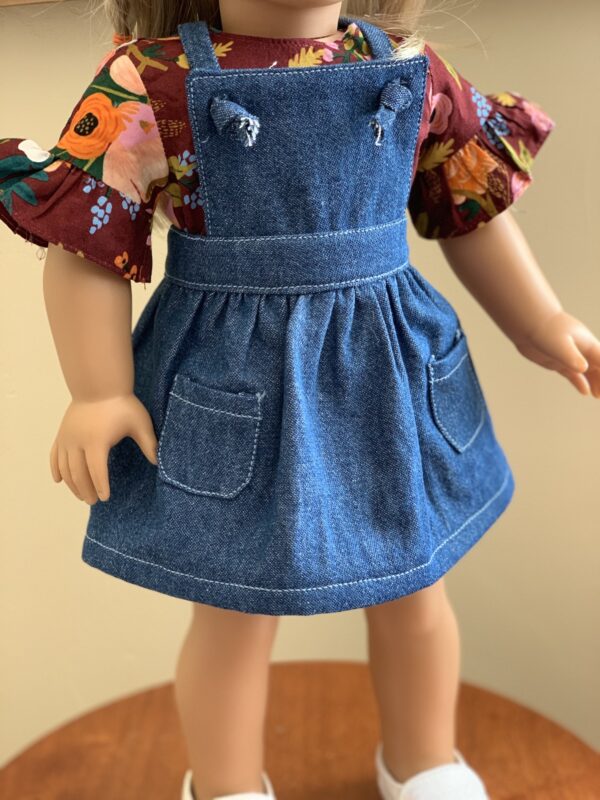
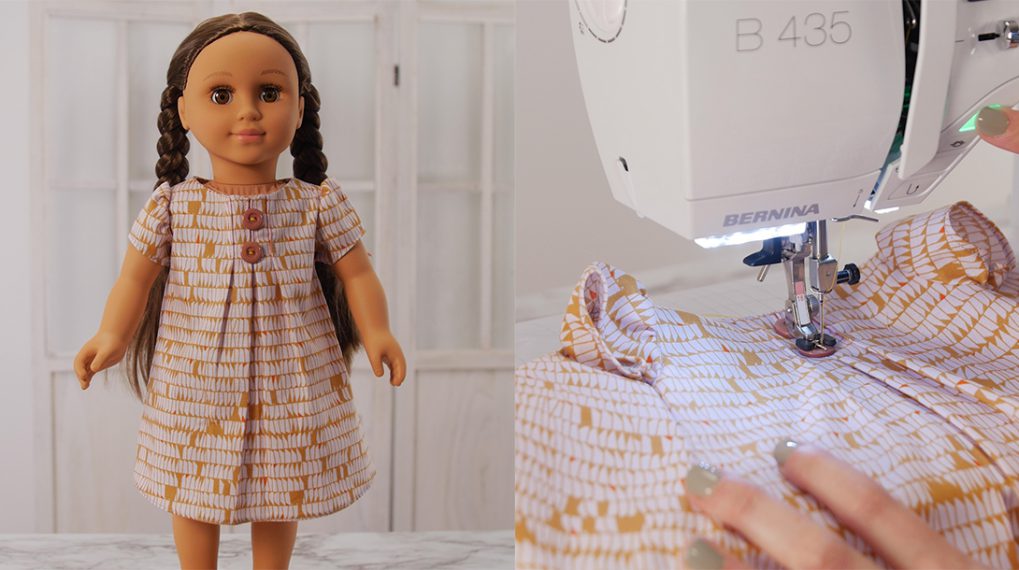
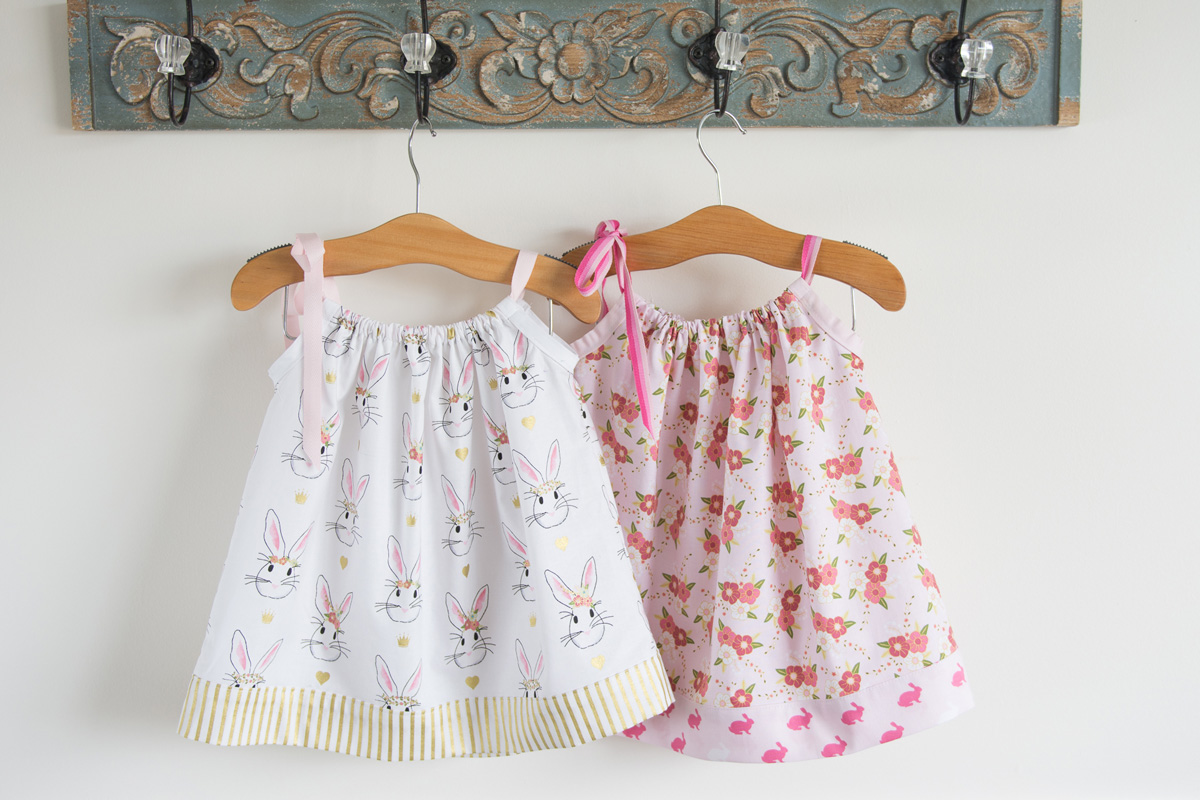
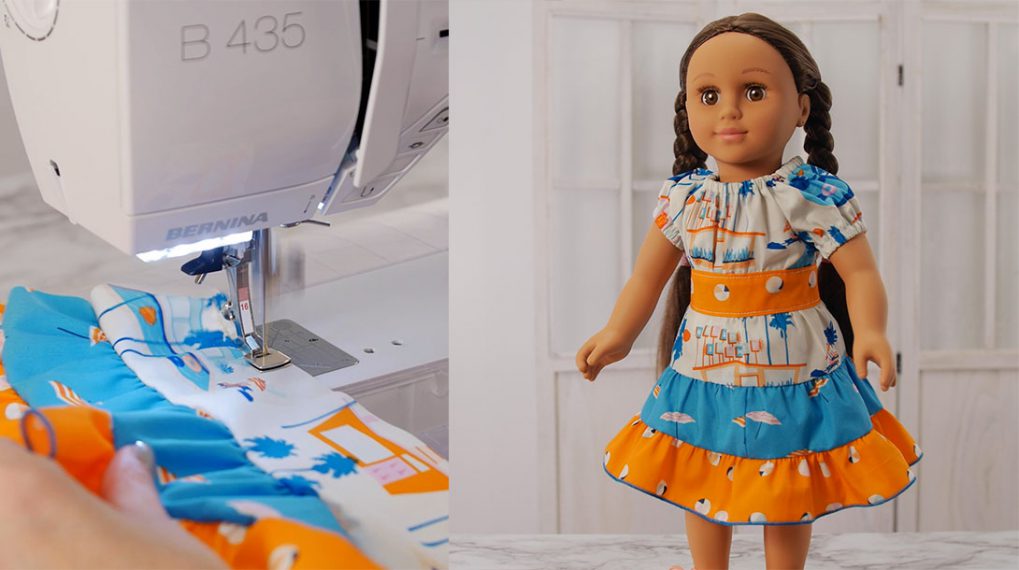
18″ Doll Pinafore Dress Pattern and Tutorial
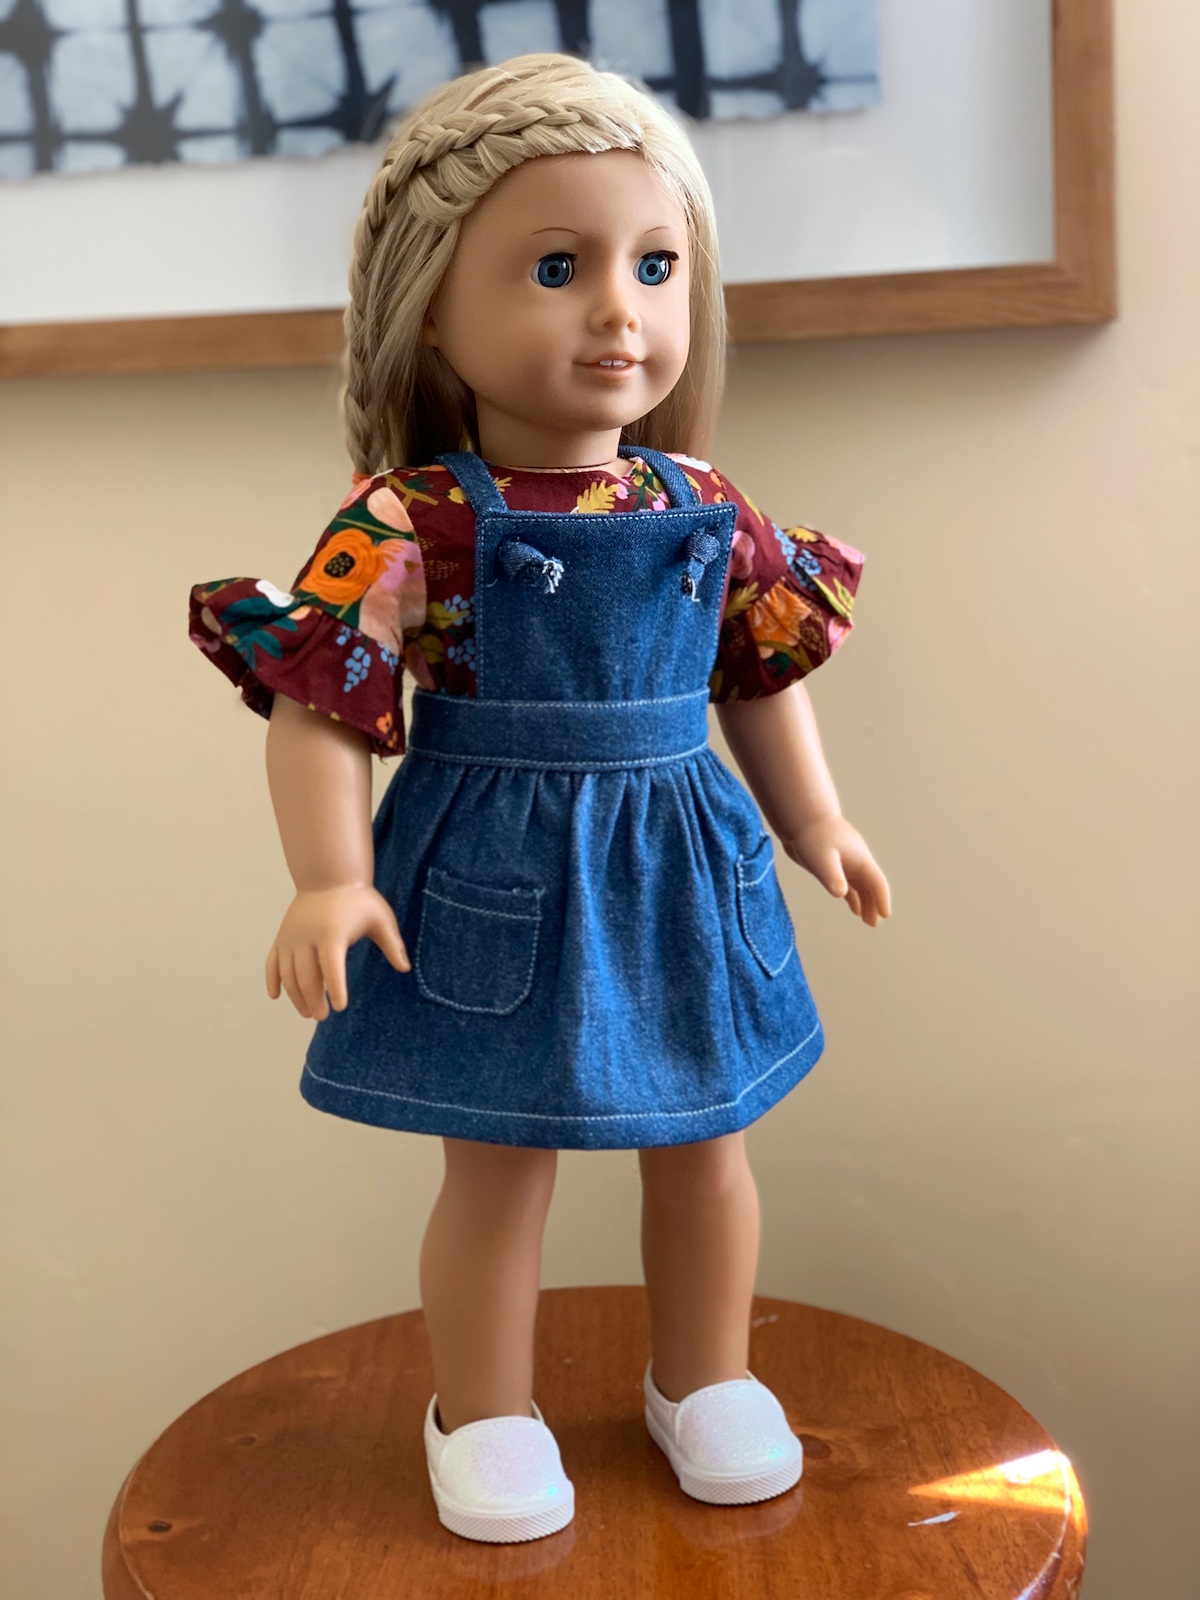
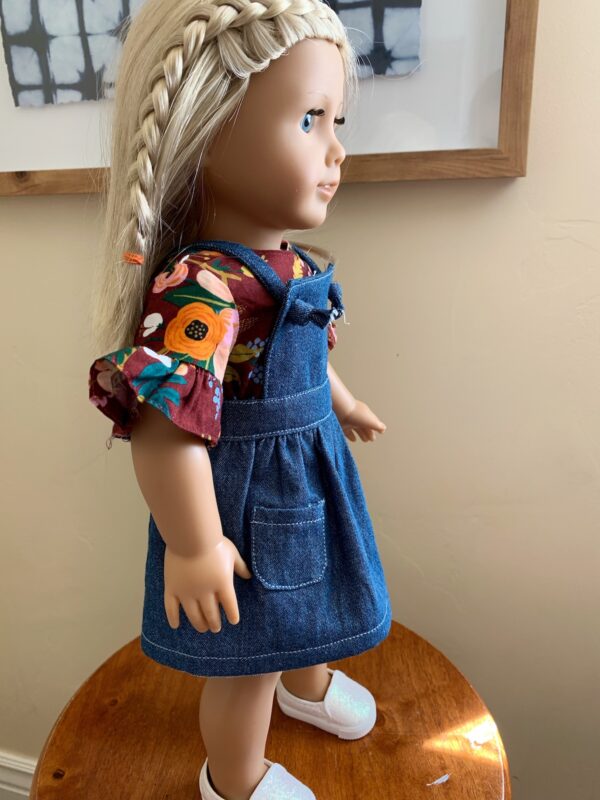
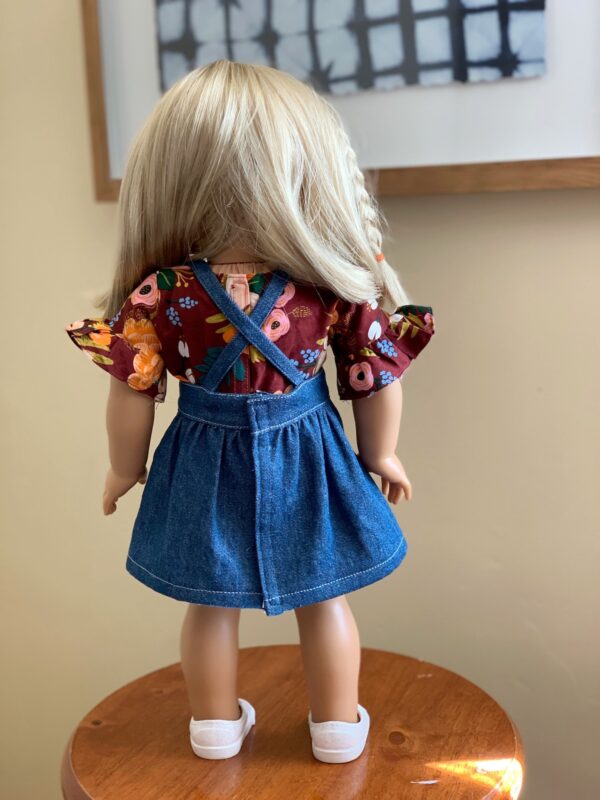
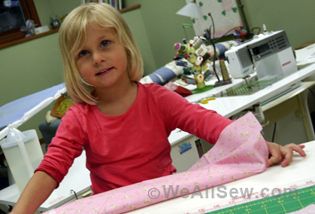
Hey everyone! Sara of The Sara Project here with a different post than usual for you! My daughter received an American Girl Doll for Christmas last year and I have been having so much fun sewing up little outfits for her. It’s much more affordable to make doll clothes yourself, and I already have most of the supplies on hand. Plus, my five year old daughter loves being involved in the design process. She and I pulled together a few ideas for a new spring outfit for her 18″ doll. We both agreed on a little denim pinafore dress and we love how it turned out. Best of all, I’ve provided the pattern as a free download plus a sew along tutorial for this post. Isn’t it cute!?
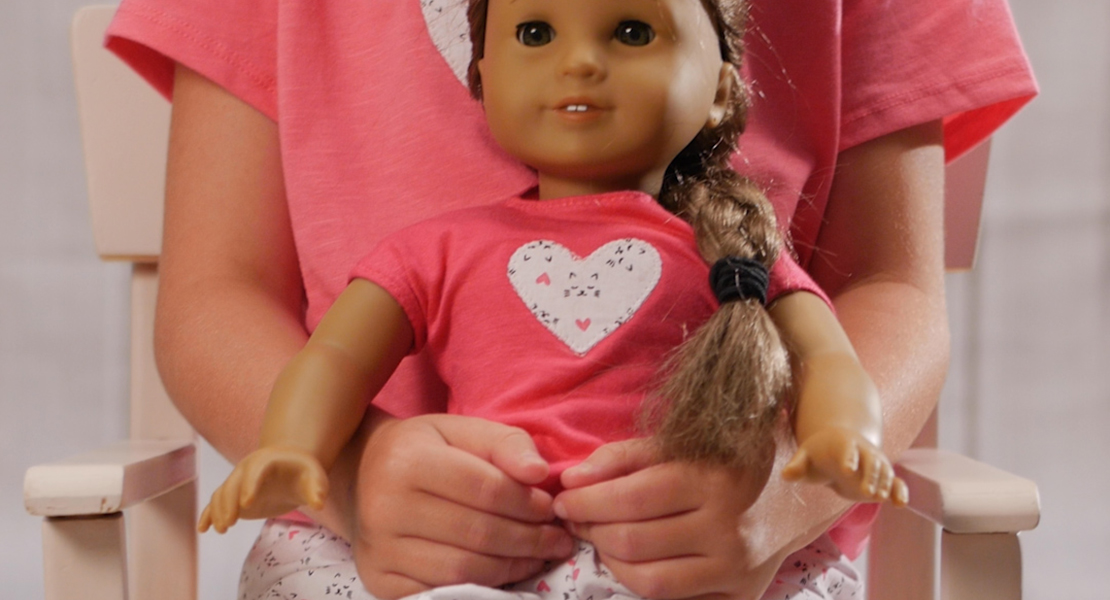
*The shirt she is wearing underneath is a modified t-shirt pattern we found for free online.
To use the pattern, print the following documents at 100% or actual size. You will need to tape the skirt and waistband piece together. You can download the pattern for this 18″ Doll Pinafore Dress Pattern here: 18 Inch Doll Pinafore Pattern
Materials to Make an 18″ Doll Dress
- Sewing machine, I use a BERNINA 560
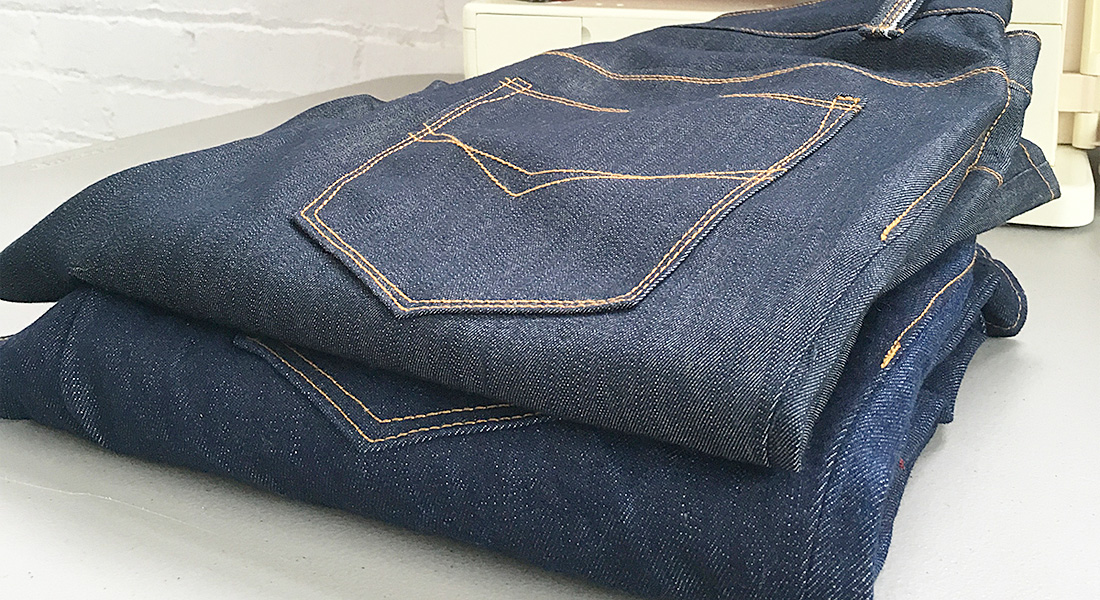
- 1/2 yard woven fabric (I used a cotton denim)
- Matching thread
- Top stitching thread in your preferred color
- Hook and loop tape
- Woven fusible interfacing
How to Sew the Pinafore Dress Pattern
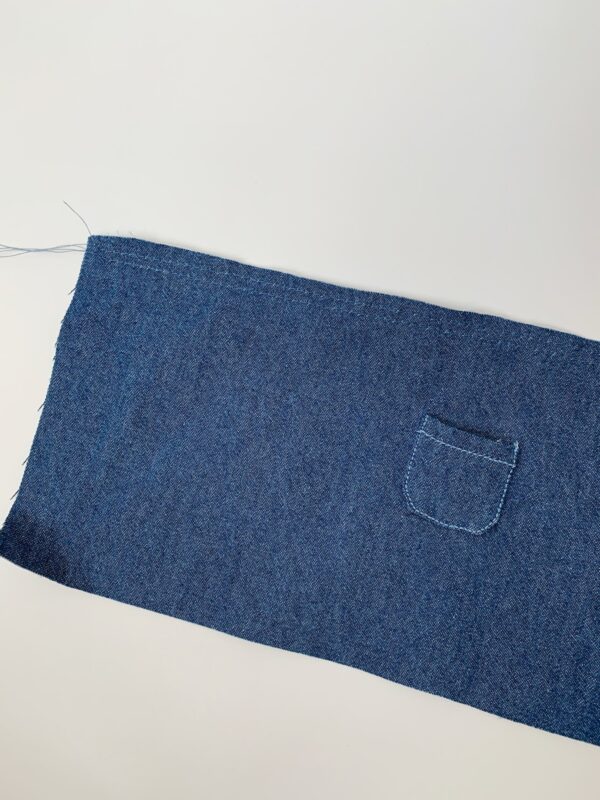
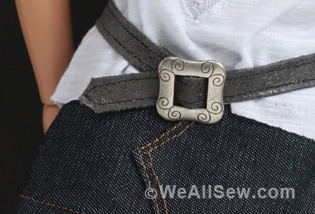
Step 1: Prepare the pockets
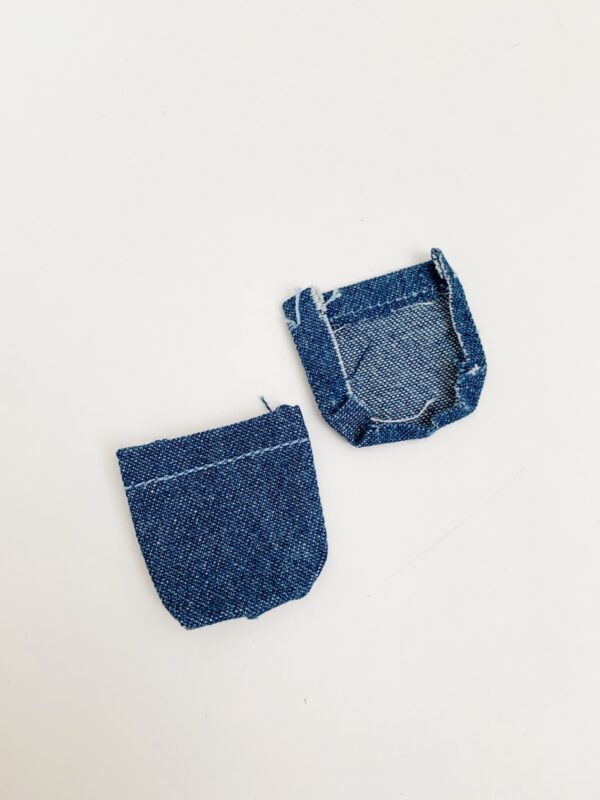
First, fold and press the top of each pocket down at 1/2″.
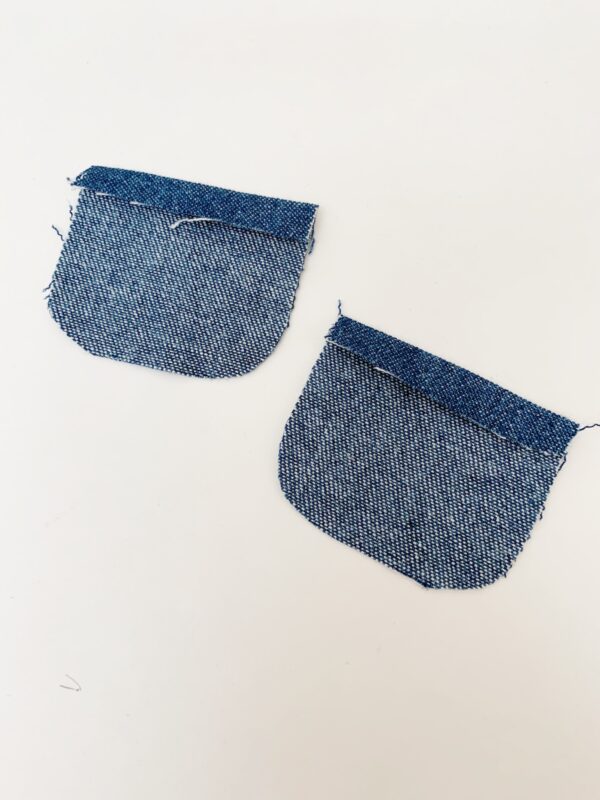
Using the topstitching thread, sew on the front side of the pocket just under 1/2″ from the top edge. Iron the rest of the raw edges of the pocket in at 1/2″.
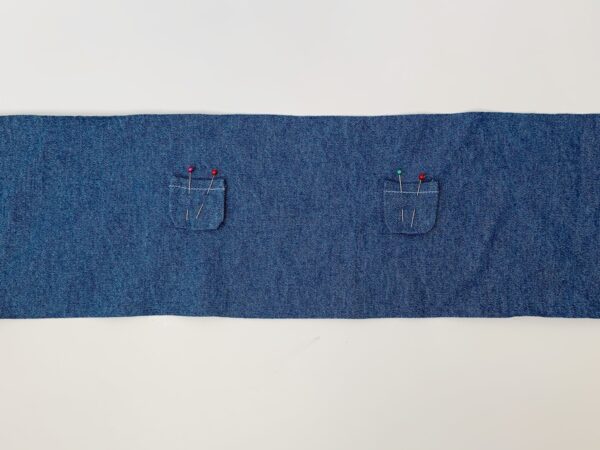
Find the pocket guide on the skirt pattern and pin or chalk mark onto your skirt piece. Pin the pockets in place and using the topstitching thread, topstitch the pocket onto the skirt by sewing the edges and bottom of the pockets using an edgestitch foot (Blindstitch foot #5, or Edgestitch foot #10/#10C/#10D). Make sure to move the needle over to the left a few spaces.

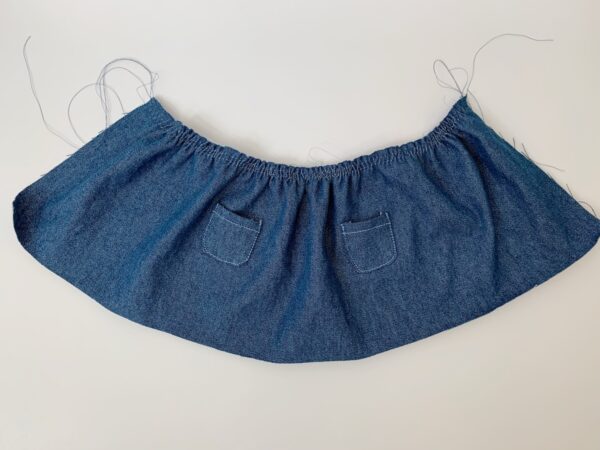
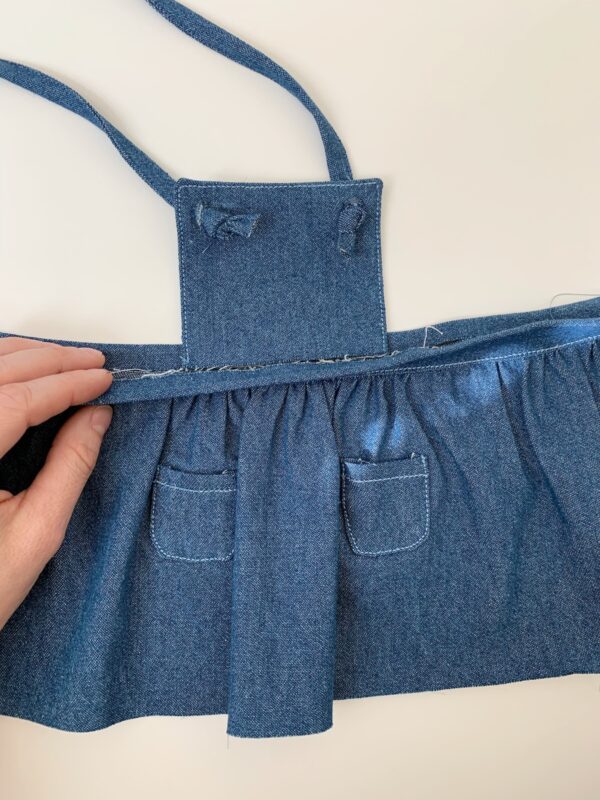
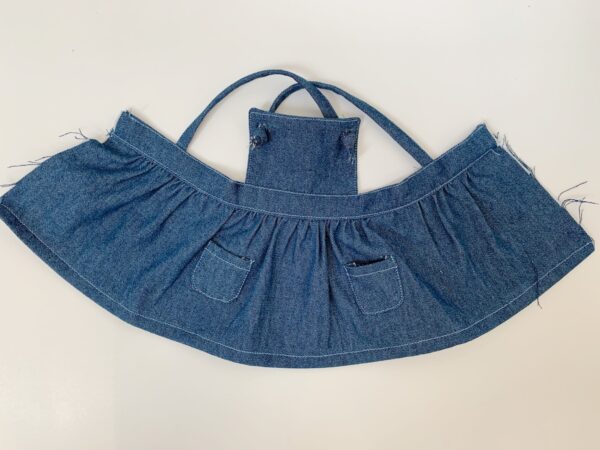
Step 2: Sew the Skirt
Sew two rows of basting stitches (lengthen your straight stitch to 3.5-4mm) at 1/4″ and 1/2″ from edge to edge along the top of the skirt piece.
Using the waistband pattern piece as a reference, gently gather the skirt by pulling the basting threads until it matches the same length as the waist band.
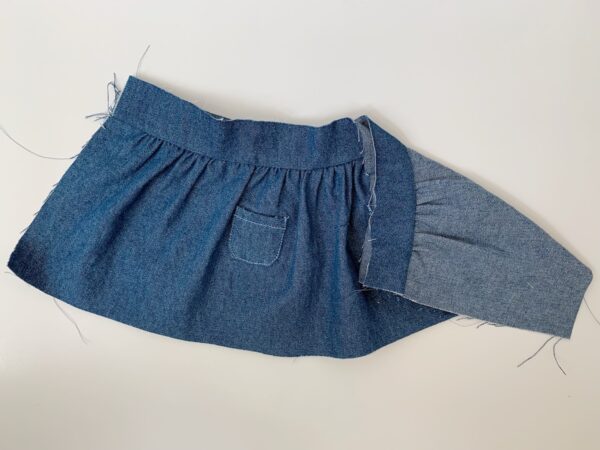
Next, pin one waistband piece to the skirt right sides together. Take the other waistband piece and pin it right side to the wrong side of the skirt. The gathered edge of the skirt will be sandwiched between the two waistband pieces.

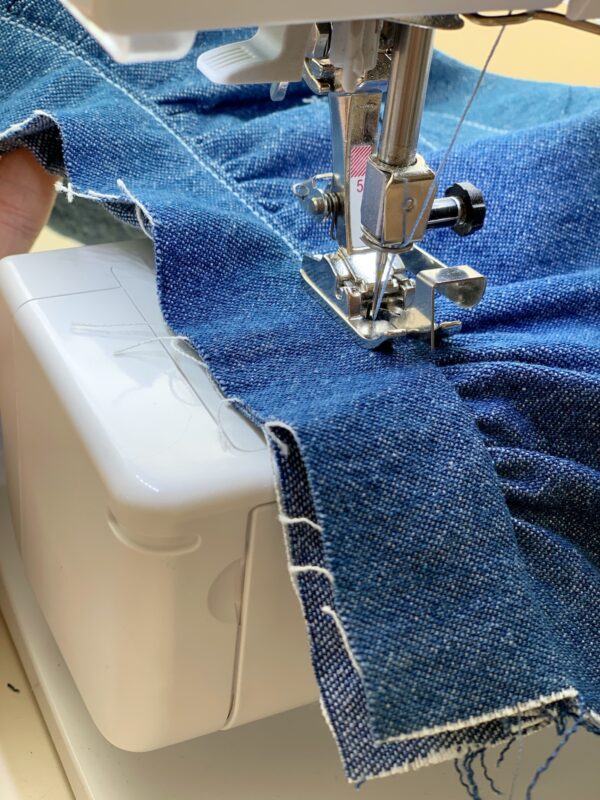
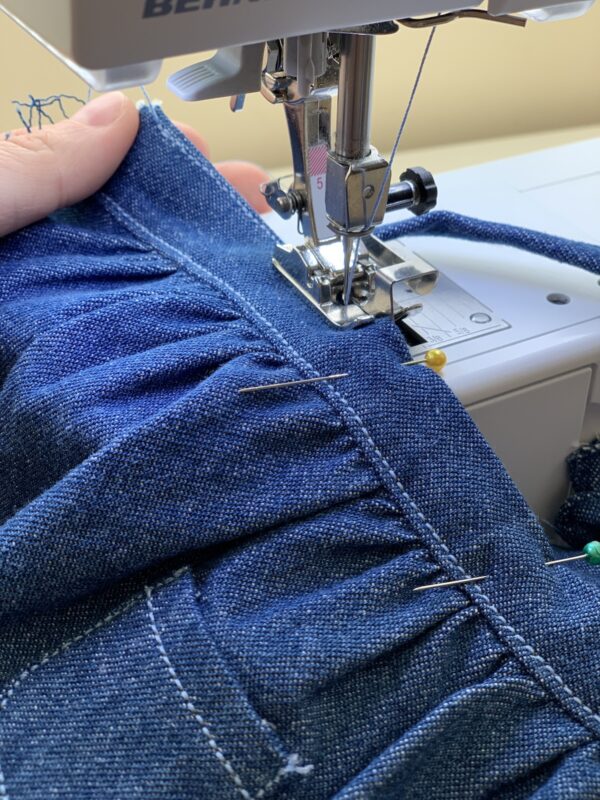
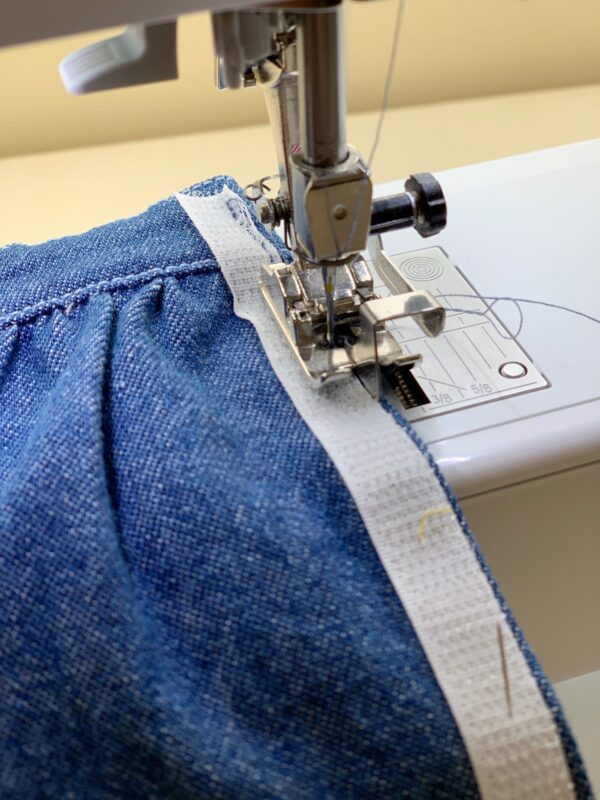
Sew at 1/2″ seam allowance. Press the waistband pieces up.
-Using the topstitching thread, and an edgestitch foot, topstitch along the bottom of the waistband piece.
Step 3: Prepare the straps
First, fold and iron both long edges in at 1/4″.

Next, fold and press the strap in half, long edge to long edge.
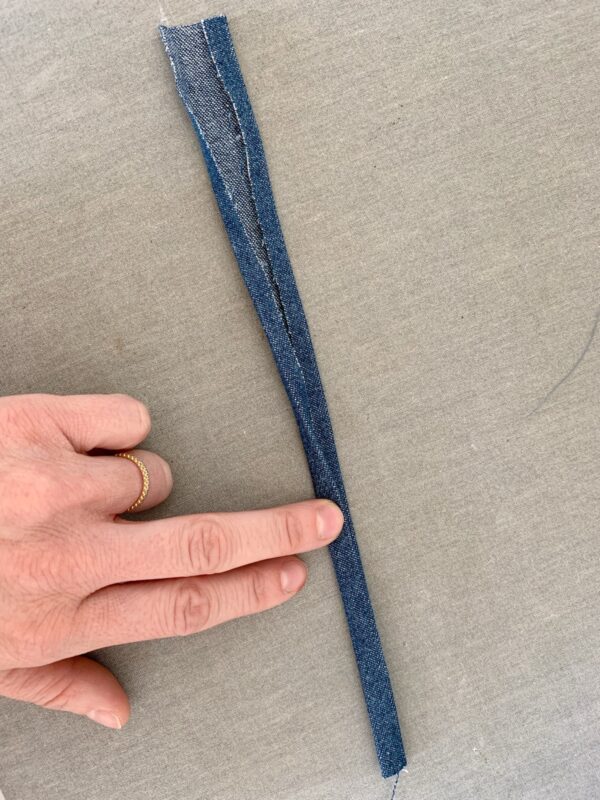
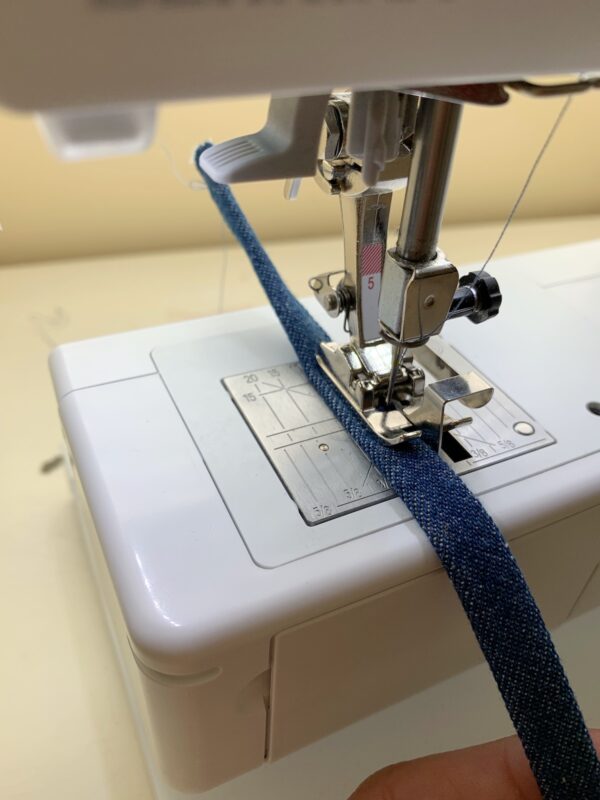
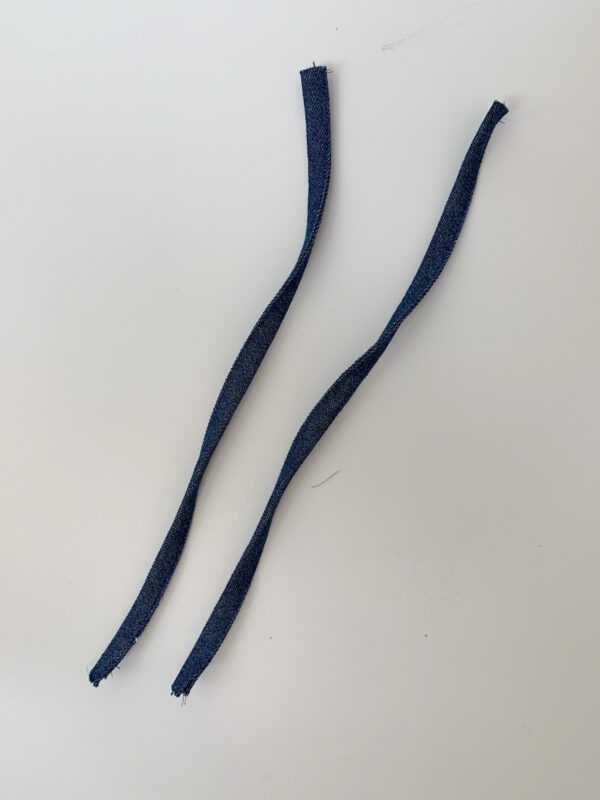
Edgestitch along the open long edge of the strap. Repeat for the other strap.
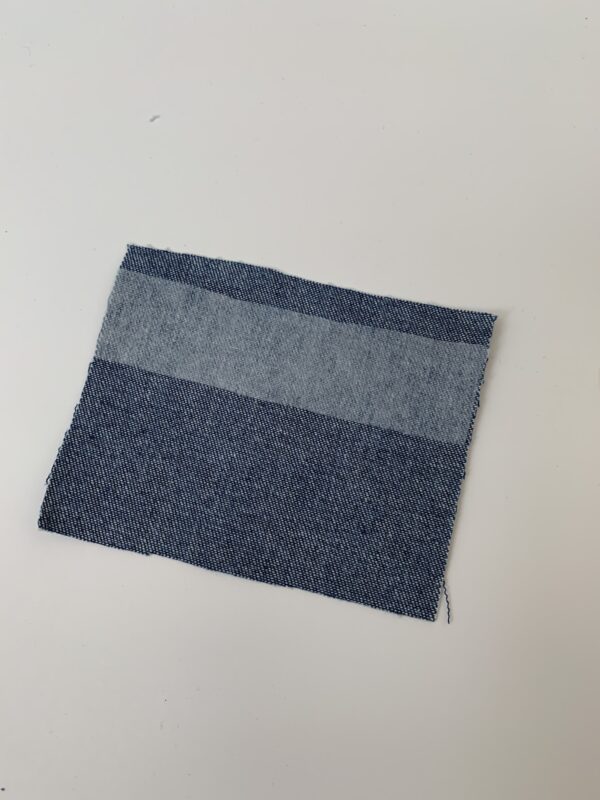
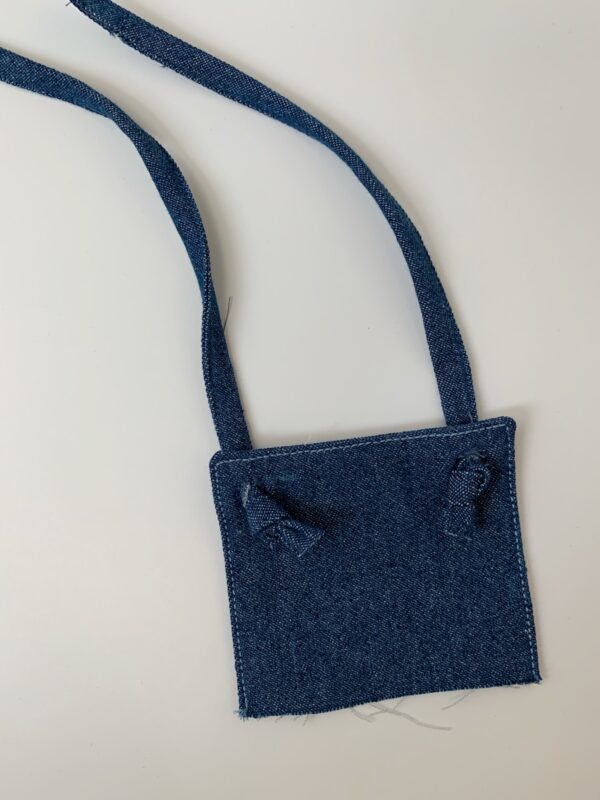
Step 4: Prepare the bib
Cut a piece of fusible interfacing that is about 1″ long x 4 1/2″ wide, and iron it 1/2″ down from the top of the wrong side of one bib piece. (This will be the front bib piece, the other will be the facing).
Pin the two bib pieces right sides together around the sides and top edge.
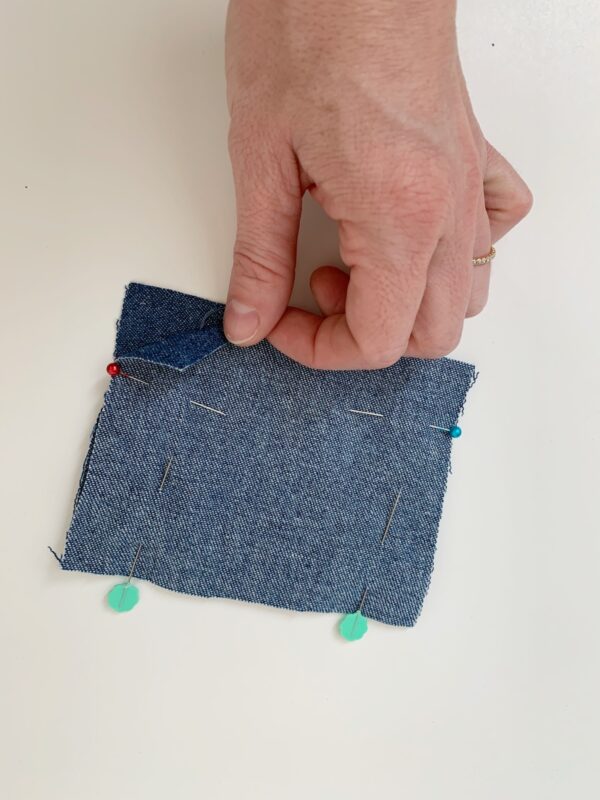
Sew around the side and top edge of the bib piece at 1/2″. Trim corners and edges.
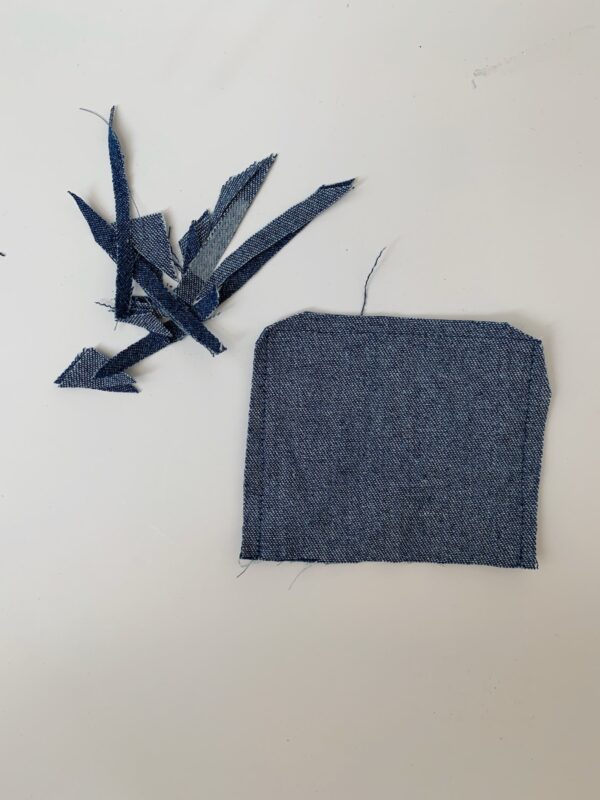
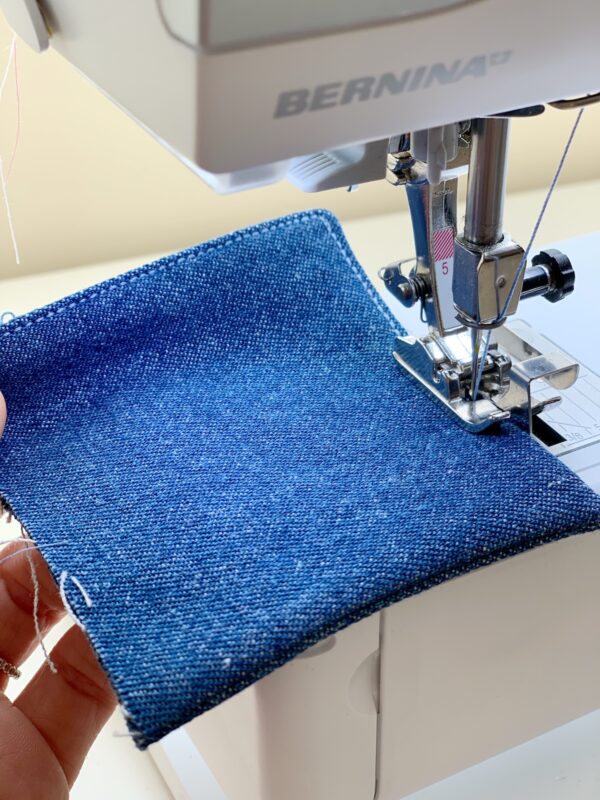
Turn the bib right sides out and push out the corners. Using topstitching thread, edgestitch around the side and top edges.
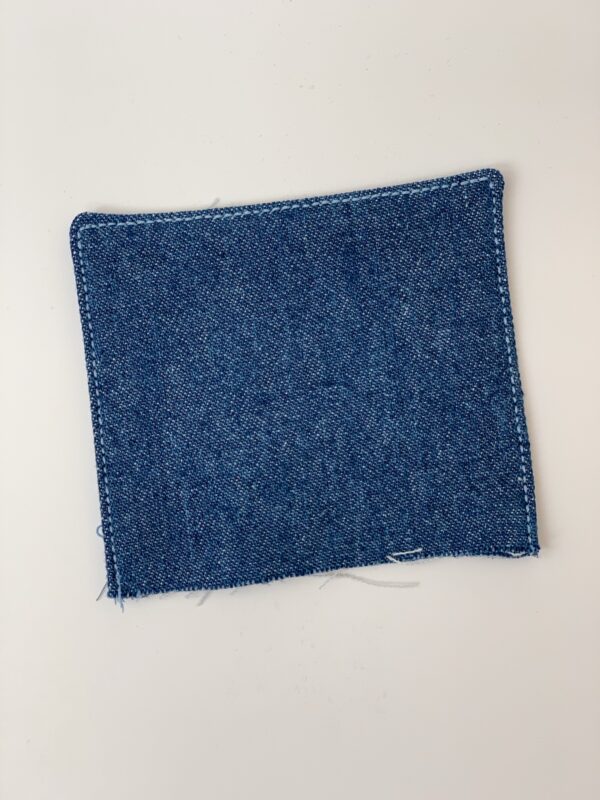
Measuring about 1/2″ from the side and top of the bib, mark where you will sew your button holes for both sides. Using your button hole foot and button hole setting, sew one vertical buttonhole on each side of the front bib.

Step 5: Sew the straps and bib to the waistband
-Iron the top. unfinished edges of the waistband to the wrong side at 1/2″.

Pull one edge of each strap through a buttonhole, and tie a knot.
Center the bib on the waistband (use the pockets as a reference to find the center), and sandwich it between the two waistband pieces. Pin in place.
Measuring 1 1/2″ from the skirt edge, pin each strap between the two waistband pieces. Make sure the straps cross over to their opposite side of the waistband so they make an X. At this point I tried the dress on the doll to make sure everything fit just right and that the straps had the right placement and length. Adjust as needed.
Using topstitching thread, edgestitch along the top edge of the waistband. Make sure to catch the back side of the waistband, and enclosing the straps and bib all in one go.
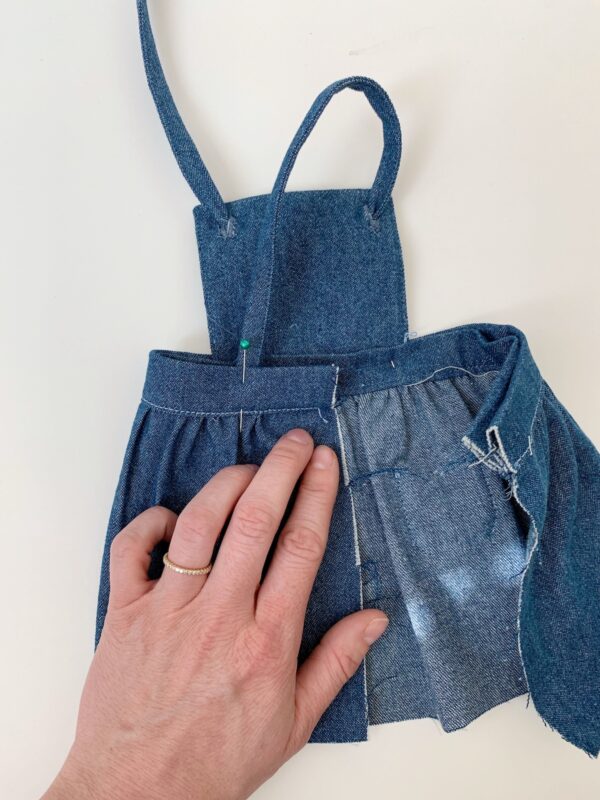
Hem the bottom of the dress by pressing the raw edge to the wrong side by 1/2″ twice, and topstitching in place.
Cut the hook and loop tape to the appropriate size, as well as cut it in half lengthwise so it is thinner in order to fit a 1/2″ seam allowance. Iron each edge of the skirt in at 1/2″.
Pin a piece of hook and loop tape to the outside of one edge, and the inside of the other.
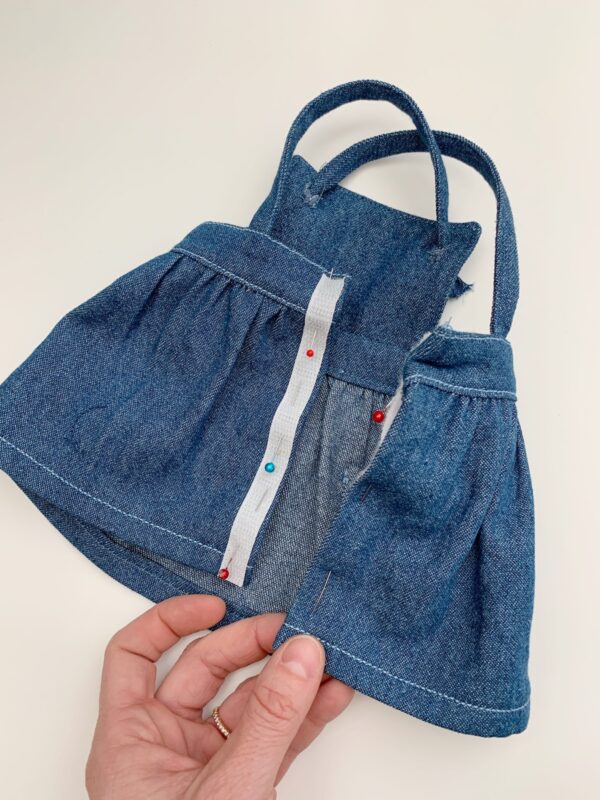
Edgestitch around all four sides of each hook and loop tape piece.
All finished!

To get the dress on the doll, pull the dolls head through the center of the straps and then put her arms through the straps.
I love sewing doll clothes because they are very quick to make, and it’s so nice enclosing everything with hook and loop tape! I hope you enjoyed this tutorial! Happy sewing!
Used Products


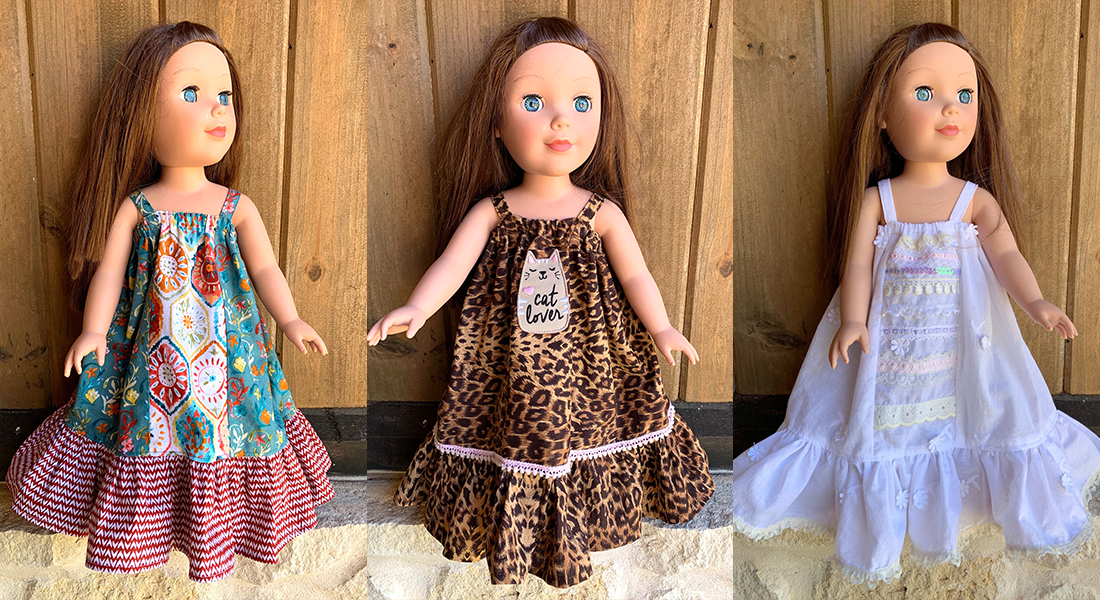
What you might also like


6 comments on “18″ Doll Pinafore Dress Pattern and Tutorial”
-
-
i printed out your pattern for the 18 inch pinafore dress and the tutorial. I love the pattern and am in the process of making the dress now. The pattern piece for the waistband is only 6 inch long. Because there are no measurements given for any of the pieces, I assumed you meant to cut the 2 waistband pieces on the fold, otherwise the waistband is way too short. This is not mentioned in the pattern directions. If i was new at sewing I would be confused by this piece.
Thanks for a great pattern and wonderful instructions.-
Hello garilee, When printed at 100% your waistband piece should be closer to 8 inches. But, you are correct the waistband in this pattern is not long enough. Since a typical 18″ doll has about an 11″ waste and you will need a little more than that for seam allowance and overlap. Instead of using the pattern piece just cut 2 rectangles the width of the waistband and the length of the waste of your doll plus an inch and a half. For me I will round it up to 2″ x 12.5 inches. so:
doll waste = 11″ + 1.5″ = 12.5 Length
2″ width. (the pattern width rounded up)
cut 2 waistbands 2×12.5
You can always cut the bands and then wrap them around the doll. Be sure they are snug enough to stay up and overlap them a bit for modesty.
I will also do a quick zig zag hem on the pinafore sides and use a single Kam snap rather than velcro to connect in the back. You could also use kam snaps on the straps, but the knots are a cute touch.
Hope this helps. -
For some reason it wont let me print out the pattern. Could you please email it to me? [email protected]
-
-
Thank you so much! My six year old granddaughter and I both love dolls and enjoy playing together with them. Now we can pick out materials to sew a variety of jumpers for our beloved dolls.
Grandma Lois -
I don’t usually have a problem working out patterns but I don’t understand how to join the pattern pieces for the main skirt body. What is Tape edge to edge and fill in 1/8th missing lines of pattern for each meet-up and also cut through from top and bottom edges of paper so that piece is 11 inches long.
This does not allow for any gathering as waist measurement of doll is 11 inches. I have read one comment/post regarding waistband pieces cutting material 12.5 inches long to include joining two pieces and seam allowances. HELP!!,,,,
Leave a Reply
You must be logged in to post a comment.

The outfit is so cute. It made me wish my granddaughter was that age again so we could design and sew together too. Y’all keep up the great work!!