Baby Mobile with Embroidered Critters
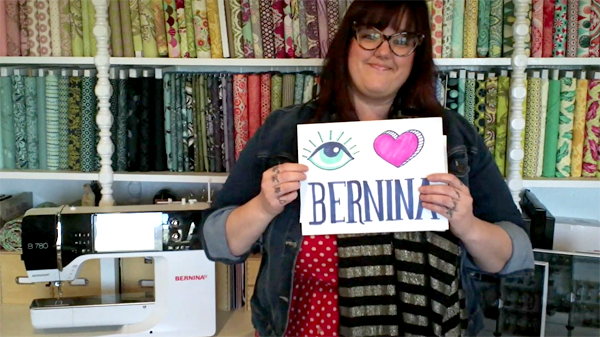
Welcome! My name is Mandy Leins, and I am a professional quilter: I am a longarmer (I have the BERNINA Q 24 Longarm Quilting Machine), designer, and a book author, and love everything about quilting and sewing. I’d love to have you stop by to visit me at Mandalei Quilts.
This project is a little different than my usual quilting. When friends start having babies, my first urge is to make a quilt, but recently, I needed to remind myself there are other options. My good friend’s mother is a quilter, too, and I knew there would be a few quilts coming their way! I decided to do an embroidered project using my BERNINA 790.
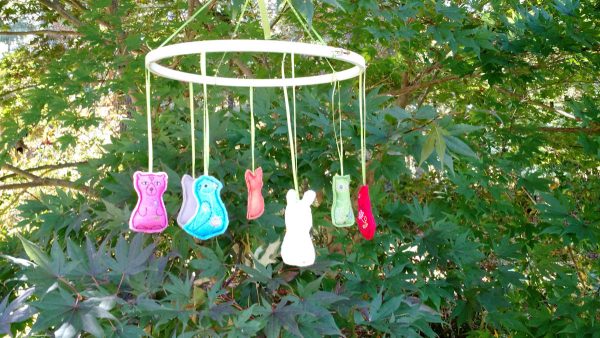
When I was thinking about what I wanted to make, I wanted something cute and fun, something that was interesting for the baby to look at, and which was something outside my usual quilt. I decided to make a hanging mobile using an adapted OESD design for embroidered felt finger puppets.
With the bright colors perfect for younger babies and the funny little faces and flower details for when the baby was older, they would provide lots of entertainment. The finished puppets are all just smaller than 5″ finished, suitable for all BERNINA embroidery machines.
Materials to create the hanging Baby Mobile:
- Embroidery designs, here is a free download for the cat finger puppet Free Cat Finger Puppet Embroidery Design
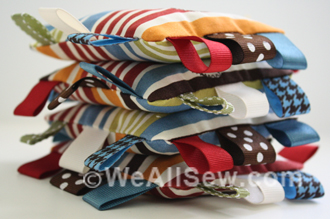
- Felted woven wool in assorted colors (you can use felt, but I like the homier and denser texture that woven wool provides)
- Polyester embroidery threads
- A small amount of polyfill stuffing
- A spool of very thin ribbon in the color of your choice
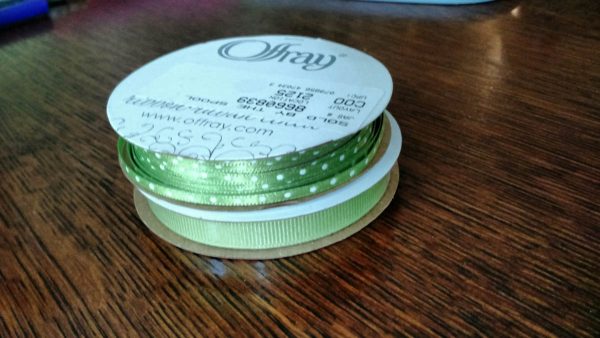
Note: The thinner ribbon works better than narrow grosgrain, because these critters are small!
- A 12″ diameter embroidery hoop (Optional: white paint to cover the wood)
- Peel and and stick stabilizer
- Water soluble topper (optional. I’ll discuss this later)
I used a USB stick to transfer the .exp files to my BERNINA 790.
How to create your hanging Baby Mobile:
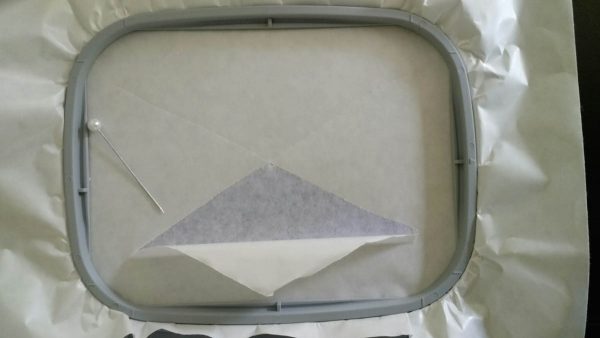
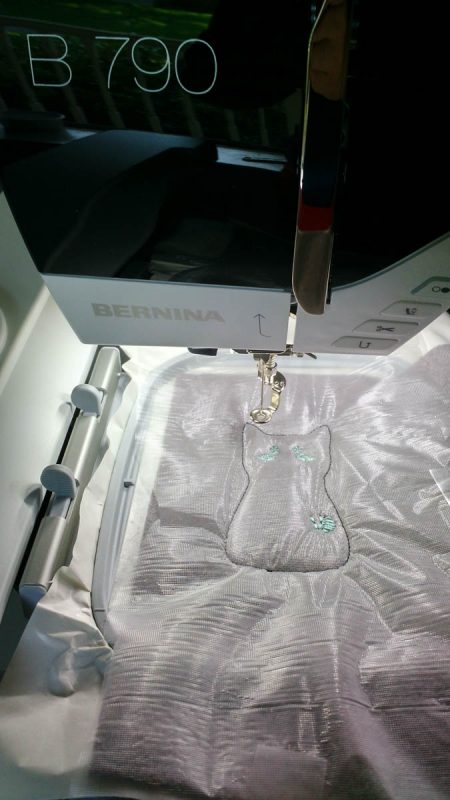
Woven wool is thick and fluffy, although it has much less pile than a terry. To hoop this, I chose to use the peel and stick stabilizer, for two reasons. First, I wanted to avoid hoop burn, but secondly, I wanted to avoid shifting of the wool as the machine stitched out the design.
To prepare the stabilizer, I cut a piece slightly larger than the hoop, and then hooped it with the protective shiny side up. Using a pin, I scored an “X” across the middle, careful not to cut through the stabilizer underneath.
Center the wool chosen for your critter and press the wool into place. Try not to pick it up and set it down because it will reduce the tackiness of the surface and your wool might shift a bit.
At this point, I was ready to stitch out the designs! Before I began, I read the directions provided and decided I would only need to follow steps 1-7; in order to hang the critters, I would have to stop the embroidery process just before the final outline was stitched, so that I could sew them together after they were taken off the hoop.
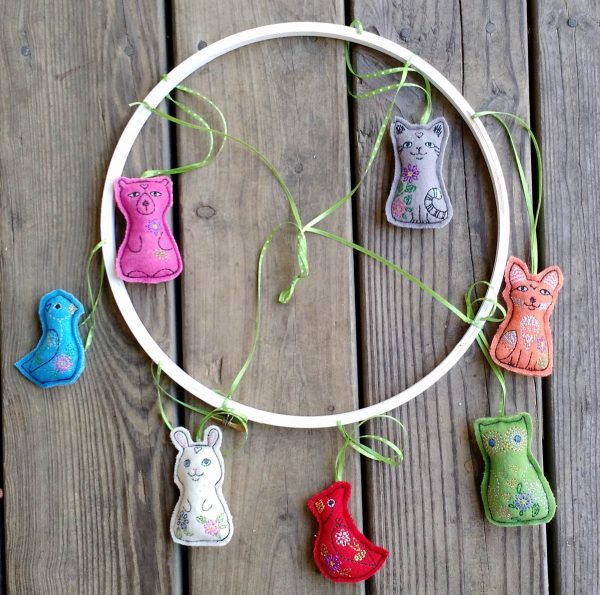
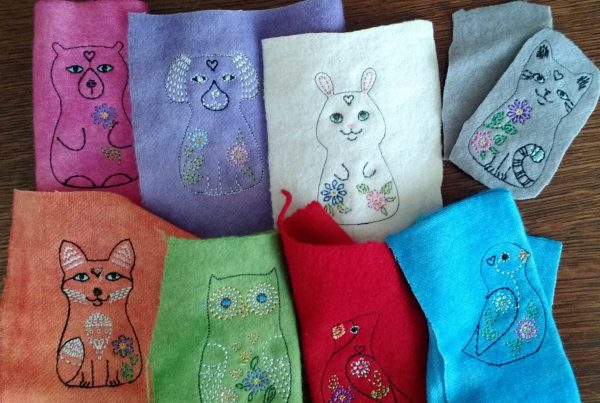
I chose to stitch out seven critters: the cardinal, the bluebird, the fox, the owl, the cat, the bear, and the bunny.
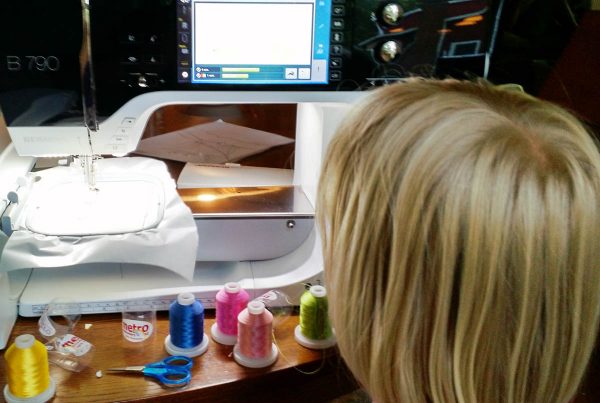
For this project, I could have used my largest hoop and fit two critters in at the same time, cutting down on hooping time and thread changes. Because this project was for a friend of the family, my littlest wanted to help, and we had a good time together picking out colors and fabrics, and from my lap, she was able to help push the button to start after each thread change. I think she’s hooked!
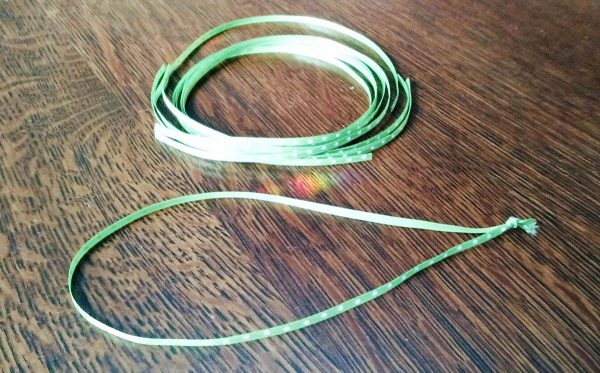
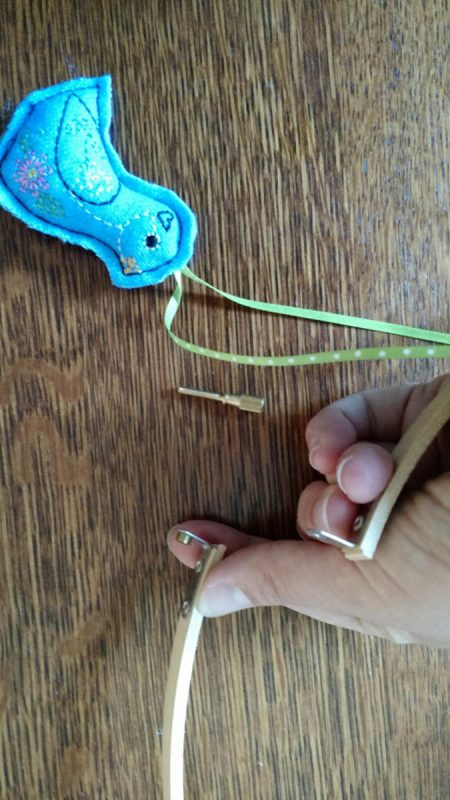
To prepare the ribbon from which the critters hang, I cut off 15″ pieces of the ribbon, matching up the raw edges, and knotting them very close to the bottom.
For each critter, stop your embroidering just before the final surrounding stitches are stitched out at the end, and remove the critter from the hoop. Remove the stabilizer (I didn’t worry about removing it entirely, since it would be invisible, and in the case of the bunny, leaving the stabilizer in the ears helped them stick up). *
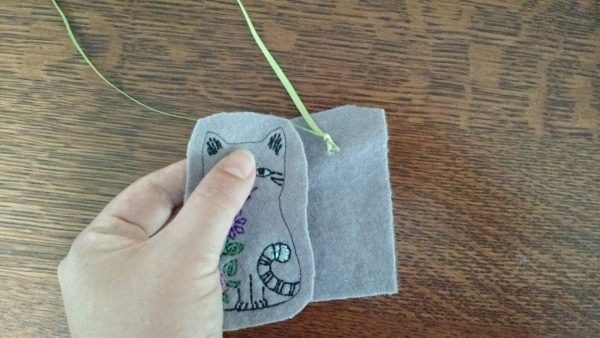
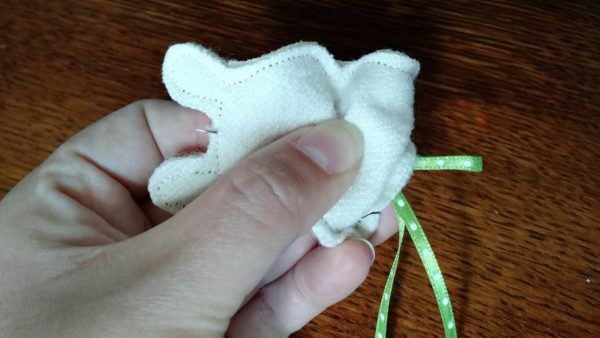
Lay the critter out over a slightly larger piece for the backing, keeping in mind you will be trimming along the outside edges of the stitches for a raw edge look. Place the ribbon with the knotted end in between the two layers so that the loop stretches up and out. You may wish to pin this in place. There will be a little lump where the knot is, but it will be unnoticeable once the critter is stuffed.
Using a coordinating thread (I chose black), stitch around the outside edge leaving an opening on the bottom, using the #6 stitch, which is a triple straight stitch in your basic stitches.

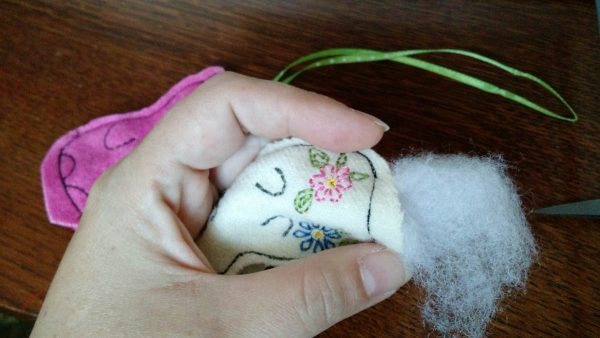
Stuff with the polyfill until each critter is slightly plump. Using the same stitch as before, stitch along the bottom to close off the critter.
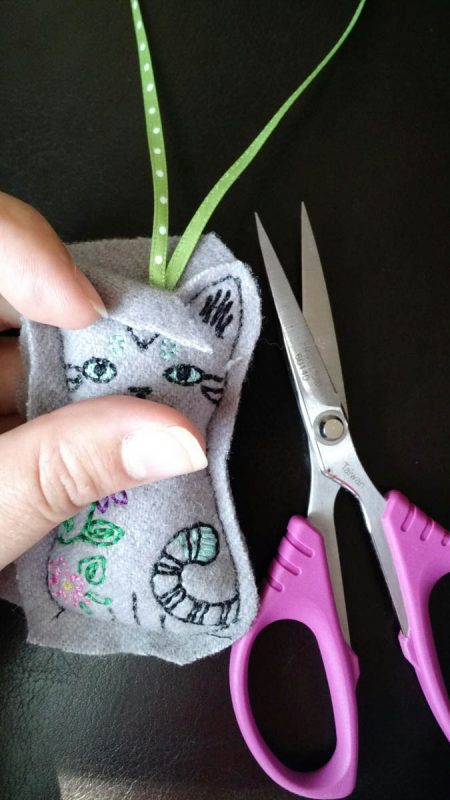
Trim outside the stitched edges, being very careful not to cut through the ribbon! Your critters are now ready to hang.
Sometimes, though, I forgot to add the ribbon before I topstitched around the edges before stuffing. In this case, I took a large-eyed needle and threaded the top of the loop through it.
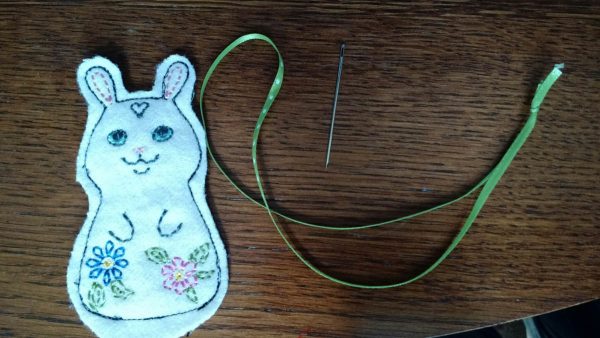
Through the hole in the bottom, push your needle up to the top where you want the ribbon to hang, and carefully work the thread through. Don’t pull too hard, or the knot will come out, too! Topstitch the ribbon in place.
Preparing the hoop for hanging
My local stores only had wooden hoops, so I decided to paint mine white using an acrylic craft paint. Once it was dried, I decided which order I wanted my critters to be in, and looped them over the outer edge of the hoop so that they faced outwards, spaced evenly.
I had a helper hold the outer hoop as I slid the inner hoop in place and tightened the screw firmly.
I then cut two 24″ lengths of the skinny ribbon, and knotted them in the middle so that there would be a loop at the top and four ends of equal length.
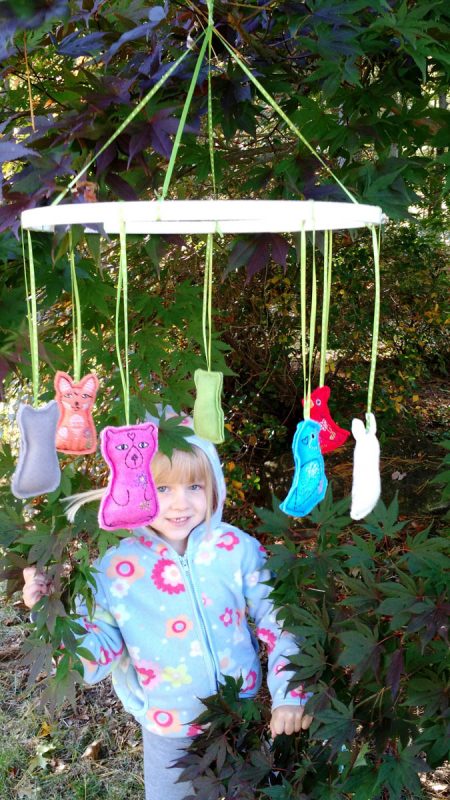
Dividing the hoop into four quarters, I loosely tied the four ends in place, adjusting the lengths as necessary so that it would hang easily. That’s it! Enjoy!
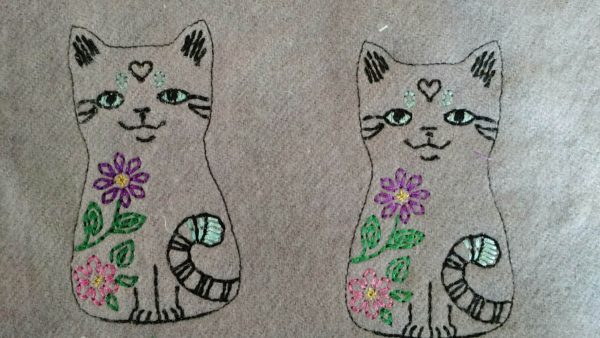
*A word about the water soluble topper: My wool was thick and fuzzy, and I wasn’t sure whether my stitches would have enough definition. I stitched it out both ways to see if it was necessary, and for this project, decided it wasn’t absolutely necessary. The cat on the left was stitched with the topper and the one on the right was stitched without the topper.