Baby Quilt Serger Series, Part One
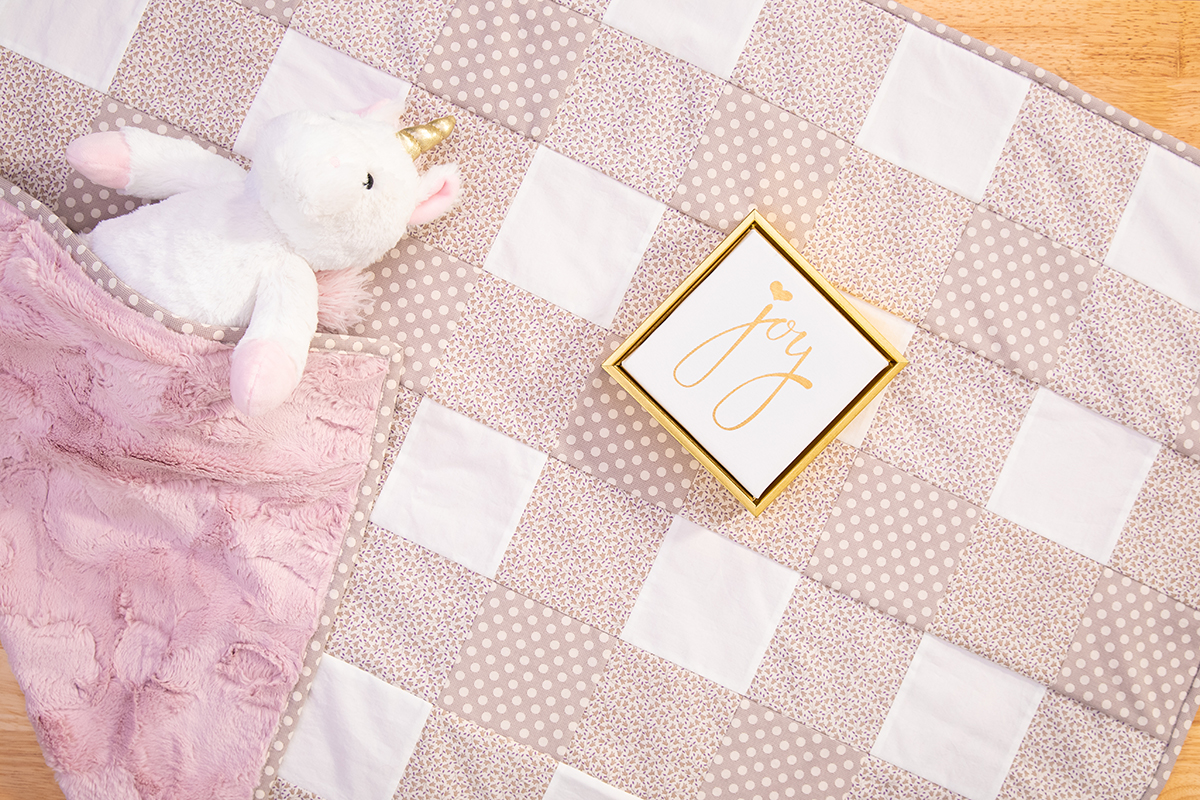
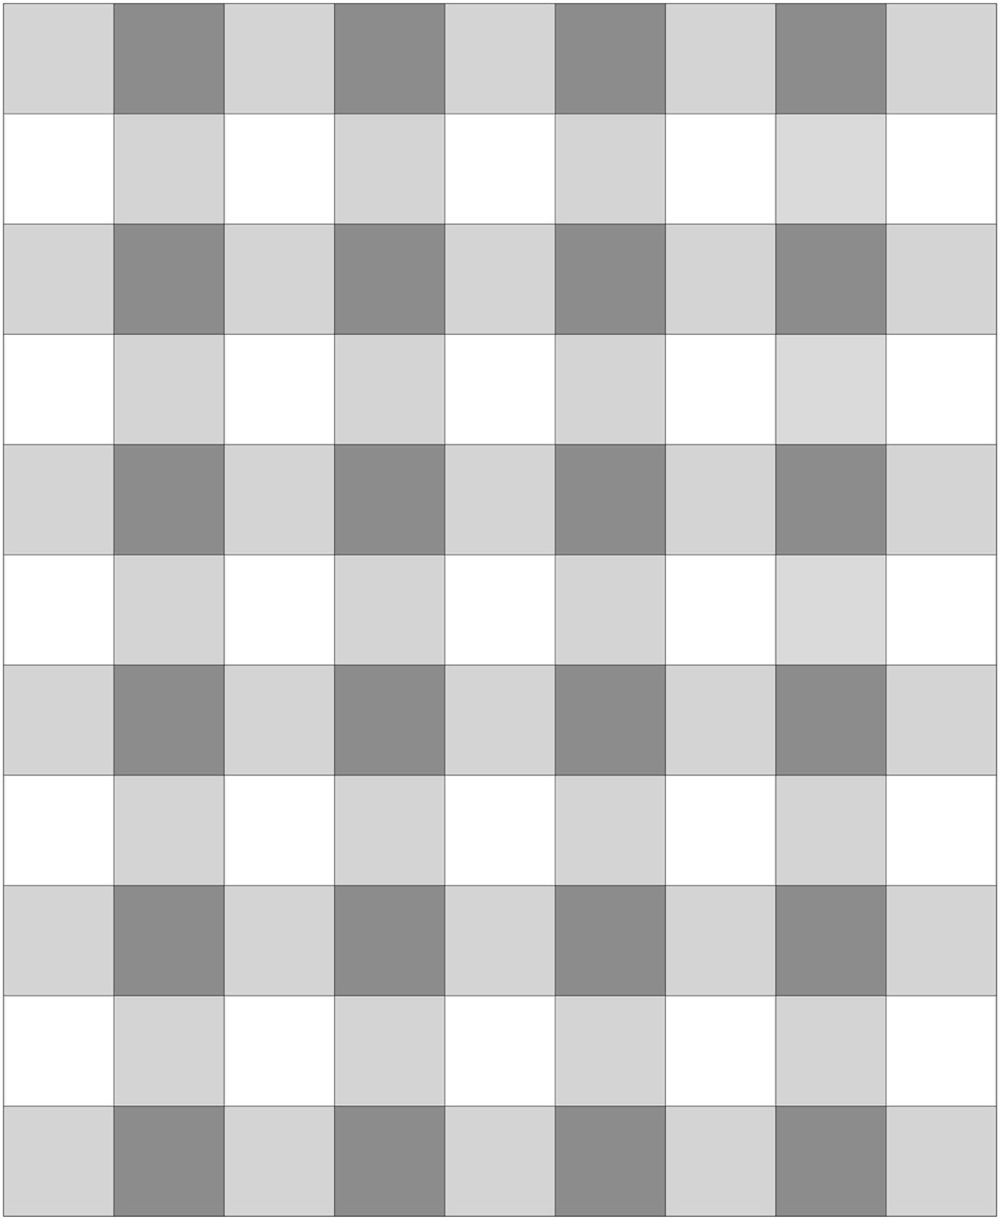
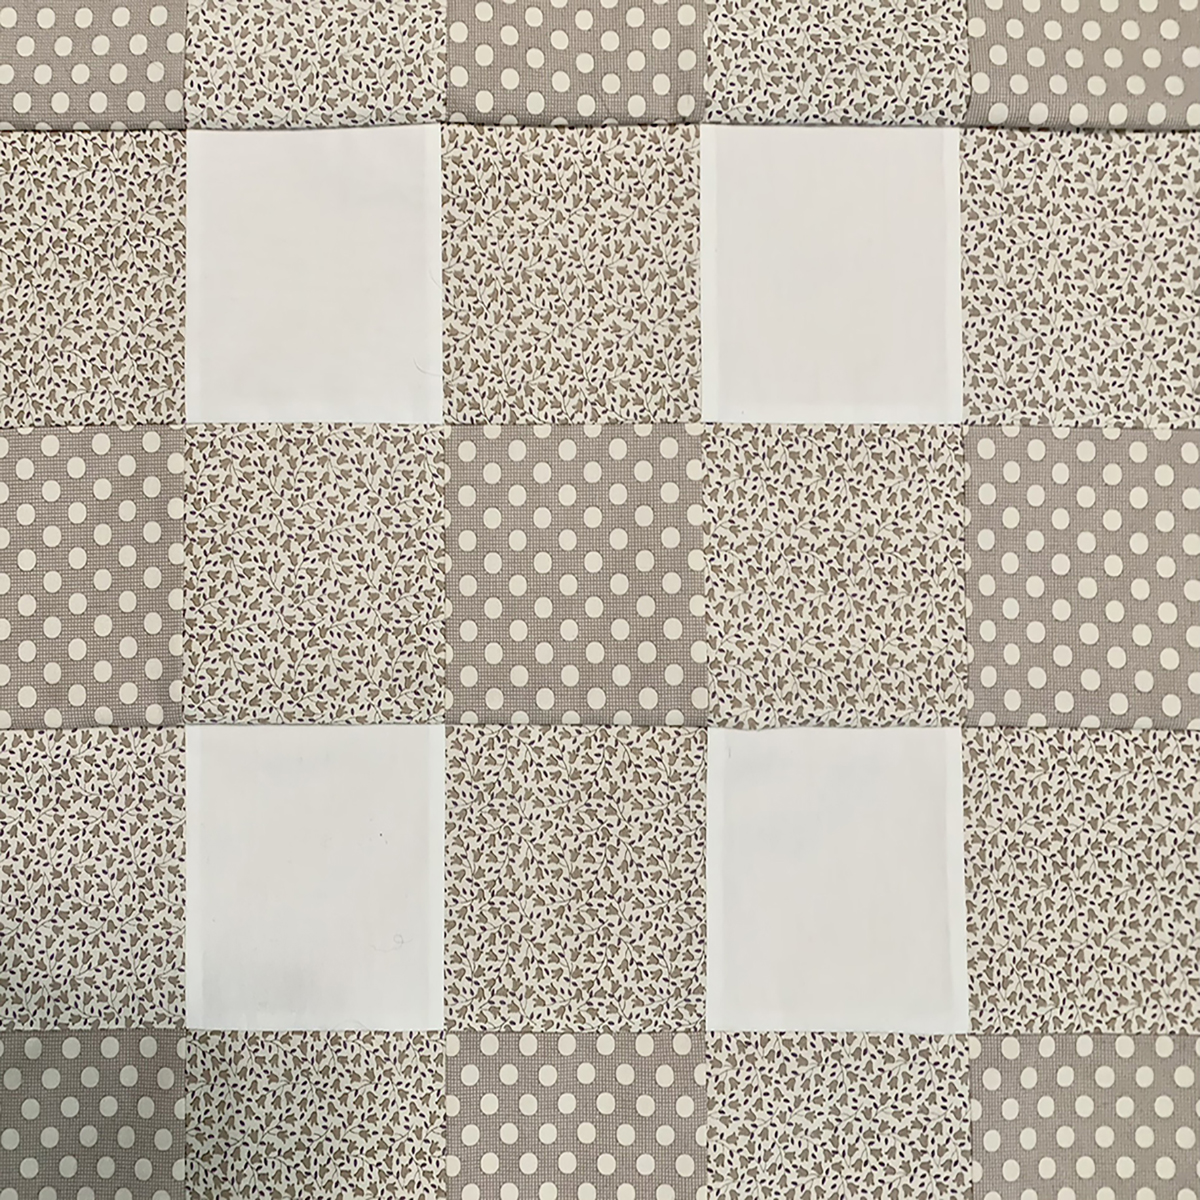
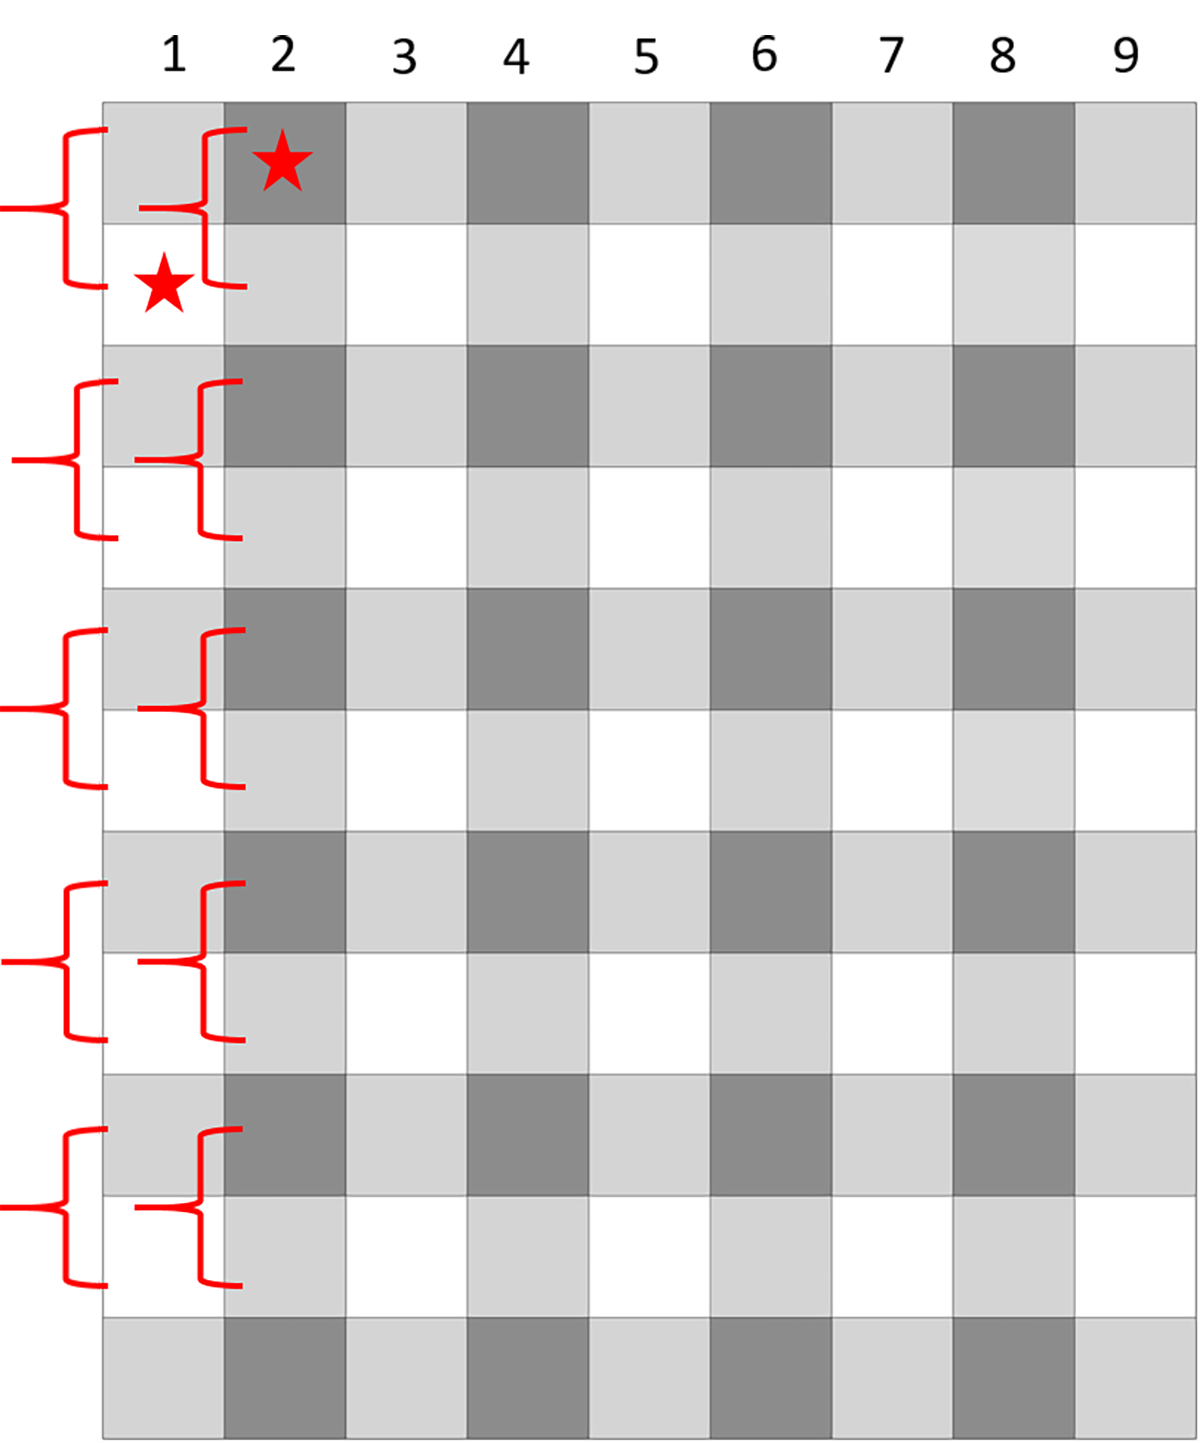
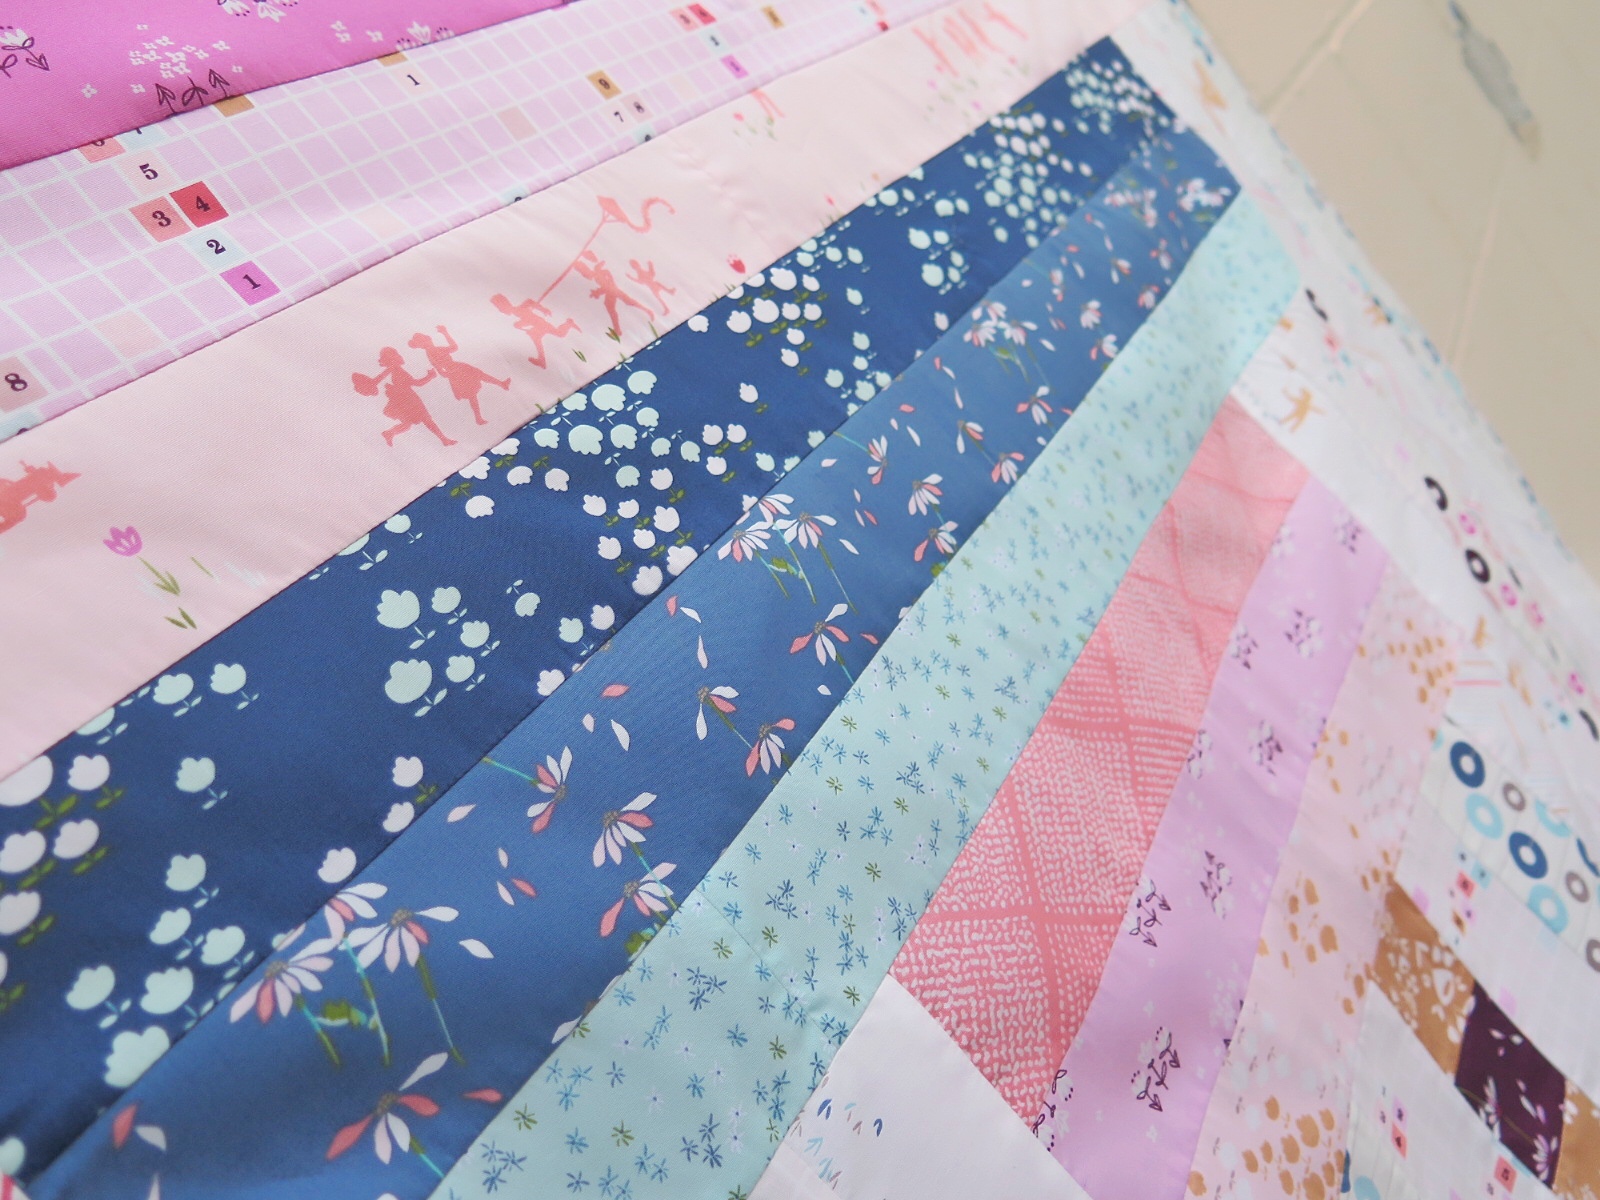
Did you know you can make a quick yet beautiful baby quilt on a serger with cotton and Cuddle® fabric without saying 4 letter words (and I don’t mean LOVE)? I’m usually not one to do trendy, but there’s a simple gingham pattern that is taking over social media that I couldn’t resist. Depending on your fabric selection, this quilt can easily have a classic or modern look. For the quilt top, there are 3 cotton fabrics – one light, one medium and one dark. You can choose solids or prints or a combination of both. Here is a diagram to give you an idea of color value to make the gingham pattern work.
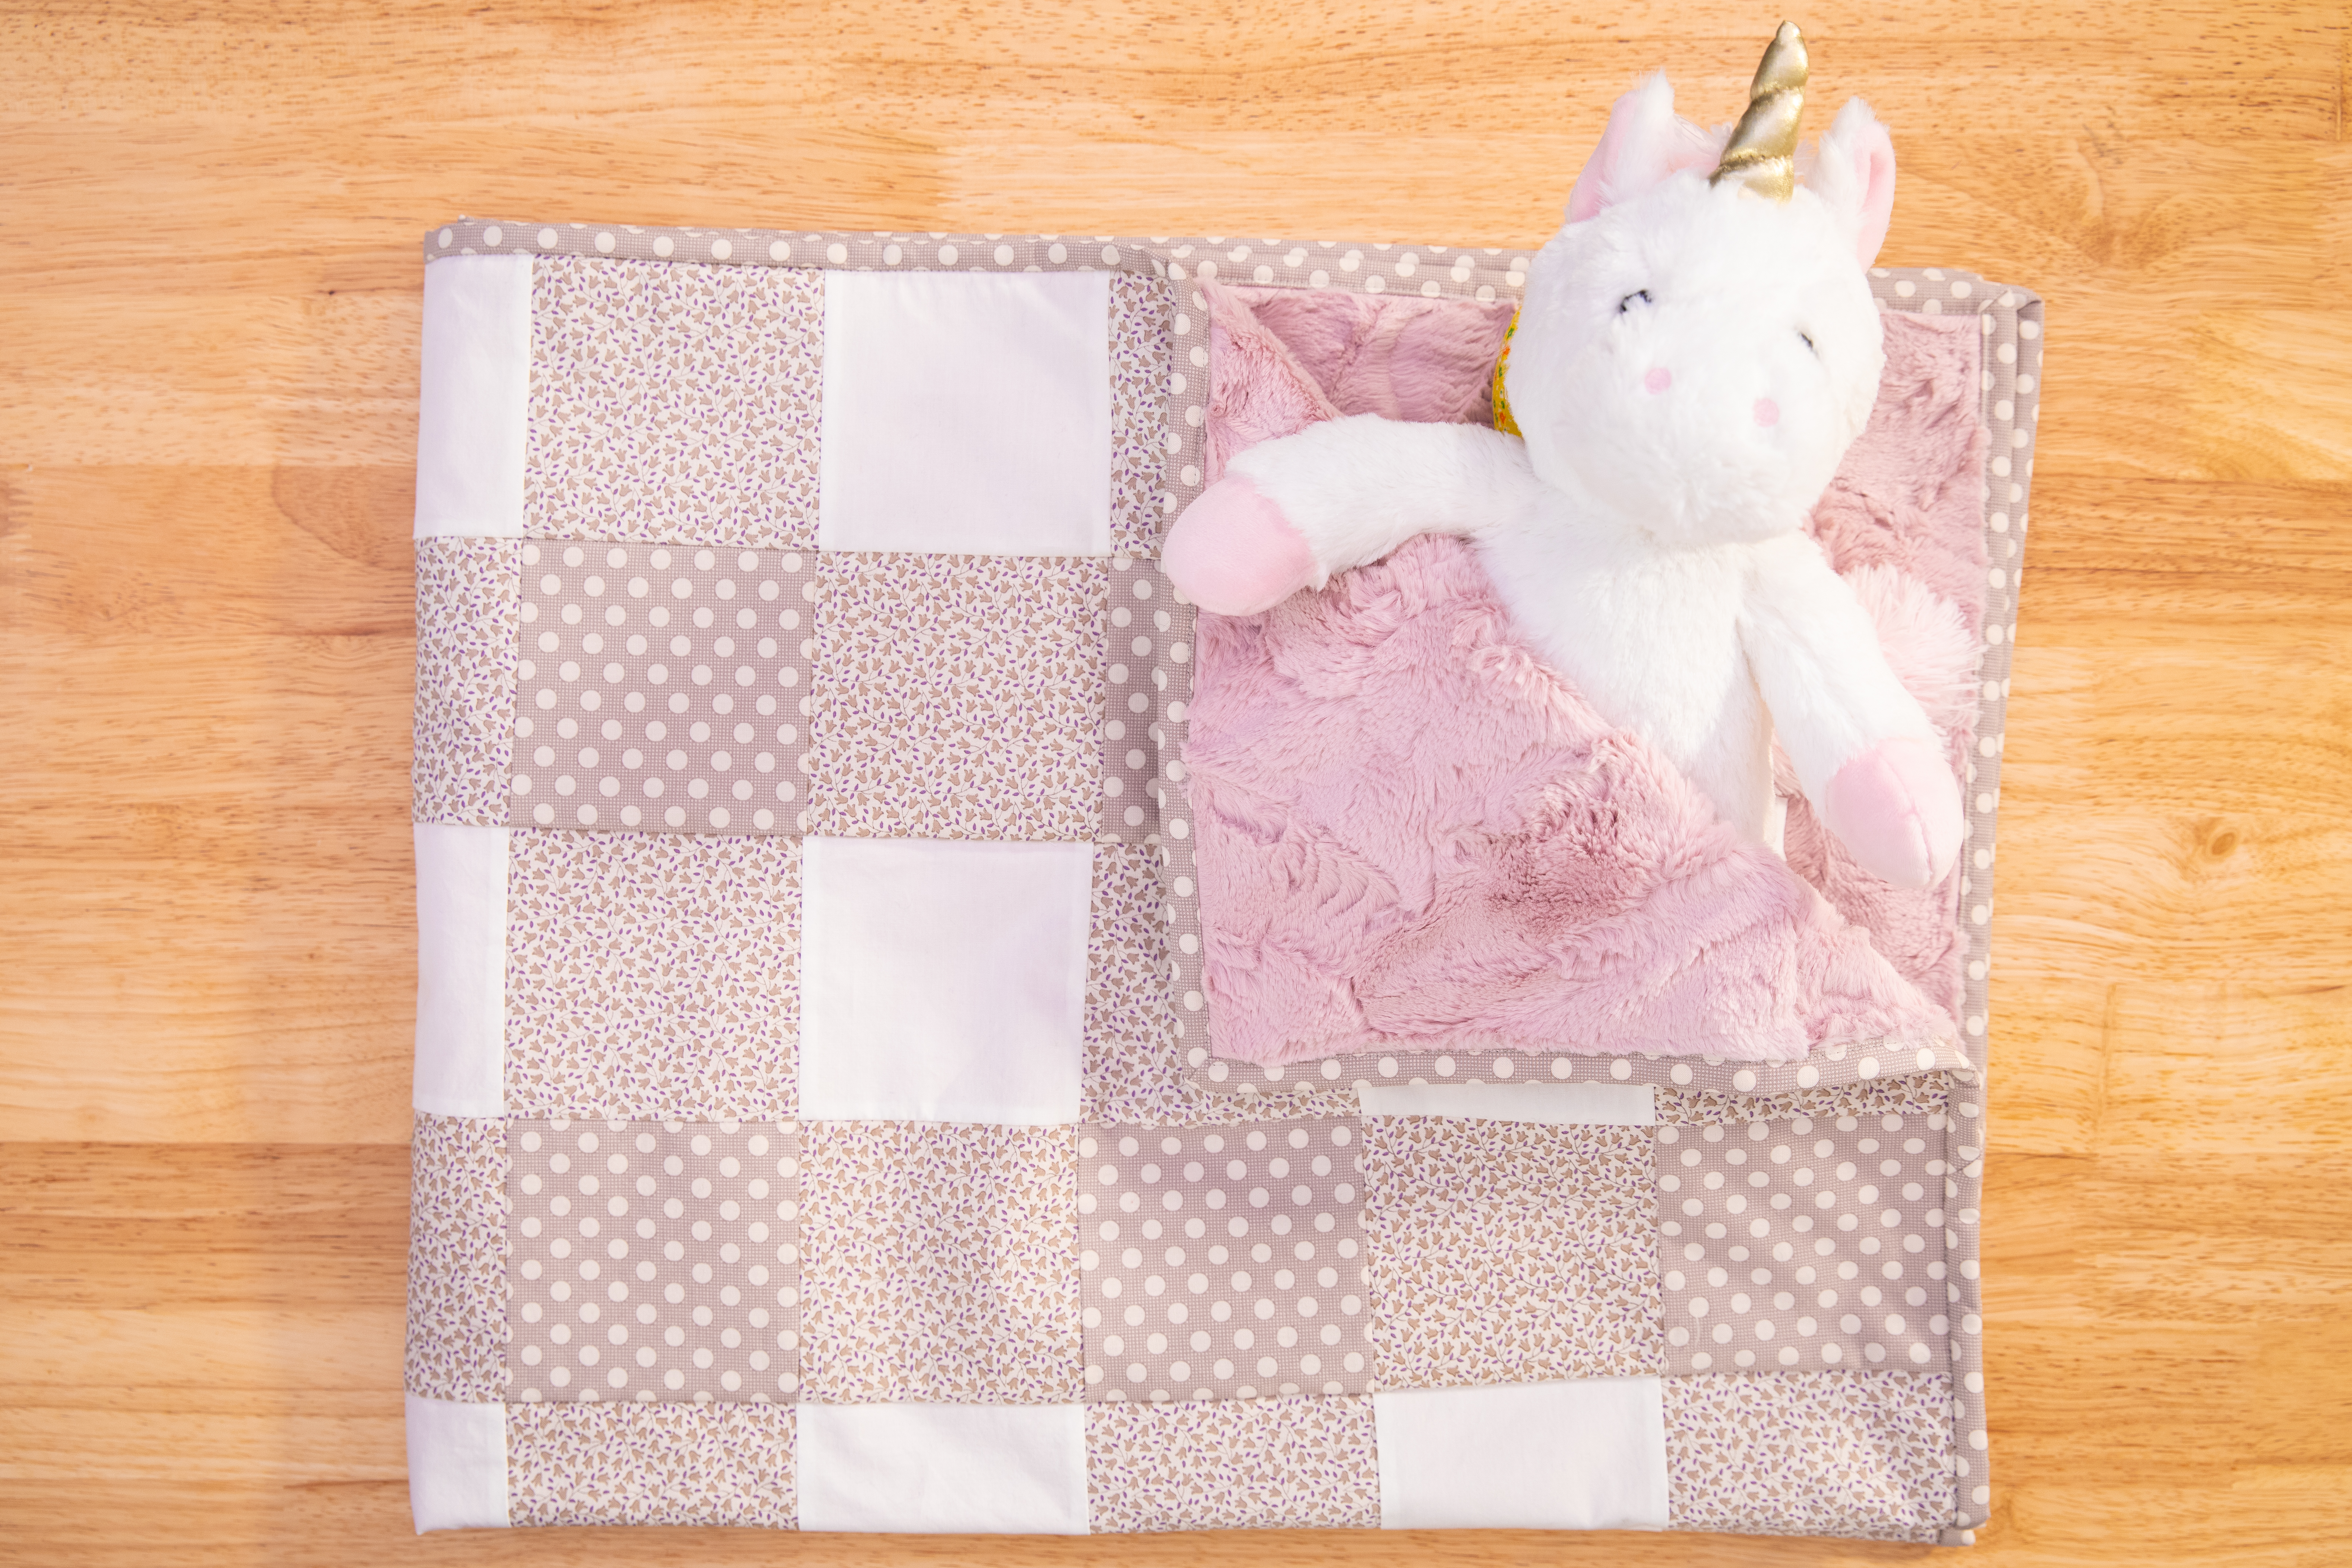
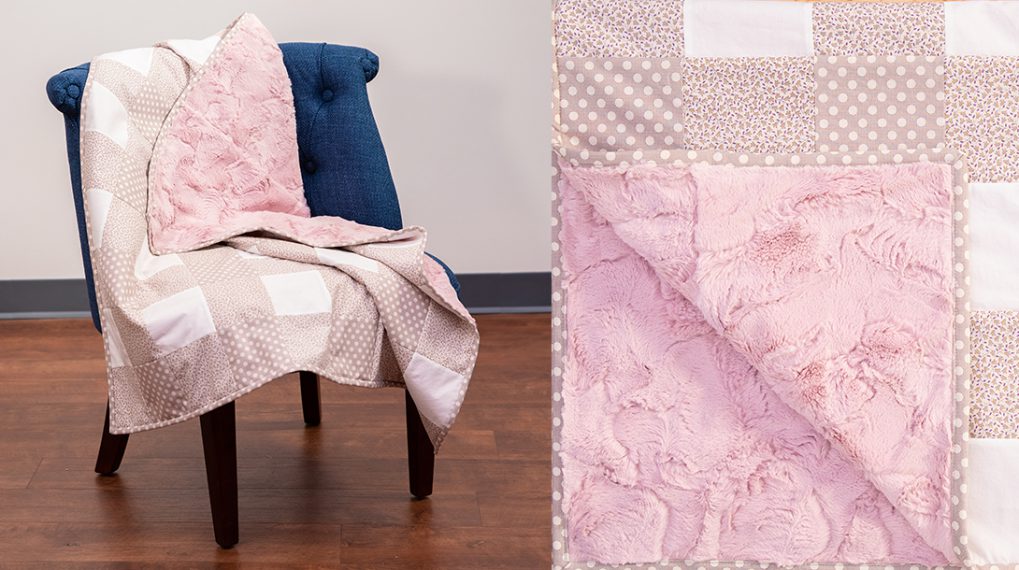
For the back, we are adding something soft and special – Cuddle® fabric. Have you visited the Shannon Fabrics website? You can easily get wrapped up in luxuriousness. But wait until you touch the fabric! It feels even more luxurious than it looks!

Machine Set Up
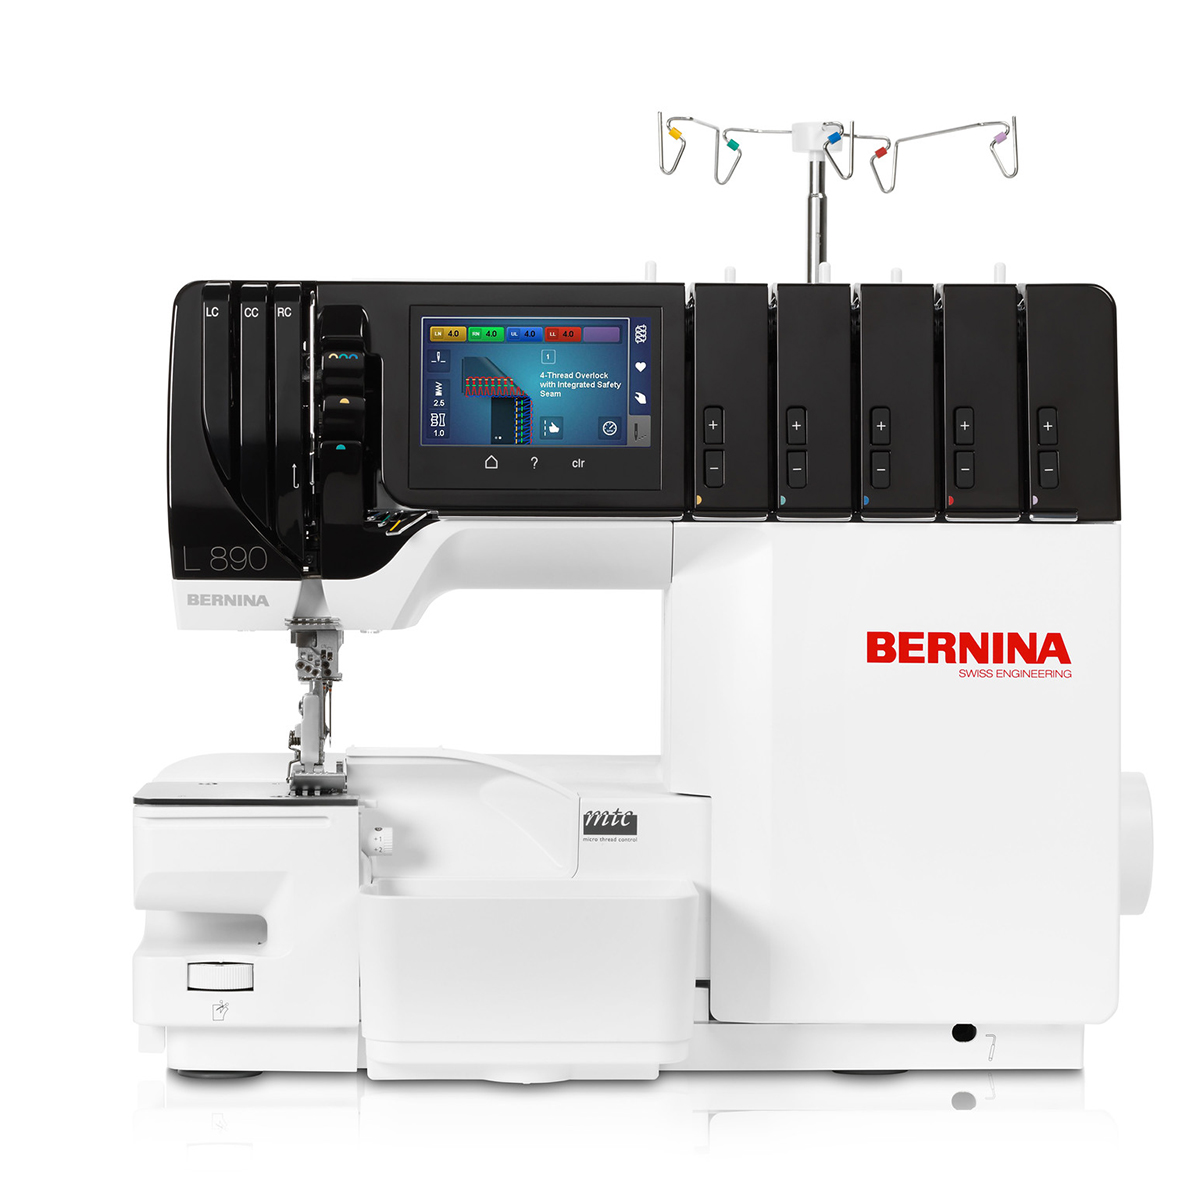
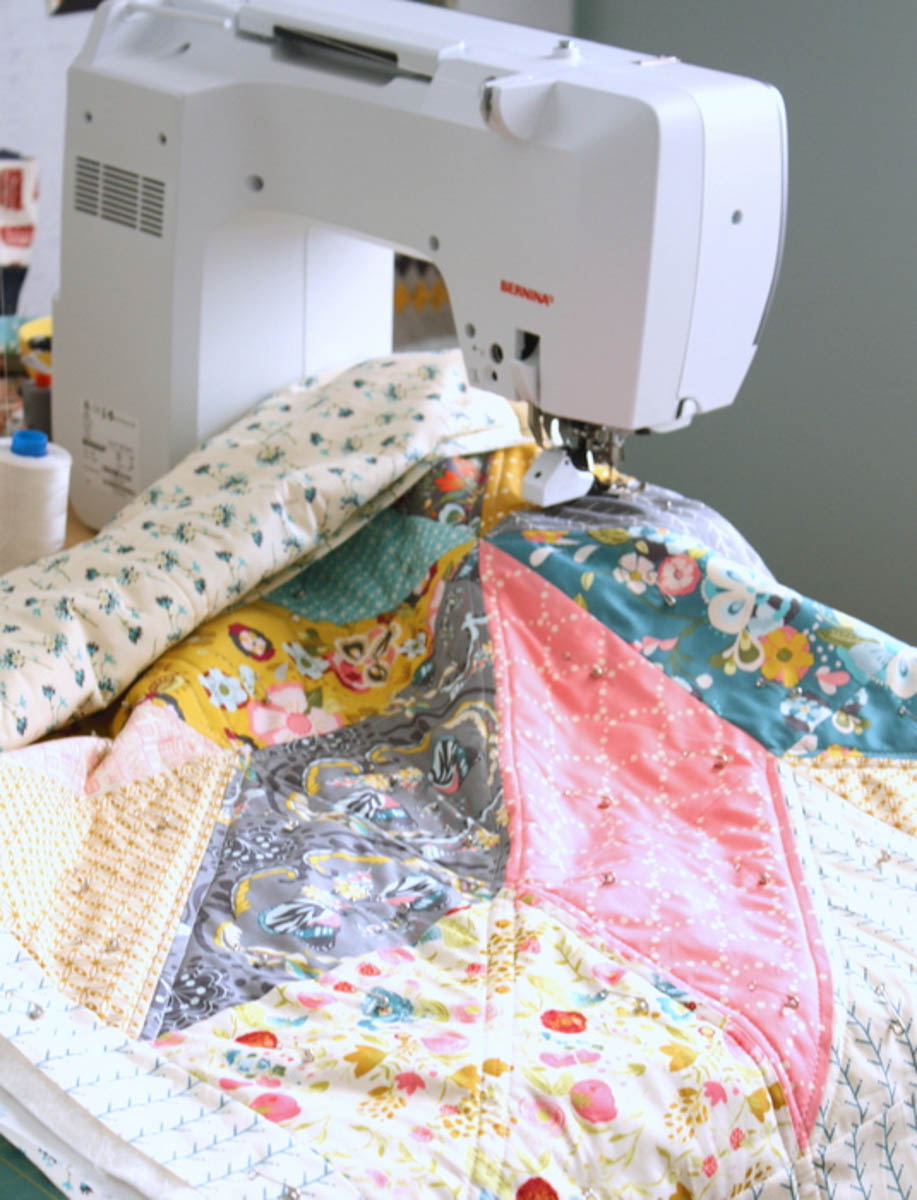
- BERNINA L 890
- Standard Overlock Foot #C11
- Cover/Chainstitch Foot #C13
- Option: Clear Standard Foot #C27
Supplies
- 1/2 yard dark fabric
- 1/2 yard light fabric
- 3/4 yard medium fabric
- 1/2 yard binding fabric
- 1 1/4 yard Cuddle® fabric – I am using Luxe Cuddle® Hide in Rose Water
- Mettler Seracor Thread
- Charlottes Fusible Thread
- Rotary cutter and ruler
- Optional: Xacto Knife
- Wonder clips and/or large pins
- Iron and pressing mat
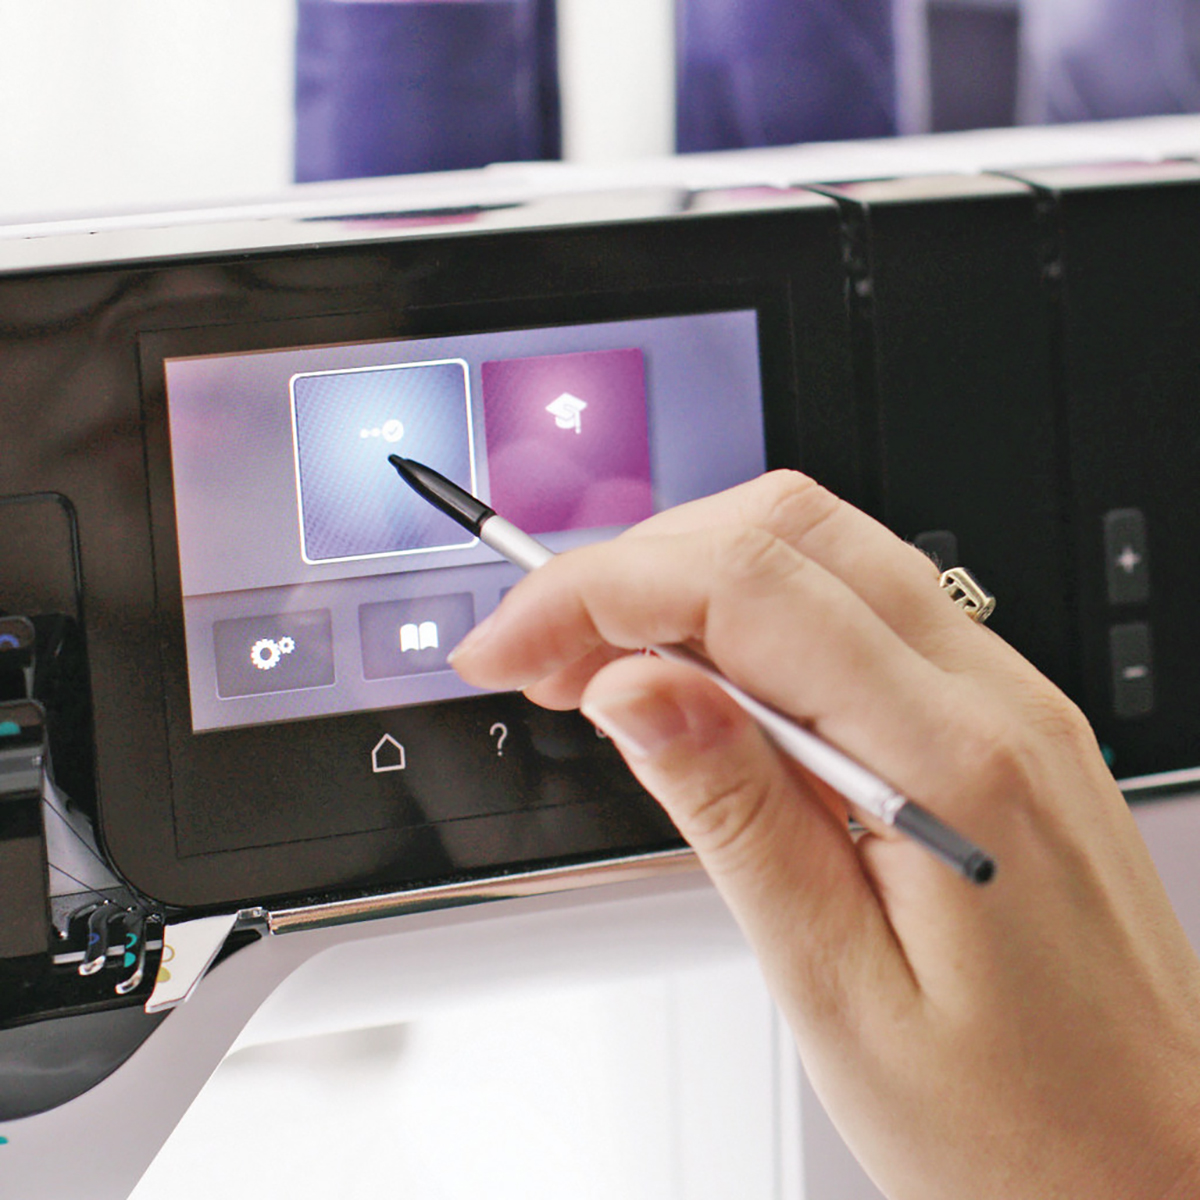
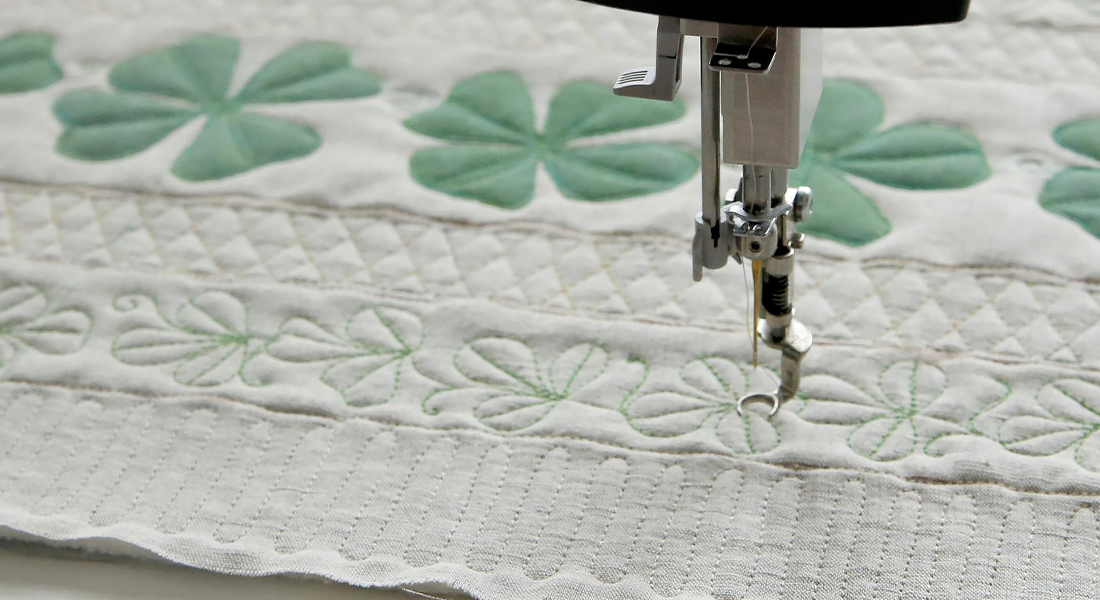
The BERNINA L 890 has a color touch screen that includes stitch selection, individual stitch settings and personal memory. There are two modes to choose from – Guided Mode and Expert Mode. The Guided Mode (my favorite) has step-by-step instructions for beginners or for experts who need a little refresher! This overlock machine is so fun, you’ll wonder why you waited so long!
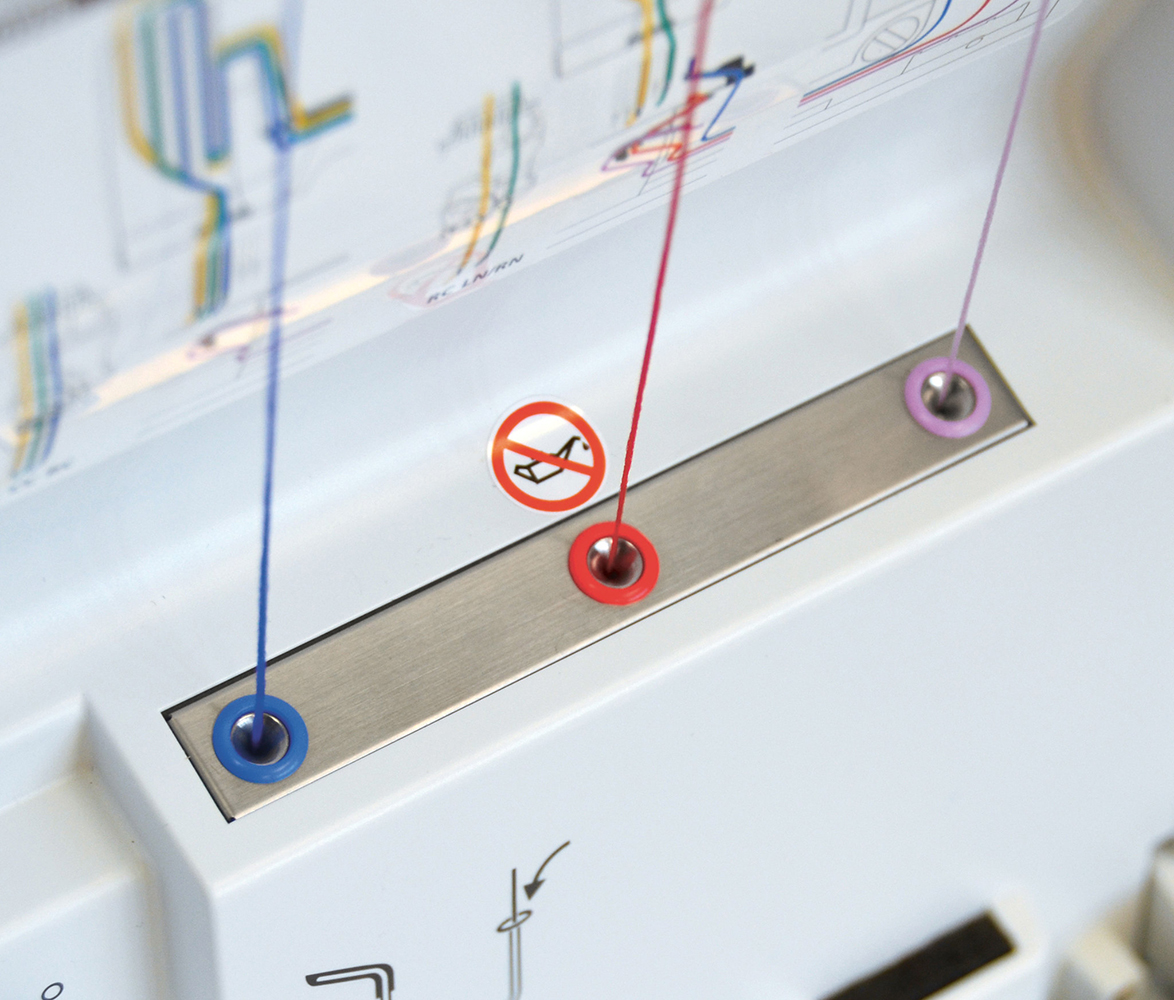
The L 890 is a One-step Air Threader. There is no complicated threading with this machine. You simply place the thread just above the nozzles, press the foot control and the threads move through the machine along the appropriate pathways and appear like magic on the stitch plate. It’s never been easier to thread your overlock machine!
Fabric Prep
I cut the following number of 4 1/2” squares from each fabric:
- Light – 25
- Medium – 50
- Dark – 24
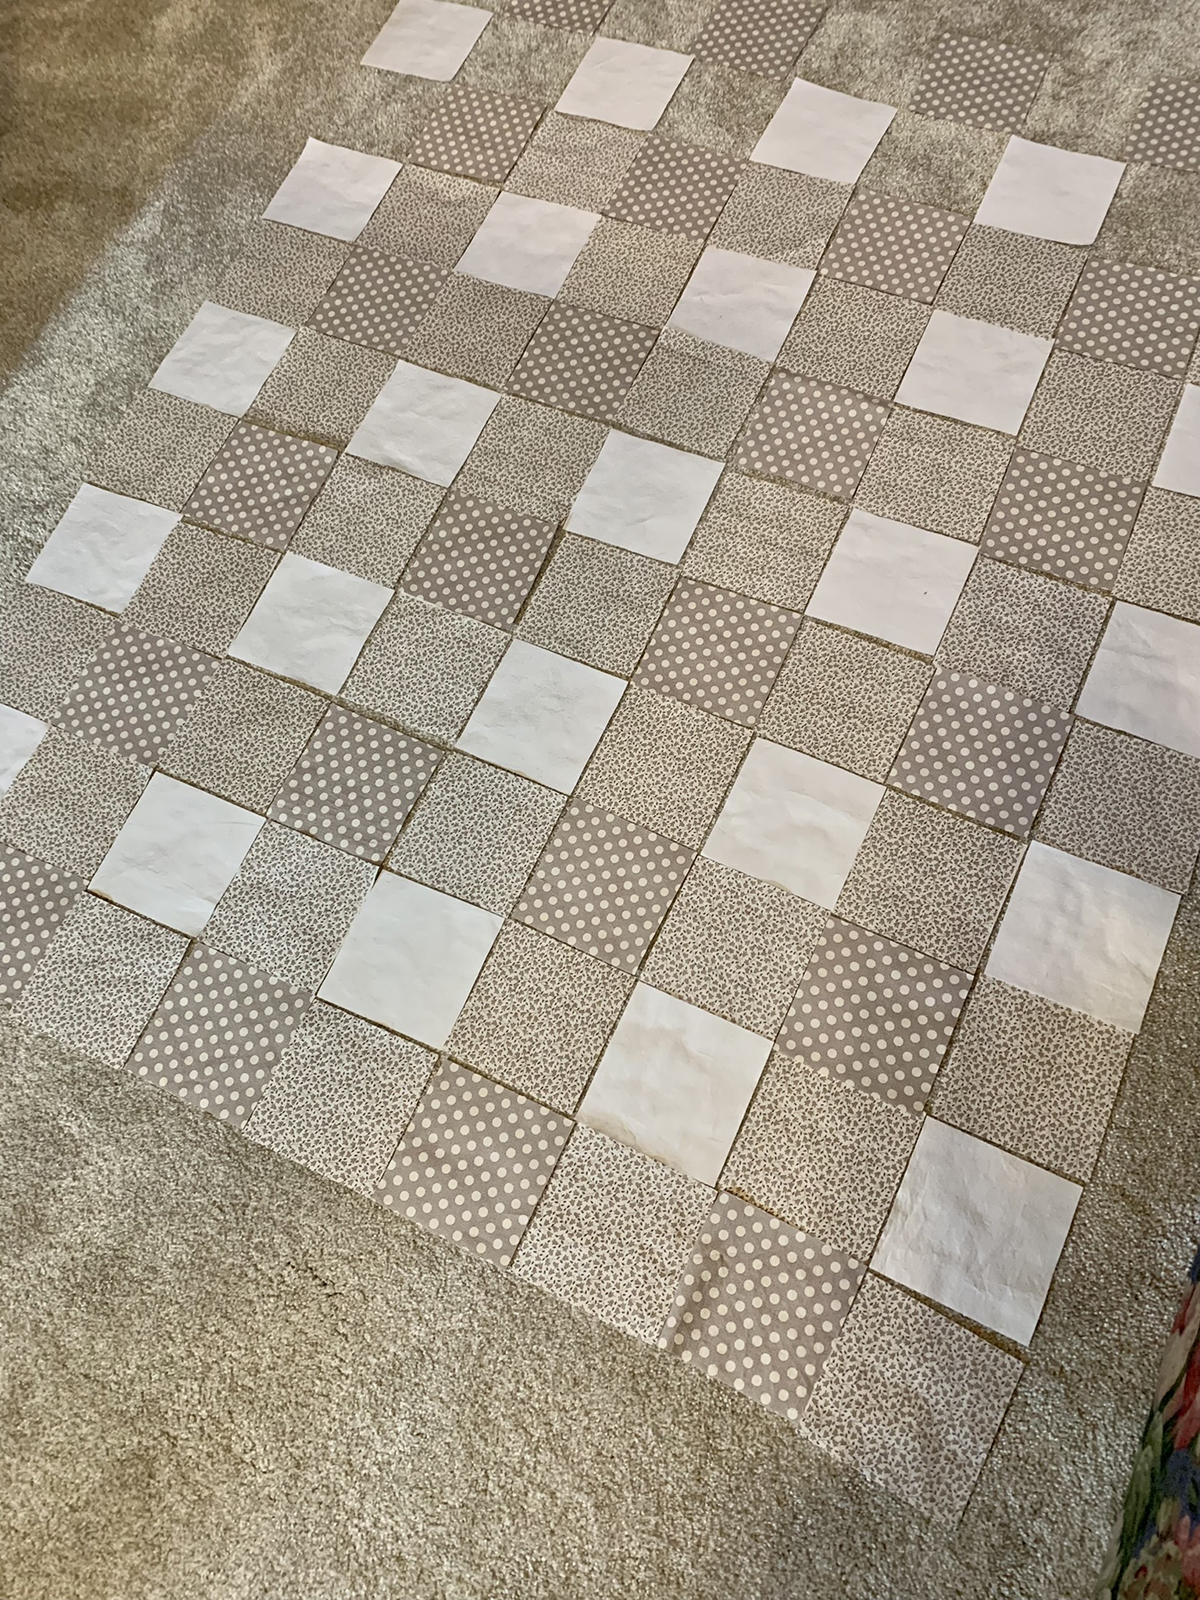
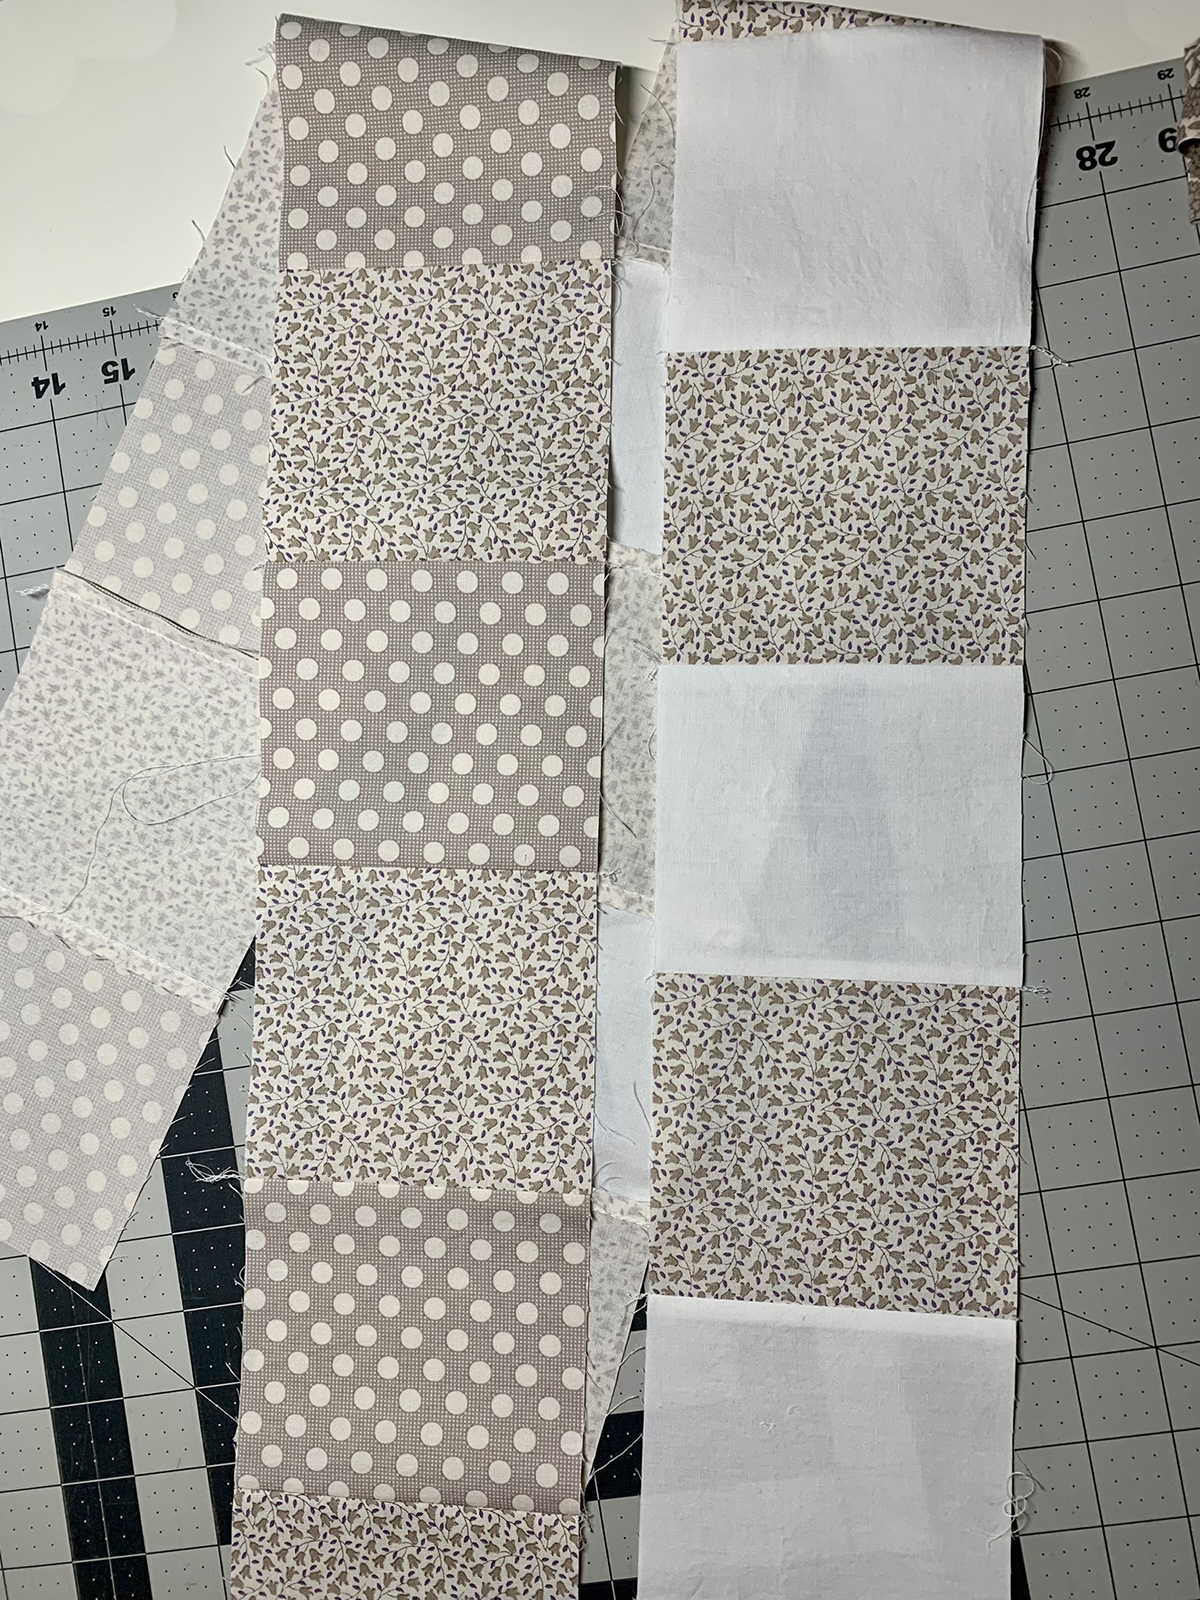
I placed the squares in a gingham pattern following the layout below. A design wall made from felt or a large floor space away from curious pets and children works great!
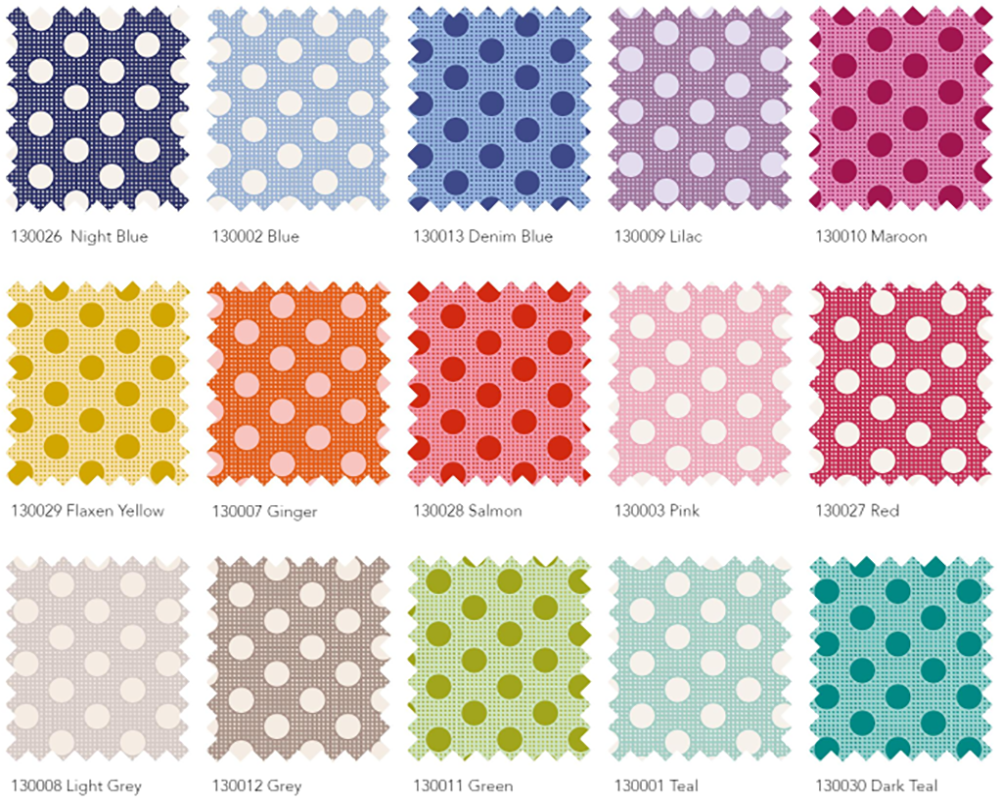
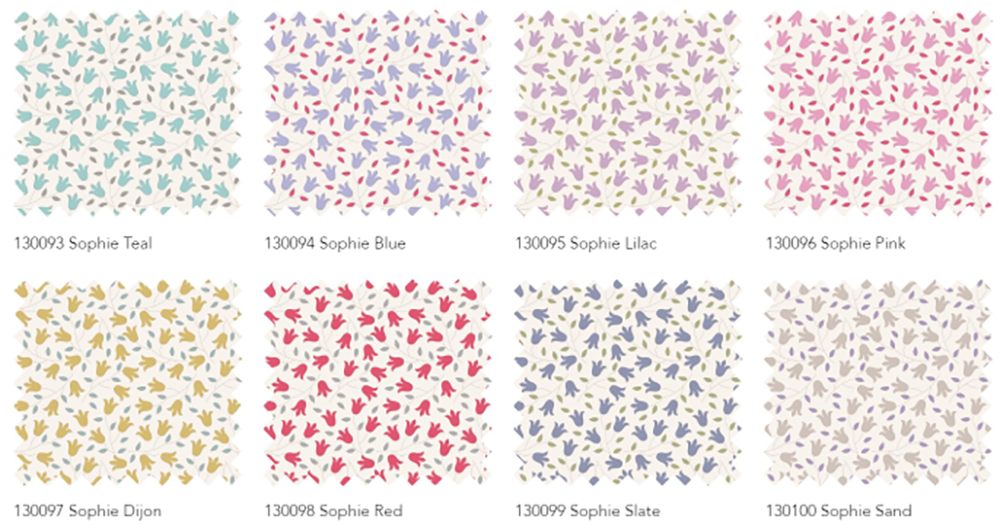
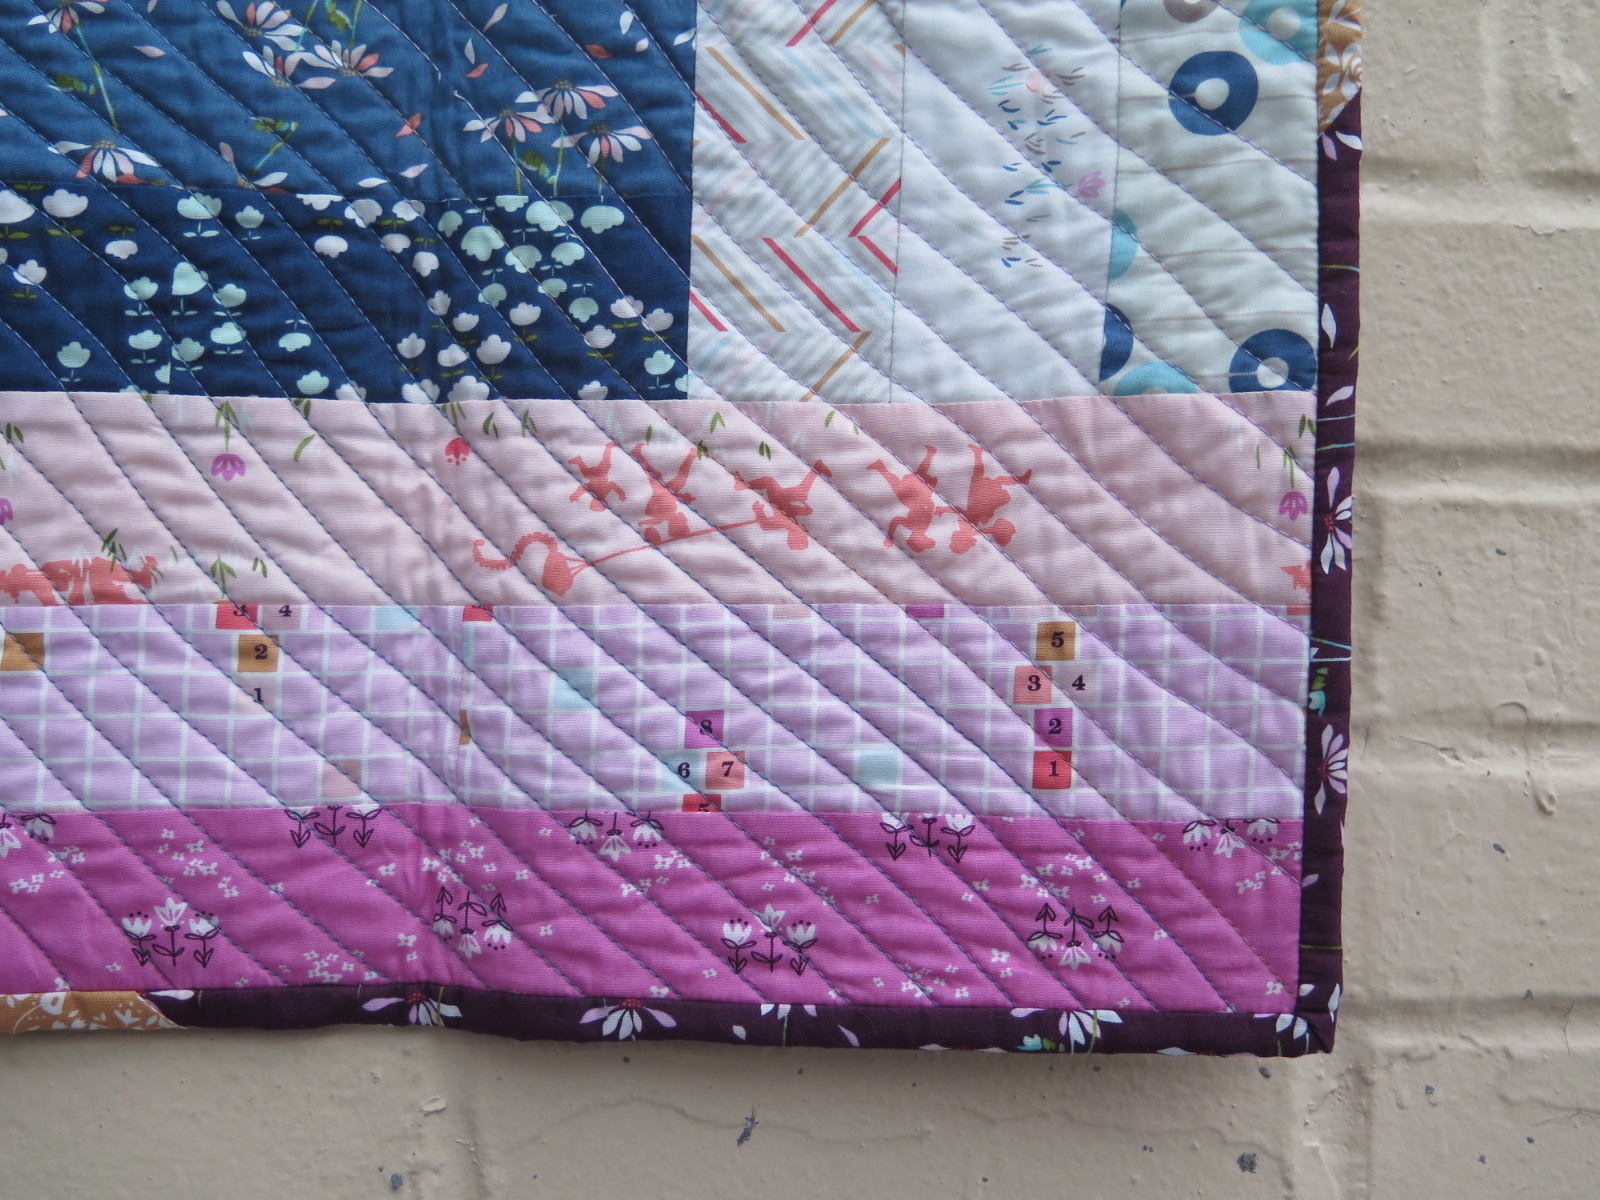
I am using Tilda Fabrics which was founded by Tone Finnanger, a Norwegian designer. She describes Tilda Fabrics as “whimsical and romantic, like a ball gown worn with wellies – perfectly imperfect!” If you have not discovered Tilda, visit tildasworld.com and immerse yourself in charming prints and colors. I am using fabric from Solid Basics, Medium Dots and Sophie Basics.
Make Rows
Usually, I would piece the squares together with my sewing machine, but I want to try something new and exciting! Can I get a 1/4” seam allowance or even better, a scant 1/4” on my serger? Hmmm… Play along with me!
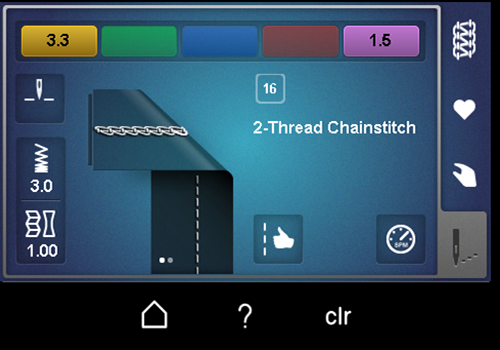
Attach Cover/Chainstitch Foot #C13. In Guided Mode, select 2-thread Chainstitch #16 and follow prompts.
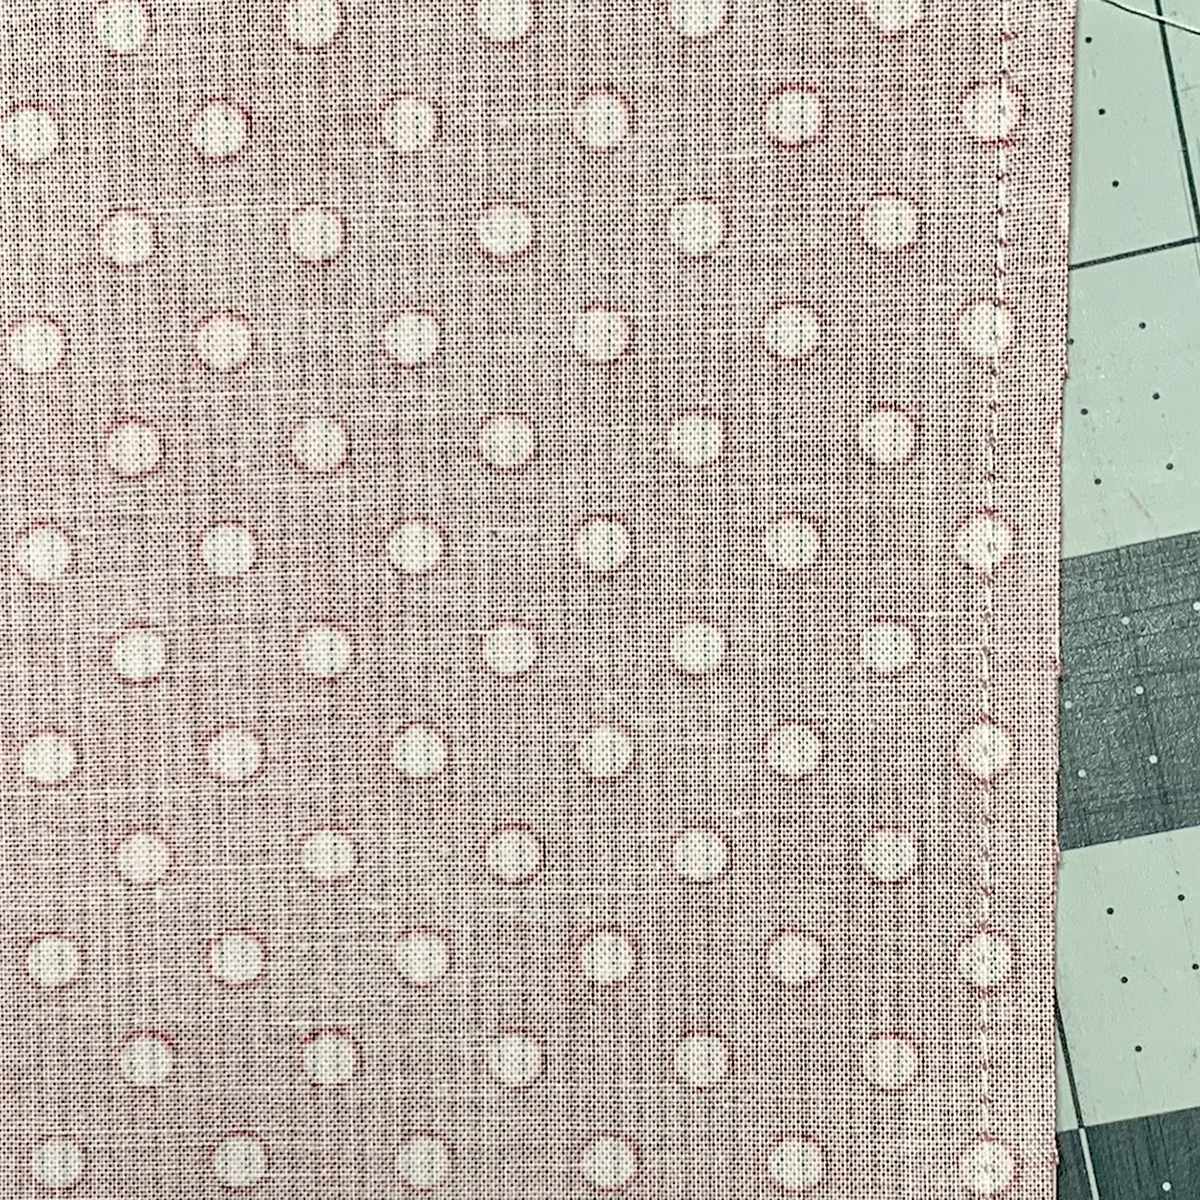
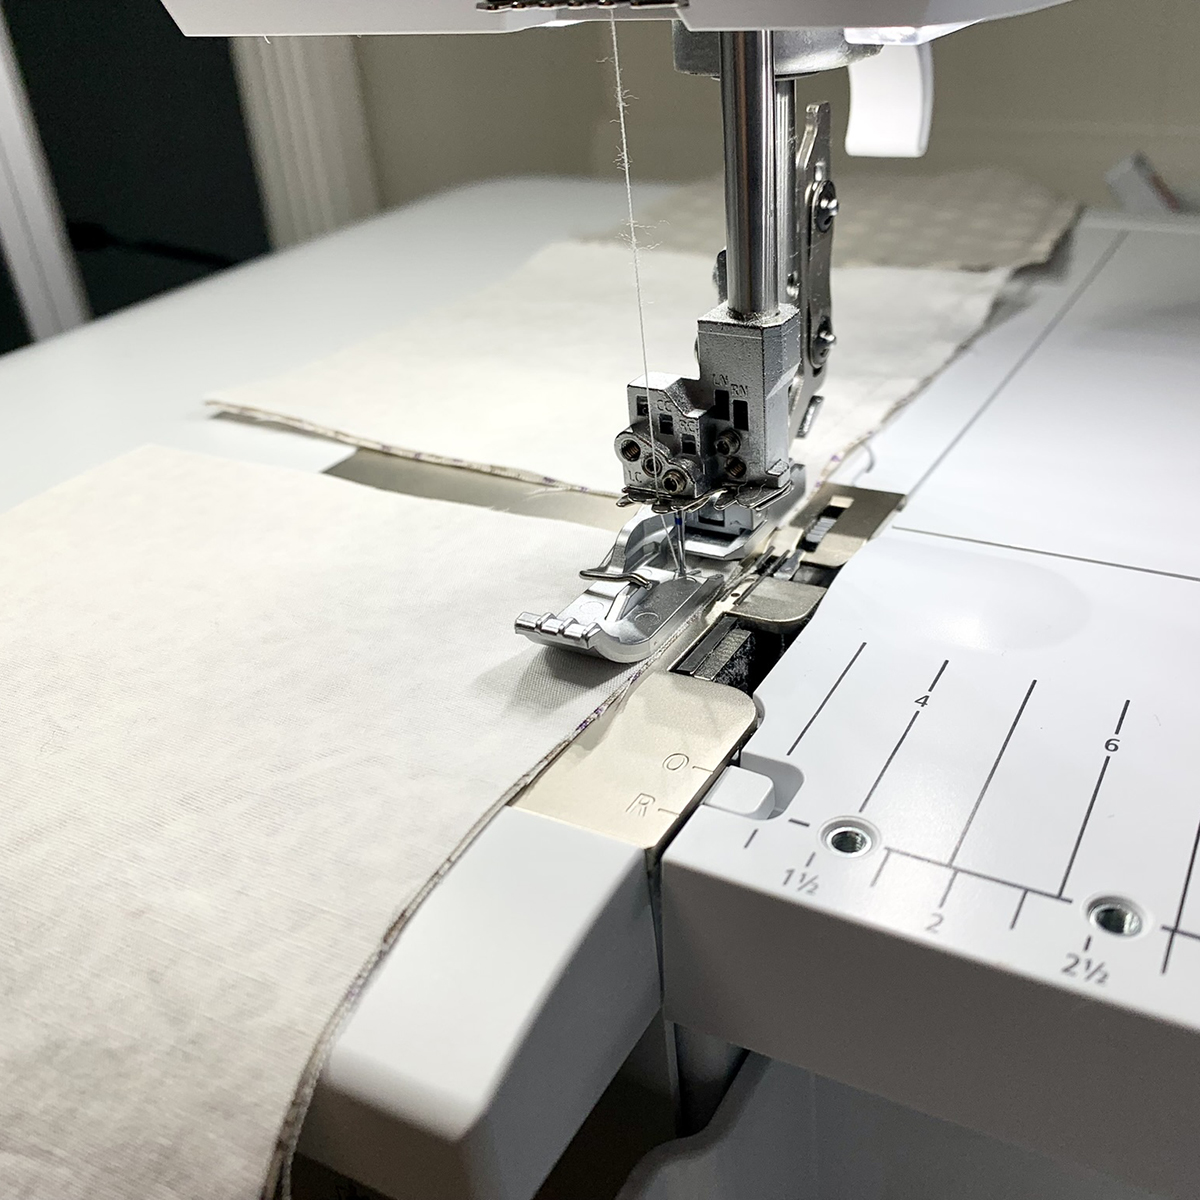
Using scraps as practice pieces, place squares right sides together under the foot. Align the raw edges with the right side of the foot. Stitch.
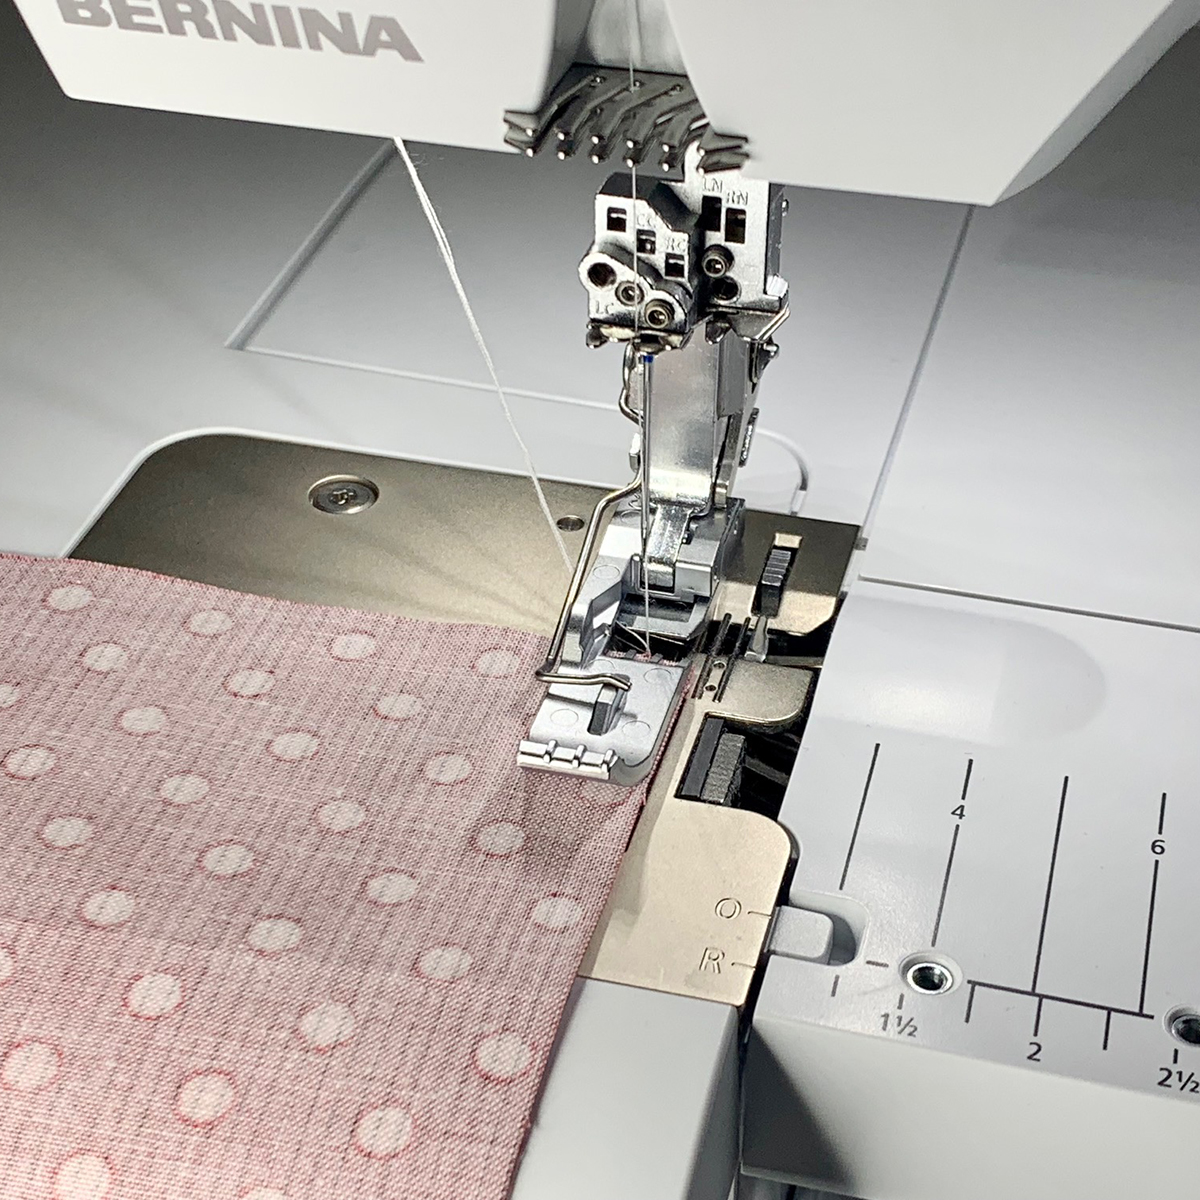

I started with the needle in the RC position as shown in Guided Mode. However, for this technique, my seam allowance was too small. No worries! I moved the needle to the CC position. Success! The seam allowance should be just shy of 1/4” to get a scant 1/4” seam allowance.
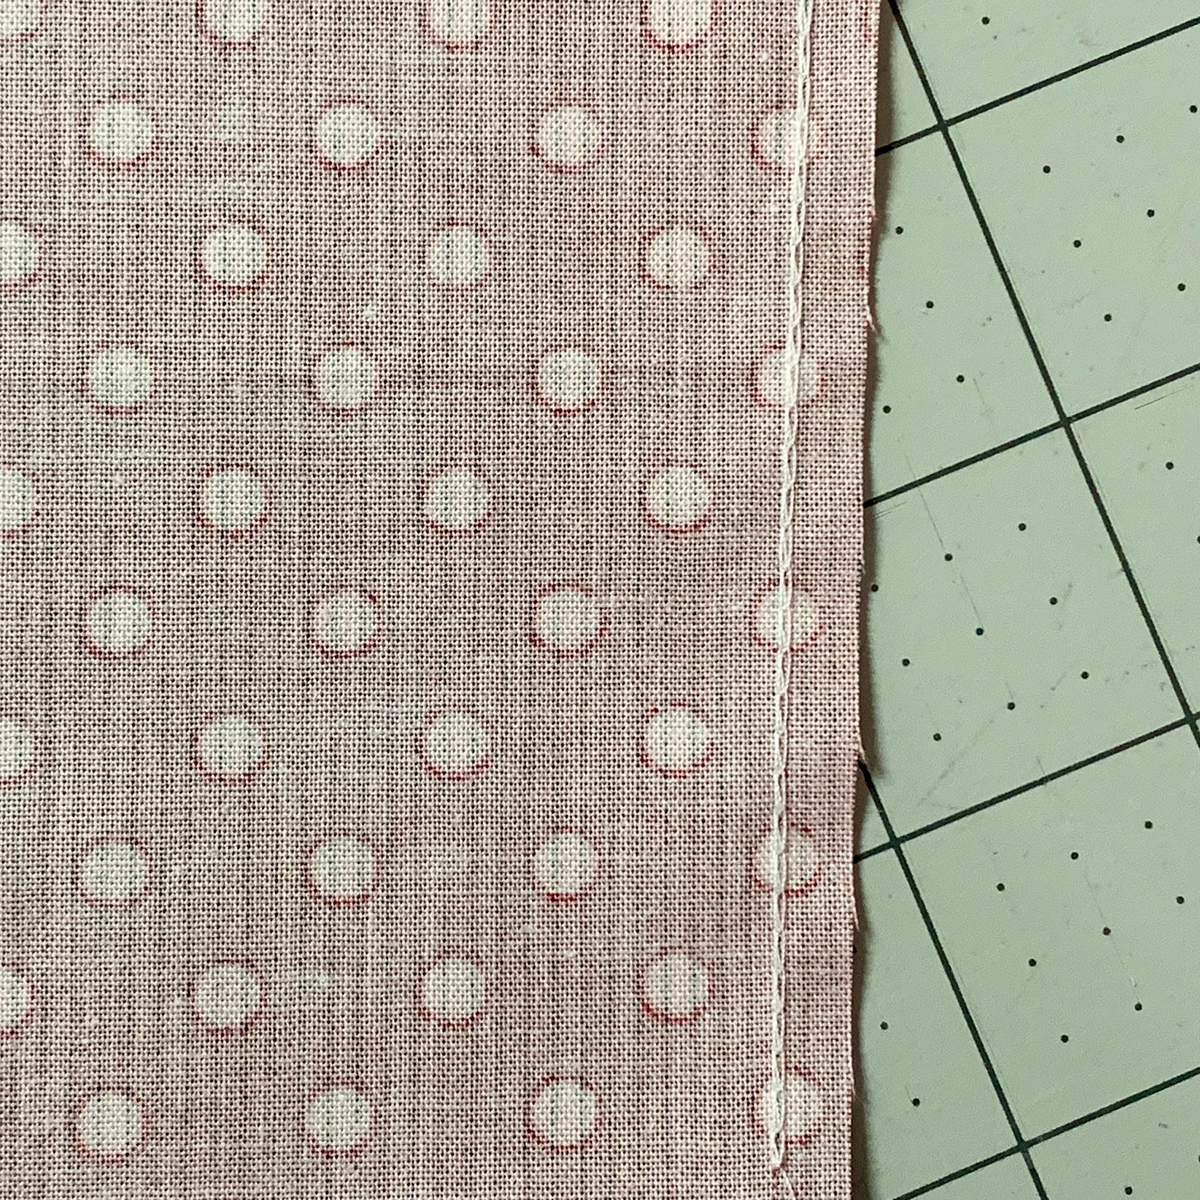
With a chainstitch, the top will look like a regular straight stitch.
The bottom will resemble its name – chainstitch.
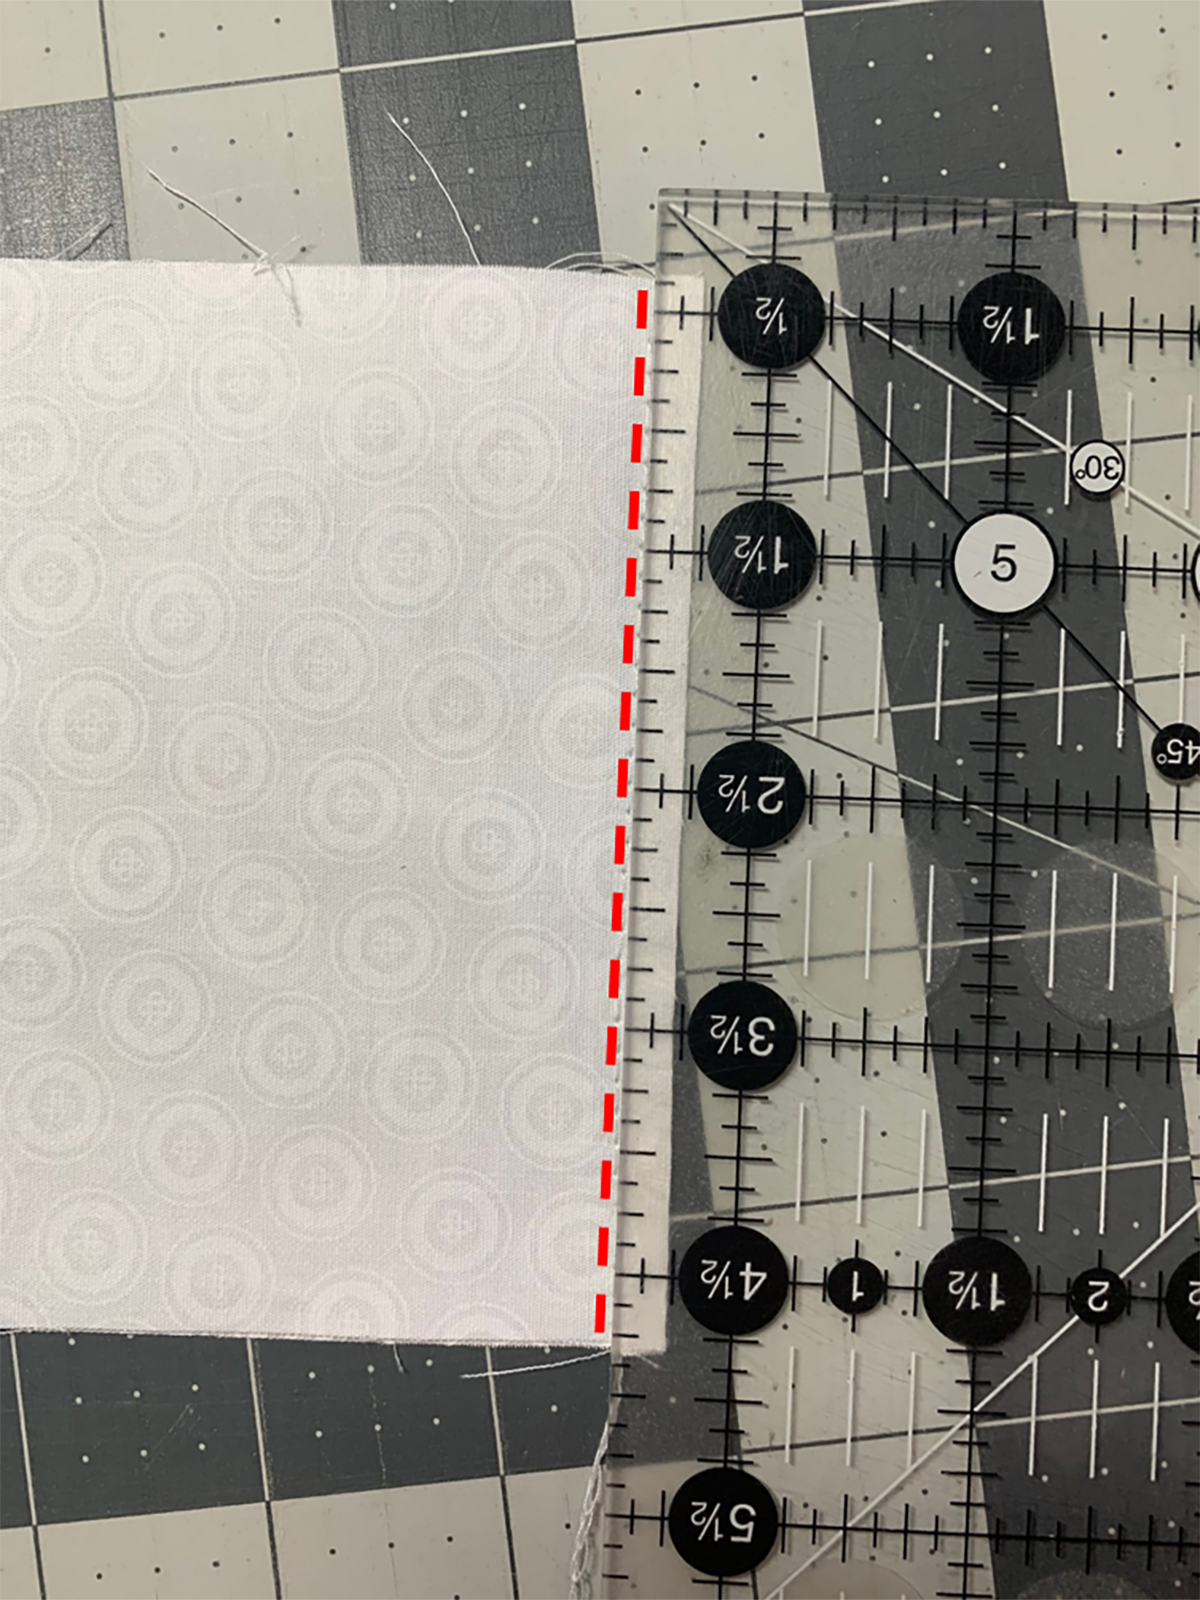
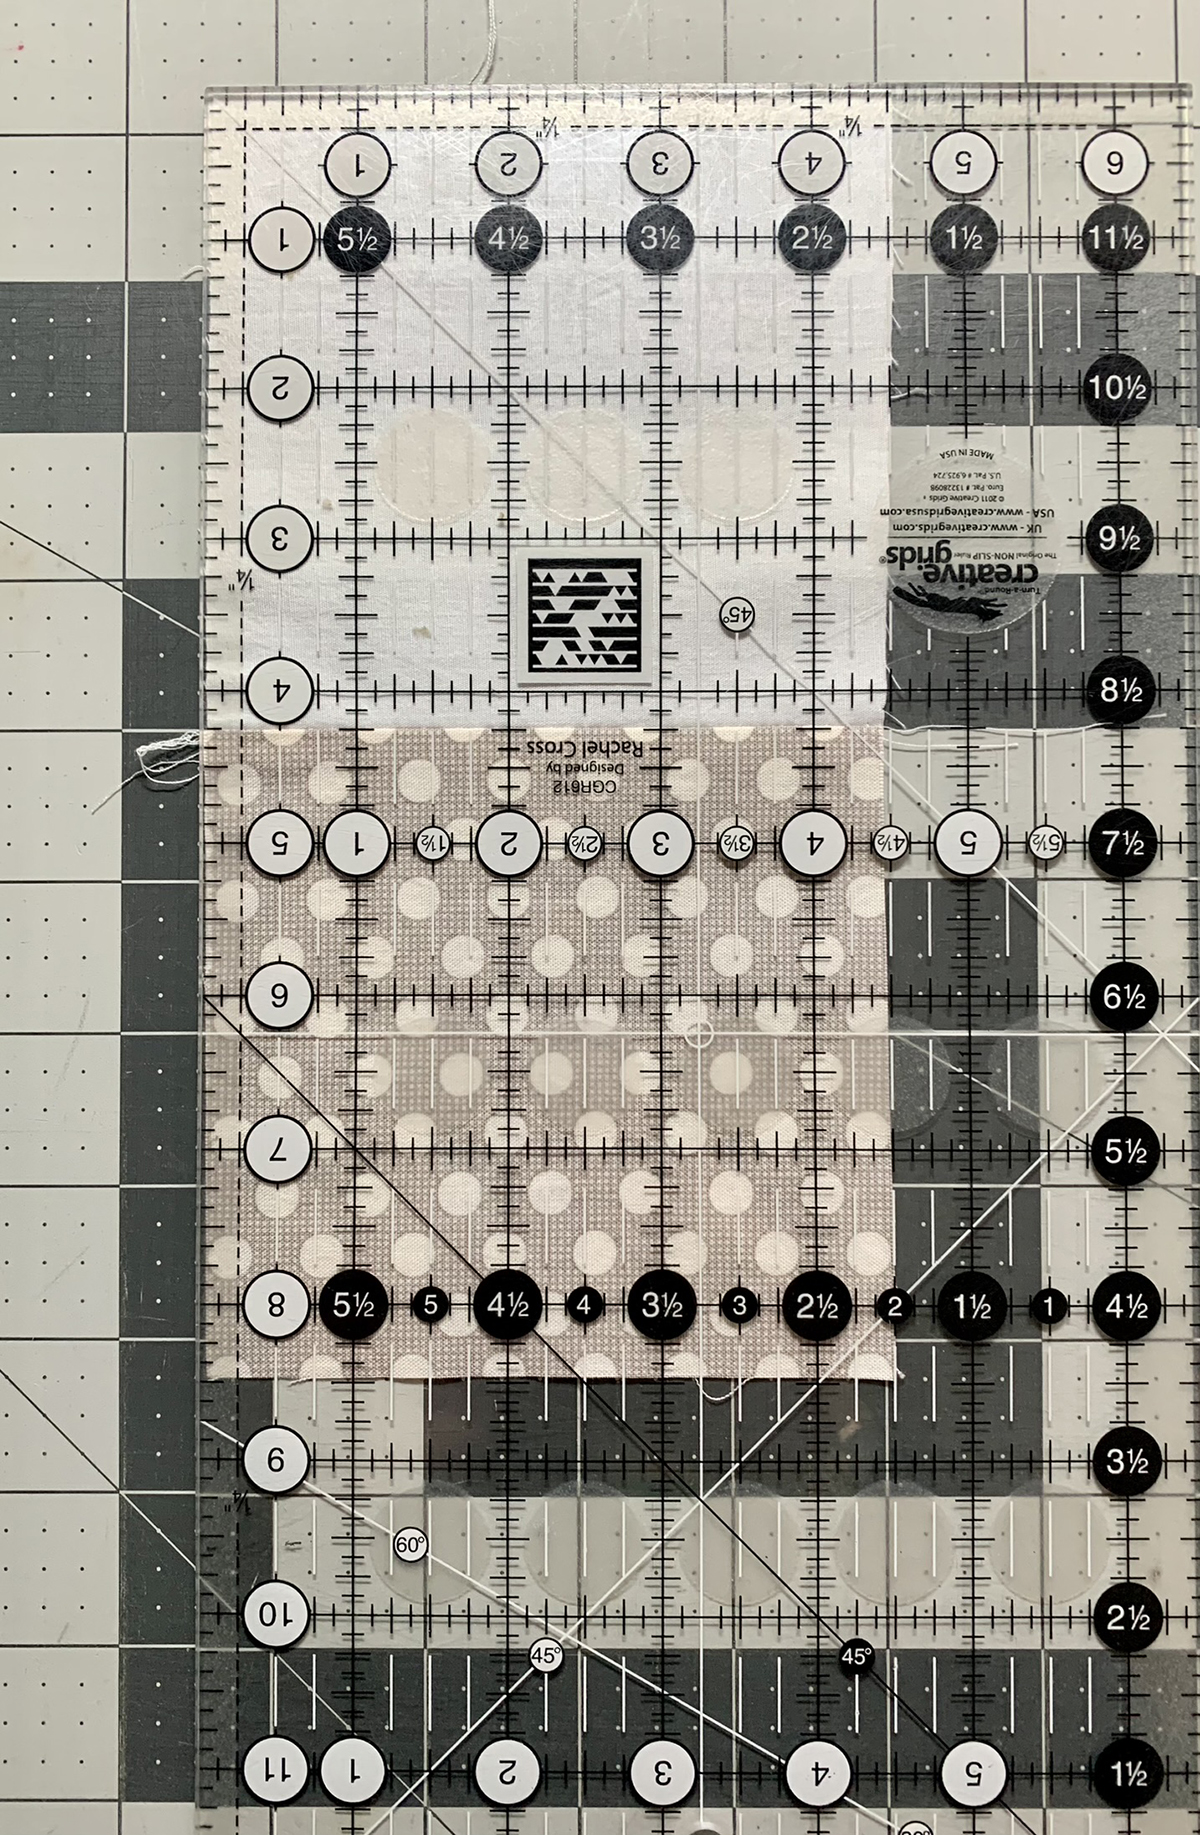
I like to press seams to one side 99% of the time. This creates a stronger seam and usually precise nesting of seams. Remember one side has a straight stitch and the other side has a chainstitch. I found it best to press to the side with the straight stitch. The chainstitch is slightly thicker than the straight stitch – this can add to your overall seam allowance making your block smaller. After pressing, I measured the squares – 4 1/2 x 8 1/2. Hooray!
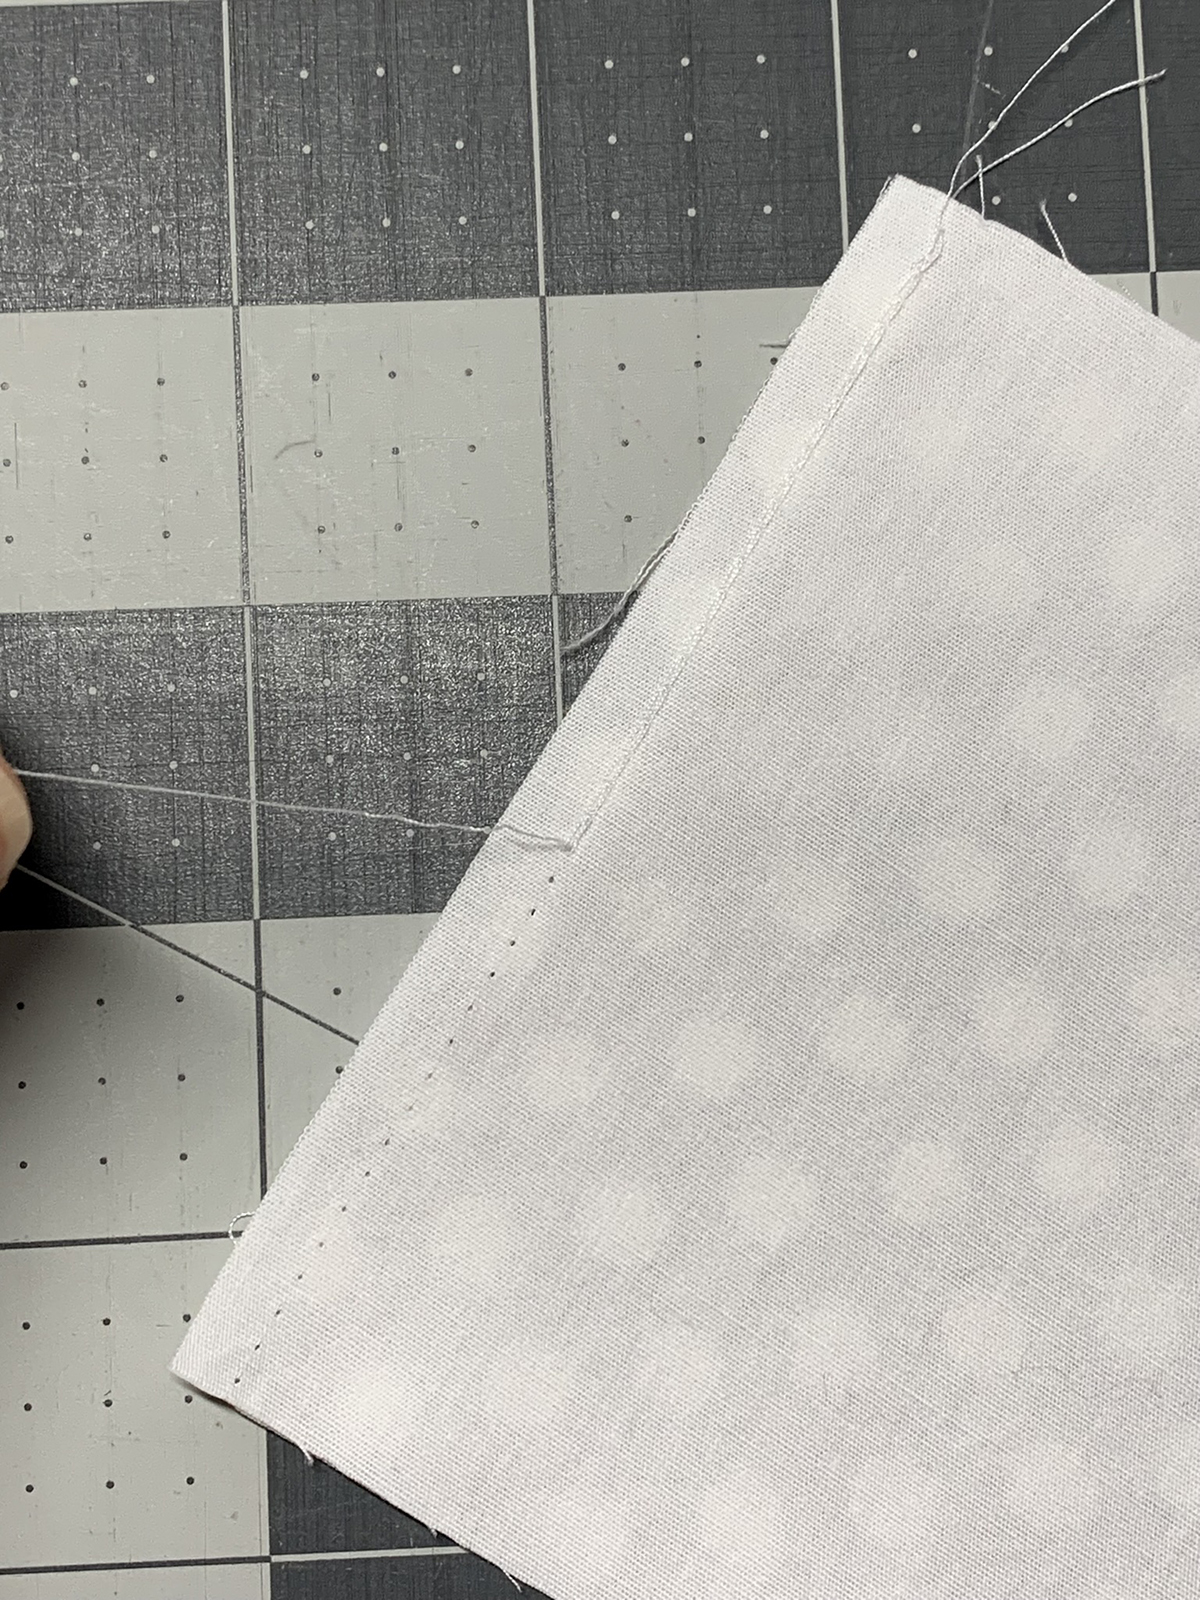
One other bit of info about chainstitches – they are super easy to unstitch. Unstitch 2-3 stitches of the needle thread (which is the straight stitch) starting at one end. Flip over to other side and pull the looper thread out of the chainstitch from the same end. Watch the chainstitch unravel! It’s easier than unstitching a straight stitch!
Let’s start sewing the real squares. Here is a diagram of the pattern with 9 columns. Rather than sewing squares one after another, I sew pairs together first. Then, I sew the pairs to pairs and so forth. It’s just easier! Also, for odd number rows, I stitch with the light square on top. For even number rows, I stitch with the dark fabric on top. You’ll see why soon!
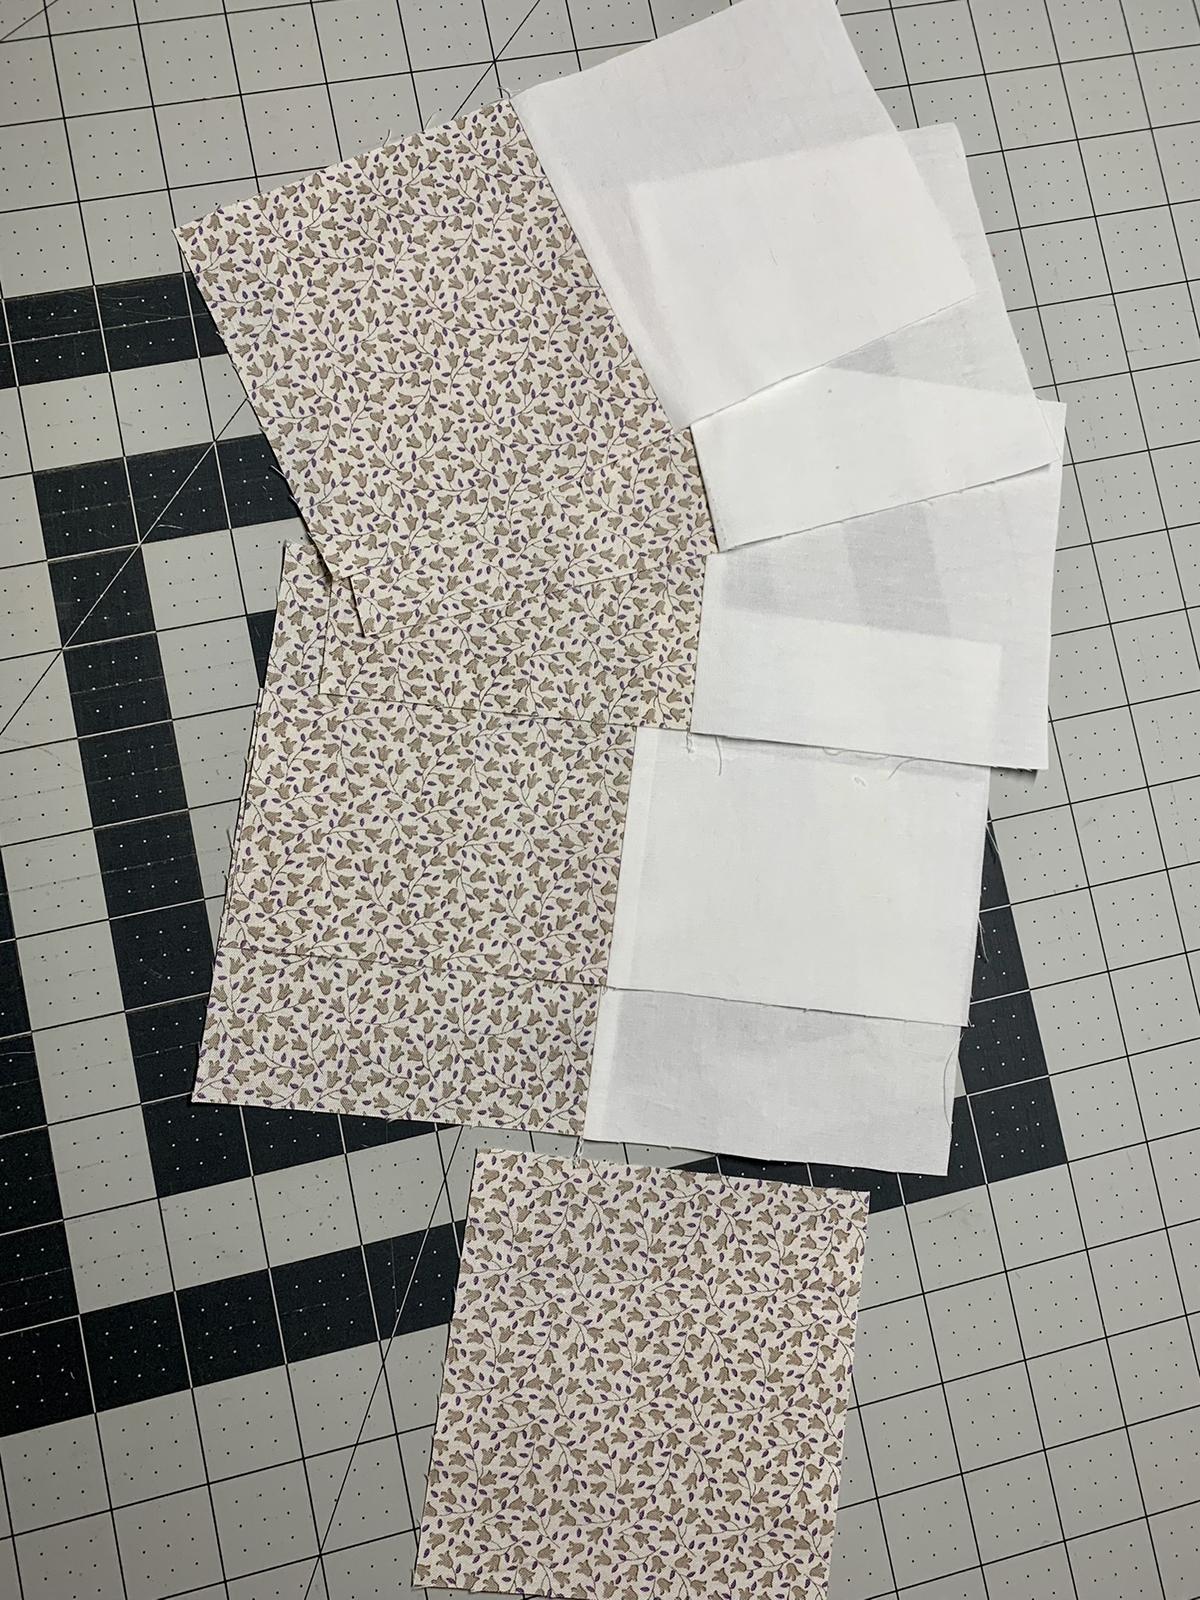
To chain piece the pairs, simply lift the front of the foot and add the next pair. Notice the light fabric on top.
Here are my first few pairs.
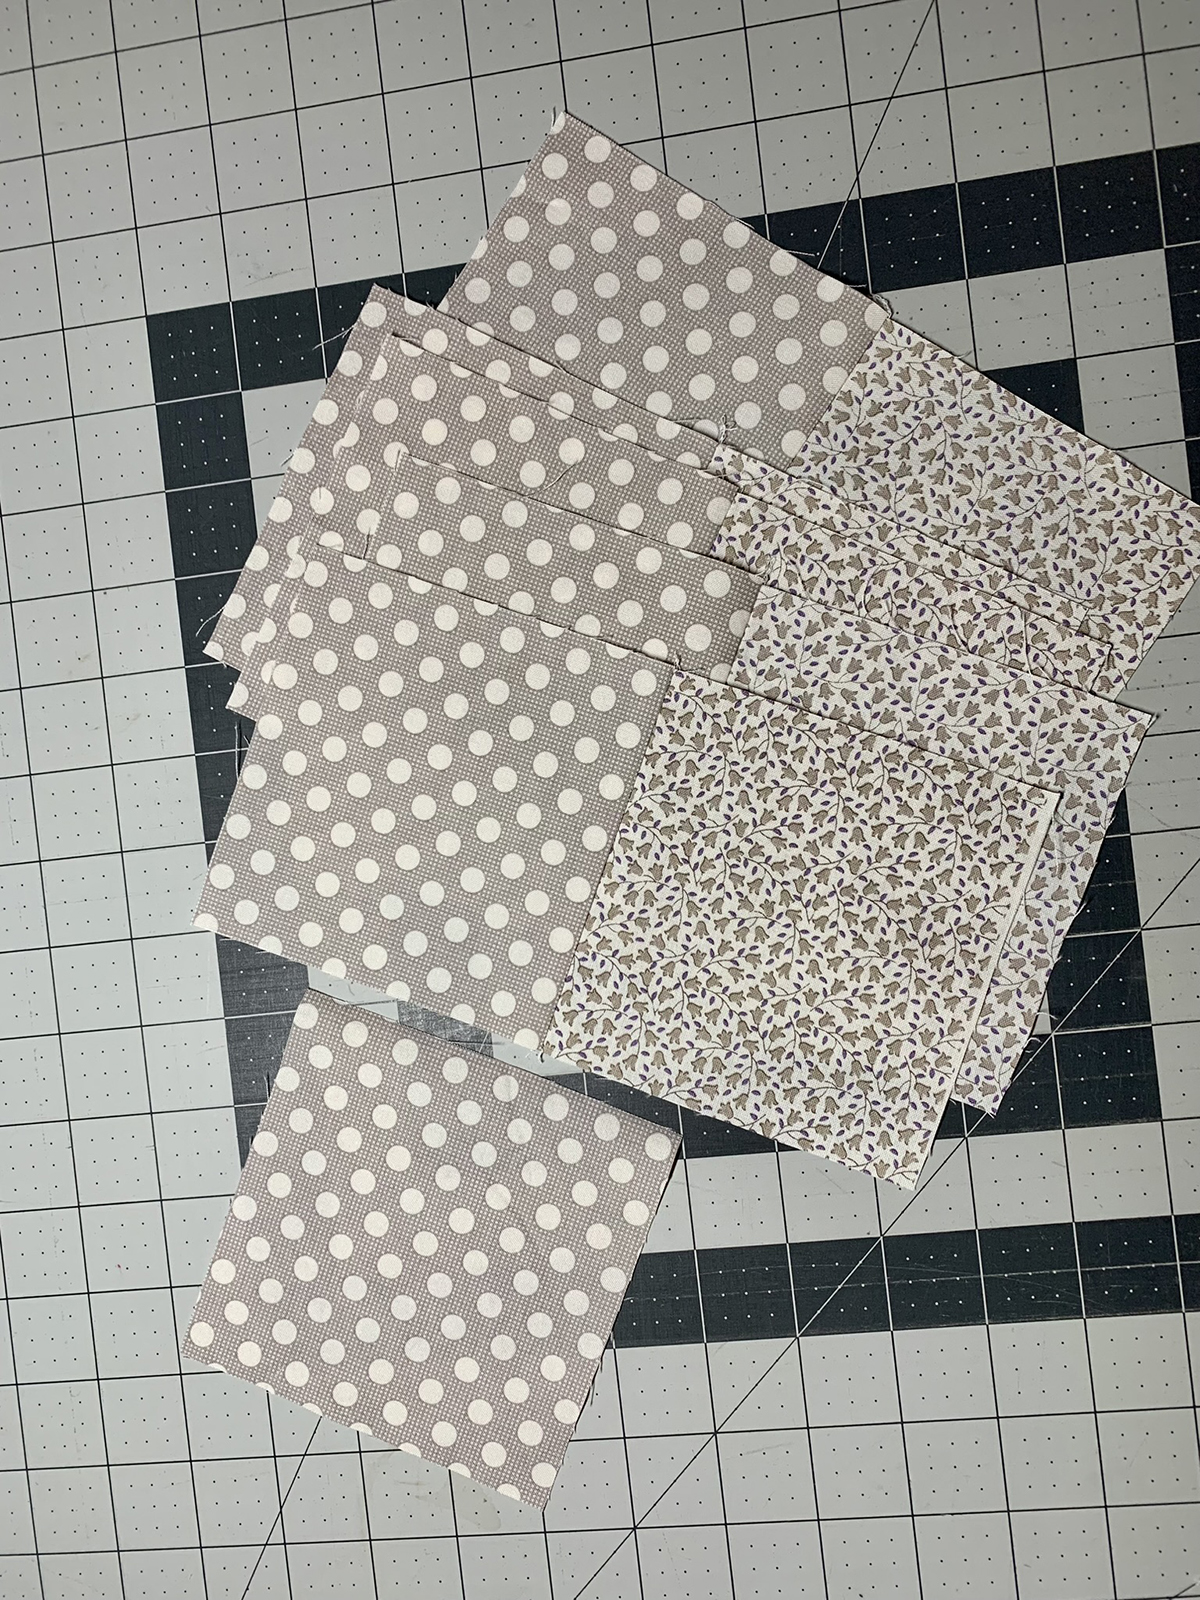
Here I started stitching pairs to pairs.

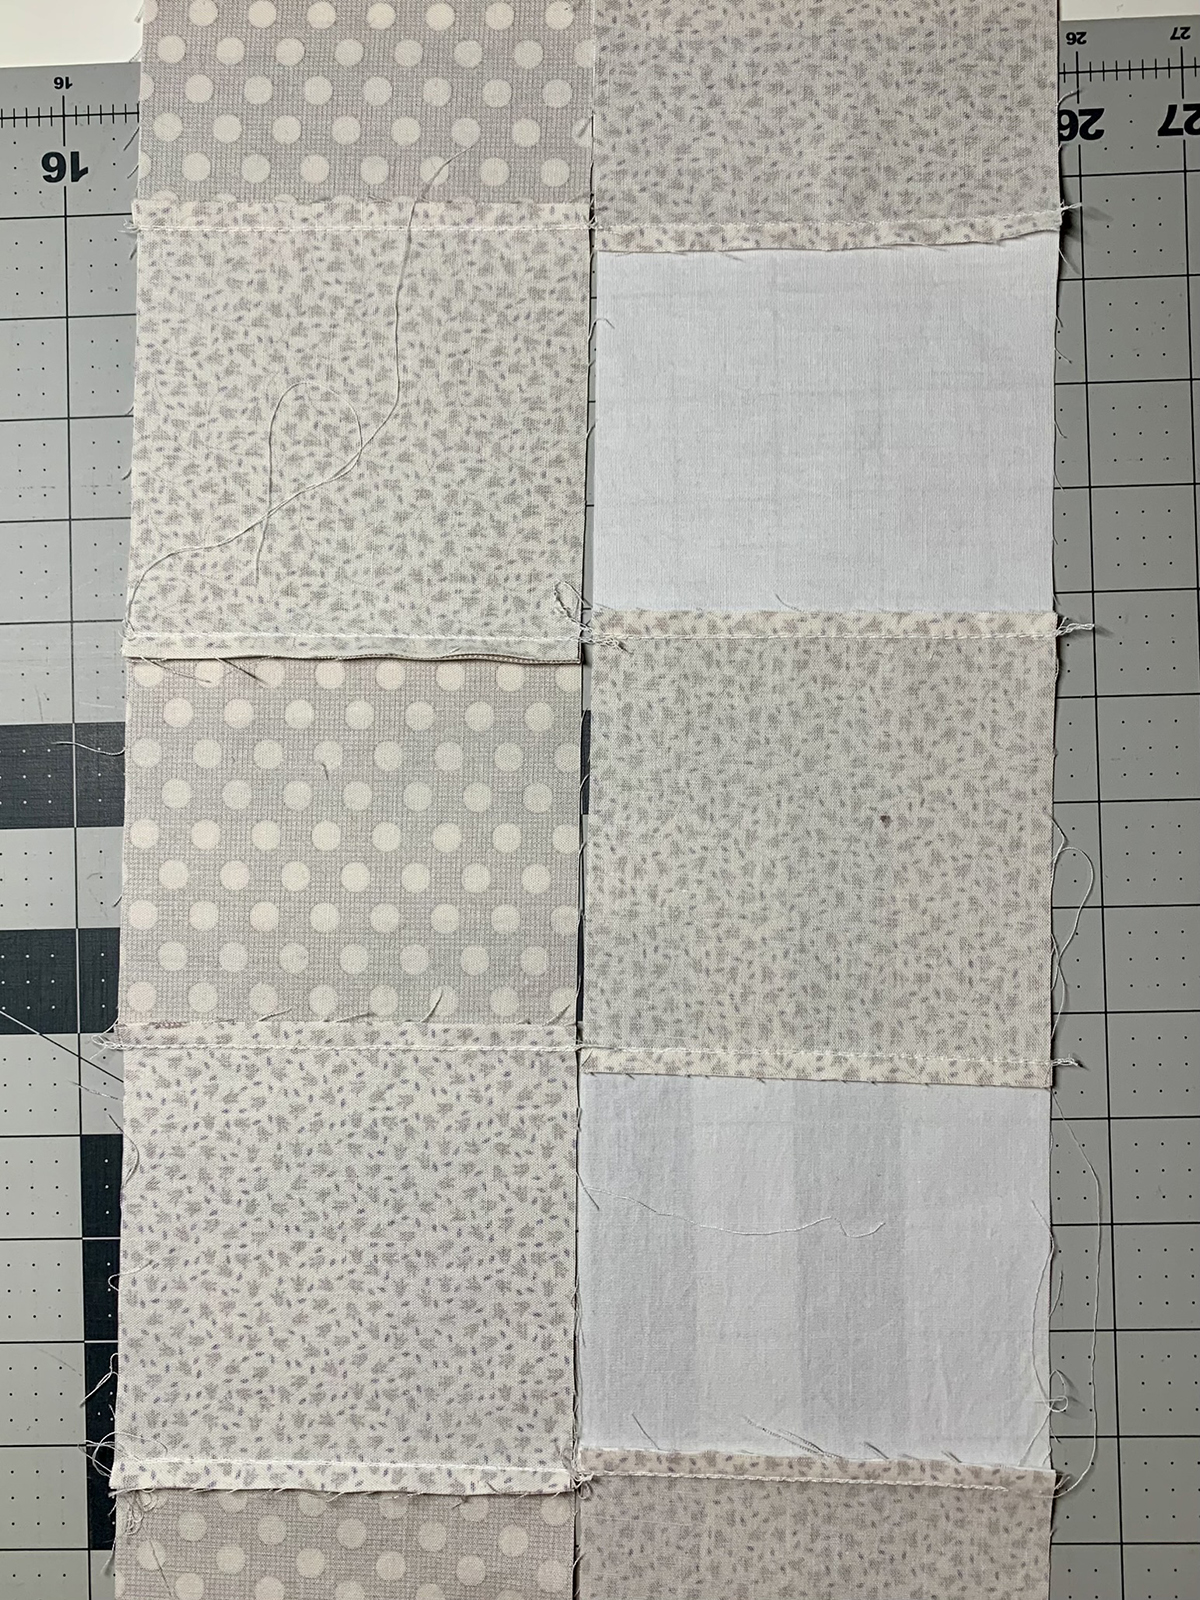
Here are my first two columns finished.
Now for pressing! Remember one side has a straight stitch and the other side has a chainstitch. Press to the side with the straight stitch. Here is an image of another reason why I pressed this way. See how the seams will nest when we stitch the rows together? But don’t stitch yet! This is for Part 2.
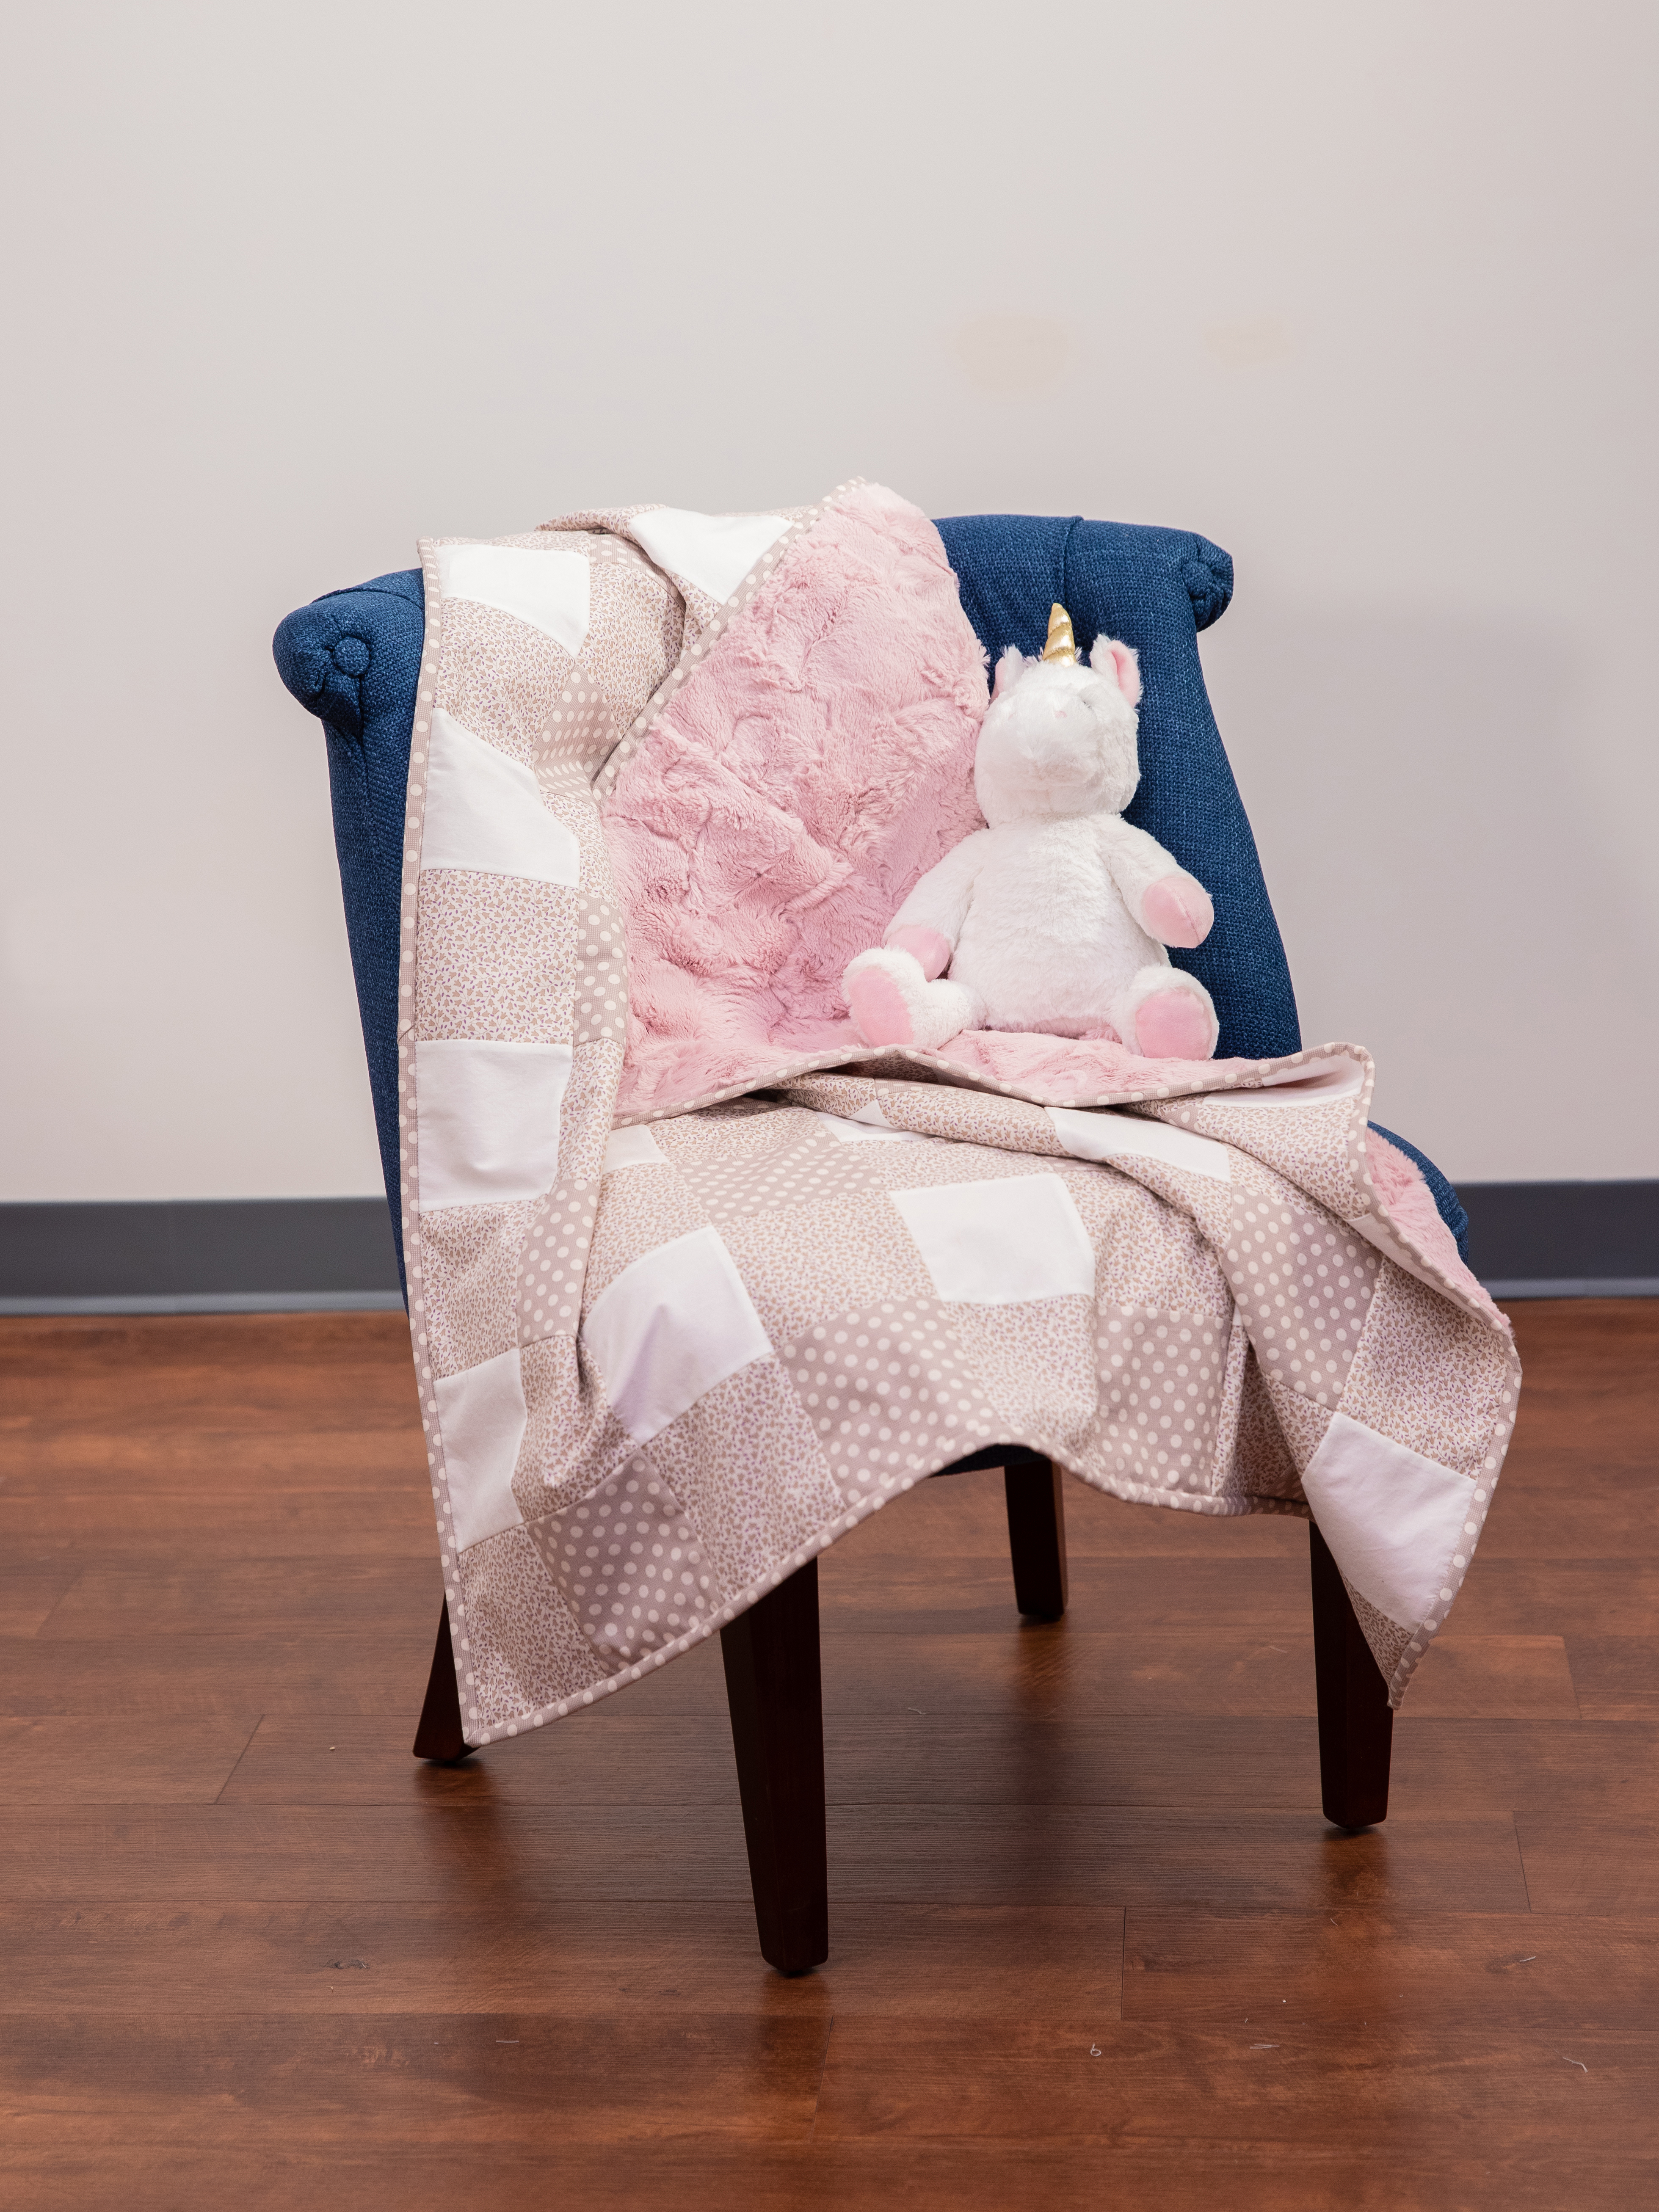
In Part 2, you’ll be amazed how quickly this quilt comes together. Not only is it fast, it’s beautiful with the popular gingham pattern and soft with the luxurious Cuddle® fabric. And the slippery Cuddle® fabric is so much easier to handle on the serger. Also, this baby quilt is strong with the chain and overlock stitches – no worries about the constant washings! This quilt will stay together no matter how much love (and spit up) it receives!
Used Products

What you might also like


4 comments on “Baby Quilt Serger Series, Part One”
-
-
I had a blast (no pun intended) making this and I learned a lot too!
-
-
I wonder why you don’t use a 3 thread overlock stitch, instead of a chain stitch for assembling the patchwork.
-
You could certainly use a 3 thread overlock stitch. It comes down to preference. It’s so nice to have options!
-
Leave a Reply
You must be logged in to post a comment.

Looks like SEW much fun!