Baby Quilt Serger Series, Part Two
Welcome back to Part 2 of the Baby Quilt Serger Series. If you missed Part 1, click on the following link to get started. You’ll catch up in no time and be on your way to learning how to add a Cuddle® backing!
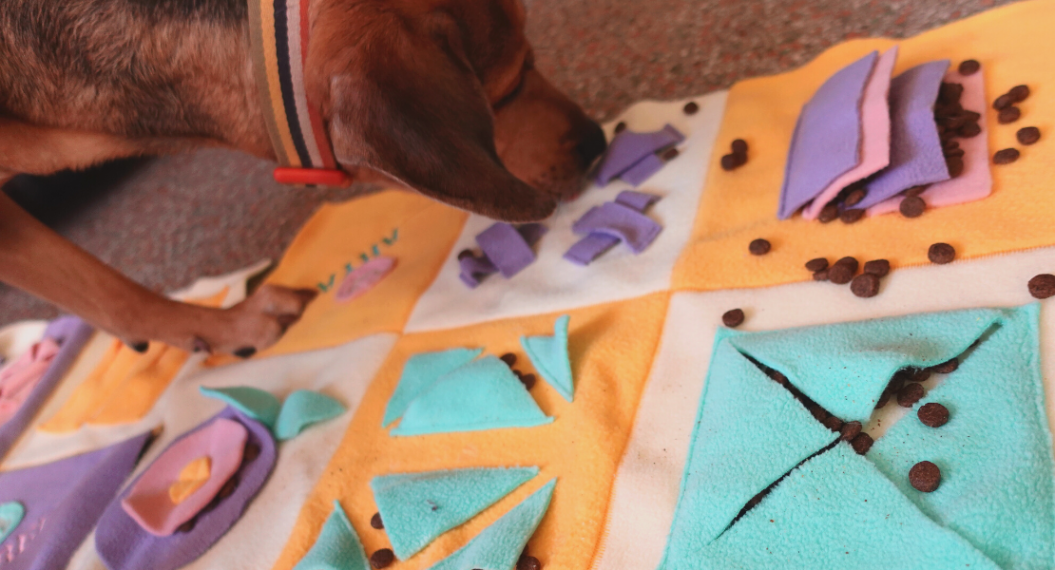
If you’ve sewn Cuddle® fabric or any type of fur fabric on your sewing machine, you know how slippery and messy it can be! So much so that you may have vowed never to sew with it again! I’ll show you how to maintain the mess when cutting so it doesn’t look like a small animal exploded in your sewing room and how to stitch so the fabric behaves properly. Keep reading to find out my tips and tricks!
Machine Set Up
- BERNINA L 890
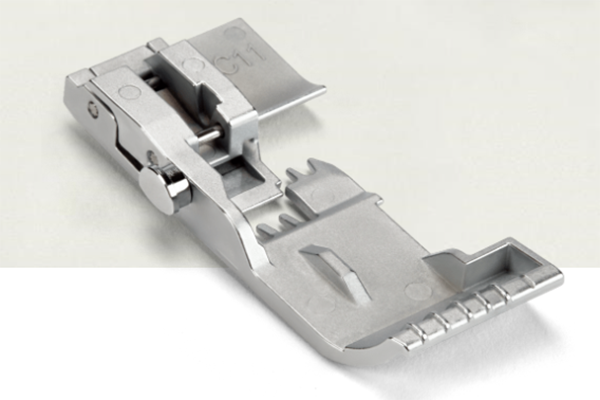
- Standard Overlock Foot #C11
- Cover/Chainstitch Foot #C13
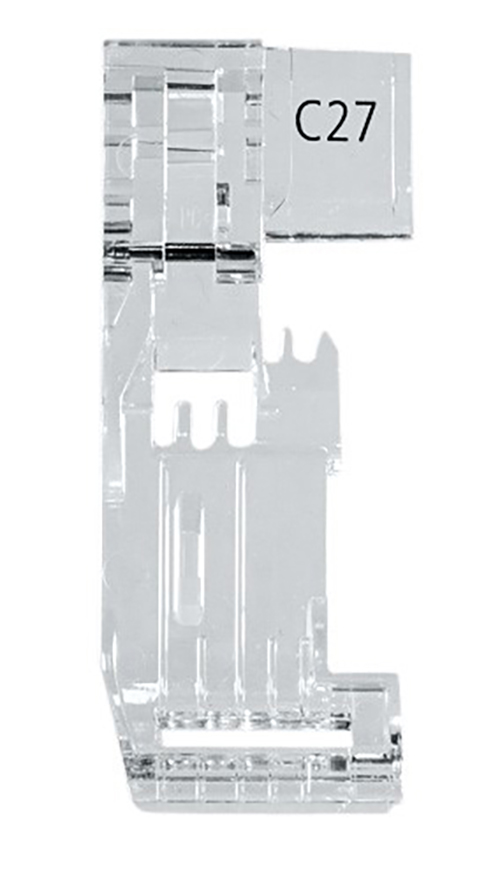
- Option: Clear Standard Foot #C27
Supplies
- 1/2 yard dark fabric
- 1/2 yard light fabric
- 3/4 yard medium fabric
- 1/2 yard binding fabric
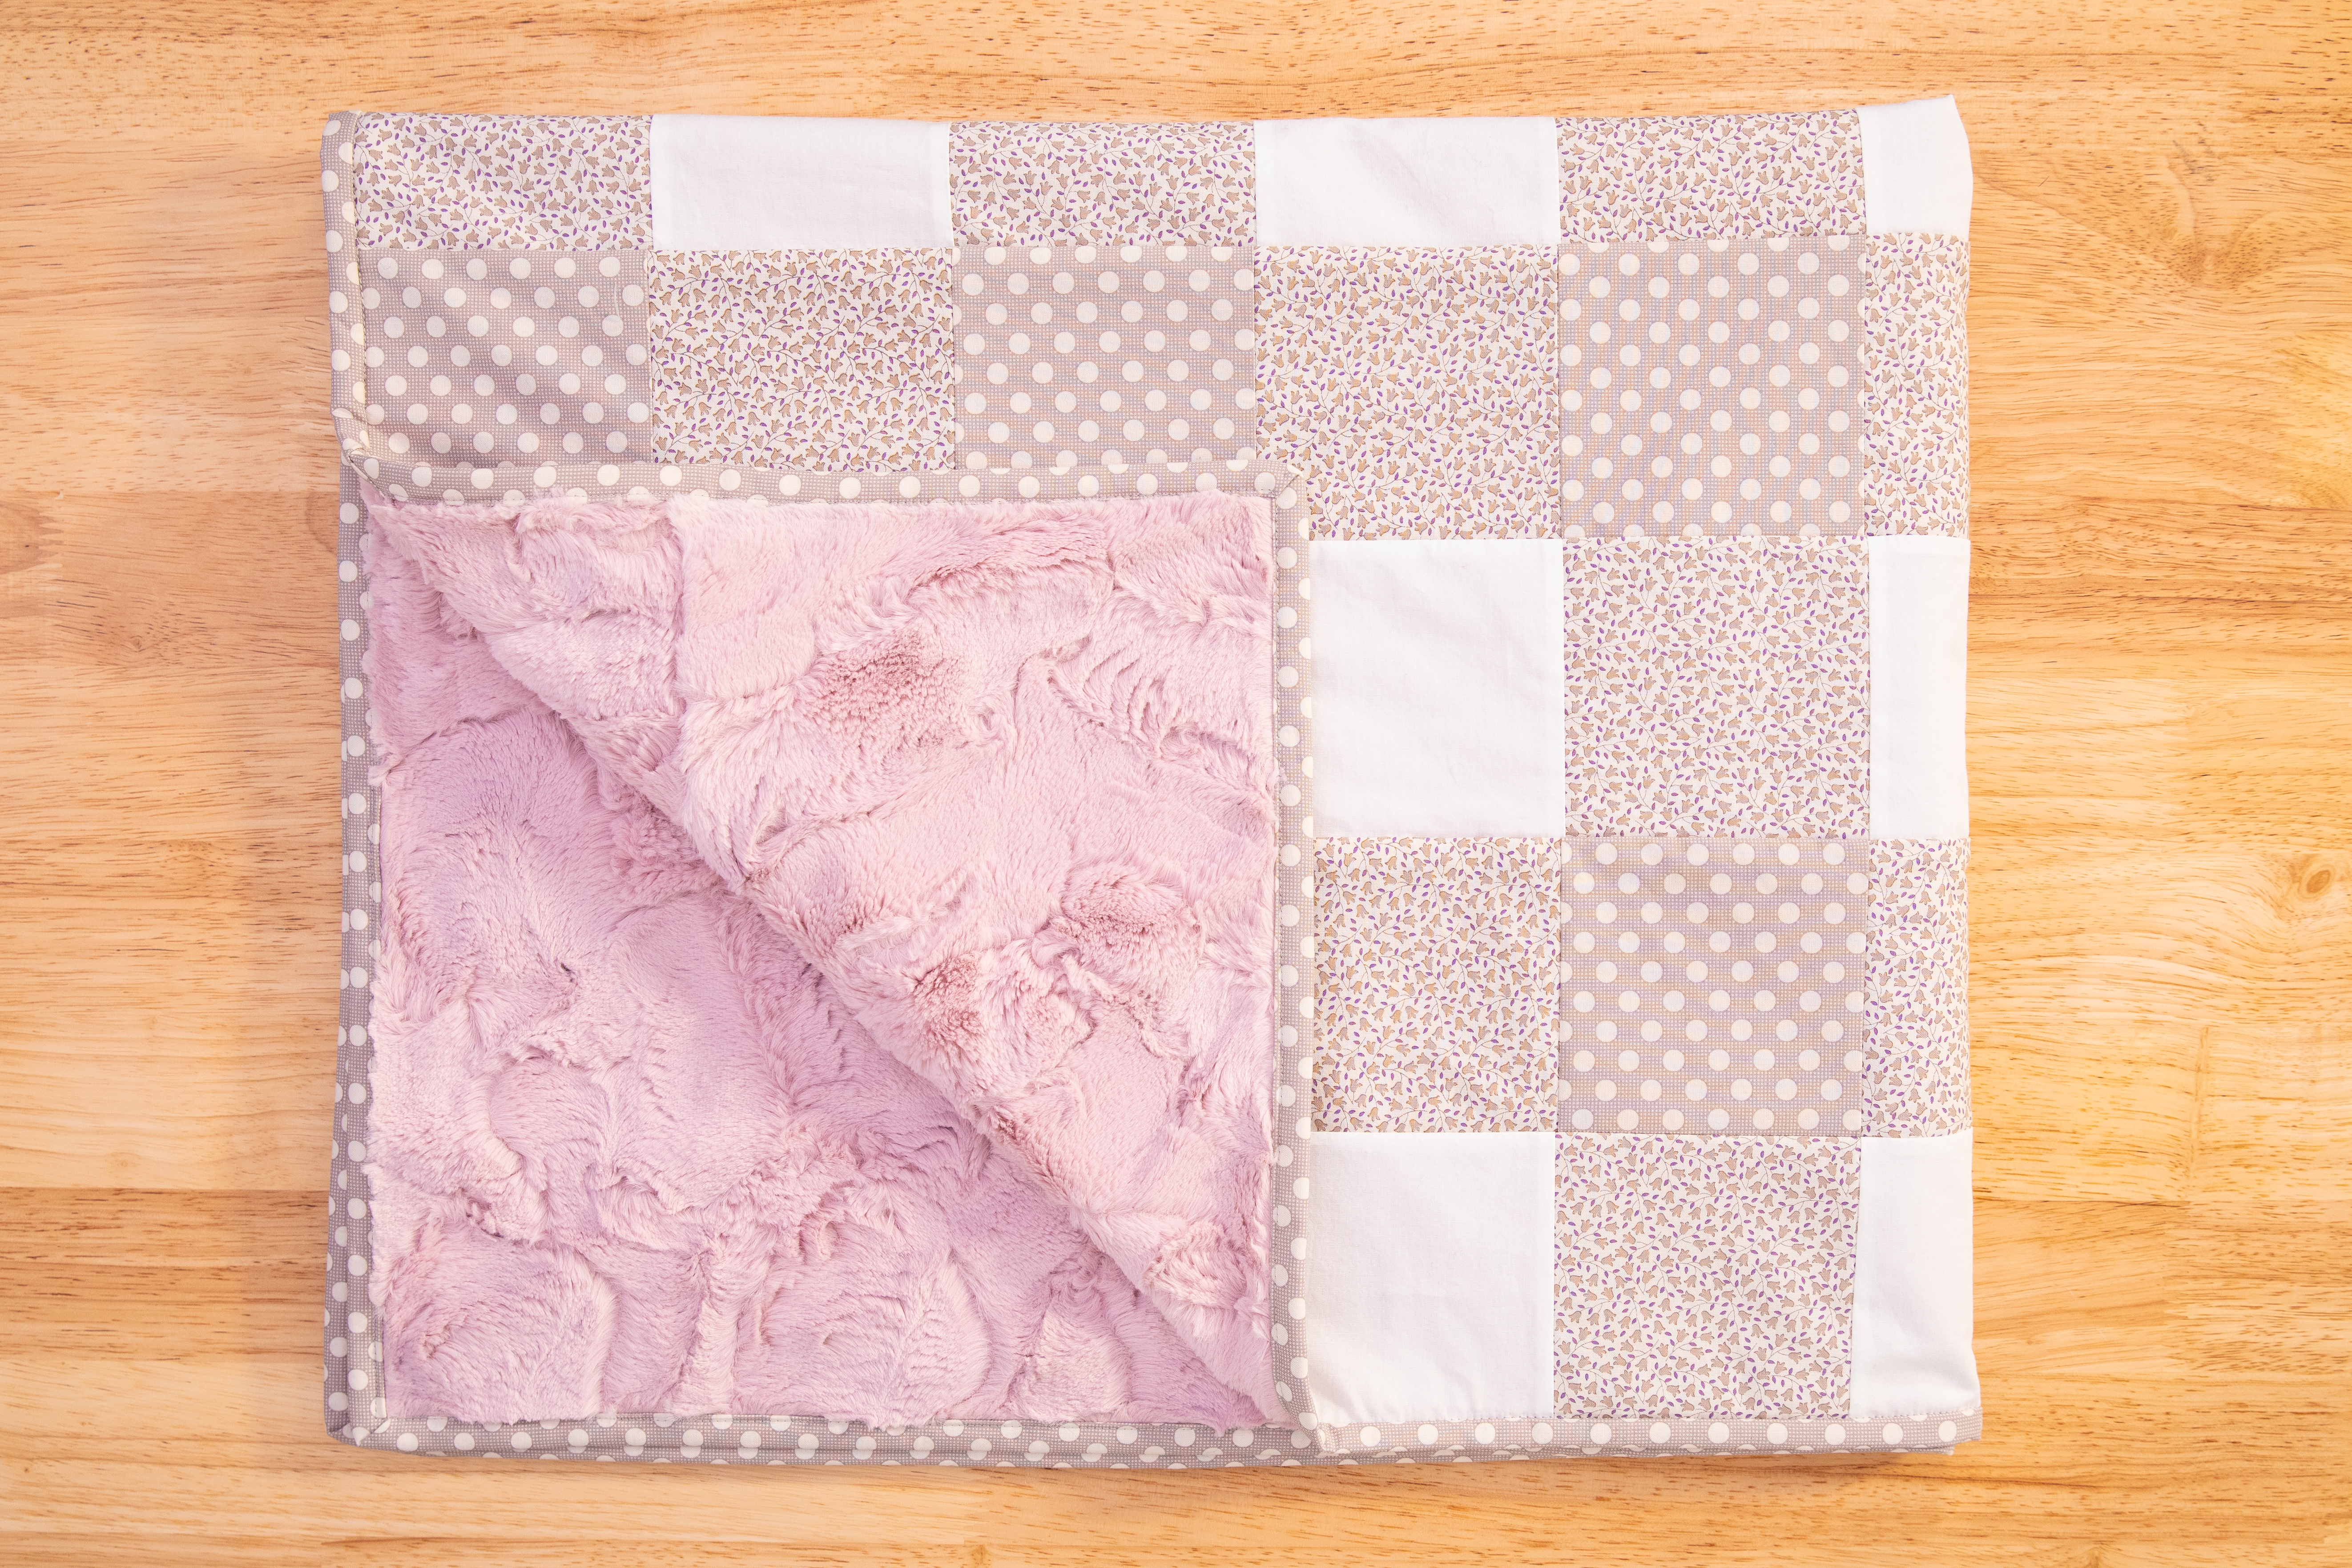
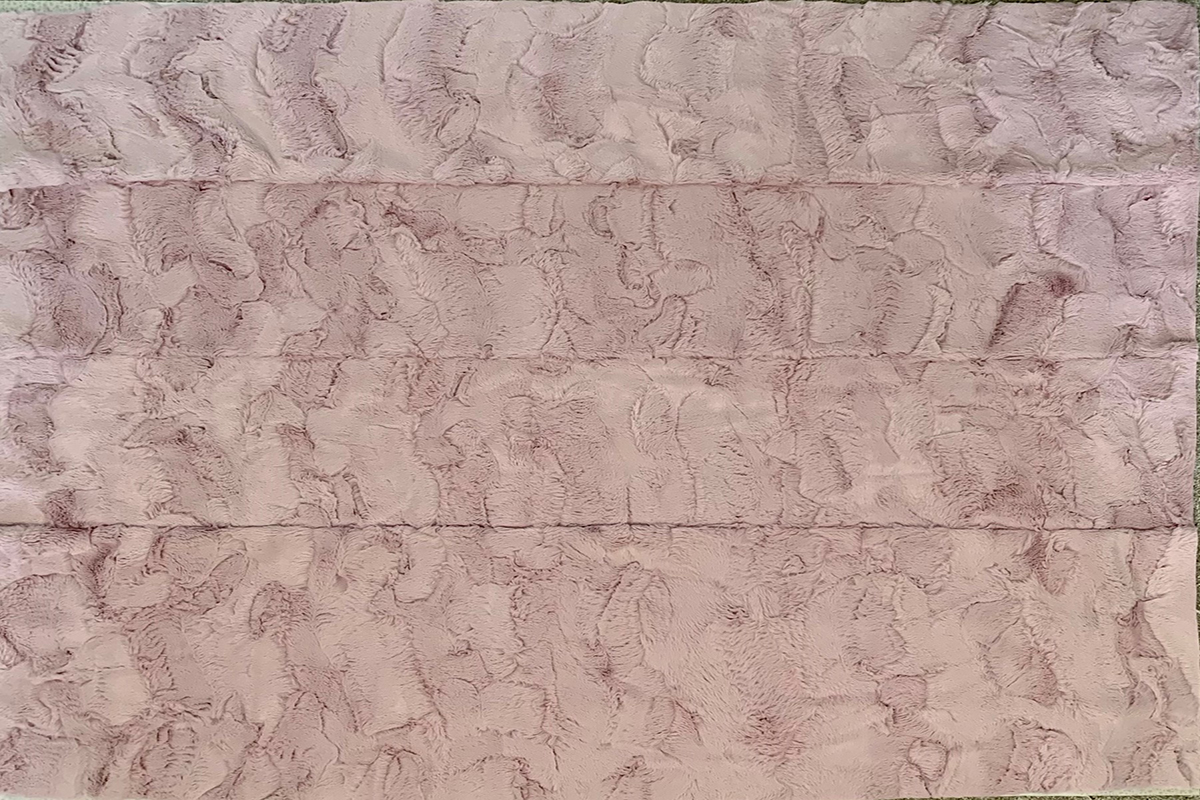
- 1 1/4 yard Cuddle® fabric – I am using Luxe Cuddle® Hide in Rose Water
- Mettler Seracor Thread
- Charlottes Fusible Web thread
- Rotary cutter and ruler
- Optional: Xacto Knife
- Wonder Clips and/or large pins
- Iron and pressing mat
Prep Front and Back
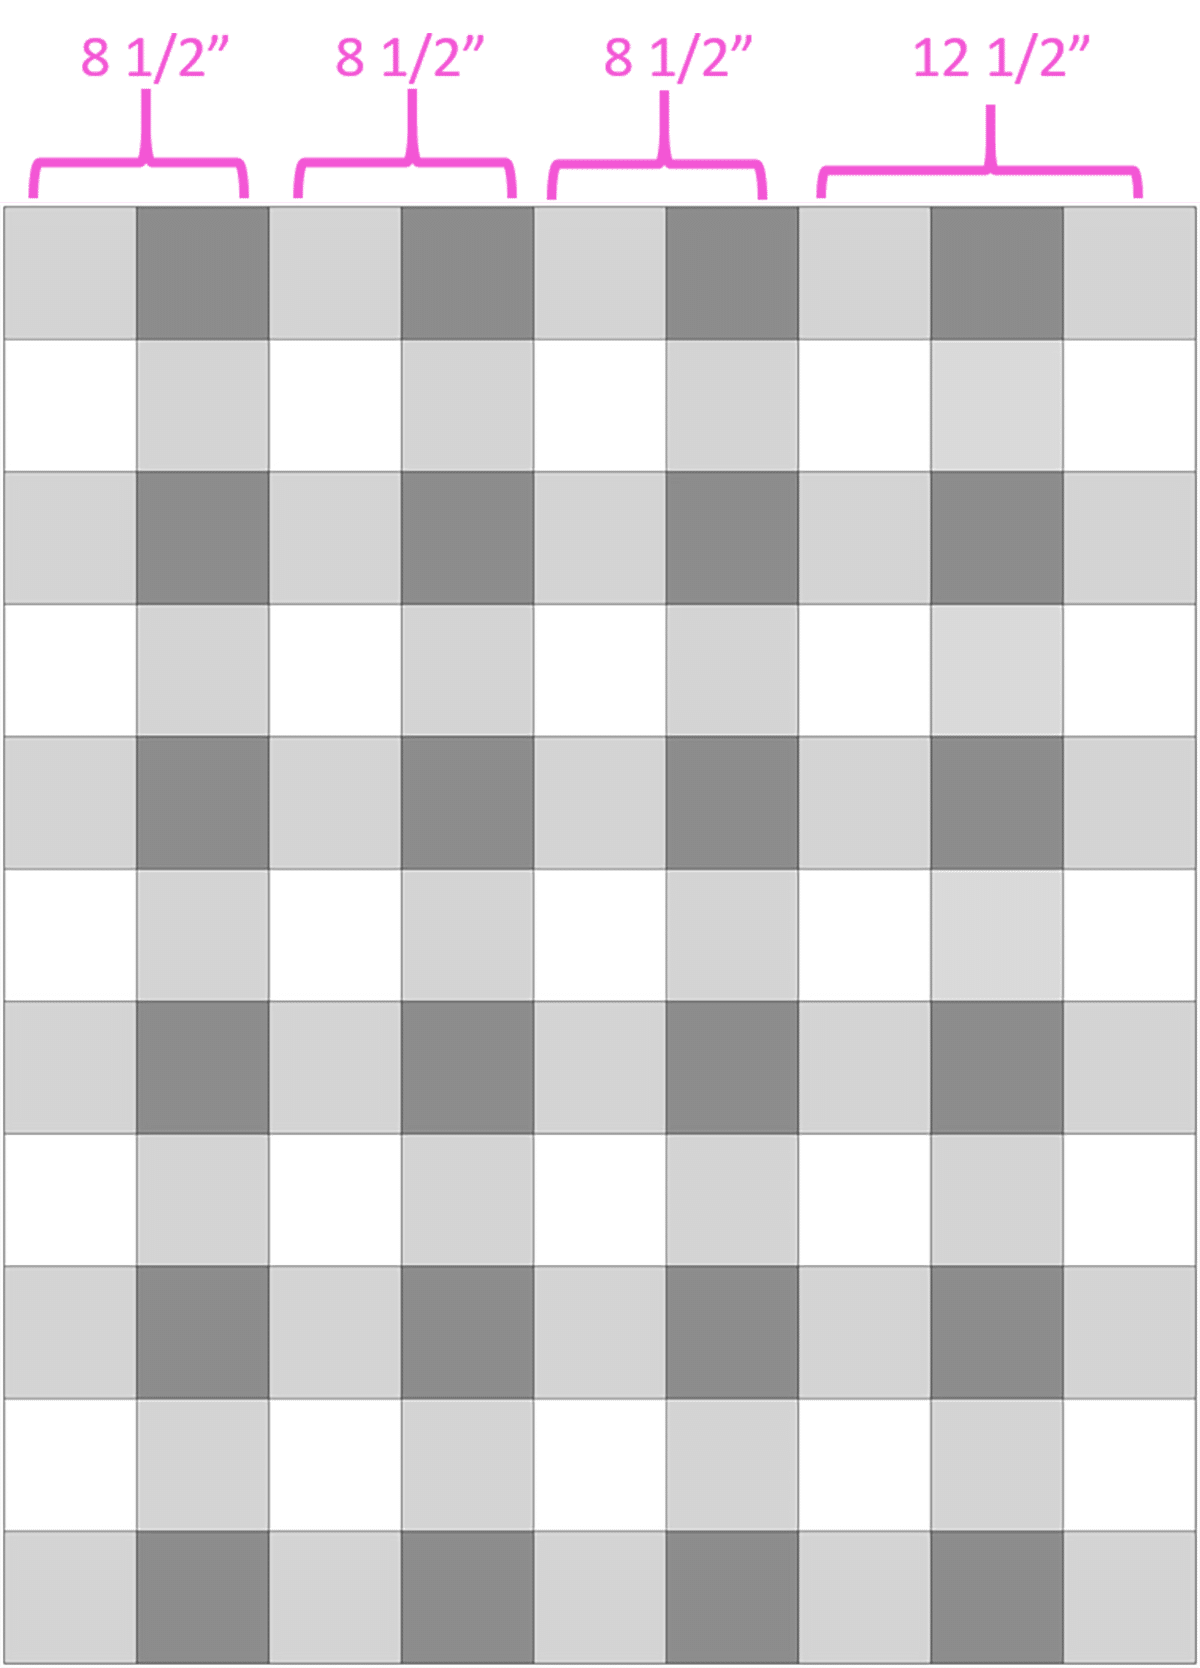
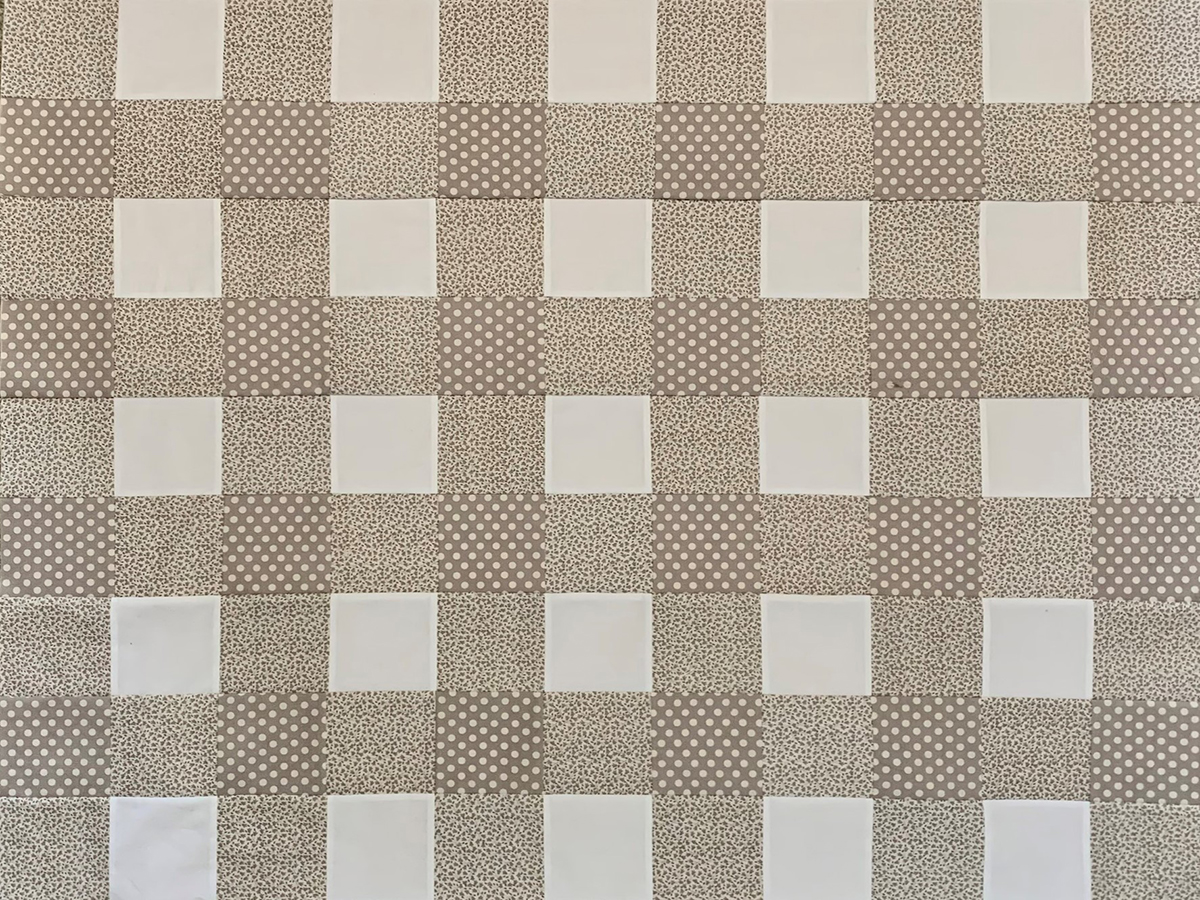
To simplify the process, organize the rows into sets – 3 sets at 8 1/2” wide and 1 set at 12 1/2” wide. You want the sets wide enough so you’re not having to cut too many Cuddle® strips but not so wide the quilt is flimsy.
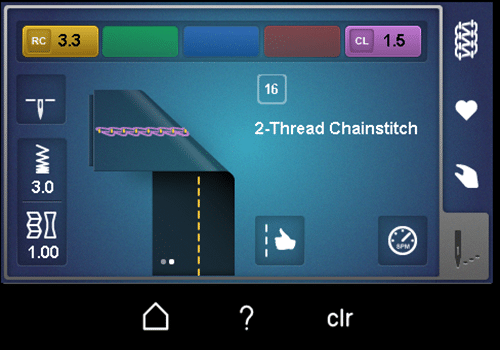
Select 2-Thread Chainstitch #16.
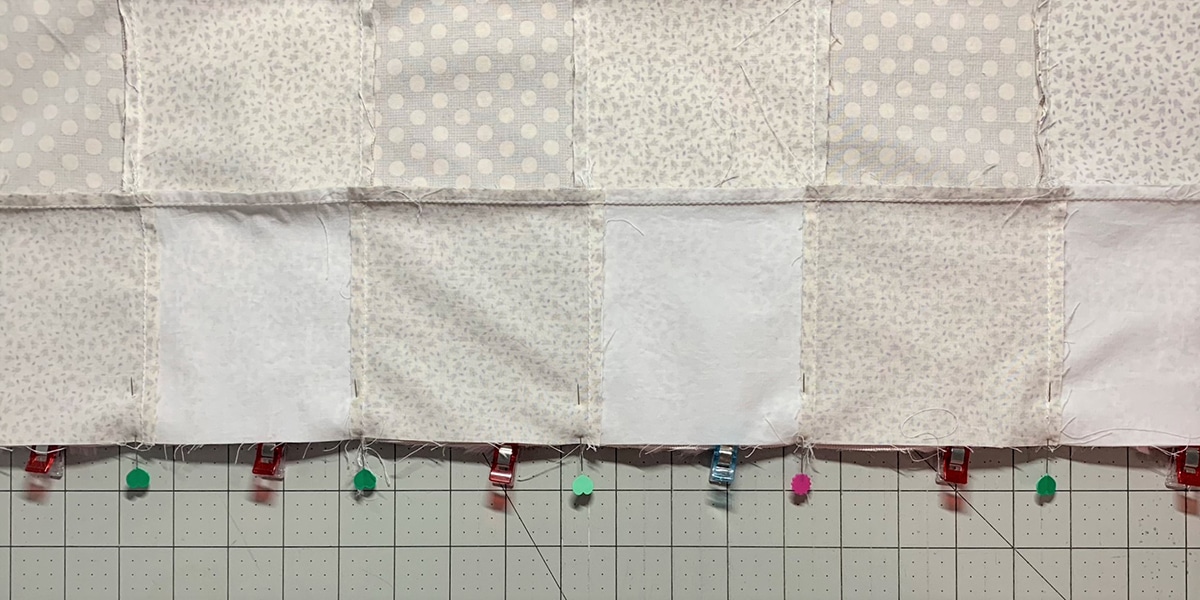
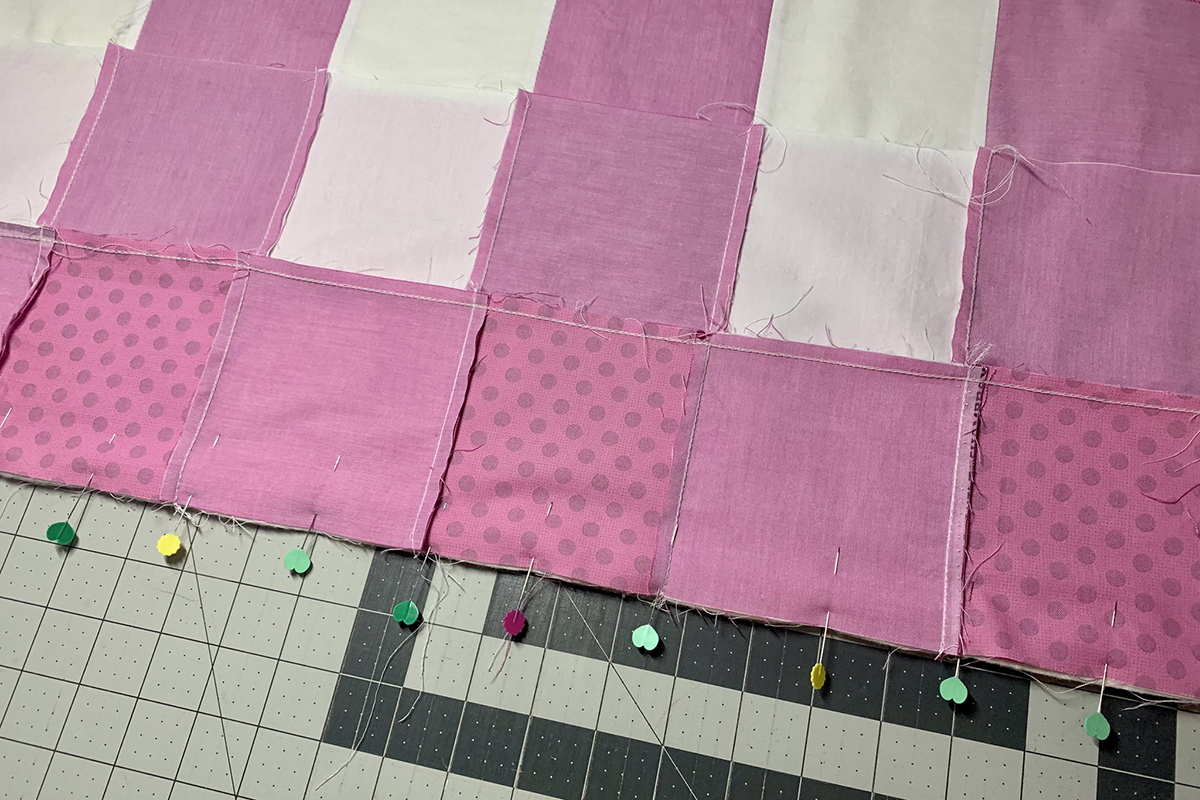
Pin first two rows nesting seams. Place under foot and stitch lining up the same exact way we did in Part 1.
Press seams to one side – towards the side with the straight stitch to get the flattest seam. Again same pressing tip from Part 1. Continue to sew the sets together.
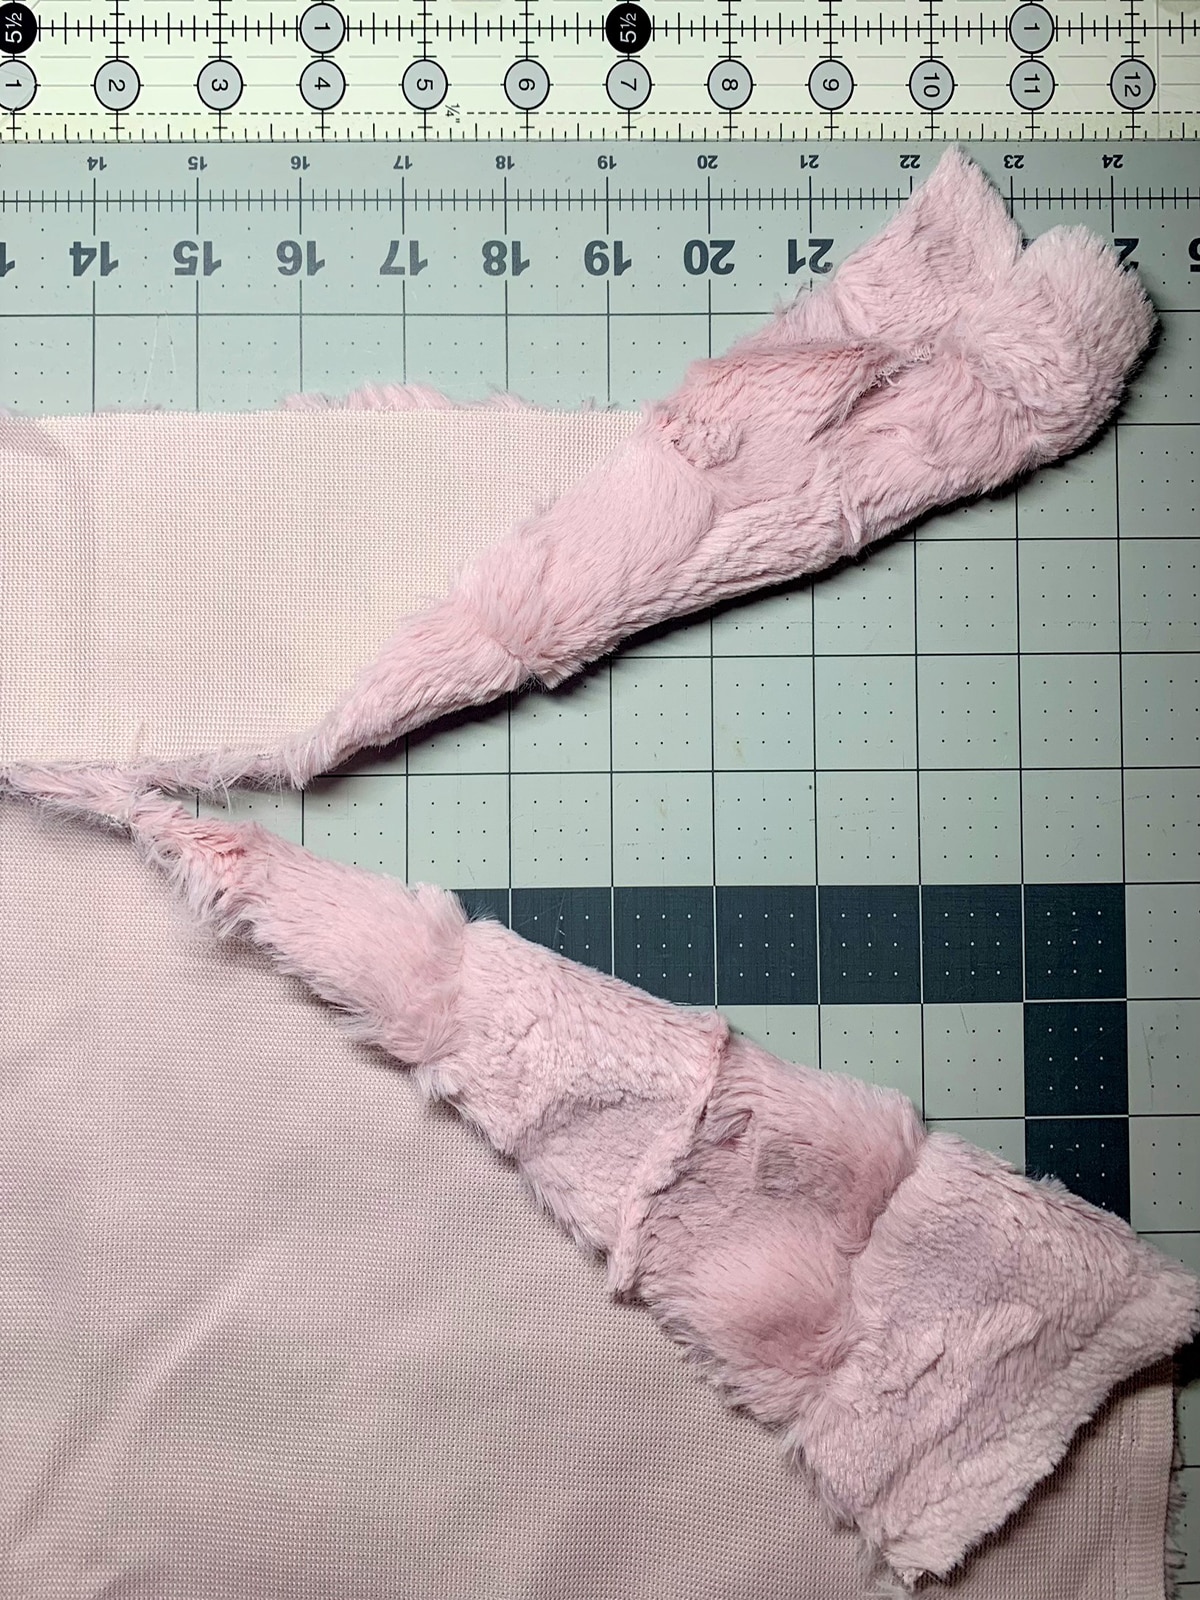
Now cut the Cuddle® fabric so you have 3 pieces at 8 1/2″ wide and 1 piece at 12 1/2” wide. Do no cut the length to 44 1/2” yet. But wait, how do you cut this fabric so you don’t end up with fluffy bits in your nose? Place Cuddle® fabric fur side down and knit side up. With rotary ruler and pen, mark your cutting line. I am using a Sharpie that Shannon Fabrics recommends for marking on Cuddle® fabric.
To cut, I am using an Olfa Precision Snap-off Knife – love it! Carefully cut into the knit fabric without cutting the fur.
Do you see a fluffy mess? I didn’t clean it up for the picture, promise! This takes a little more time than using a rotary cutter so you need to decide what is more important to you – time or mess?
Let’s Layer!
Place one top set and one cuddle® strip wrong sides together or pretty sides out. Secure with Wonder Clips. Place a second top adjacent to the clipped set, aligning the pattern.

Flip pieced top over onto clipped set to they are right sides together. Secure and nest seams with large pins.
Place Cuddle® fabric adjacent to secured layers.
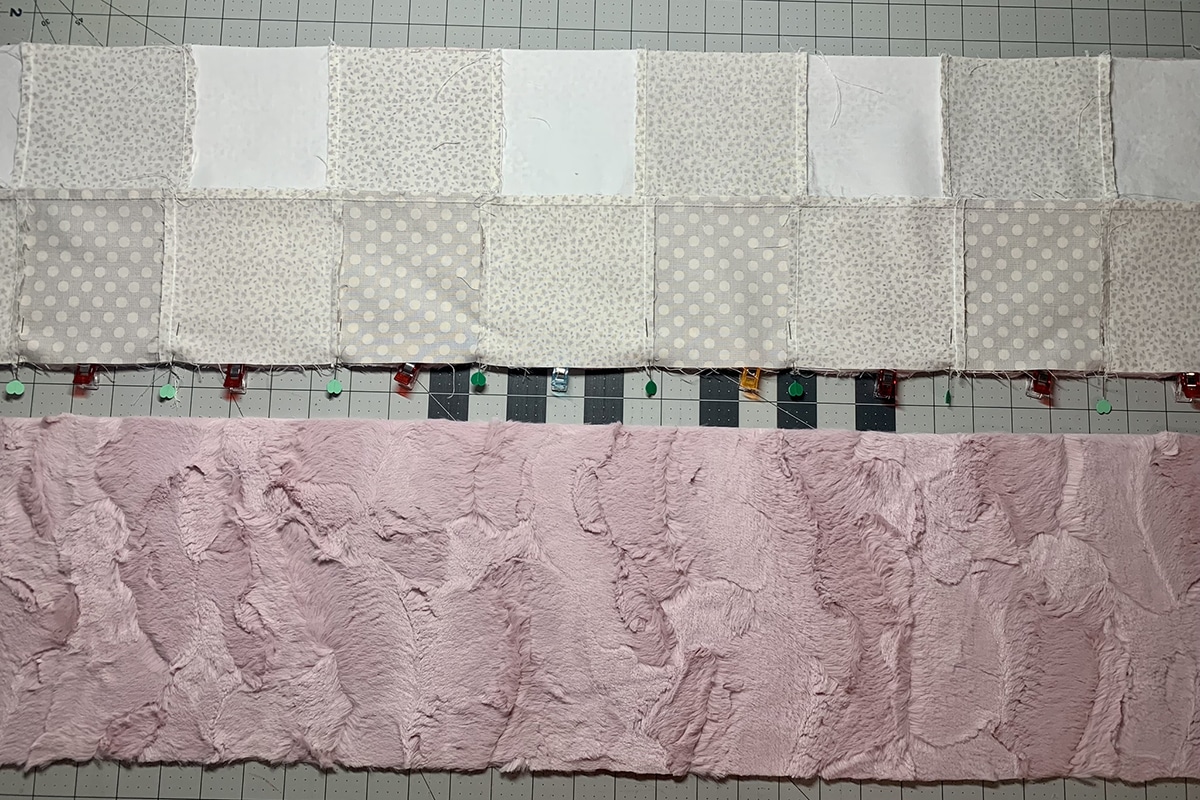
Don’t flip Cuddle® fabric. This time, place layers on top of Cuddle® strip. Cuddle® strips should be right sides together. Secure with the same Wonder Clips by carefully re-clipping in place.
Stitch Layers
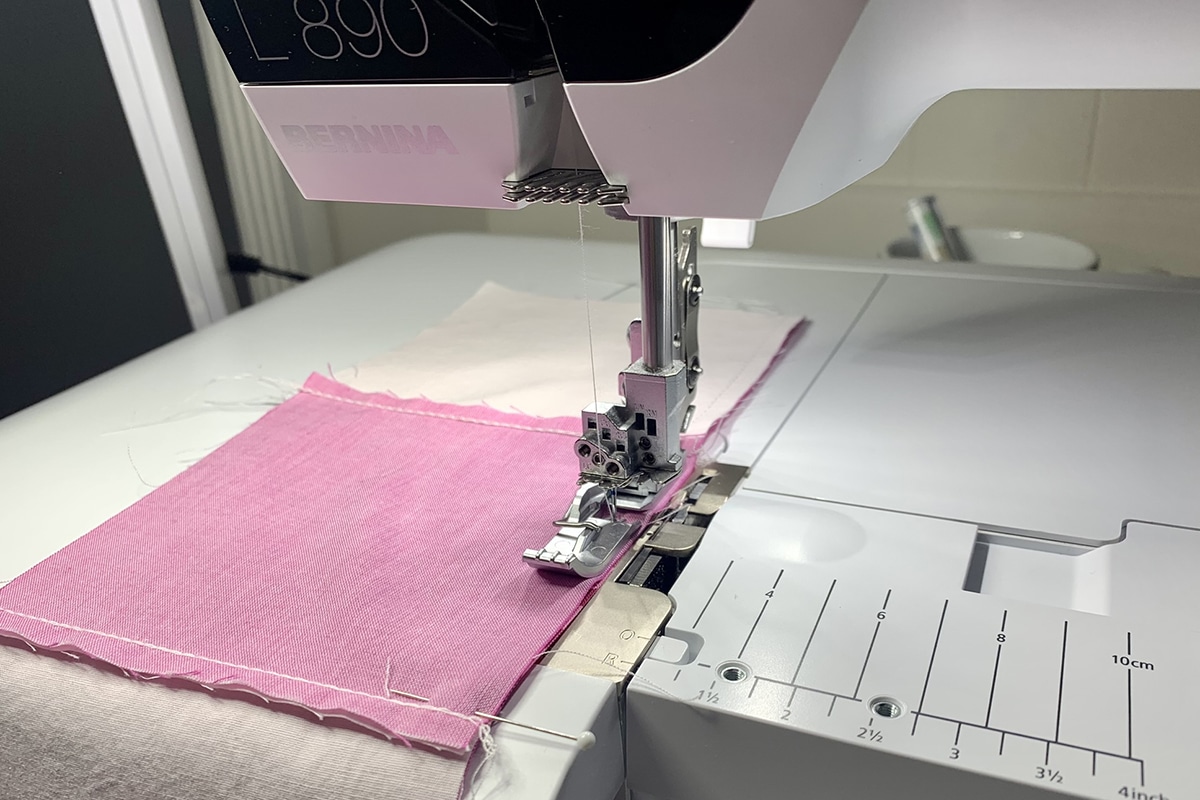
Select 4-Thread Overlock #1 and prep for the stitch using Guided Mode. It’s amazing how easy it is to thread the machine using Guided Mode! This overlock stitch is strong and does a great job of securing all layers in place.
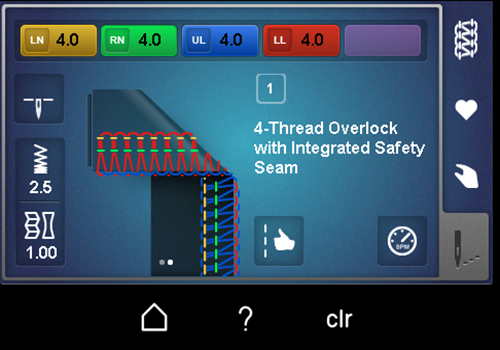
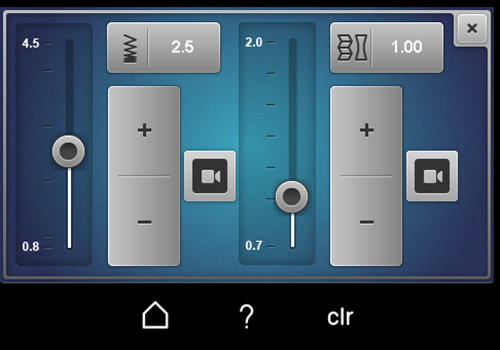
Always test sew to check for adjustments to the stitch, especially when sewing with several layers, special fabric, or unique thread. BERNINA machines have Total Stitch Control allowing individual adjustments to every stitch. You can adjust the tension of the Left Needle, Right Needle, Upper Looper and Lower Looper. Touch the Left Needle icon. Here you can move the dial to increase or decrease the tension. Any changes are always highlighted in yellow.

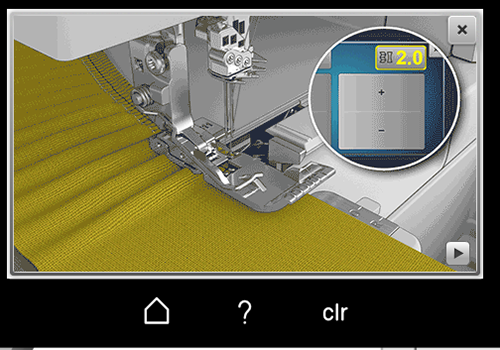
Also, you can adjust the Stitch Length and Differential Feed. Touch the Video icon for Differential Feed.
Isn’t the video so helpful in showing what this feature does? I love it!
After doing a test sew, I adjusted the mtc (Micro Thread Control) to -1.
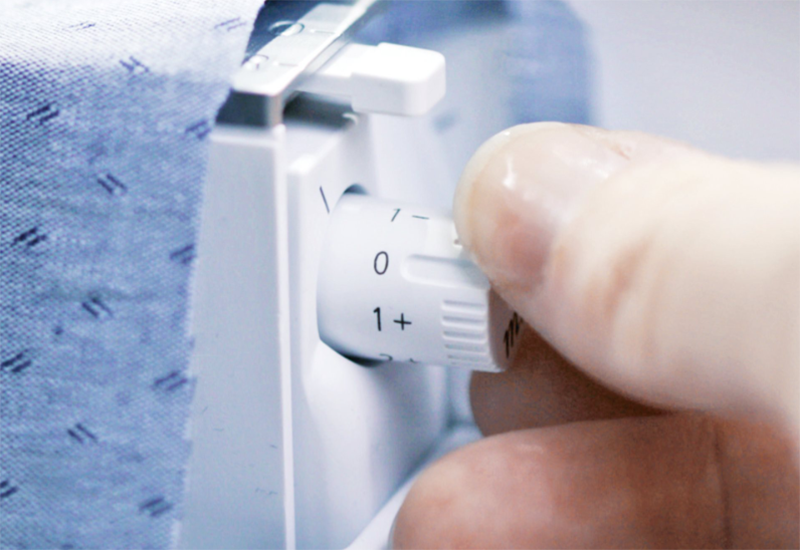
I also adjusted the Presser Foot Pressure to 3 (use dial at top of machine). There is a great video in Guided Mode showing what happens as Presser Foot Pressure is increased or decreased.
I am using Standard Overlock Foot #C11, but you may wish to try the Clear Standard Foot #C27. I liked the heavier foot with all the layers, but you might prefer having the visibility over the heavier foot. BERNINA gives us options and who doesn’t like options? Options allow our creativity to flow.
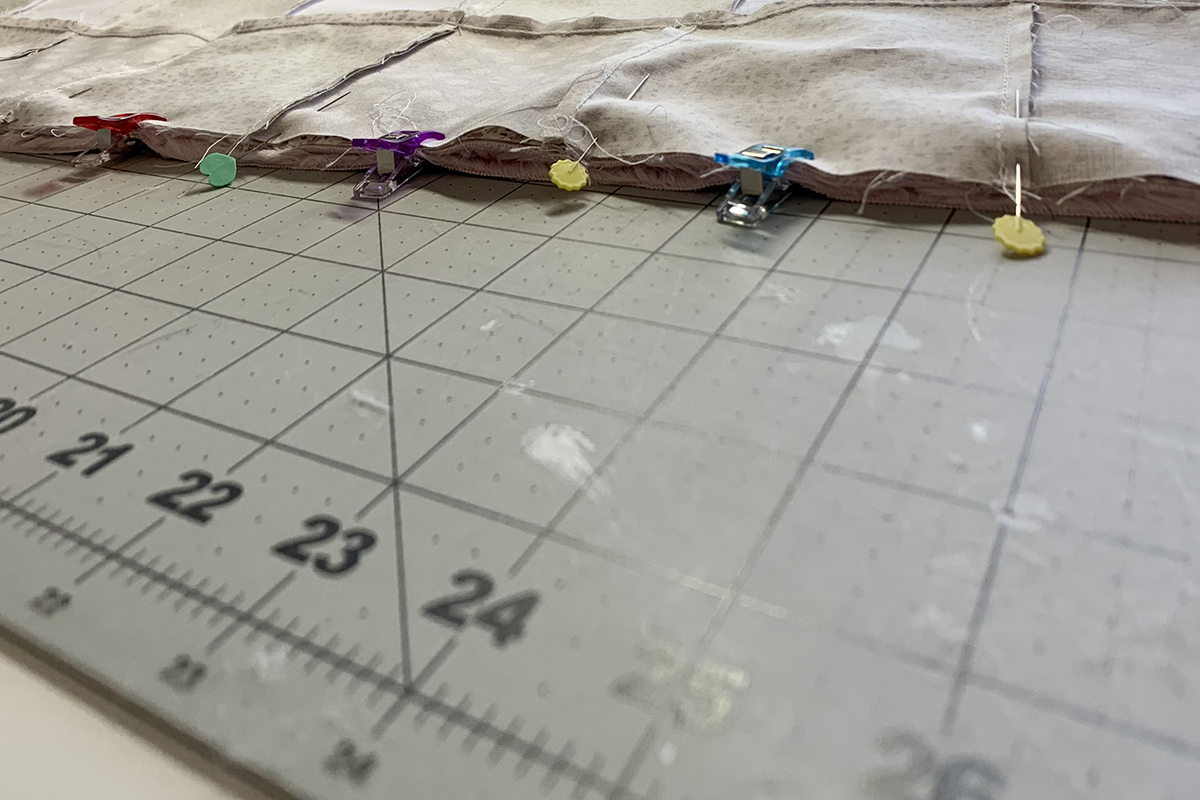
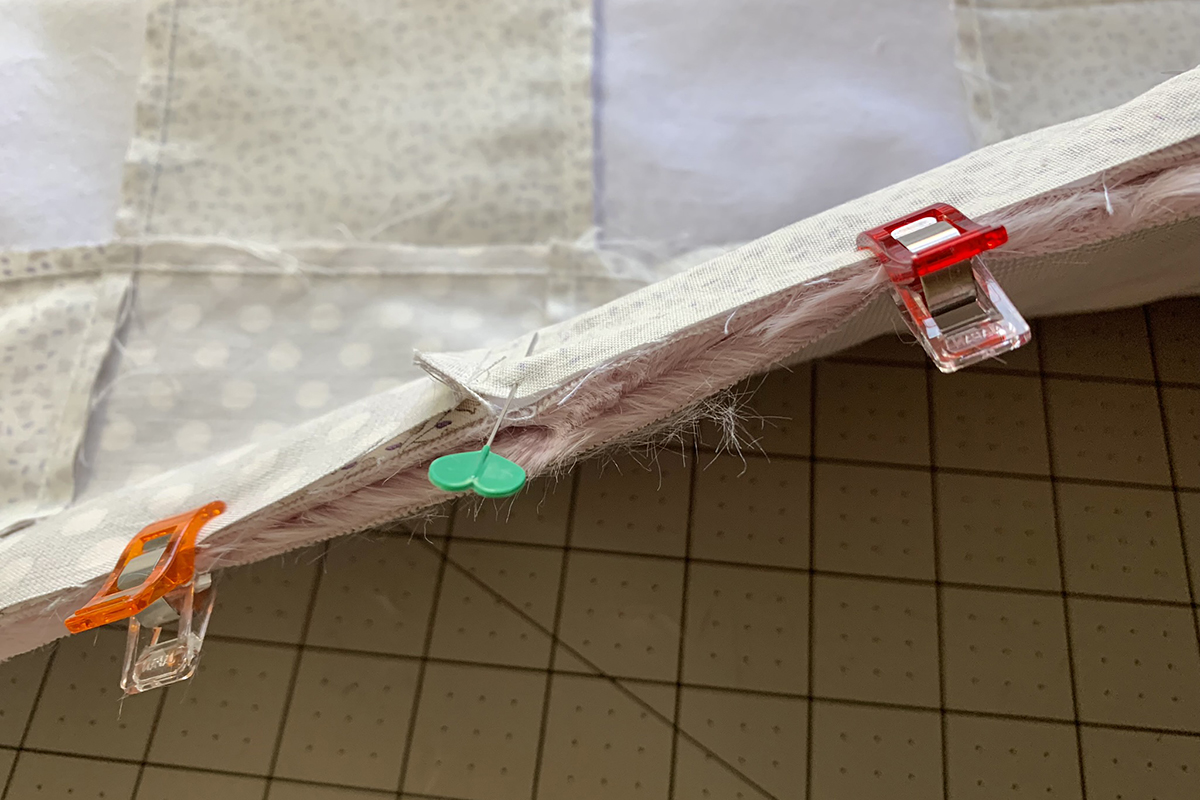
Place the secured layers under the foot. The pieced top should be under the foot and the Cuddle® fabric on the feed dog. Cuddle® fabric is a knit and therefore stretchy. It’s best to have this fabric on the feed dog. Did you know the overlocker feed dog is longer than your sewing machine feed dog? Another benefit when sewing many layers on the overlocker! Stitch making sure to remove the pins before reaching the foot! You do not want to sew over pins!
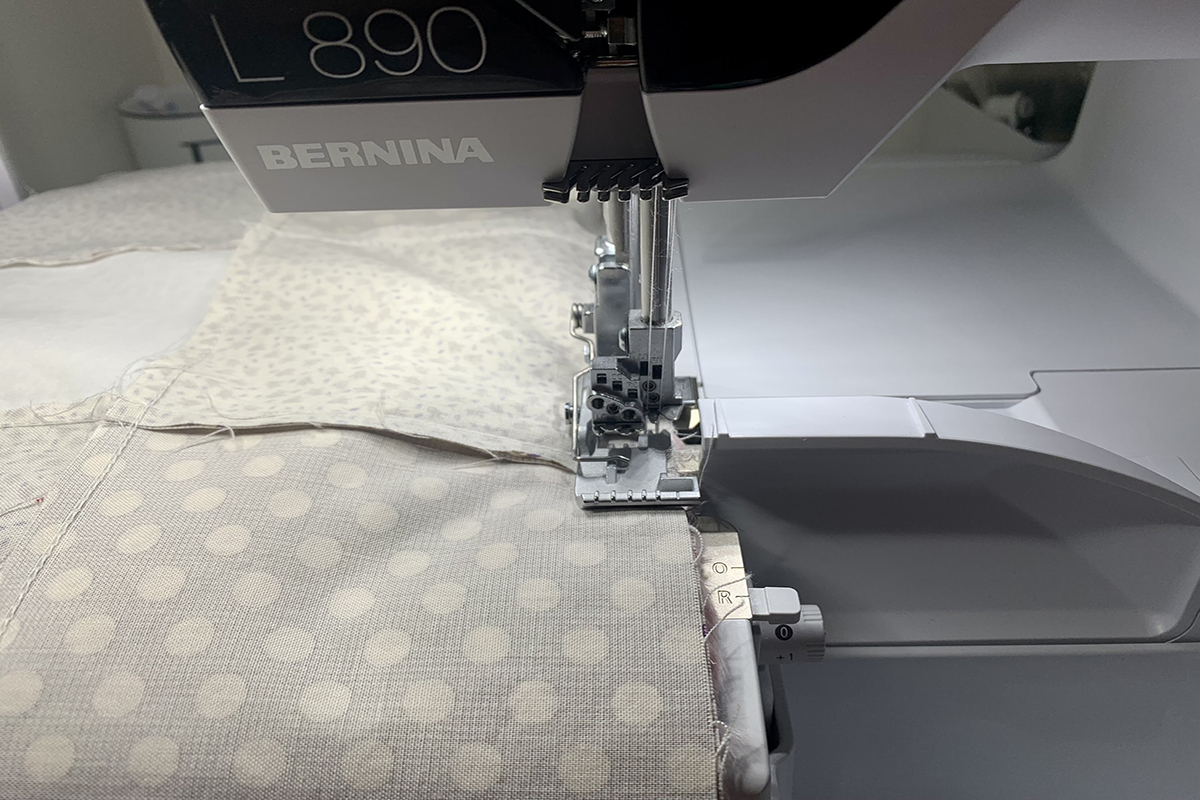
Keep the raw edges aligned with the far right marking on the foot.
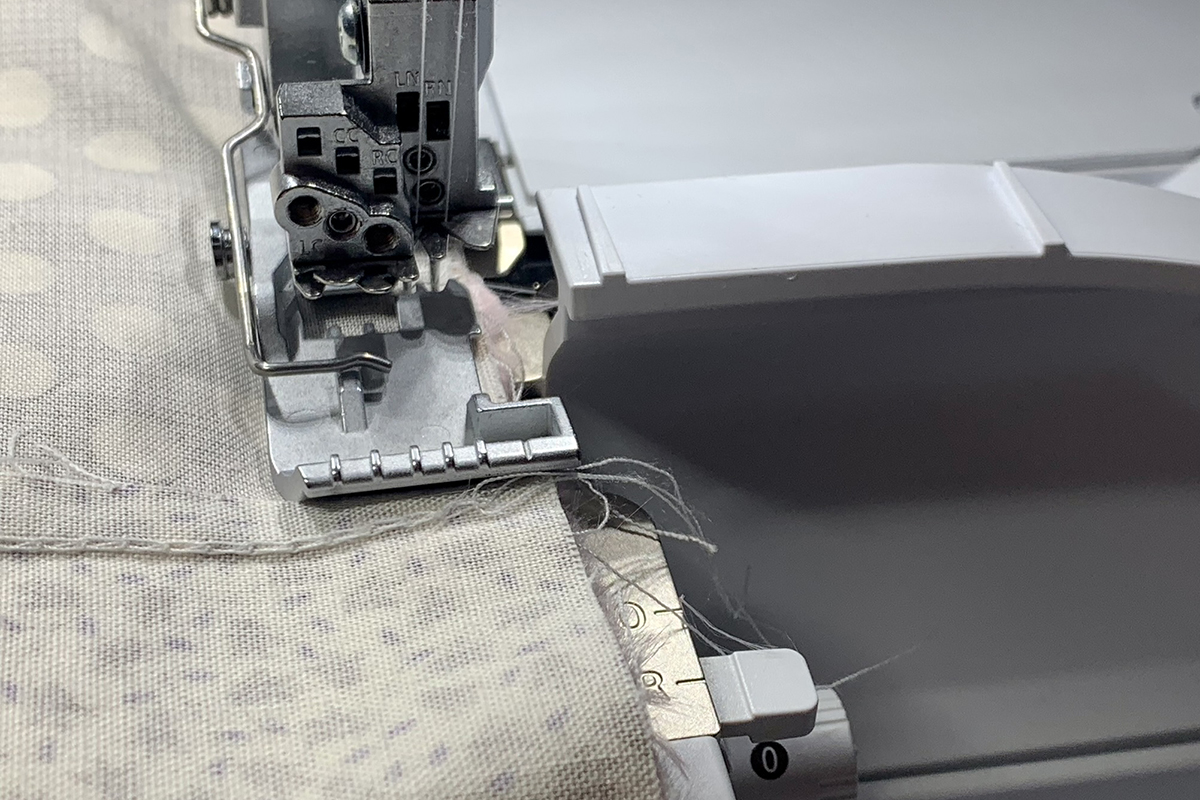
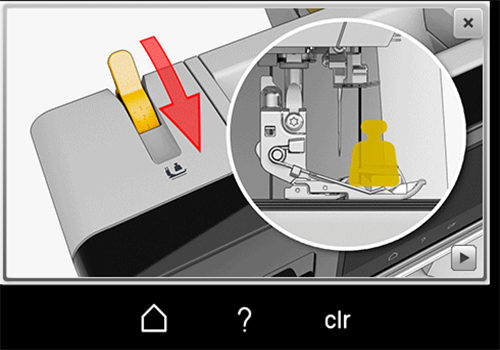
Also, keep an eye on the layers making sure they stay aligned. There are two great features that allow you to easily reposition, if necessary. One is the ability to move the front of the foot to the left.
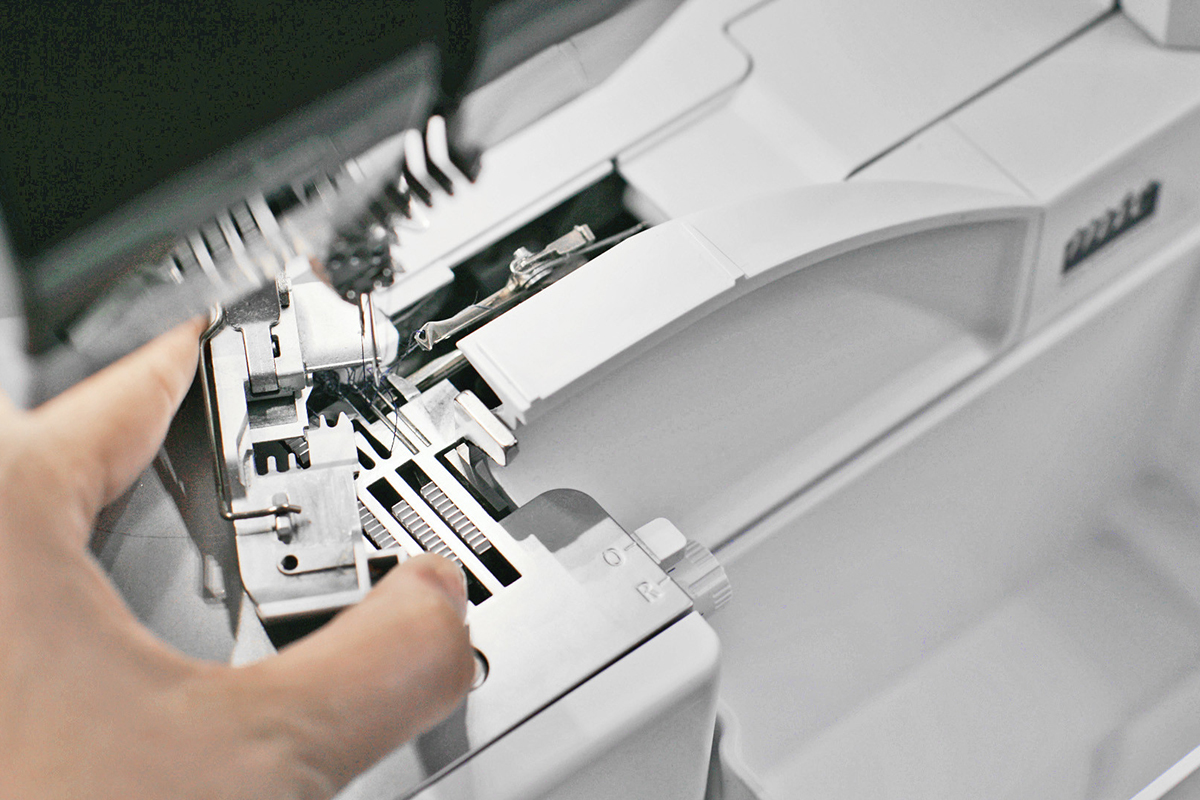
The other is the Freehand System which allows you to slightly light the foot without taking your hands off the project.
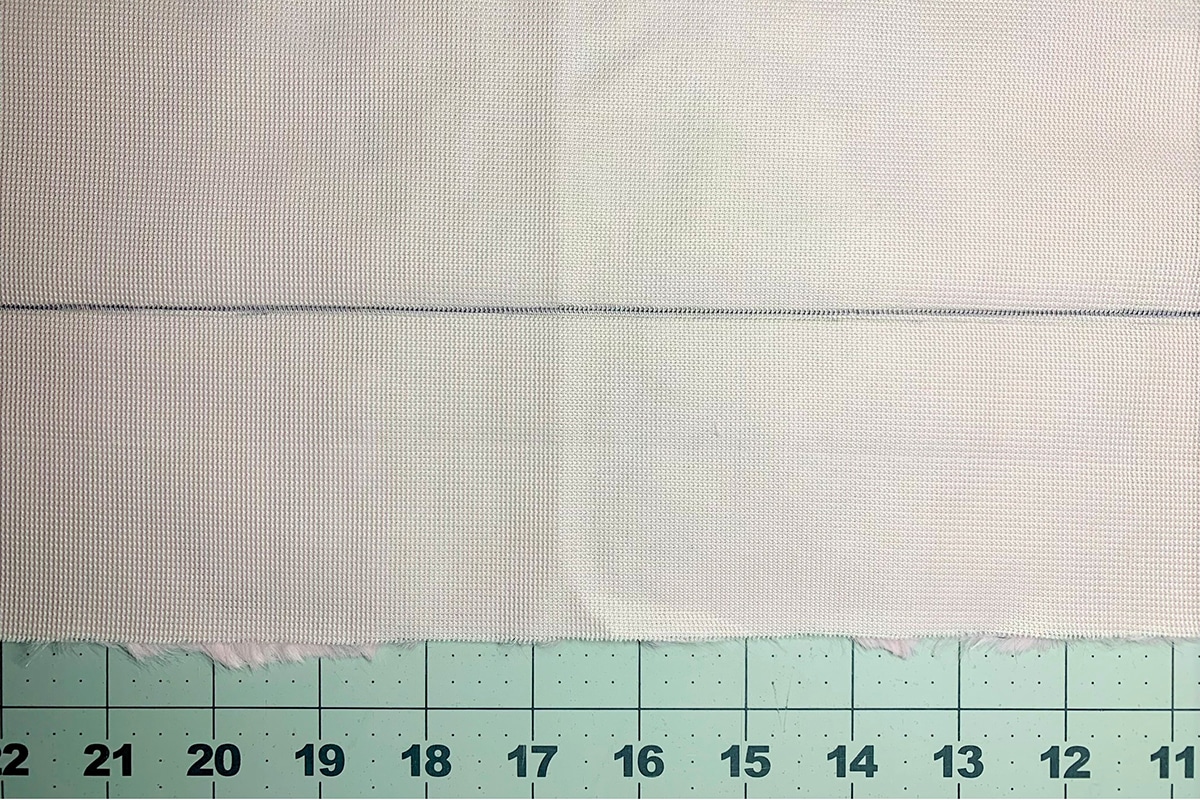
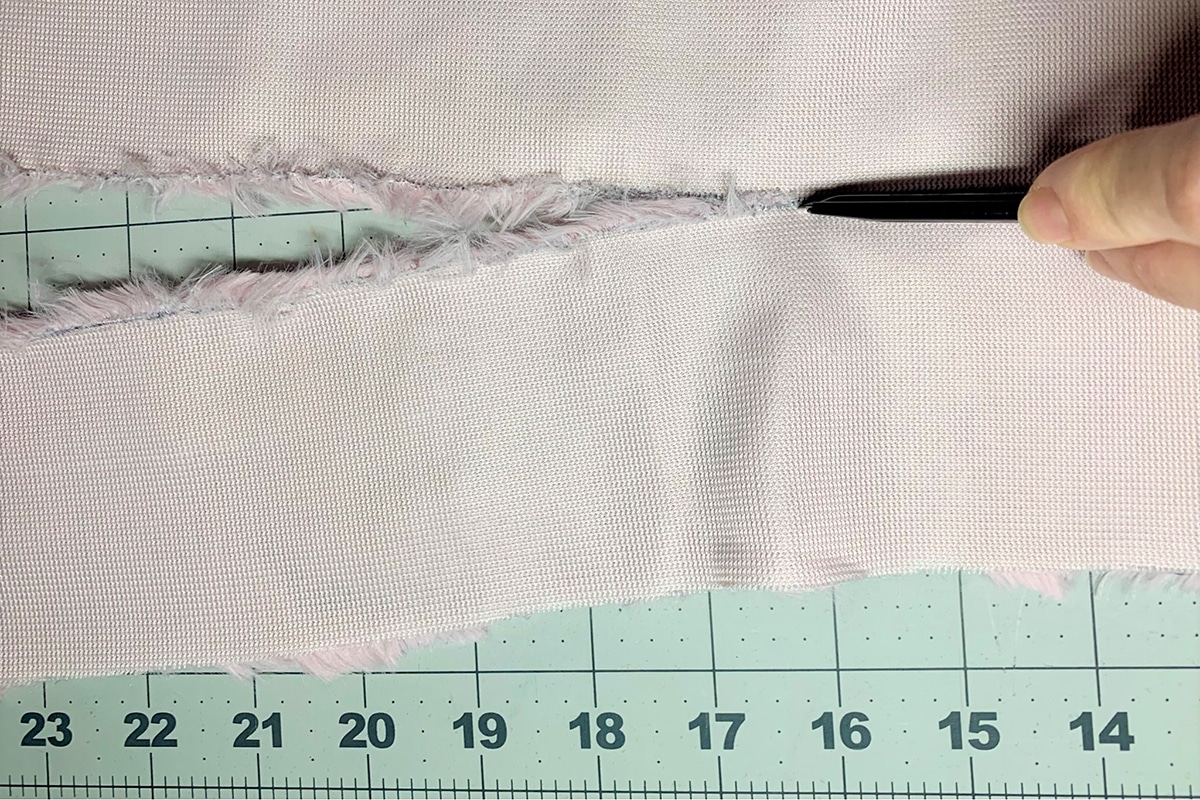
Open the quilt and press the cotton fabric only. Now trim the ends of the Cuddle® fabric. If the placement of the rotary ruler looks funny to you, it’s because I’m left-handed. J

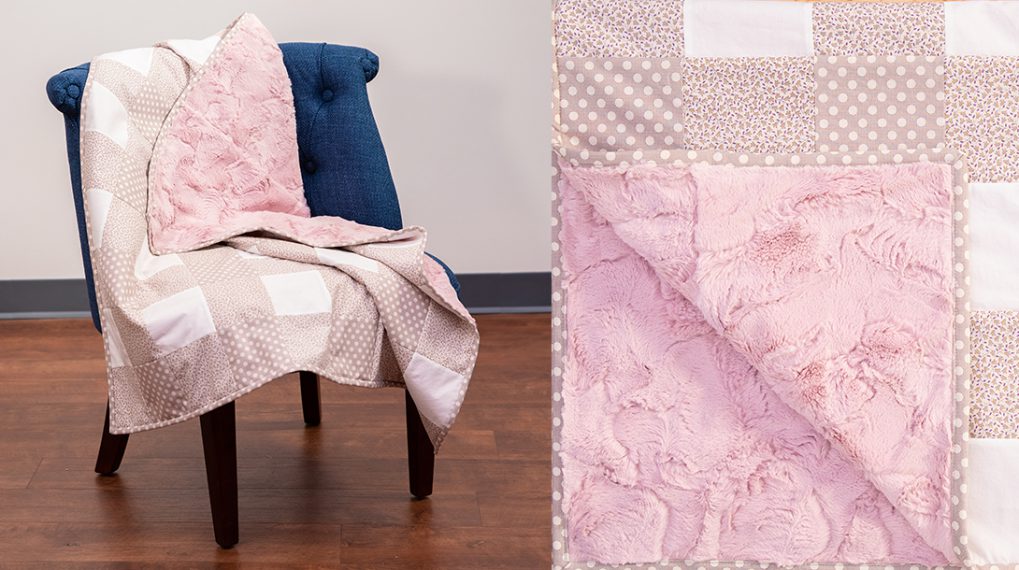
The quilt sandwich is ready for the next section! Simply add the next pieced top right sides together as we did before. Secure and nest seams with large pins and/or Wonder Clips. Yup! I am making one in pink too! I only had an image of this with the pink one.
Then place layers on top of the next Cuddle® strip. Cuddle® fabric should be right sides together.
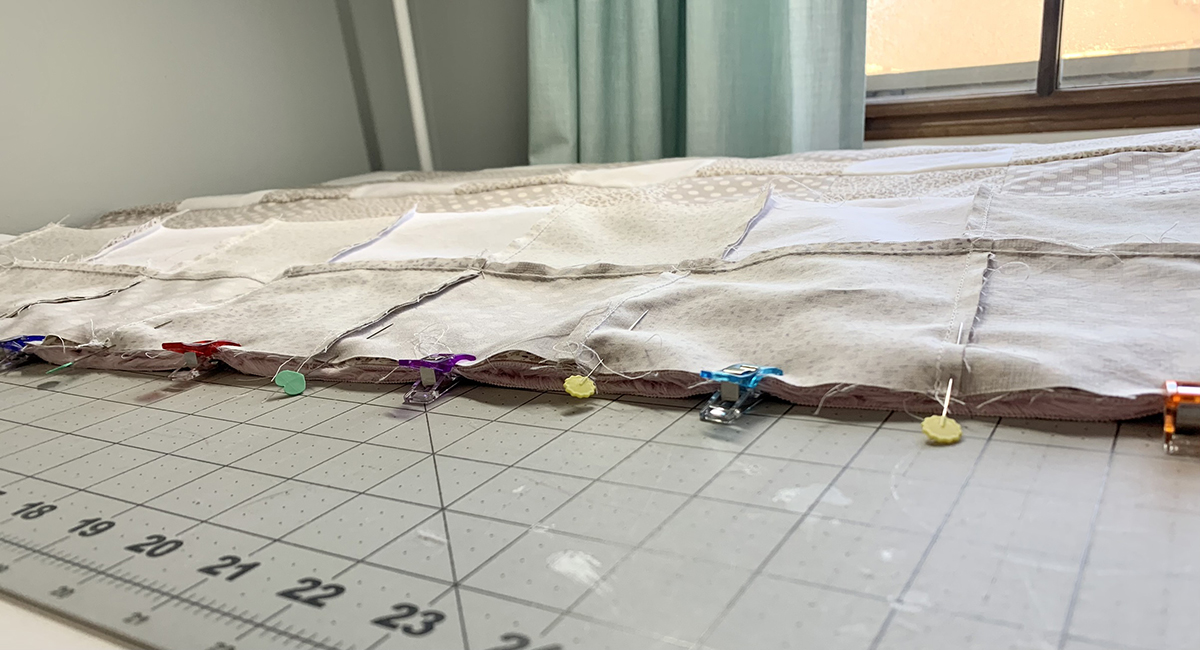
Stitch as before. Continue until the last section is added.
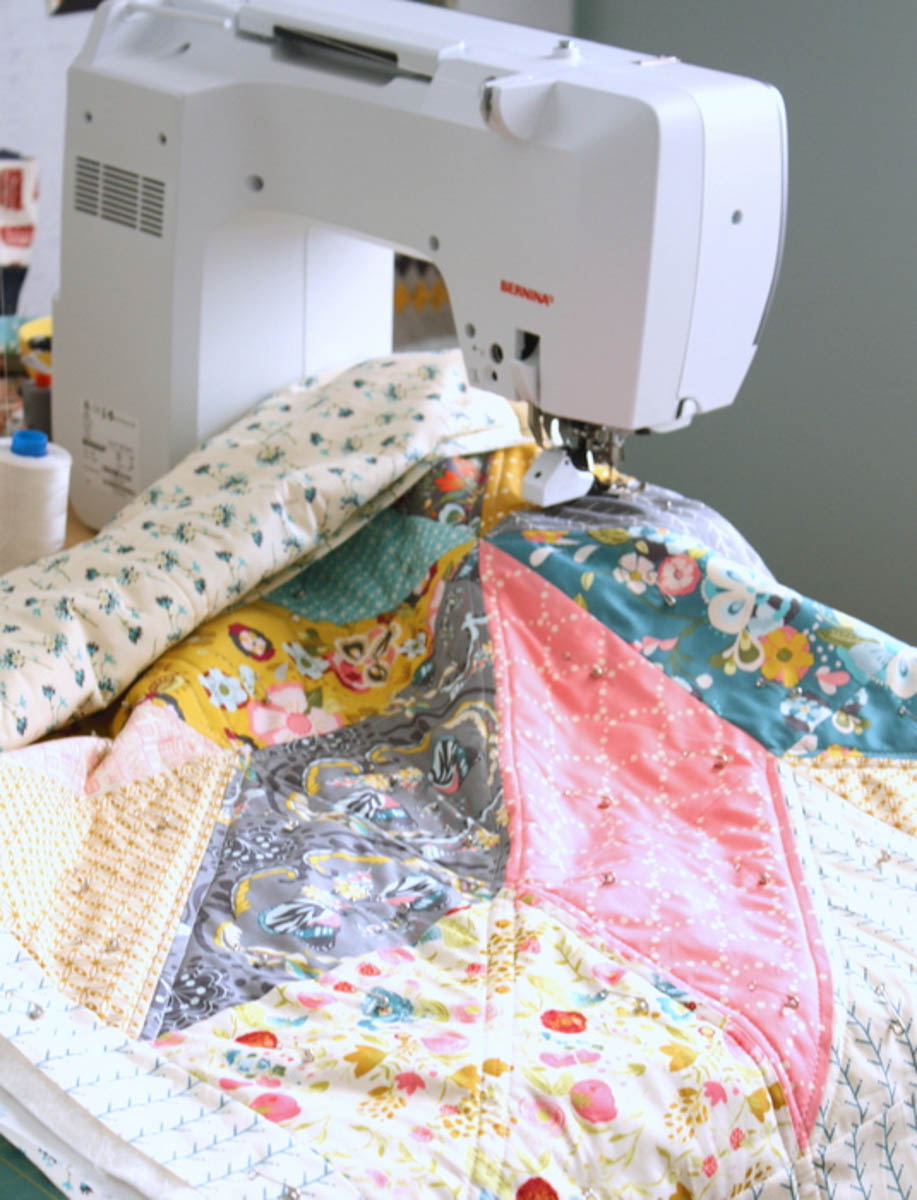
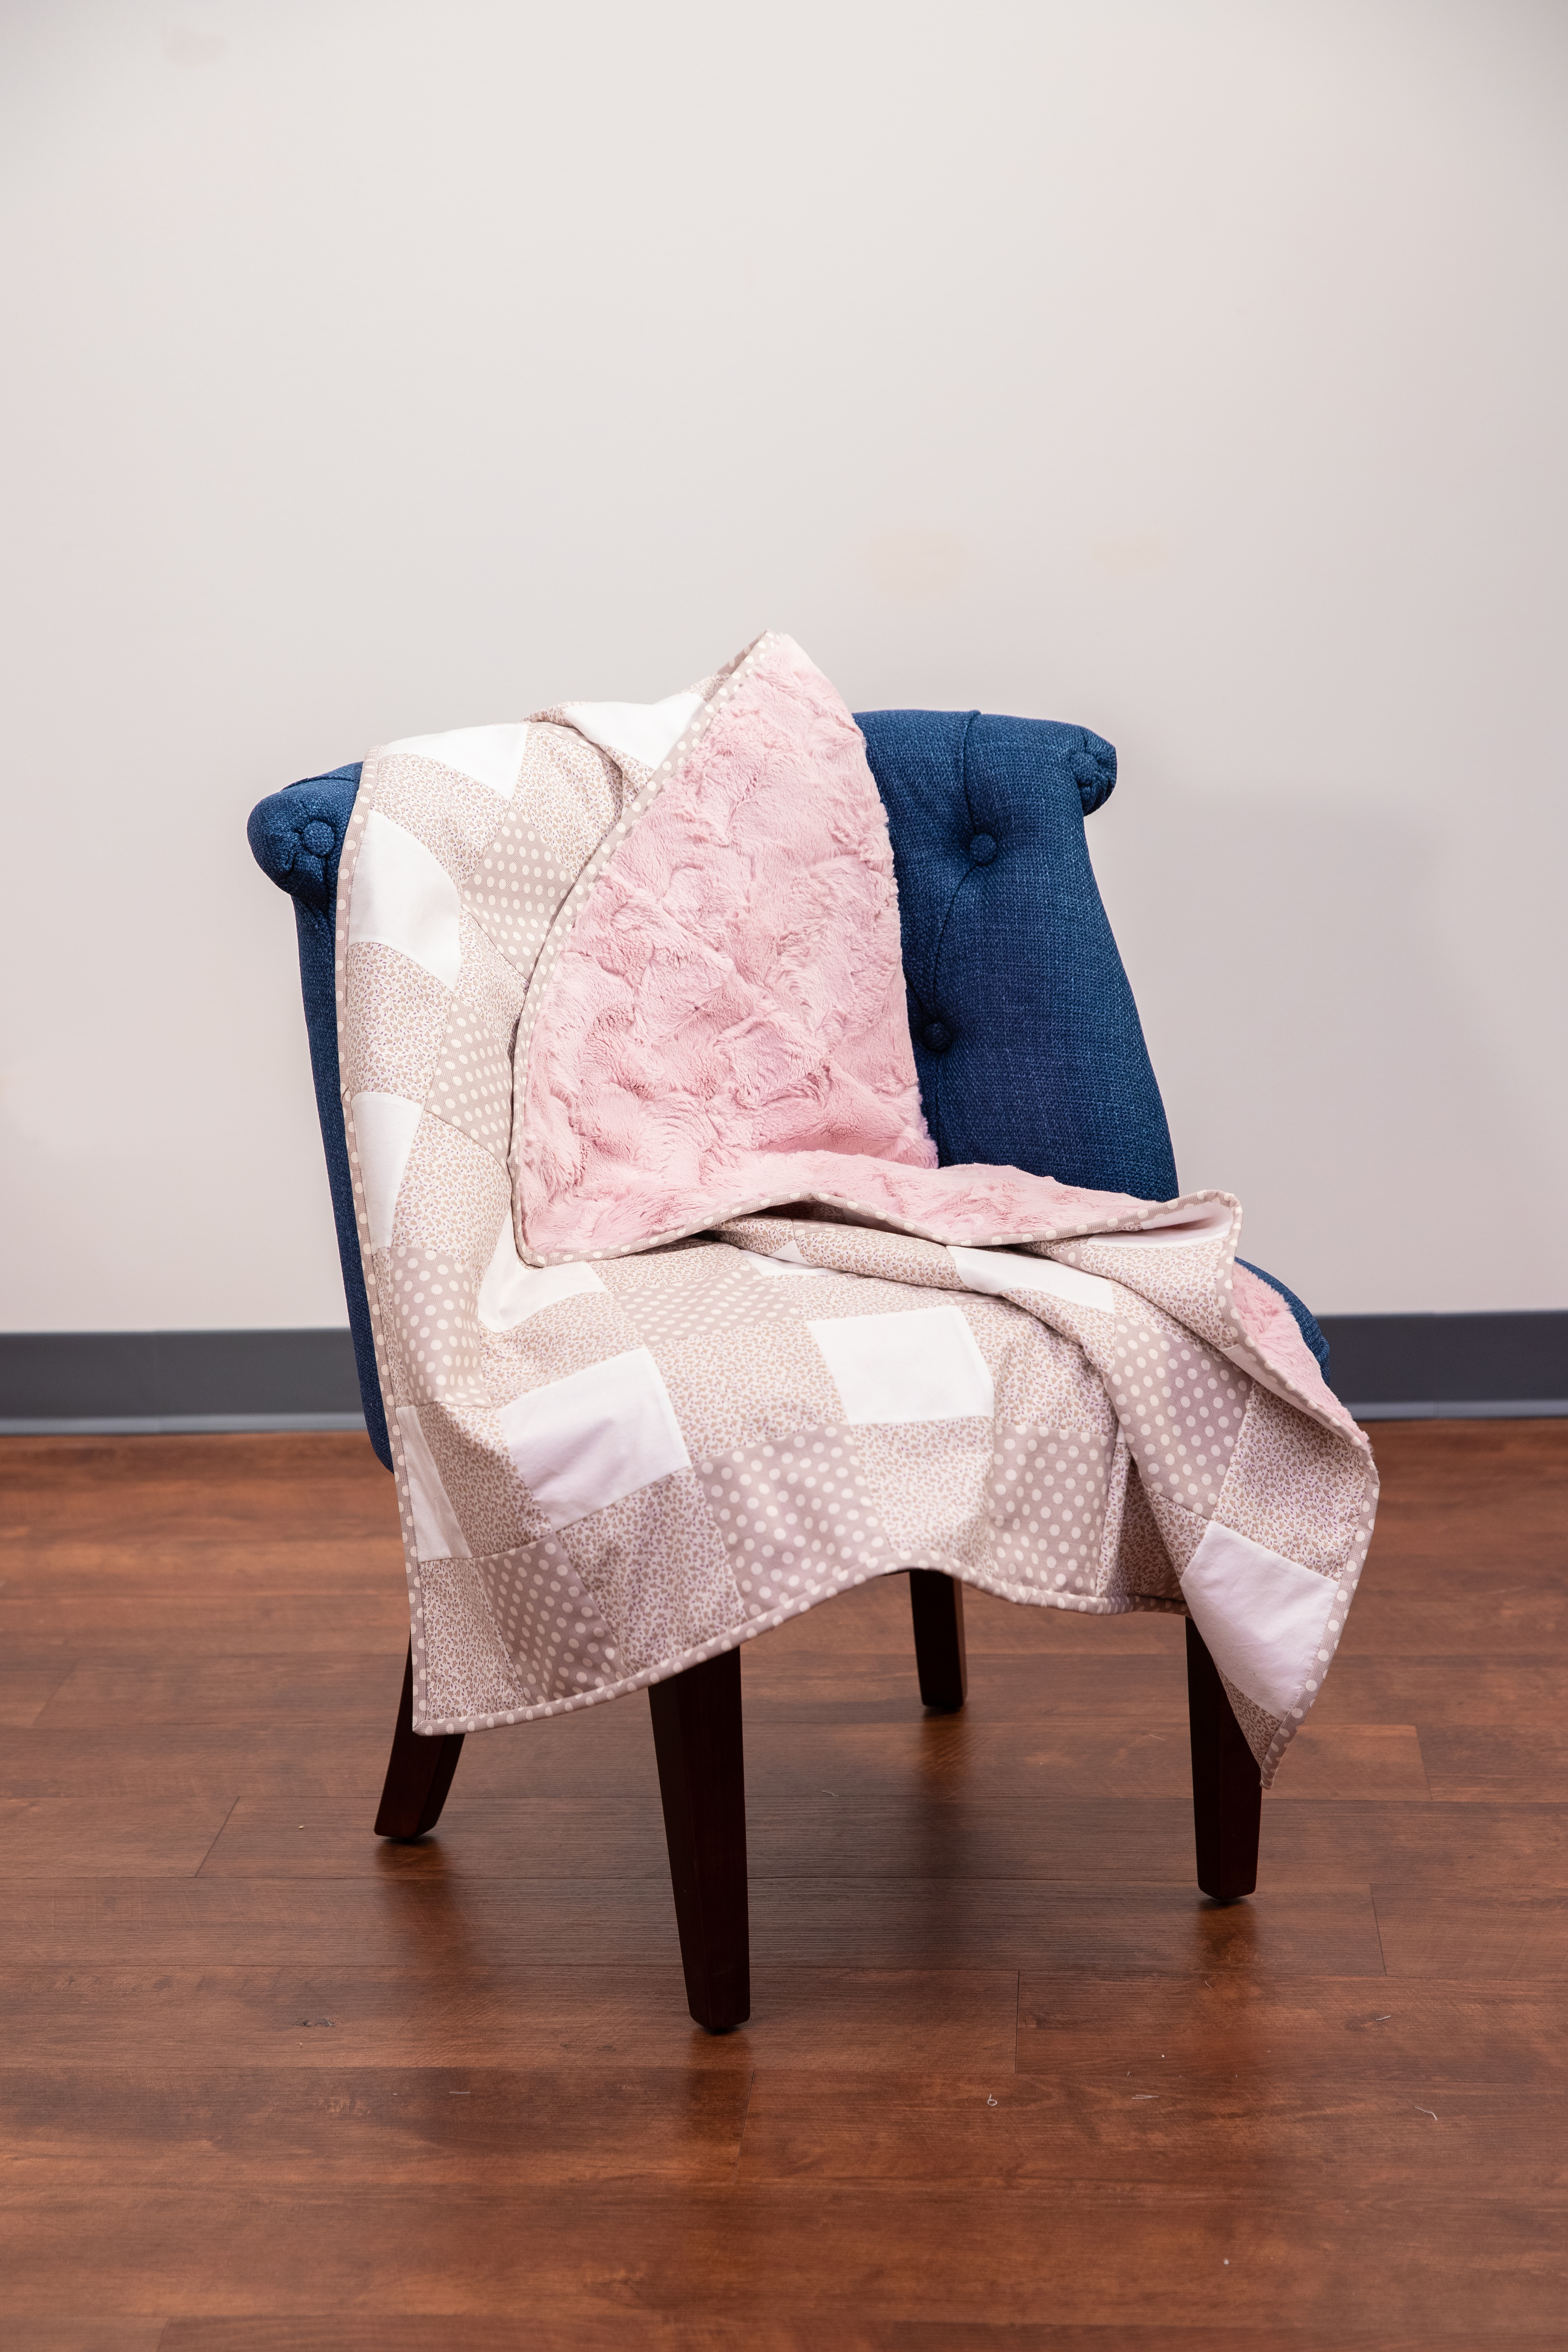
I love this luxurious back! And wasn’t it so much easier to stitch on the overlocker?

The main part of the quilt is done! Now you might say that wasn’t so quick, but remember you’re learning. Anytime you do something for the first time, it takes about 3 times as long to do. Your next baby quilt on the serger will go much faster! In Part 3, I’ll show how to add binding with fusible thread. You won’t want to miss this amazing technique! Now go play!