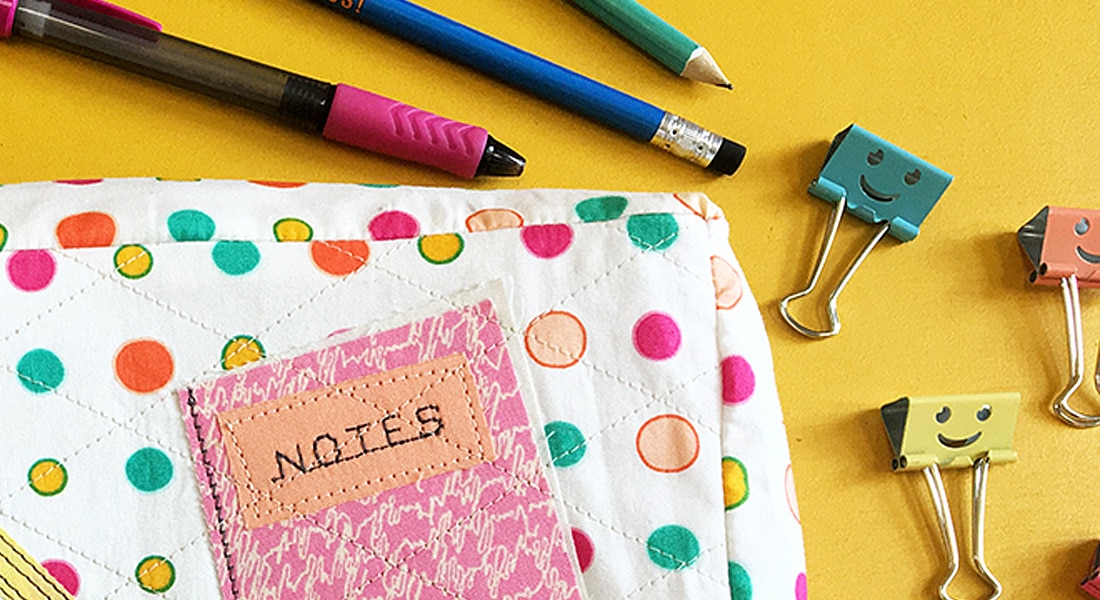
Back to School Binder Cover from Art Gallery Fabrics
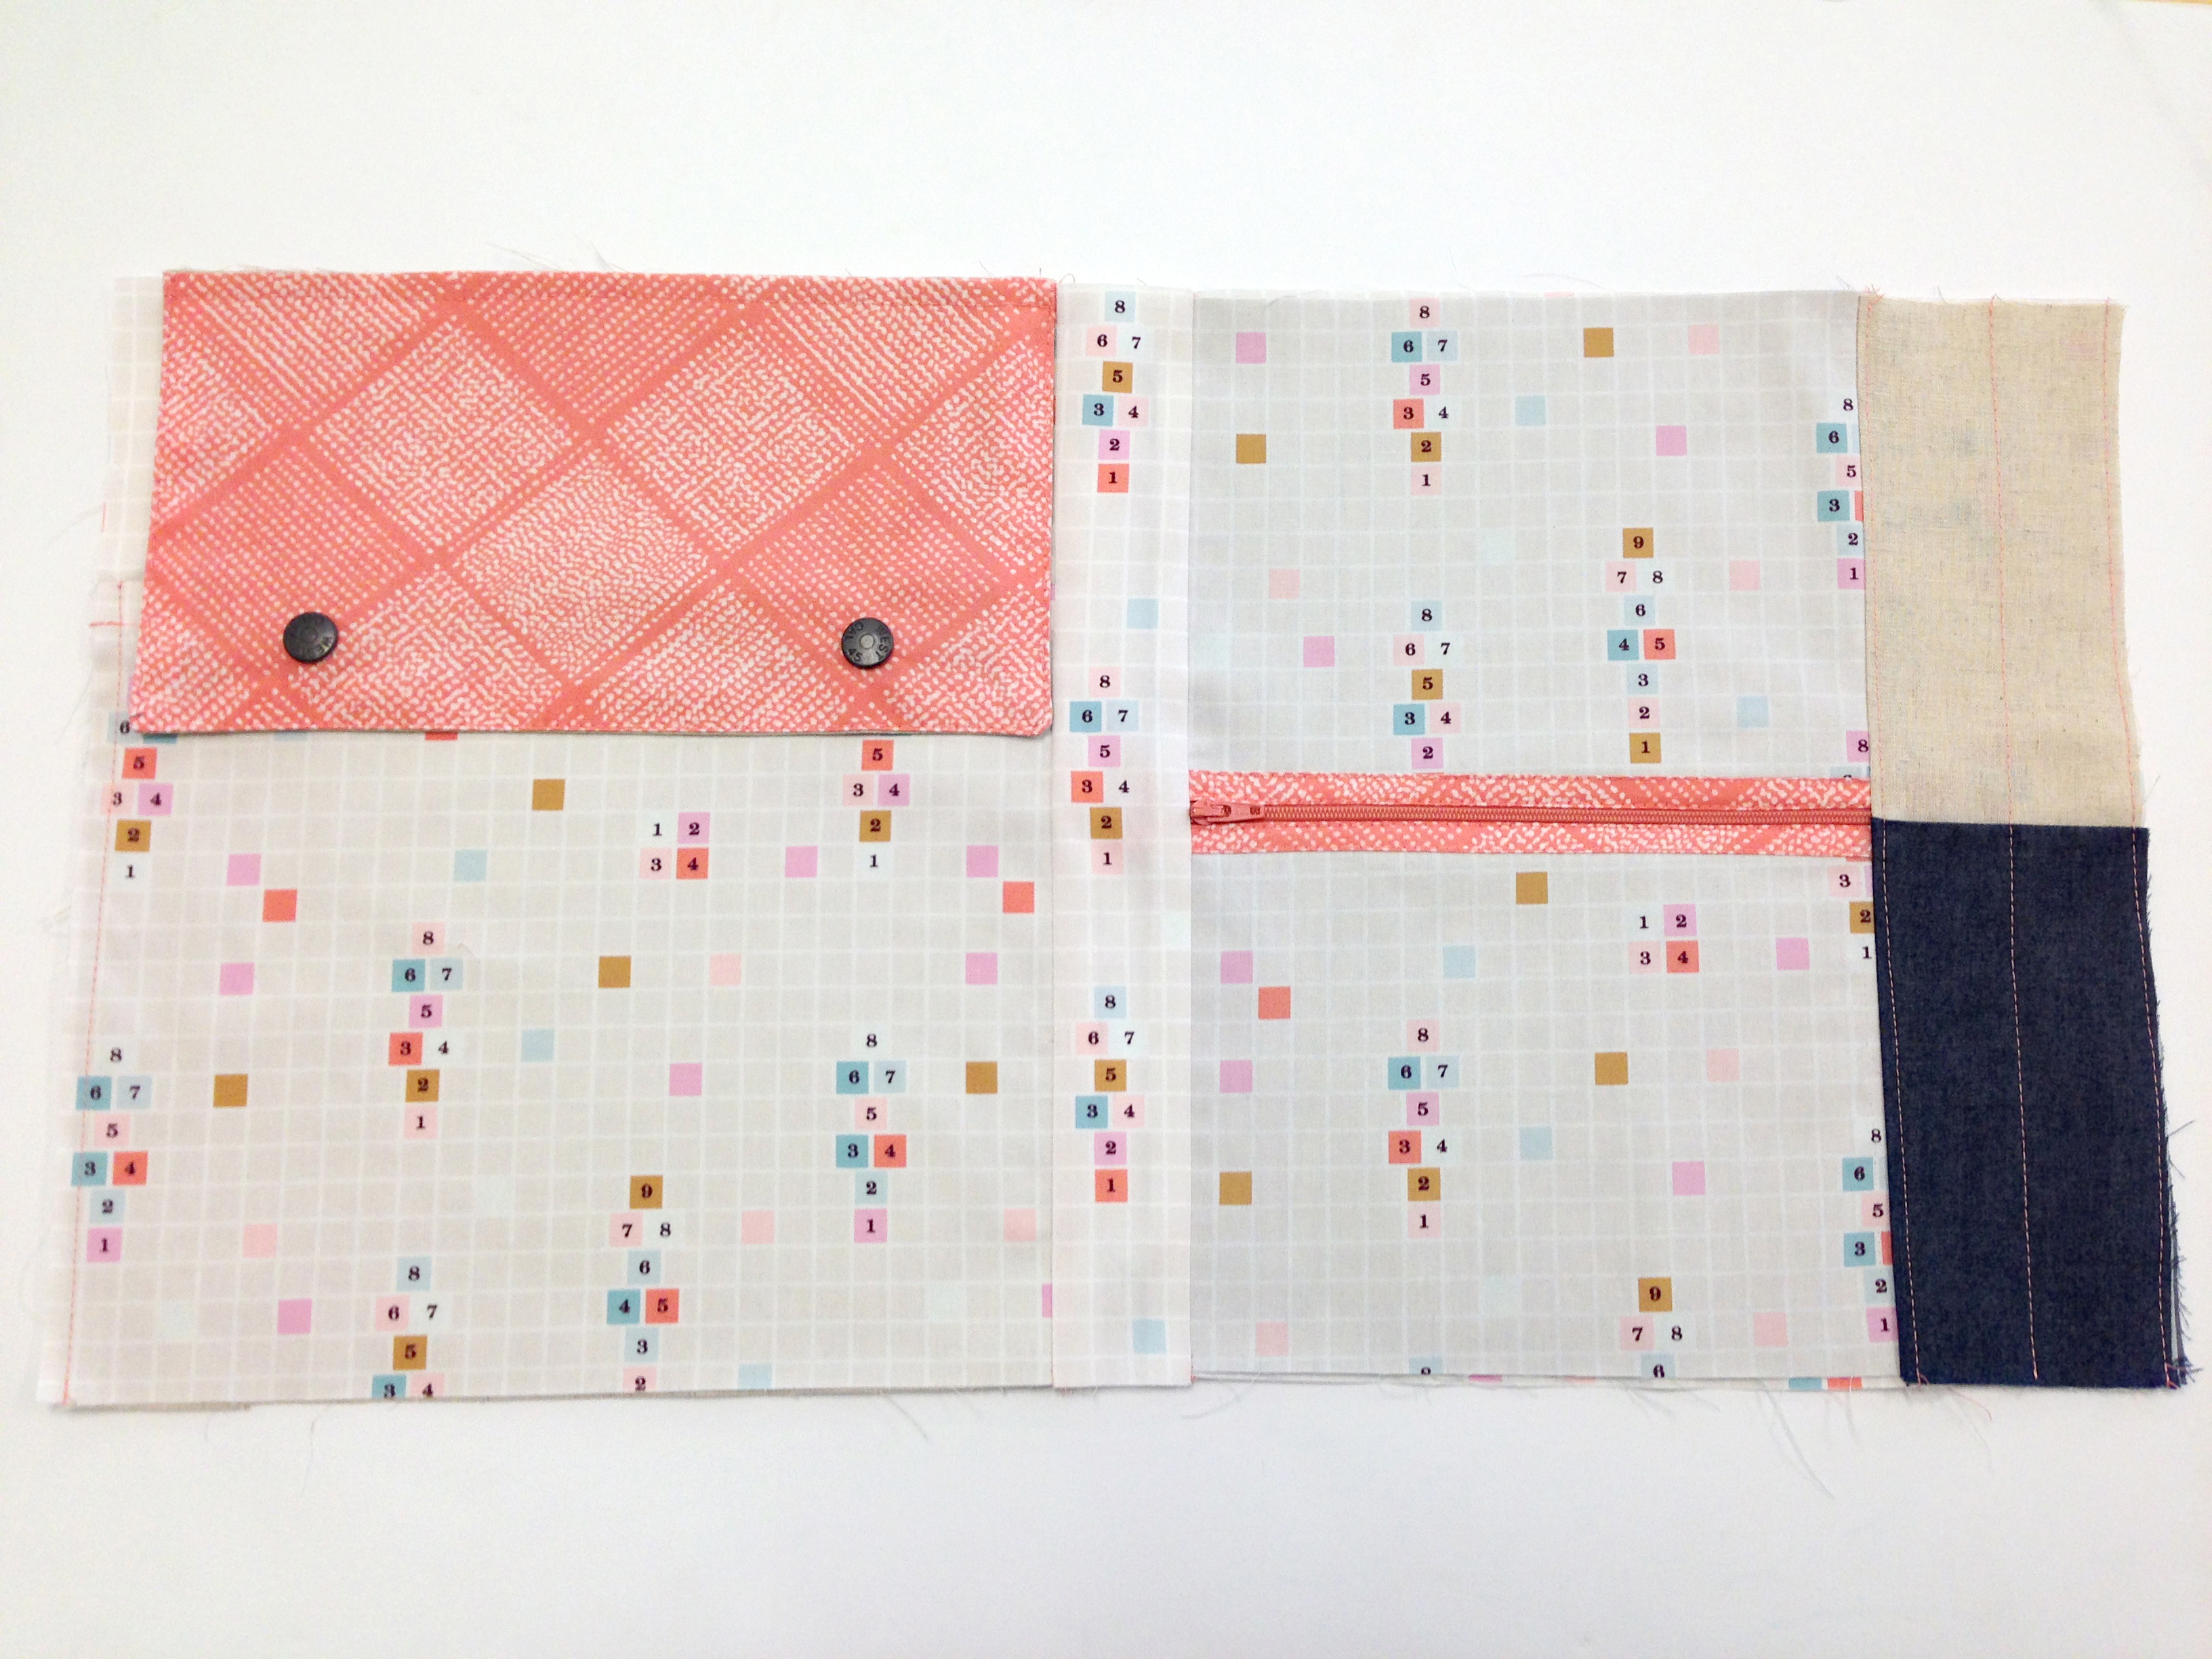
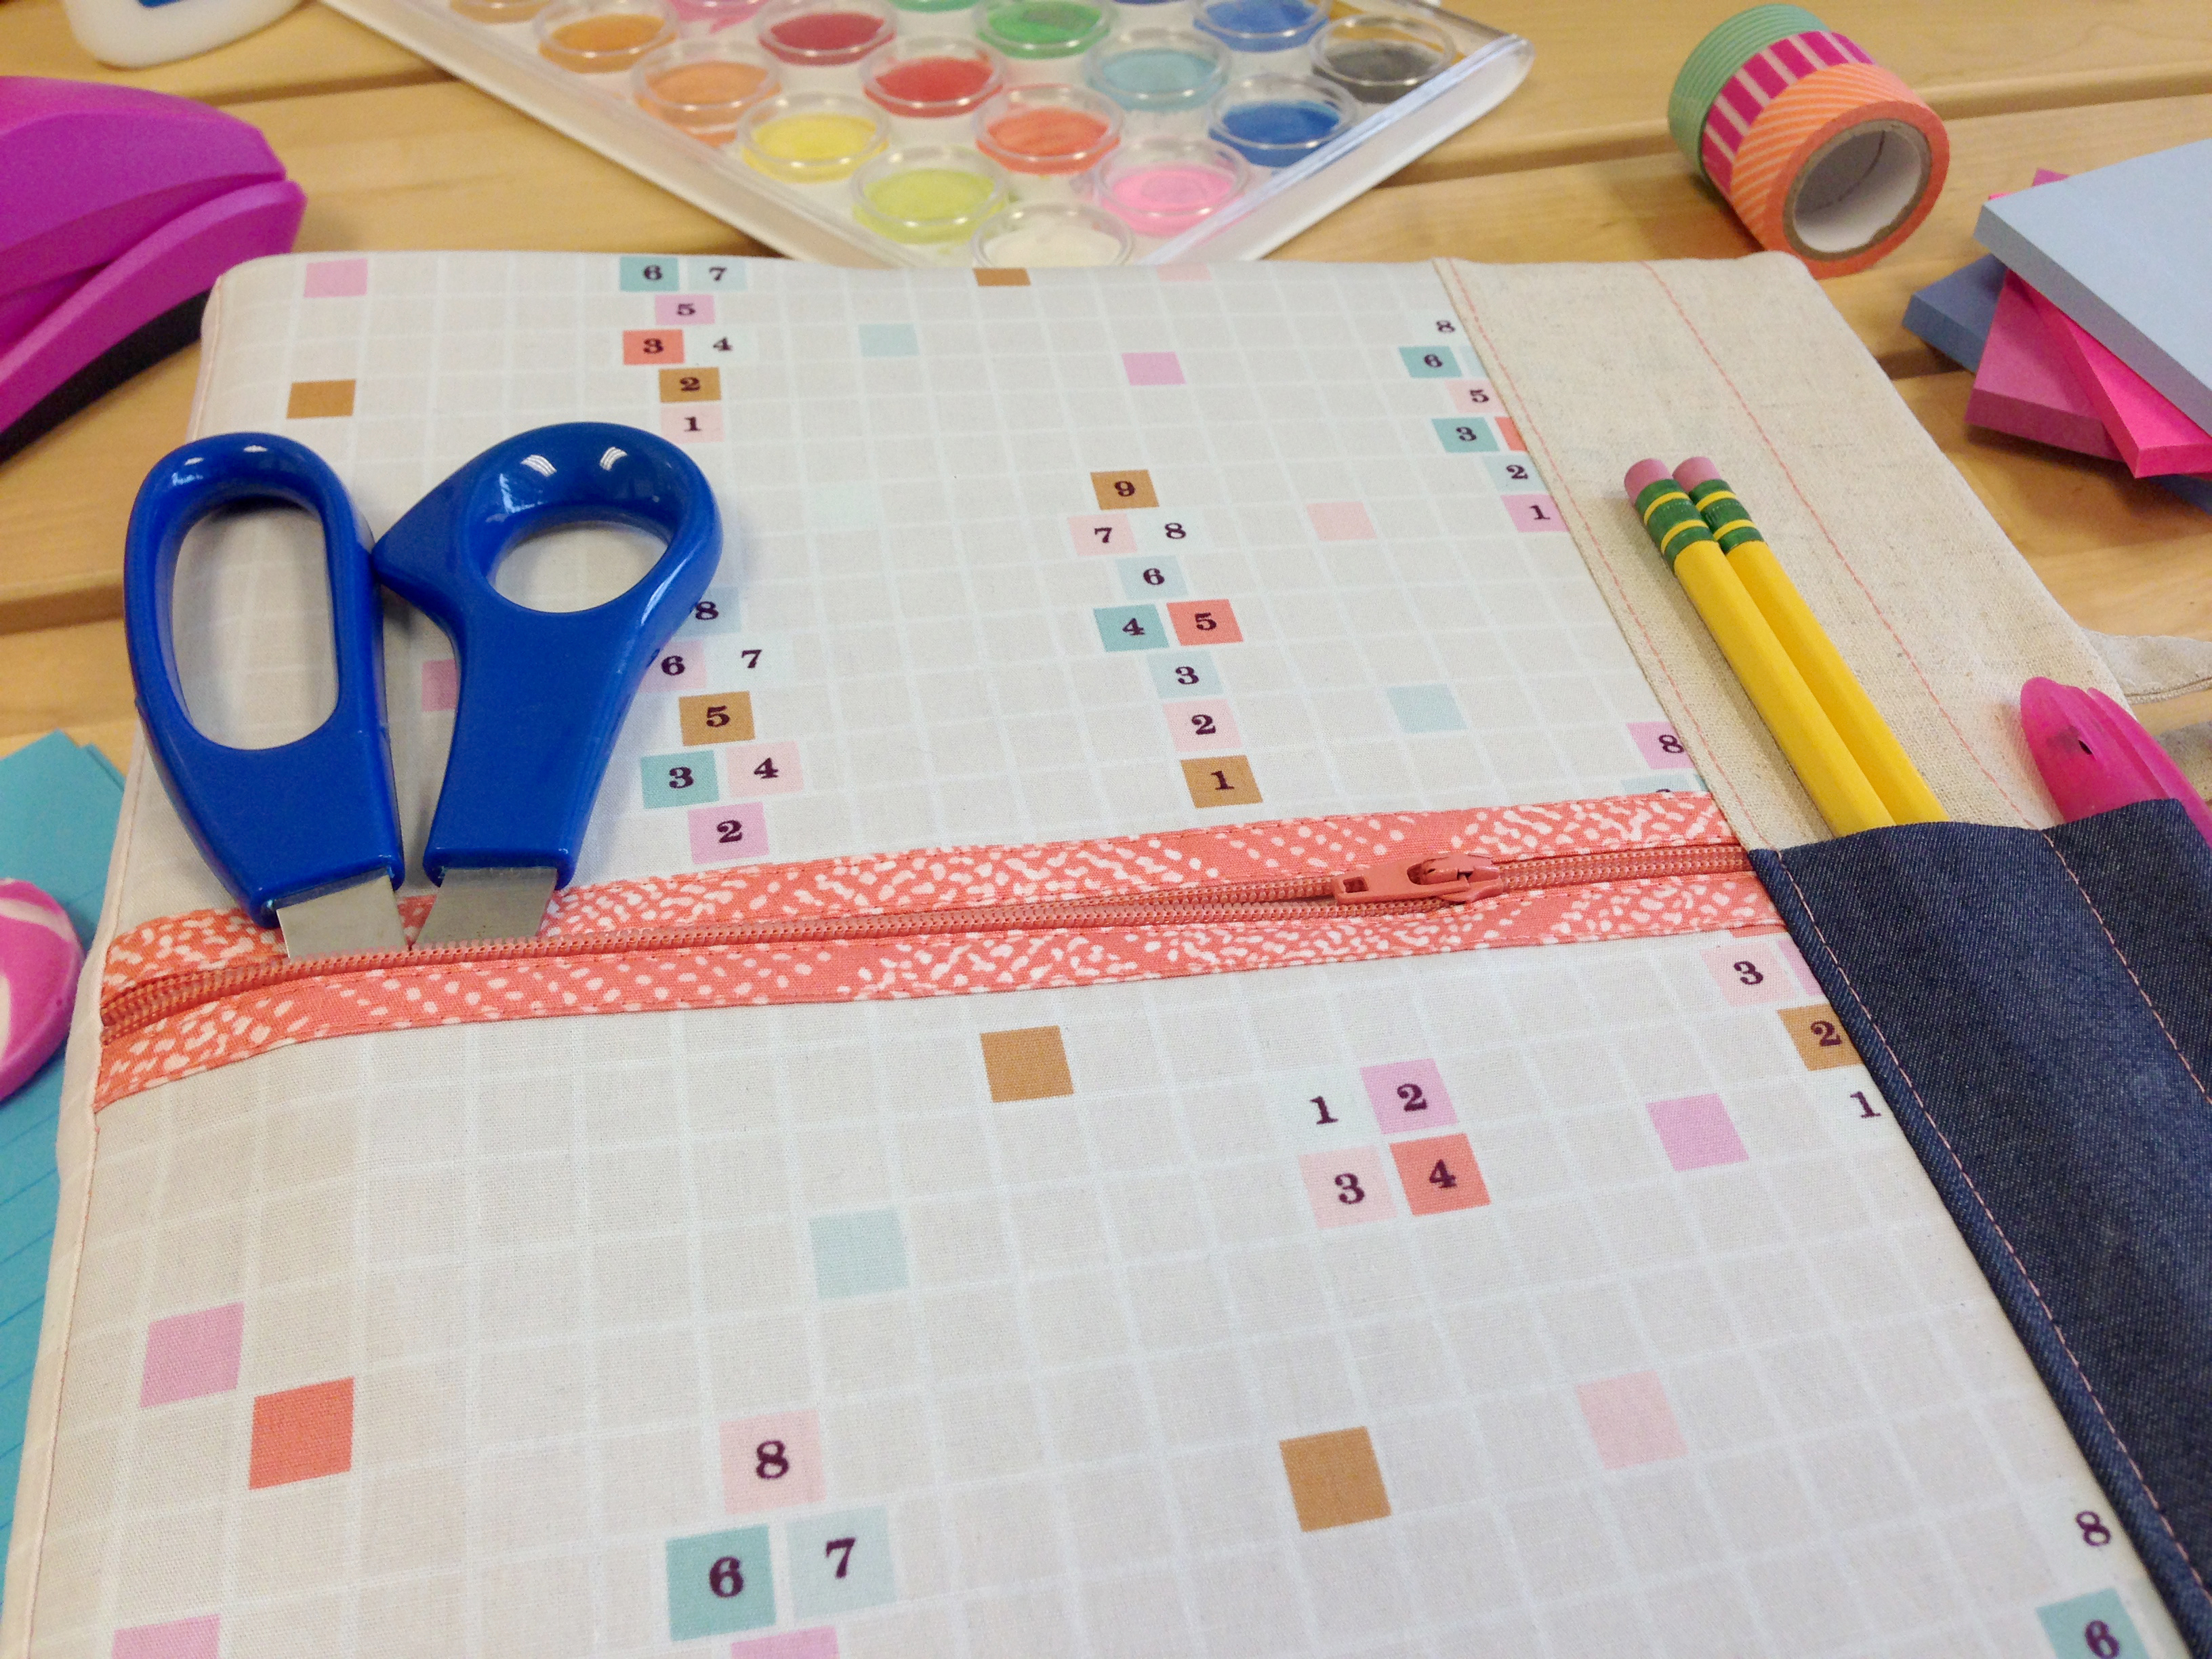
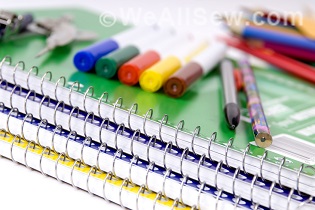
Hello Everyone! Well it’s that time a year again! Summer is coming to an end and the next school year is about to begin! Starting another school year can be both exciting and stressful, but making sure you are prepared with all the proper back to school items can make your life run a little smoother and more organized. So that’s why AGF created the back to school binder cover! It has an easy-to-access front zipper pocket with pencil slots, and if that wasn’t enough there are two pockets inside and a pocket in the back with a snap flap closure. It also has cute handles to carry your binder in style! This project came together pretty quickly and was a fun make!

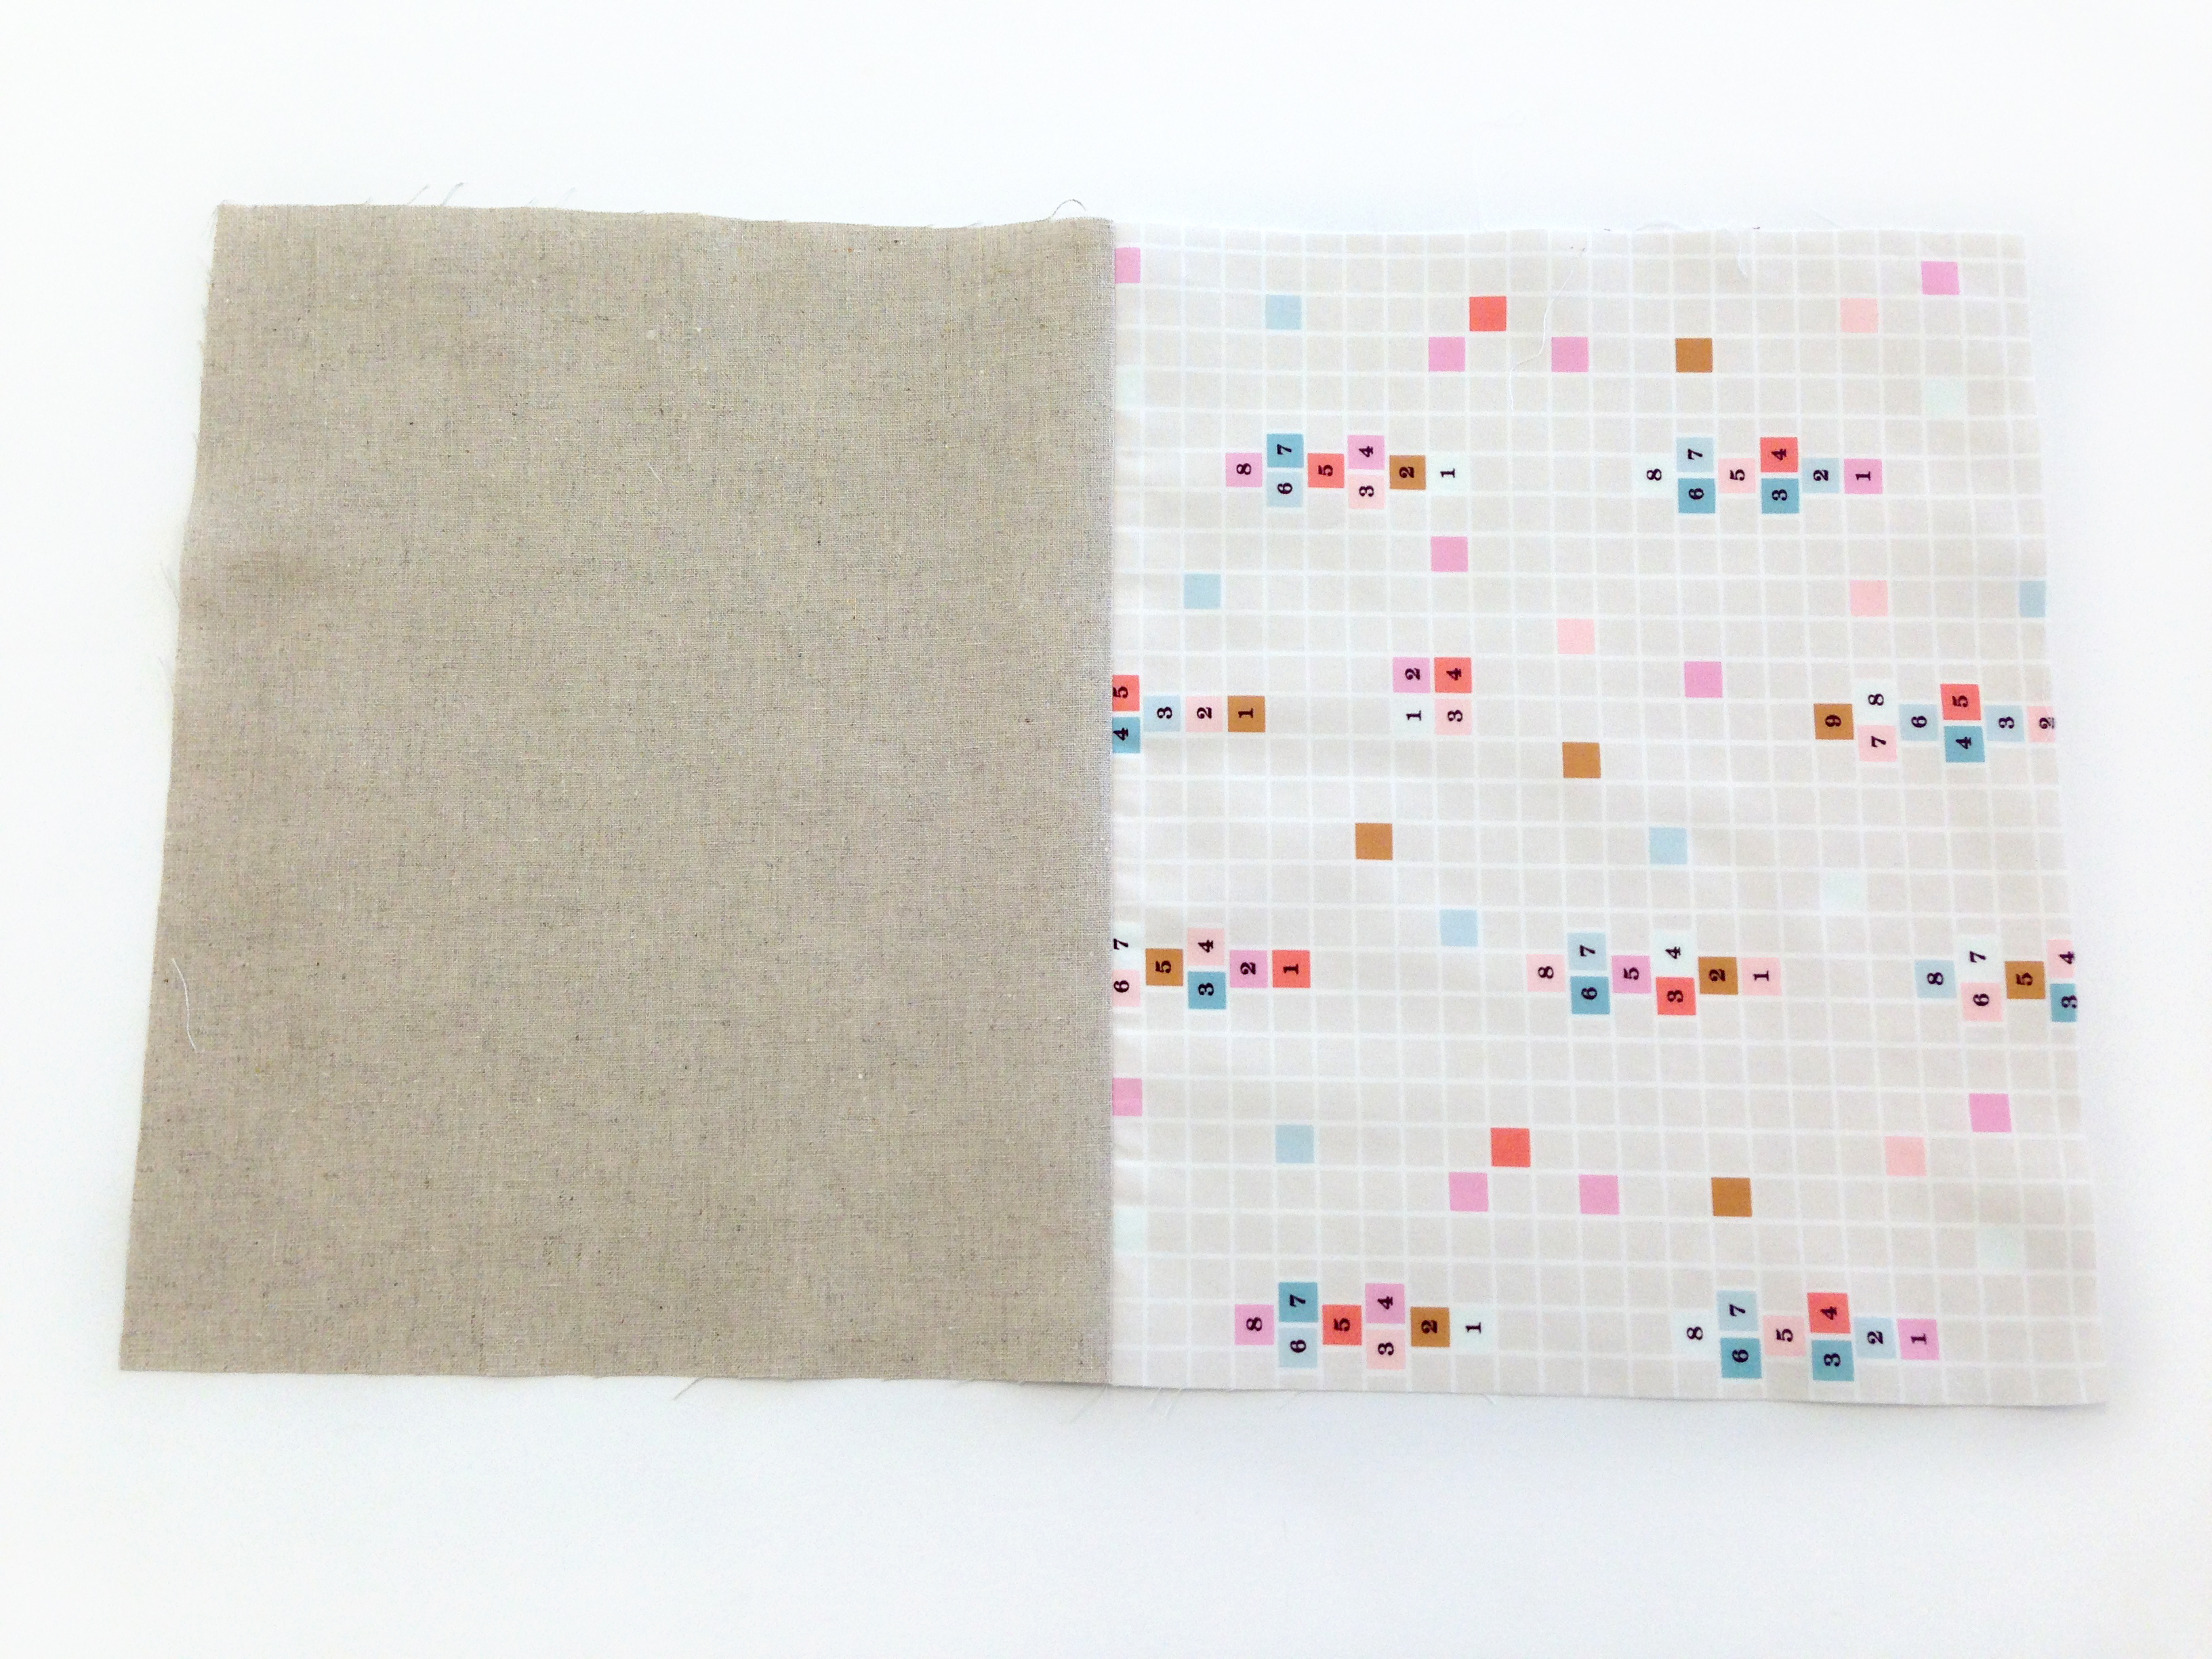
Fabrics featured in this project are Playground fabrics and the Denim Studio. The Hopscotch Jump print is a perfect fabric selection for the Back to School Binder Cover, the print is playful and fun reminding us of the days of playing hopscotch and other fun outdoor games at recess.
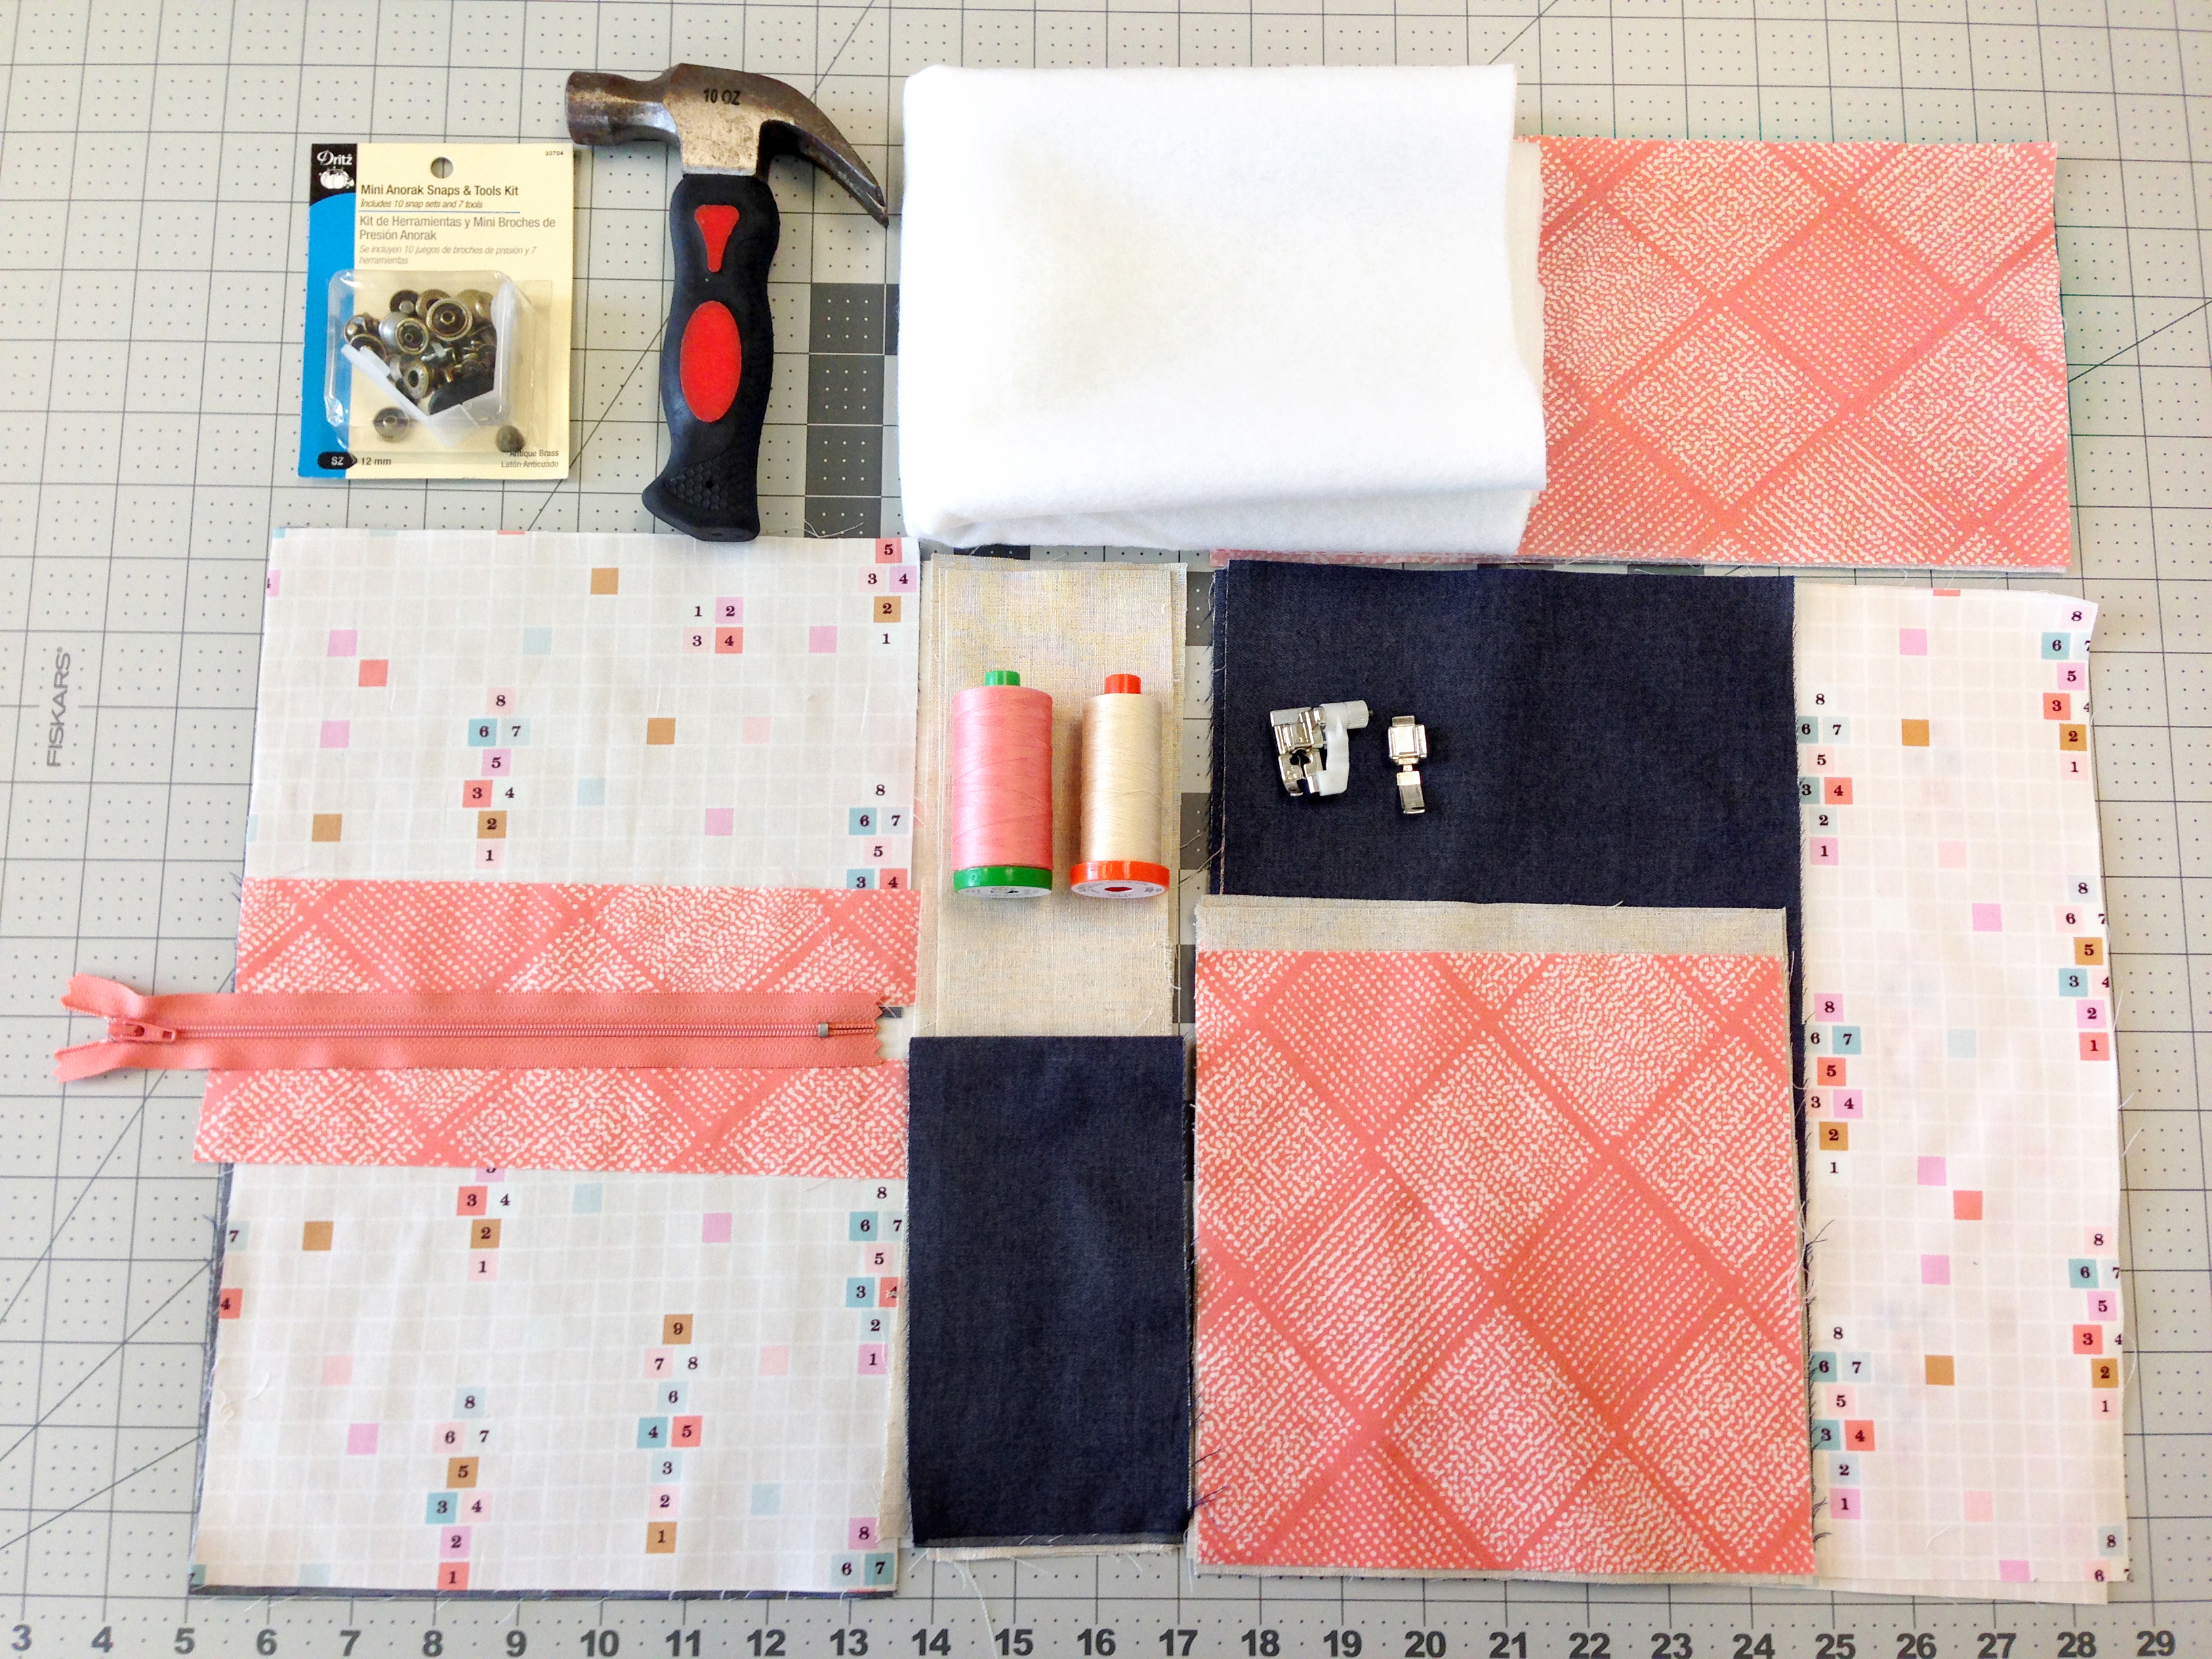
Materials to make the Back to School Binder Cover:
Fabric Requirements
Fabric A-PLG-12340- 5/6 yd.
Fabric B-PLG-22344- 1/2 yd.
Fabric C-DEN-S-2008- 1/2 yd.
Fabric D-DEN-L-4000- 1/2 yd.
Cutting Directions
Four (4) 11 1/4″ x 13 1/4″ rectangles from Fabric A (Front, Back, Inside pieces)
Two (2) 2 1/2″ x 13 1/4″ strips from Fabric A (Middle Strip)
Two (2) 6 1/2″ x 8 1/2″ rectangles from Fabric A and C (Front Pockets)
One (1) 9 1/2″ x 11 1/4″ rectangle from Fabric A, D and Woven interfacing (Back Pocket)
Two (2) 1 5/8″ x 9″ strips from Fabric B (Binding for Front Pockets)
Two (2) 7 1/2″ squares from Fabric B (Inside Pockets)
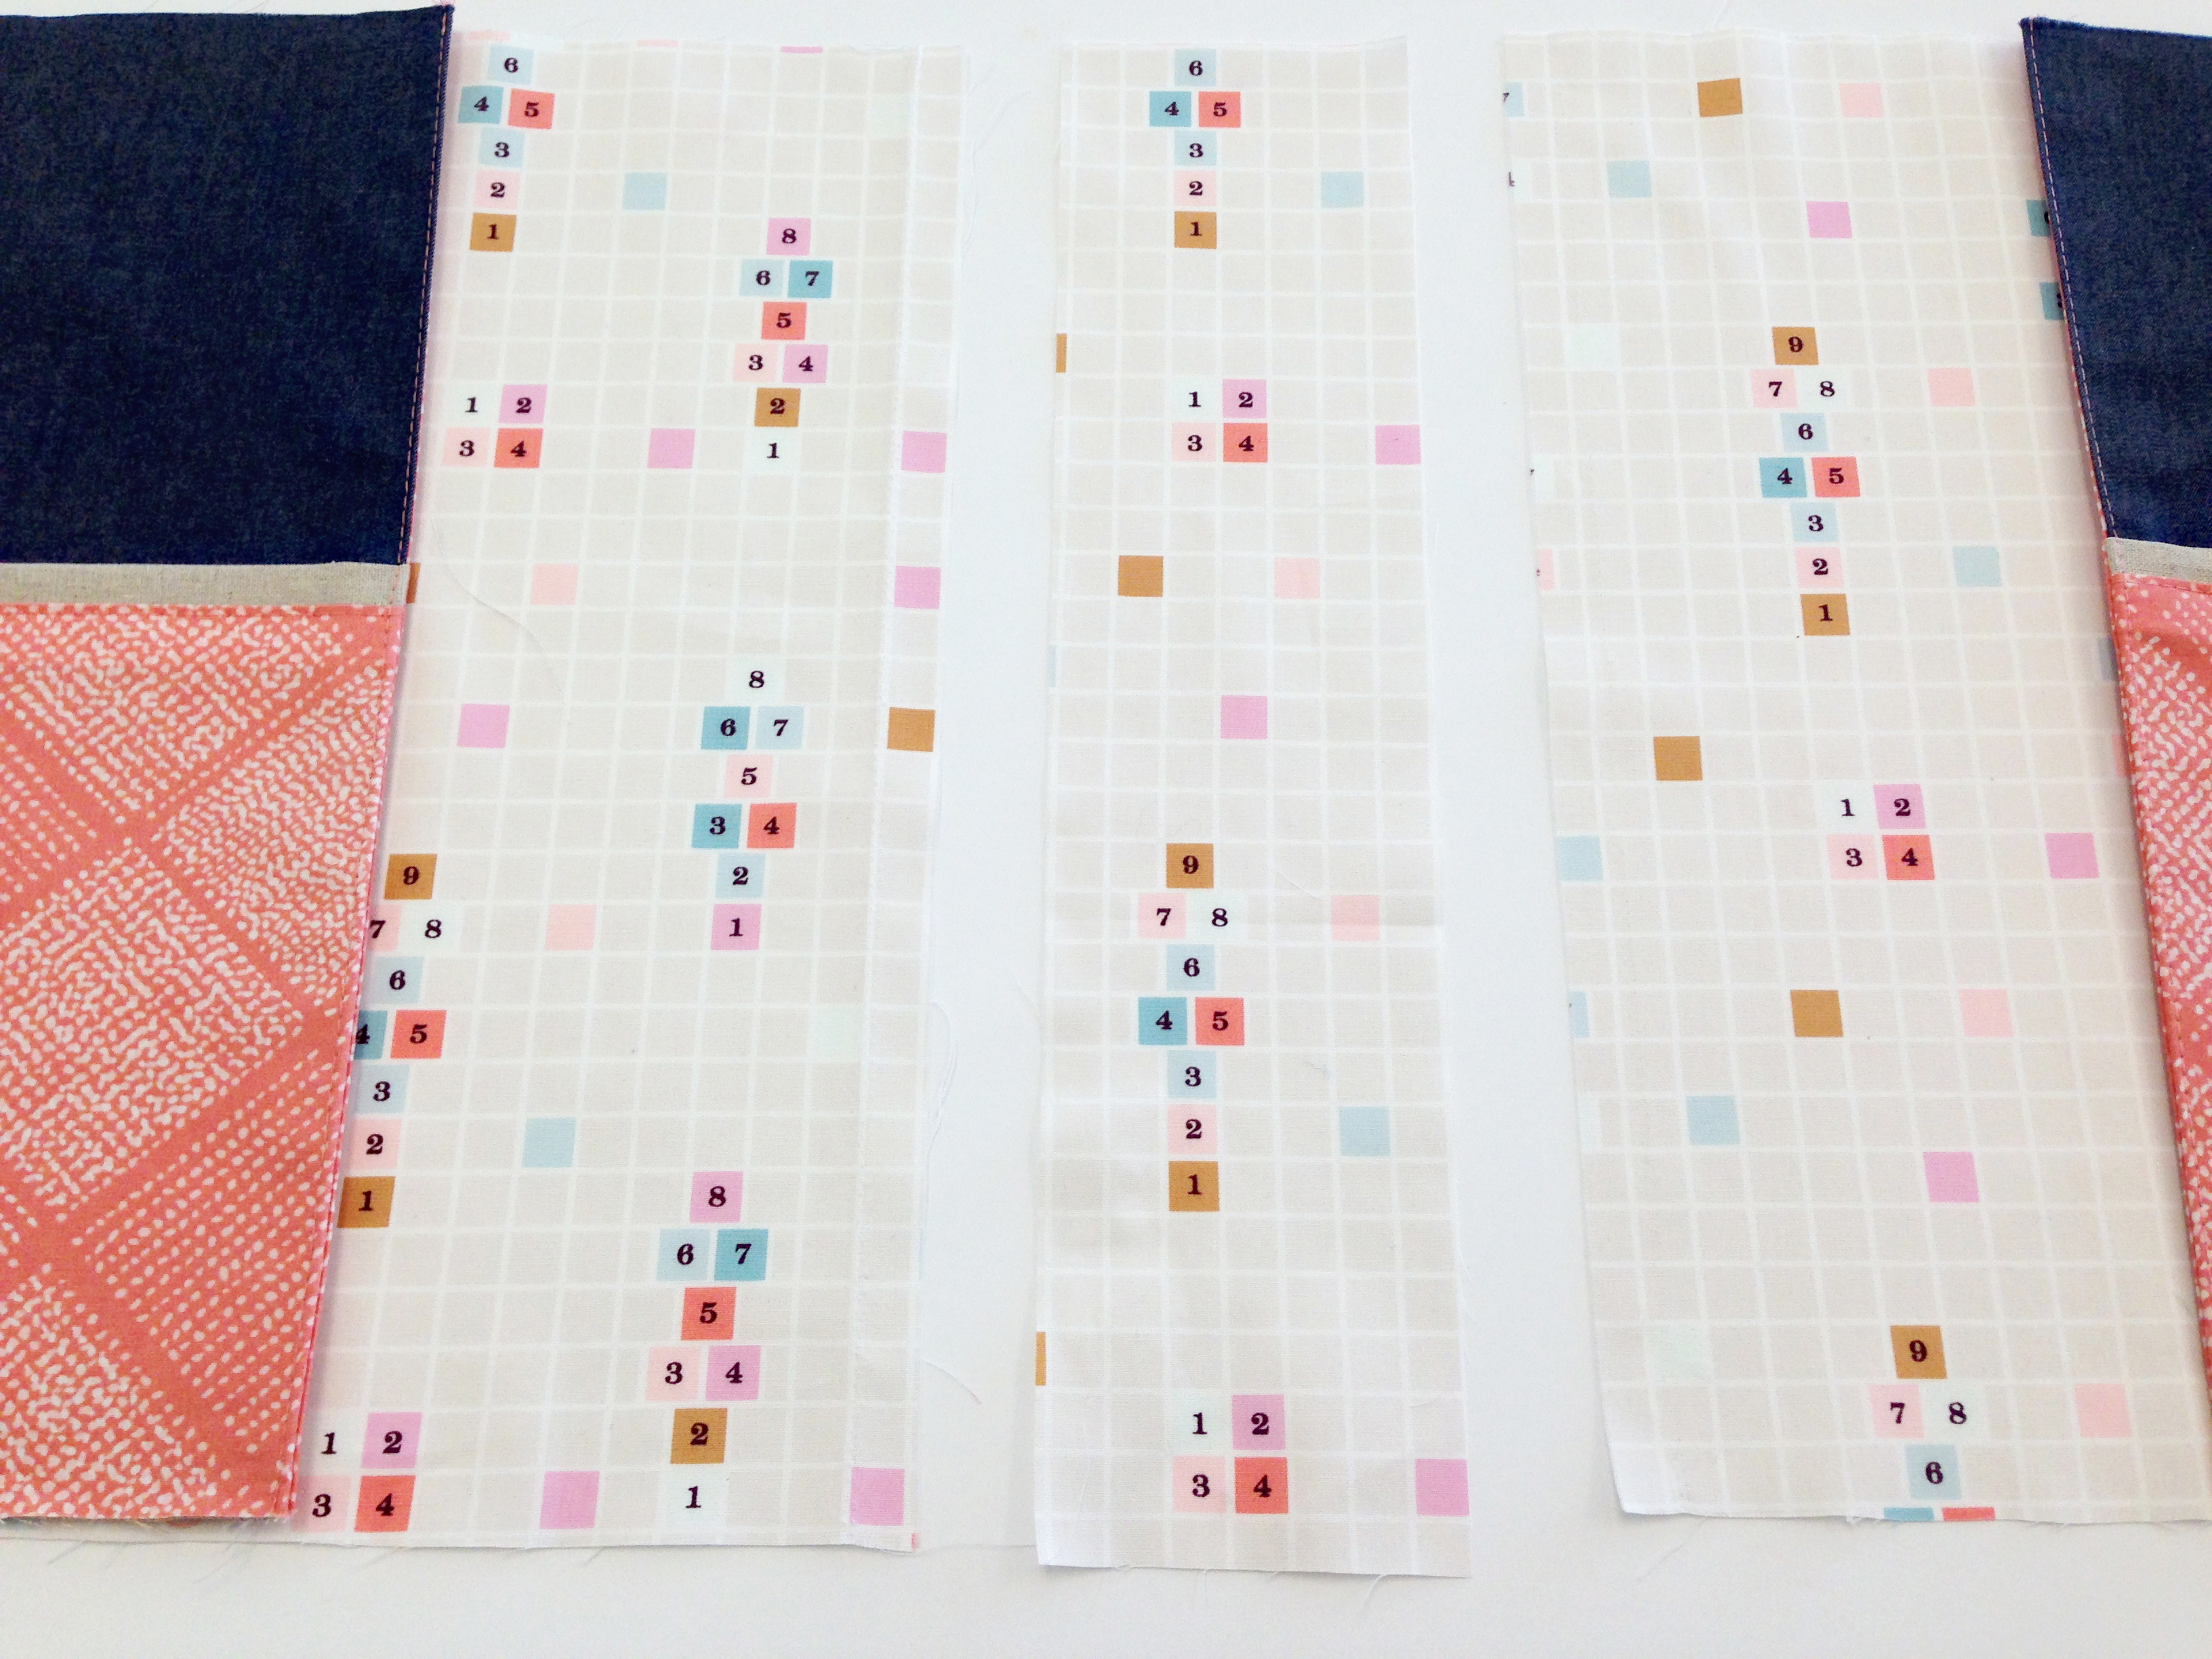
Two (2) 7 1/2″ x 13 1/4″ strips from Fabric B and C (Inside Sleeves)
One (1) 6″ x 11″ rectangle from Fabric B and D (Flap)
One (1) 3 5/8″ x 13 1/4″ strips from Fabric C and D (Front Pencil Slots)
Two (2) 8 1/4″ x 7 1/2″ rectangles from Fabric D (Inside Pockets Lining)
Two (2) 2 1/2″ x 8 1/2″ strips from Fabric D (Straps)
Once your inside pieces are sewn together you will cut your fusible fleece. (Step 1)
Other supplies used:
- Sewing machine (we use a BERNINA 350 PE)
- Reverse pattern foot #1/#1C/#1D
- Blindstitch foot #5
- Zipper foot #4
- 9″ Zipper
- Fusible Fleece
- Woven Interfacing
- Two Metal Snaps (size 5/8″)
- Aurifil Thread #2435 – Peachy Pink
- Aurifil Thread #2021 – Natural White
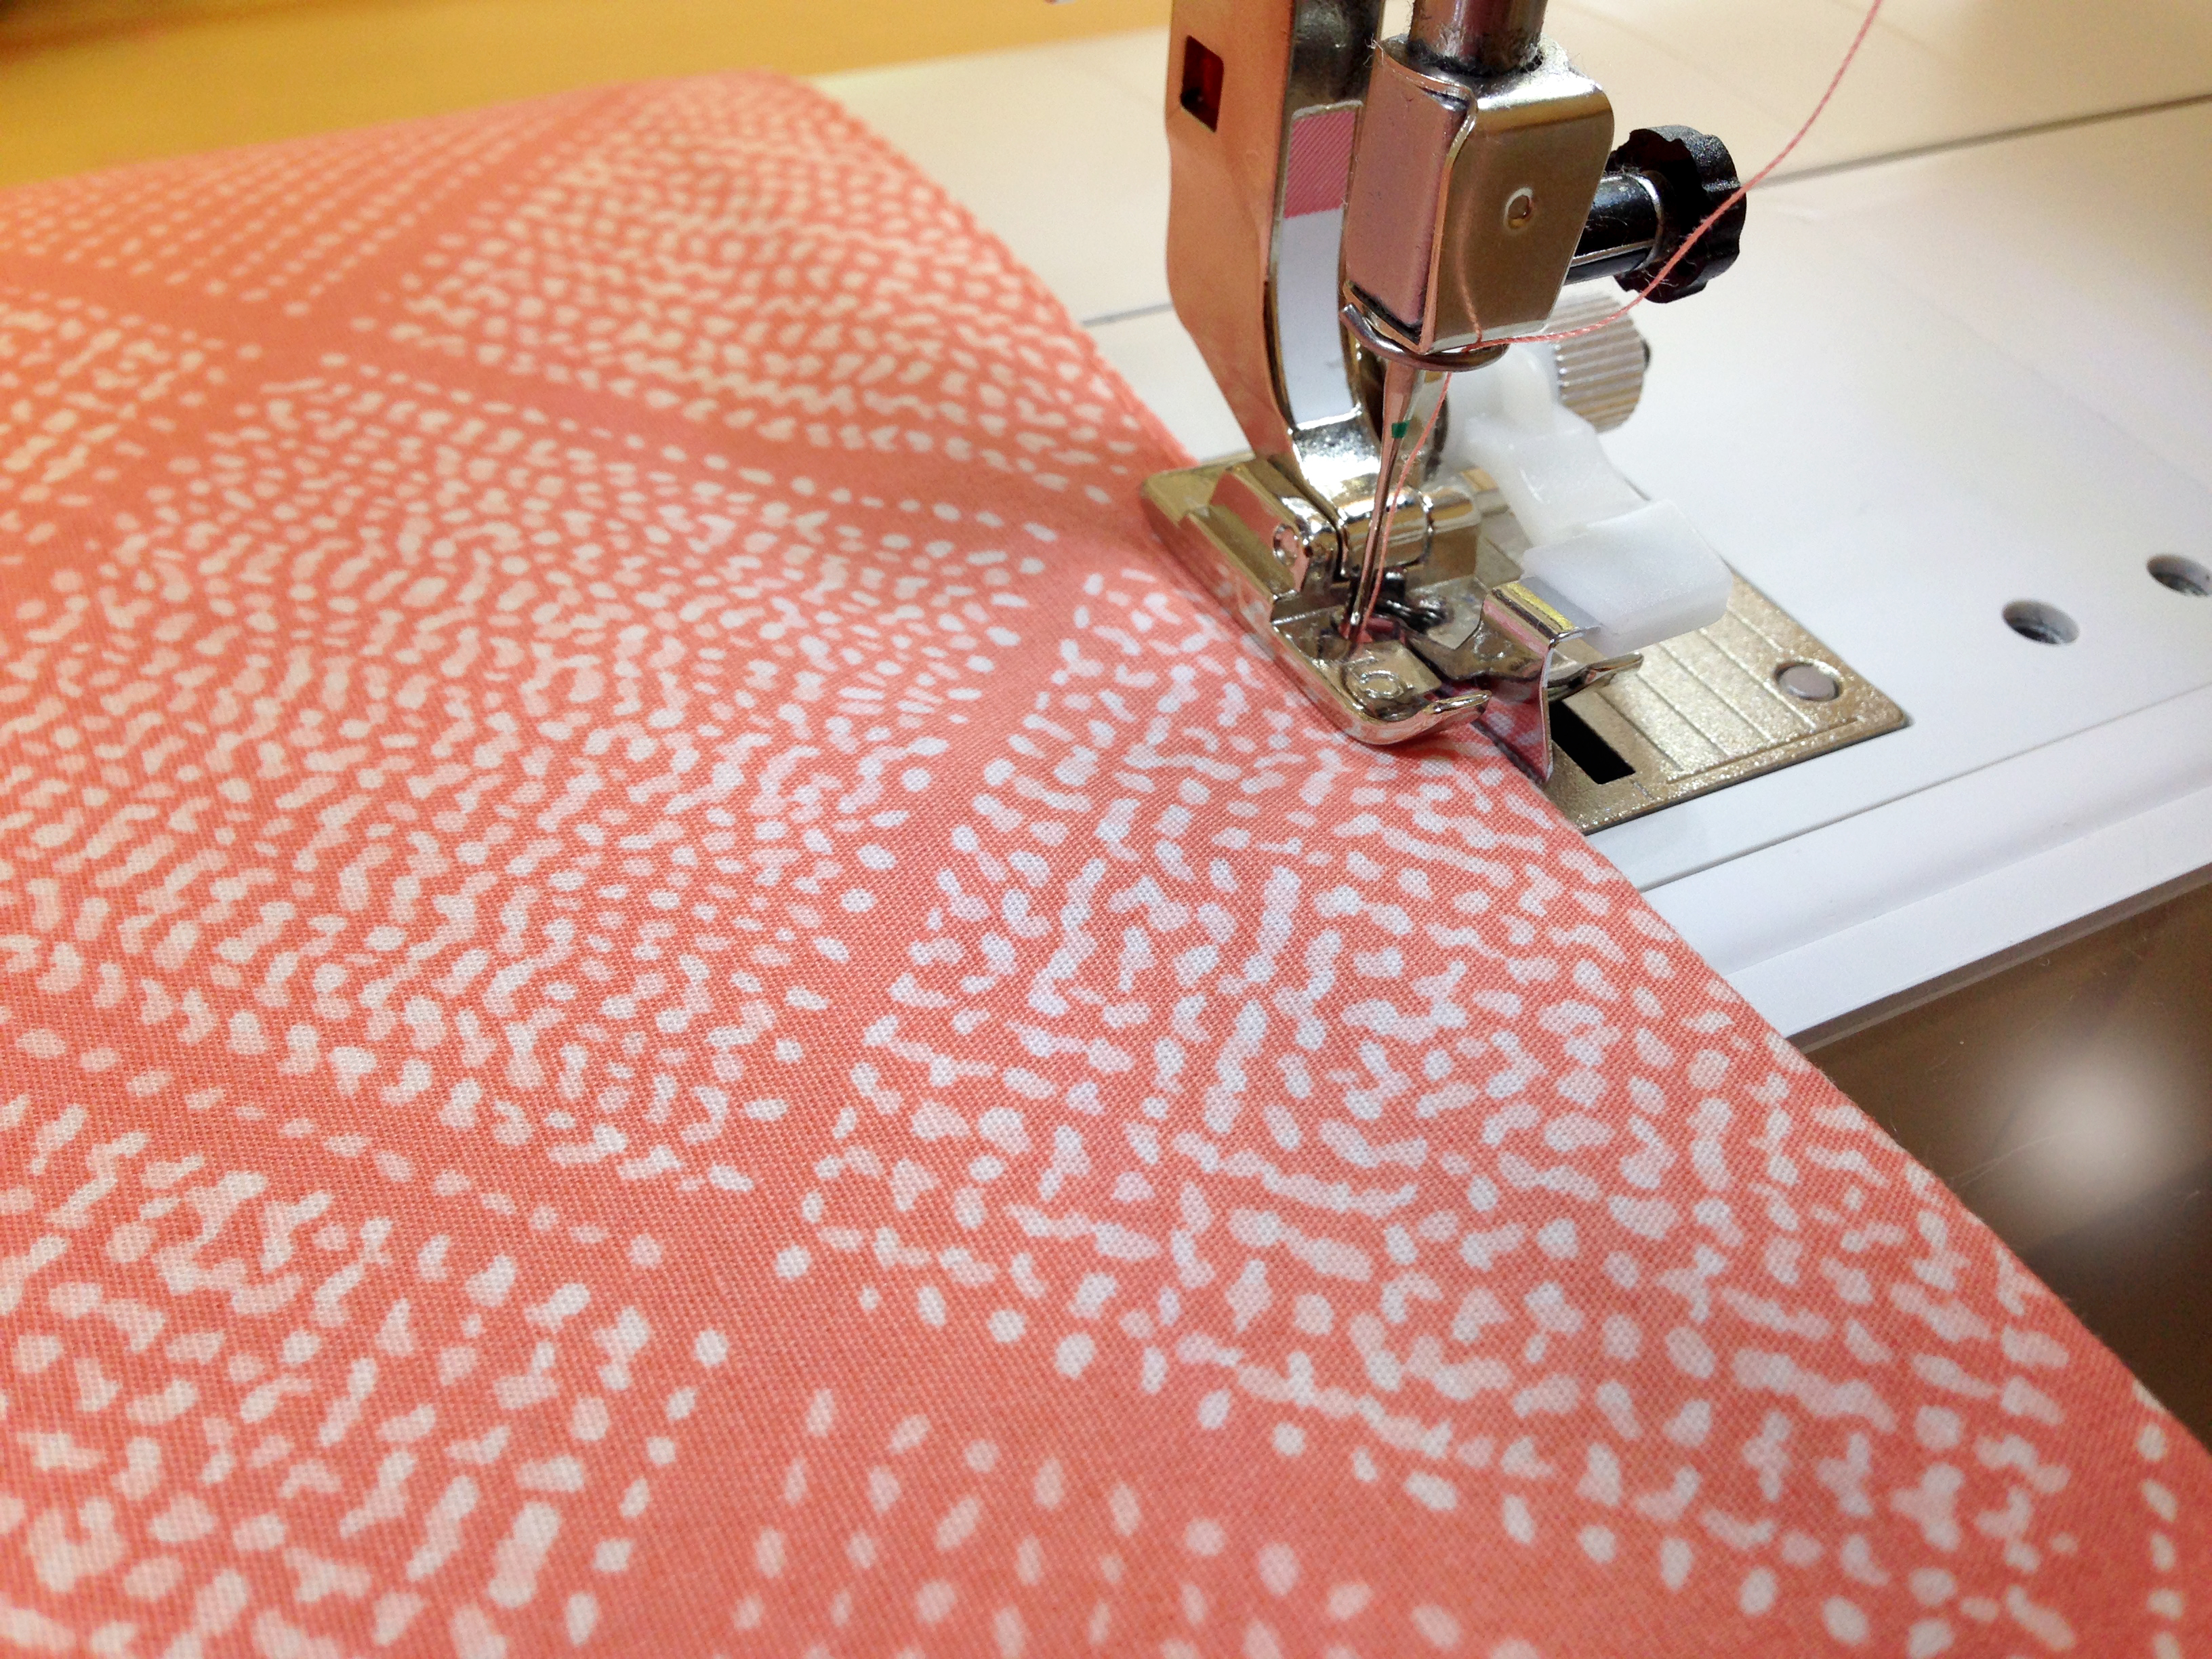
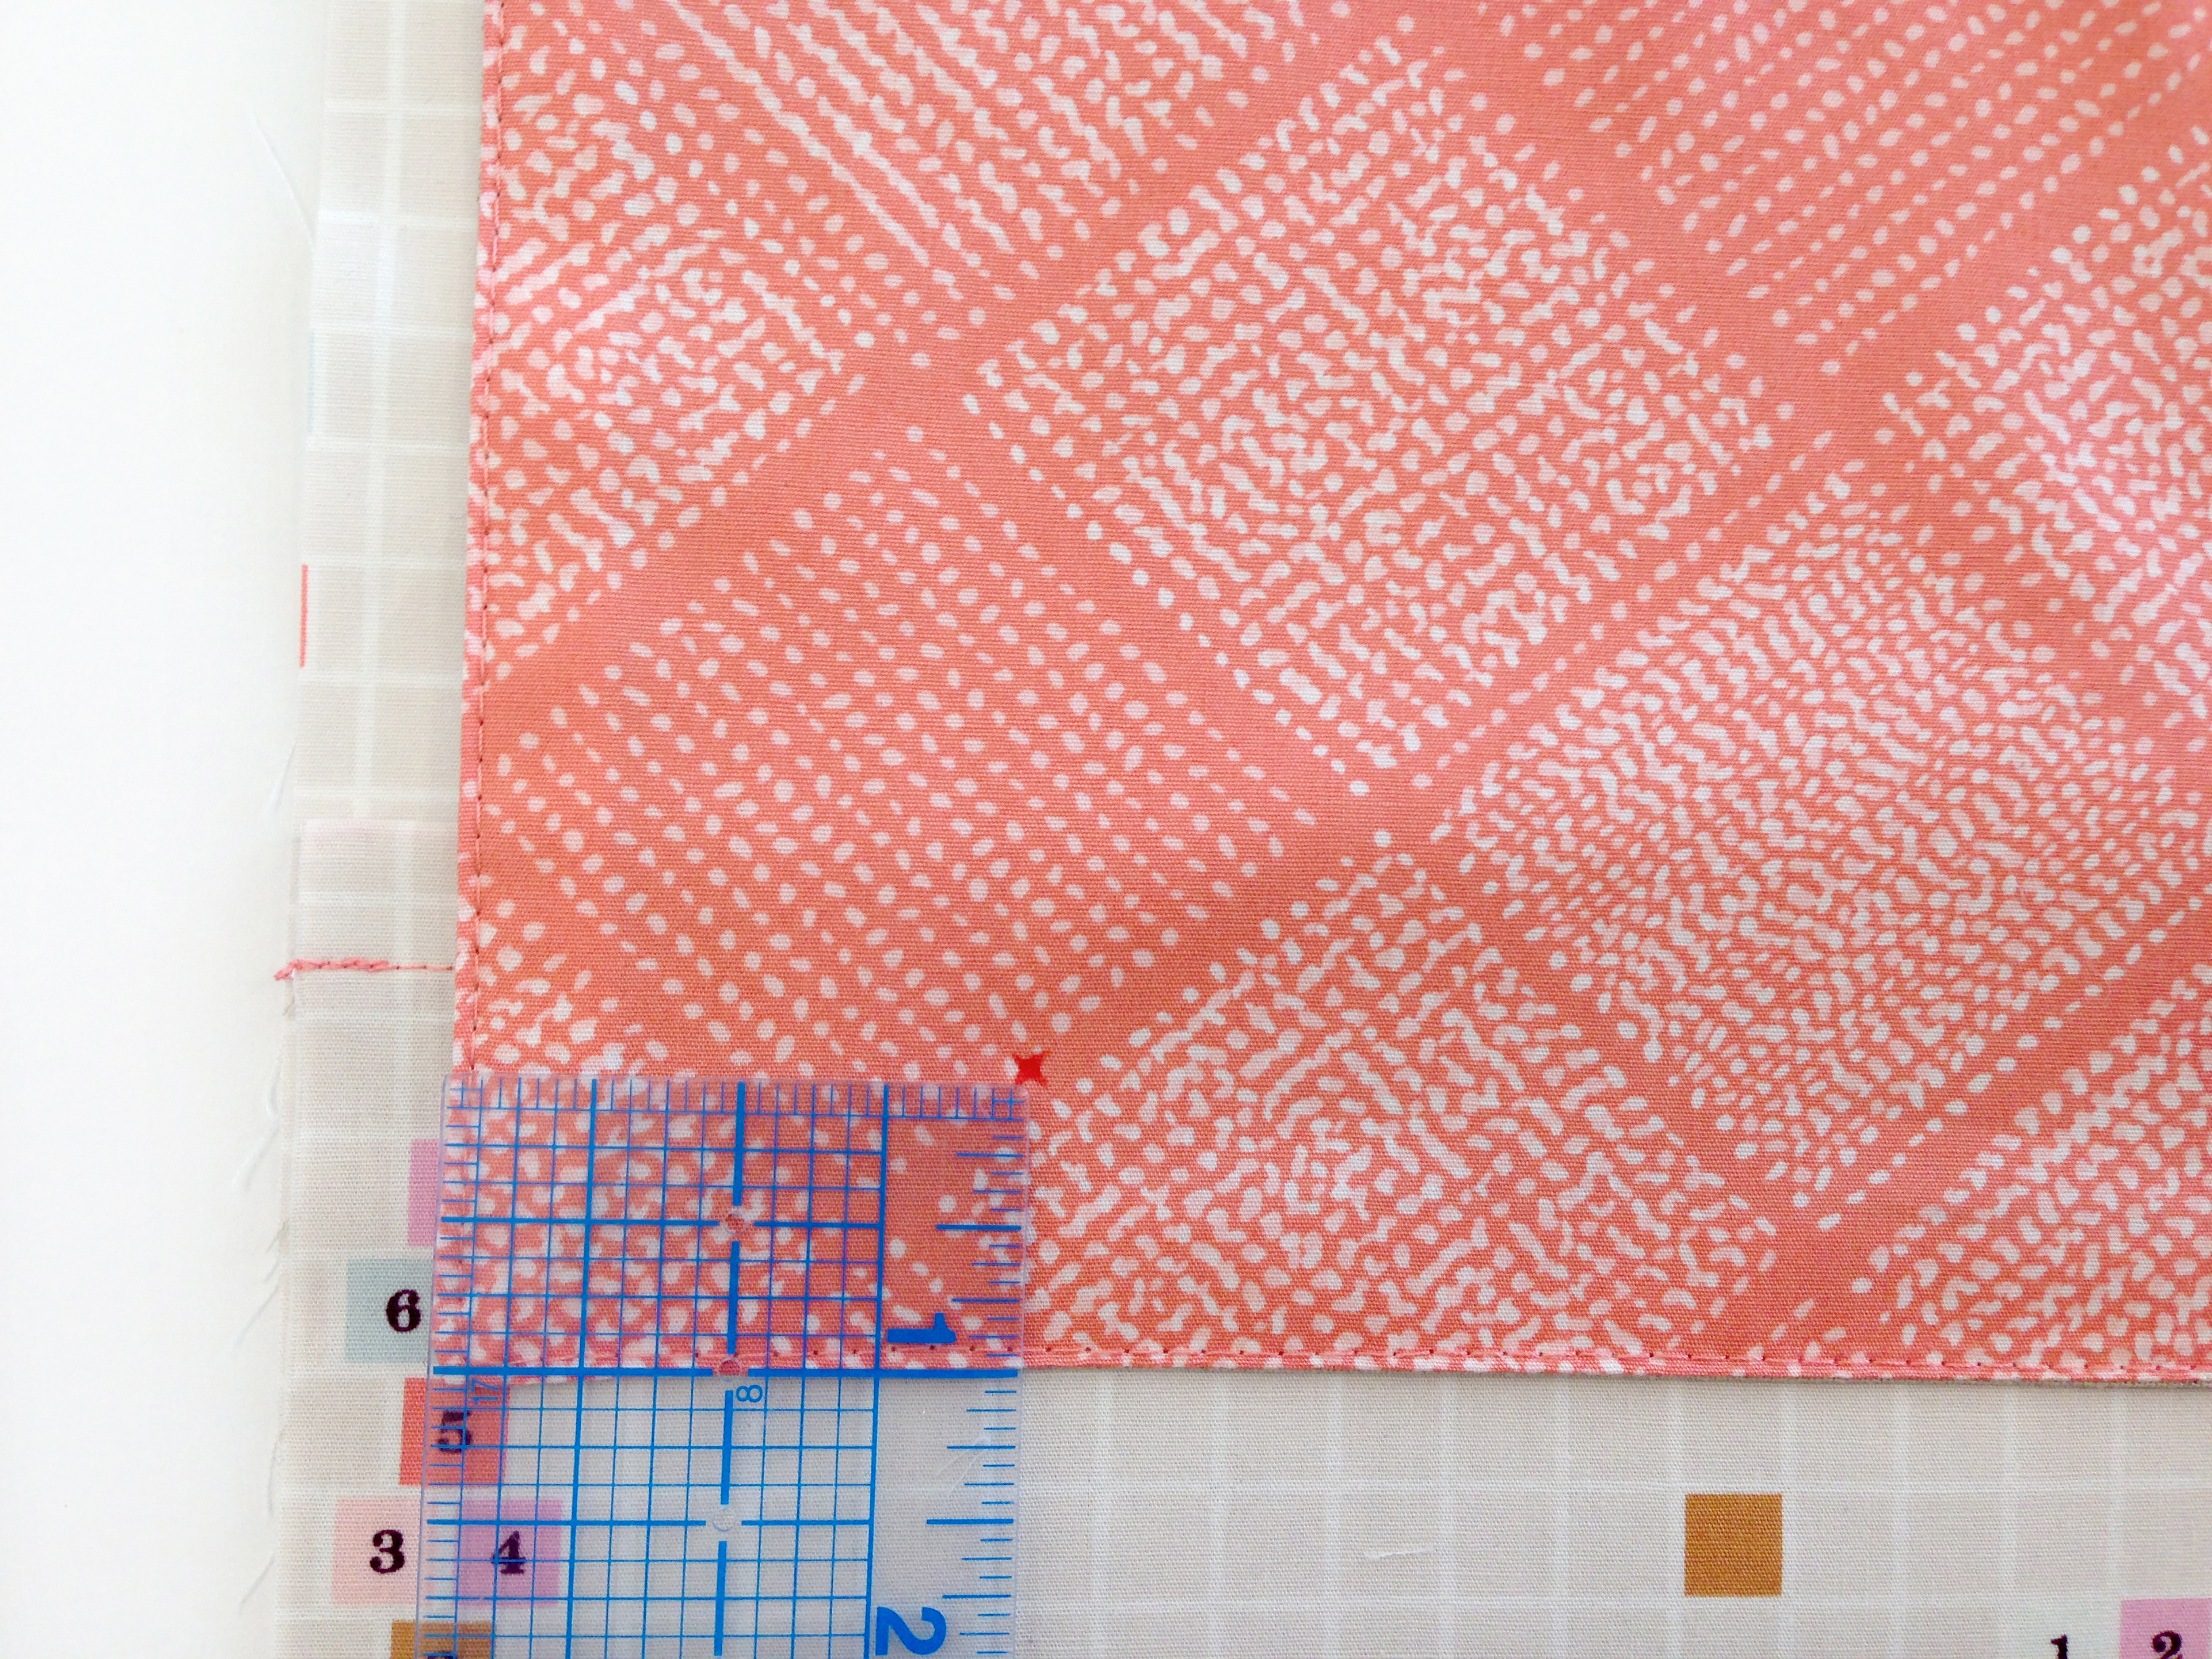
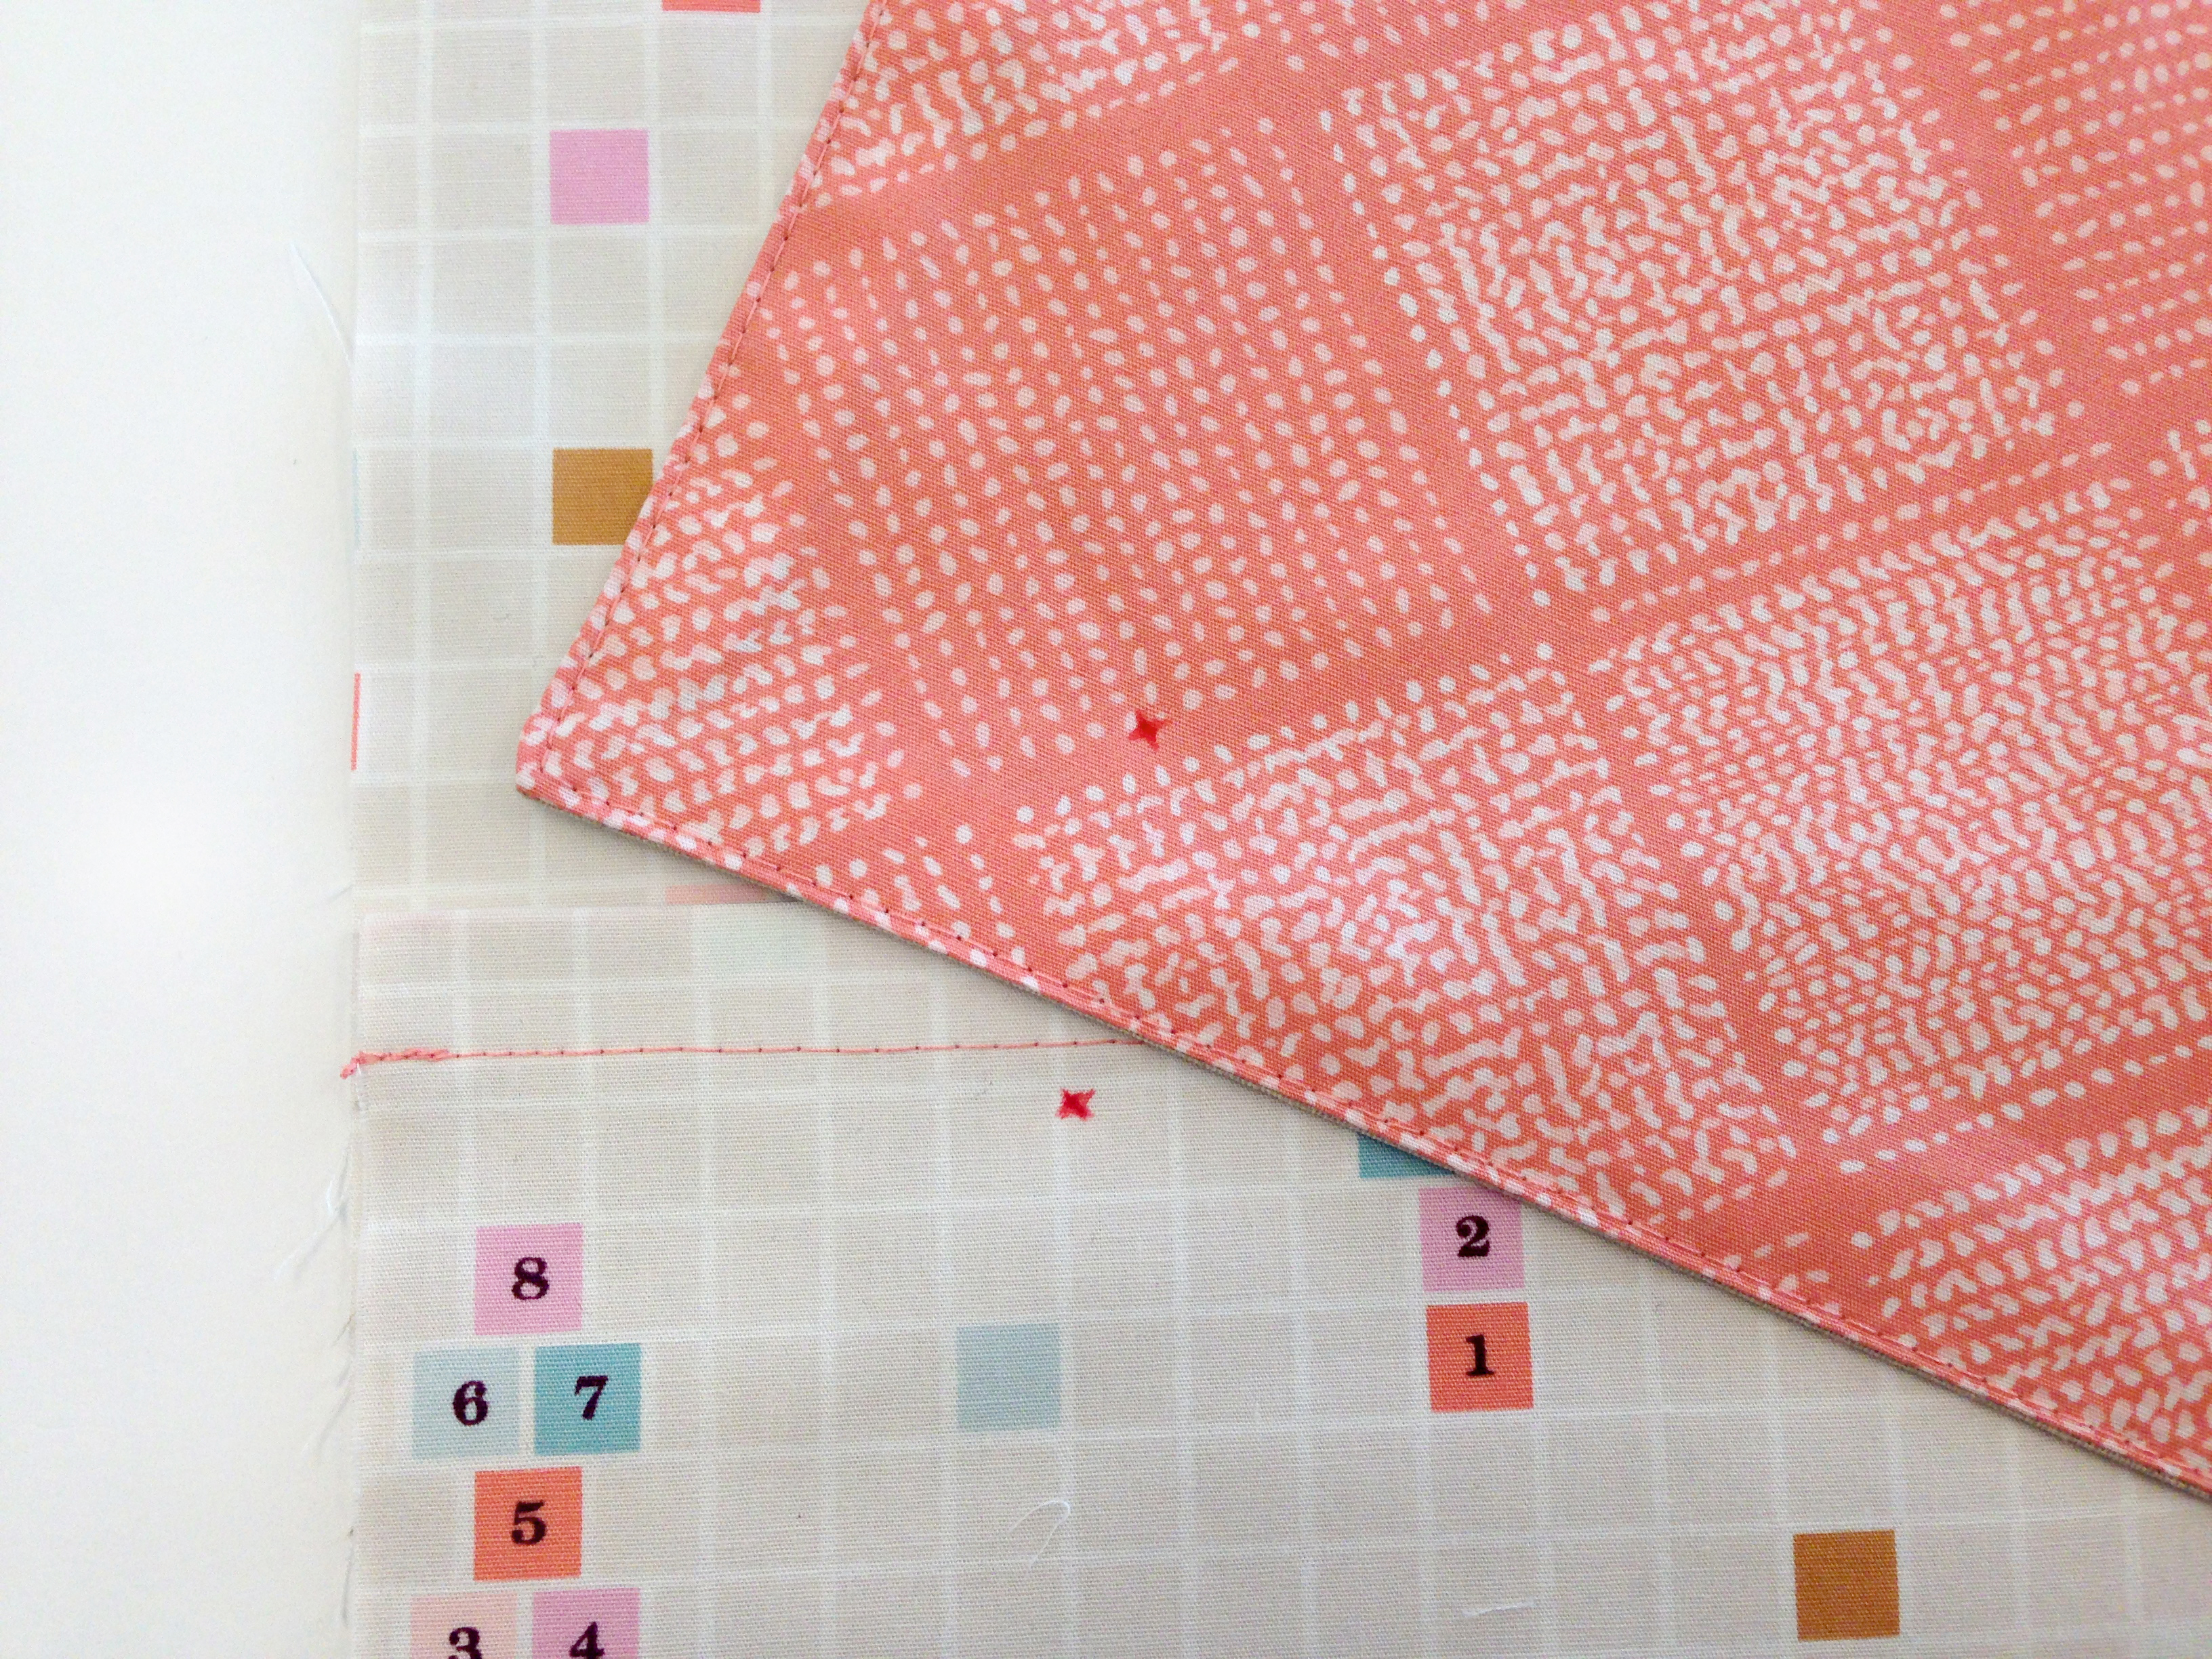
Sew all pieces at 1/2″ seam allowance unless noted otherwise.
Step 1: Creating the Inside Binder Cover
Take one 7 1/2″ square from Fabric A and one 8 1/4″ x 7 1/2″ rectangle from Fabric D and sew together right sides together. Flip fabric wrong sides together and press. This will create a faux binding on the top of your pocket. Create the other pocket in the same way.

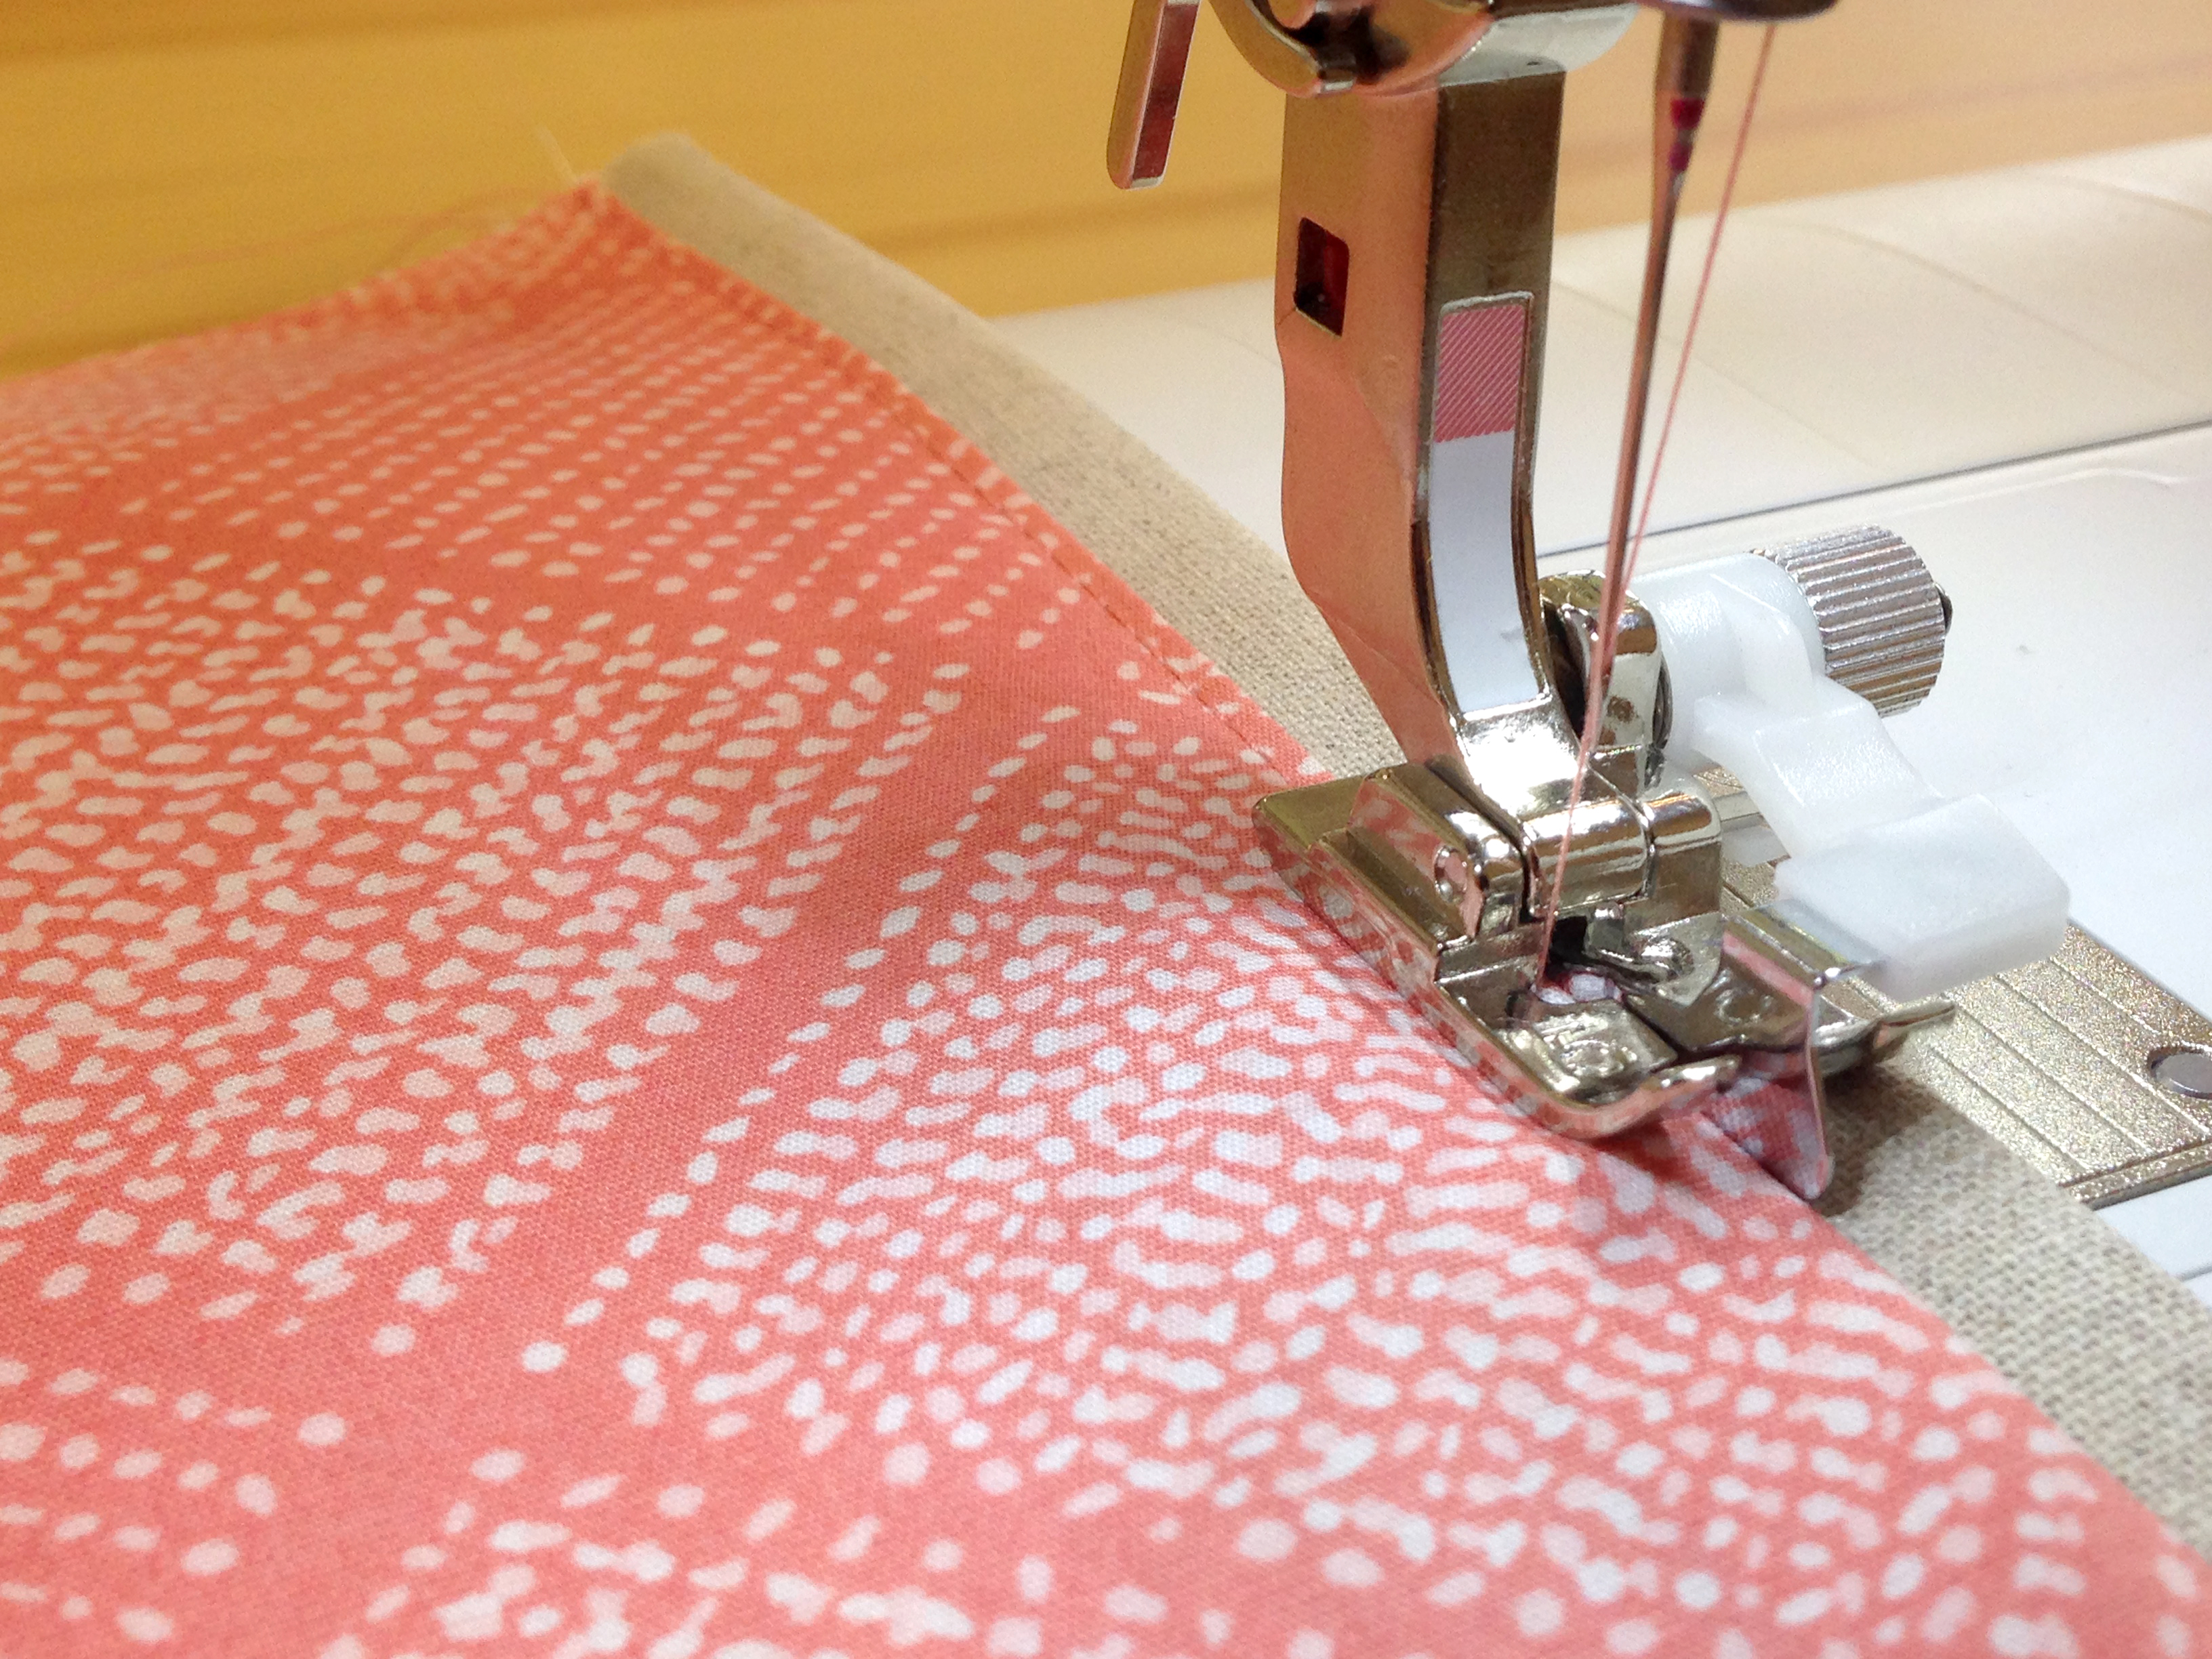
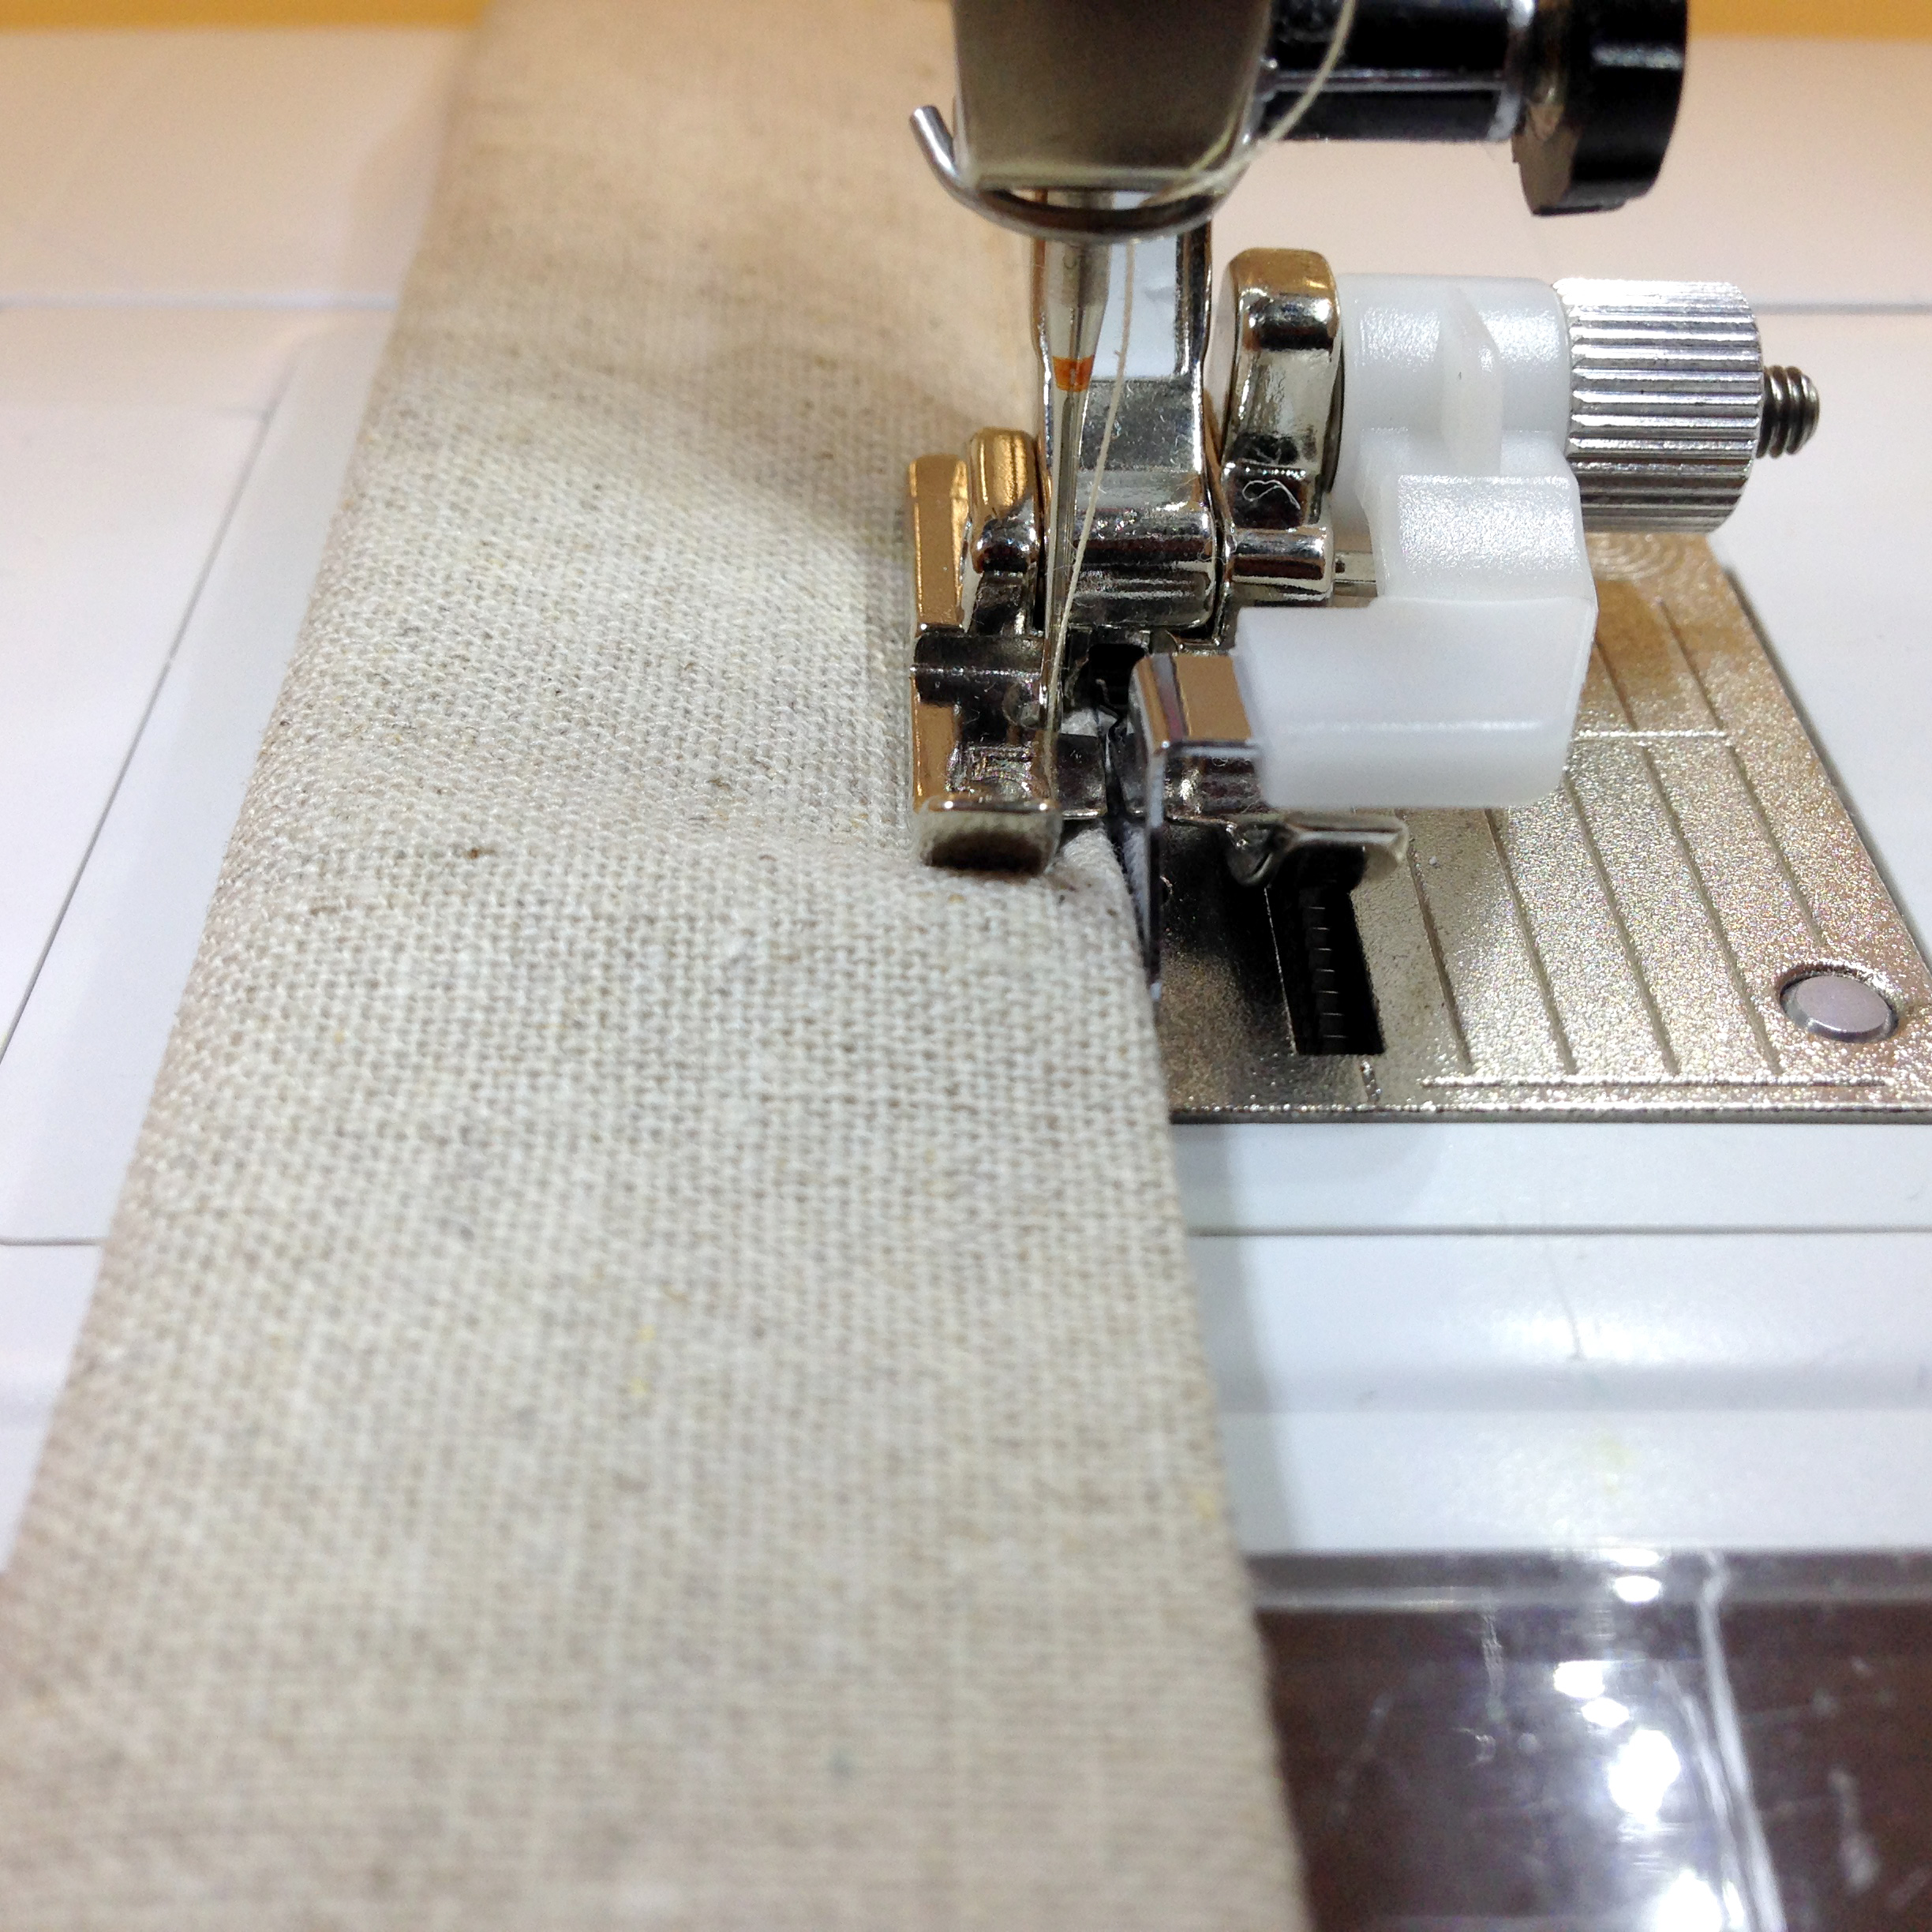
Topstitch the seam using the Blindstitch foot #5 by moving the needle position all the way to the left. Follow the edge of the seam with the metal guide on your foot.
Place both pockets on top of one 7 1/2″ x 13 1/4″ strip from Fabric C and stitch on each side of your pocket at 1/4″ to secure to strip.
Next sew pieces to a 7 1/2″ x 13 1 /4″ strip from Fabric B. Press and topstitch as close to the edge as possible using the metal guide on the Blindstitch foot #5.
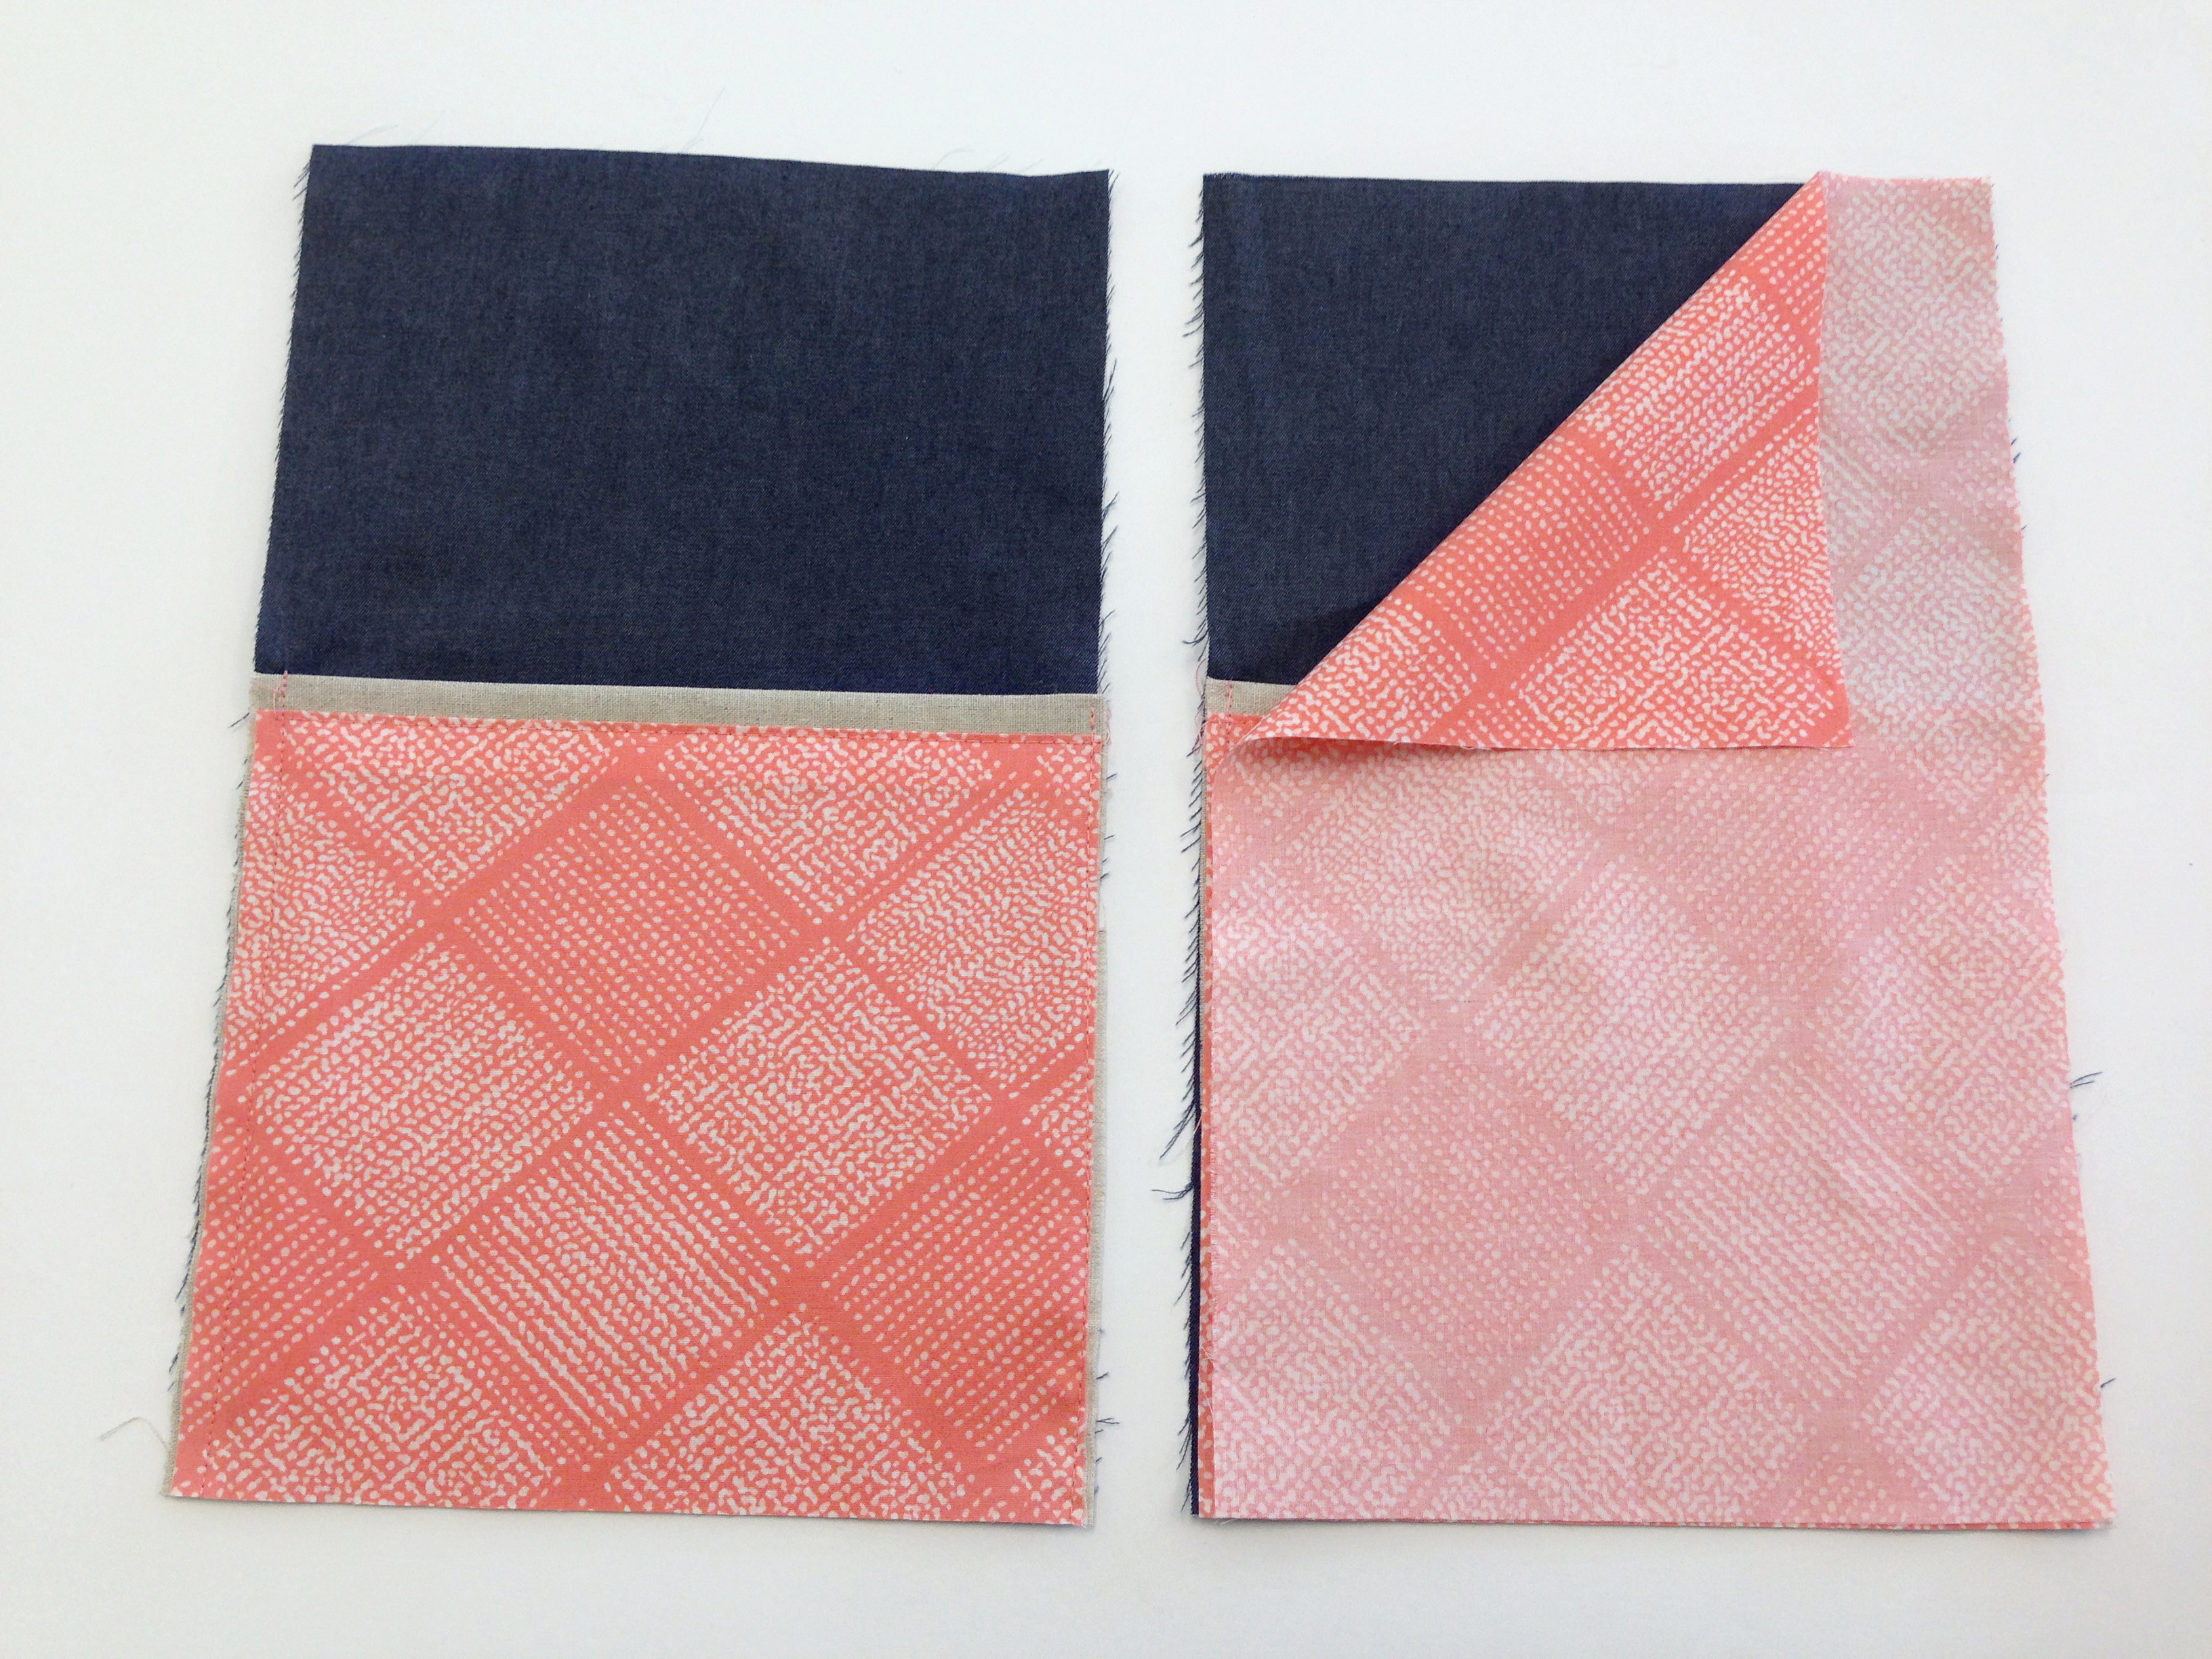


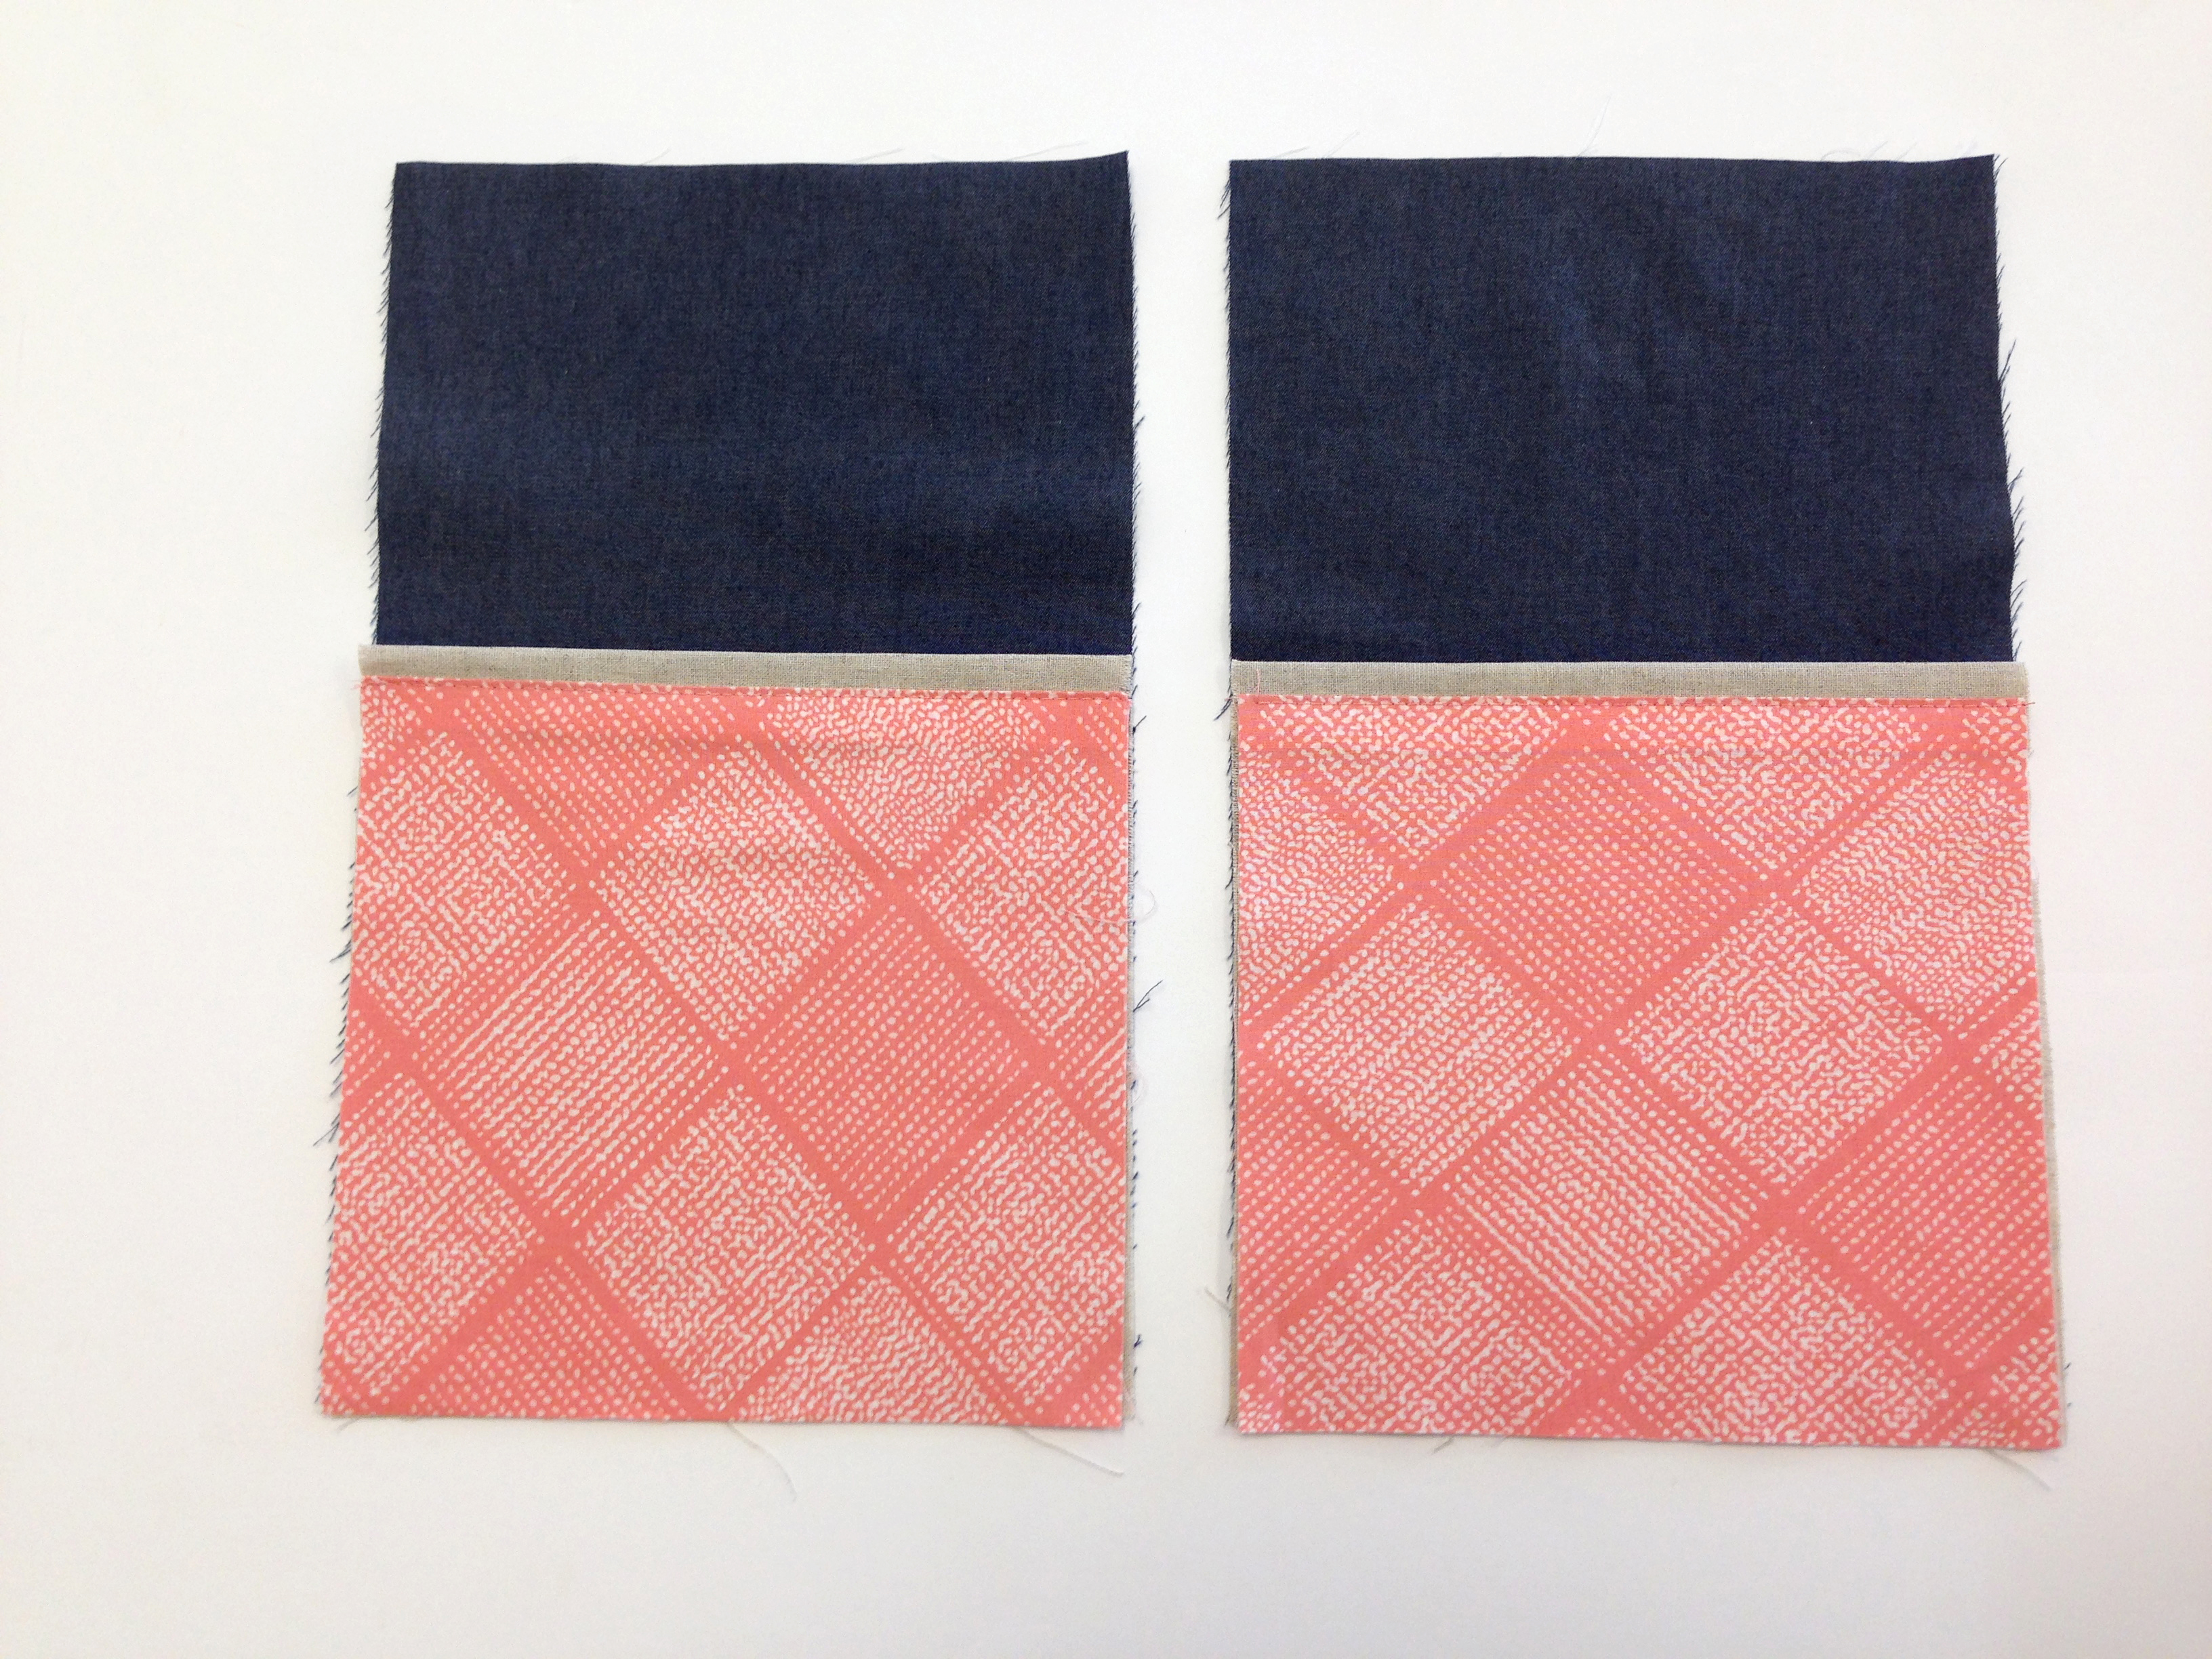
Place the sleeves you just created on top of a 11 1/4″ x 13 1/4″ rectangle from Fabric A. Secure sides of pieces together at 1 /4″.
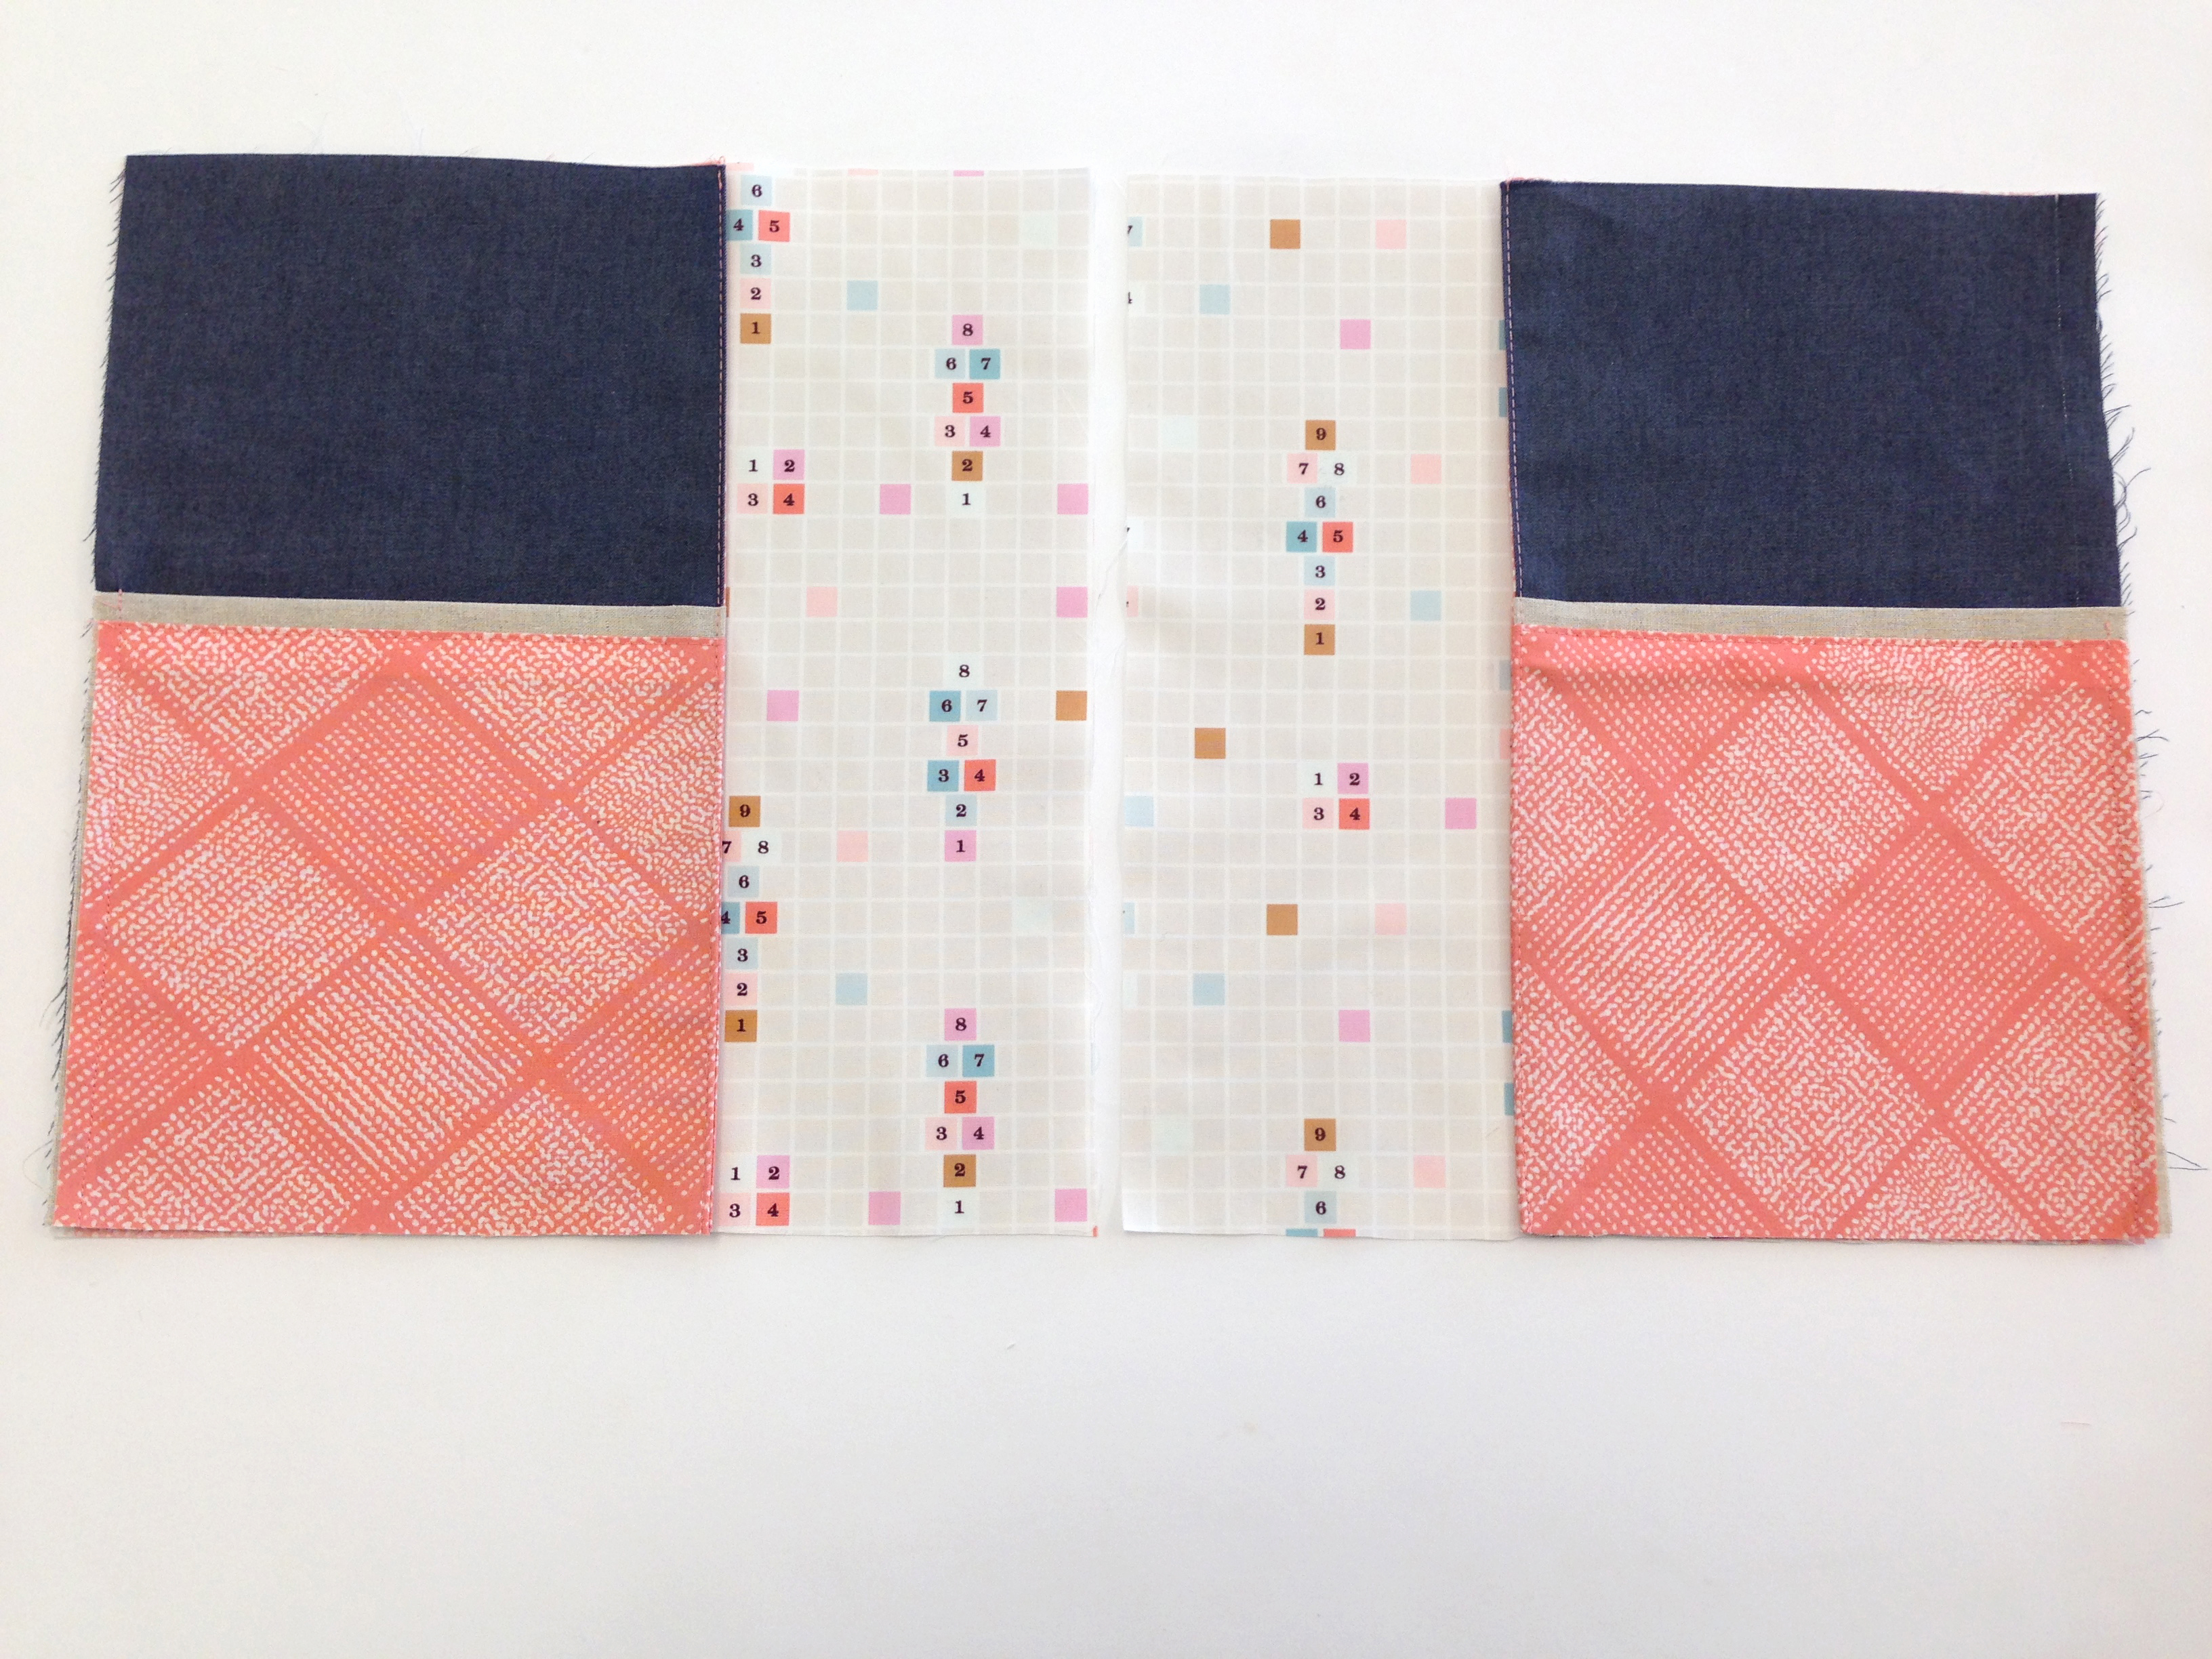
Sew both of your inside pieces to a 2 1/2″ x 13 1/4″ strip from Fabric A.
Use your inside piece as a template to cut out a piece of fusible fleece and fuse to the wrong side. Topstitch each seam using your Blindstitch foot.

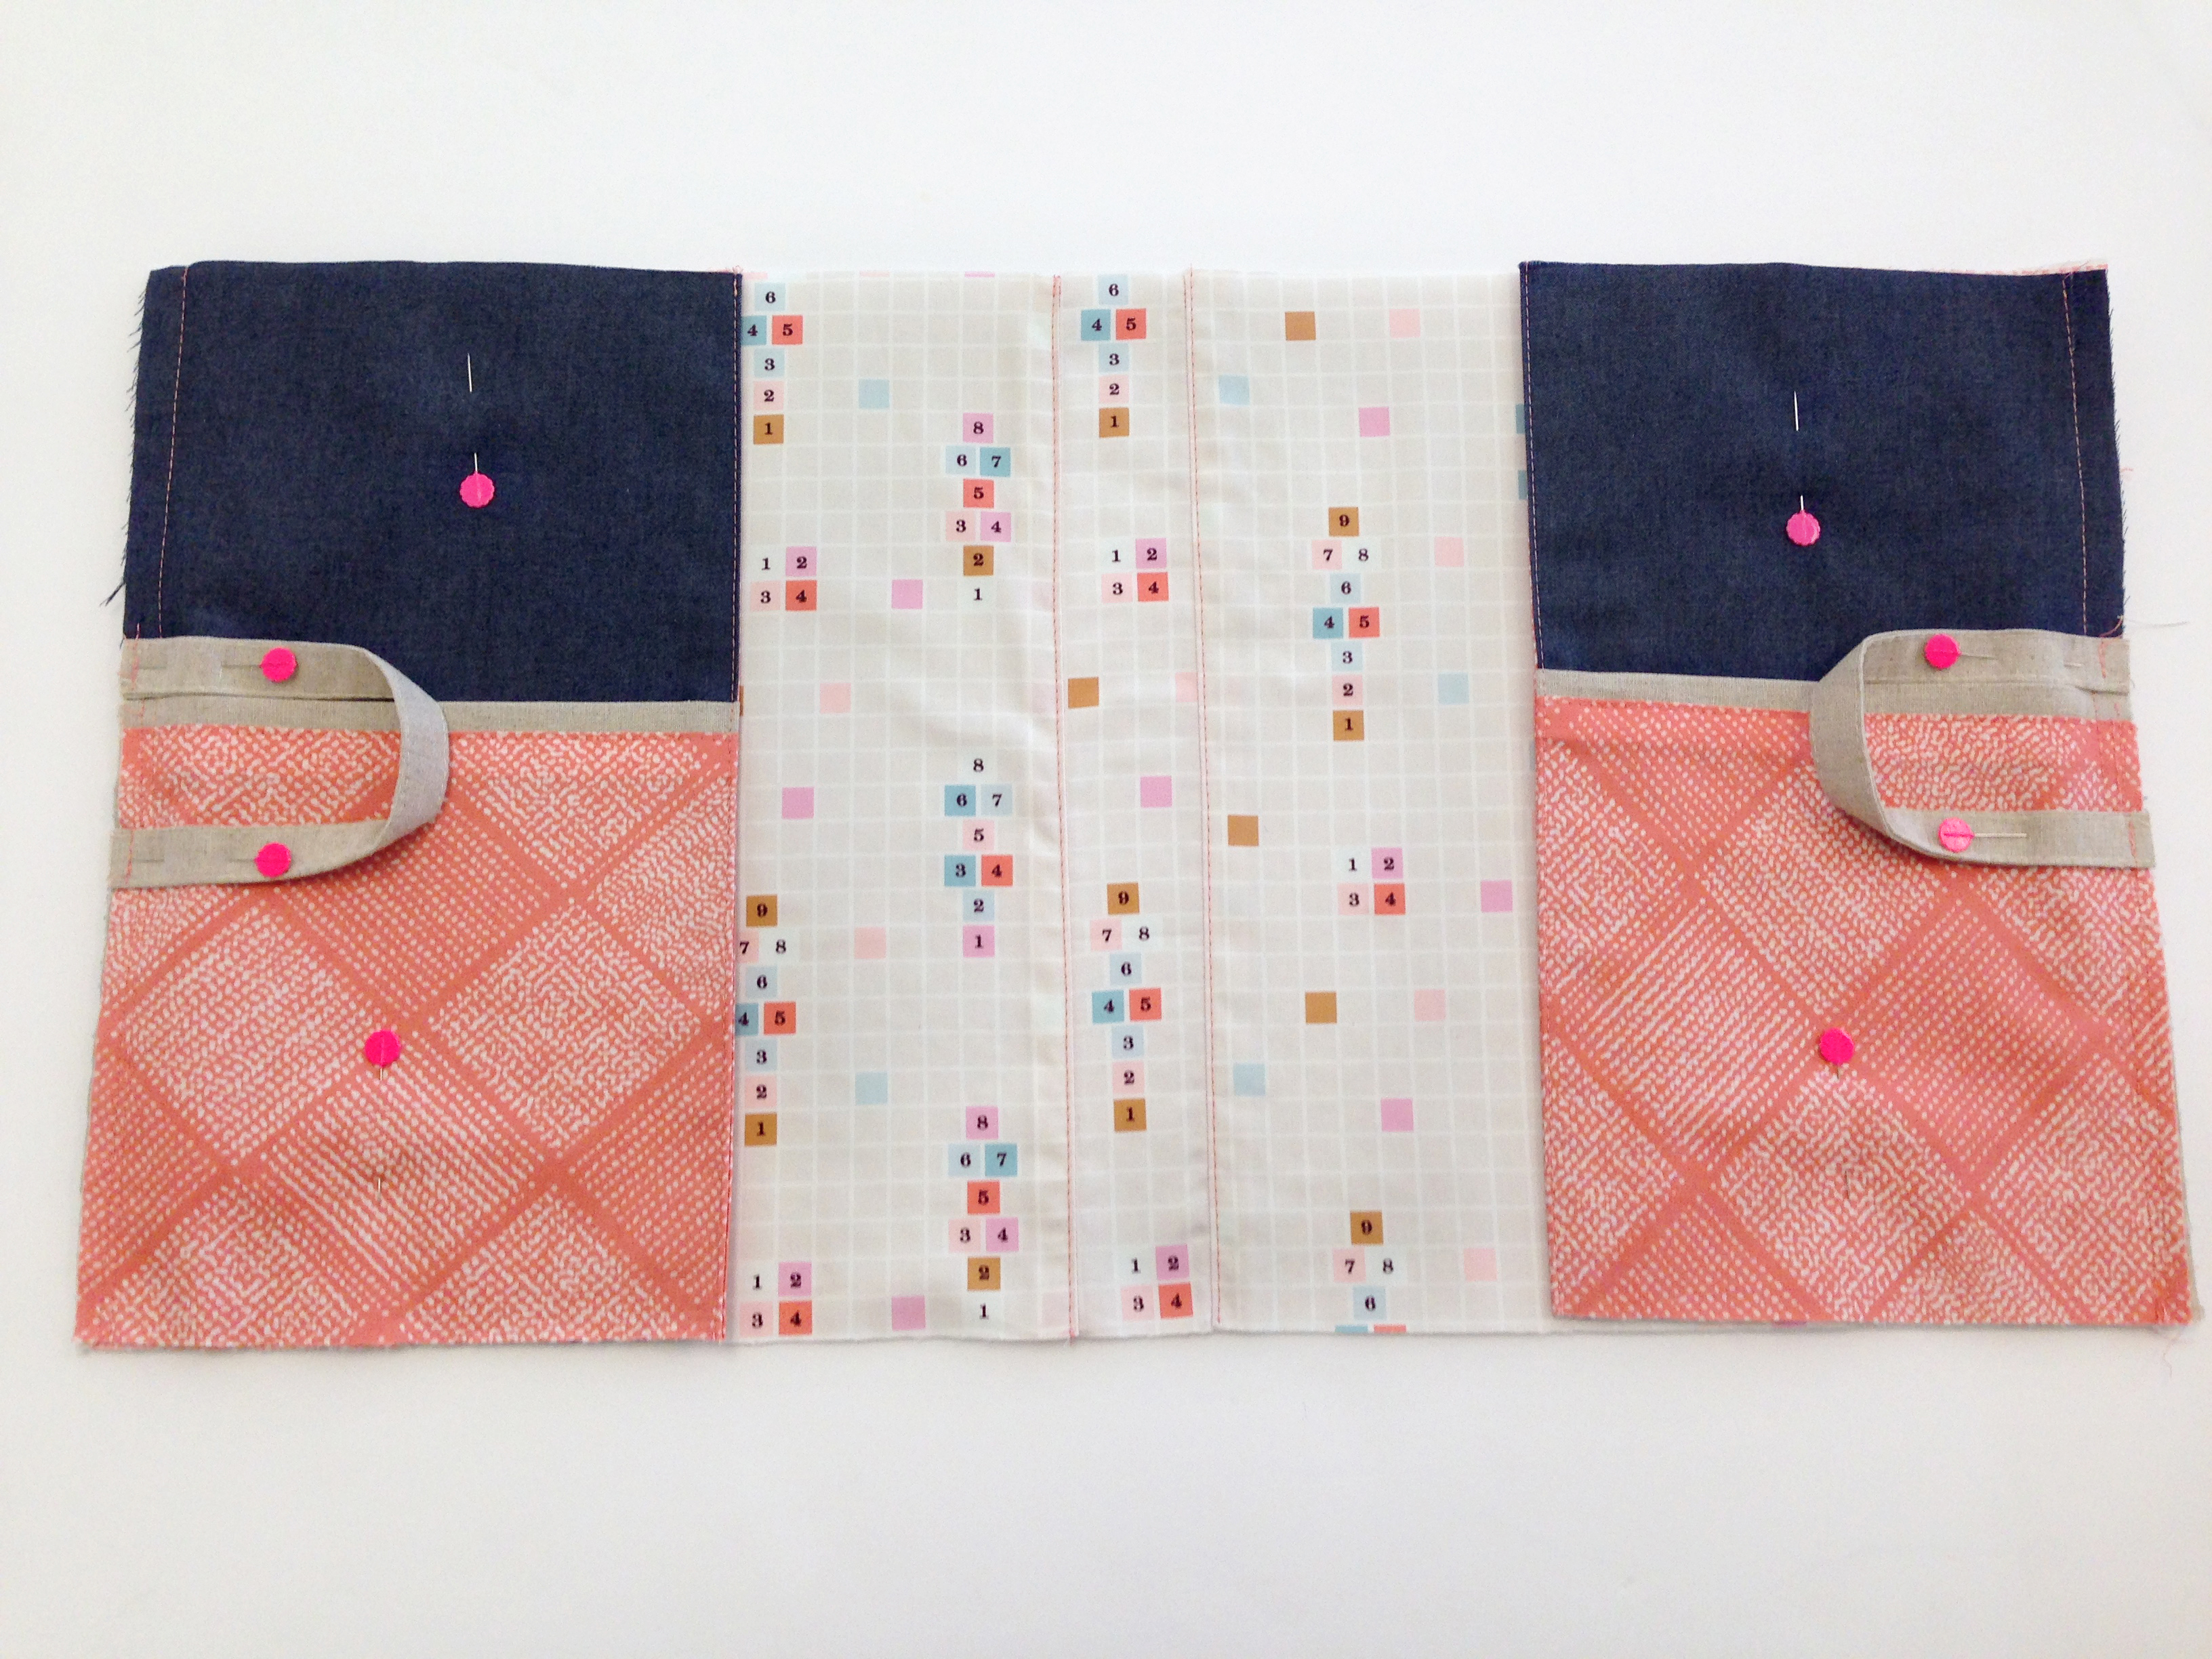
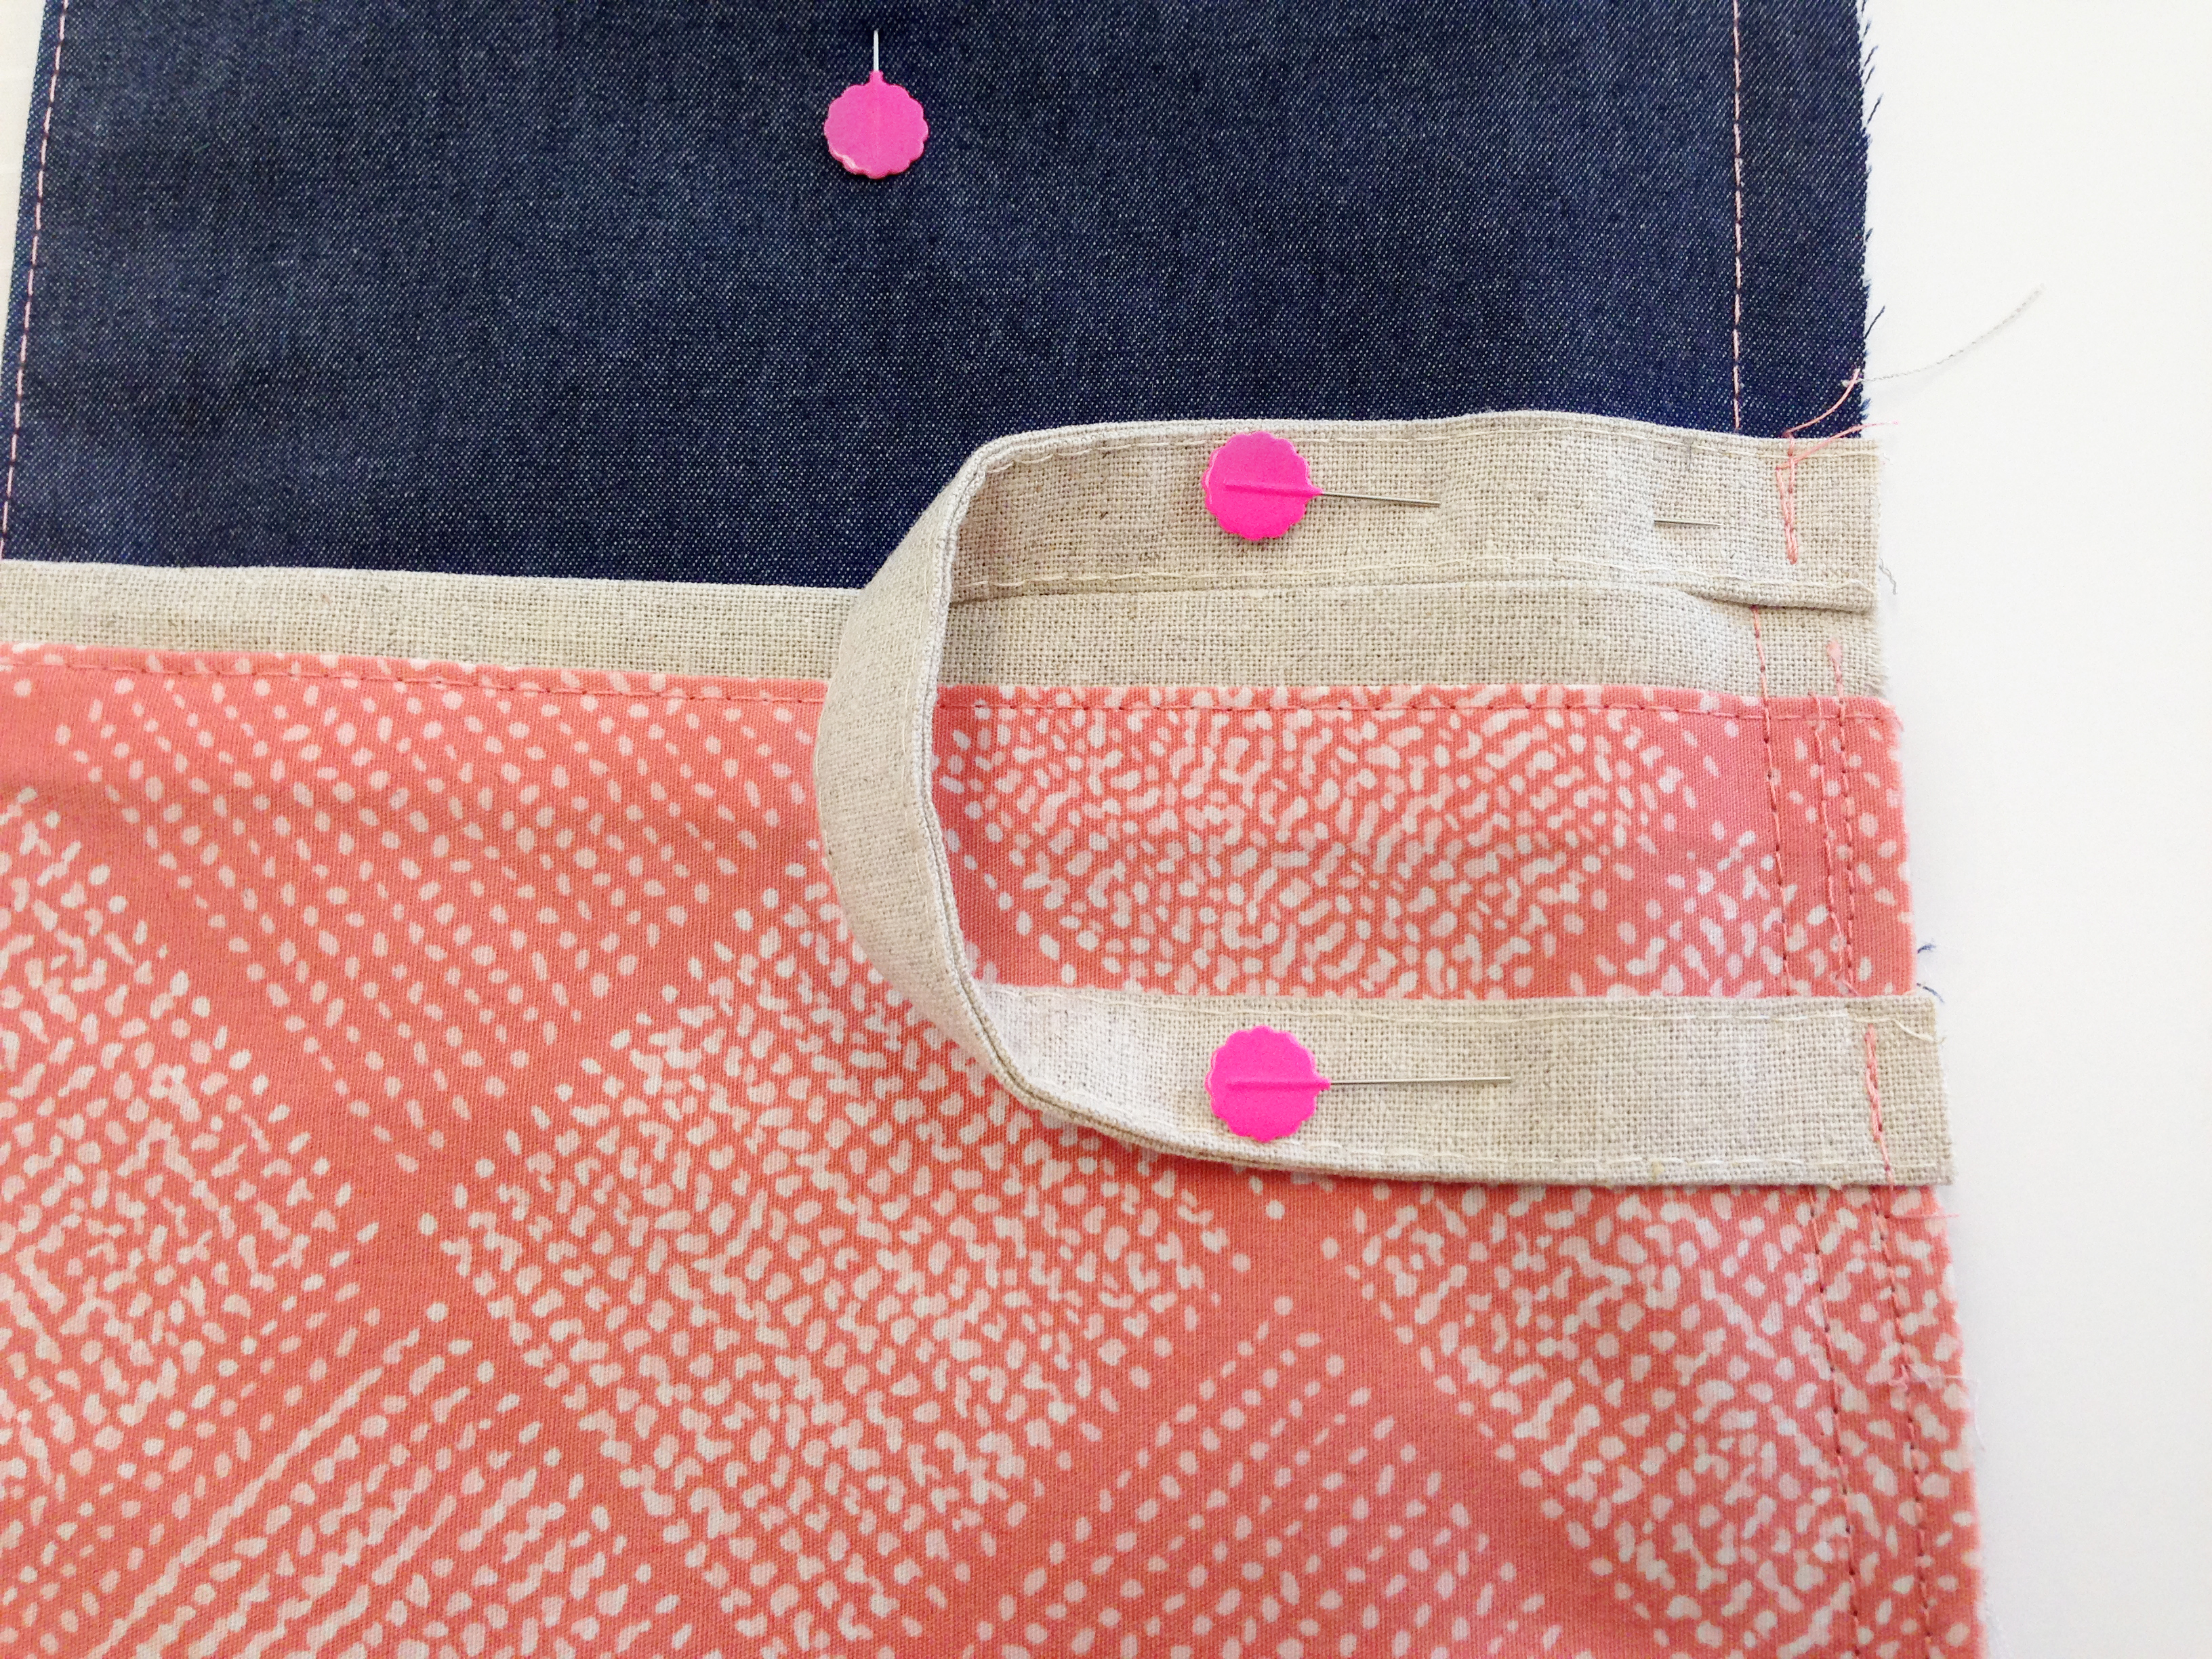
To create the straps take a 2 1/2″ x 8 1/2″ strip and fold sides into the middle of your strap then fold in half and press. Topstitch on each side of your strap.
I used the Blindstitch foot #5 to get as close to the sides of the strap while helping you to keep your stitching nice and straight using the guide on the foot. Click here to learn how to make straps using the double fold method.
Take end of strap and place right above your pocket. Take the other end and place 1 1/2″ down and pin in place. Sew ends of strap into place.
Step 2: Creating the Front Binder Cover
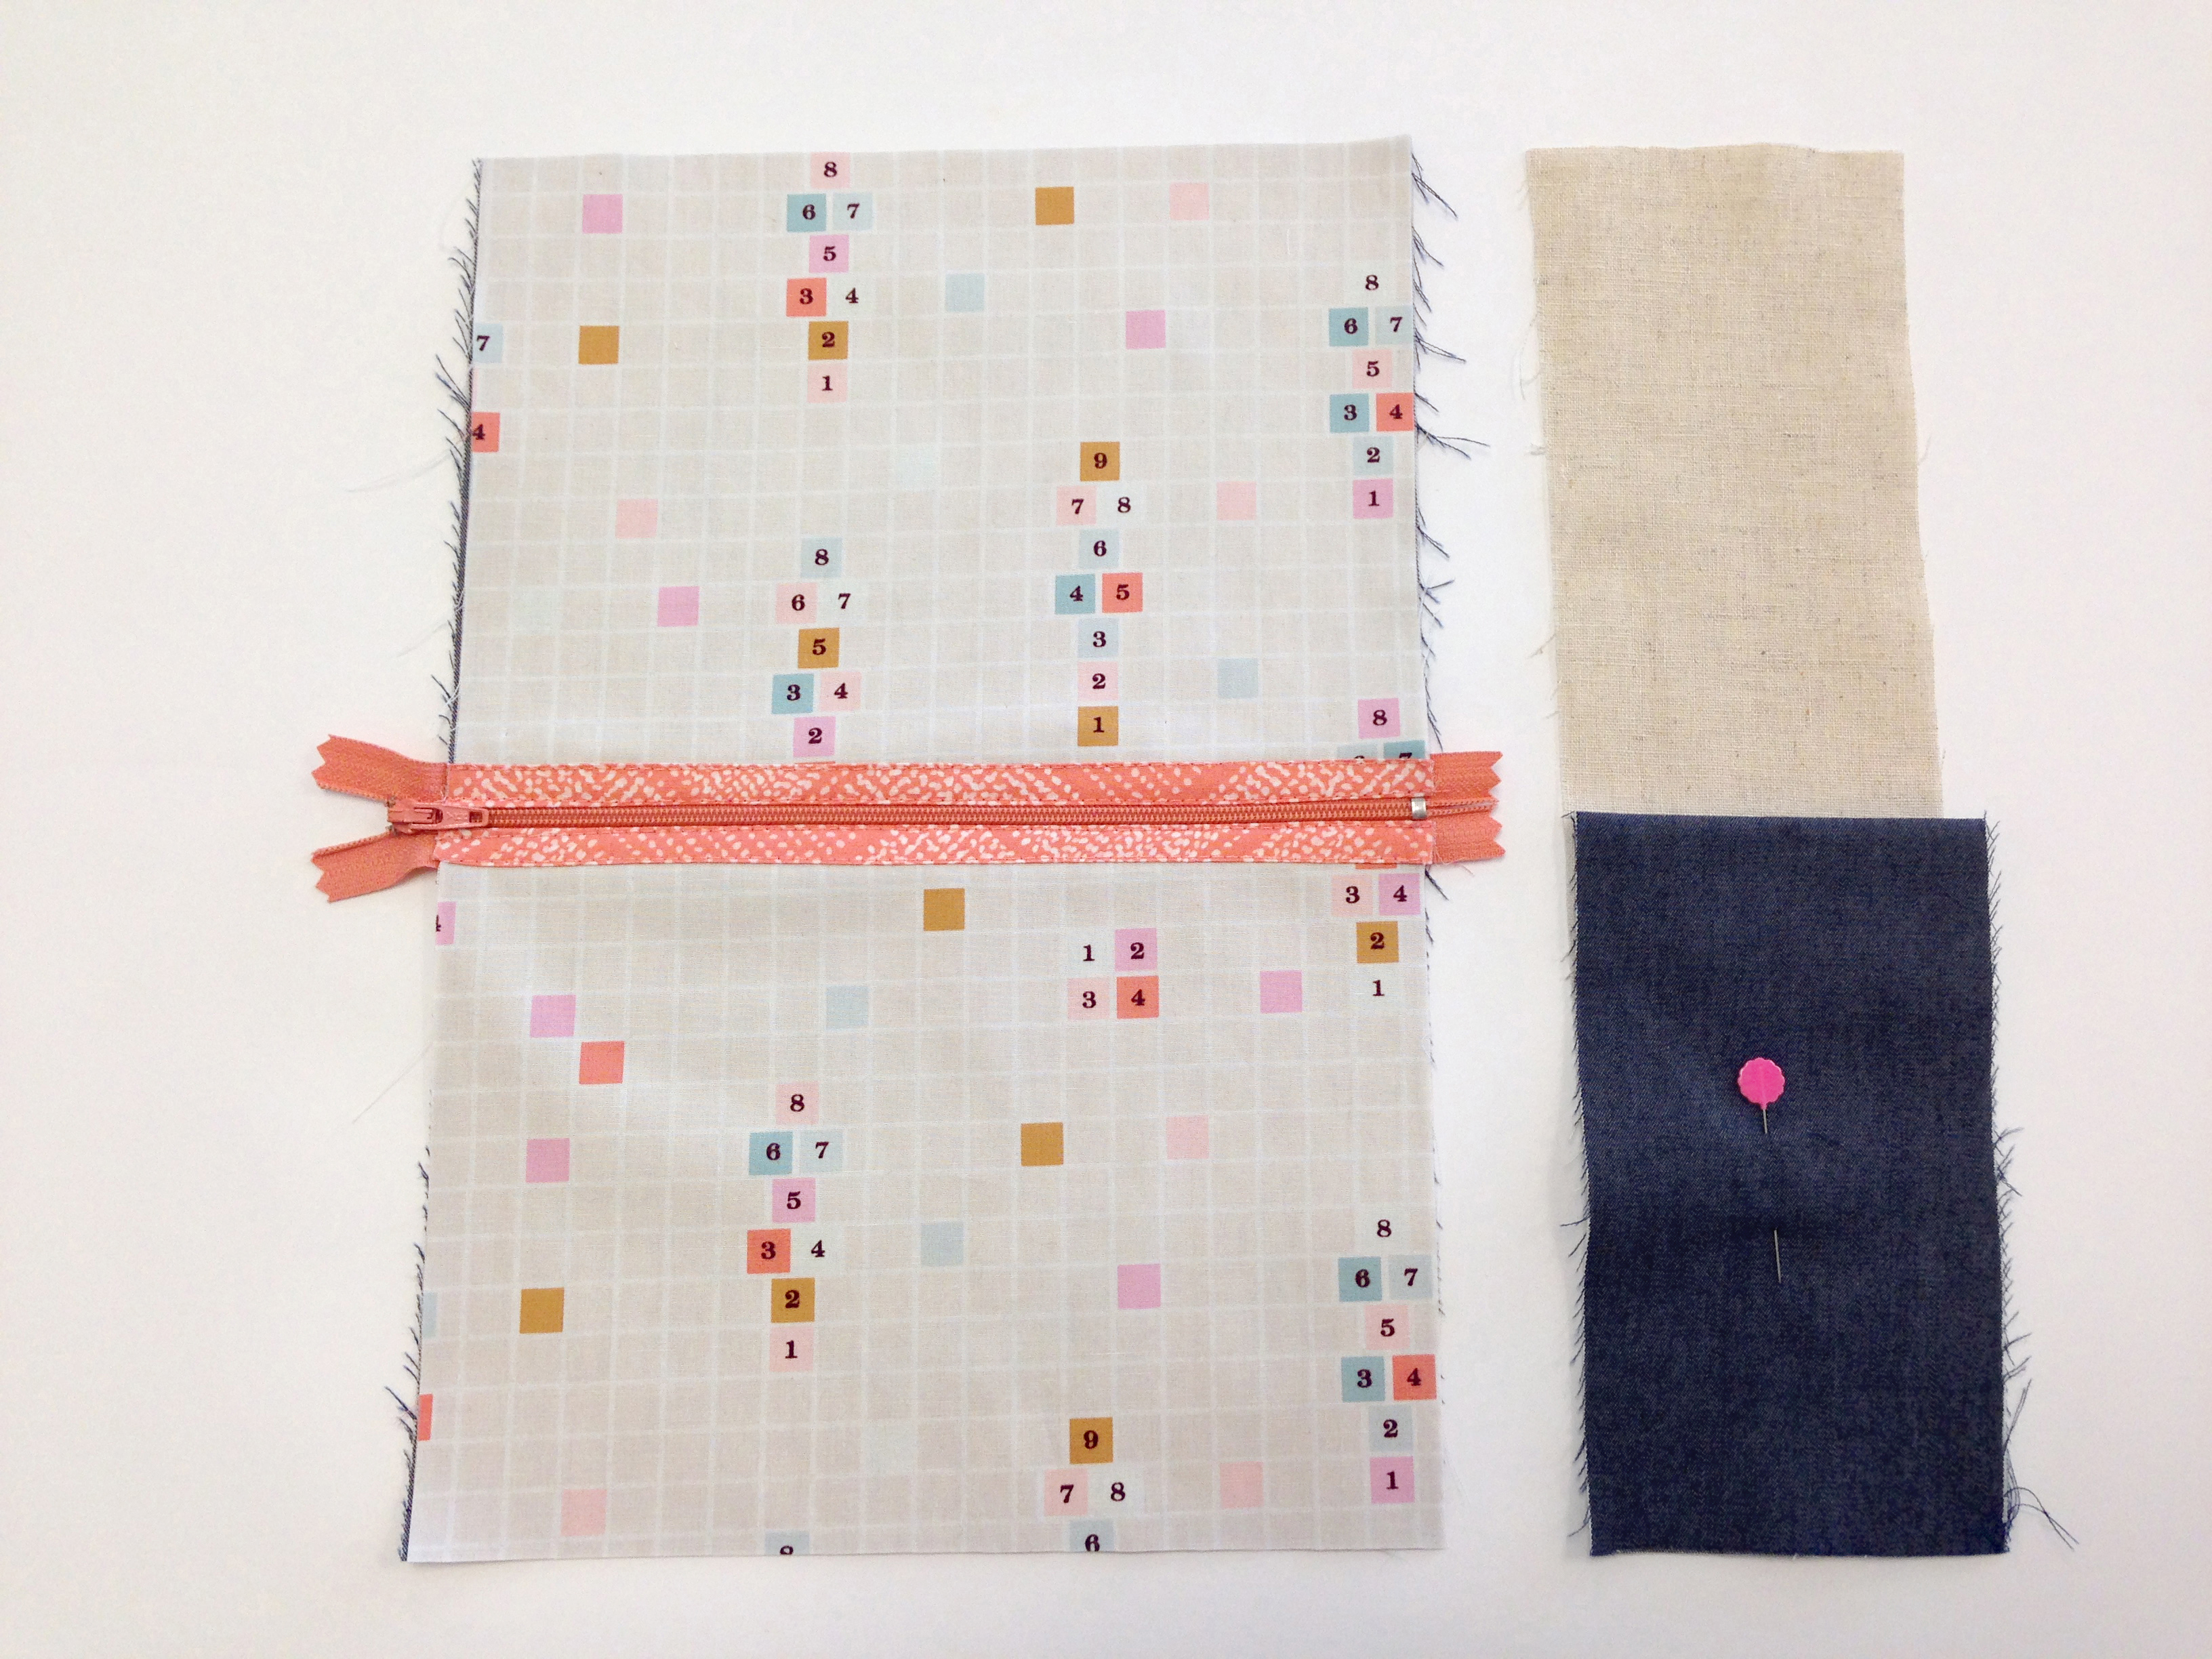
Take your 1 5/8″ x 9″ strips from Fabric B and fold sides into the middle, then fold in half and press. Take a 6 1/2″ x 8 1/2″ rectangle A and C and place them wrong sides together. Fold binding strip over the raw edges and stitch binding to pocket pieces using the Blindstitch foot #5.
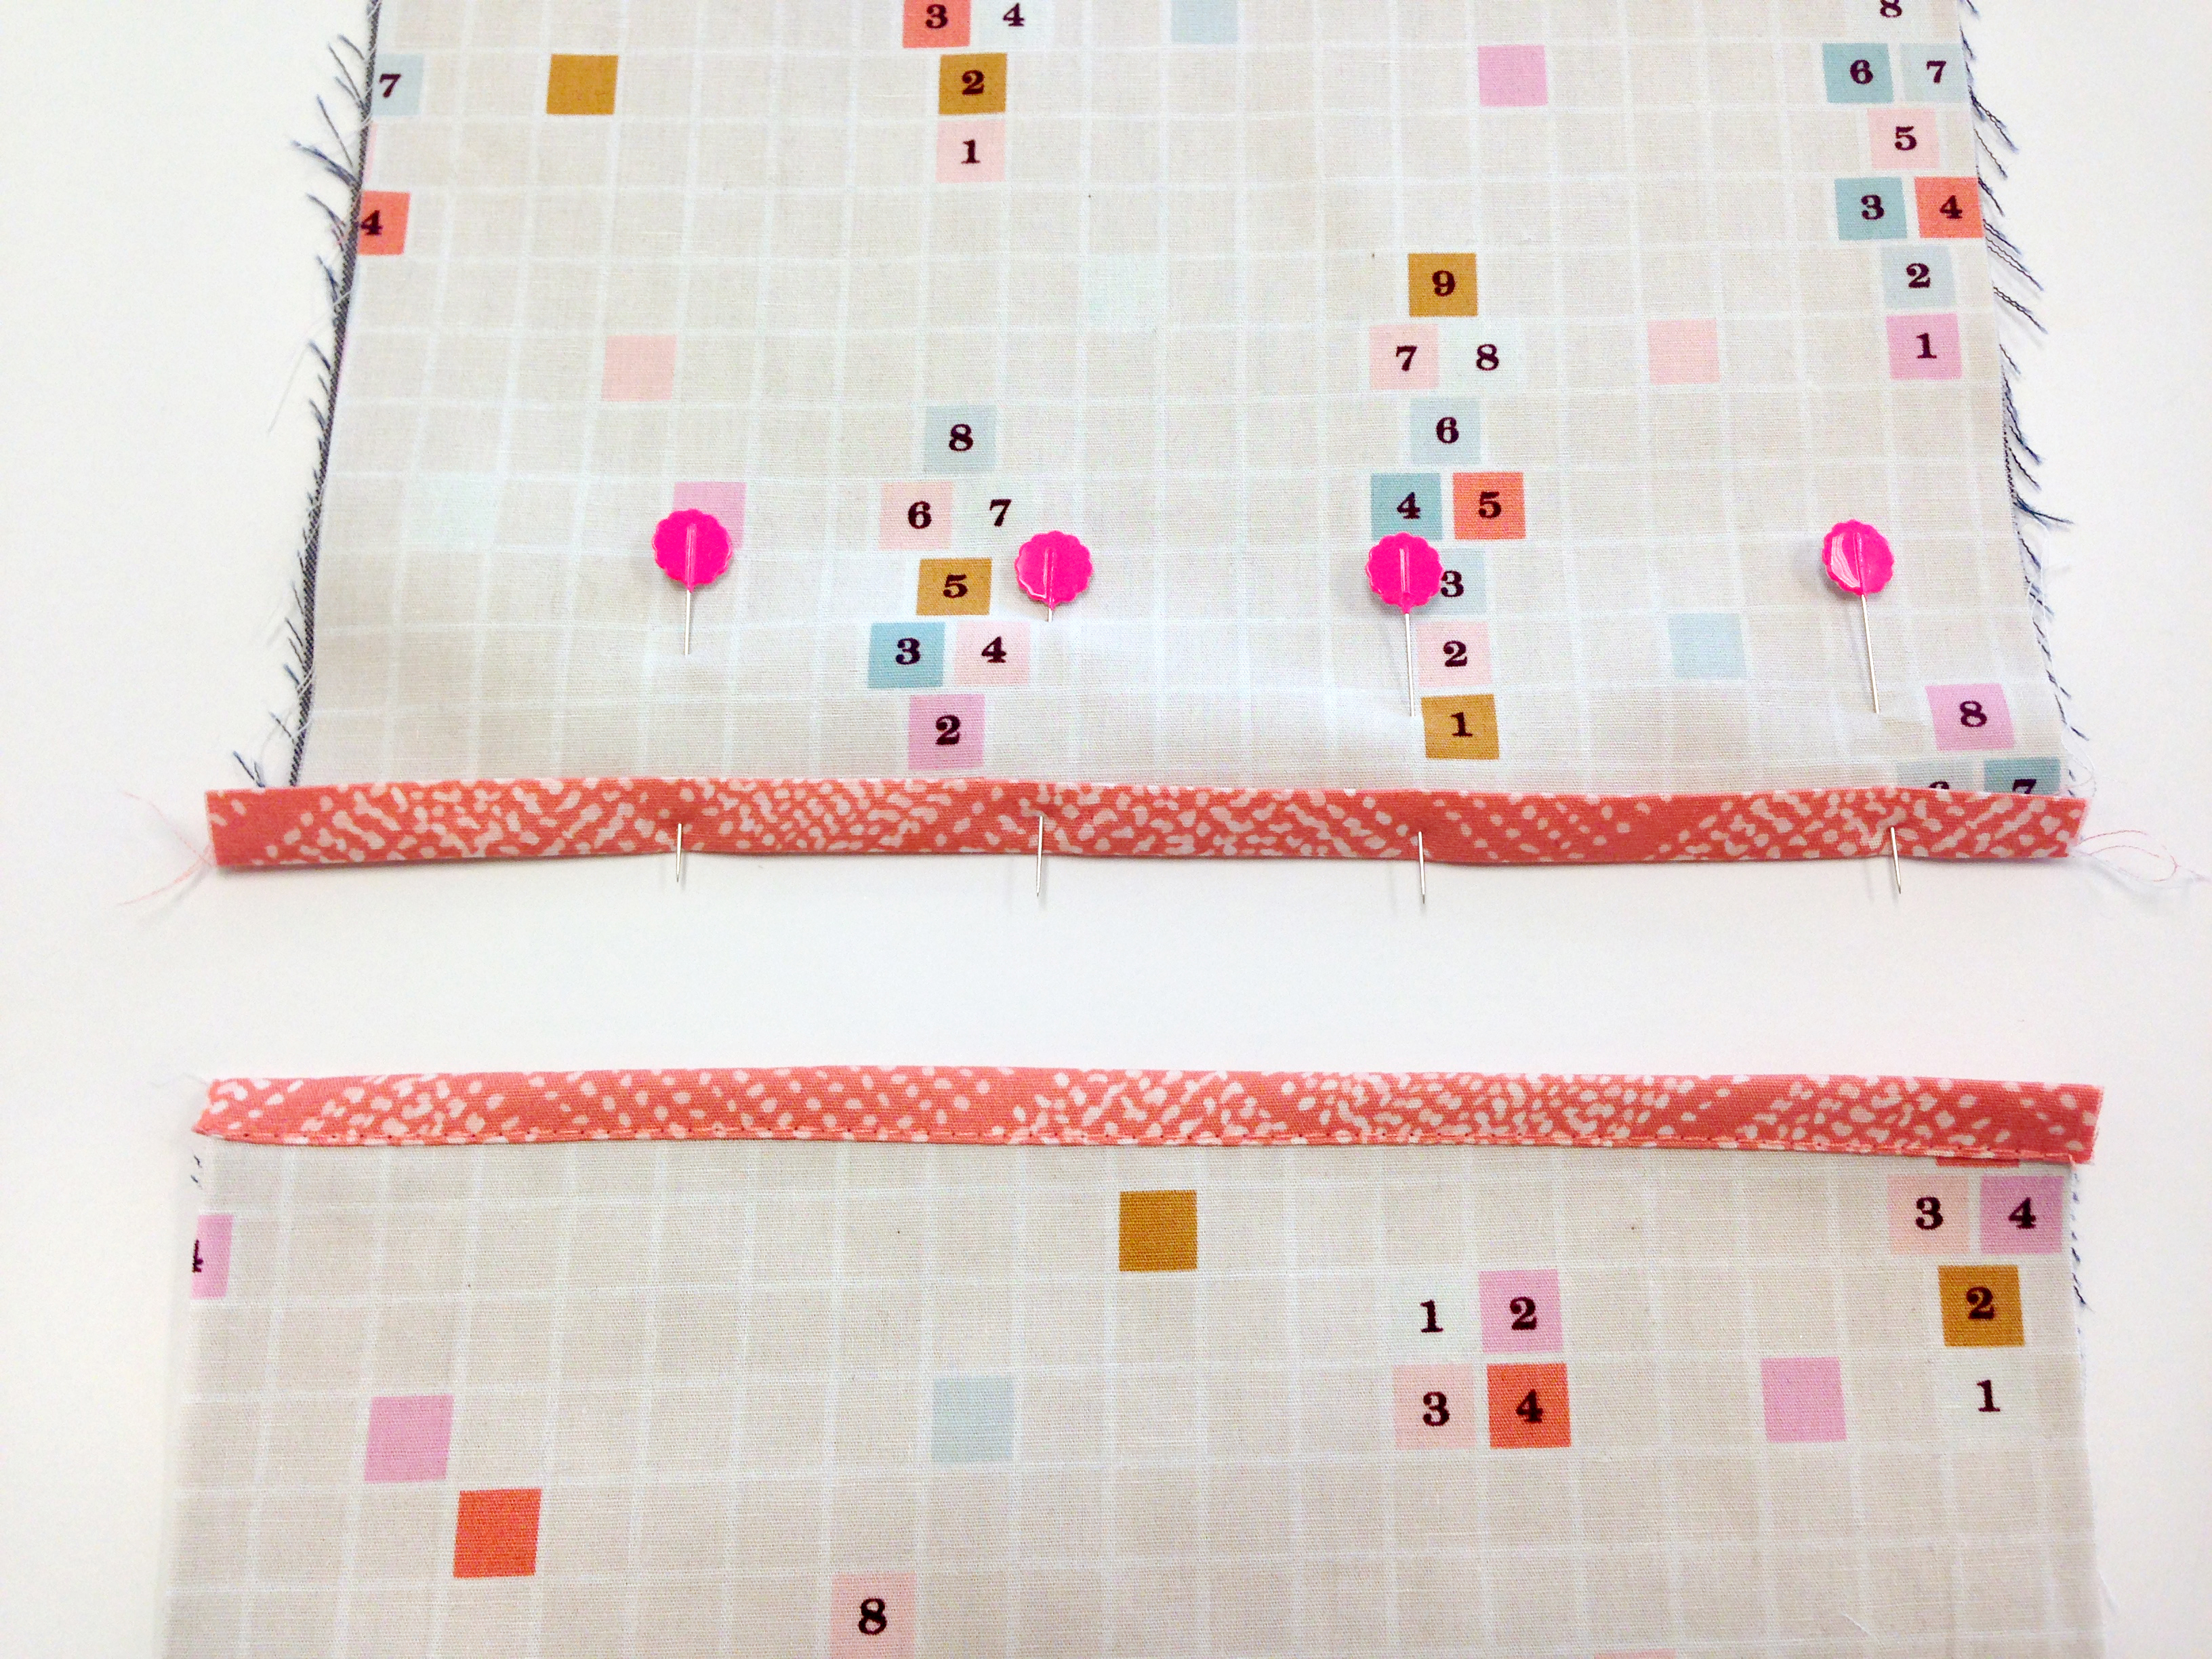

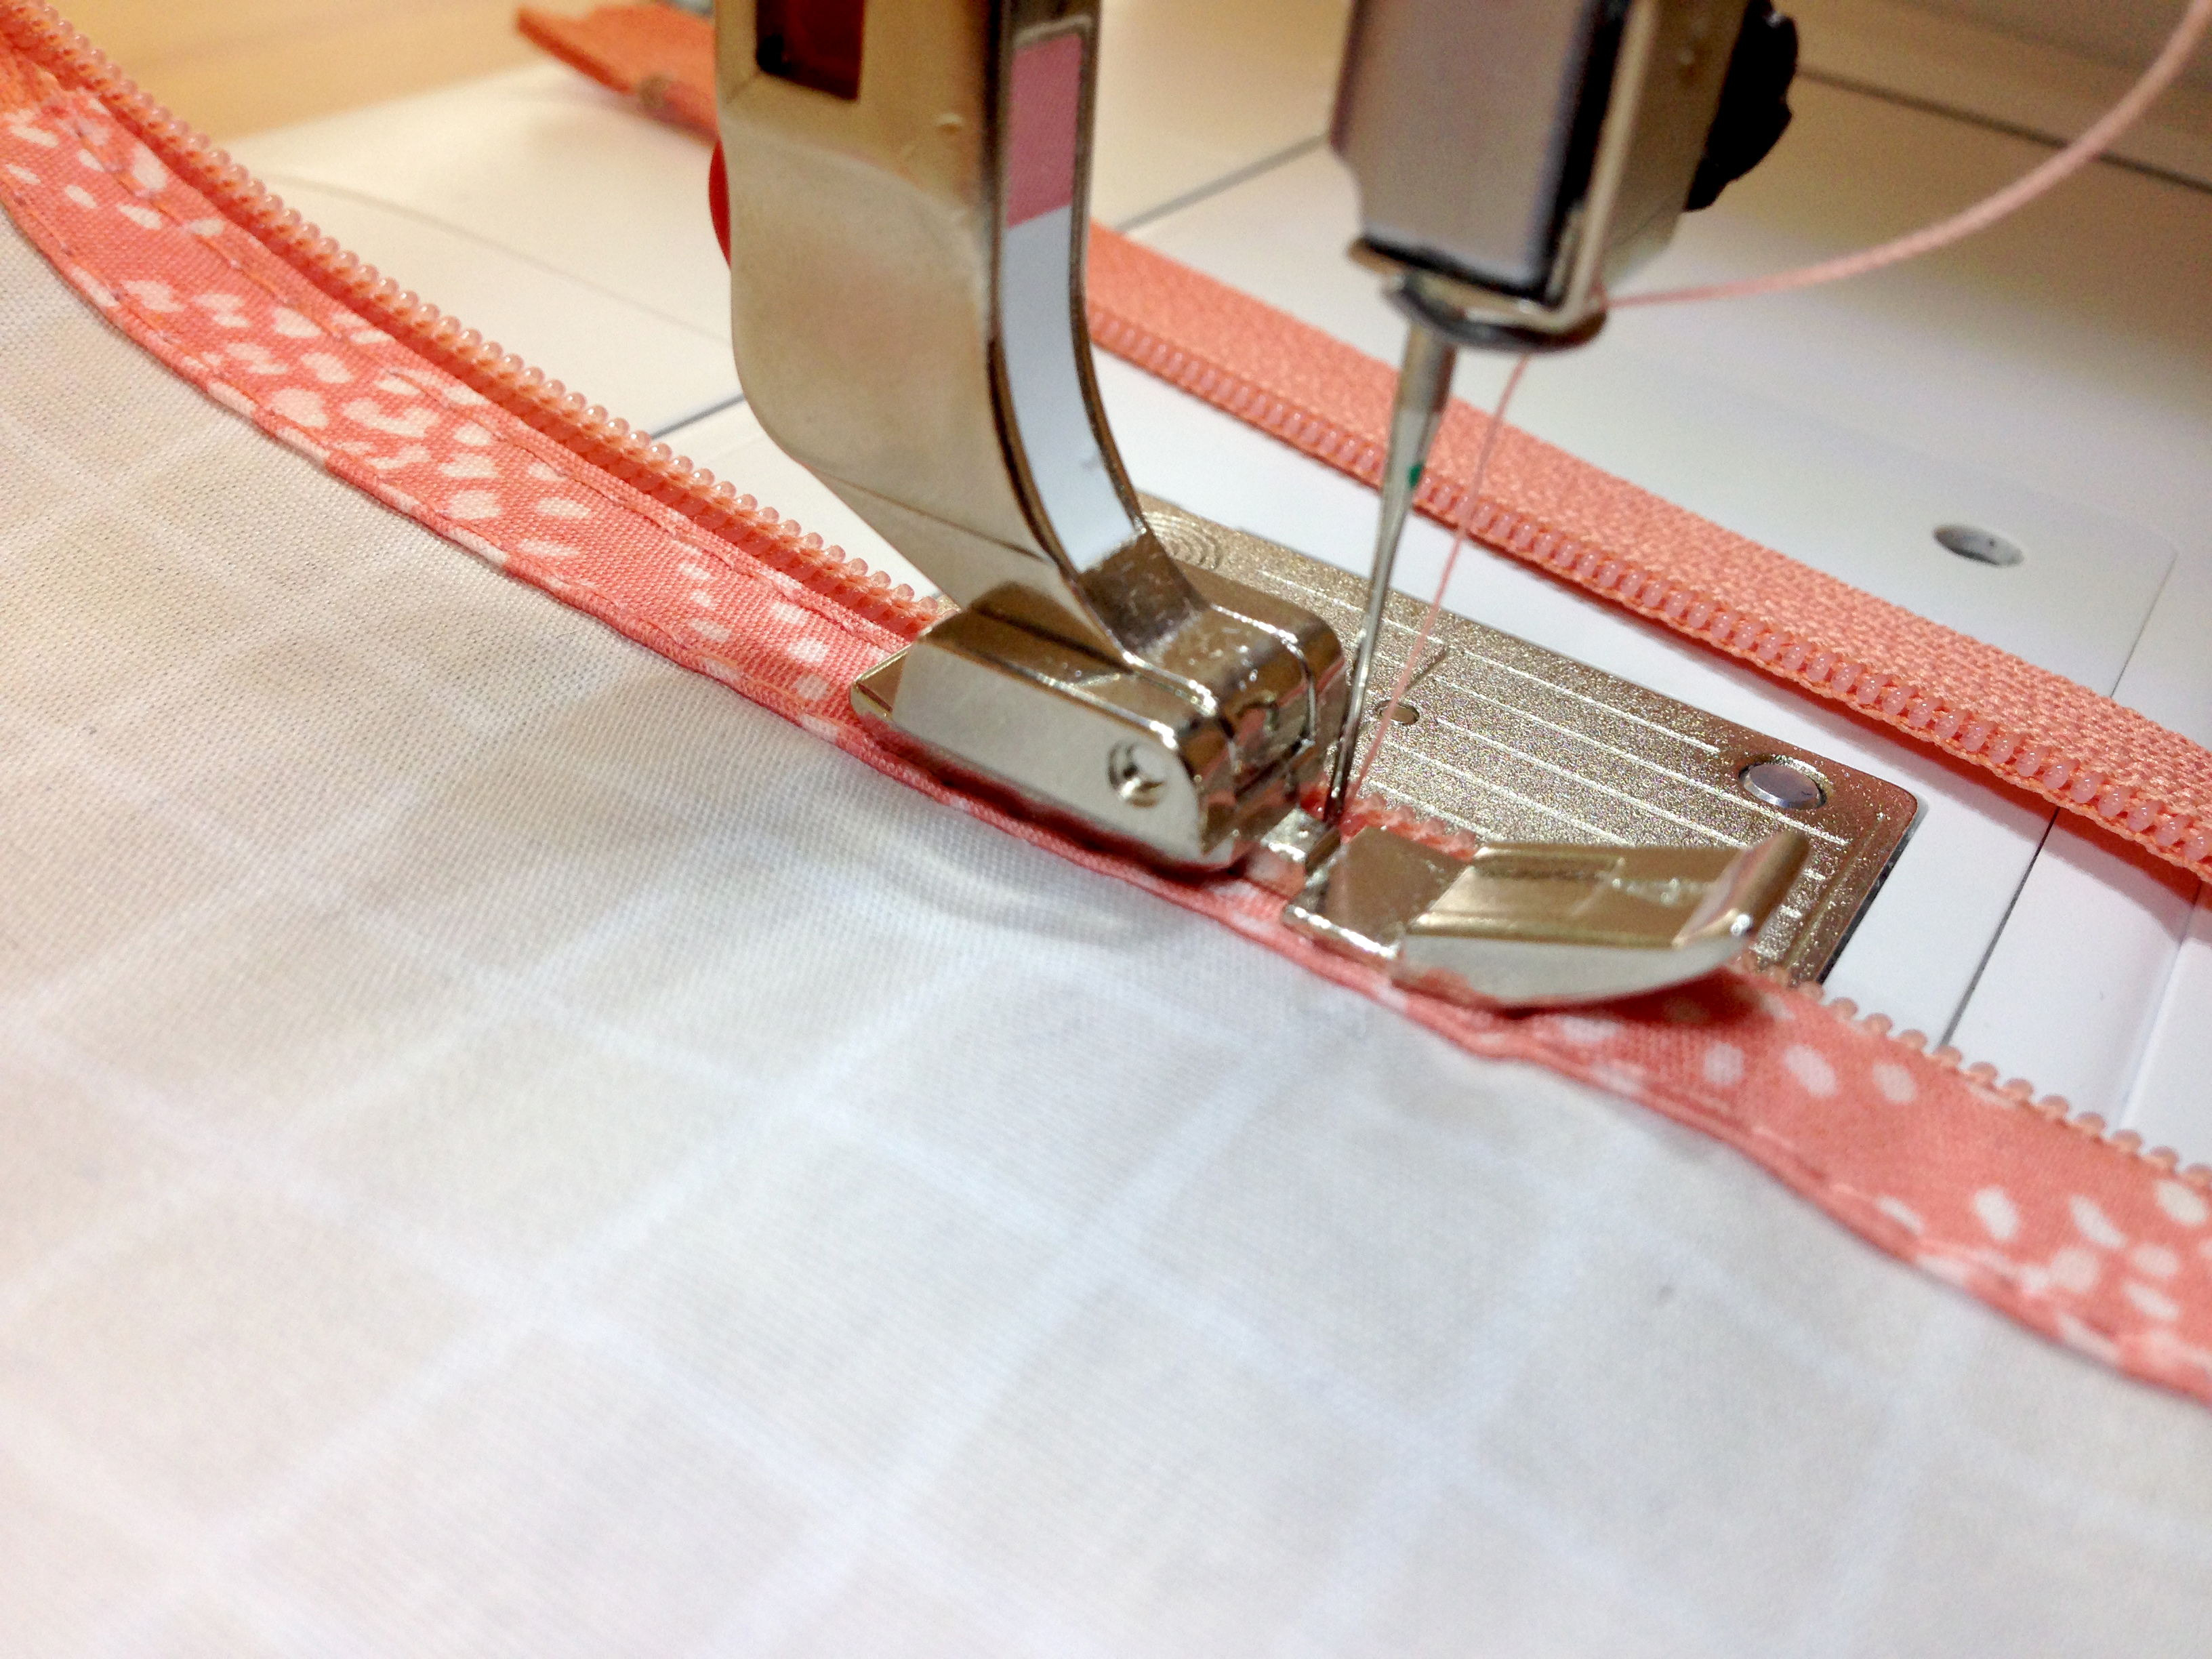
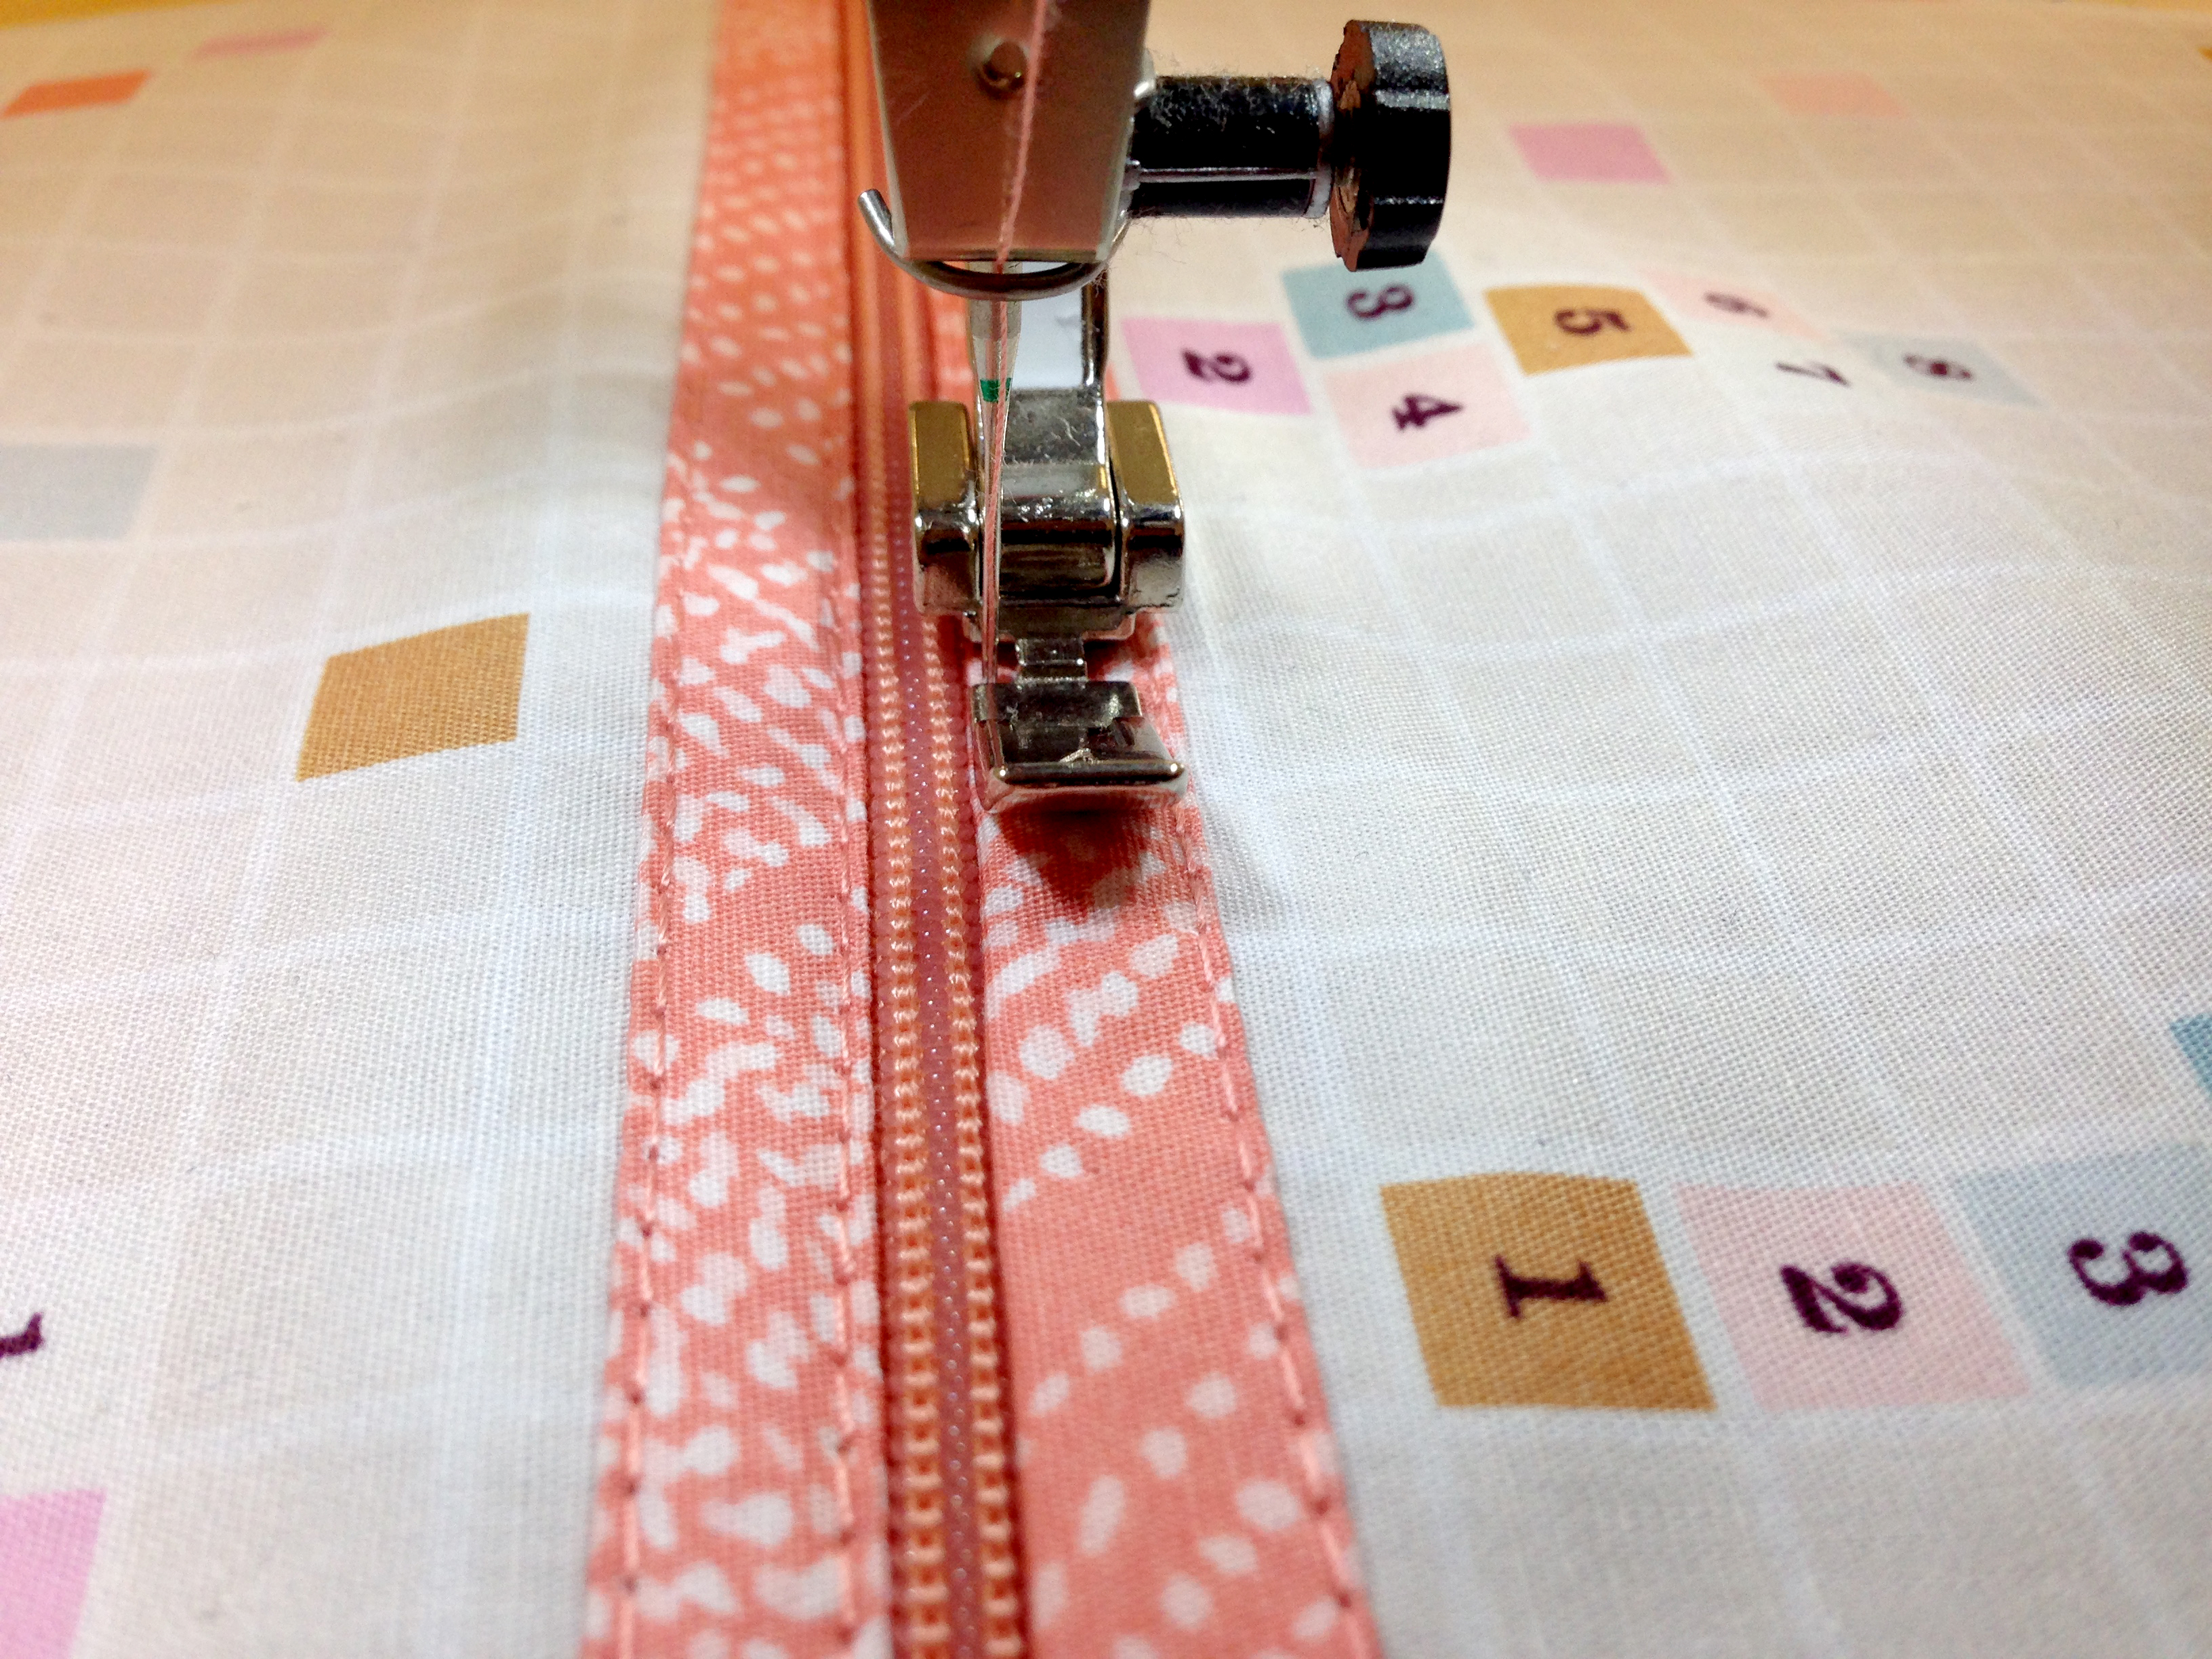
Once you have both front pocket pieces complete, pin to your 9″ zipper.

Attach your Zipper foot #4 and move needle position all the way to one side. Stitch as close to the edge of the other side of the binding.
Next pin the other pocket piece to the other side of your zipper.
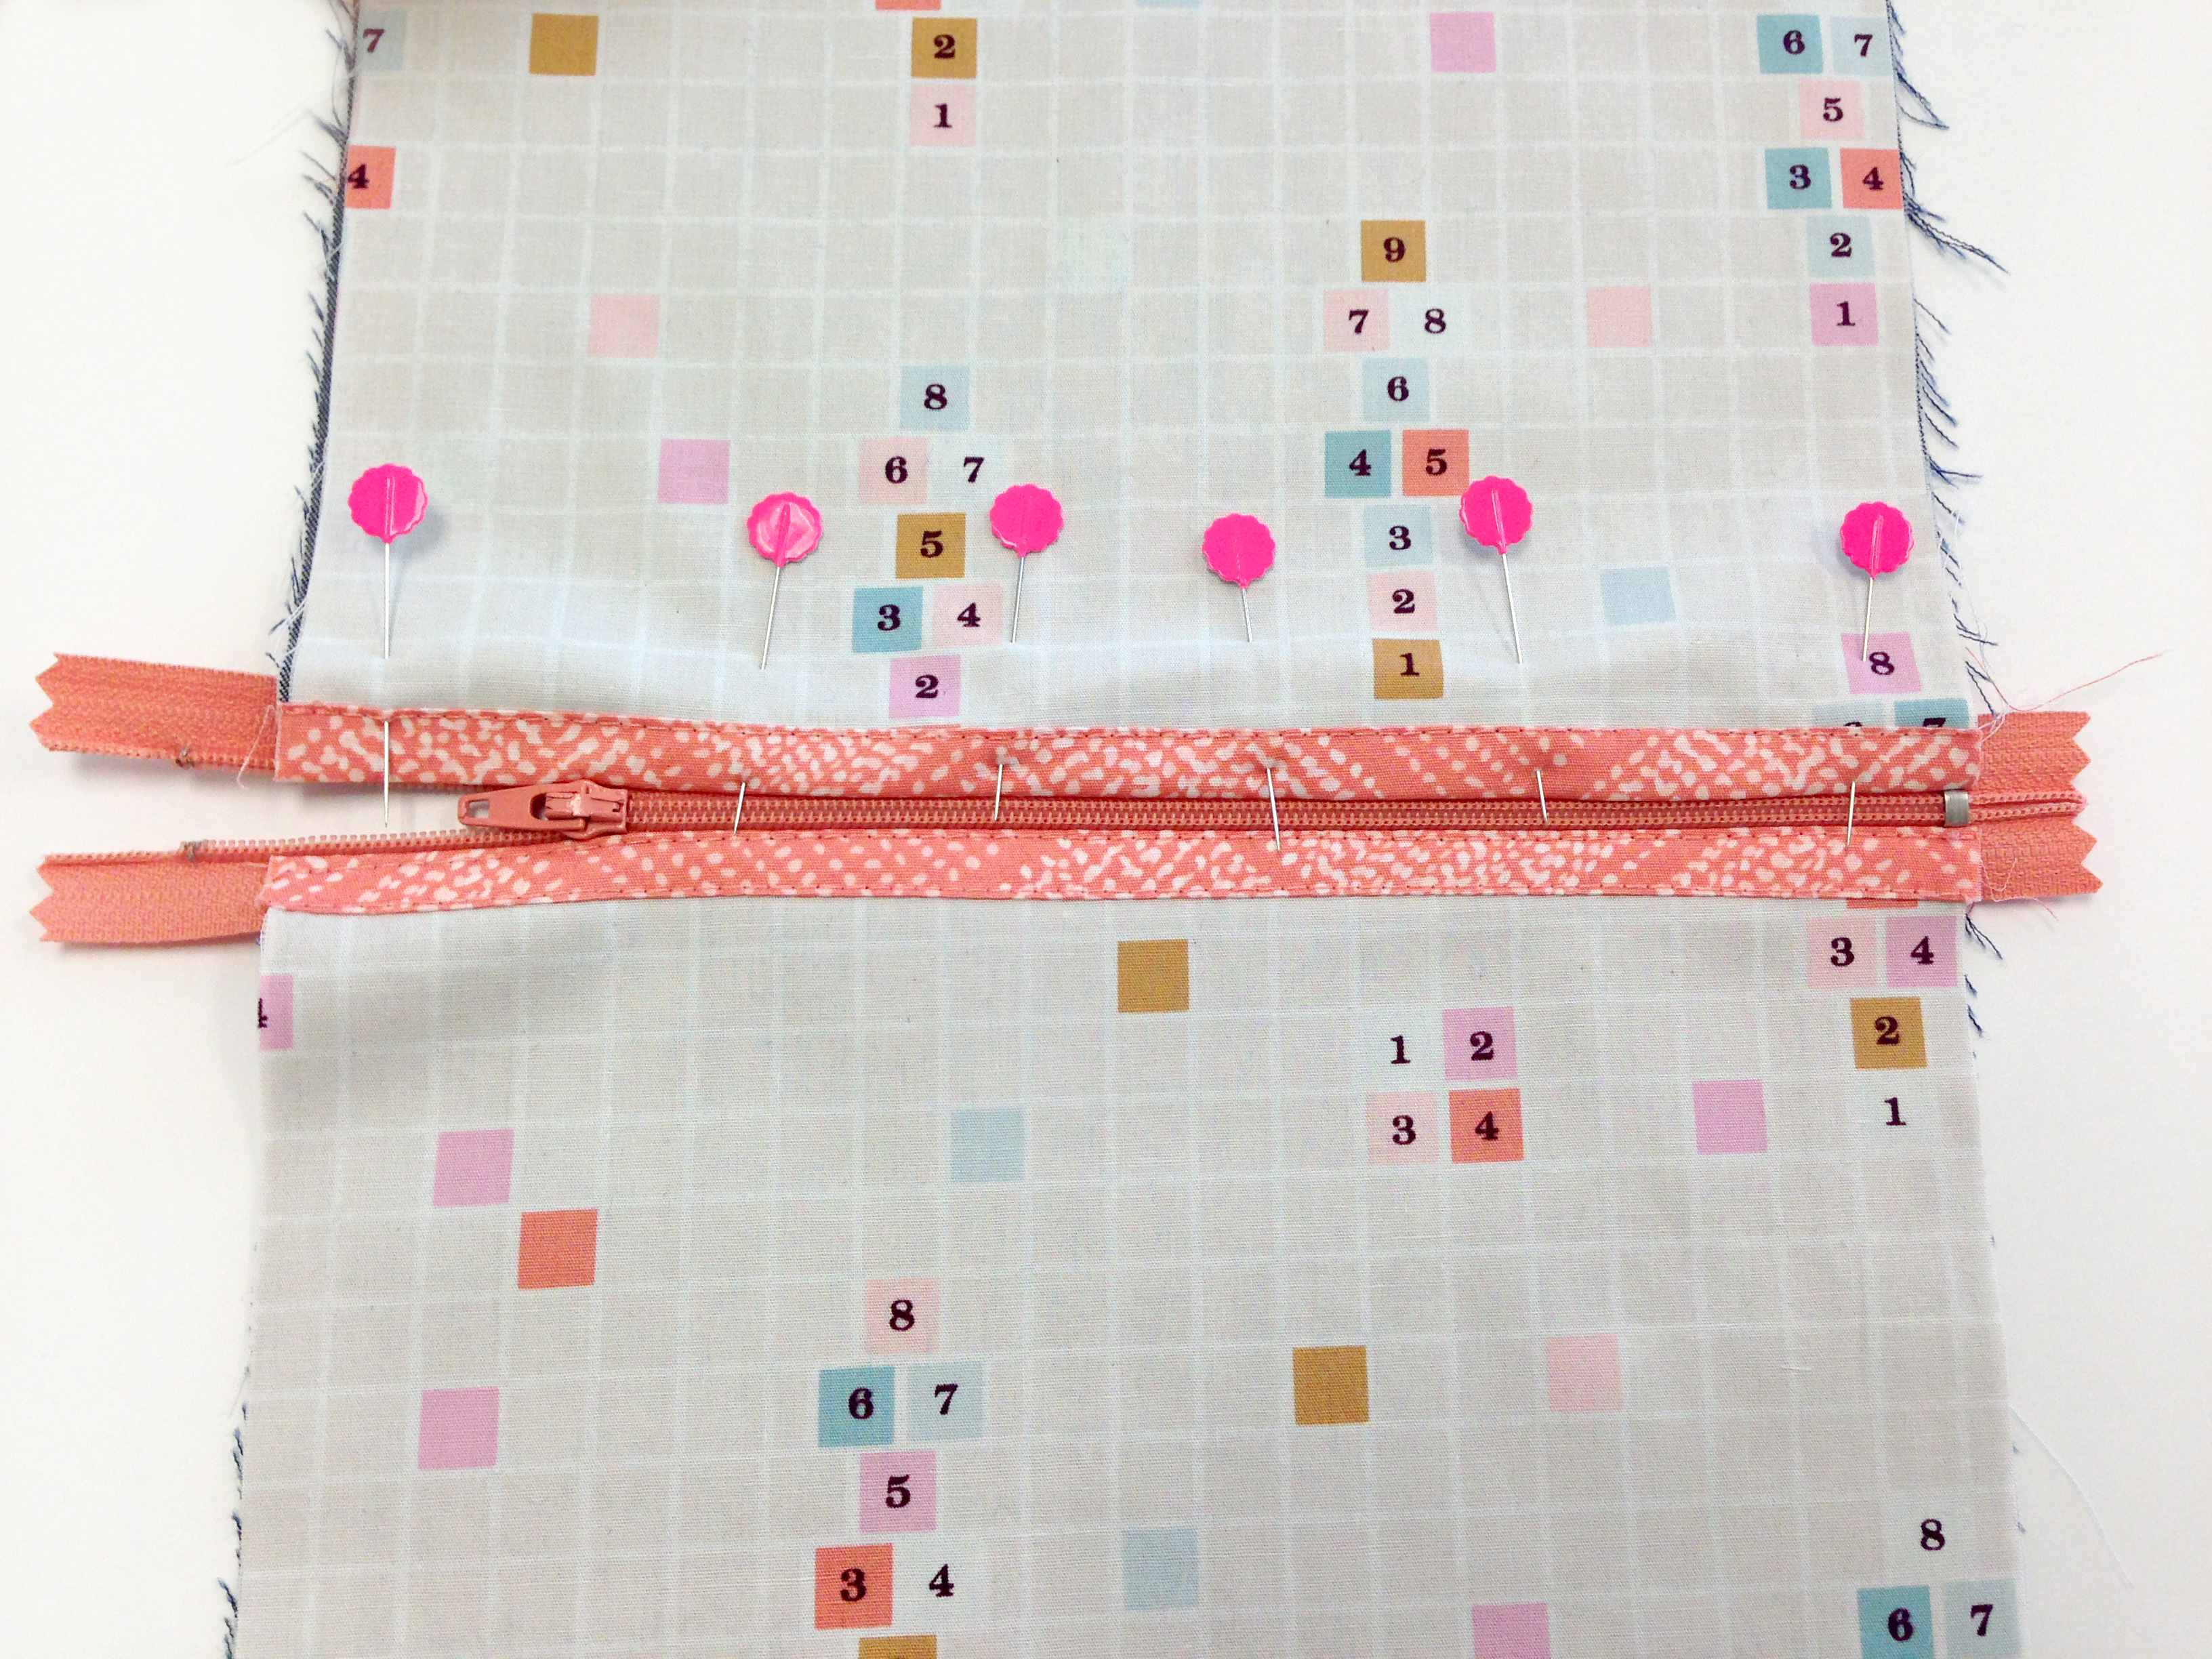
Stitch as close to the edge of the other side of the binding.
Now it’s time to create the pencil slots. Take a 3 5/8″ x 13 1/4″ strip from Fabric C and fold in half and press. Place on top of a 3 5/8″ x 13 1/4″ strip from Fabric D and pin together. Sew right sides together to your zipper pocket piece.
Press seam facing away from your zipper and place piece on top of a 11 1/4″ x 13 1/4″ rectangle from Fabric A. Topstitch seam to secure to piece.
Draw a line in the center of your pencil slot pieces with a fabric marking pen. Stitch on this line.

Step 3: Creating the Back Binder Cover
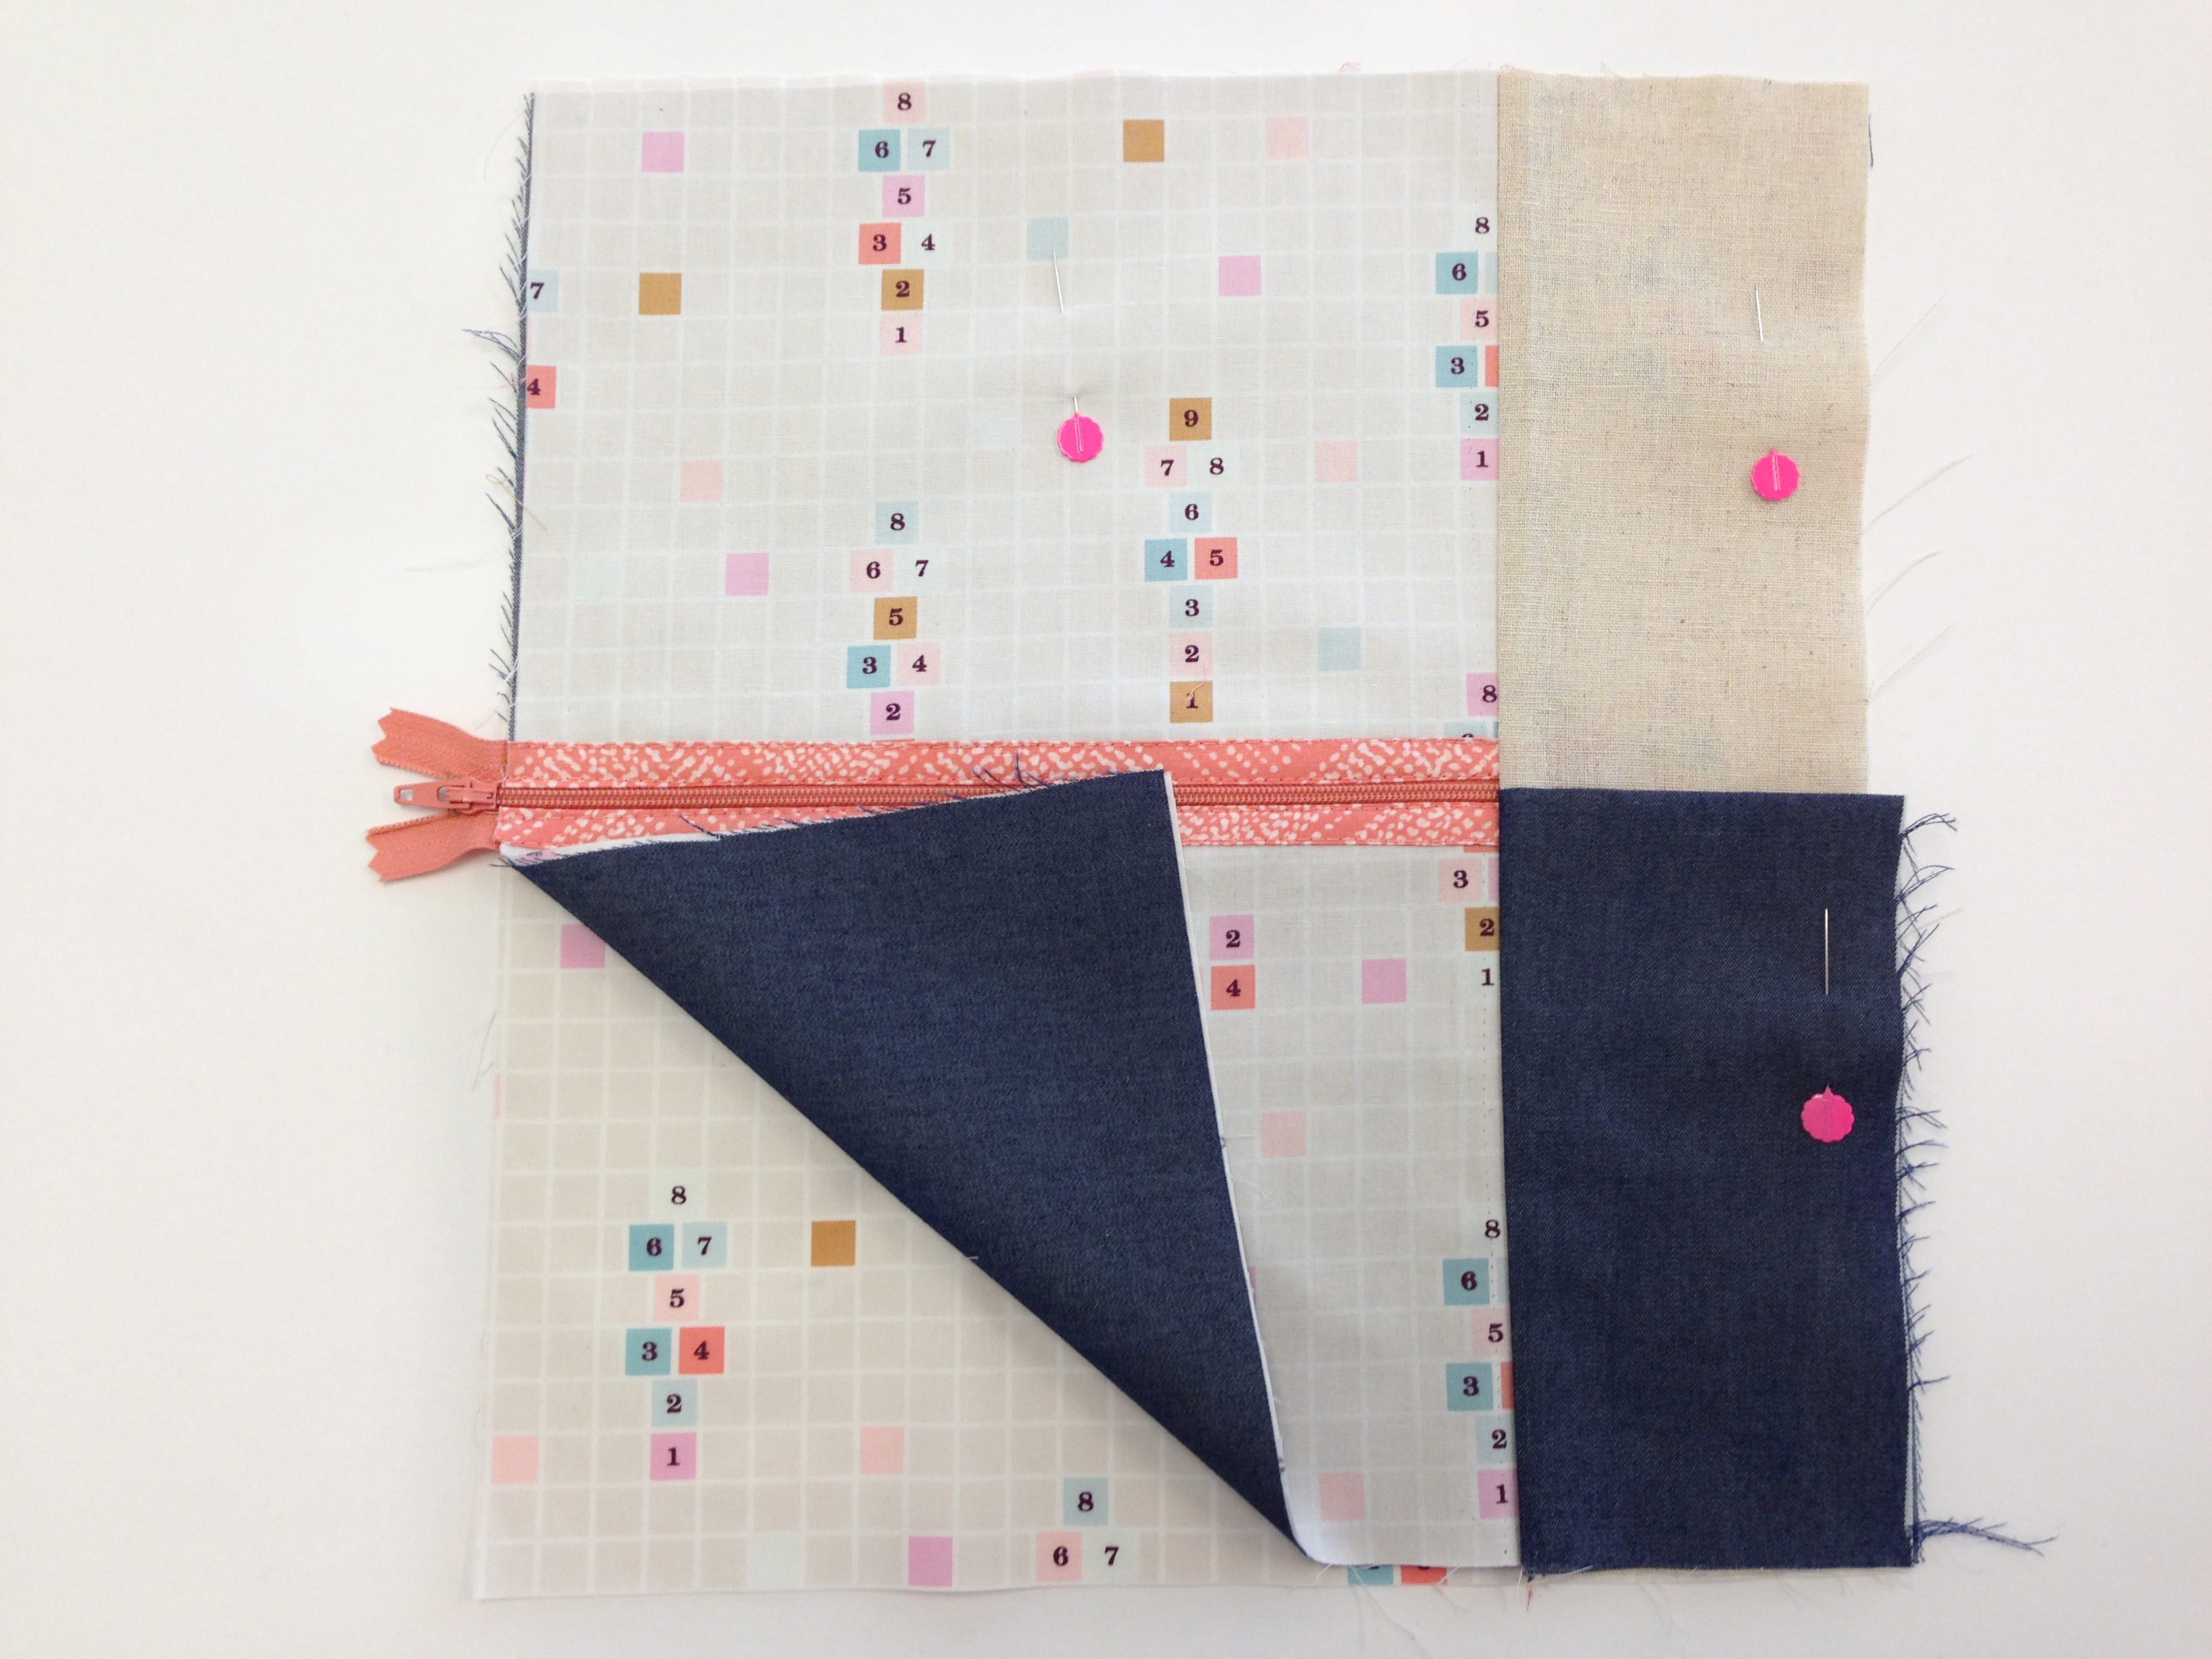
To create your flap sew 6″ x 11″ rectangle from Fabric B and D together. Clip corners at seam allowance.

Flip piece right side out and press. Topstitch your flap using your Blindstitch foot.
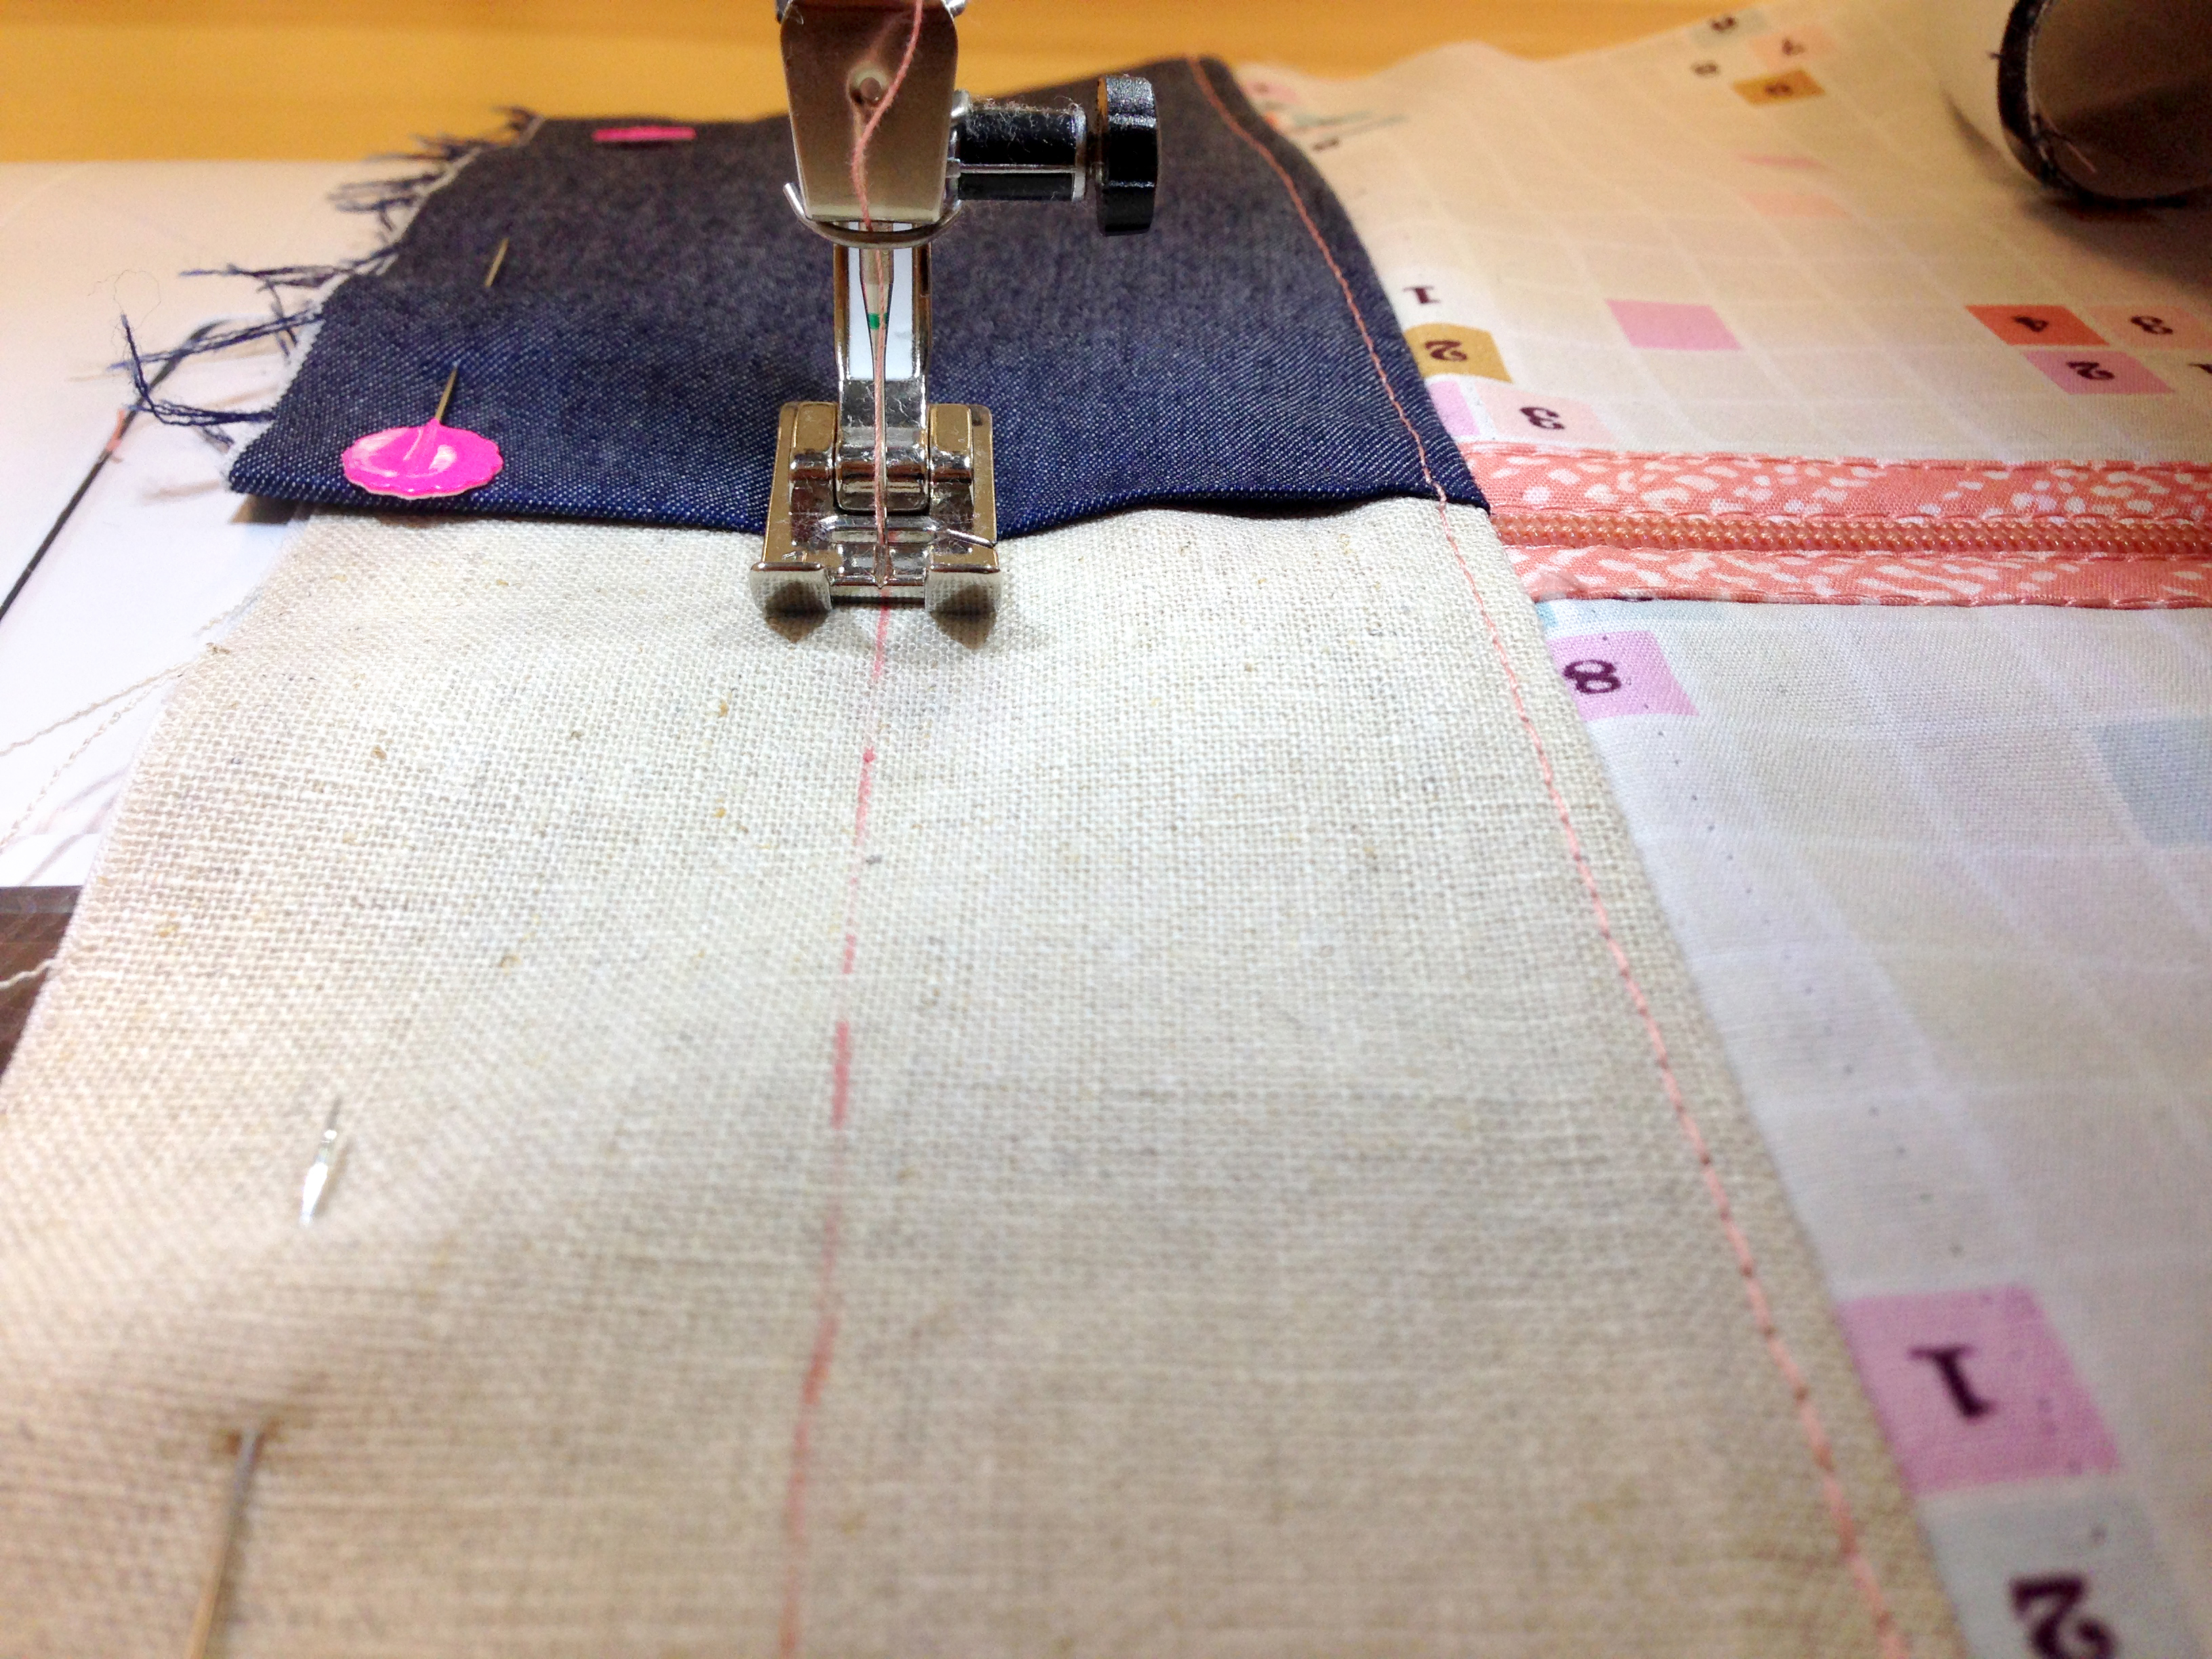
Fuse a piece of woven interfacing to a 9 1/2″ x 11 1/4″ rectangle from Fabric A. Sew to a 9 1/2″ x 11 1/2″ rectangle from Fabric D. Press and topstitch at 1/4″.

Line pocket up with the bottom of a 11 1/4″ x 13 1/4″ rectangle from Fabric A and place the flap at the top. Mark on your flap and on your pocket where you would like to place your snaps.
Using the manufacturer’s instructions set snaps into place. Stitch sides and top of piece to secure pocket and flap.

Sew a 2 1/2″ x 13 1/4″ strip from Fabric A to the front and back binder pieces.
Next place your inside and outside binder pieces right sides together and stitch around the whole piece leaving about 4″ unsewn portion to pull right side of your piece through.
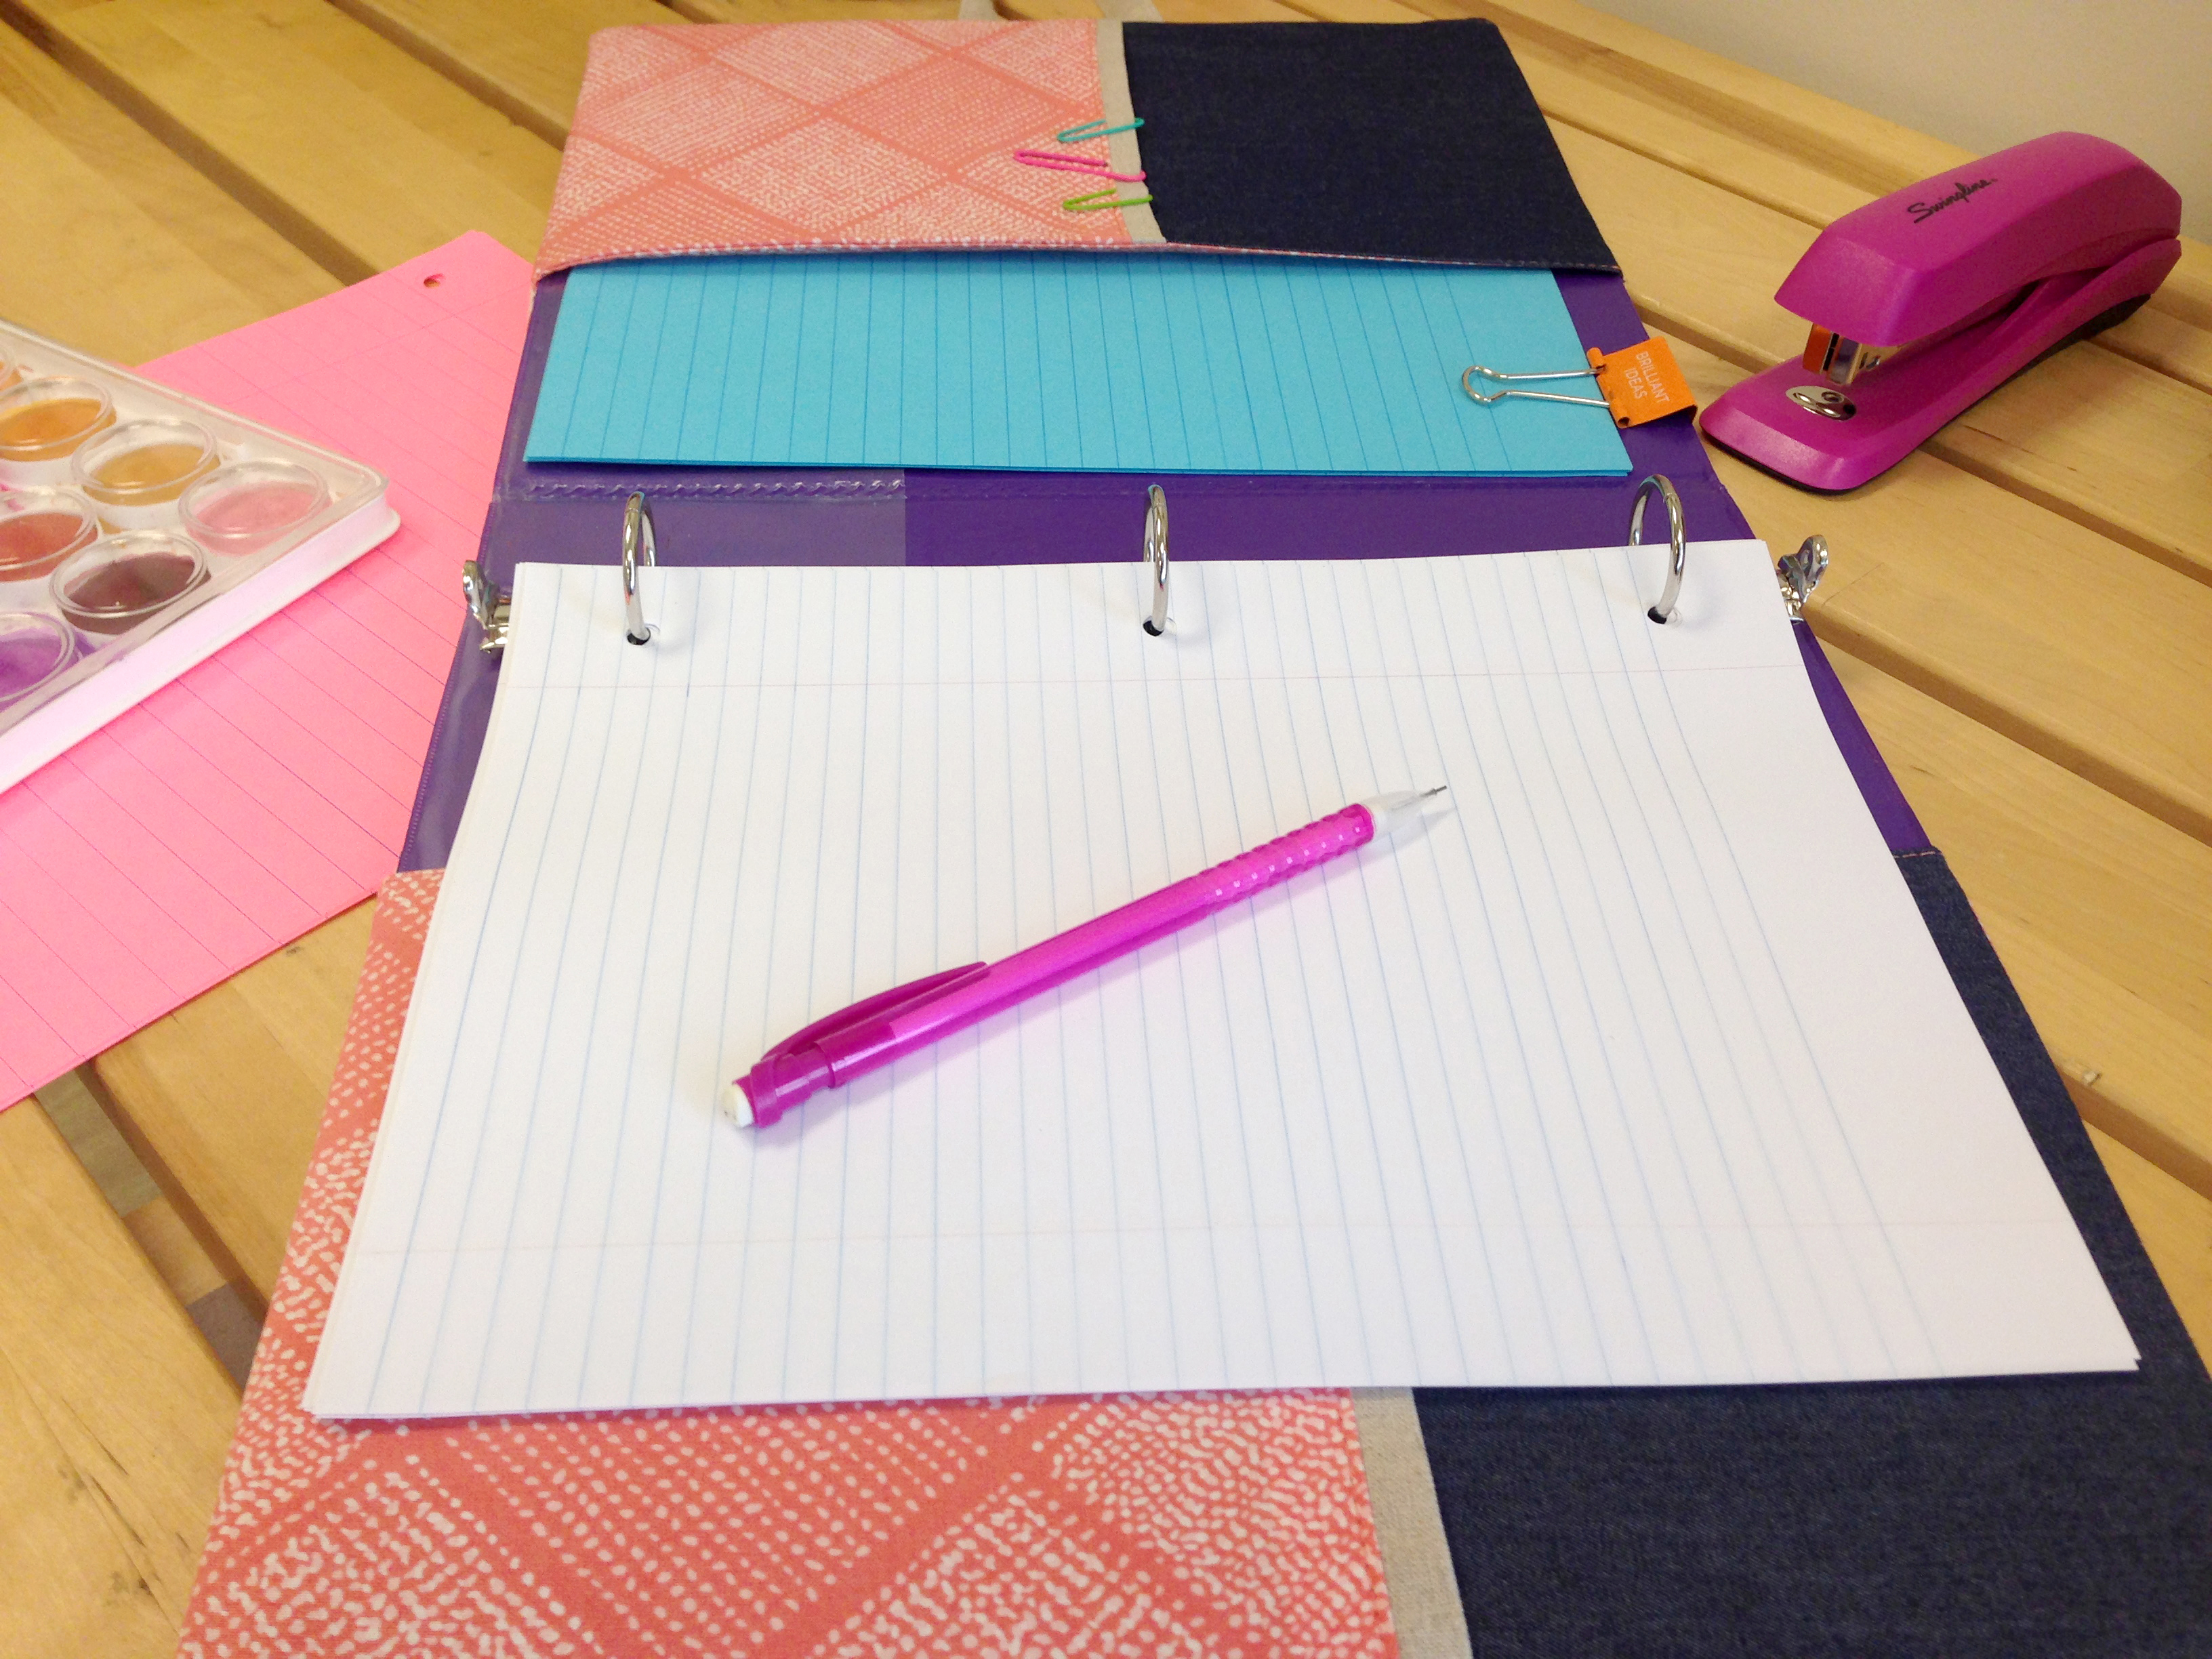
Clip corners at seam allowance and flip piece though and press. Turn under raw edges and handstitch closed. Place a 3 ring binder into your cover or use as a folder to place your ipad and notebooks into. Be creative! This fun binder cover project is fun to make for yourself or to gift to friends and family.

Happy Sewing,
AGF
What you might also like


2 comments on “Back to School Binder Cover from Art Gallery Fabrics”
-
-
This binder cover will fit a 1″ binder.
Leave a Reply
You must be logged in to post a comment.

What size binder is used in this example?