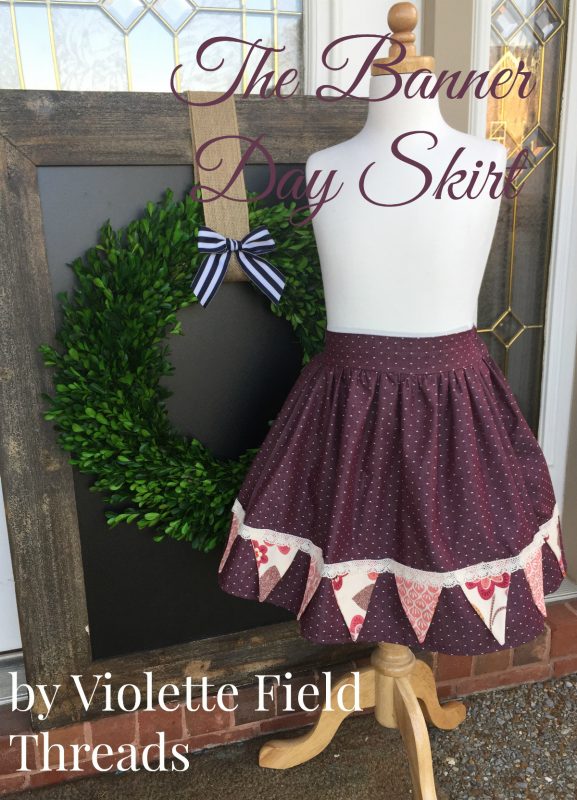
The Banner Day Skirt Tutorial
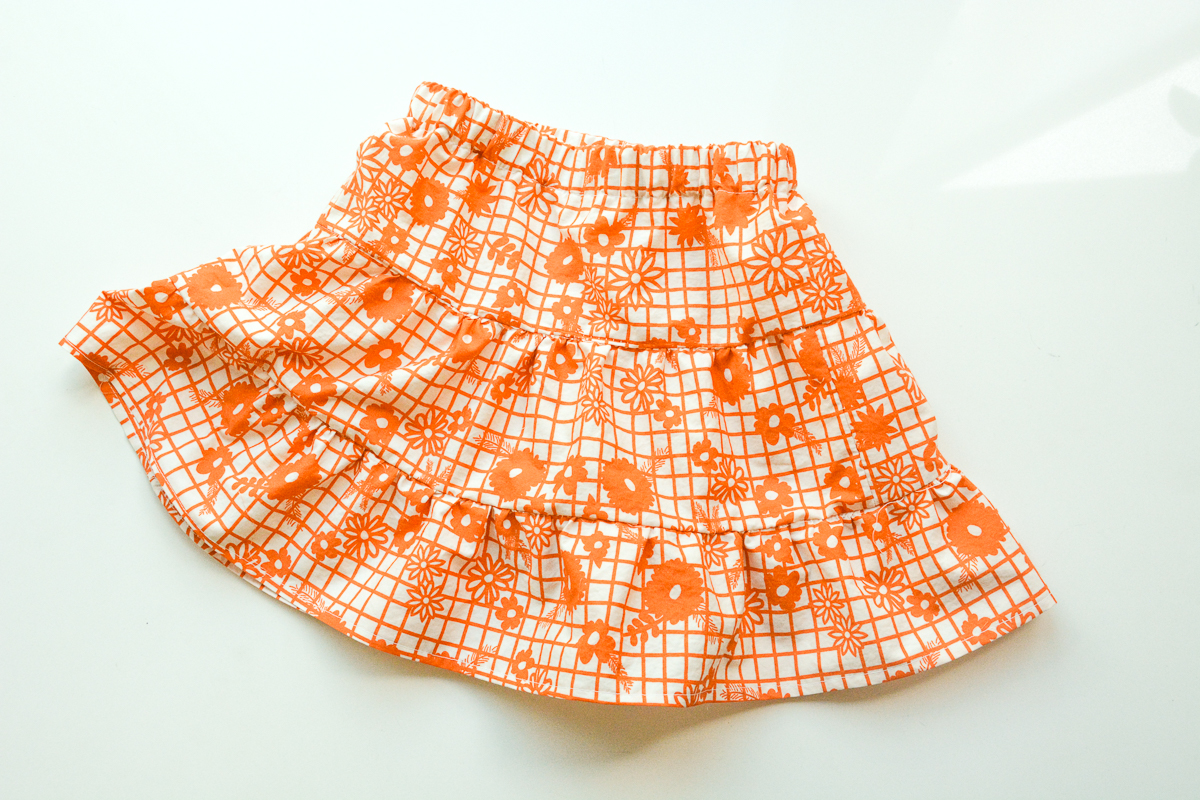
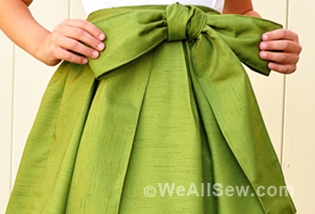
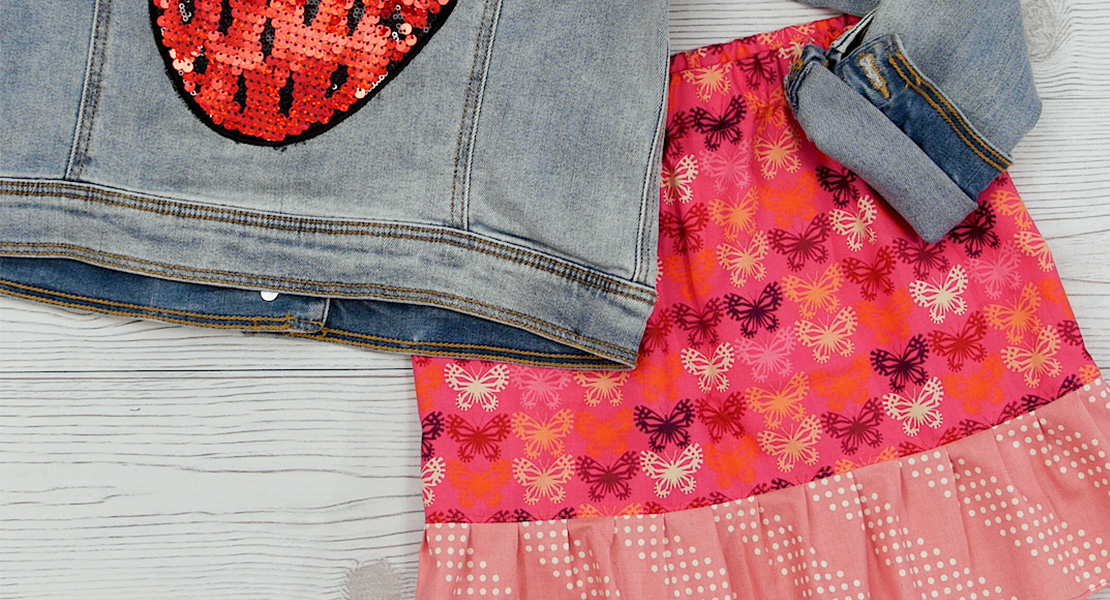
The air is crisp and the winter is here! Fall and winter are favorite times of year by many and we too love breaking out the boots and hot cocoa. Another thing we love about this time of year are those cool breezes. Watching the leaves swirling off the trees and through the air has inspired our new free skirt tutorial: The Banner Day Skirt.
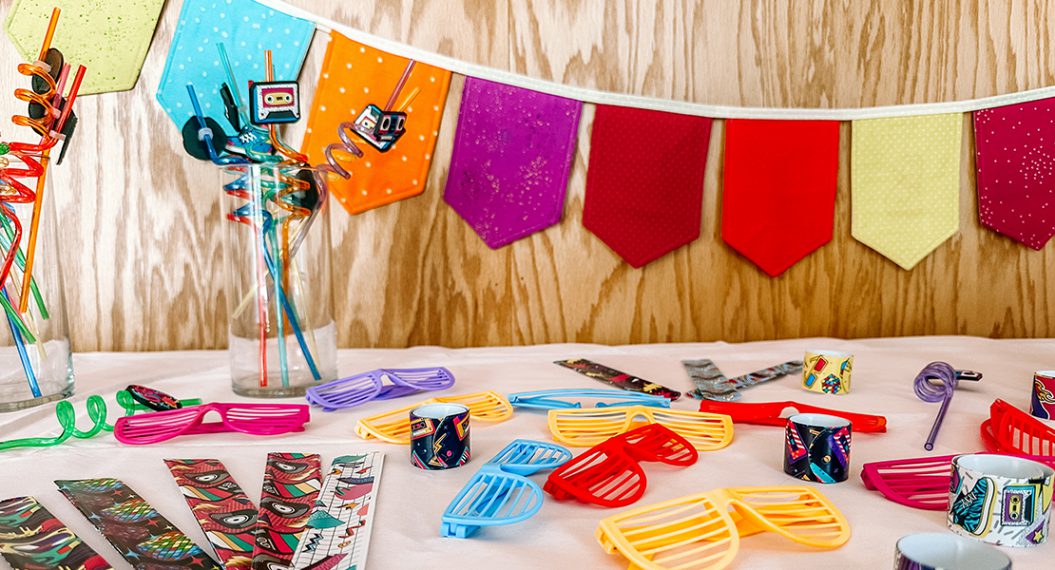
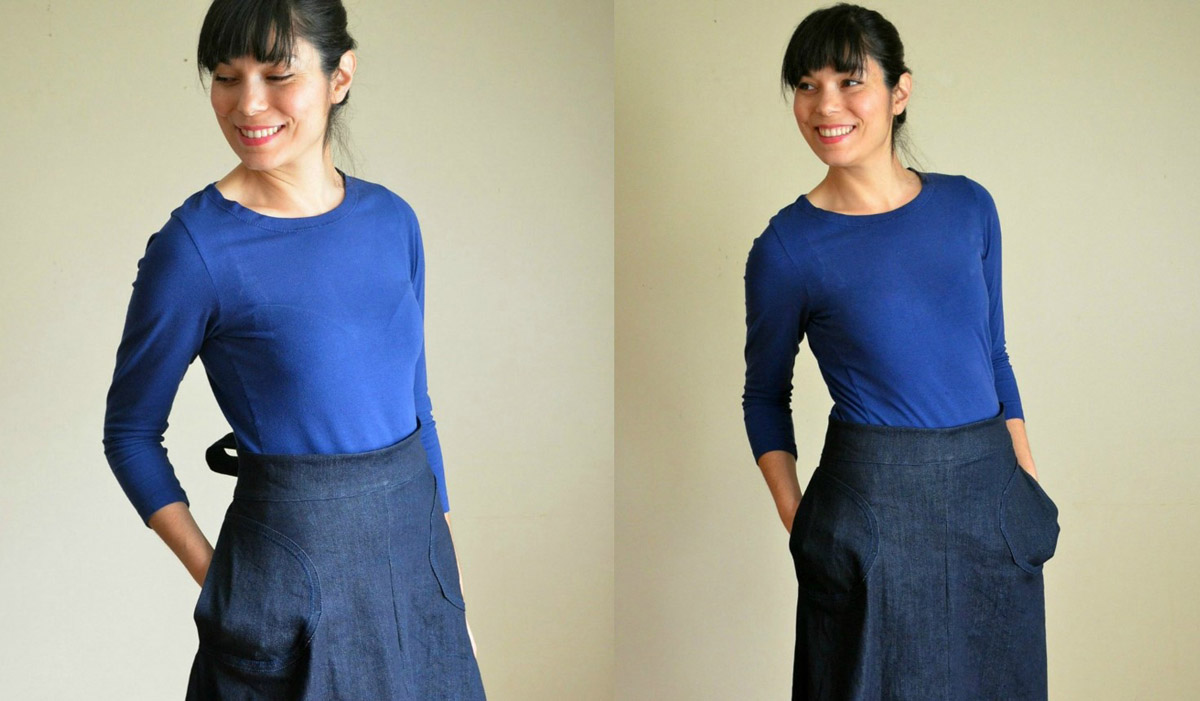
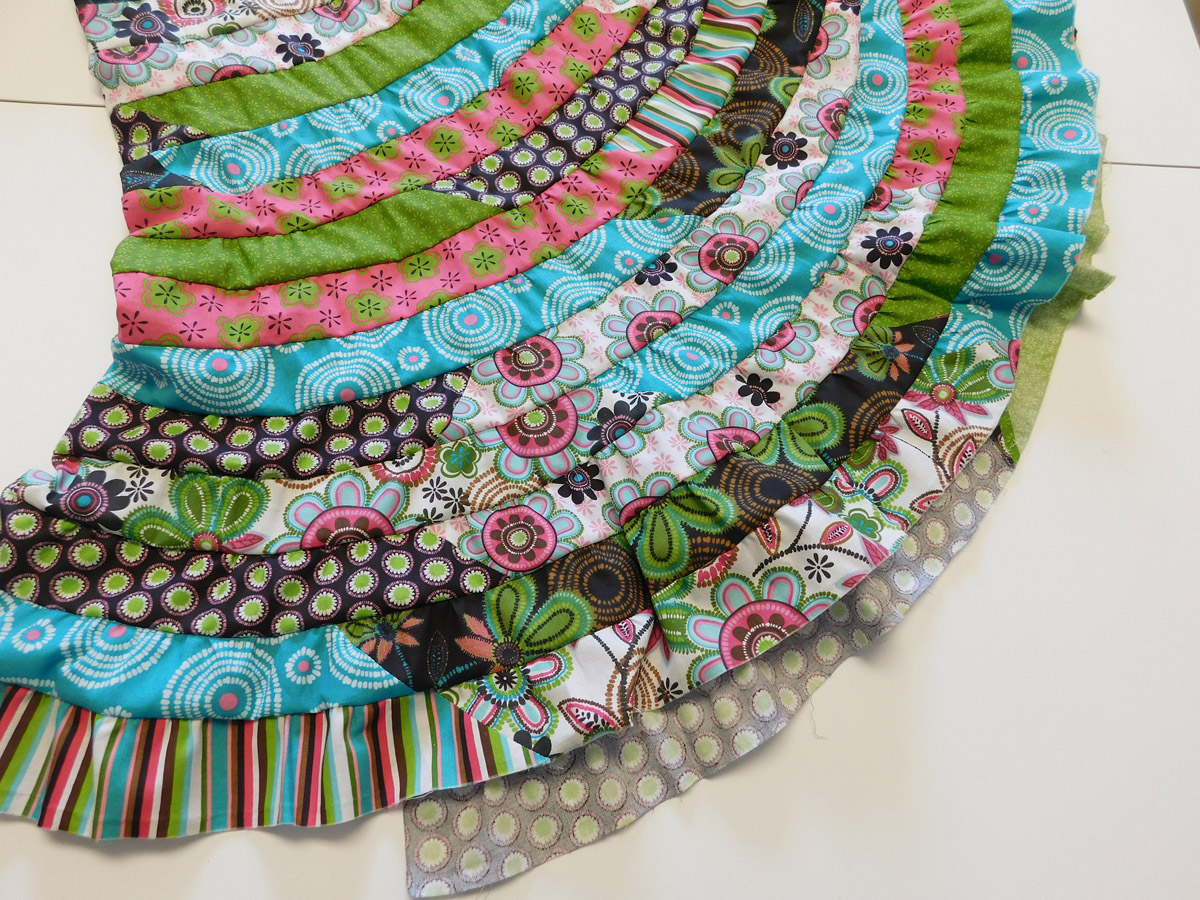
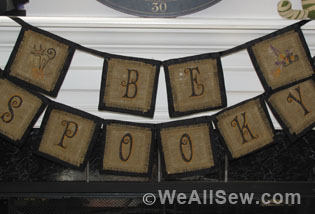
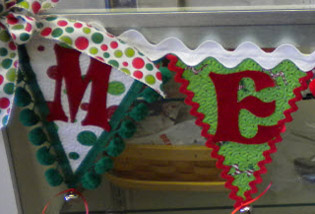
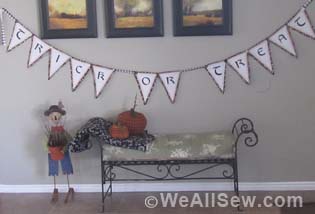
The Banner Day Skirt features a simple, full skirt that is perfect for twirling and adorable when paired with boots and tights. We added a fun bunting banner that can be attached either straight across the hem or in a whimsical pattern across the skirt! The little bunting flags are only sewn down along the top, which allows them to flap up and down in the wind.
Little ones will love wearing and playing with the little bunting flags and it is a perfect way to mix and match fabrics! We hope you love this little project as much as we do and we hope you will share your finished projects with us on BERNINA’s and Violette Field Threads Facebook pages!
To create The Banner Day Skirt we used our BERNINA 350 PE. We used the BERNINA Reverse pattern foot #1 and also the BERNINA Zipper foot #4 .
Materials to sew The Banner Day Skirt:
- Sewing Thread—We continue to recommend Aurifil Thread for its beauty and durability.
- Sewing Pins
- Scissors
- Rotary Mat & Cutter
- Iron
- Your sewing machine
- Bunting Flag Template
Fabric Recommendations:
Cotton, Cotton Blends, Wool Blends, Flannel, Corduroy. NOTE: The bunting flags may also be cut from wool felt.
Finished Measurement Chart:
| 2T | 3T | 4T | 5 | 6 | 7 | 8 | 9,10 | |
| Waist | 19-20″ | 20-21″ | 21-22″ | 22-23″ | 23-24″ | 24-25″ | 25-26″ | 26-27″ |
| Length | 10 1/2″ | 11 3/4″ | 12 3/4″ | 13 3/4″ | 14 3/4″ | 15 3/4″ | 16 3/4″ | 17 3/4″ |
Fabric Requirements:
| 2T | 3T | 4T | 5 | 6 | 7 | 8 | 9,10 | |
| Waistband Front & Back | 1/4 yd. | 1/4 yd. | 1/4 yd. | 1/4 yd. | 1/4 yd. | 1/4 yd. | 1/4 yd. | 1/4 yd. |
| Skirt Front & Back | 3/4 yd. | 3/4 yd. | 3/4 yd. | 1 yd. | 1 yd. | 1 yd. | 1 yd. | 1 yd. |
| Medium Bunting Flags (20-25 flags)* | 1 yd. | 1 yd. | 1 yd. | 1 yd. | 1 yd. | 1 yd. | 1 yd. | 1 yd. |
| Small Bunting Flags (35-40 flags)* | 3/4 yd | 3/4 yd. | 3/4 yd. | 3/4 yd. | 3/4 yd. | 3/4 yd. | 3/4 yd. | 3/4 yd. |
*The Bunting Flags can be cut from one fabric, however this is also the perfect time to use up your fabric scrap bin and really mix and match some fabrics. They can also be cut from felt if desired.
Notions:
- 1 yard of ½” wide elastic
- 2.5 yards of ½”-1″ ribbon or lace
Cutting Chart (Cut out all pieces according to the chart below):
| 2T | 3T | 4T | 5 | 6 | 7 | 8 | 9,10 | |
| Waistband (cut 2) | 3 1/2″ x 12″ | 3 1/2″ x 12 1/2″ | 3 1/2″ x 13″ | 3 1/2″ x 13 1/2″ | 4″ x 14″ | 4″ x 14 1/2″ | 4″ x 15″ | 4″ x 15 1/2″ |
| Skirt Front (cut 2) | 10 1/2″ x 35″ | 11 1/2″ x 35″ | 12 1/2″ x 36″ | 13 1/2″ x 36″ | 14 1/2″ x 37″ | 15 1/2″ x 37″ | 16 1/2″ x 38″ | 17 1/2″ x 39″ |
| Elastic (cut 1) | 6″ | 6 1/2″ | 7″ | 71/2″ | 8″ | 8 1/2″ | 9″ | 9 1/2″ |
Bunting flags (download pattern above).
Fabric: Place two fabric pieces together with the right sides touching and lay the pattern piece on top. Cut through both layers, repeat for all flags.
Felt: Place the pattern piece on top of the wool felt and cut the flags.
Sewing Instructions for the Banner Day Skirt Tutorial:
Creating the Bunting: (if you have felt triangles, skip down to step # 4)
All Seam Allowances are 1/2″.
1.Place two bunting pieces right sides together and pin along both long, diagonal sides. Sew together along the pinned sides, leaving the bottom edge open for turning.
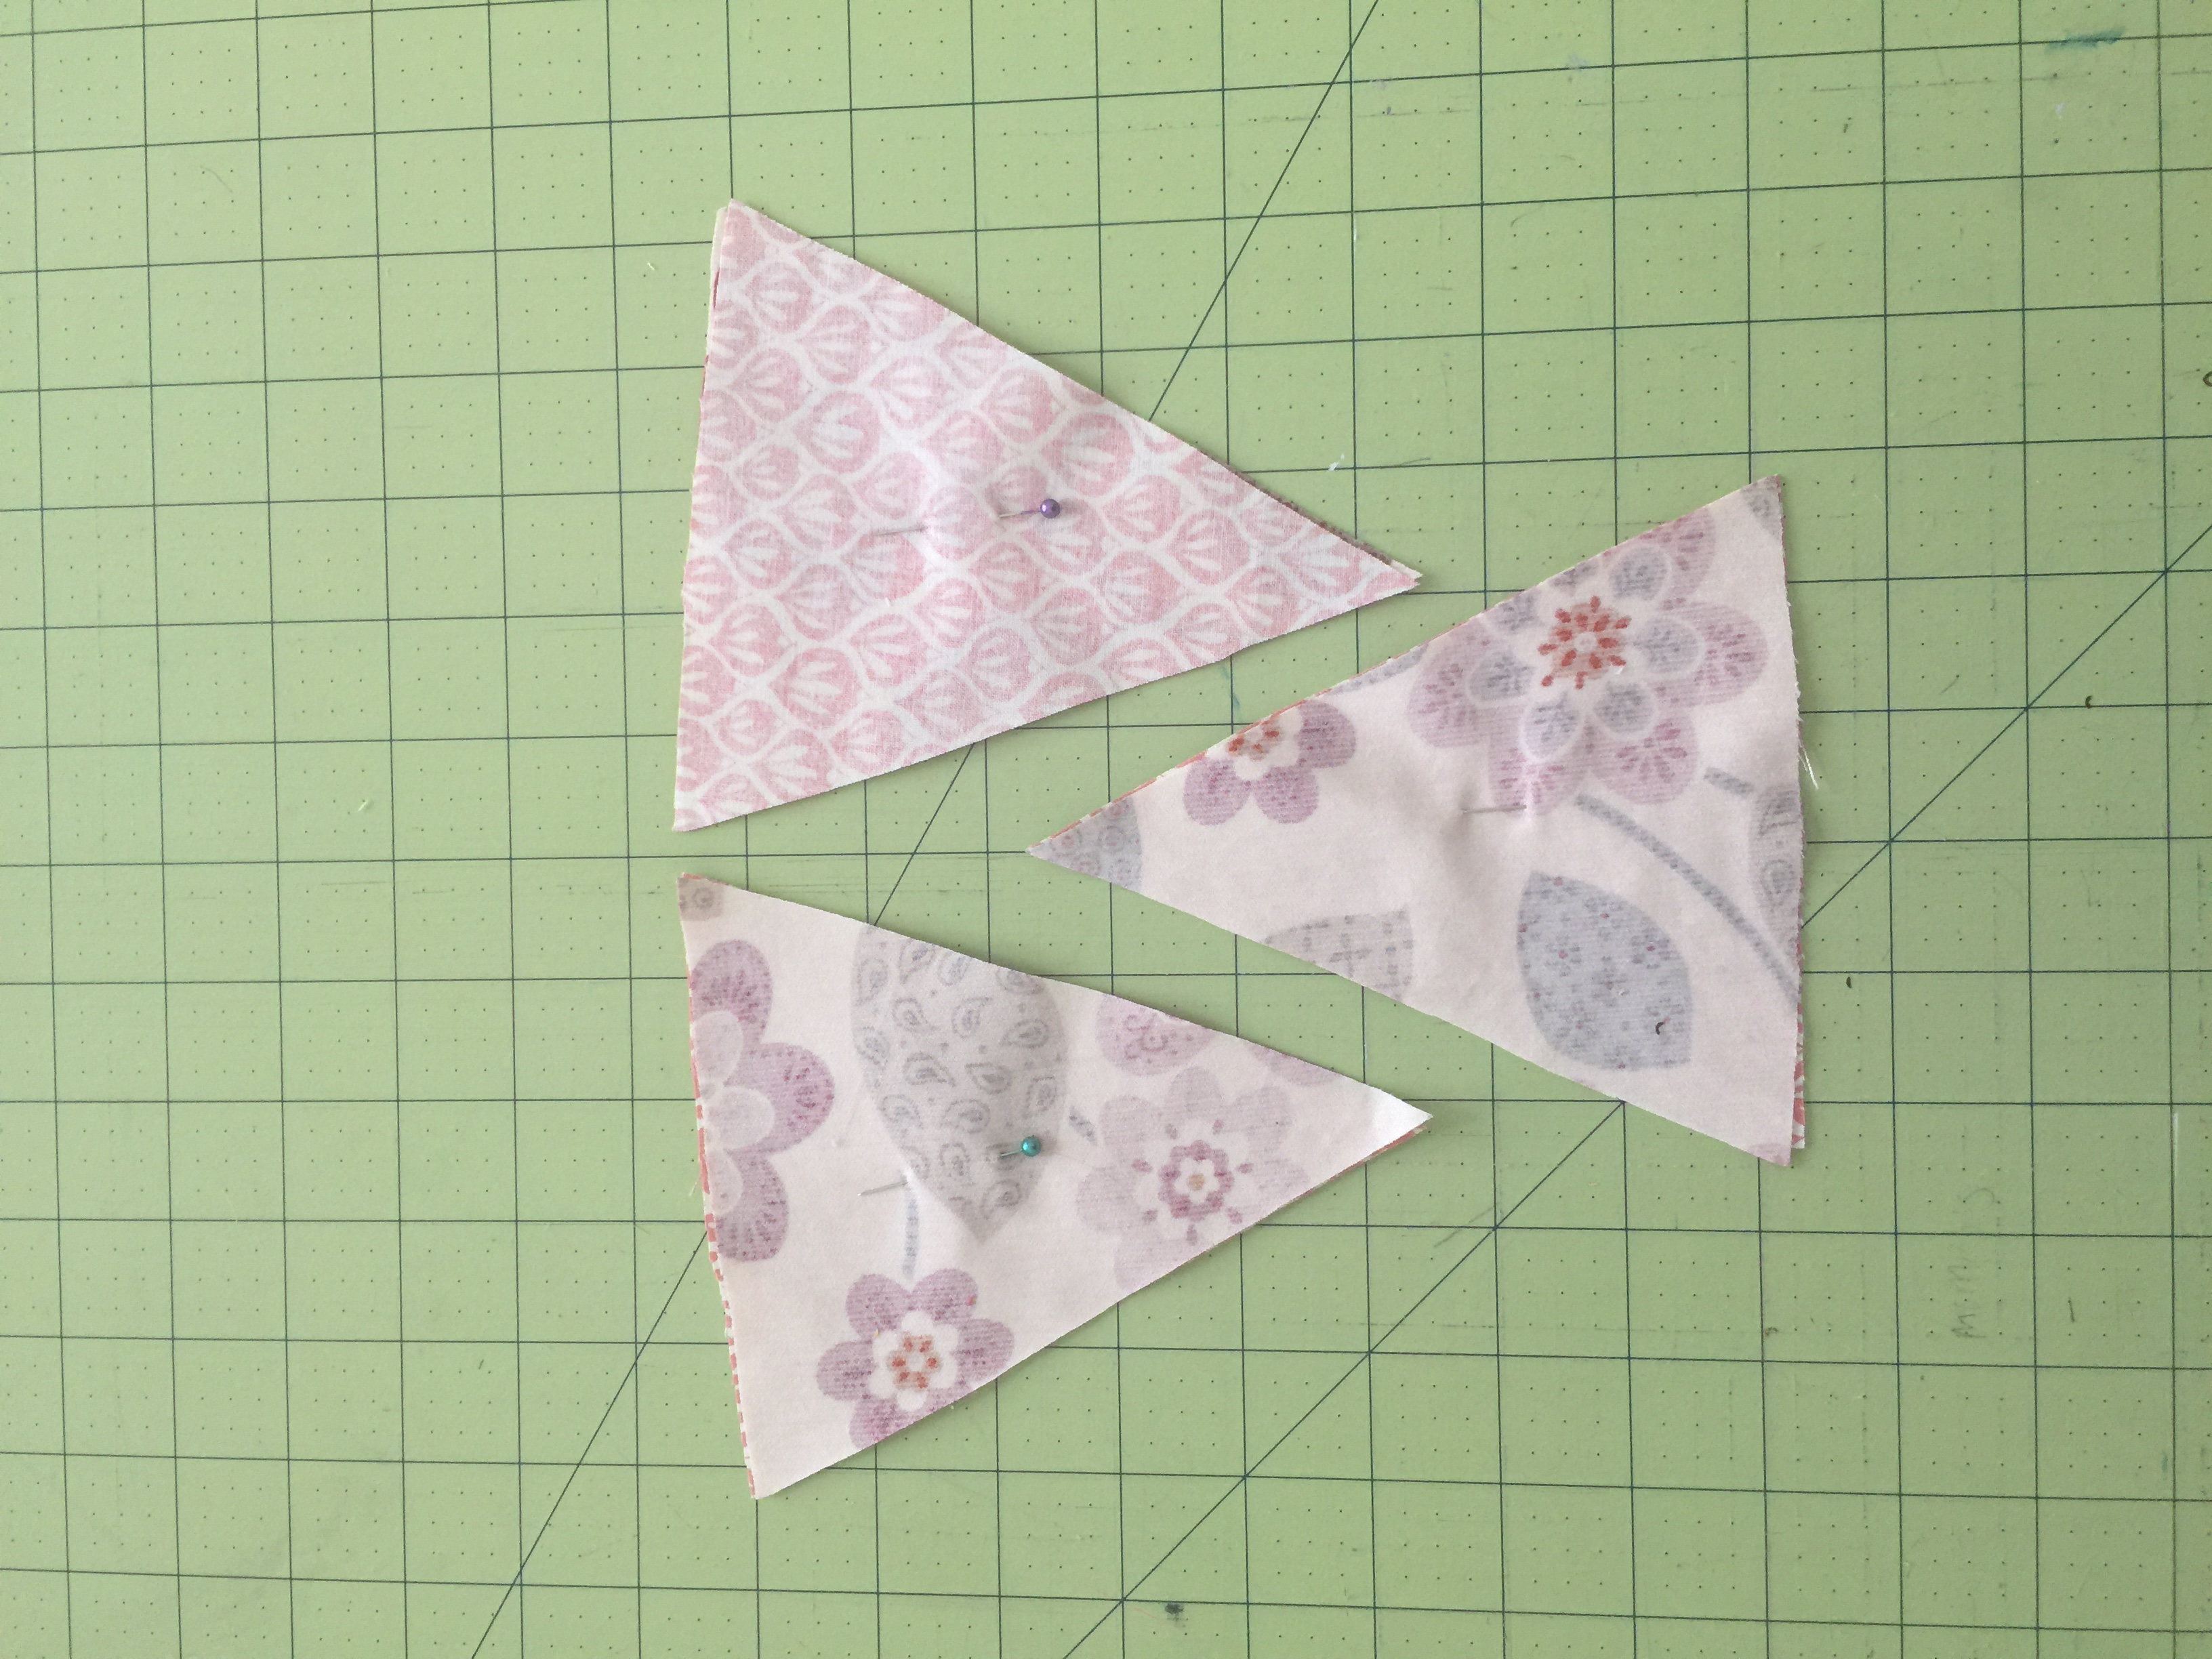
2. Trim off ½ of the seam allowance and clip the corner, turn the triangle right side out. NOTE: You may need to use a turning tool to poke out the to of the triangle. Iron flat.
3. Repeat for all the remaining bunting triangles.
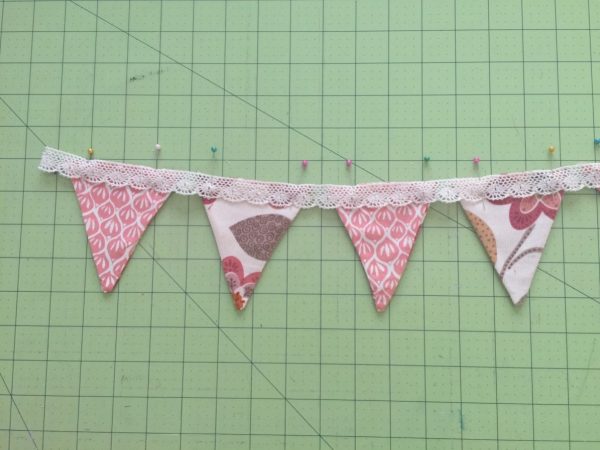
4. Pin the bunting triangles on the wrong side of the lace or ribbon. The raw open edge should be pinned to the ribbon, with the triangle pointing down. The side edges will overlap slightly. Once they are all pinned, sew a basting stitch to secure them to the ribbon or lace. Set bunting aside. DESIGN TIP: We recommend leaving 1/2″-3/4″ space between the triangles.
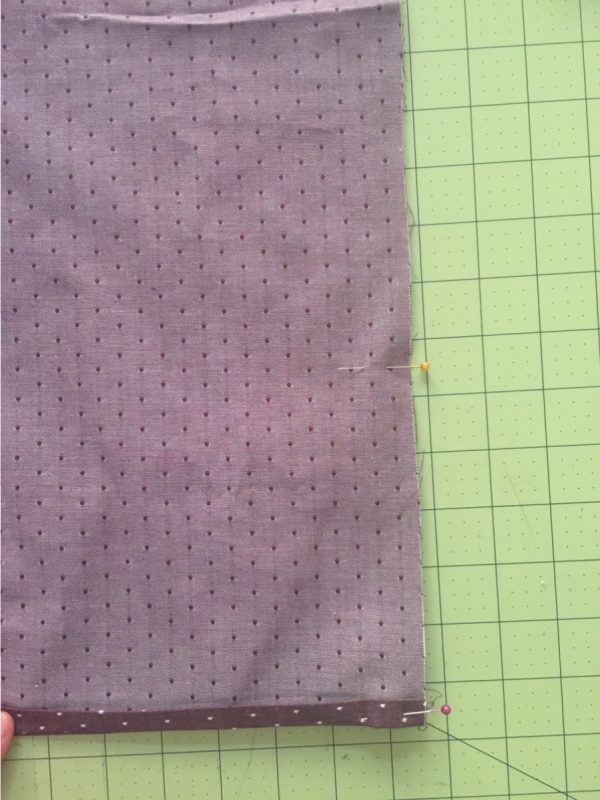
5. Hem the bottom skirt edge. Turn the bottom raw edge up 1/4″ and iron flat. Turn up another 1/2 ” and iron flat. Sew right around the hem. Place the skirt front and back together with the right sides touching and the raw edges lining up. Pin together along one of the short side edges.
6. Sew together along the pinned seam. For a professional look, finish the edge with serger or trim off ½ of the seam and finish with a zig-zag stitch. Iron the seams flat. Set side.
Attach the Bunting Banner to the Skirt:
The Bunting Banner can be attached to create two different looks.
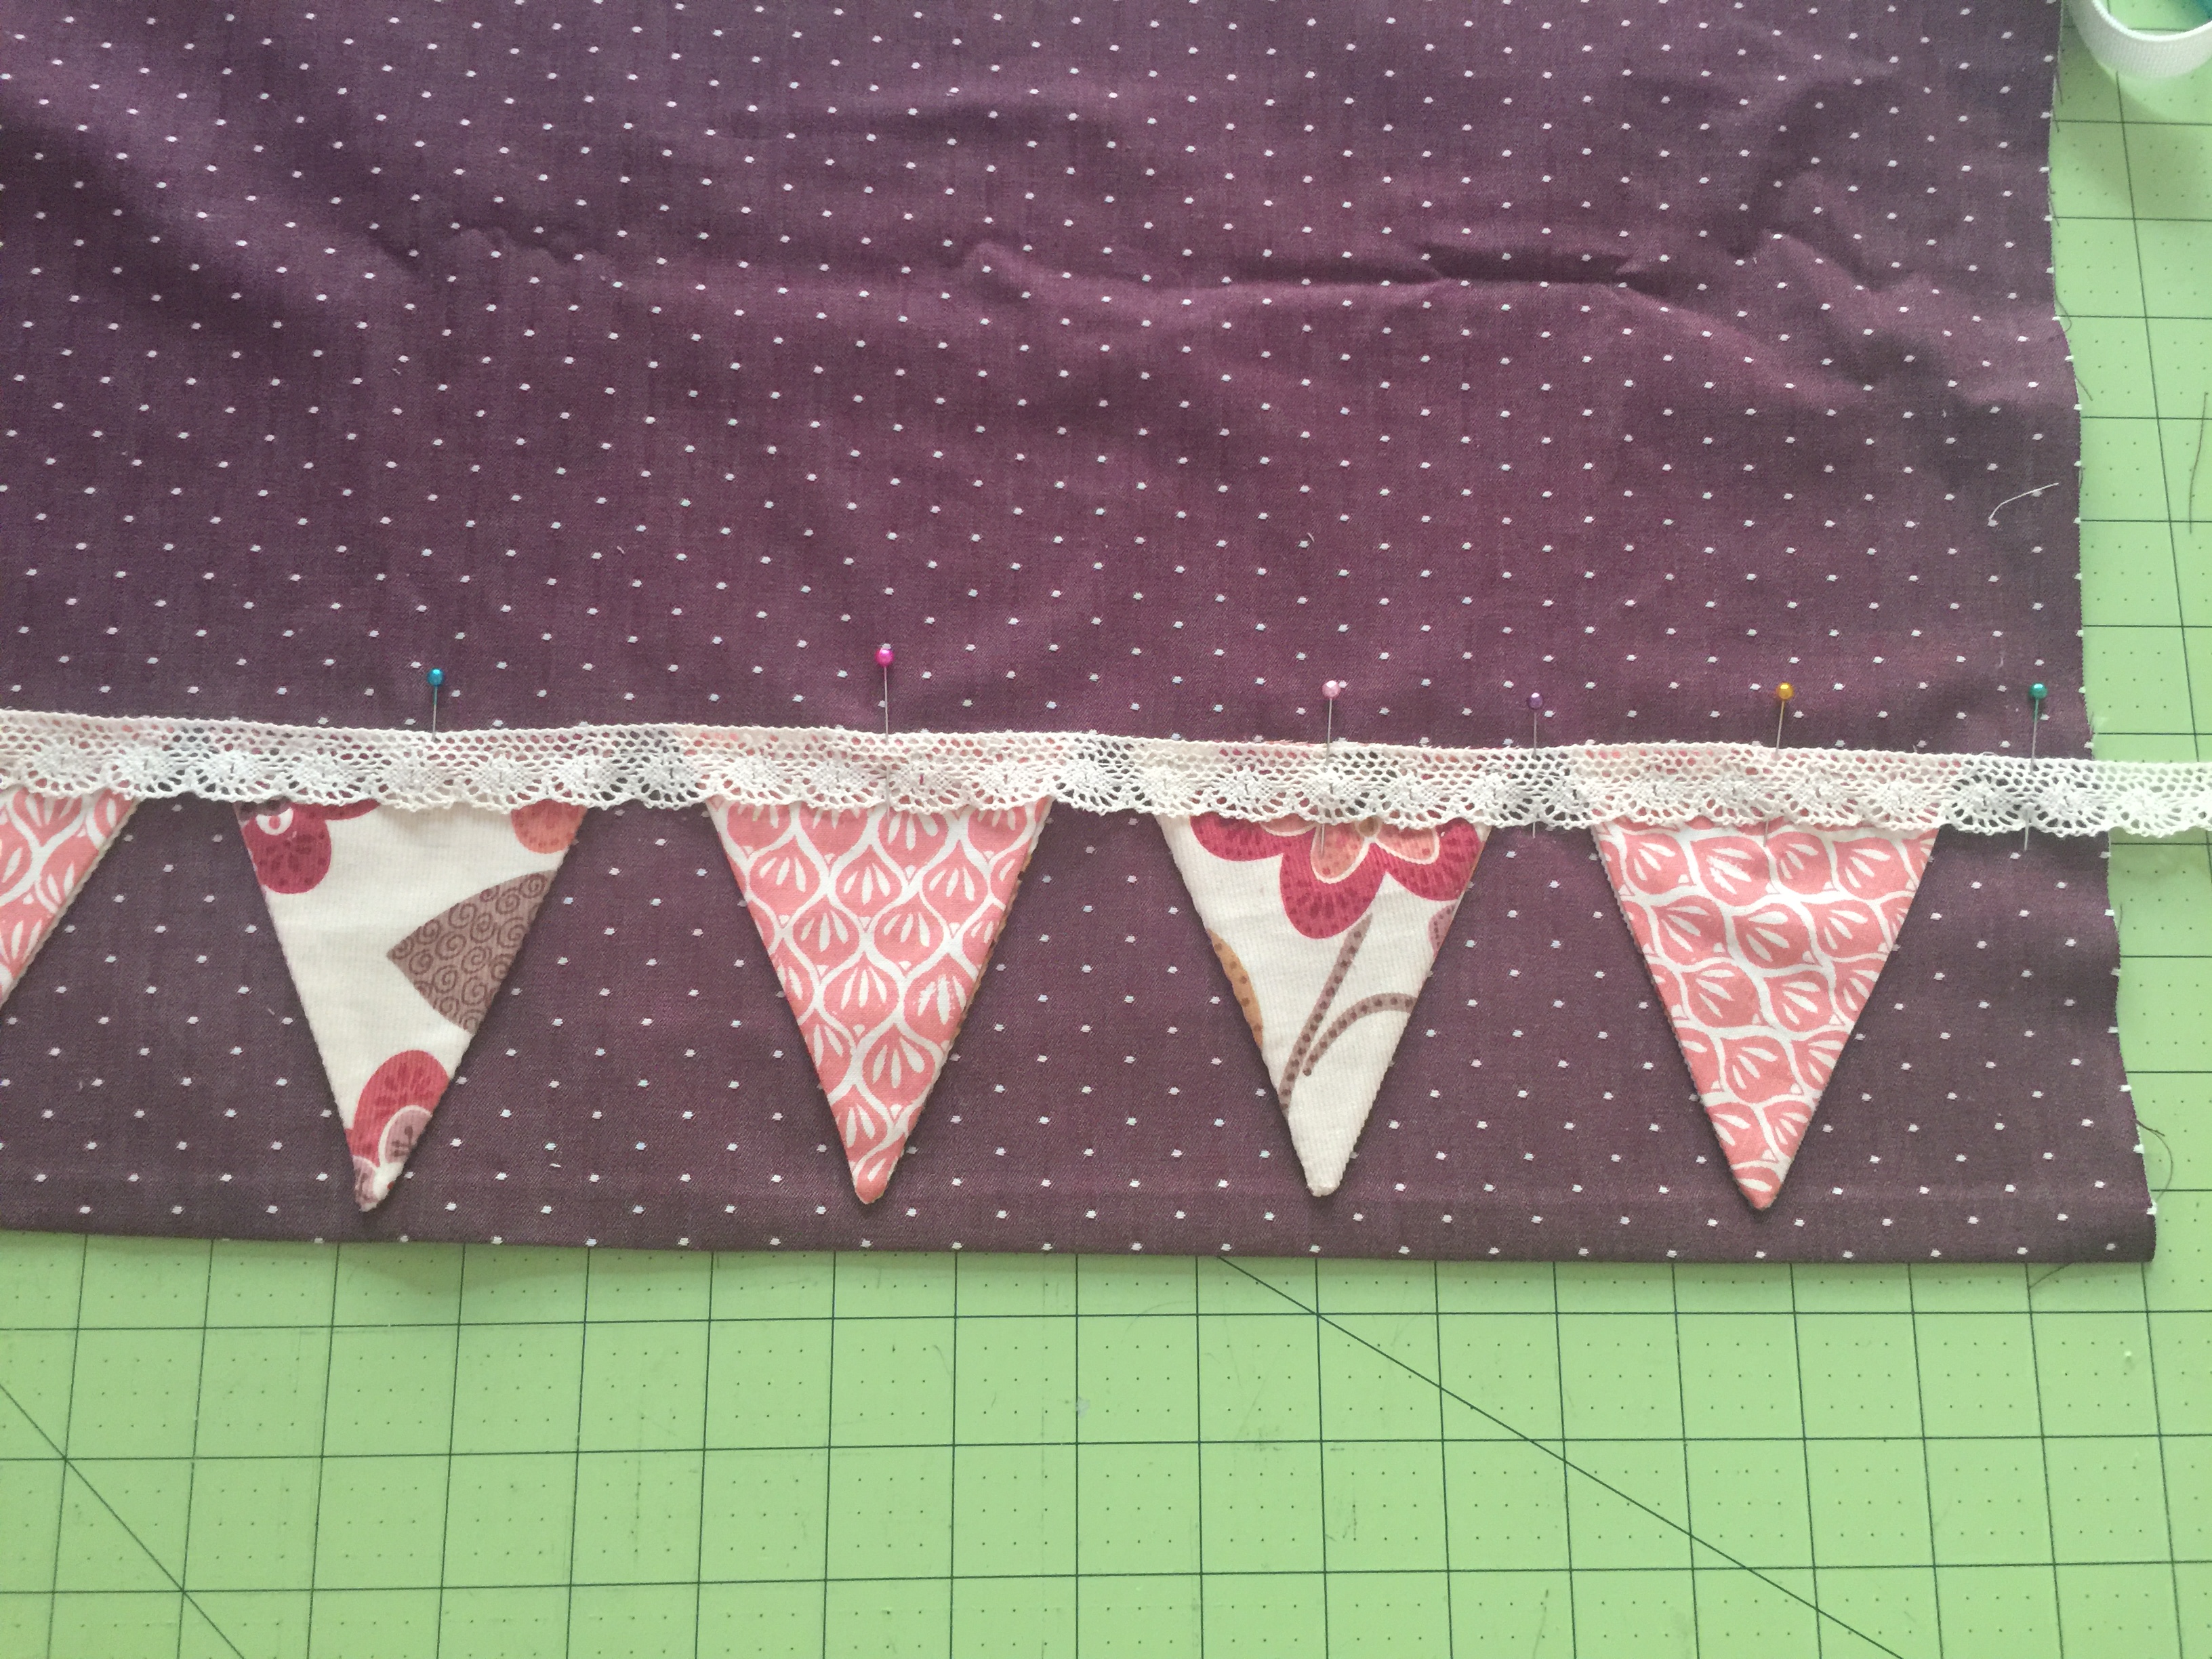
7. Pin the ribbon right along the skirt and skirt bottom panel seam. In addition to this look the bunting banner can be attached in a whimsical swirl pattern. There is no “wrong” way to design the bunting banner onto your skirt.
8. Sew the bunting banner to the skirt. NOTE: If you are attaching the banner with a cord or narrow ribbon, you may find it best to use your zipper foot.
9. Place the skirt front and back together with the right sides touching and pin together along the remaining open short side edge. Sew together along the pinned seam. For a professional look, finish the edge with a serger or trim off ½ of the seam and finish with a zig-zag stitch.
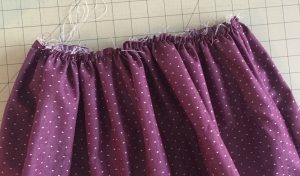
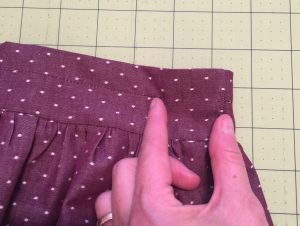
10. Sew two rows of gathering stitches along the top raw edge and set aside.
Creating the Waistband:
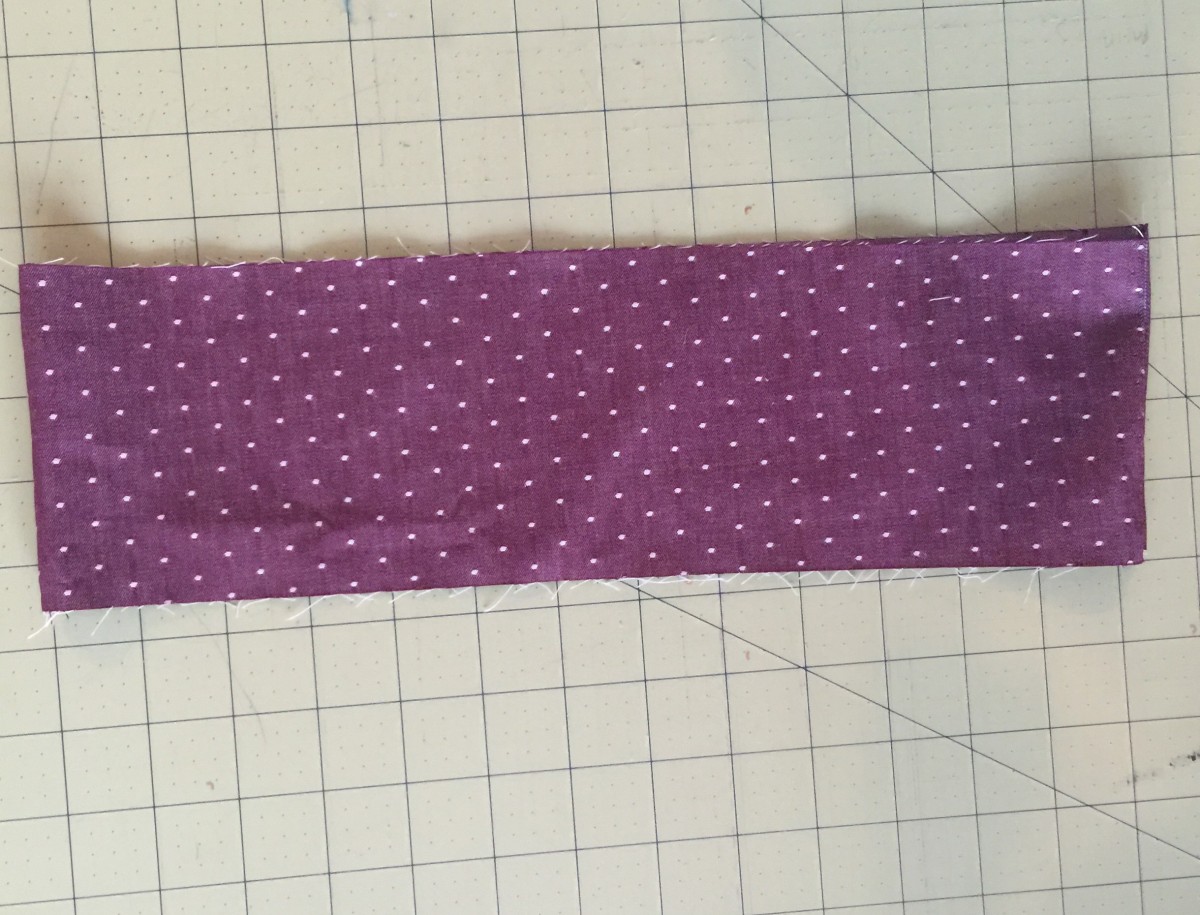
11. Place the waistband pieces together with the right sides touching and the raw edges lining up. Pin together along both short side edges. Sew together along the pinned seam. For a professional look, finish the edge with a serger or trim off ½ of the seam and finish with a zig-zag stitch.
12. Gather the skirt up until it is the same width as the waistband.
13. Place the waistband on top of the skirt with the right sides touching. Line up the side seams and pin all the way around. Adjust gathers as necessary.
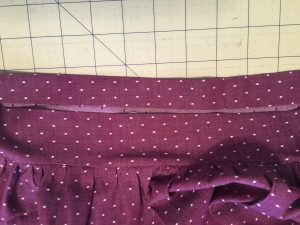
14. Sew around the pinned seam. For a professional look, finish the edge with a serger or trim off ½ of the seam and finish with a zig-zag stitch. Iron the seam allowance up towards the waistband and top-stitch right above the newly sewn seam.
15. Iron the top raw edge of the skirt down 1/2″ and iron flat. Iron down another 1″ and iron flat.
16. Sew across the front waistband with a ¾” seam allowance. Sew across the back waistband but leave a 1″opening on each side; thus creating a casing for the elastic.
Cut elastic according to the chart below:
| 2 | 3 | 4 | 5 | 6 | 7 | 8 | 9,10 |
| 8″ | 8 1/2″ | 9″ | 9 1/2″ | 10″ | 10 1/2″ | 11″ | 11 1/2″ |
17. Attach one end of elastic to a safety pin and guide safety pin into back casing. When only approximately ½” is sticking out on each side, tuck that ½” into the front waistband casing and pin to hold into place.
18. Sew down waist side seams to secure elastic at each side. Sew across both side openings to close elastic casing.
19. You have now sewn The Banner Day Skirt!
We hope you have thoroughly enjoyed our tutorial, please share the love with your friends and join us over at Violette Field Threads for more great sewing patterns and tutorials!
xoxo,
Ericka & Jessica
