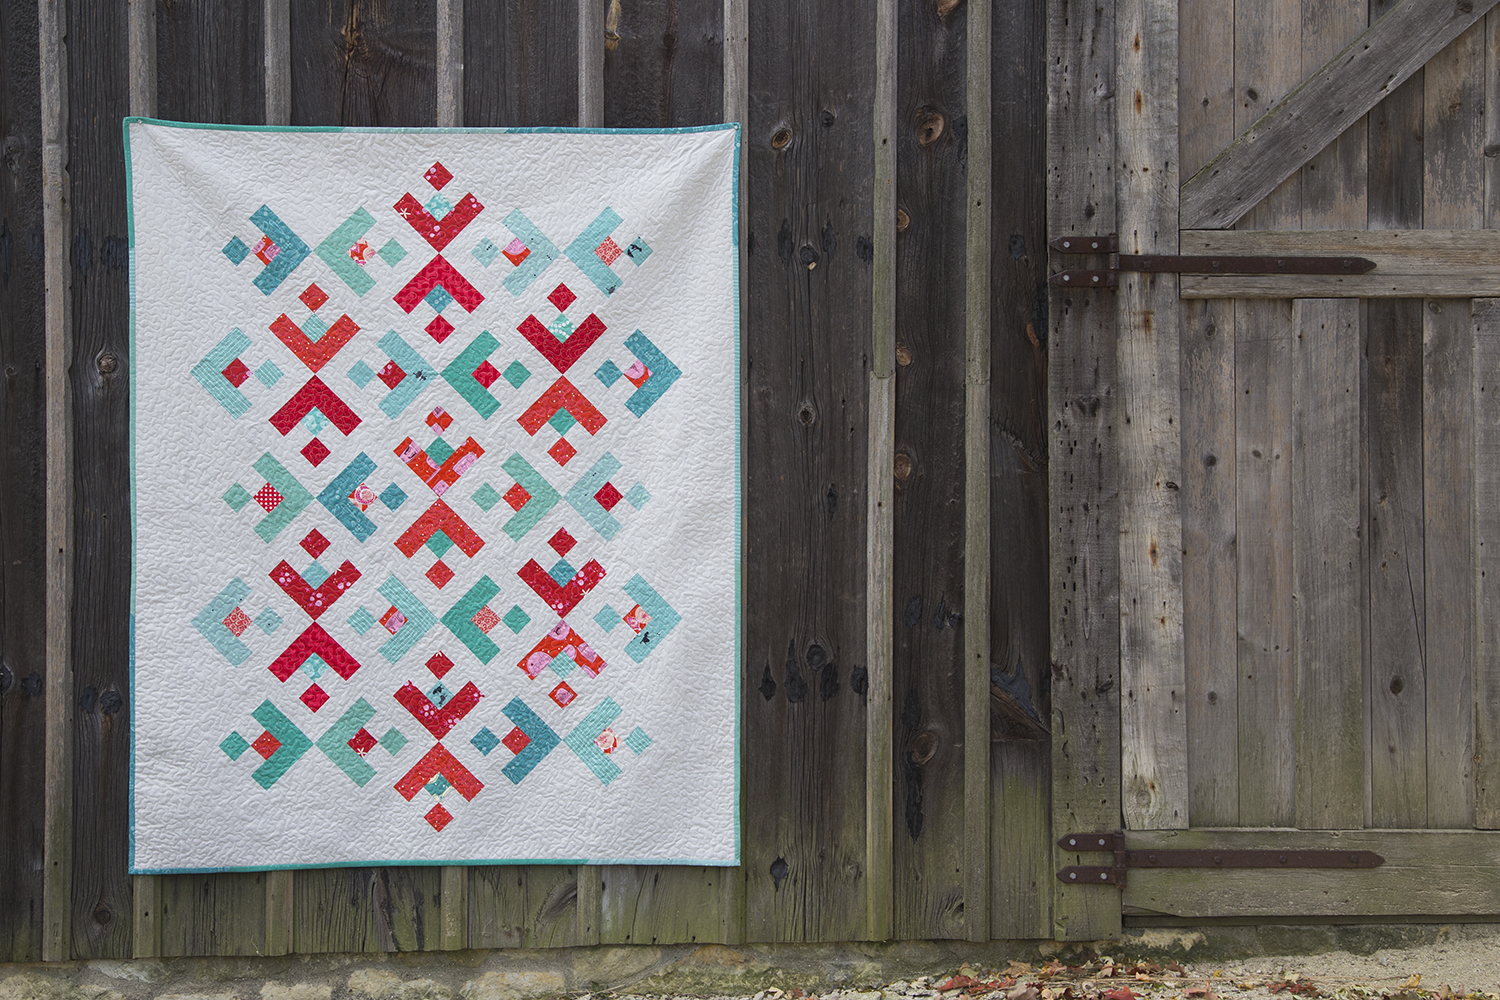
Beaded Lanterns Quilt Along Week 4 – Backing and Basting
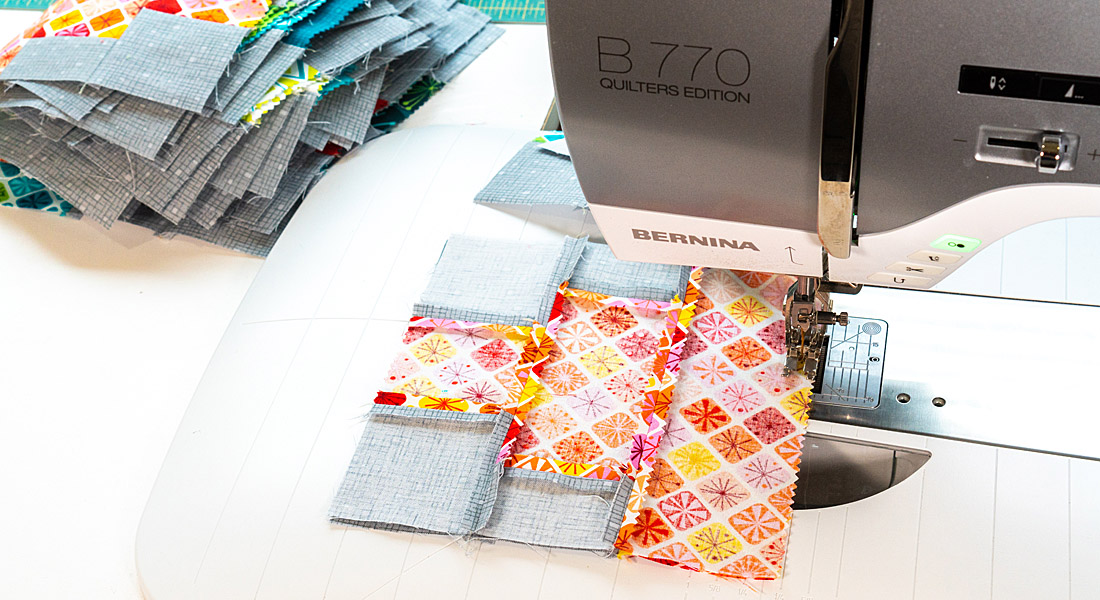
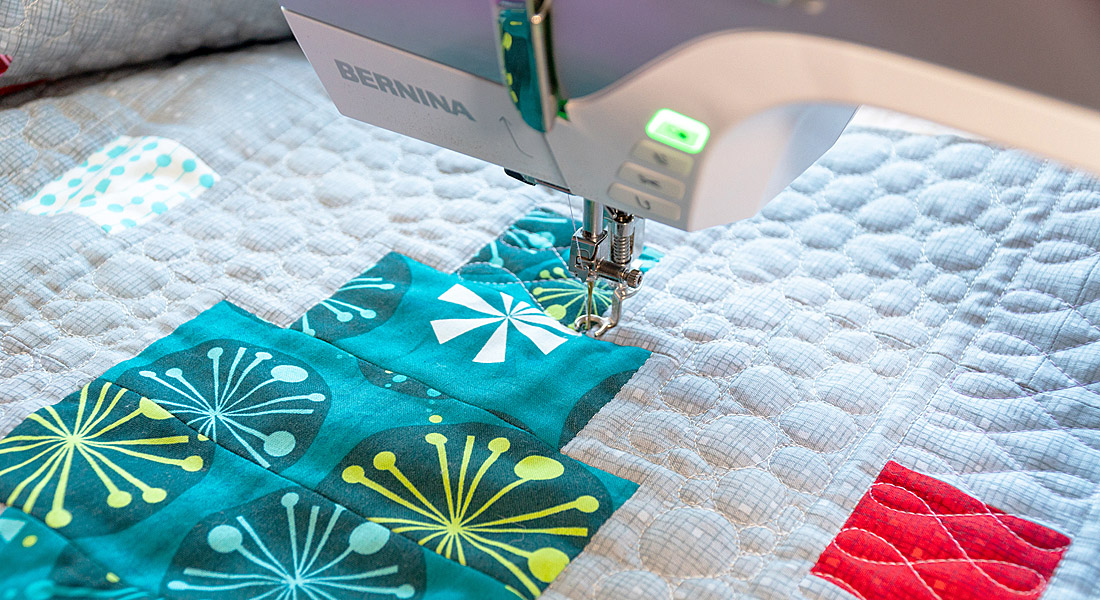
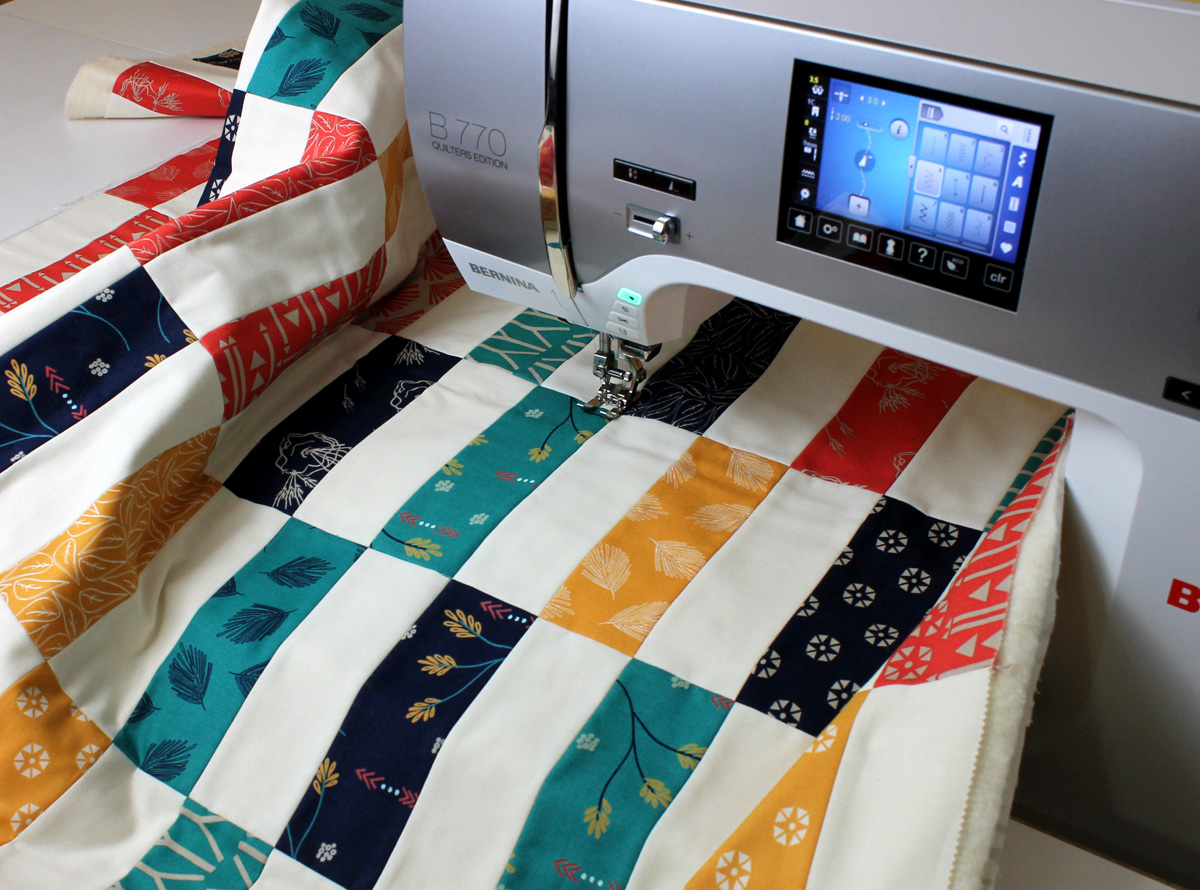
Welcome to week 4 of the Beaded Lanterns Quilt Along, hosted by me, Christa Watson and made from start to finish on my BERNINA 770 QE. If you have missed any of the prior tutorials, scroll to the end of this post for relevant links. This quilt along will stay up indefinitely, so you are welcome to make the quilt on your own time, at your own pace!
This week, we will sew the quilt backing and baste the quilt in order to prepare it for my favorite part of the quilt-making process – machine quilting – next week! My method below uses 505 basting spray and a design wall, but you can adapt this technique using your own favorite methods or tools.
Step 1 – Sew the Backing
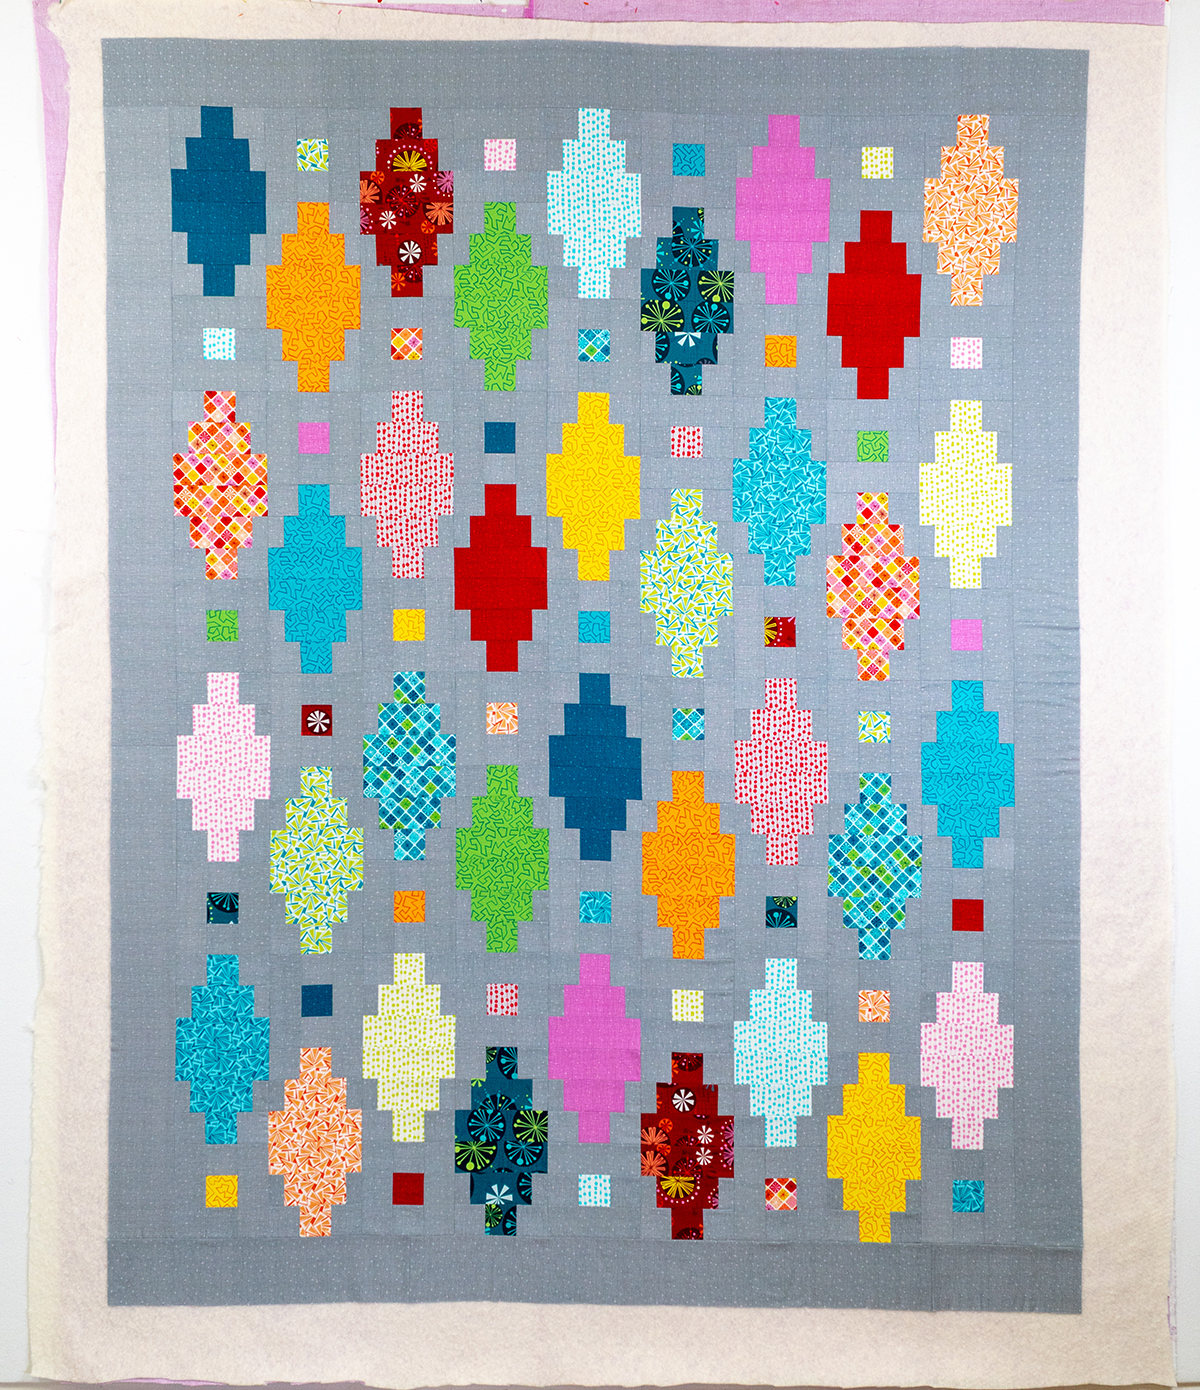
First I measure the quilt top to ensure that my backing is about 5″ larger on all four sides (or 10″ larger than the finished quilt top). In this case, Beaded Lanterns should measure roughly 62″ x 80″ so I will need to sew a piece of backing that measures approximately 72″ x 90″. Five yards cut in half will give me two pieces that measure roughly 42″ x 90″ each. I used the Confetti Crosshatch print in Lilac from my Fandangle fabric line, but any coordinating fabric will do!

Trim off the selvage edges, then sew the two pieces together parallel to the selvages with 1/2″ seam, pressed open. This will give create a rectangle of approximately 80″ x 90″ which is more than enough to cover the quilt top. I trimmed off the extra 8″ off of one long side and throw it in my scrap bin. This ensures that the backing seam will not fall in the middle of the quilt.
I will be quilting this quilt on my domestic machine; if you will be using a long arm to quilt your version, you may need even more extra around the edges.
Step 2 – Prepare the Batting
I want my backing to be bigger than the quilt top, but not bigger than the backing so I can see each layer as I baste. Therefore my backing piece should be about 3″-4″ bigger than the quilt top (6″ – 8″ total), or about 68″ x 86″. I usually use a 90″ wide roll of batting so that makes it easy to cut down the batting. In reality I don’t measure the batting precisely; I just unroll it and place the quilt top on top, then roughly cut it a few inches bigger than the quilt top.

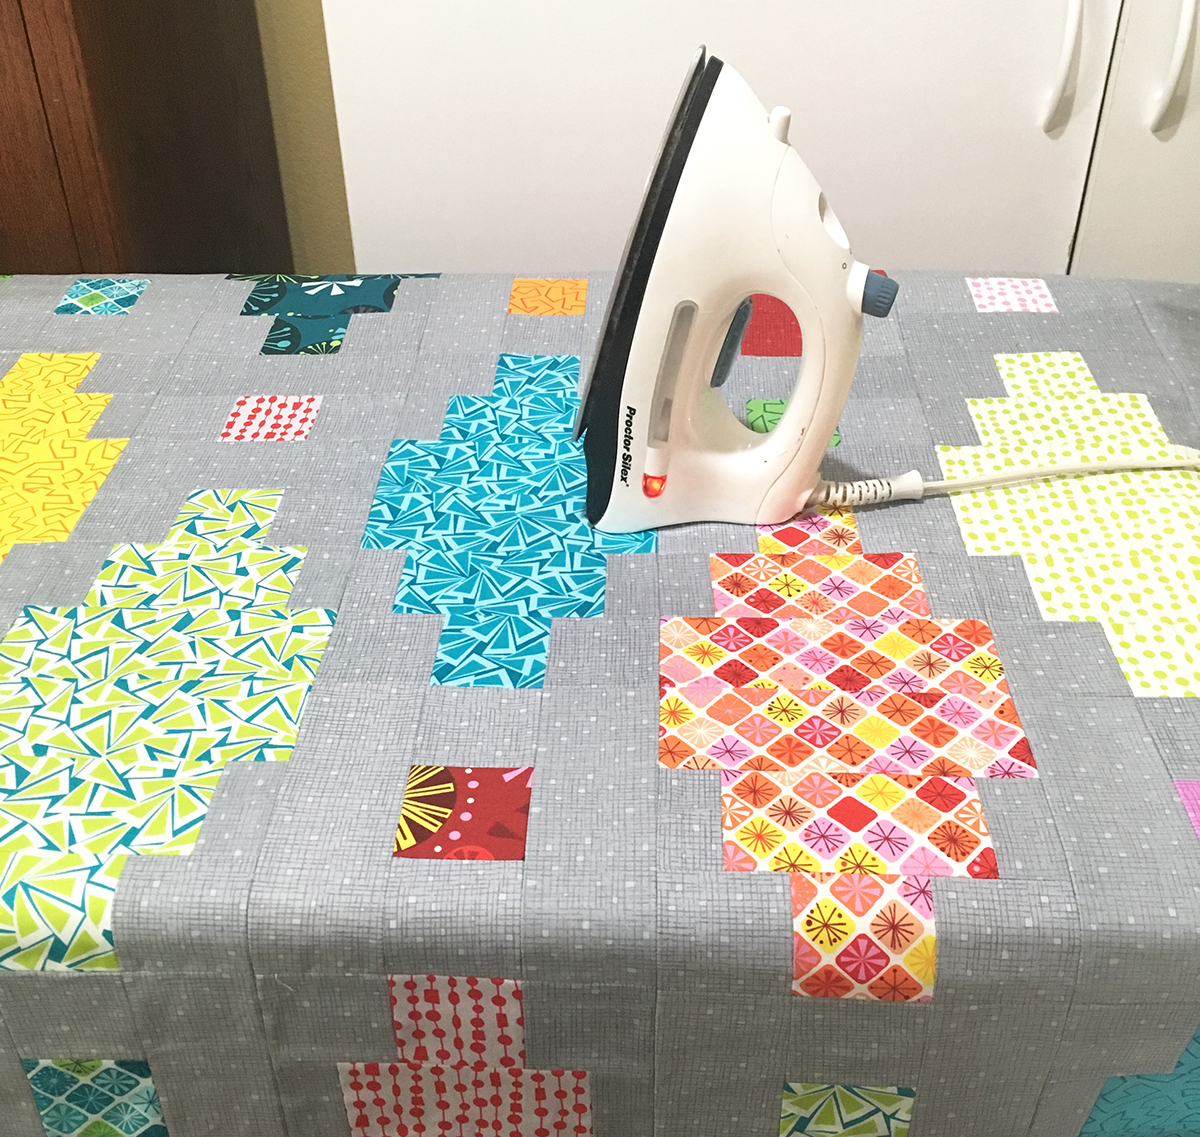
The other thing I’ll do before I baste is iron the batting with a hot, dry iron so that it’s nice and flat. Getting the quilt as flat as possible makes it so much easier to “scrunch and smoosh” under the machine! I prefer to use a natural fiber batting (cotton, wool, silk, bamboo, etc.) Natural fiber tends to cling to the quilt, preventing shifting and puckering. And if you use natural fiber materials in your quilt (cotton thread, cotton fabric, natural fiber batting), it won’t get stiff no matter how much you quilt it! Just remember to test first before you iron the batting, and use a scrap of fabric on top of the batting when using a more delicate batting like wool or silk.
Step 3 – Spray the Layers
Take the two fabric layers outside to spray them with basting spray (my favorite is 505.) Use a large sheet as a dropcloth to catch the overspray and use a table to keep the quilt off the ground if possible. The table doesn’t have to be very large – just big enough so the quilt doesn’t drape on the ground. You can fold up the sprayed layers if needed. The spray is sticky but you can still fold and unfold the layers with no problem.
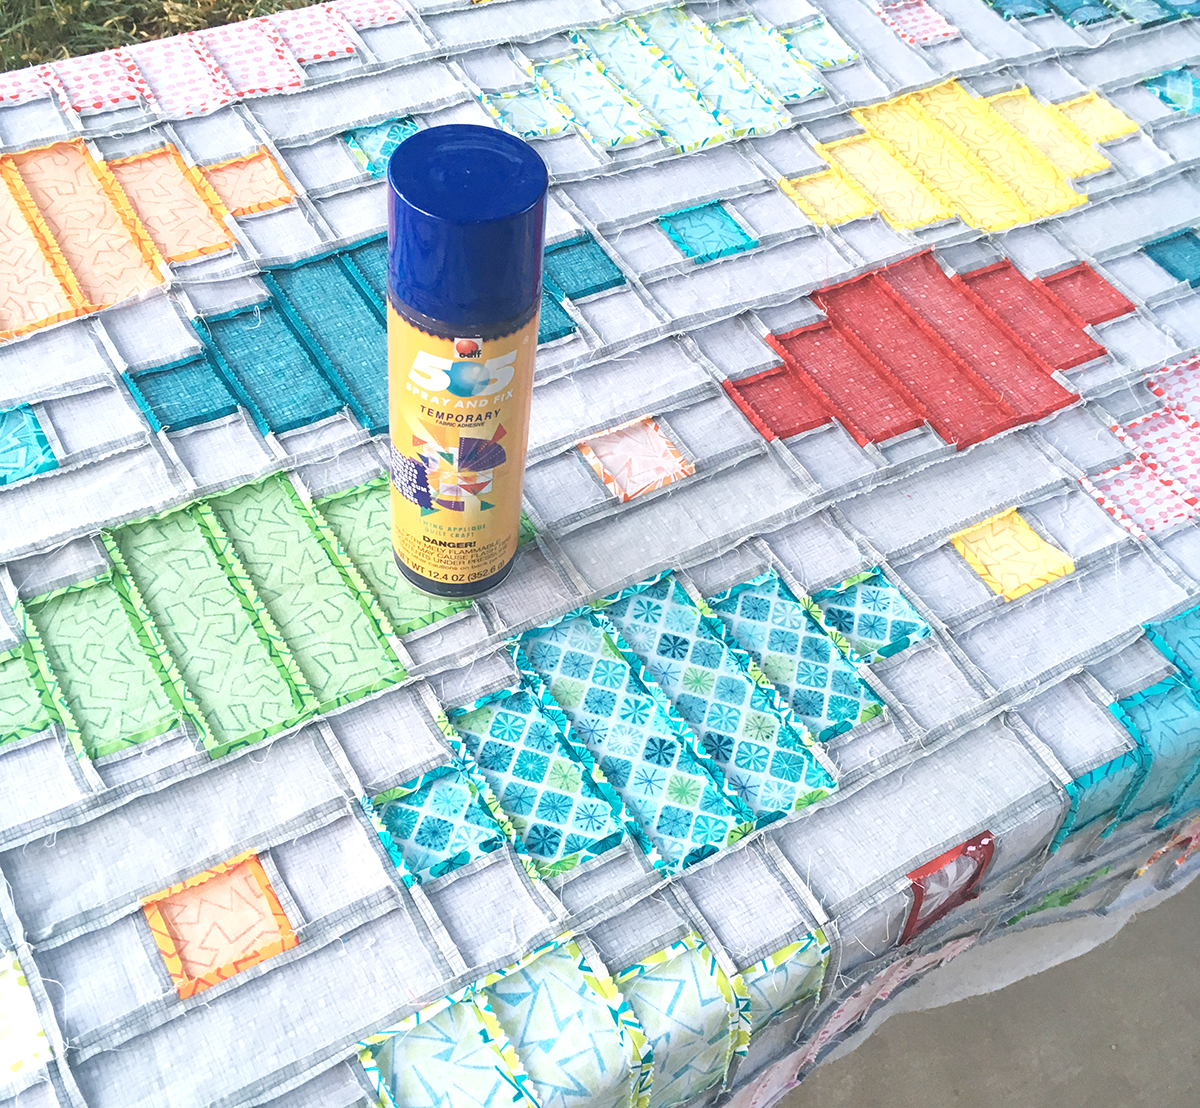
Spray the wrong side of the backing lightly and set it aside. Then spray the wrong side of the quilt top and bring both inside for final assembly.
Step 4 – Assemble the Layers
I do this on my design wall, but you can use a table instead, working on the center section first and then the sides.
First I hang up the backing fabric on my design wall. It’s made of foam-core covered with a white flannel sheet. I can stick pins into it if needed. I take plenty of time to smooth out the backing layer, wrong side up with my hands. This is the side with the spray. If any of the spray glue clings to my hands, it’s easy enough to wash off.
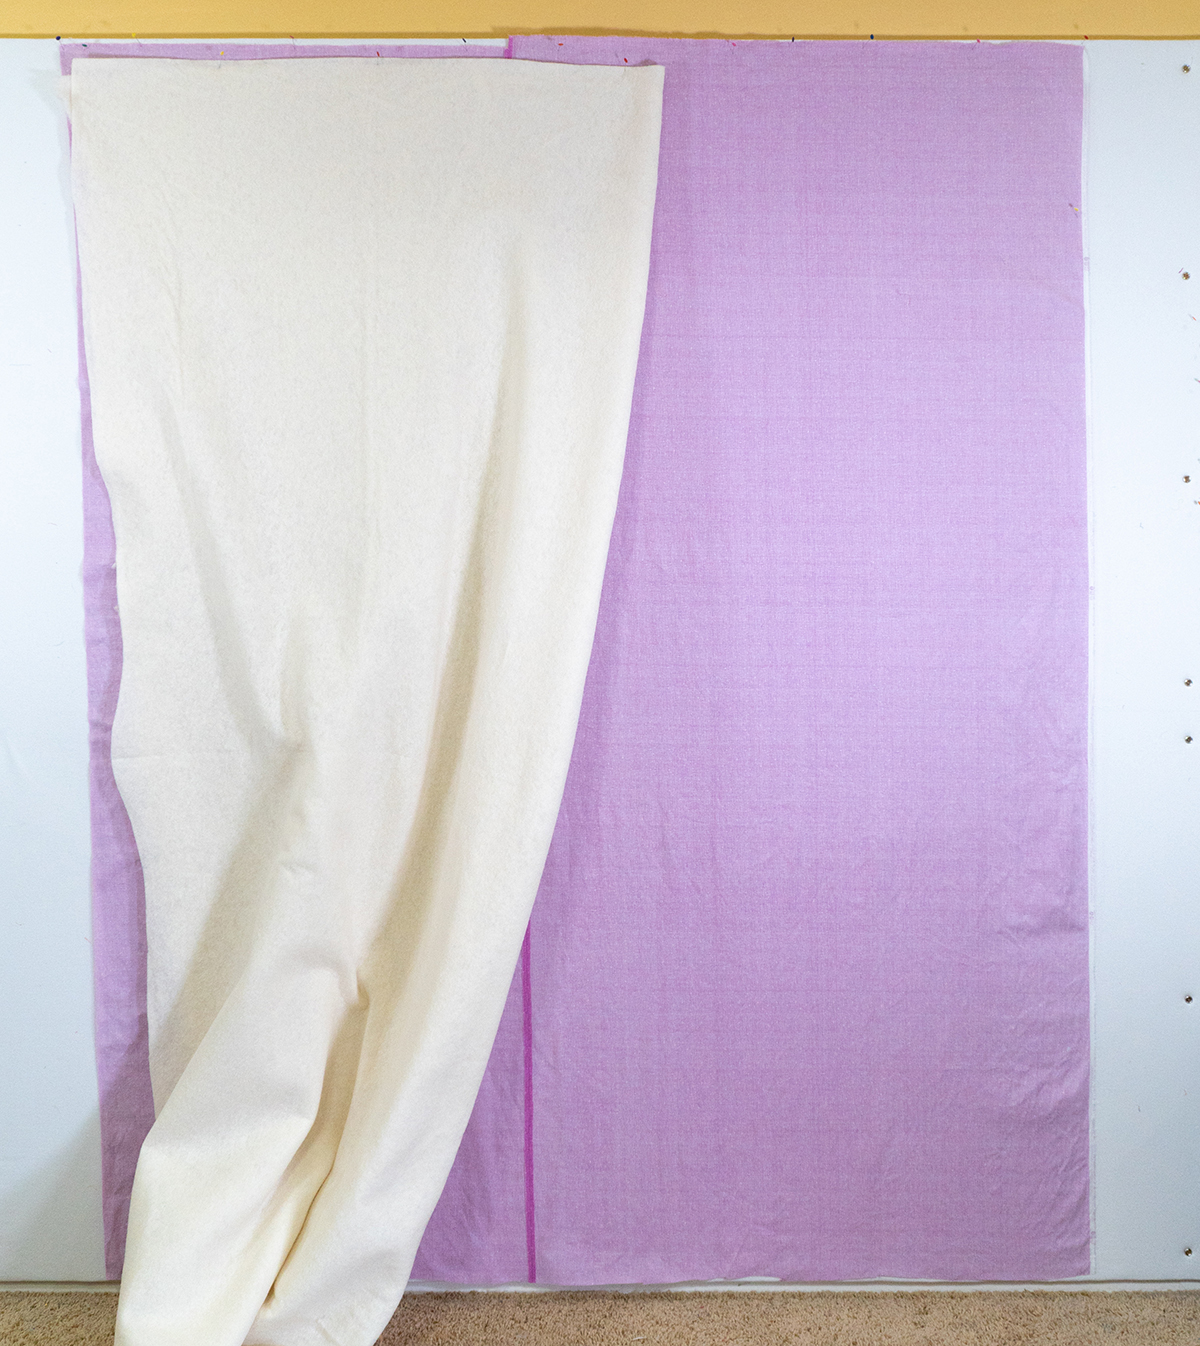
Next, I’ll add the batting layer by folding it in half and attaching one side to the backing and then the other side. Again, I spend a good chunk of time smoothing it all out, using a long acrylic ruler as an extension of my arm if needed. I can always lift up a corner of the batting and reposition it in place if needed.
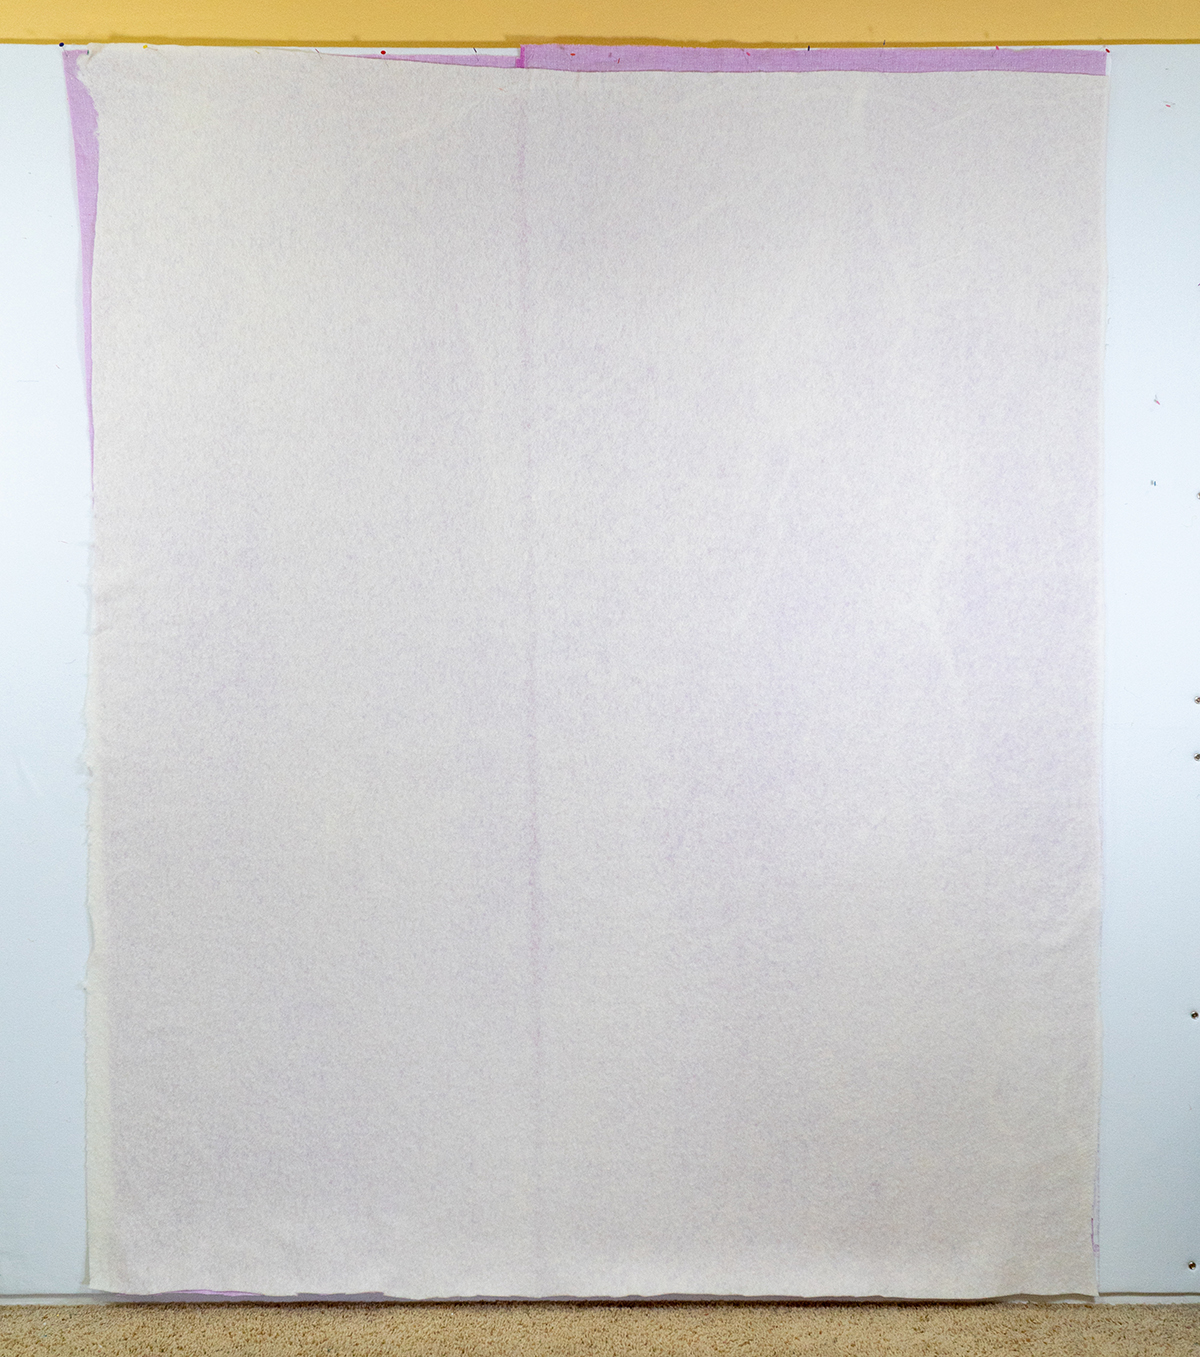
In the image above, it’s taken about 20-30 minutes to smooth out the batting so that there are no wrinkles, folds or bubbles. Notice how the batting isn’t centered perfectly on the quilt and that’s ok. the edges are a bit raggedy but that will all get trimmed away later. The important thing is that there’s plenty of extra batting and backing so it will make the top easy to sandwich.
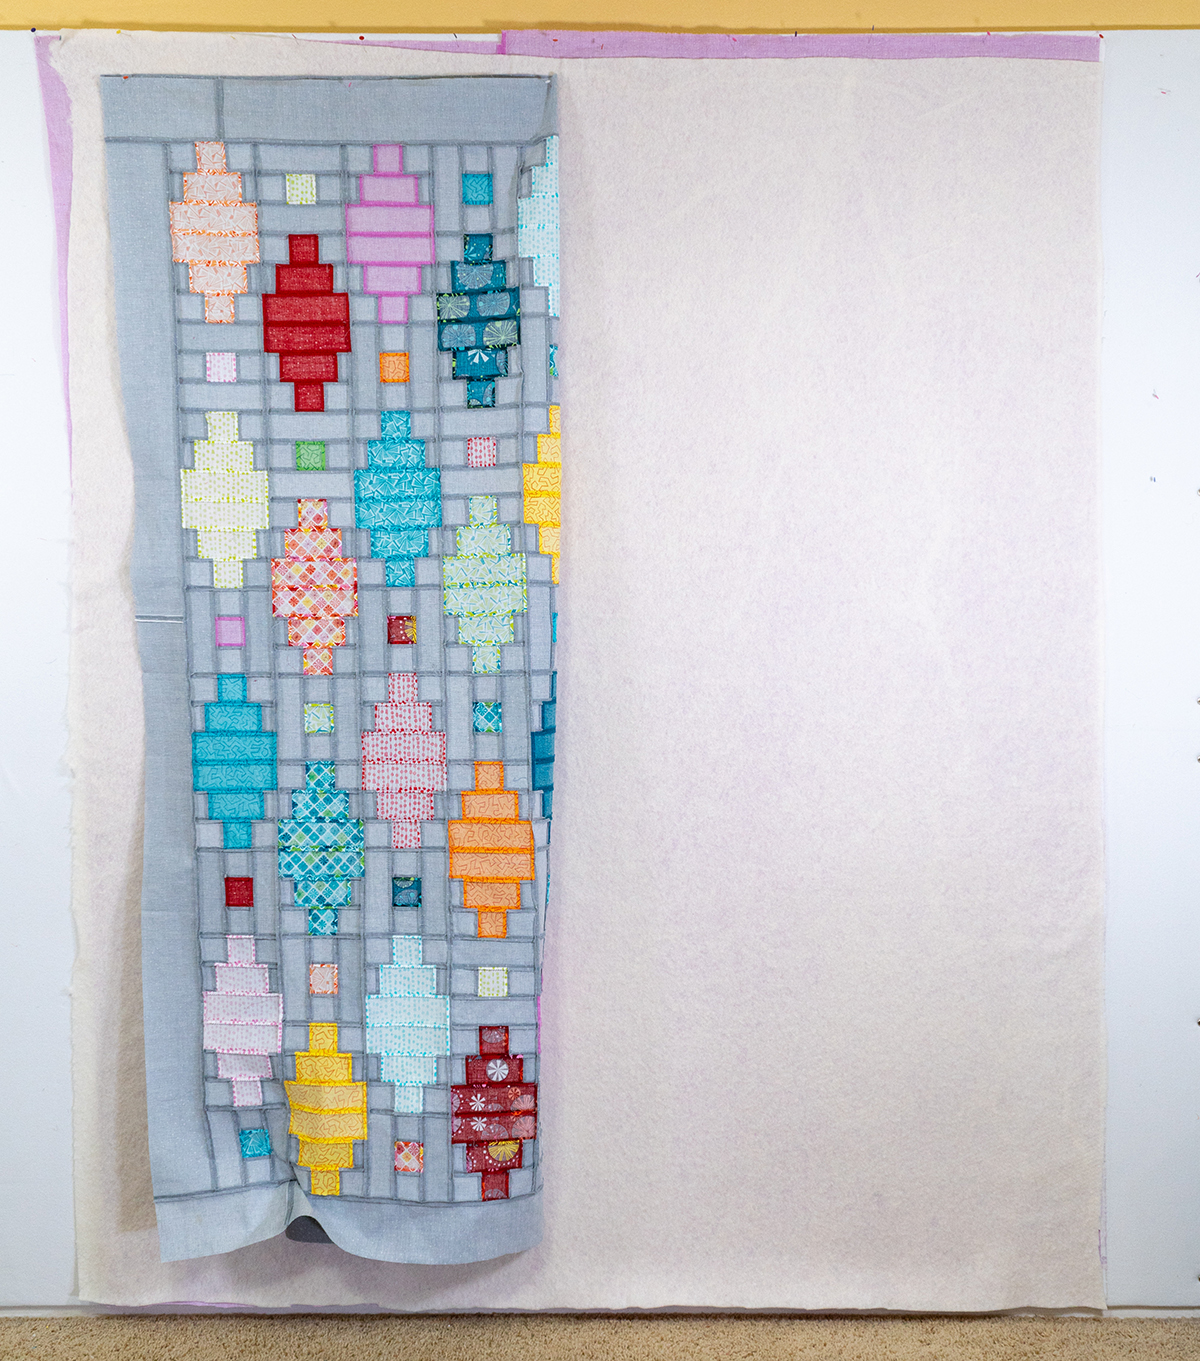
Finally, I’ll add the quilt top in the same manner, taking plenty of time to smooth it out. This is why it’s so important to have extra backing and batting so that I don’t have to line things up perfectly. The quilt top might stick to itself and that’s ok. Take the time to tug on it as needed and smooth everything in place.
Notice how there’s plenty of extra around three of the edges, but not quite as much on top. As long as there’s an inch or two sticking out on all sides, it will be fine. When I trim off the excess, I’ll use it to “warm up” when practicing my free-motion quilting.
I’ll also use the long ruler to help block the quilt back into place, sliding the ruler along the seam lines of the quilt to make them nice, flat, and straight.
Once all three layers are smoothed out and everything is looking nice and flat, I’ll trim up some of the excess backing and batting, using specialty batting shears that slice through the layers like butter!
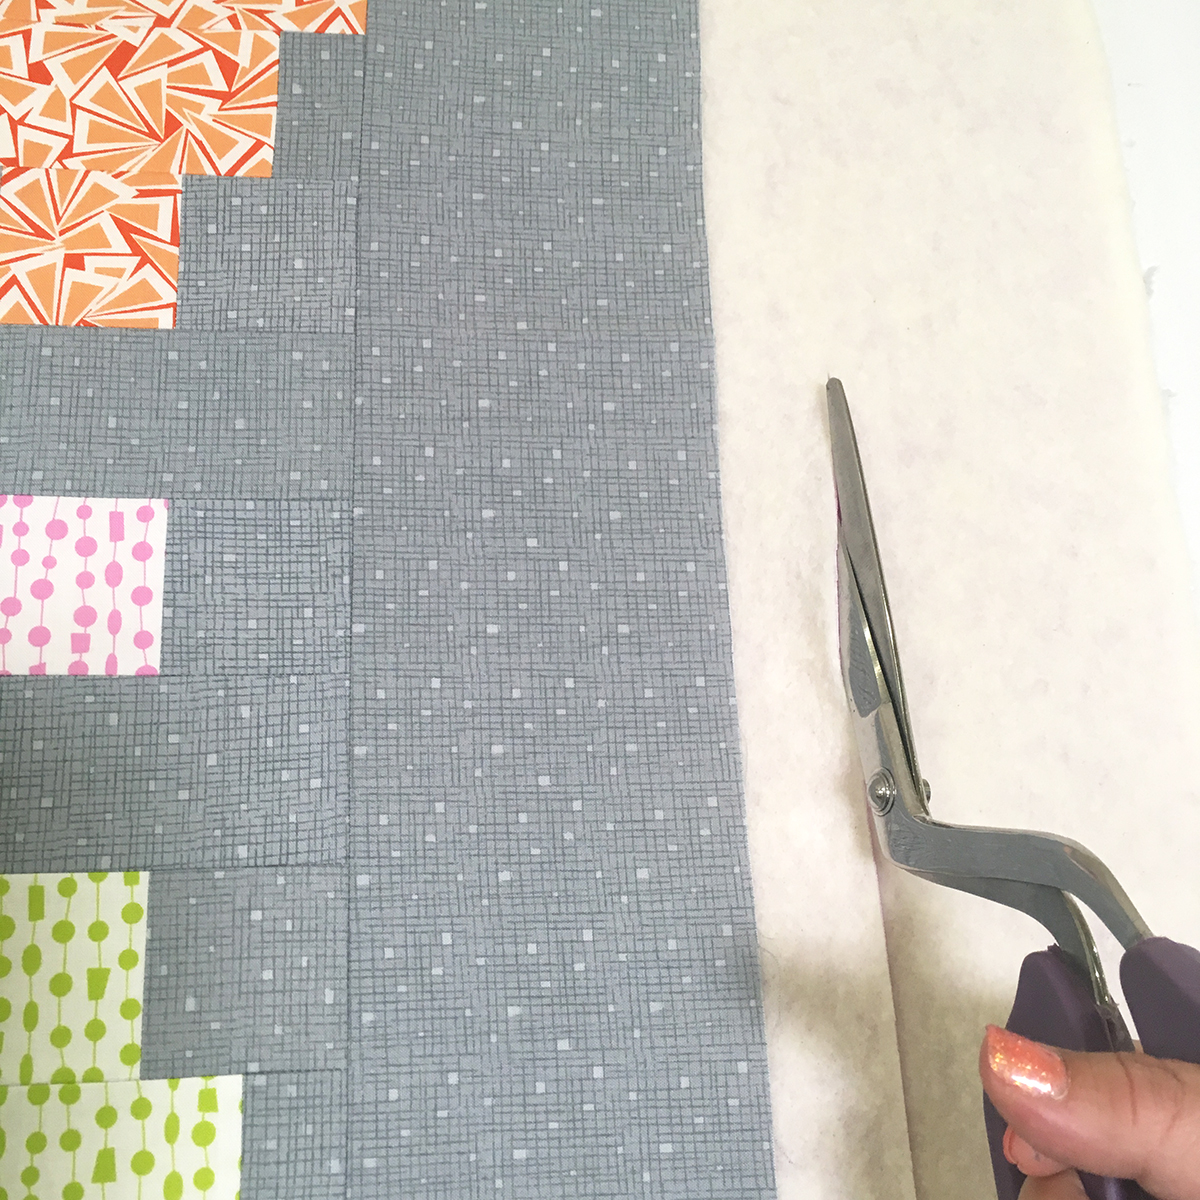
I actually like to trim it pretty close with only about an inch extra sticking out. This prevents the backing from getting folded over on itself while quilting. Nothing is more frustrating then realizing you’ve quilted through more than one layer of the quilt!
Step 5 – Iron the Quilt to Set the Glue
The final “magic” step is to press the freshly basted quilt on both sides with a hot, dry iron. First I press the back side to work out any bubbles or wrinkles, and then finally the front side. I use a big board that sits on top of my ironing board to give me more room to work with.
Pressing the quilt sets the glue, helps the layers cling to each other, and compresses the quilt a bit. The nice thing about basting this way is that every inch of the quilt is stuck to every other inch of the quilt so that there’s no shifting while quilting, and no pesky pins getting in the way of my quilting foot.
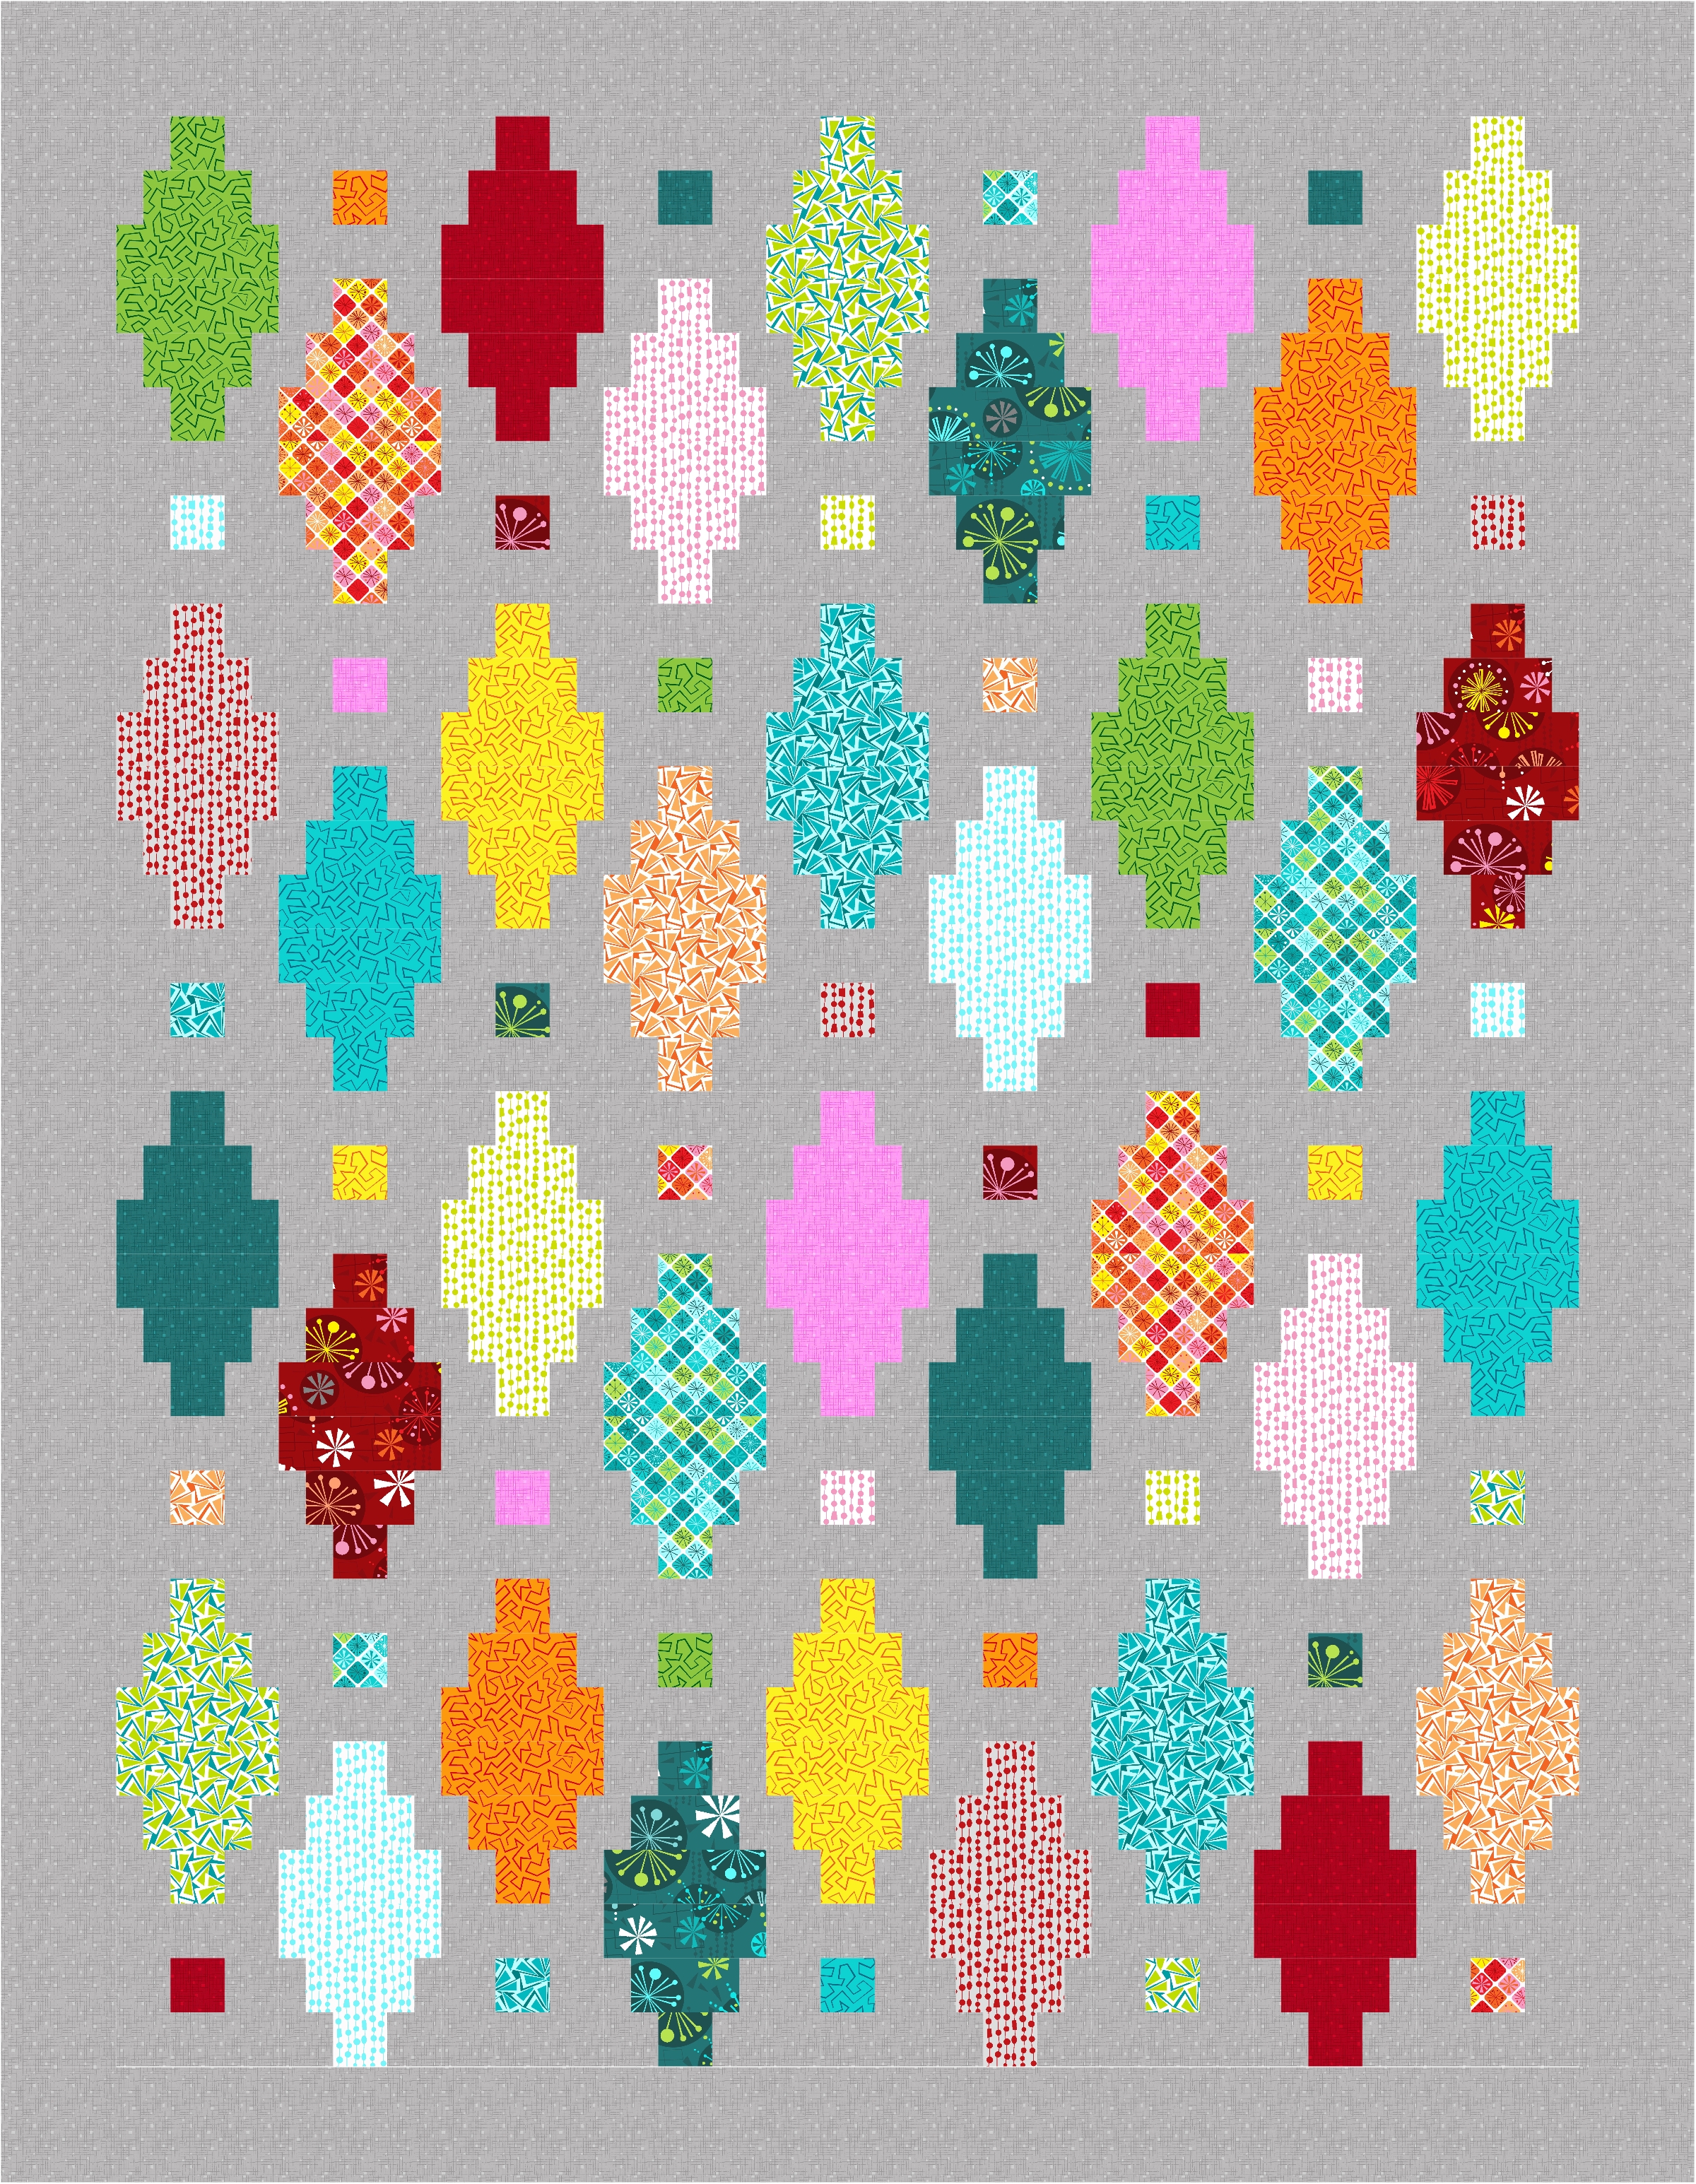
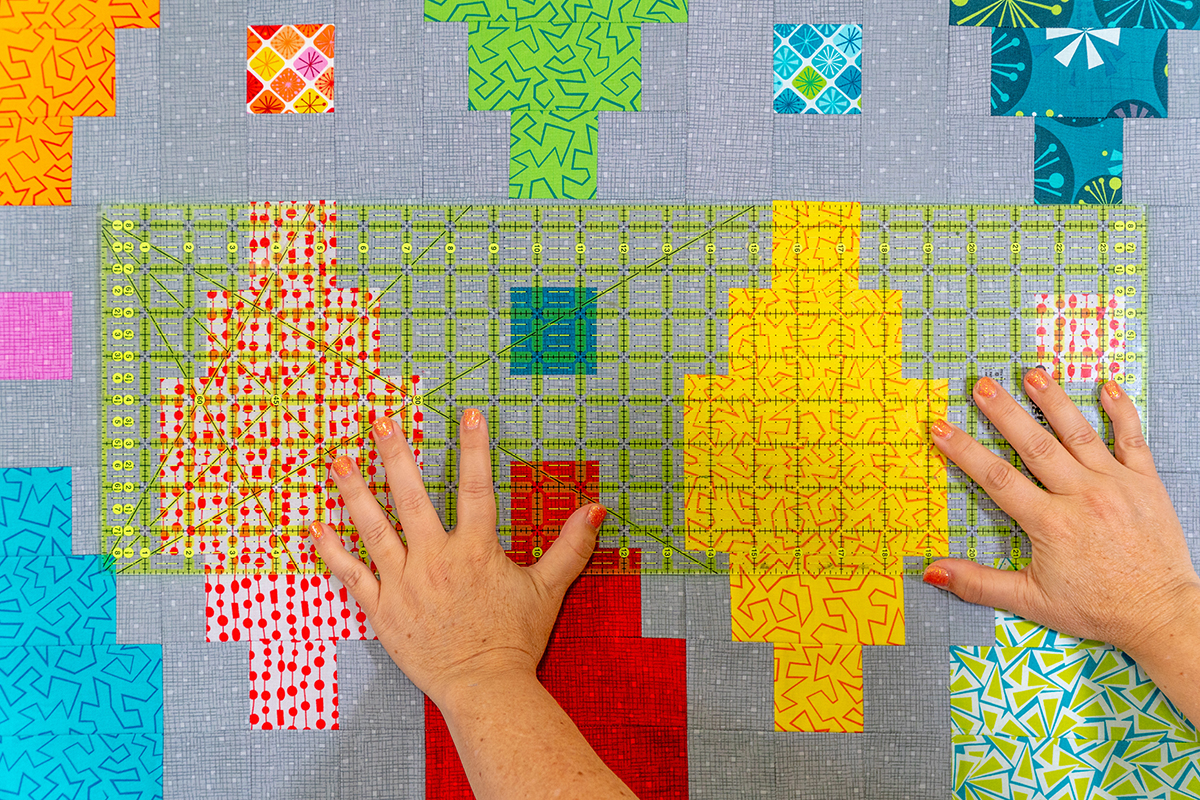
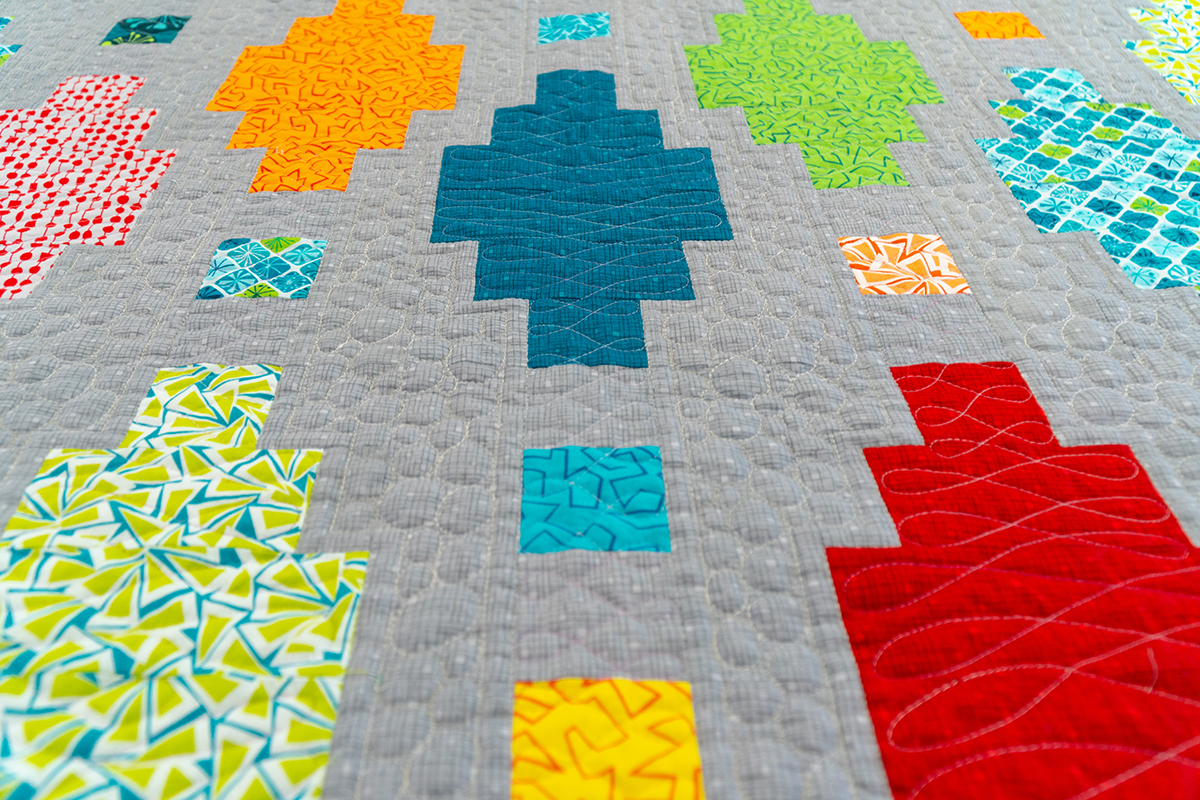
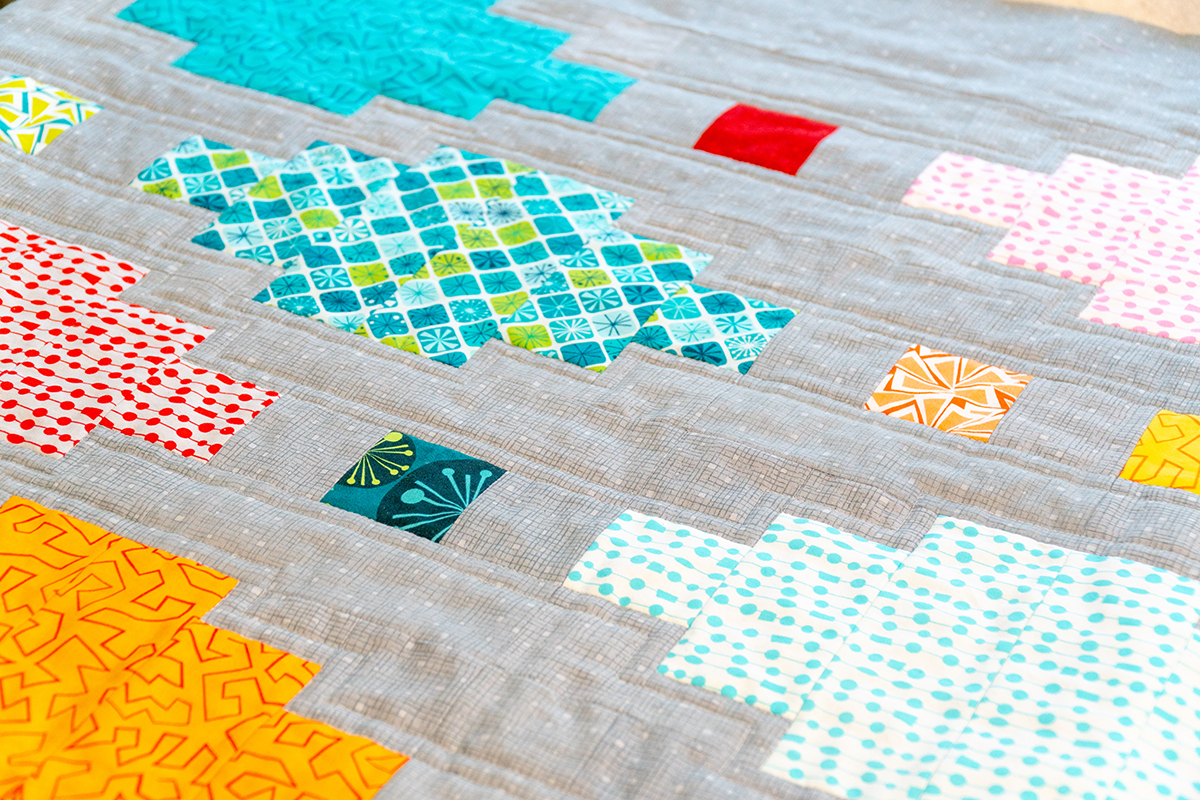
Now we are ready to start quilting next week – I can’t wait! Below is a sneak peek of the designs we are going to quilt. It’s seasier than it looks because there’s no marking involved. We going to do both walking foot (or dual feed) quilting as well as free-motion. But don’t worry, we will use my “perfectly imperfect” machine quilting method which aims for texture over perfection. I’m sure you’ll love it as much as I do!
Quick Links to Beaded Lanterns Posts & Info
Week 1: Supply List
Week 2: Making the Blocks
Week 3: Sewing the Quilt Top
Beaded Lanterns Quilt Pattern (free)
List of US shops that carry Fandangle fabric
More free patterns from Christa Quilts
Used Products

What you might also like


3 comments on “Beaded Lanterns Quilt Along Week 4 – Backing and Basting”
-
-
I’m glad you enjoyed it!
-
-
Please tell me the backs of your quilts don’t always look so immaculate. Beautiful work.
Leave a Reply
You must be logged in to post a comment.

Thank you for the tutorial. I plan to make this quilt this winter. I appreciate you work and details pu into the tutorial.