Bean Bag Chair
Cozy Cushion: Simple Sewing with Big Impact
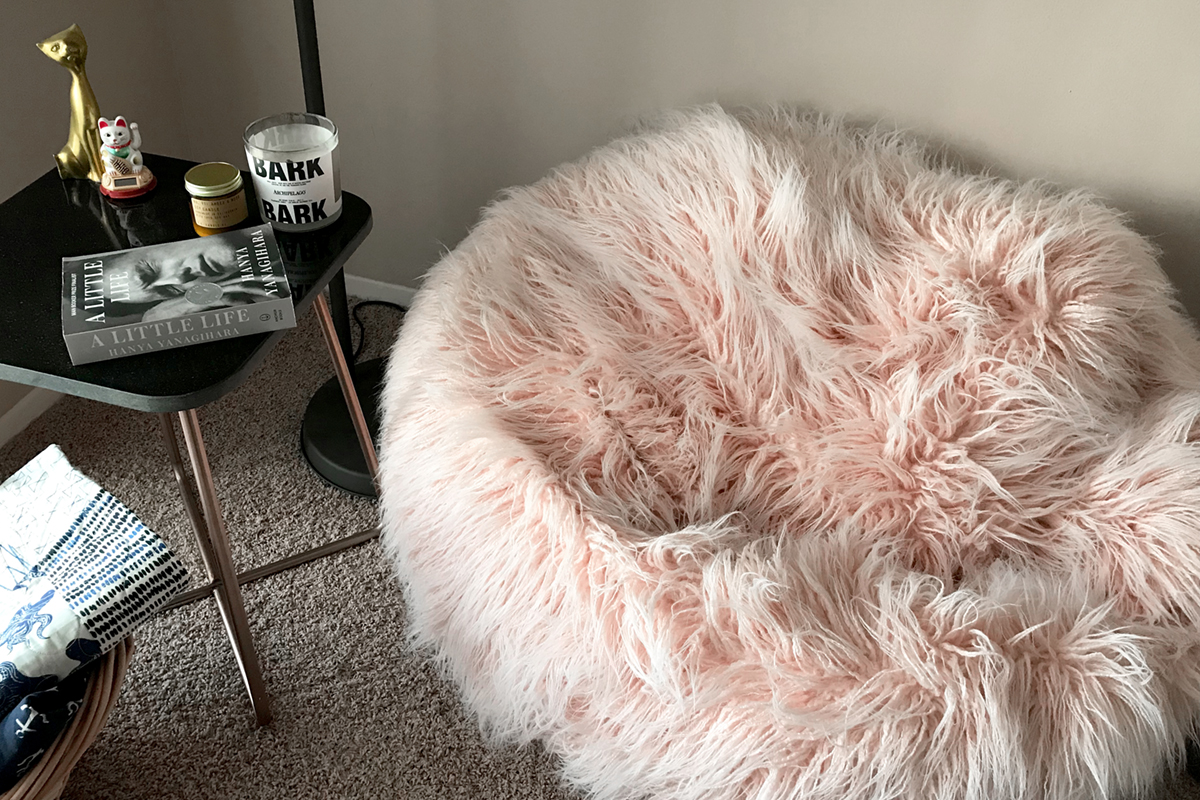
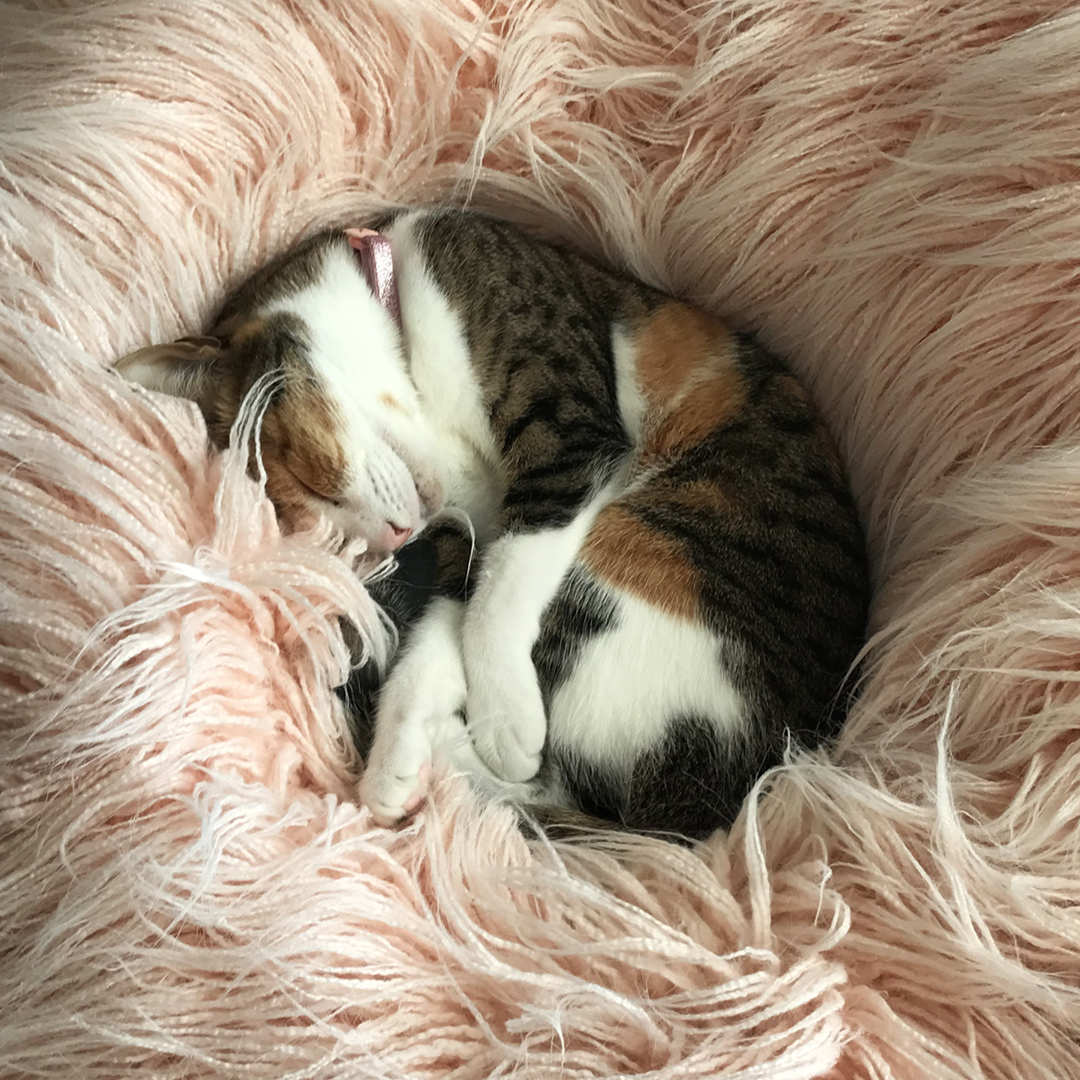
Like everyone else, I am always working on making my home a little cozier—the latest Scandinavian design trend “hygge” is all about making things feel extra comforting, special, and downright cozy. It’s all about the details that evoke this feeling. For me, a pastel pink faux fur bean bag chair accomplishes exactly that.
Sewing with faux fur is surprisingly easy to do with the right tools and proper preparation. You will need plenty of space to cut out the pieces for this cushion and get ready for some fur shedding. You can save the lost fluff to give to the birds outside. They can use it to make a hygge home for themselves!
You can download the PDF pattern for this oversized cushion here. Pattern piece measures 18” x 53” once assembled and the cushion finishes at approximately 34” in diameter. This project certainly isn’t small but it is simple!
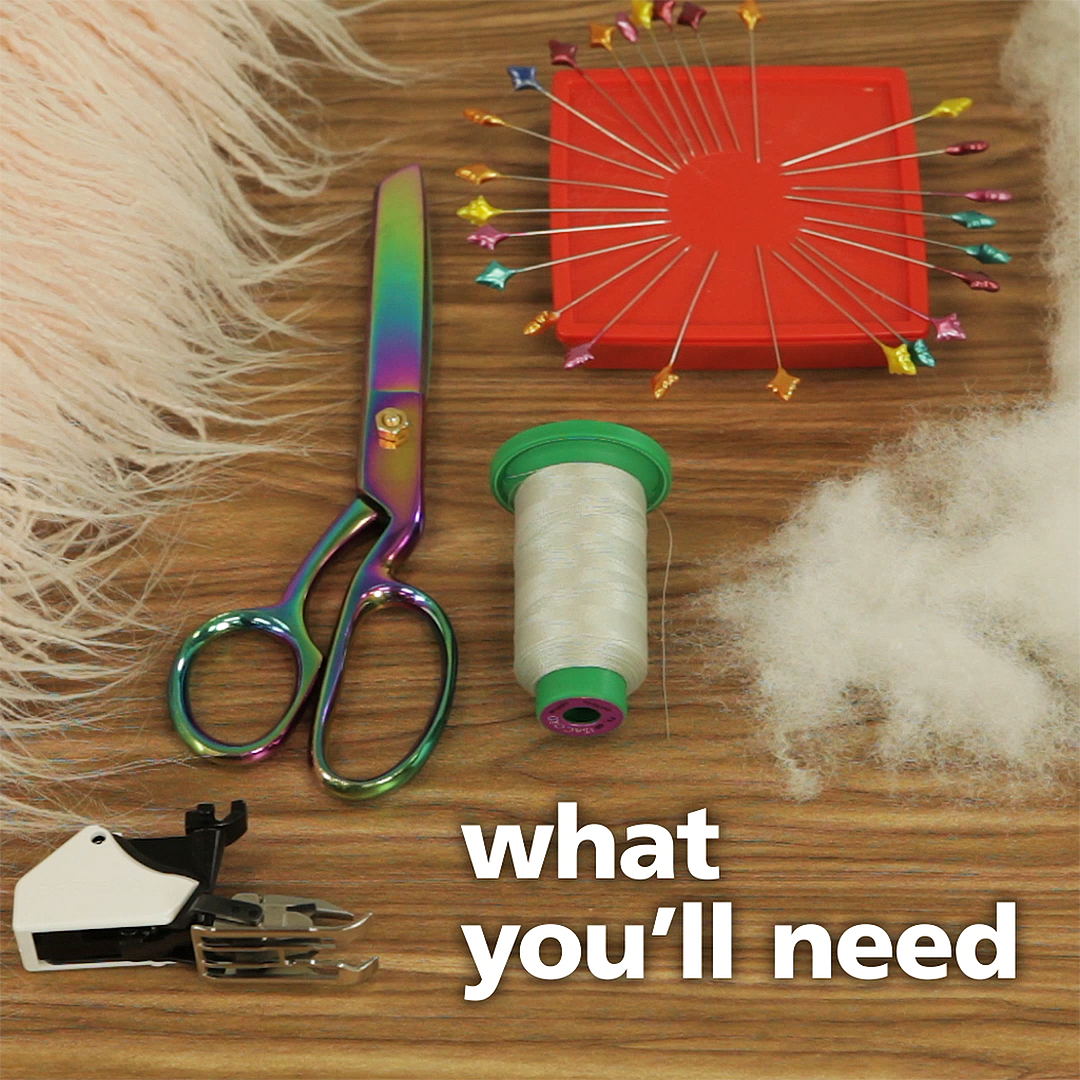
Materials for Sewing a Cozy Cushion
- Faux fur (or fabric of your choice)
- We used Shannon Fabrics’ Curly Yak fur in Pearl Pink (58/60” wide)
- 3 ¼ yards
- Always be aware of the directionality or nap of your fabric when figuring your yardage
- Tula Pink Hardware 8” fabric shears
- 40 wt polyester thread
- Pins or WonderClips
- Polystyrene beads or polyfil/fiber fill stuffing
- Either will work but due to the sheer size/volume of this cushion, polyfil is definitely the more cost effective option!
- Printed and assembled pattern piece
- Walking foot #50
- B 770 QE
- Cozy Cushion pattern template
Steps to Sew a Cozy Cushion
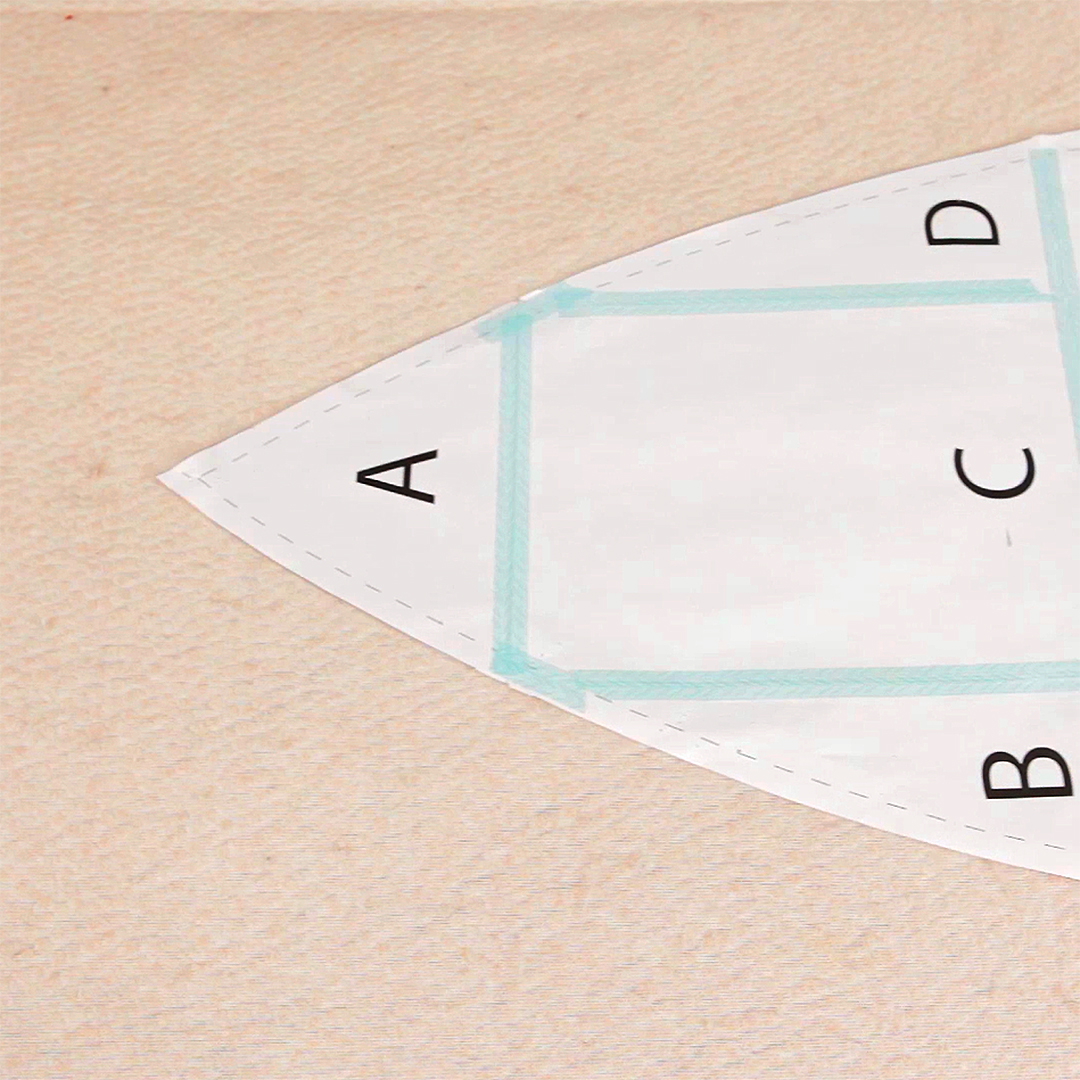
Step 1. Assemble your PDF pattern
Print out the PDF pattern template provided. The first page of the document includes a layout guide to demonstrate how the pattern comes together. Simply tape pages together and trim to shape. The finished pattern piece is a large orange peel-like shape.
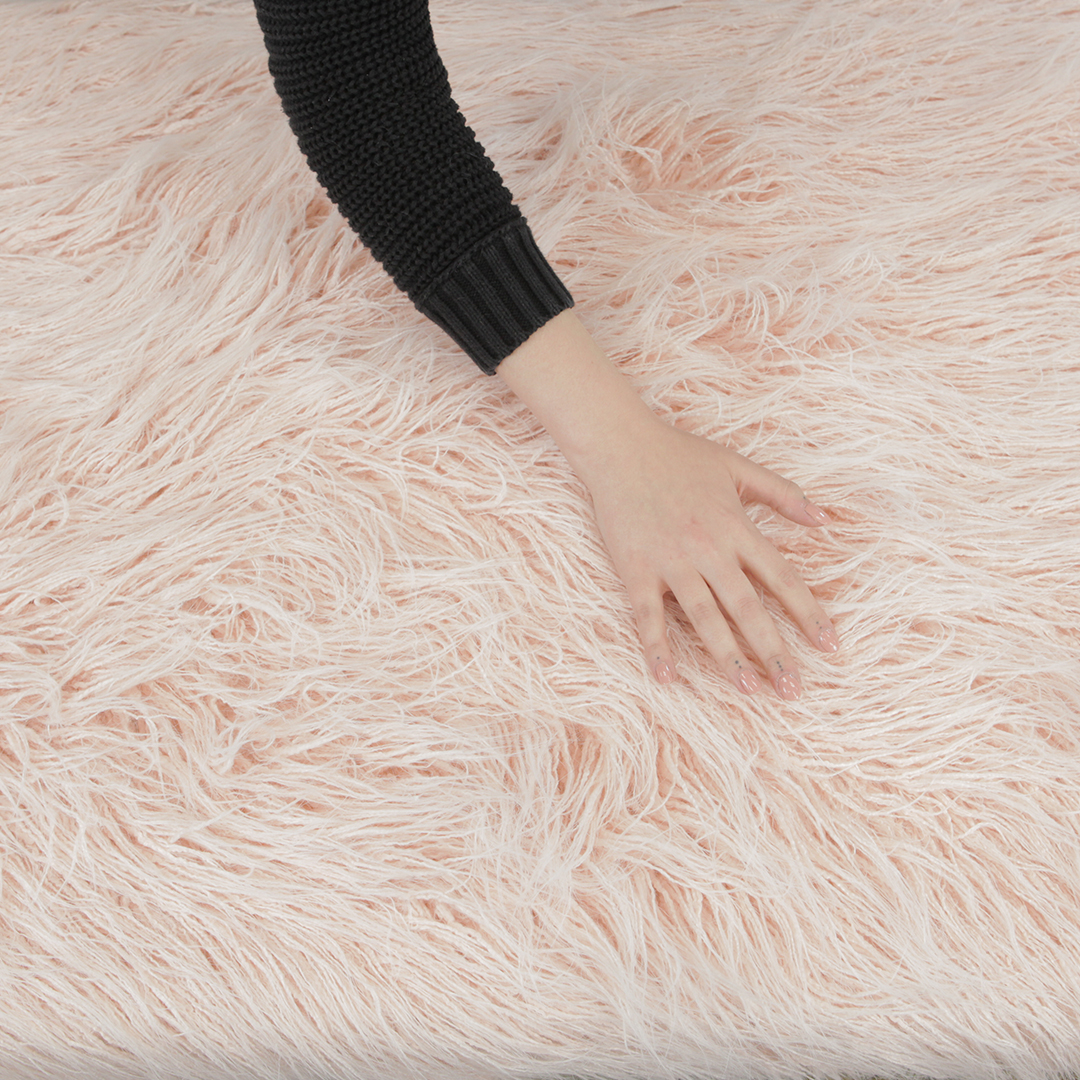
Step 2. Check the nap of your fabric
When working with faux fur, it is very important to keep the nap, or directionality of the fur, in mind. We want the fur in each piece to lay in the same direction. The nap on my faux Curly Yak fur runs down the length of the fabric (parallel to the selvages).
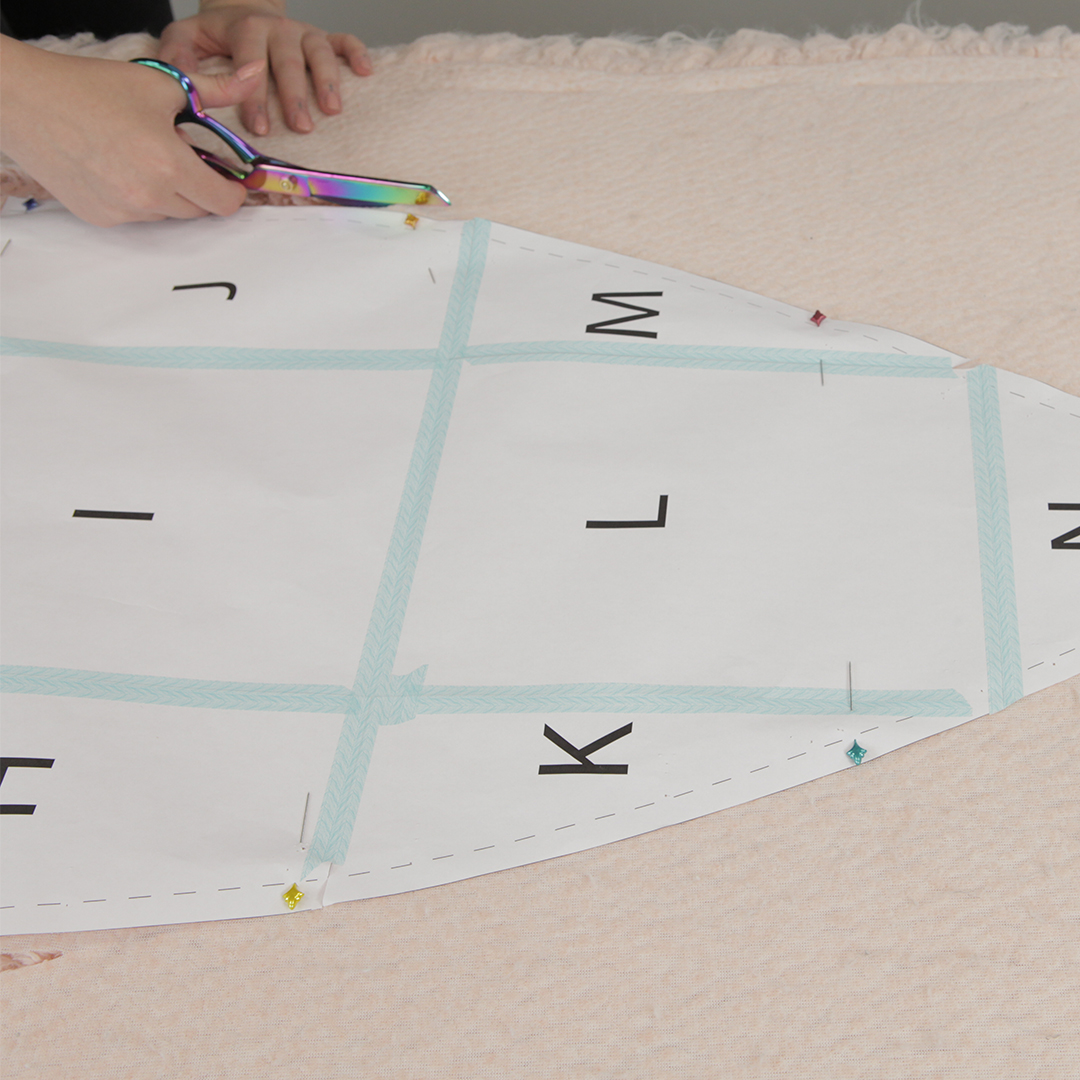
Step 3. Cut the fur
Pin your pattern to the wrong side of your faux fur. Make sure the nap is laying smooth down the length of the oval.
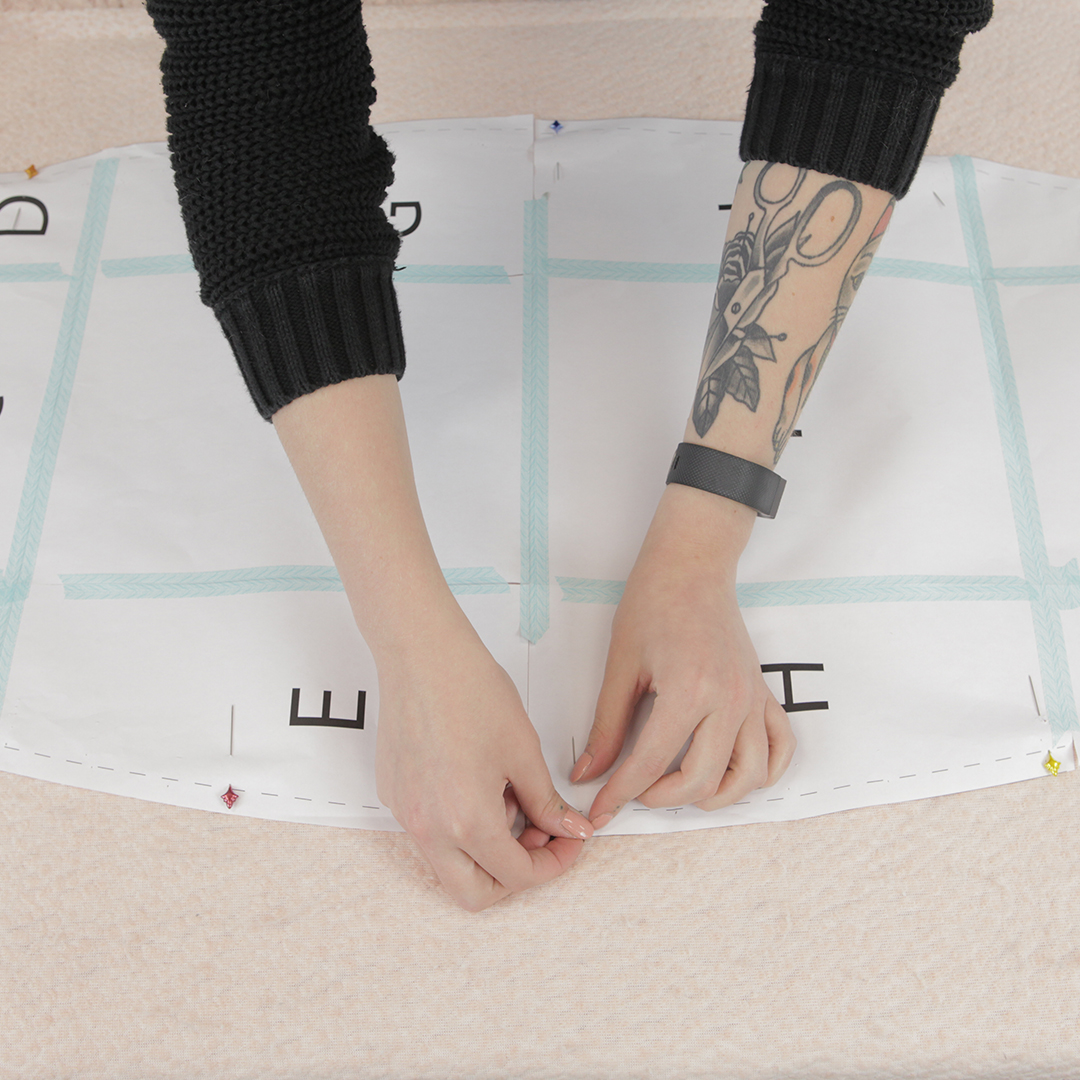
Using your fabric shears, cut out six of these orange peel shapes. When cutting fur, be sure to cut only through the fabric backing and not all the hairs of the fur. This will help reduce shedding. Note: reduce, not eliminate entirely. You will definitely still need to sweep when you are done cutting!
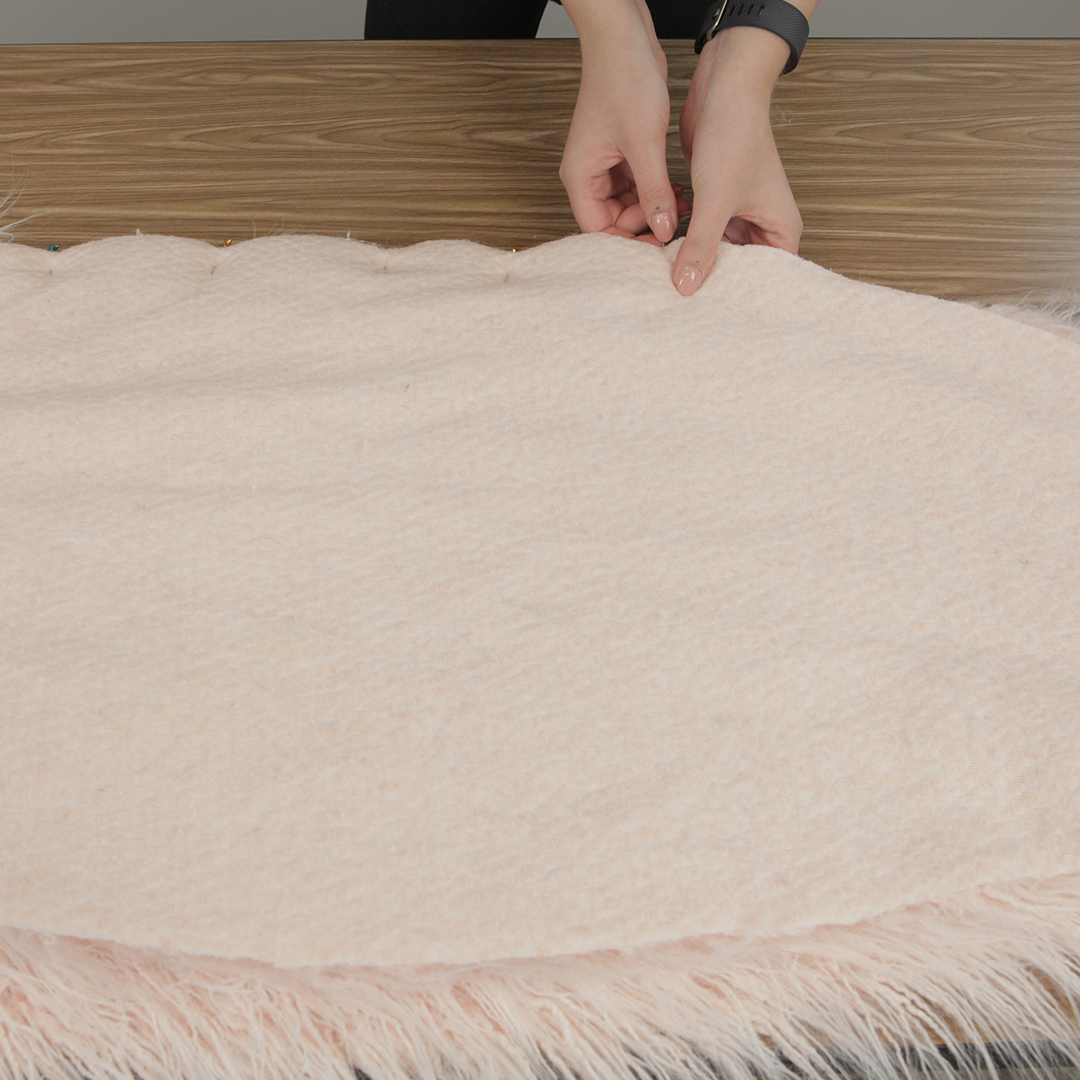
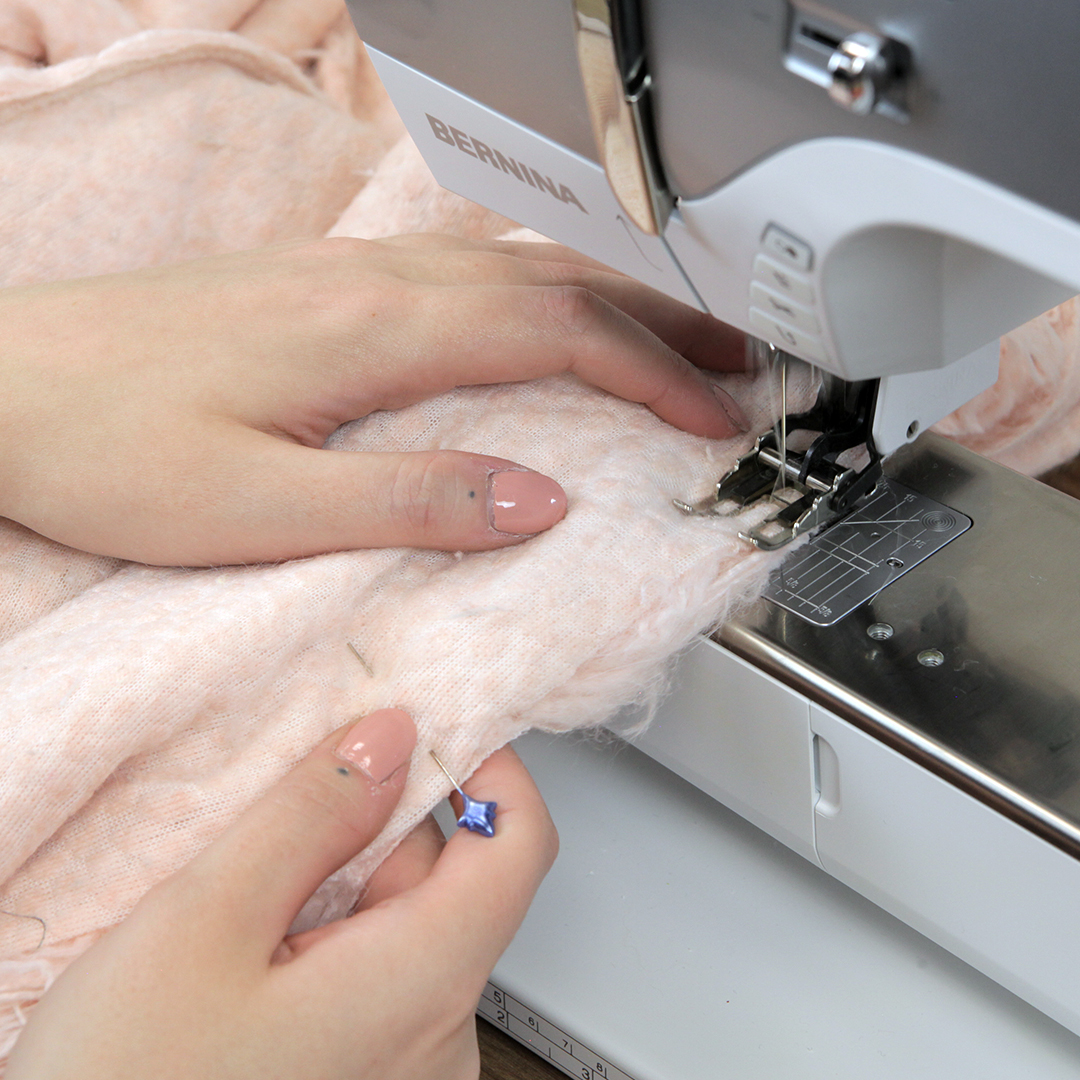
Step 4. Pin two pieces together
Lay out two of your ovals with right sides together, being sure that the nap is running in the same direction. Pin these pieces together. Wonder Clips are a great alternative if you use an especially bulky faux fur. If your fur has a long nap like mine, do your best to brush hair in and out of the seam to reduce bulk in the seam itself.
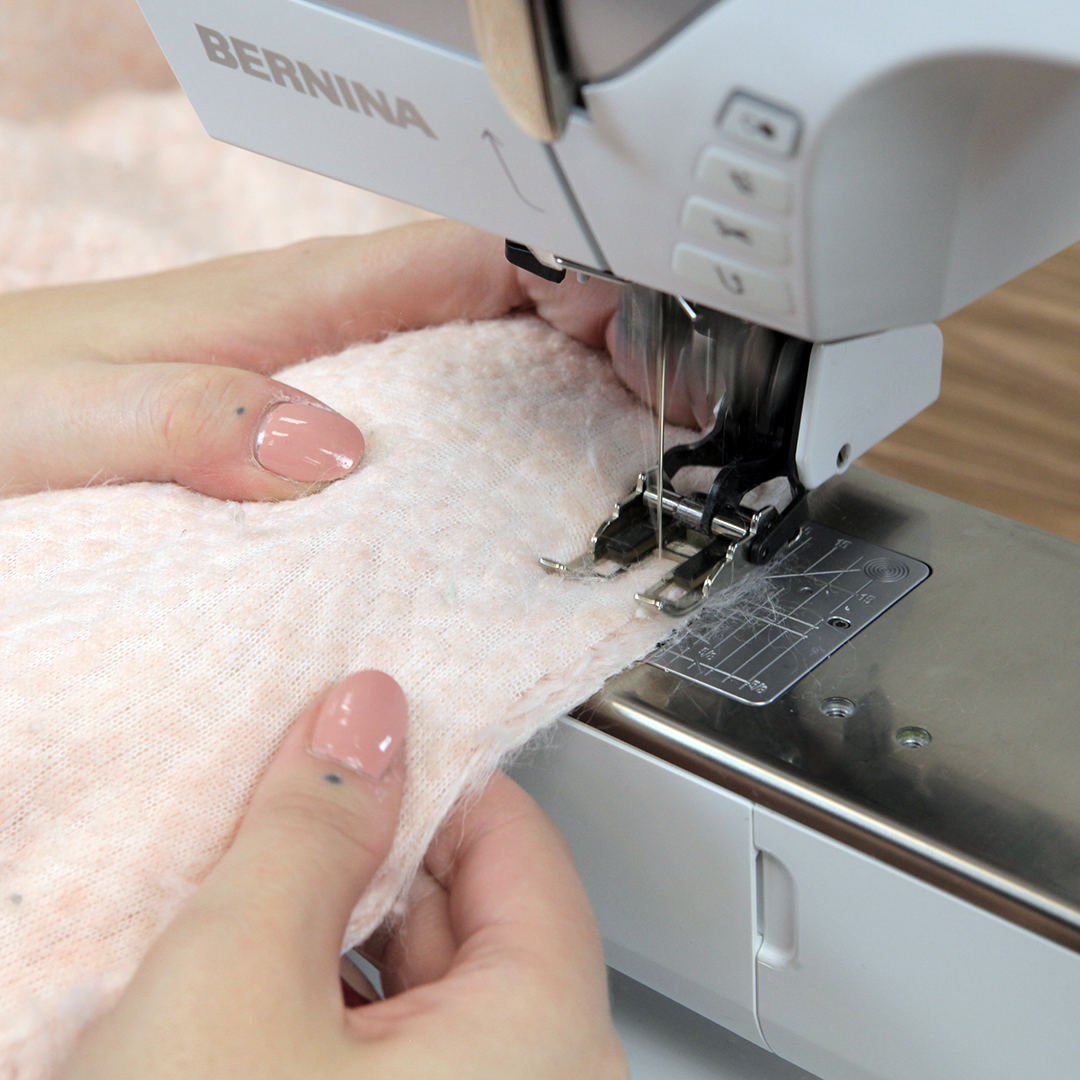
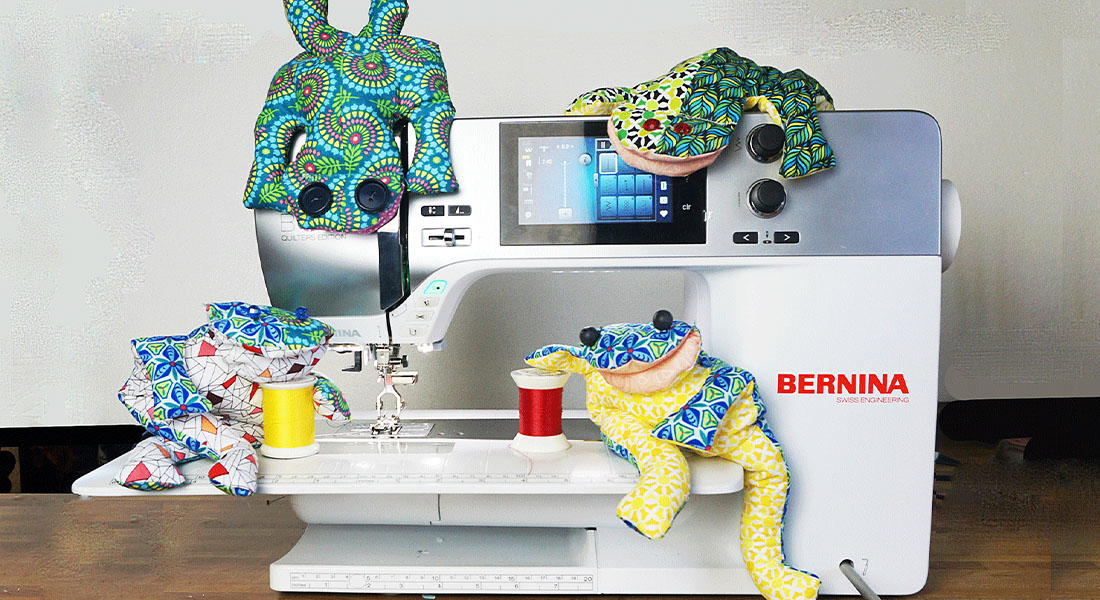
Step 5. Prepare your machine
Because of the nature of the project we are making and the materials we have chosen, we need to prepare our machine for some heavy duty sewing. Thread your machine with a strong 40 wt polyester thread. As much as I love cotton for most things, polyester is going to be much stronger in these seams that may see quite a bit of wear.
Attach the #50 walking foot to your machine. Faux fur is very bulky and surprisingly heavy to work with. The walking foot is going to move your project through the machine easily and steadily.
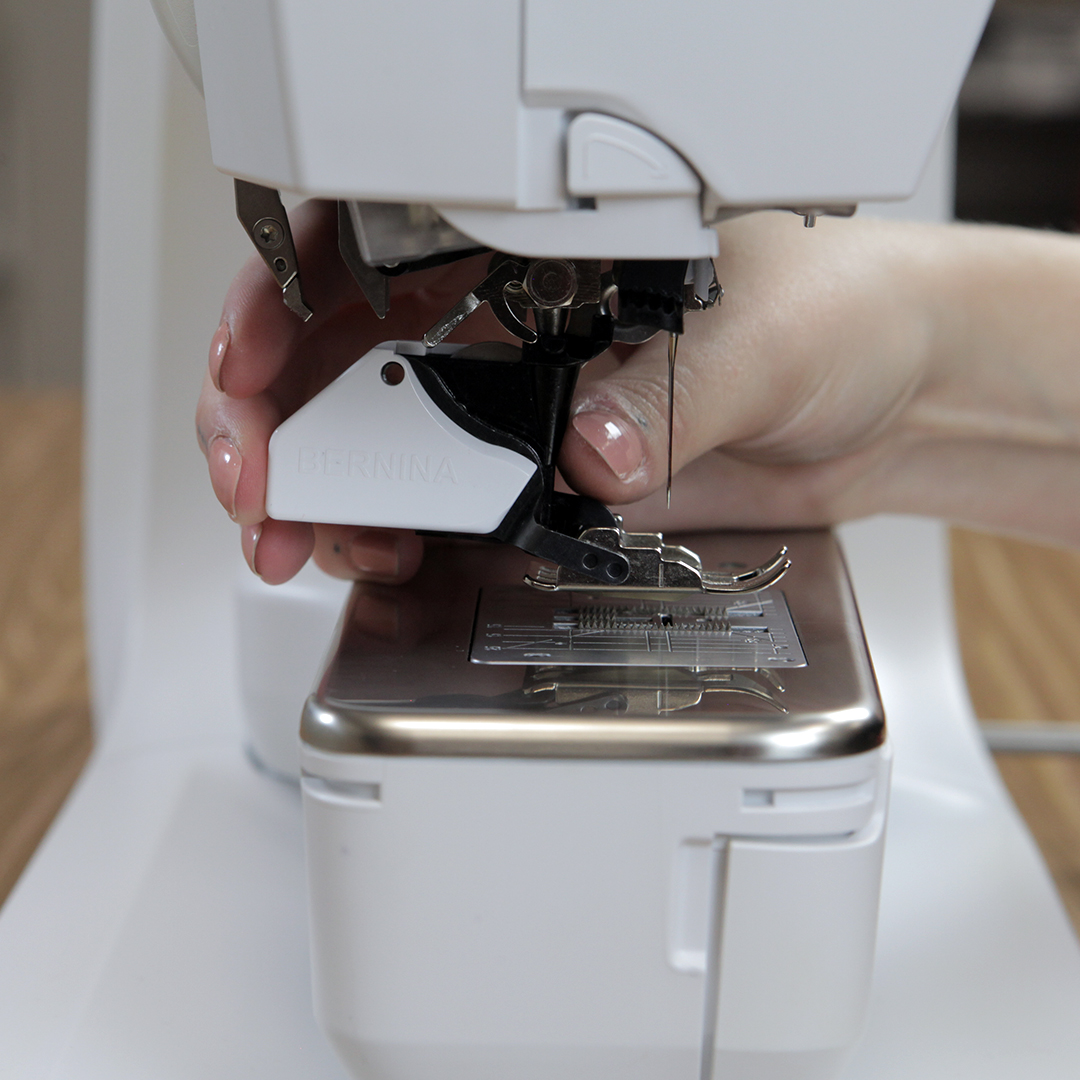
Finally, program your machine for a 3-step zig zag stitch. The zig zag pattern will lend some flexibility to the wear of these seams but the 3-step version will keep it strong.
Step 6. Sew the first seam
Sew from one point to the opposite end on your first pair of ovals. Be sure to backstitch at the beginning and ending of the seam for added security.
Step 7. Pin & sew again
Repeat the process from steps 4 and 6 on the remaining two pairs of ovals. Because of the weight of this cushion, I prefer to sew three sets of two panels, then sew each of those together.

Step 8. The Final Seam
When you have finally joined all of your oval pieces, you will have one seam left leaving the cushion open. Pin this seam together and begin to sew as you have on the previous seams. However this time, about halfway down, back stitch and cut your thread. Then, resume sewing (backstitching again) about 18” down, leaving a generous opening to flip the cushion right side out.
Step 9. Flip it
Pull your cushion right side out through the gap left in the final seam.
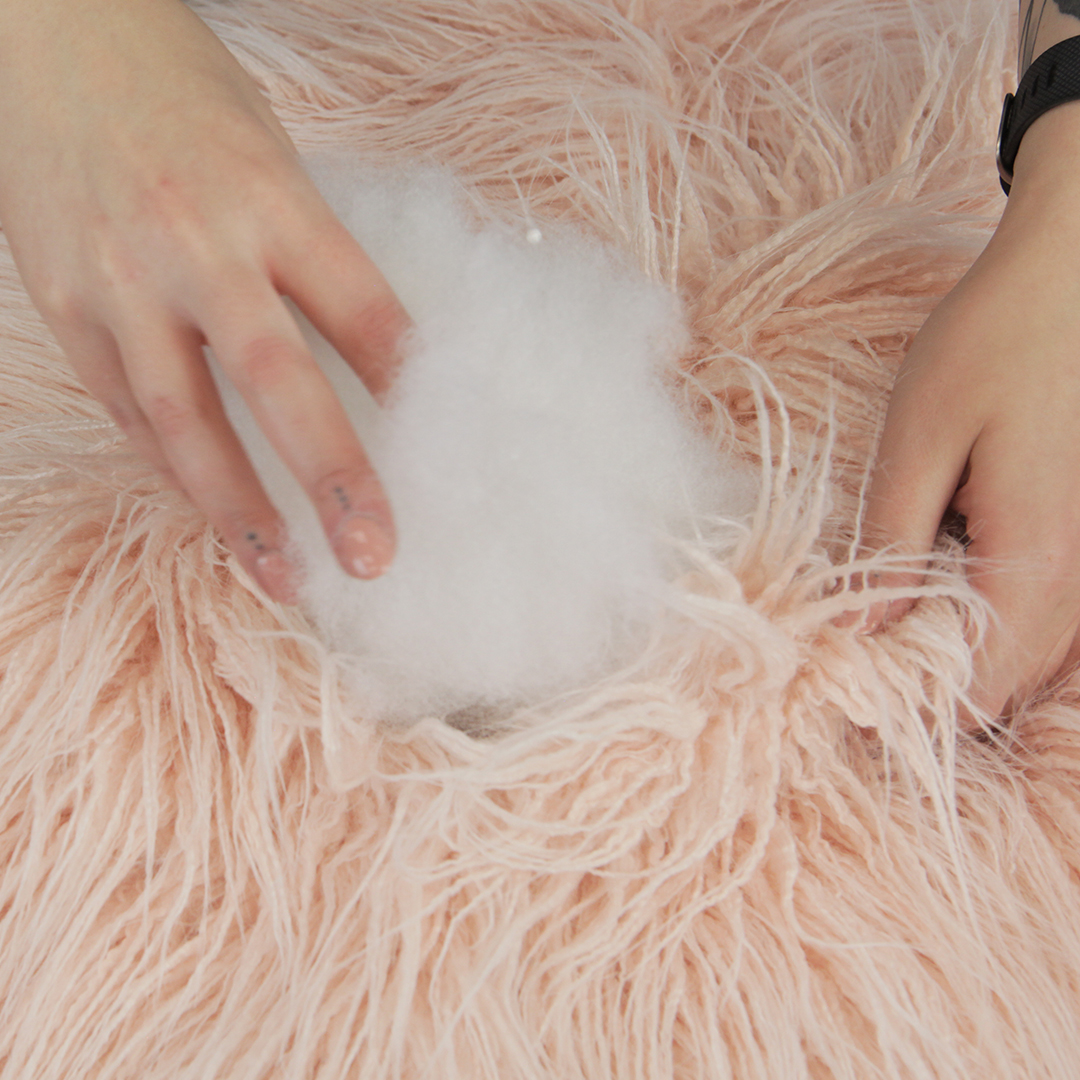
Step 10. Fill it
Stuff your cushion! This is an easy step but because this project is quite massive, this will take a bit longer than you think. I used approximately 7 lbs of polyfill stuffing and I could still add a bit more!
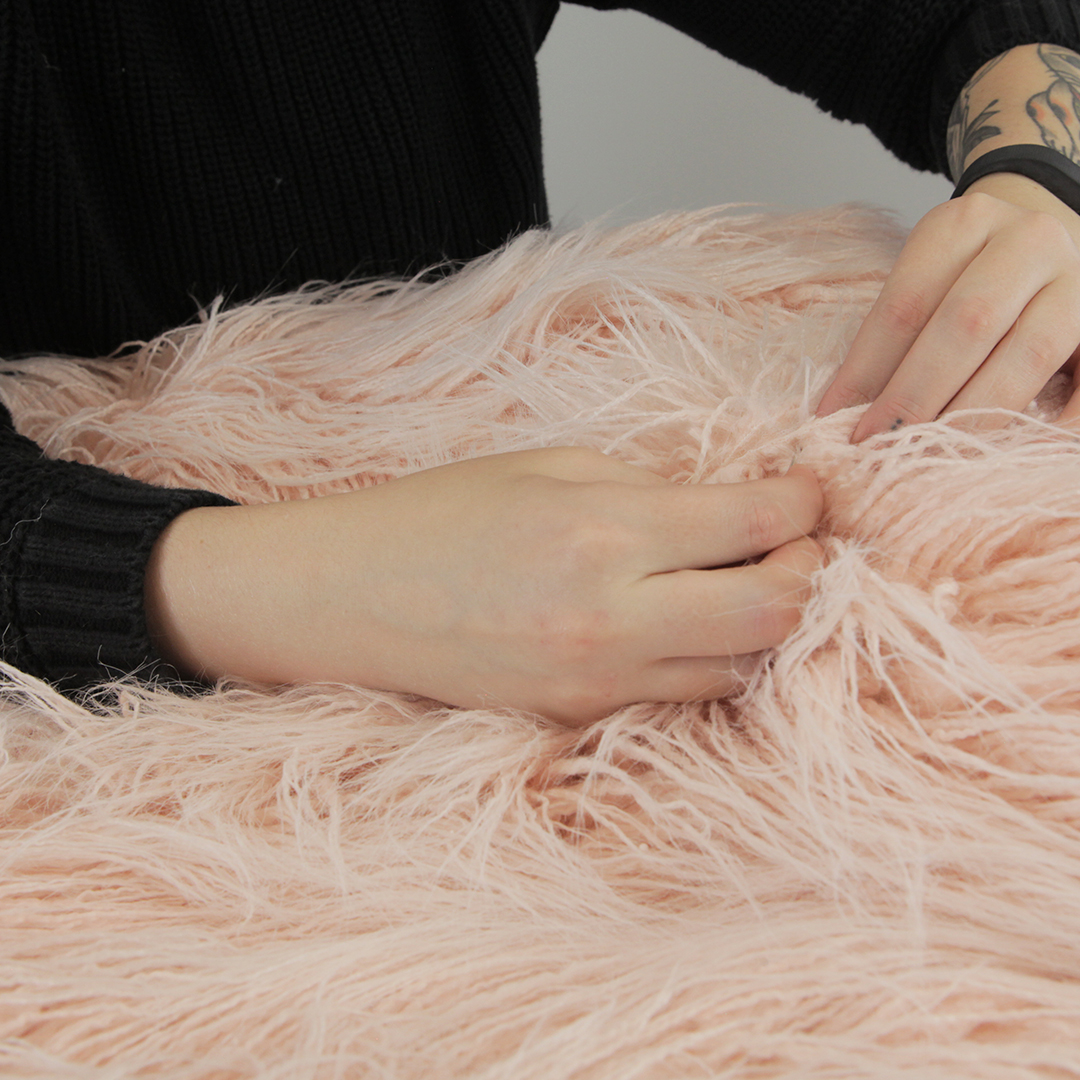
Step 11. Stitch it closed
Unfortunately after filling a gigantic cushion with stuffing, it’s nearly impossible to slide it back under the sewing machine. Use a hand sewing needle and arm’s length of thread to close the opening we left for flipping.
Now you have an extra cozy cushion of your own! I love mine for lounging and reading a book but Penny has claimed it as her nap spot. Hope this brings a little hygge to your home!
Used Products


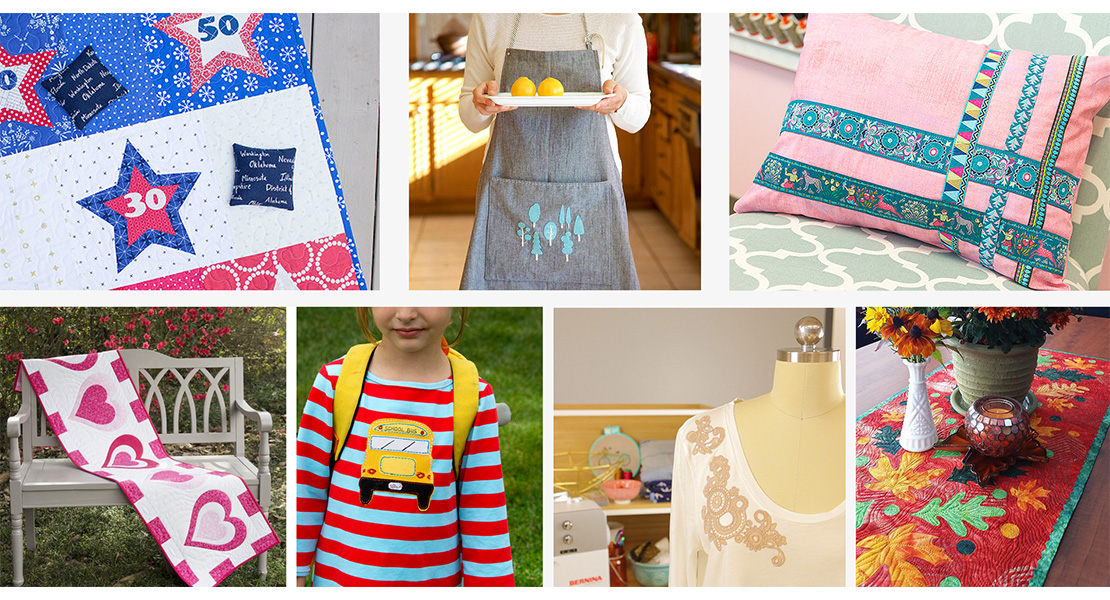
What you might also like


10 comments on “Bean Bag Chair”
-
-
Great catch! For my Shannon Fabrics Curly Yak fur (which measures 60″ wide), at least 3 yards is required. Be sure to remember that width of fabric and directionality or nap will effect how much you’ll need.
We’ll be sure to add this note in the post 🙂
-
-
Hi Hayley! This is absolutely adorable! I need some “hygge” in my life. My pet cat Buttercup would like some, too. Hugs to you and Penny : ) xo Ellen
-
So glad you love it, Ellen!! More fun fur to come, for sure 🙂
-
-
Before I got to the end of the instructions, I was thinking it would be a great bed for a puppy and then saw your kitty. A thought, you could sew Velcro on the opening
before stuffing-
Great minds think alike! Some sort of fastener closure, like Velcro or a zipper, would be great. Just be careful about a longer pile fur getting stuck in there! Happy sewing 🙂
-
-
Found this bean bag chair just in time. We are renting while we finish our house. The rental has, a (one only), bean bag chair and the dog and cat have a difficult time sharing. Between the two of them that chair is never empty. I will definitely be making two. Thanks for the idea.
-
How many polystyrene beads would you need to fill this chair?
-
Hi, janette! It would take quite a lot of polystyrene beads for a chair this size. That was my first choice but after 5 lbs barely made a dent, I opted for poly-fill. I’d guess somewhere around 30 lbs might do it but that gets quite expensive!
-
-
Can you make the instructions PDF?
Leave a Reply
You must be logged in to post a comment.

Could not see how much yardage is required to make this bag.