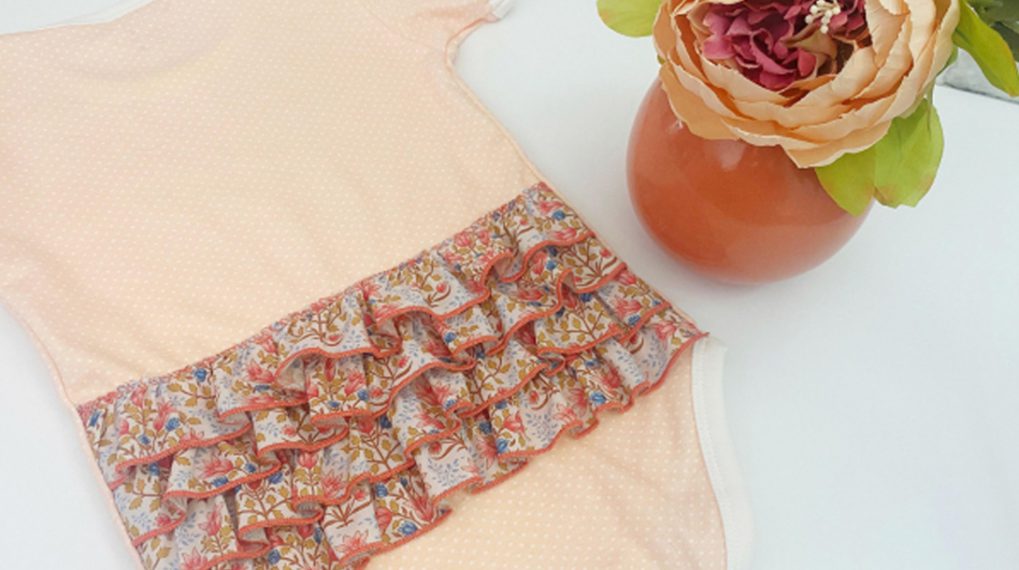
Beginner Apron on a Serger, Part One
Aprons…a kitchen necessity, especially if you are prone to messes like I am! My first experience with an apron, however, was not as a practical garment, but decorative. While growing up, my sister and I would be called upon to serve at church lunches or showers and my Minnesota-born mom would pull out frilly white half aprons for us to wear. Oh, you can imagine my tween-age eyes rolling! Since then, I have embraced the practicality of coverage when I am in the kitchen…and the more the better. But when it’s time to serve, pull out something fun and pretty and show off your culinary delights, whether you cooked all day…or someone else did!
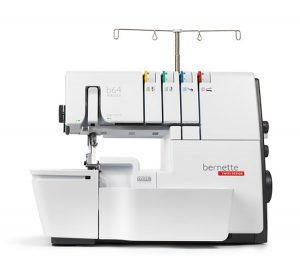
Today, I’m going to show you how to sew together a quick half-apron on your overlocker. I’m using the bernette 64 AIRLOCK. The air threading makes it so easy to switch between threads and stitches. It’s also fast…you will be done in no time!
So let’s get started. I used quilting cotton fabric, and pre-washing is recommended.
Seam allowances are 1/4″, just skimming the knife blade.
Supplies to Make an Apron on a Serger

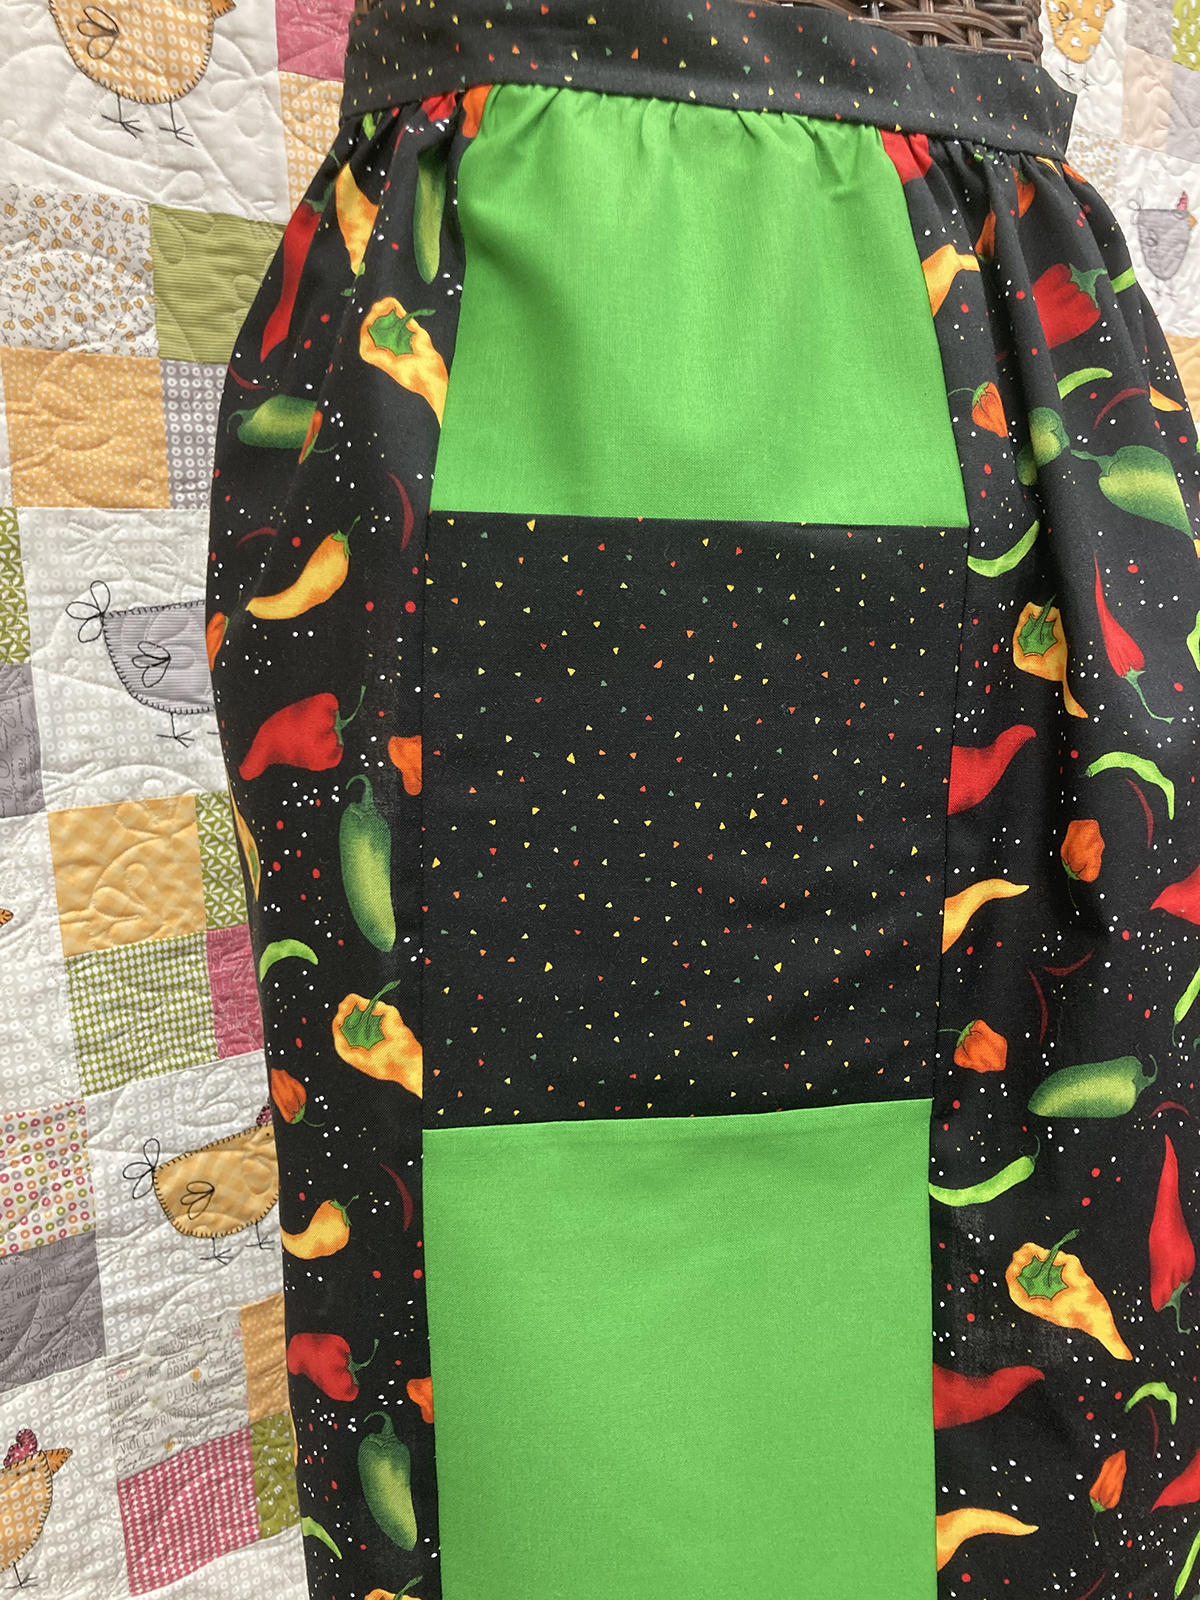
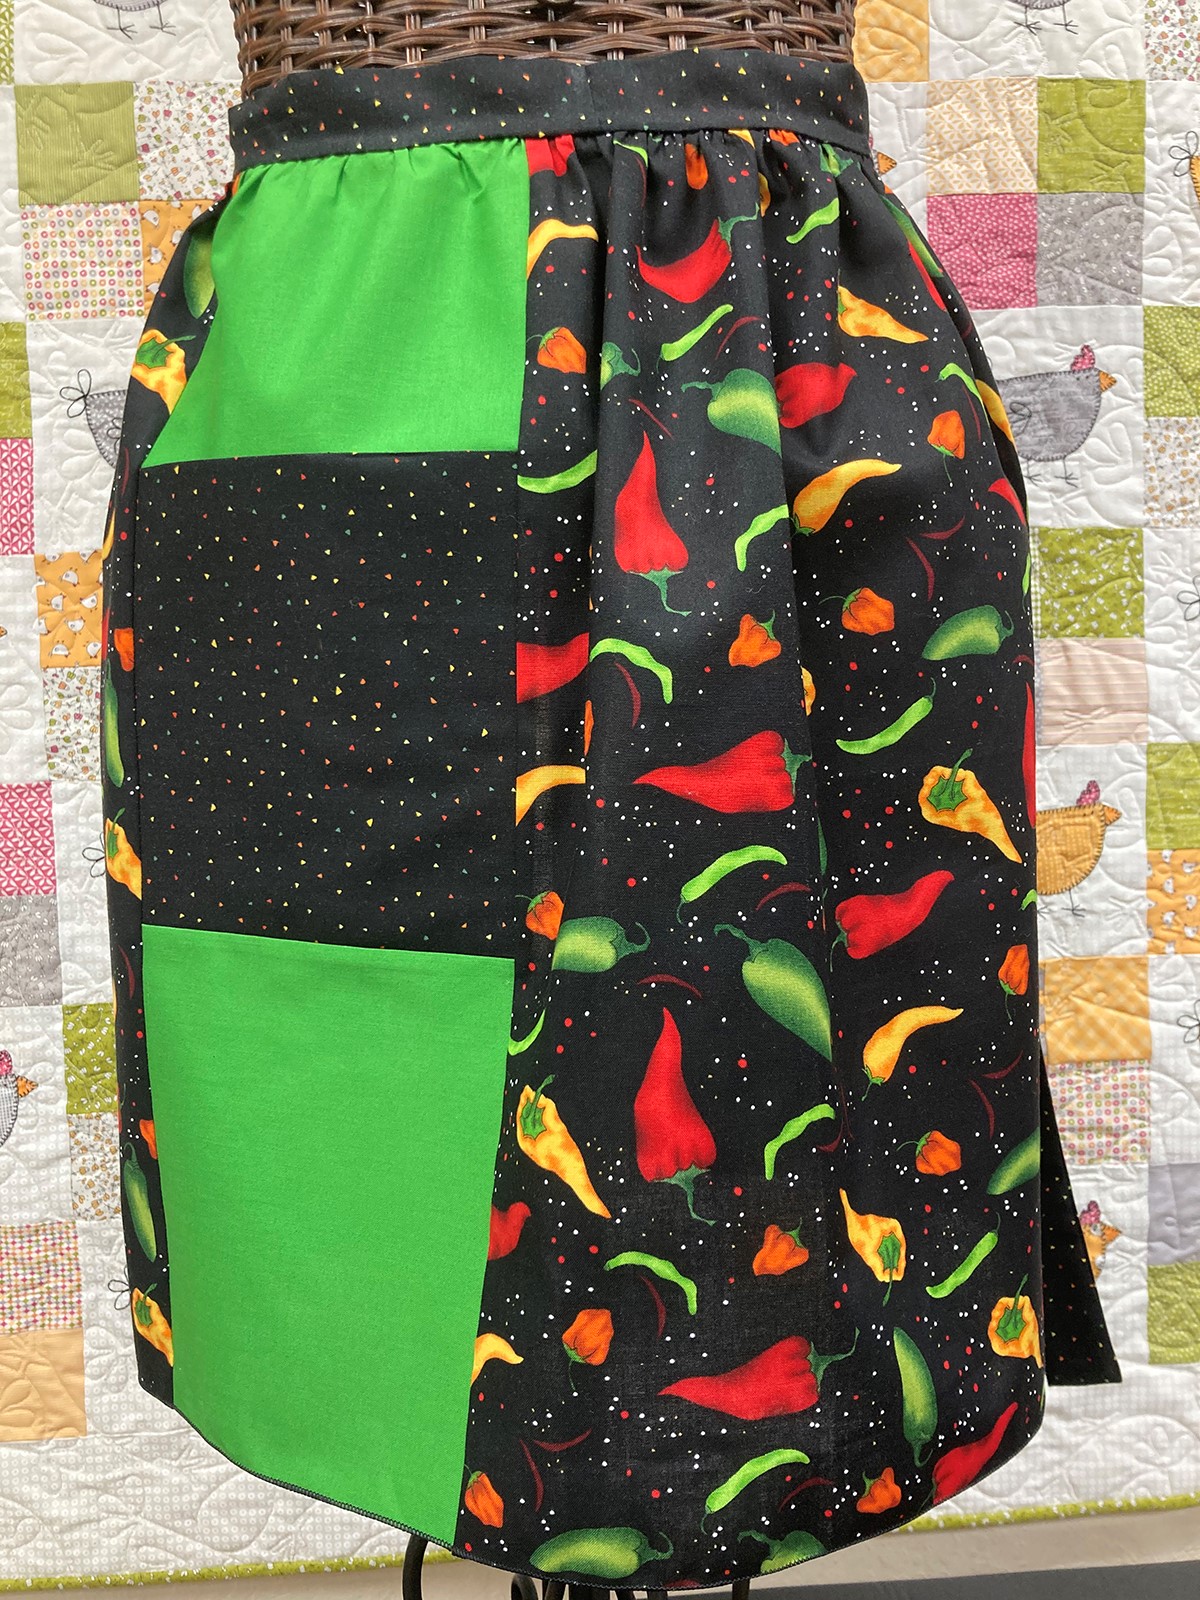
- 5/8 yard Fabric 1 (main fabric…chili peppers)
- ¼ yard Fabric 2 (contrast fabric…green)
- ½ yard Fabric 3 (pocket and waistband/ties fabric…black print)
- 4-Thread Overlocker (I used the bernette 64 AIRLOCK)

- 4 spools of coordinating serger thread, such as Mettler Seracor
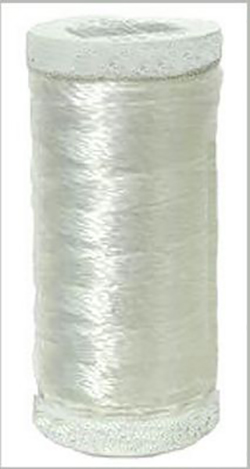
- 1 spool of coordinating texturized thread, such as WonderFil SoftLoc
- 1 spool of fusible thread
- Fray Block seam sealant
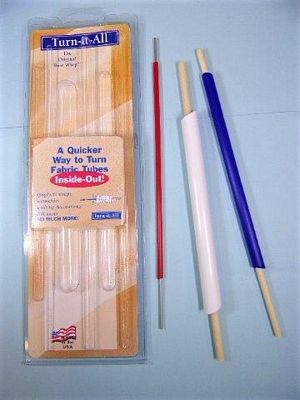
- Bow Whip Turn-It-All
- Wonder Clips
- Pins
- Frixion pen
- Basic sewing/serging supplies
Cutting
Fabric 1
Cut 1 – 21” x width of fabric strip
- Subcut 1—27” x 21” rectangle for the left side of the apron
- Subcut 1—9” x 21” rectangle for the right side of the apron
-
-
Fabric 2
Cut 1 – 7” X width of fabric strip
- Subcut 1—7” x 13” rectangle for the upper contrast piece
- Subcut 1—7” x 8 ½” rectangle for the lower contrast piece
-
-
Fabric 3
Cut 2—3 1/2″ x width of fabric strips for waistband/ties
Cut 1—7” x width of fabric strip
- Subcut 1—7” x 15” rectangle for the pocket
Construction of Apron
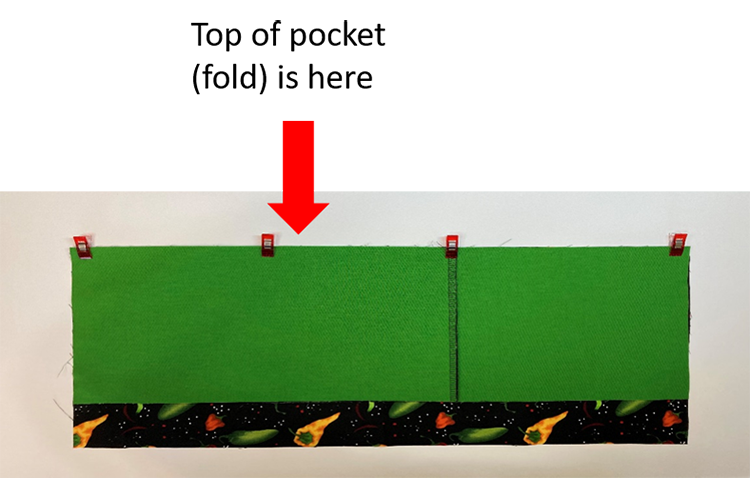
Press the 7” x 15” pocket fabric in half WRONG sides together to make a 7” x 7 ½” folded pocket piece.
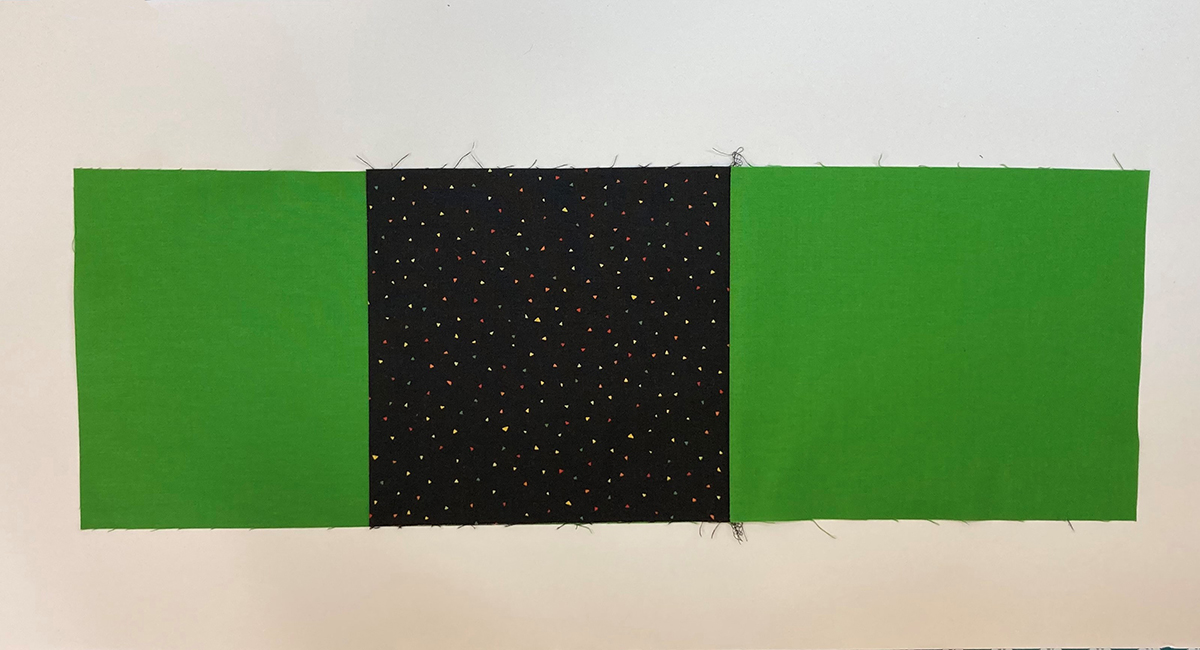
Layer the folded pocket piece on top of the right side of the 7” x 13” upper contrast piece, aligning the raw edges along one short side.
Add the 7” x 8 1/2″ lower contrast piece right side down, aligning the short raw edges of the pocket piece and upper contrast piece.
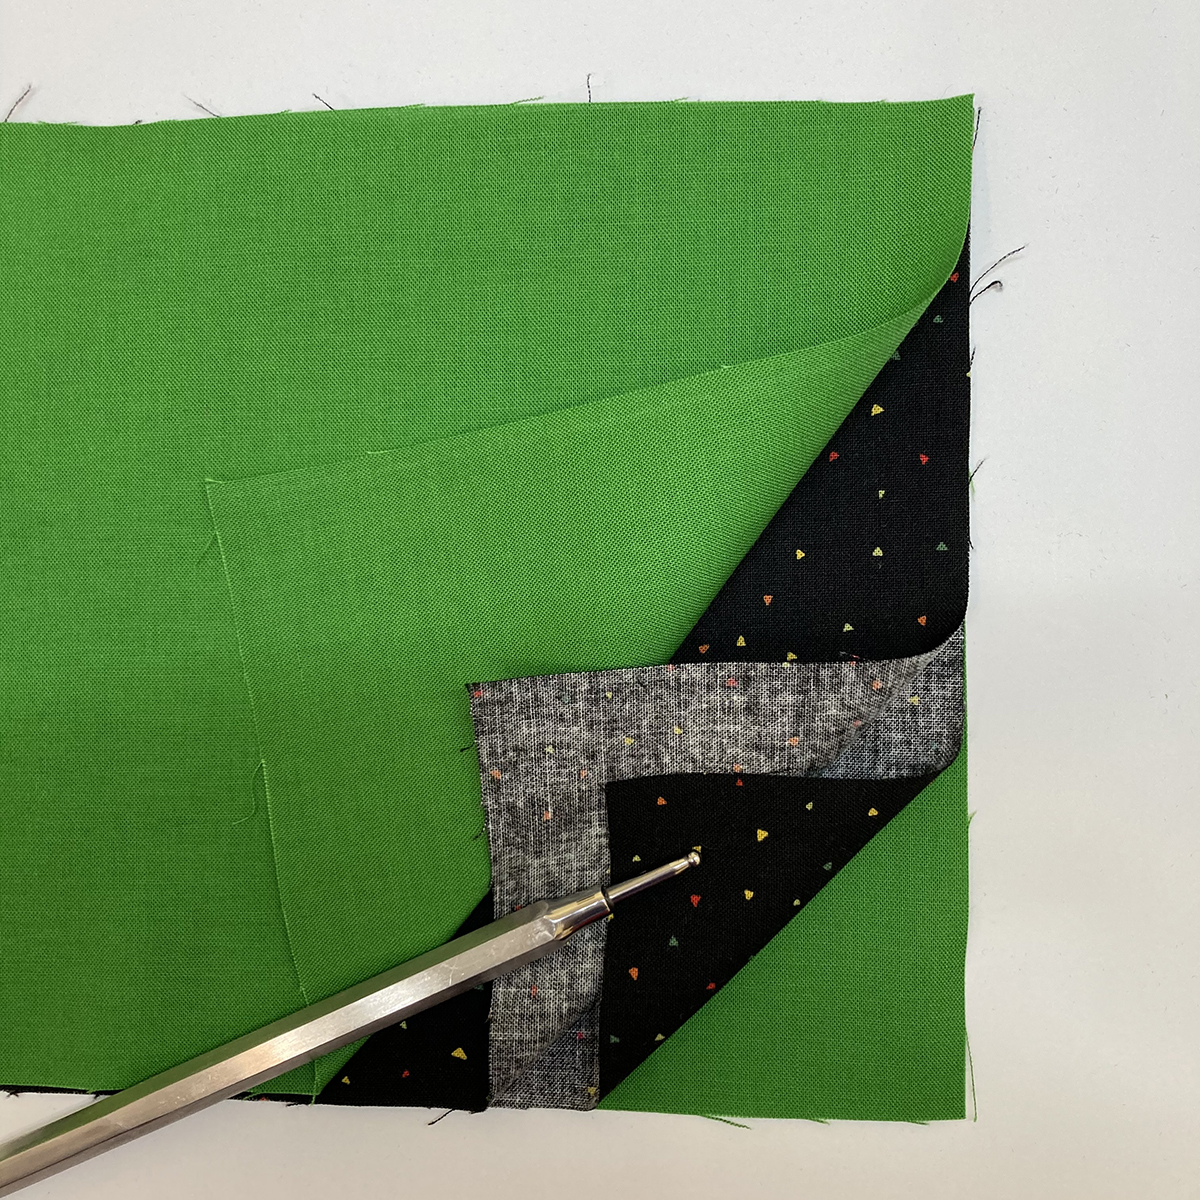
Serge along the short edge through all four layers using a 4-Thread Overlock Stitch and serger thread in the needles and loopers. Press the seam allowance towards the shorter contrast piece and the pocket up toward the longer contrast piece. This will be called the pocket insert.
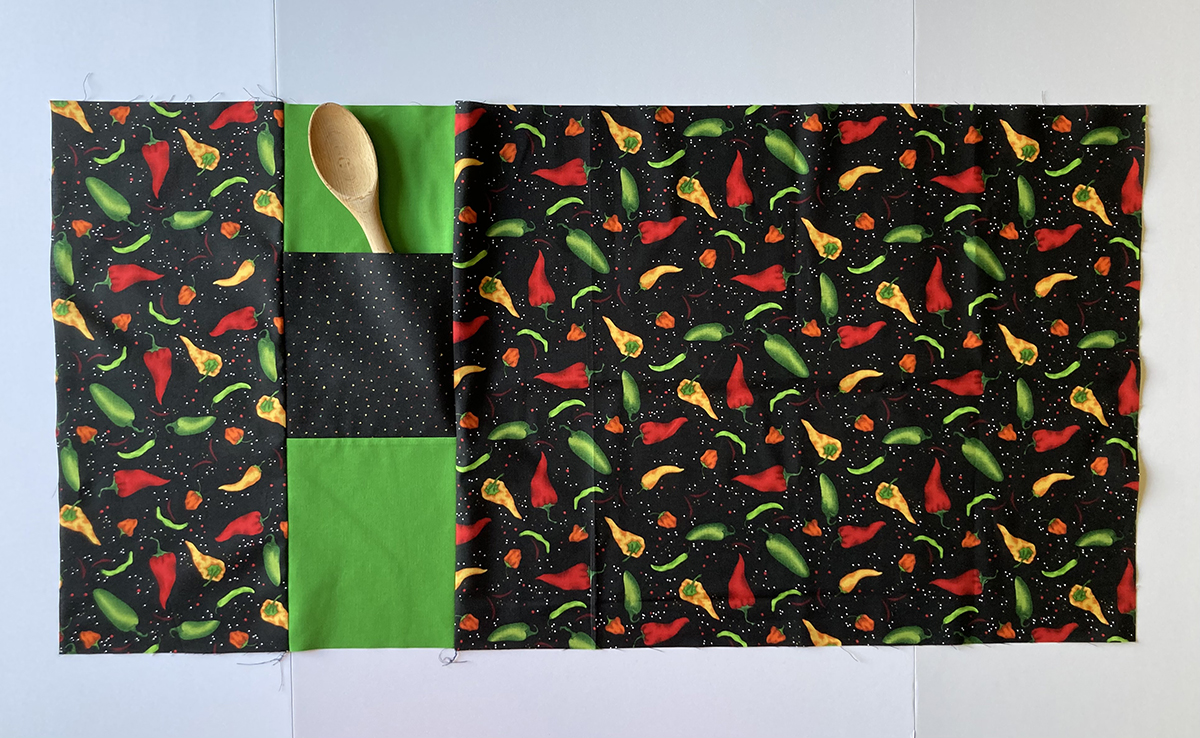
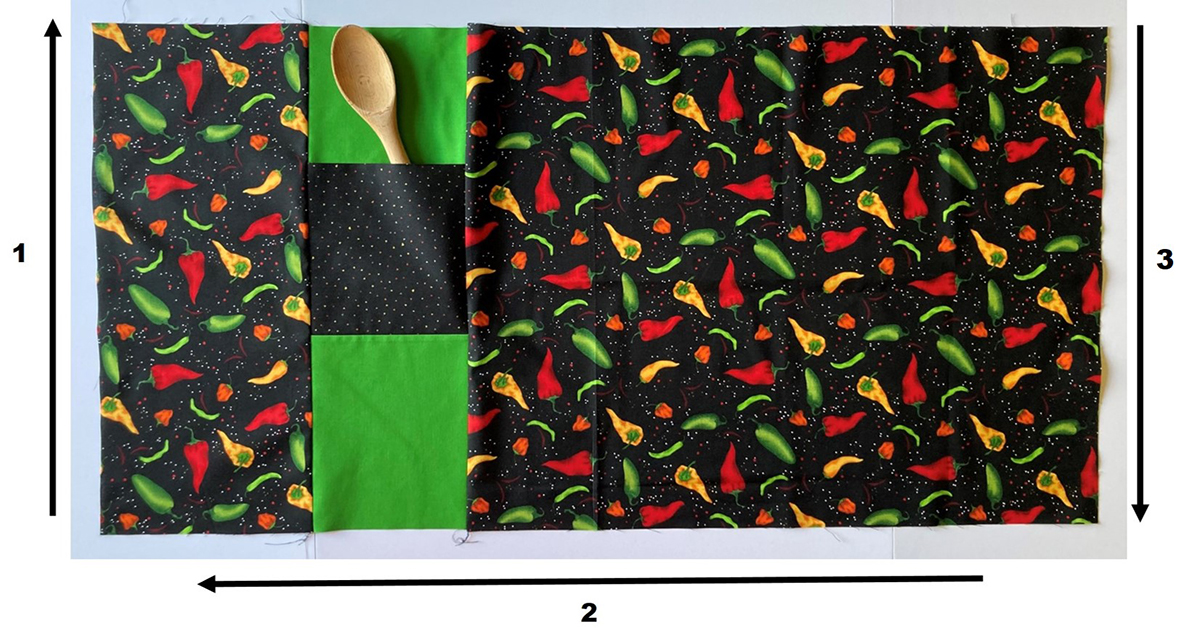
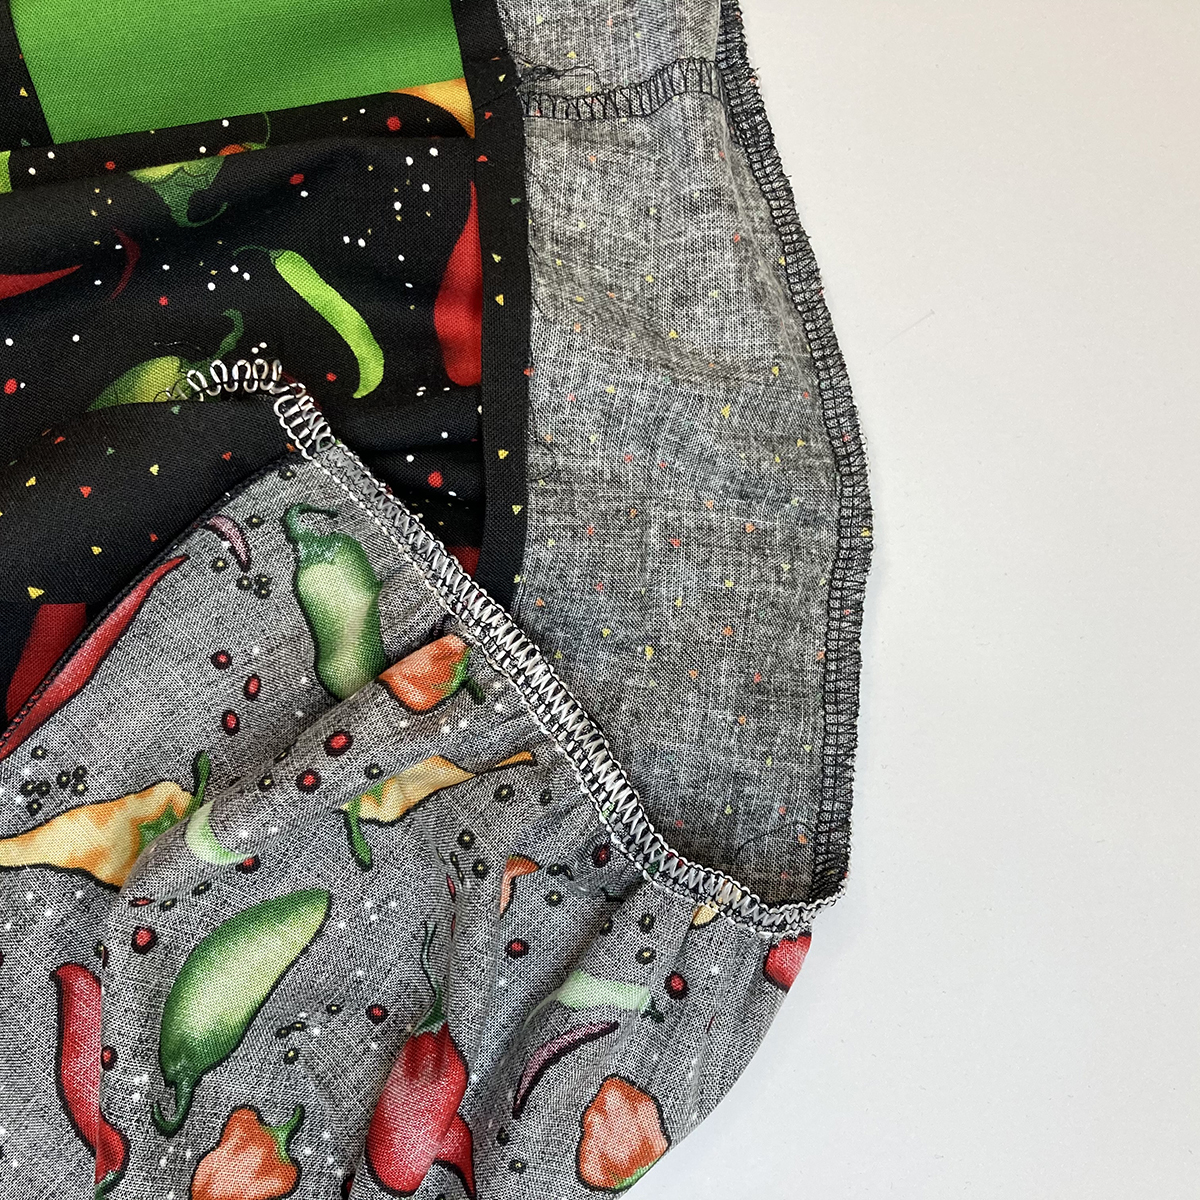
Place the pocket insert right sides together on the 9” x 21” main fabric rectangle, lining up the long raw edges on the right edge of the main fabric as shown below. The folded edge of the pocket should be towards the top.
Serge the pieces together along the long edge and press the seam allowance to the main fabric. Place the remaining main fabric piece right sides together along the remaining raw edges of the pocket insert and serge. Press the seam allowance to the main fabric.
Thread your machine for a 3-Thread Rolled Hem with the texturized thread in the Upper Looper. I love WonderFil SoftLoc. This thread stretches just a little bit as it goes through the machine. Once it is on the fabric, it relaxes and “fluffs” to cover the raw edges. It also threads easily with the Air Threader, and I don’t have to worry about this thread melting when I press my finished project. Stitch a rolled hem along the two sides and bottom of the apron. Use seam sealant on the corners and trim the tails when dry.
Tip: I find it easier to sew the rolled hem in this order: 1) Bottom-up on the apron right side; 2) Across the bottom of the apron starting on the left side; 3) Top-down on the apron left side. Doing it in this order means I’m always starting on a raw edge.
To gather the top edge of your apron, rethread your overlocker for a 4-Thread Overlock Stitch and use regular serger thread. Tighten the needle tensions to 7 or 8, adjust the Differential Feed to 2 and lengthen the stitch to 4.0. Test sew on a scrap of fabric to see how you like the gather and adjust as needed.
Gather the top of your apron, leaving LONG tails at the beginning and end. To increase the gathers further, pull on the needle threads or loosen the gathers by pulling the fabric along the stitching. The width of the apron should be about the width of your front waist from side to side, so adjust as needed. You can also stitch a gathering stitch a second time over the first stitches to increase the gathering. (You don’t want TIGHT gathers…that will make your apron very narrow in front!)
Fold the apron in half and mark the center of the gathered edge with a pin or clip.
To make the waistband/ties piece, reset the overlocker to a balanced 4-Thread Overlock Stitch and serge the short edges of the two waistband pieces with right sides together to make one long strip.
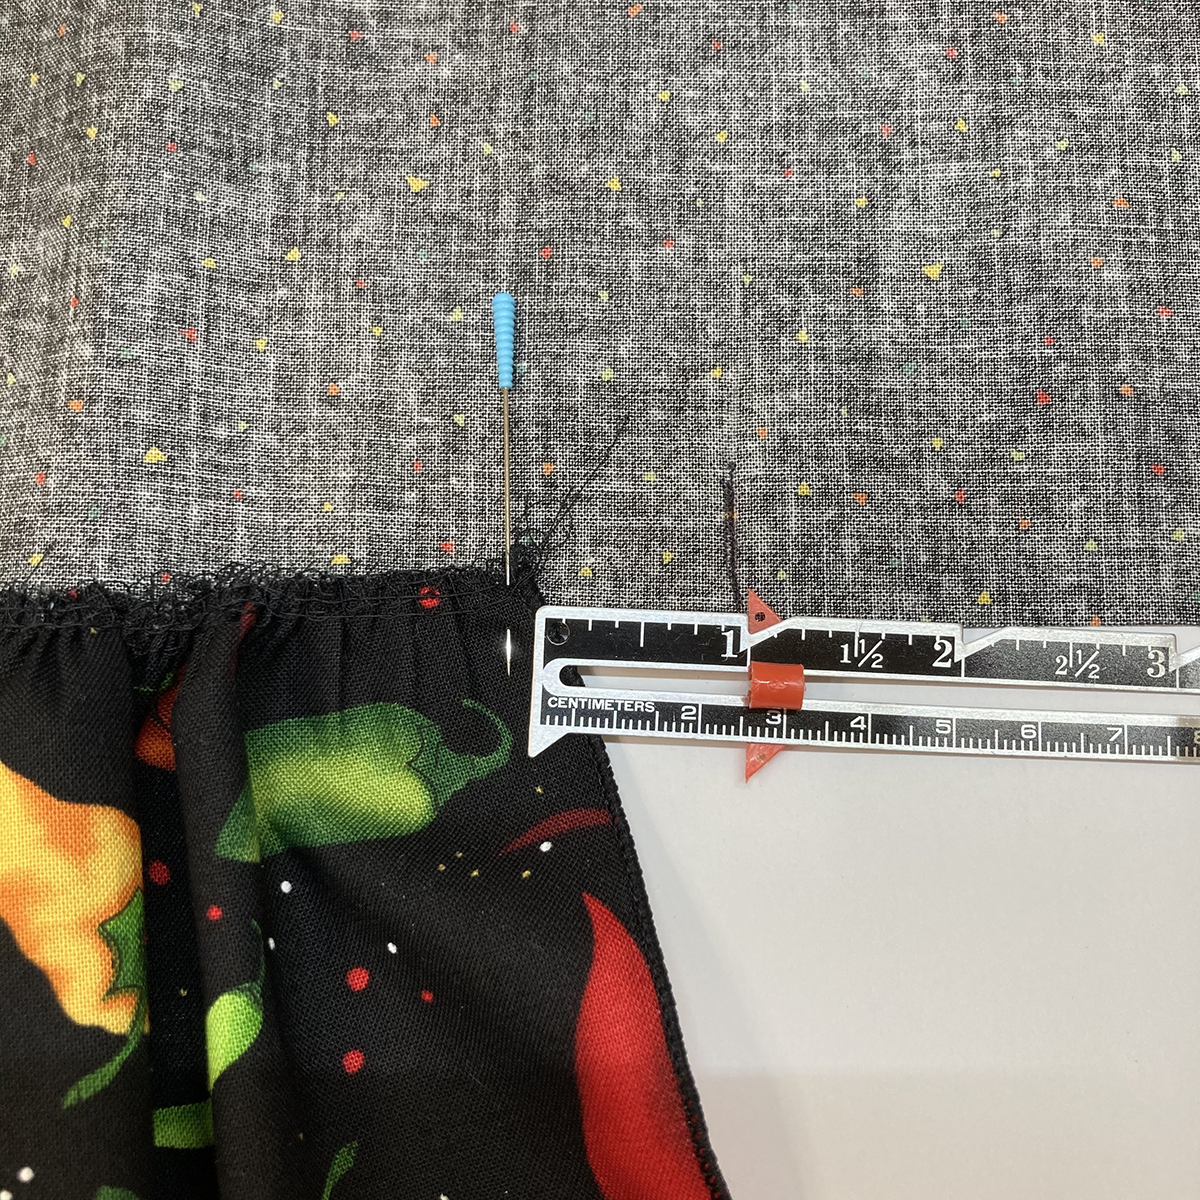
Lay the waistband/ties piece the WRONG side up on your work surface. Match the center seam to the center of the apron and pin together as shown.

Pin the right and left upper corners of the apron to the waistband/ties piece as shown. Be careful not to stretch out the gathering stitches.
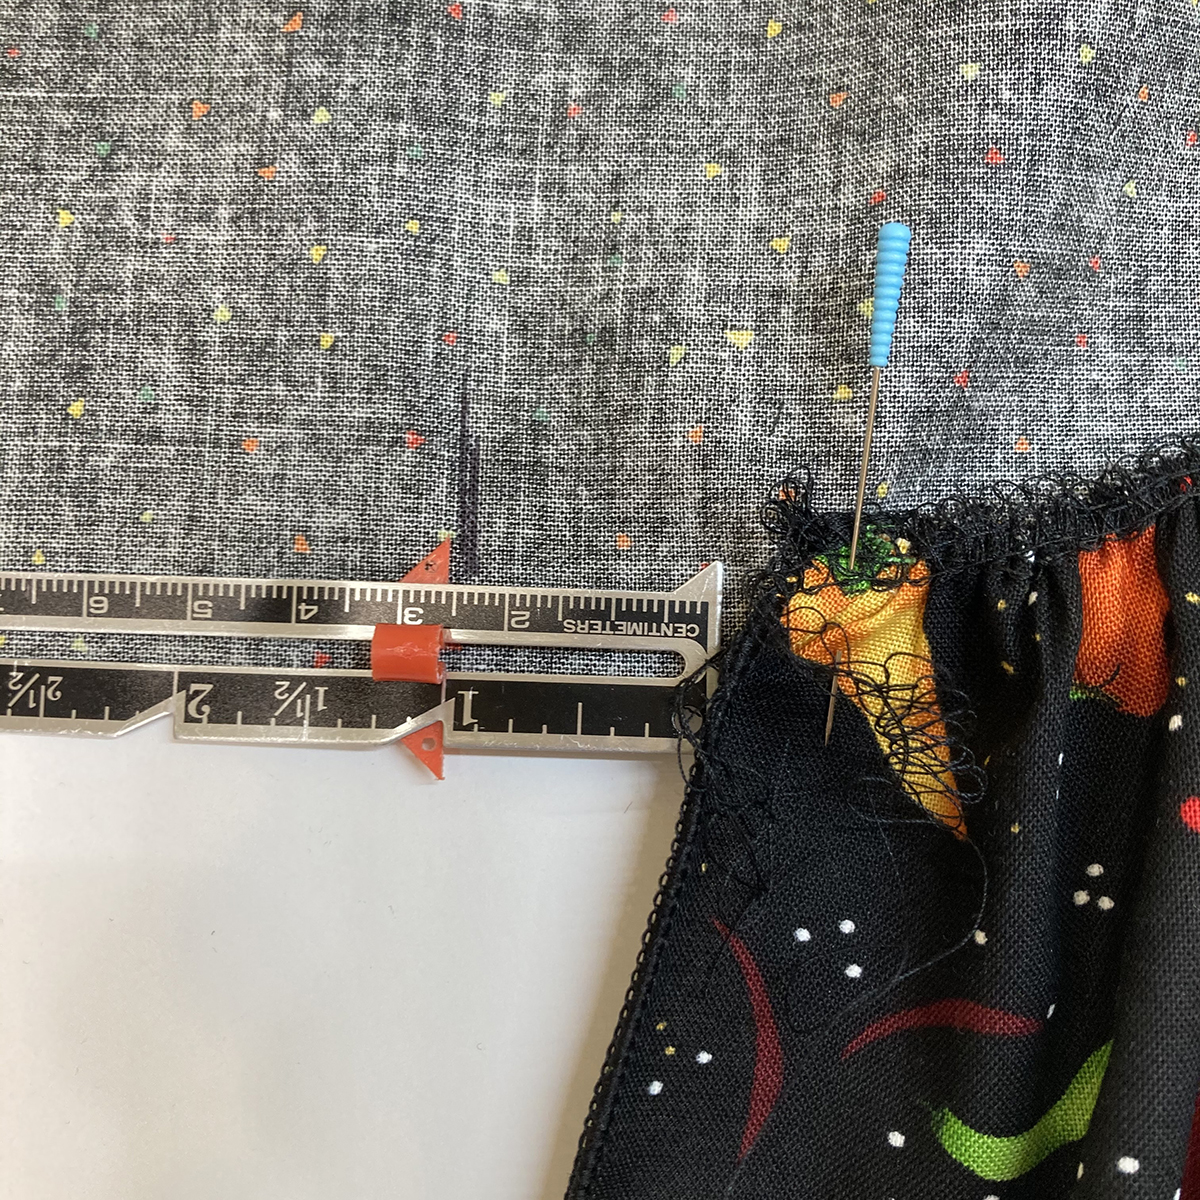
With a Frixion pen and ruler, mark 1” AWAY from the apron on each end as shown.
Unpin the waistband/ties piece from the apron. Do NOT remove the center pin from the main apron.
Clip the waistband/ties piece together lengthwise right sides together.
Starting at one of the marks, serge AWAY from the center along the length of the fabric and along the short edge. Repeat on the other side. The middle is NOT sewn.
Tip: For sharp corners, turn down the first serged edge when stitching along the short end.
Turn right side out with the Bow Whip Turn-It-All and press. You can use the wooden stick part of the tool to carefully push out the corners. This is one of my favorite tools for turning tubes right side out…it’s ‘sew’ easy to use! There are three sizes of tubes that will work on all sorts of things from spaghetti straps to waistbands!
Press under 1/4″ along ONE unfinished edge of the open part of the waistband/ties piece.
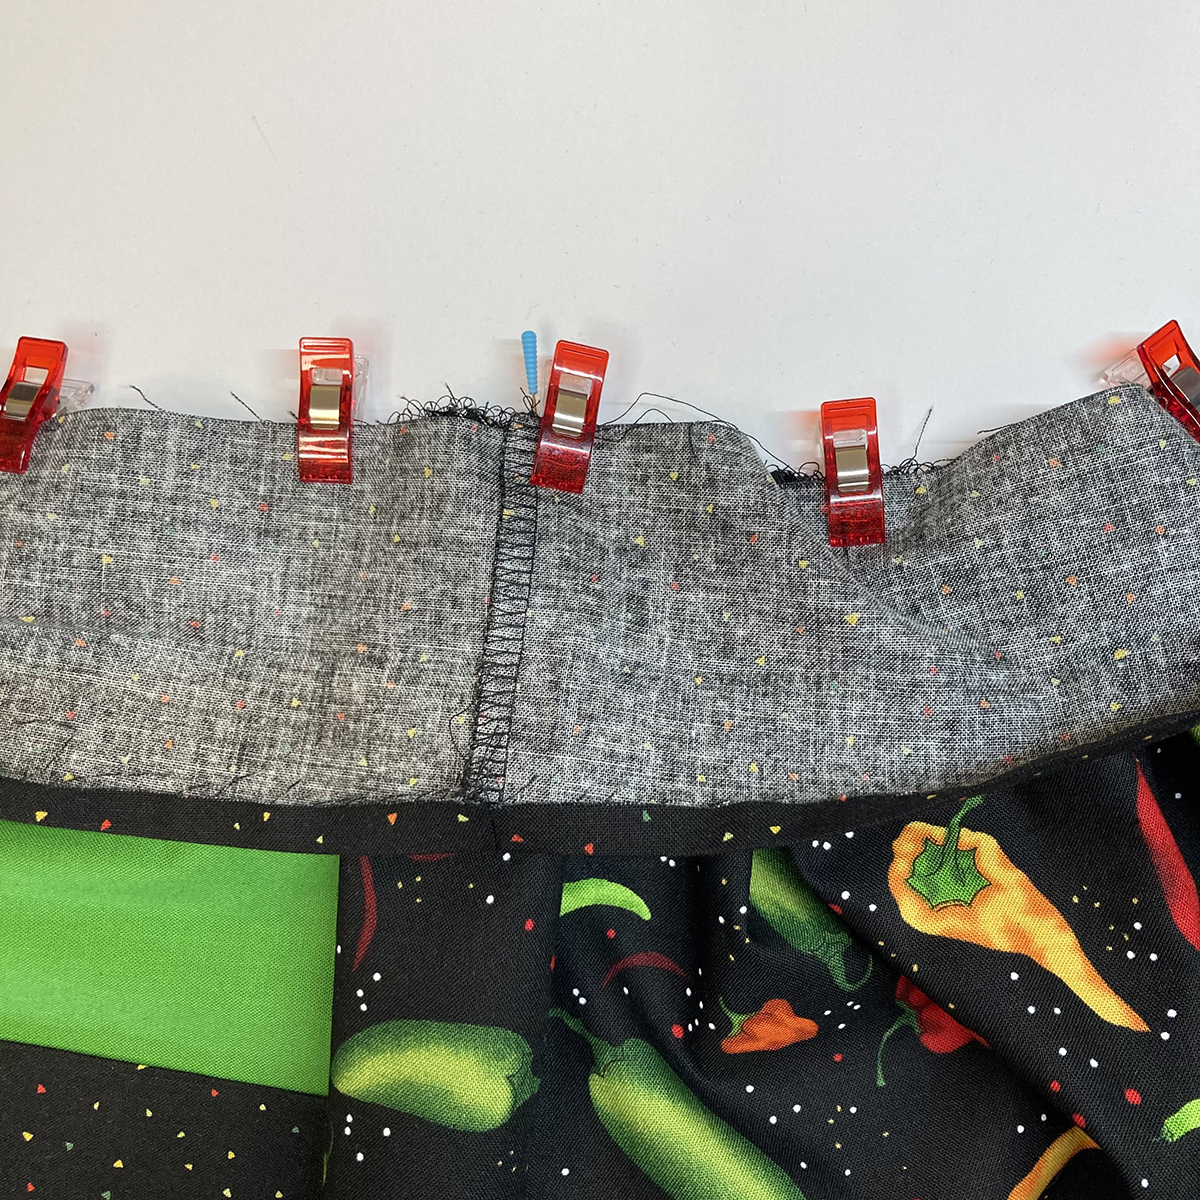
Match the center of the apron with the center seam of the waistband/ties piece right sides together and with raw edges even. Use Wonder Clips instead of pins along the raw edges because of their high visibility. You don’t want to serge over pins, and they can easily be missed as you start sewing.
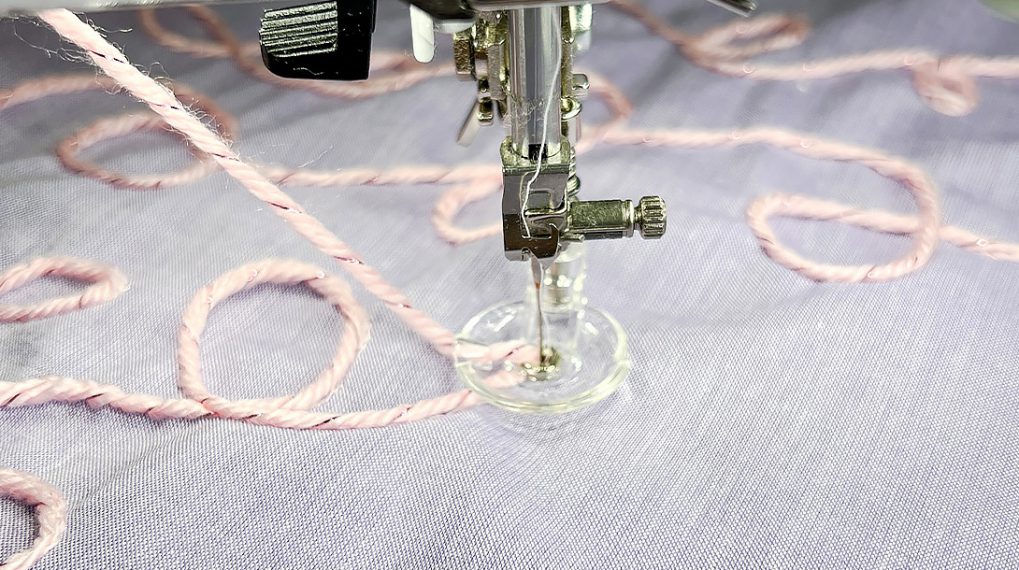
You are now going to add fusible thread to the mix. It will help in a moment to hold the waistband in place for the final tack down. I think it is a lot easier to use than fusible tape, so if you haven’t tried it before, now is your chance!
(Storage Tip: Make sure you mark the spool if the label has come off. You certainly don’t want to mistake this for a decorative thread! That reminds me of the time that I quilted with wash-away thread…a story for another day!)
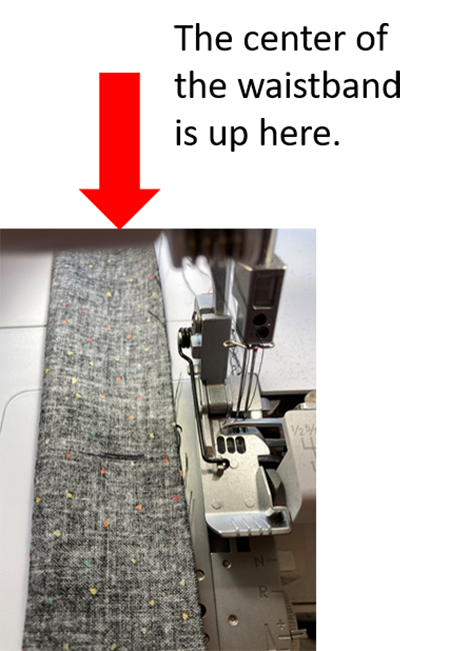
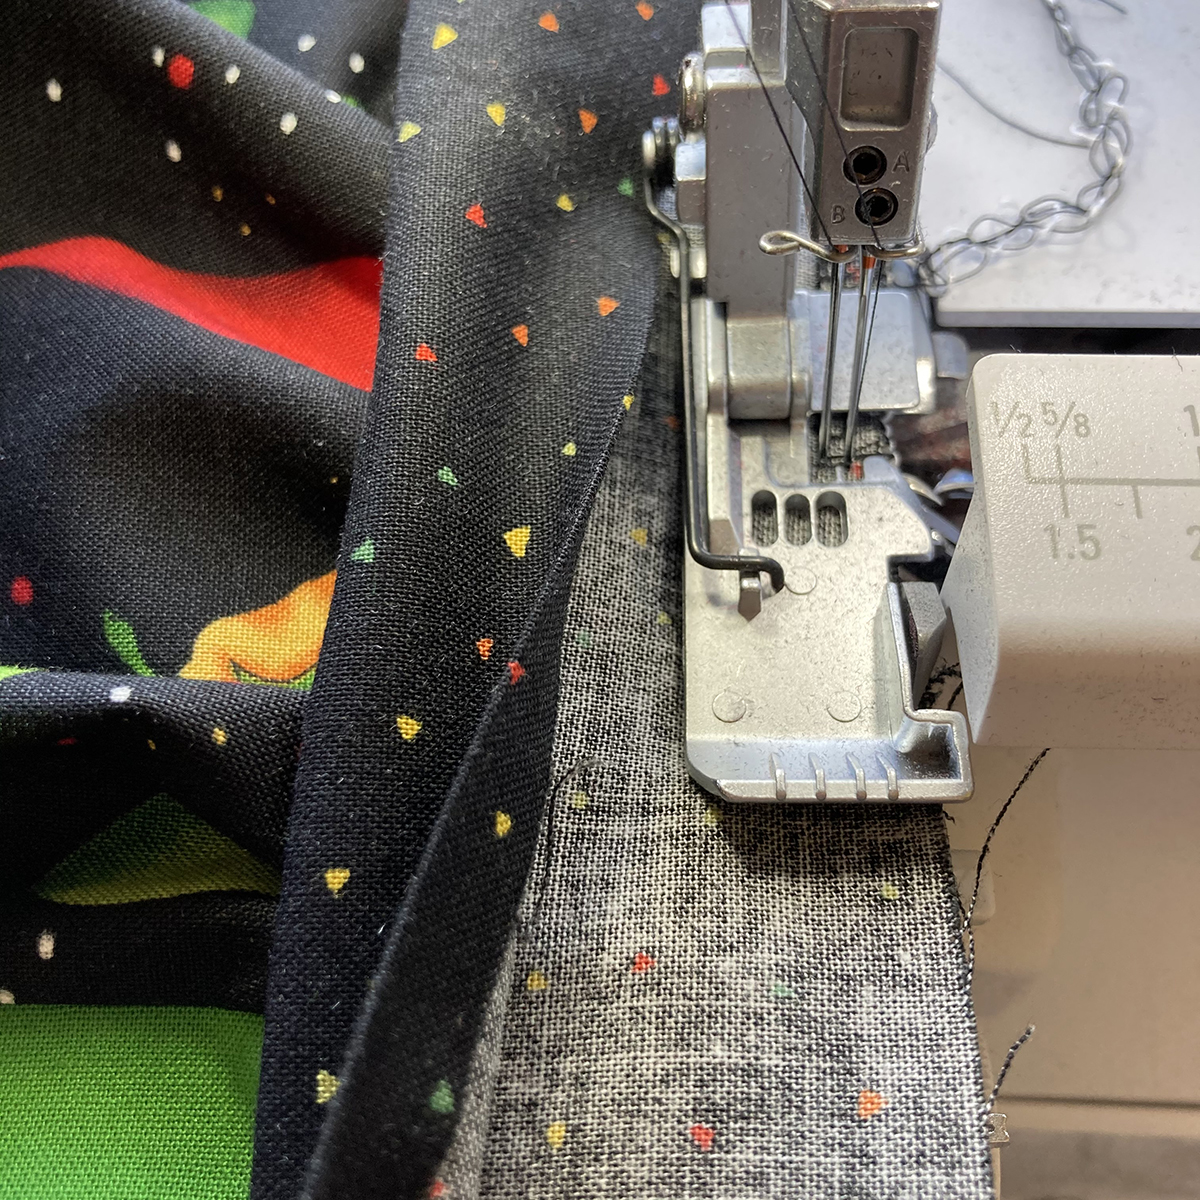
Place the fusible thread in the Lower Looper. Starting at one end, stitch along the top of the apron, attaching the waistband/ties piece to the apron front. The right side of the apron should be facing UP.
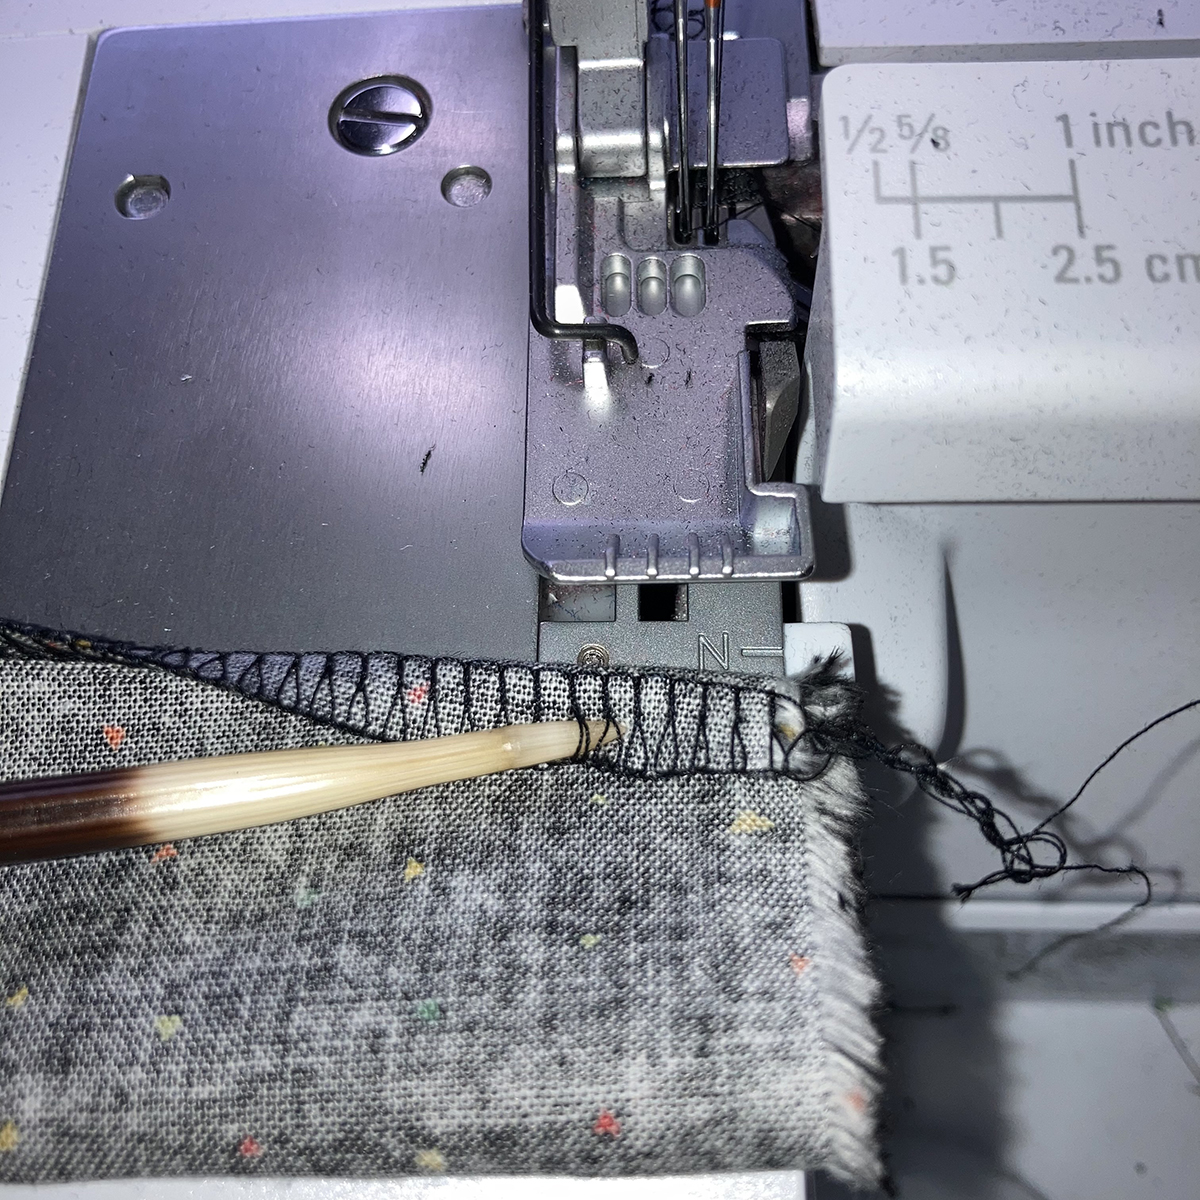
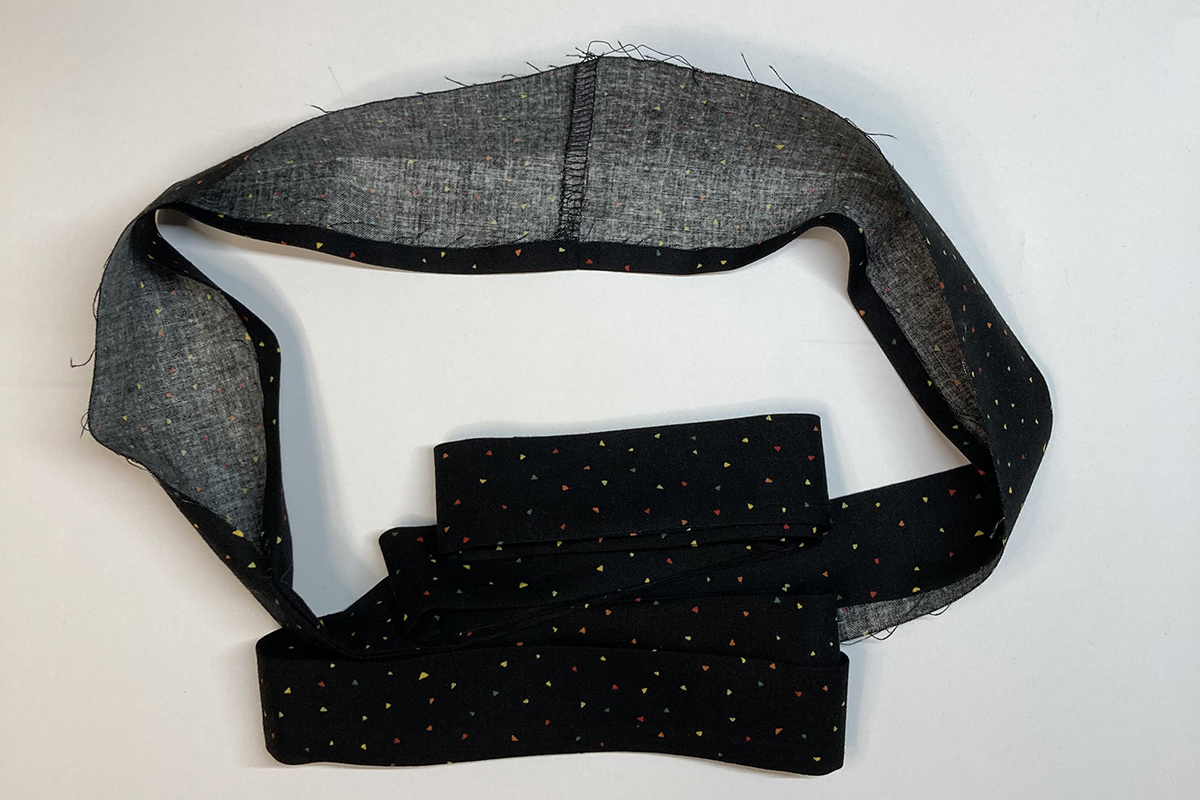
This is what it should look like after the stitching is done.
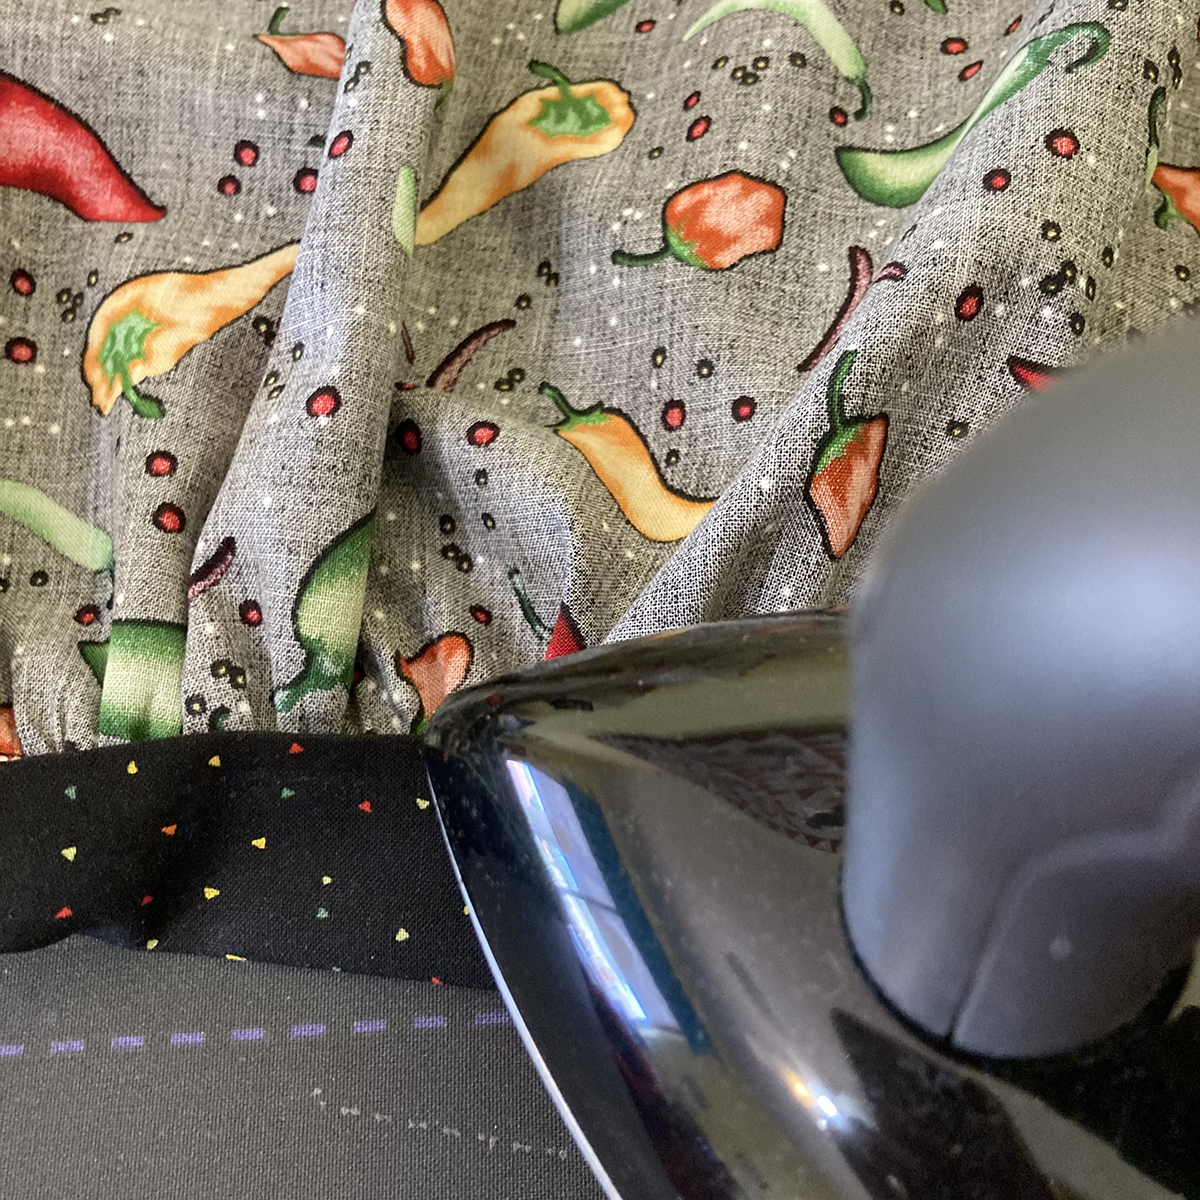
Fold the waistband/ties piece over the serged edge, placing the folded edge to just cover the serged stitching. Press for 10 seconds or so to fuse the waistband to the wrong side of the apron.
Fusible thread tip: Test your iron heat and steam on a scrap of sewn fabric. You want the iron to be warm enough to slightly melt the thread but not so hot as to totally dissolve the stitch.
This is not considered a PERMANENT hold. Because your apron will probably be laundered, you will want to topstitch the band down at your sewing machine. I love how the fusible thread holds everything in place for me. It is a great product for hemming garments and holding quilt binding in place, too!
Ta-da! You are done! Now that you know how easy this is to make, get some more fabric to match a theme…holiday, party, or just because!
Come back soon to learn how to add embroidery and decorative stitches using the bernette 79!