Binding Basics: Bias Binders #87 and #88
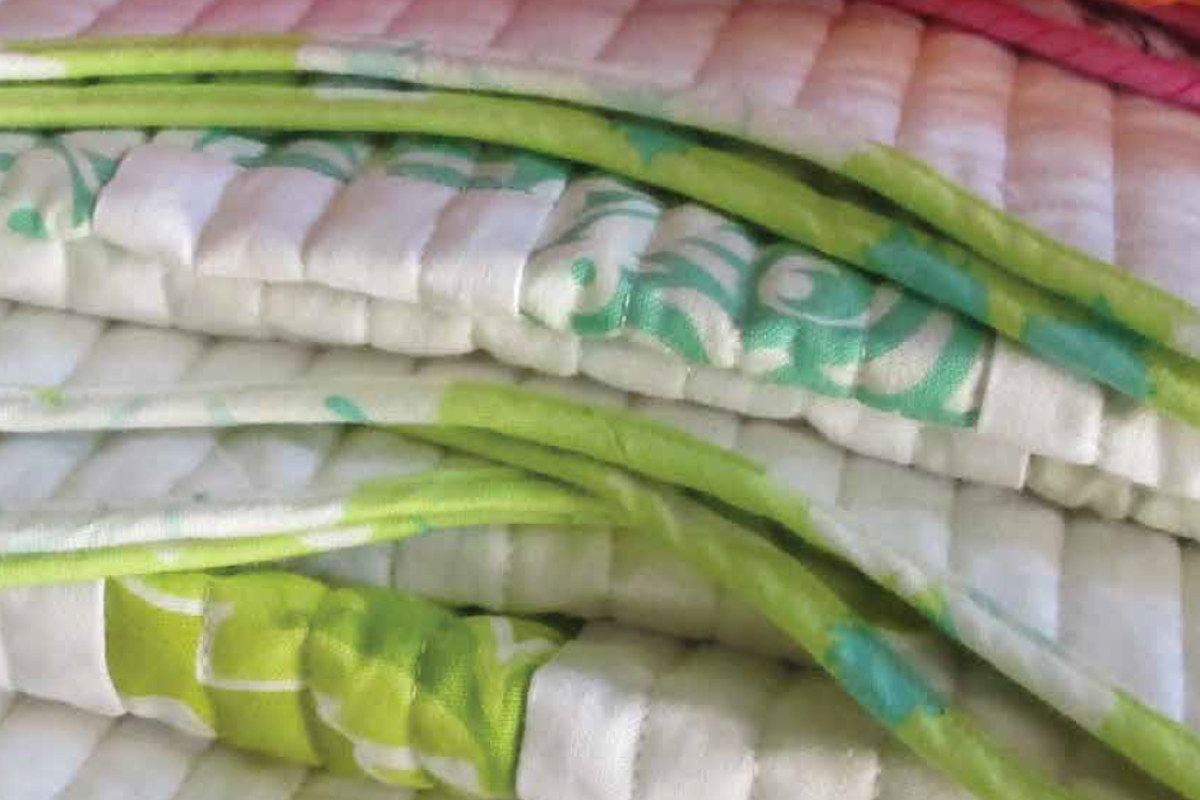
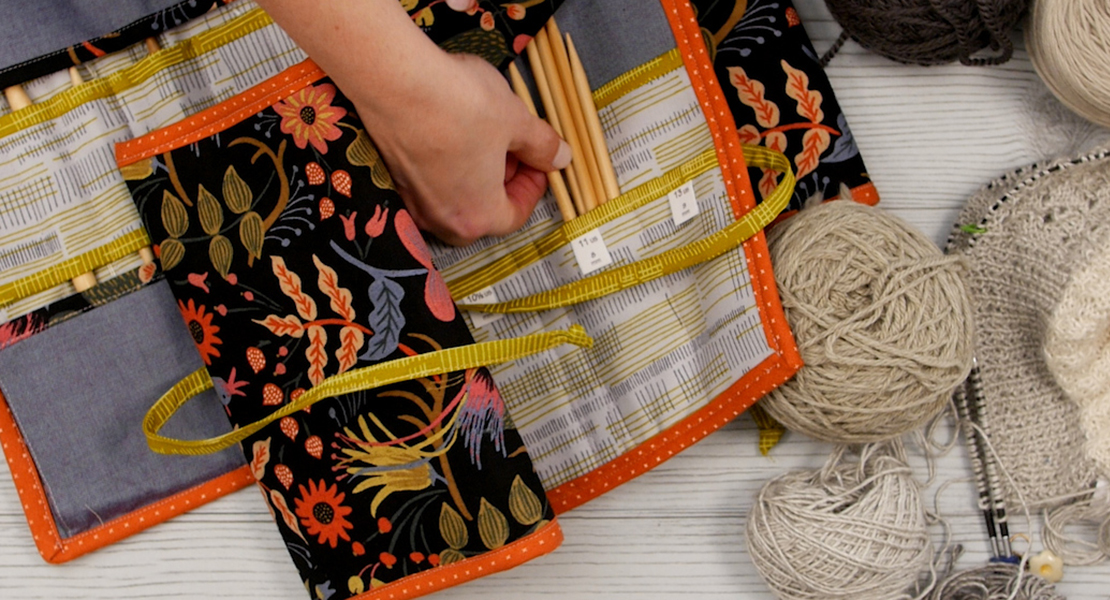
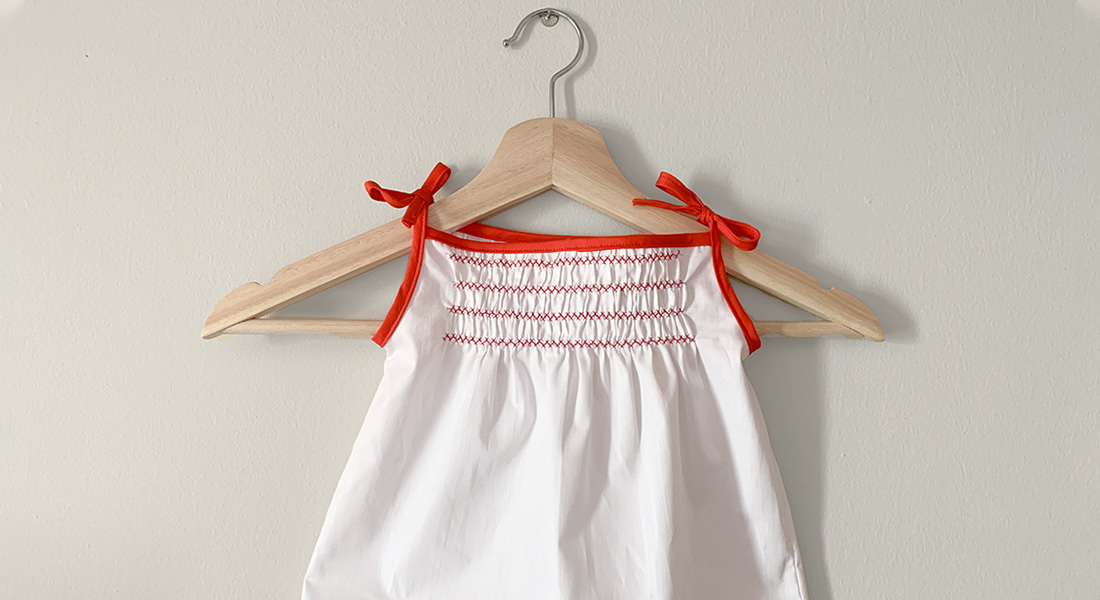
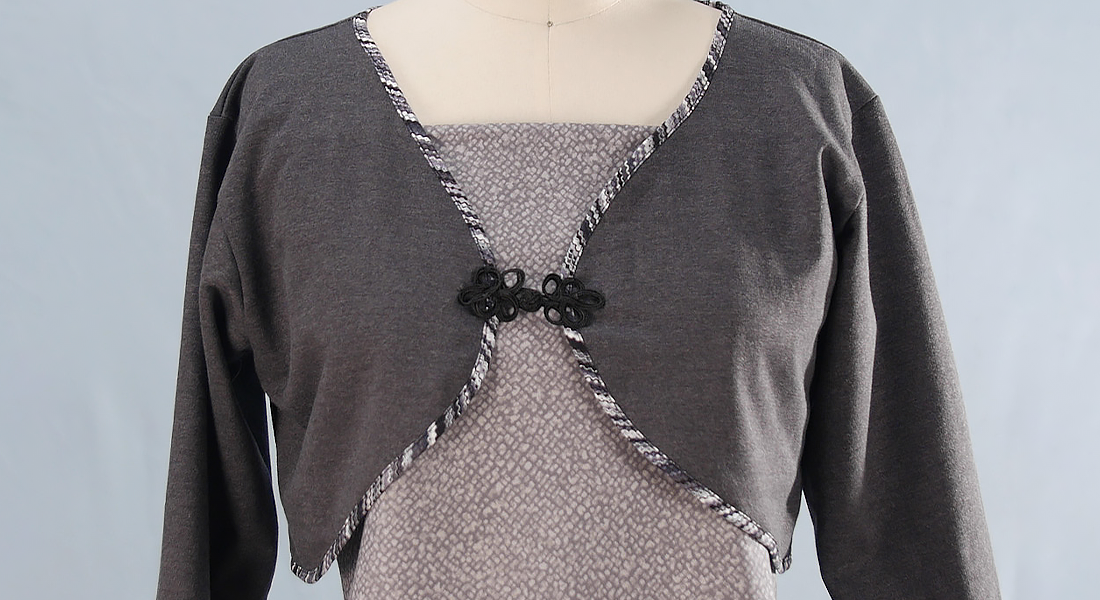
Commonly found on quilts, bound edges are also found on other projects including garments, purses, and pillows. Binding is usually a multi-step process but with BERNINA Bias Binders #87 and #88 it’s a one-step technique that makes it quick to create bound edges. This post covers binding basics using Bias Binders #87 and #88.
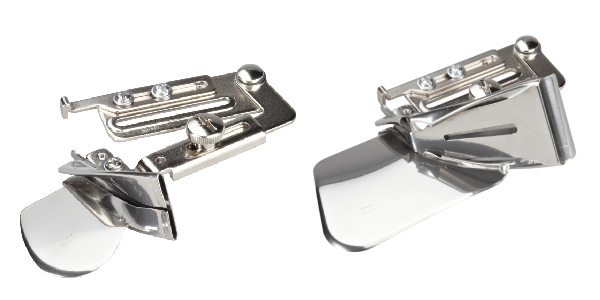
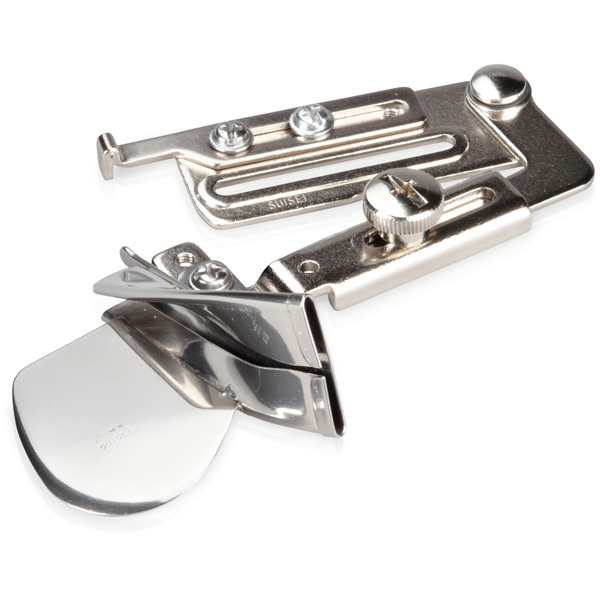
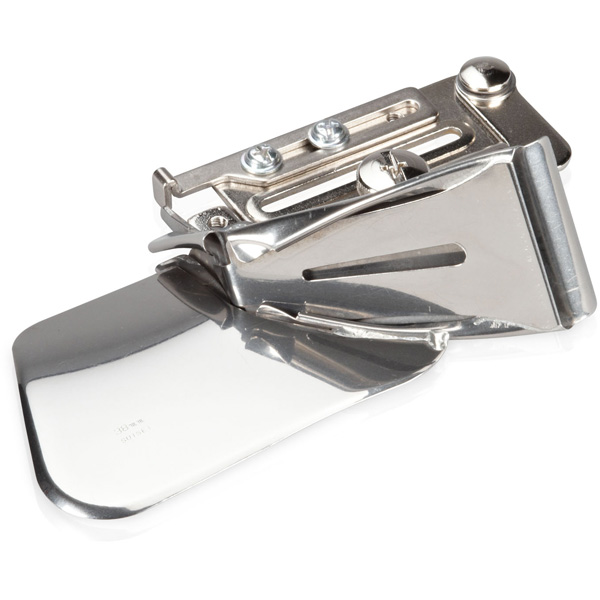
Two Bias Binders
BERNINA has two binders:
- Binder Attachment #87 is for bias tape and comes in three sizes with finished binding widths of 1/4″, 3/8″ and 1/2″.
- Binder Attachment #88 is for bias strips and comes in three sizes with finished binding widths of 1/4″, 5/16″ and 7/16″.
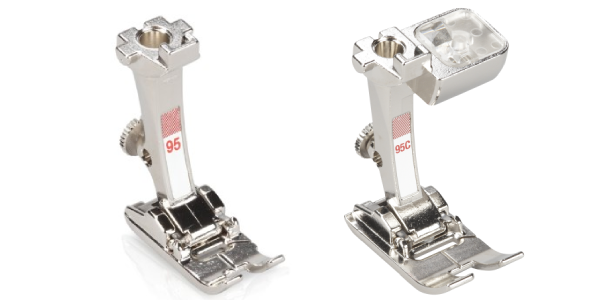
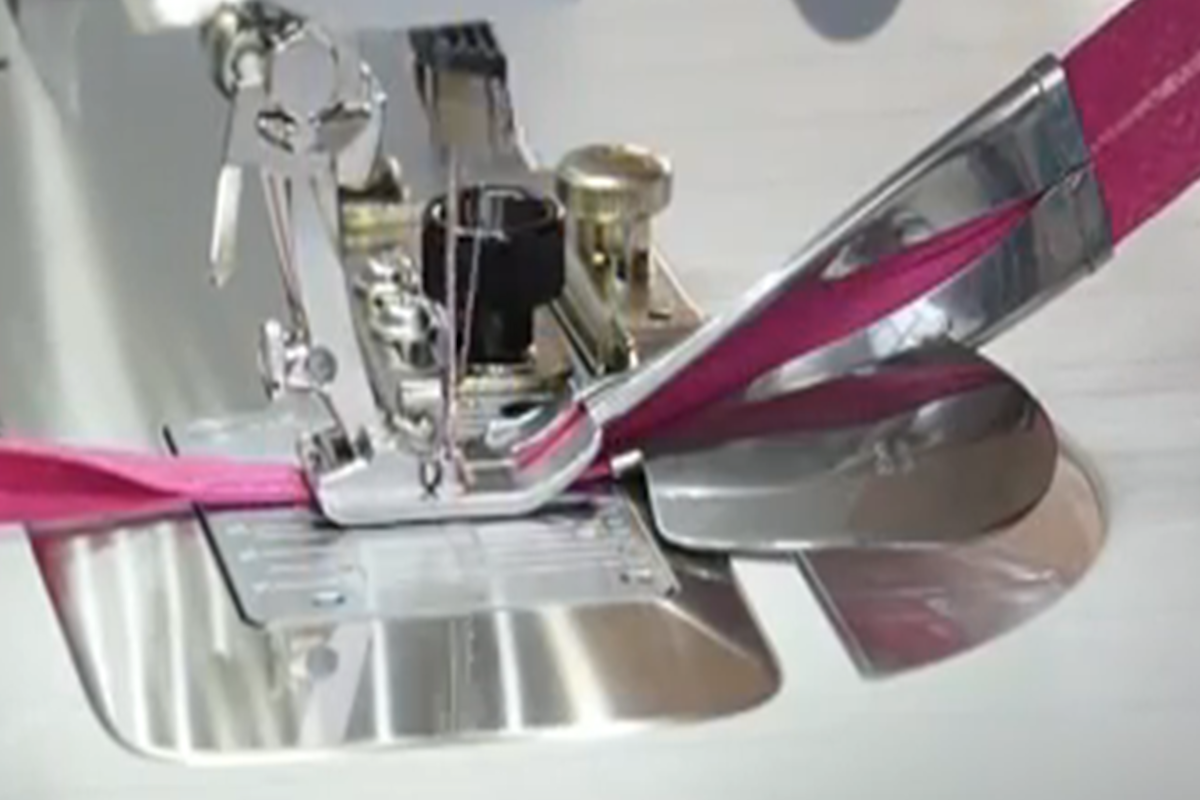
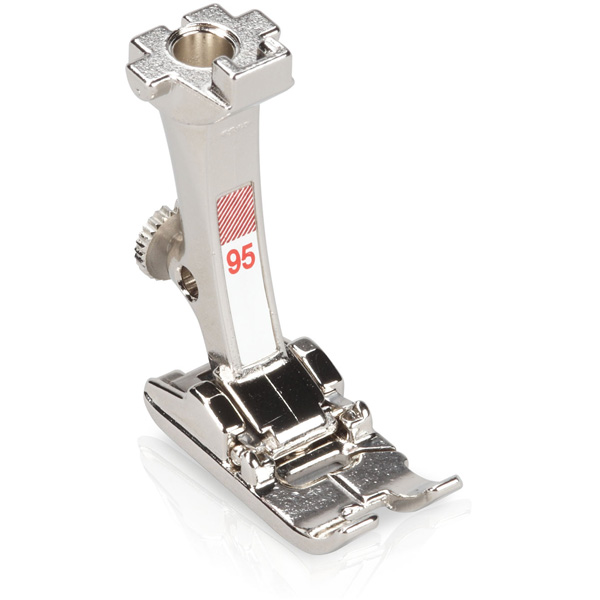
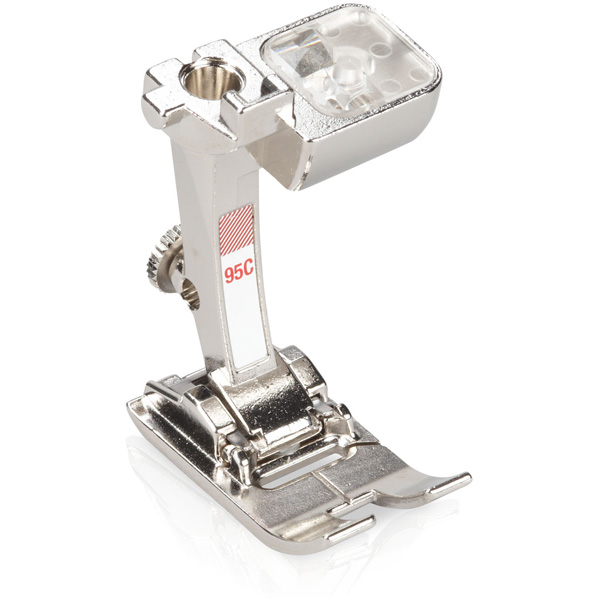
Binder Foot #95/95C
Both binders work with Binder Foot #95/95C to bind edges of your projects in one step. Foot #95 is used with 5.5 mm machines and #95C with the 9 mm machine. These feet are sold separately from the binder.
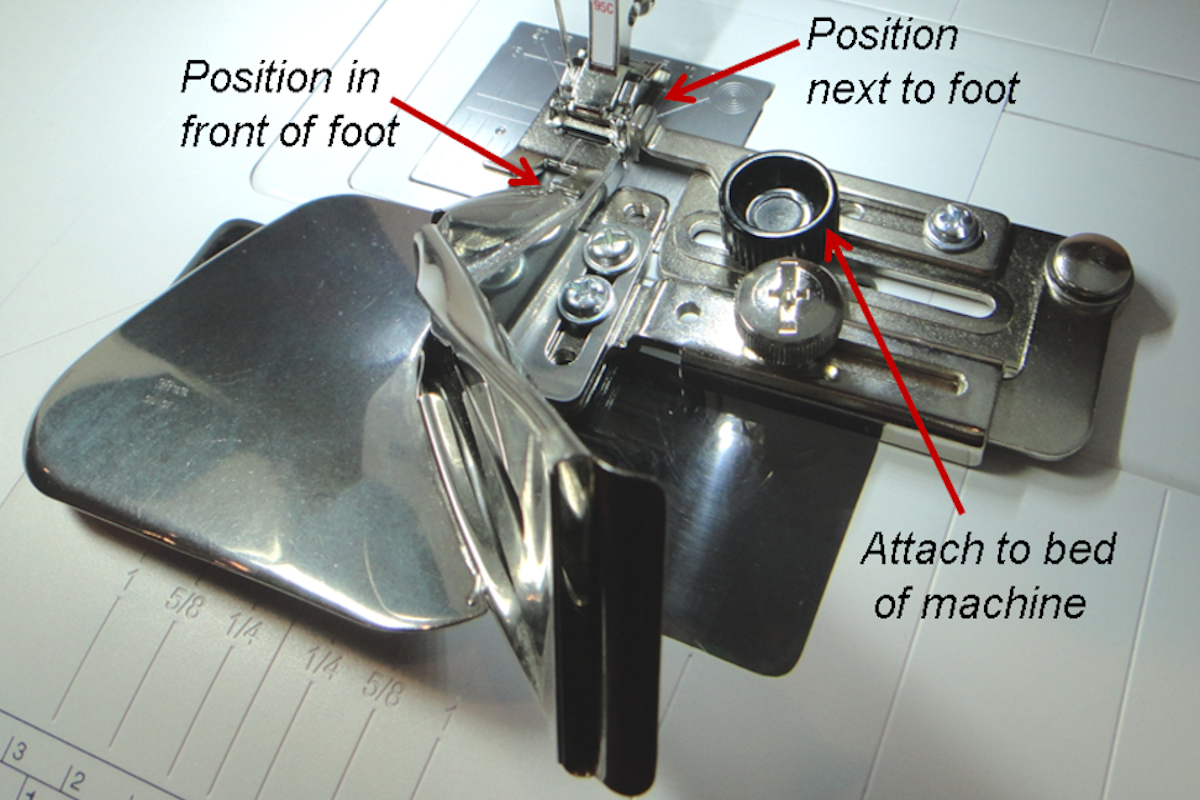
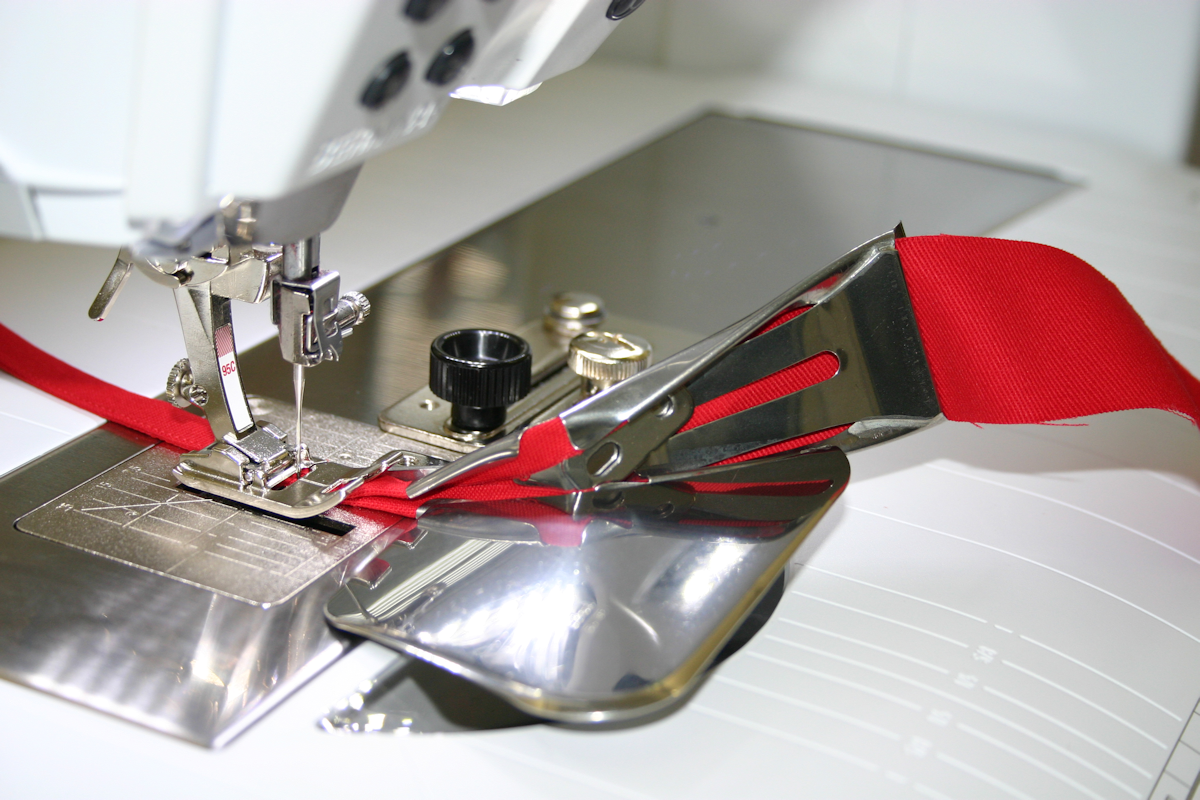
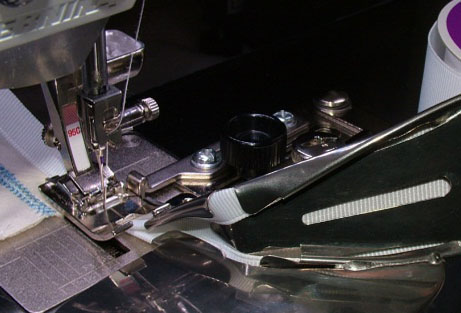
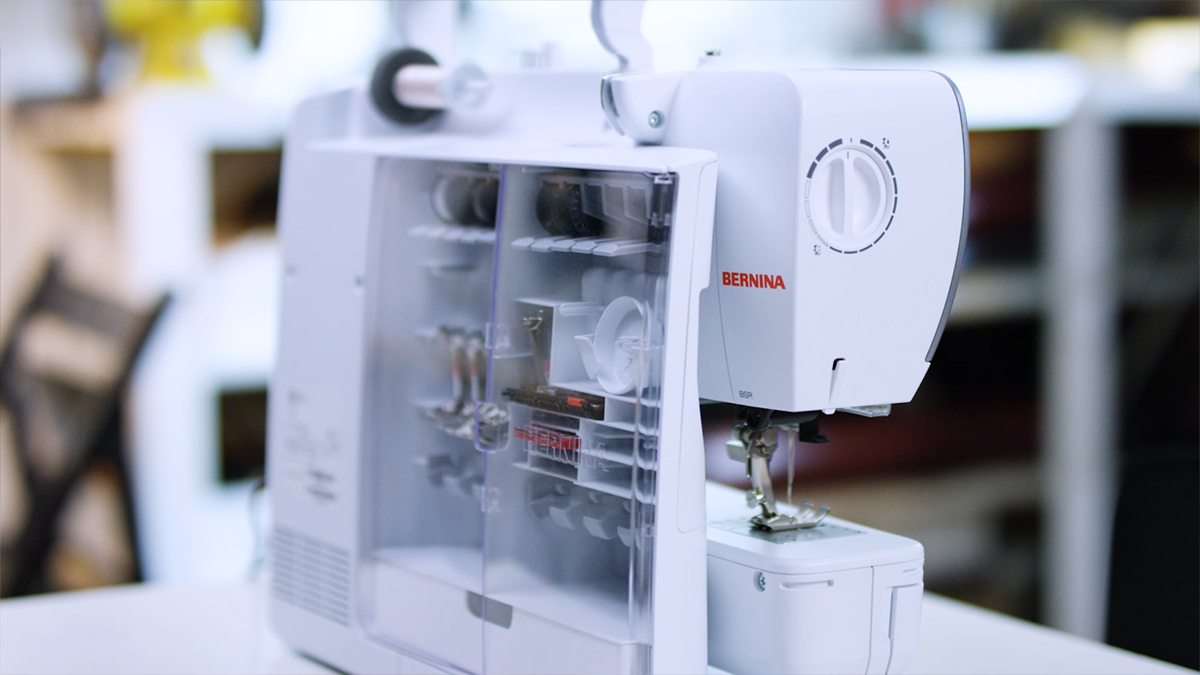
Attaching the Binder
The binders are easy to attach to the machine with one single thumb screw. The first time you use it, you can adjust the binder to fit exactly with Foot #95 so that your binding is perfect. There are two places you may need to adjust. The small arm at the back should fit at the side of the foot and there are two screws to loosen and adjust if needed. The fabric channel that holds the bias strip or bias tape should end directly in front of the right toe of the foot. Again, there are two screws that can be loosened if an adjustment is needed.
The pivot arm of the binder attachment has several purposes:
- Swing it out for more room when attaching binder to machine.
- Easier to load fabric strips into binder in the swing-out position.
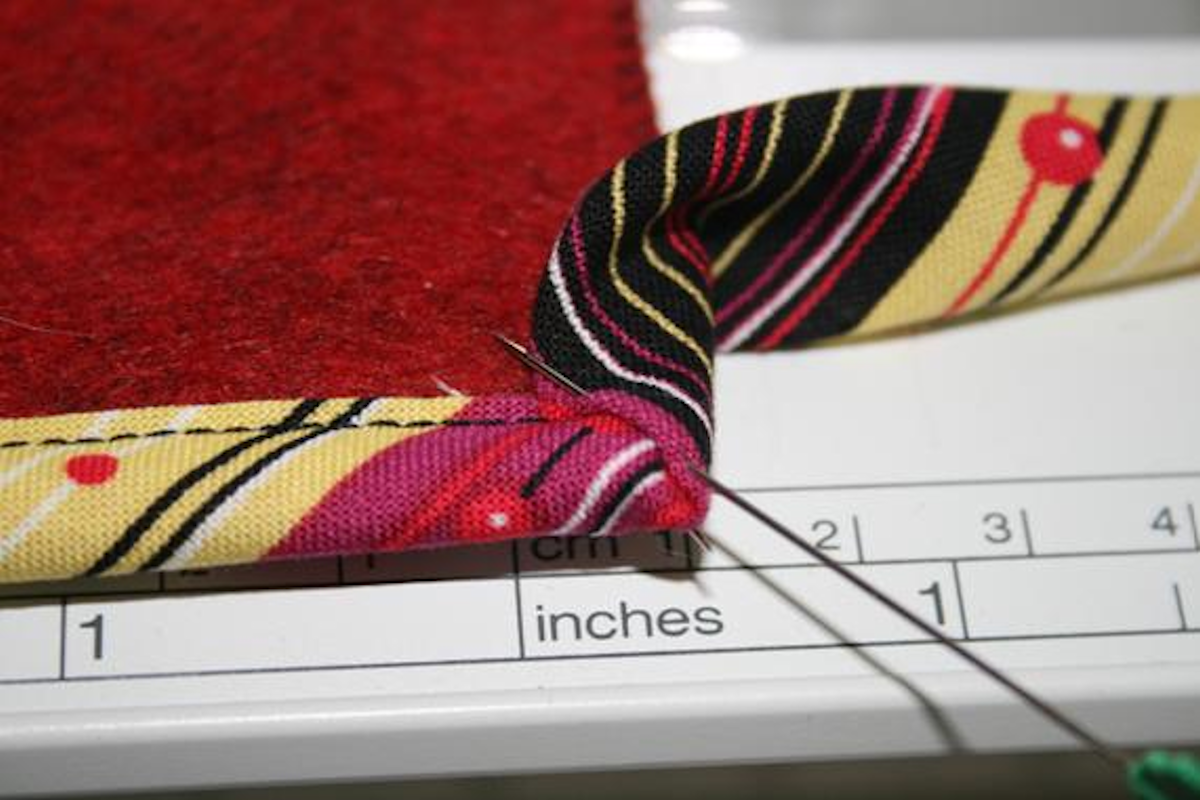
- Used in the process of mitering corners the using binder attachment. Click here to see how to miter corners with the binder.
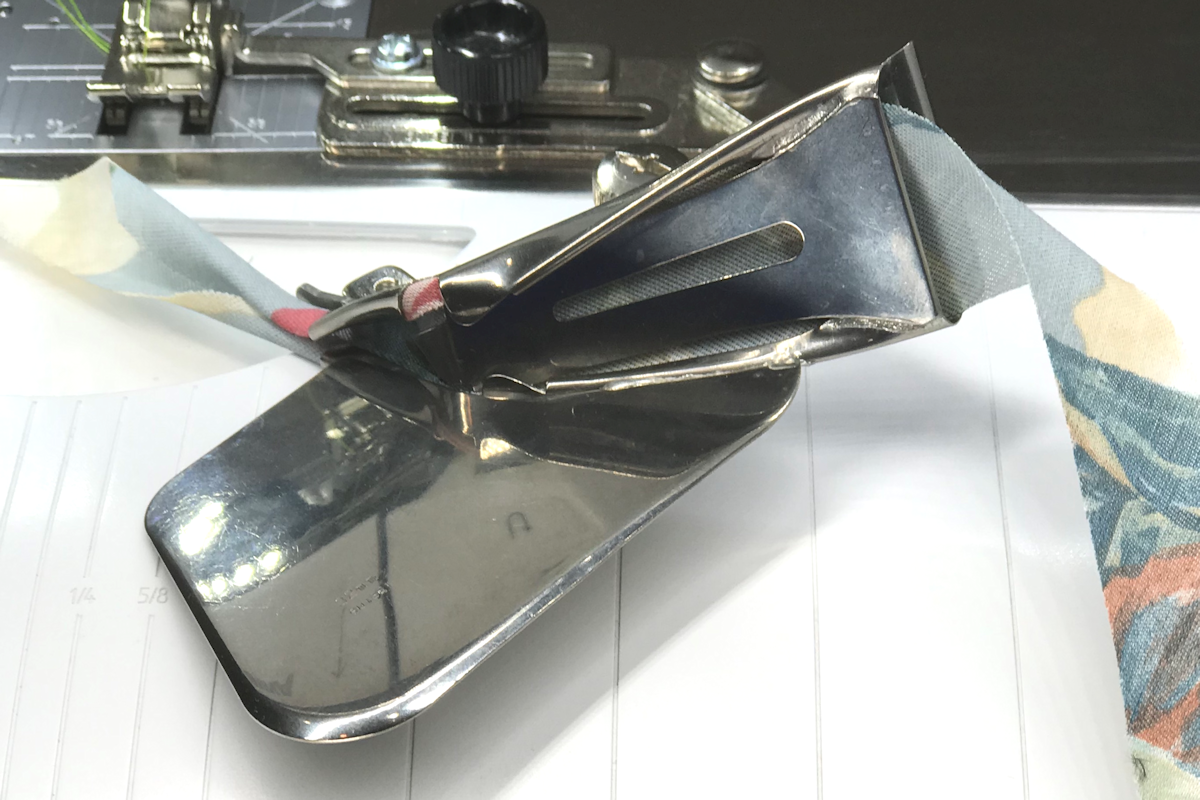
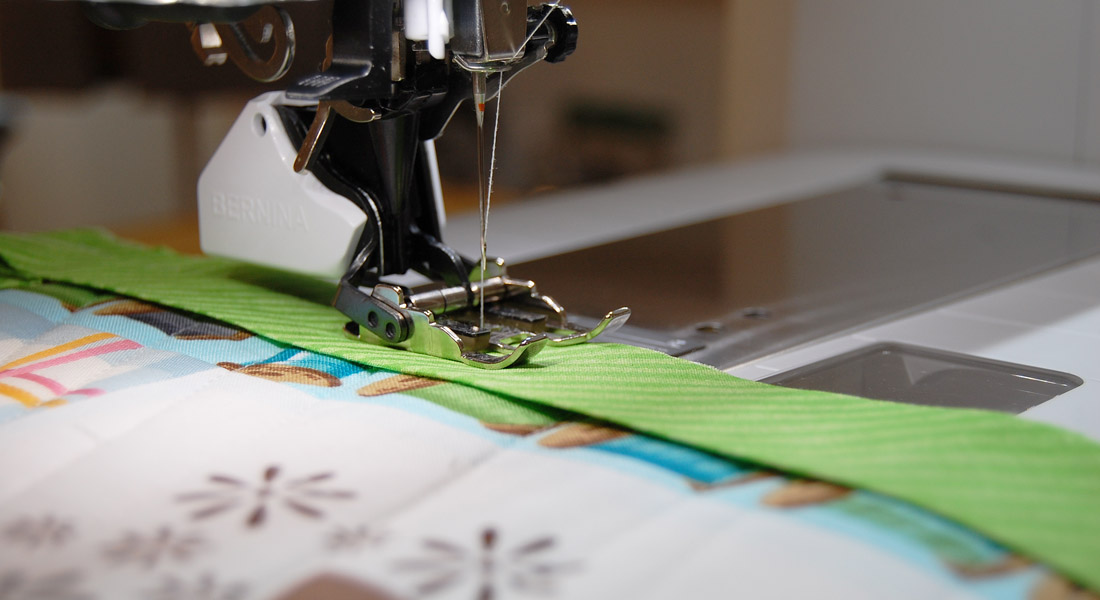
The Bias Binders in Action
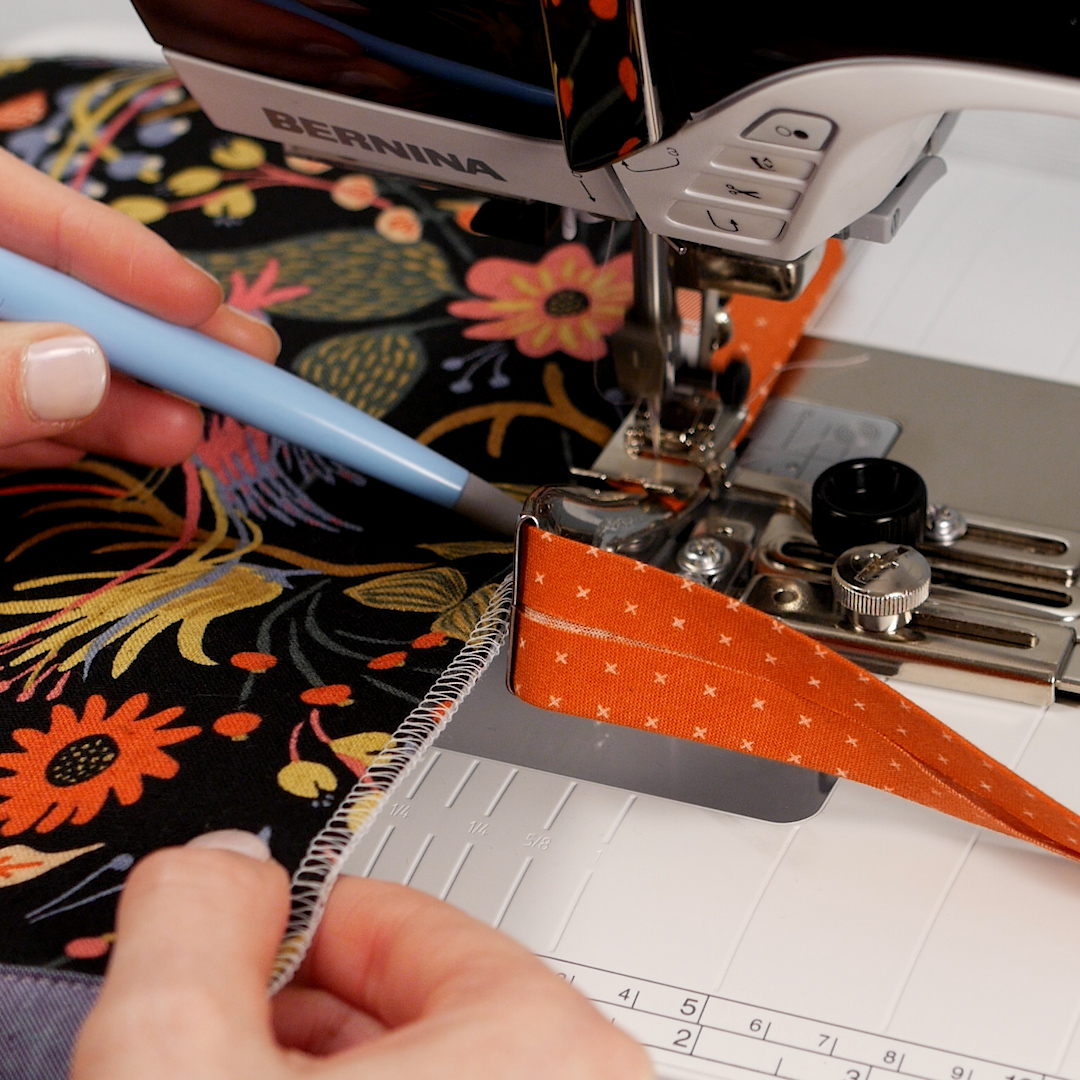
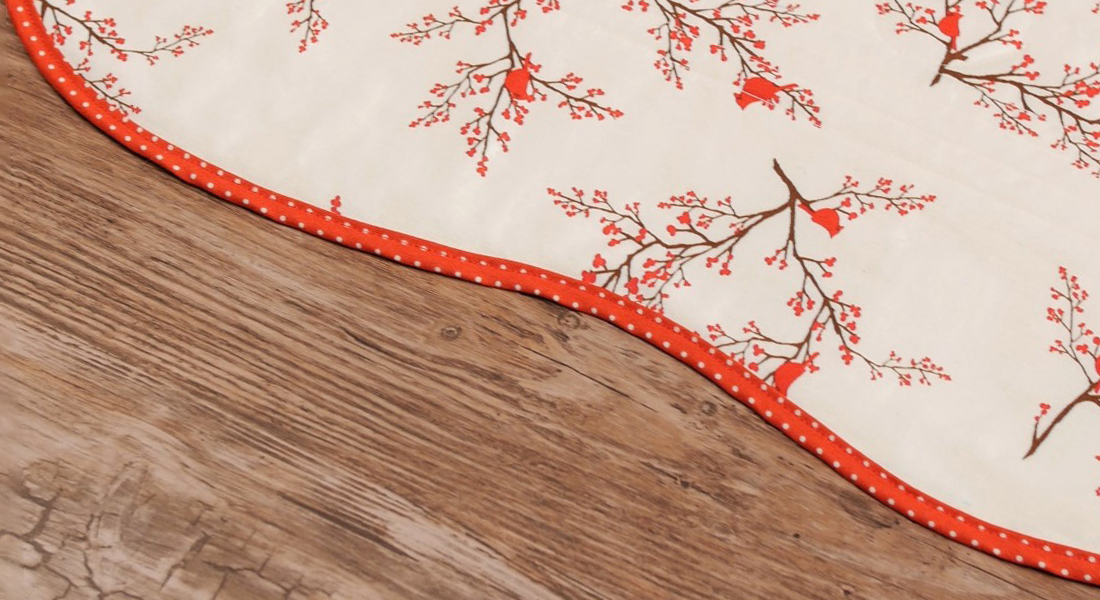
Both the 87 and 88 binders work in a similar way. You feed the bias tape or bias strip into the channel and the attachment folds it around the project edge as you stitch. The bias tape or fabric strips need to be the exact width indicated in the directions included with the binder. Cut one end at an angle and feed it into the channel. Pull it through until you have a few inches behind the foot. The binder folds the raw edges in and positions the to wrap around the project edge.
Sing the arm back into position. Adjust the needle position to stitch on the binding as desired.
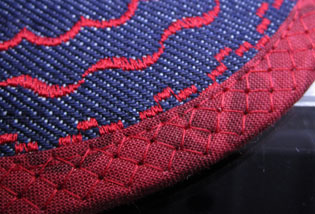
Binder #87 for bias tapes:
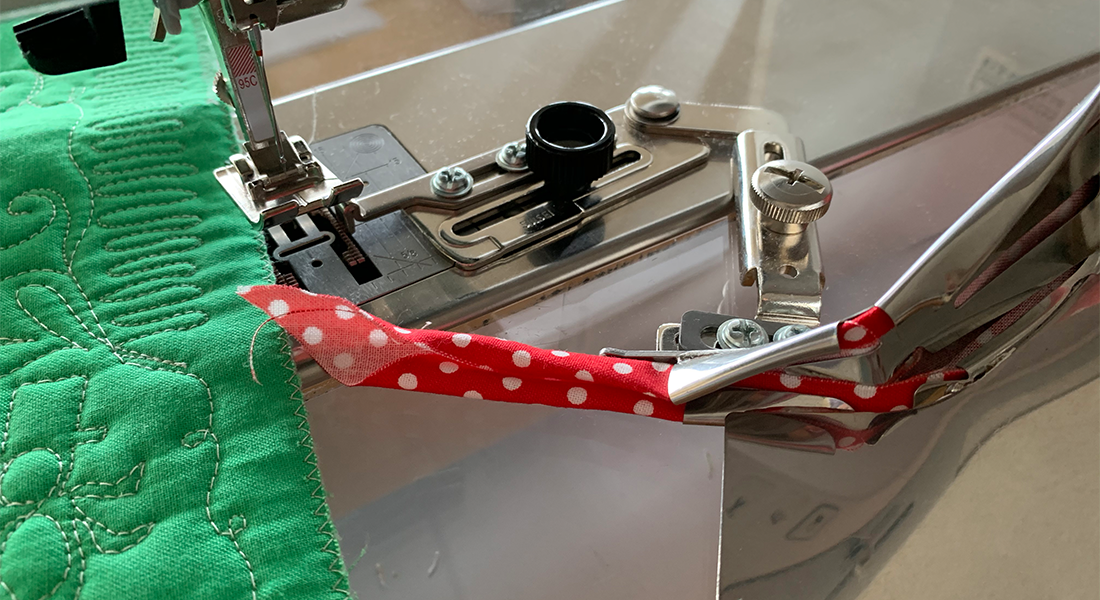
Binder #88 for bias strips:
Place the project edge in the fabric channel and start stitching to secure the binding.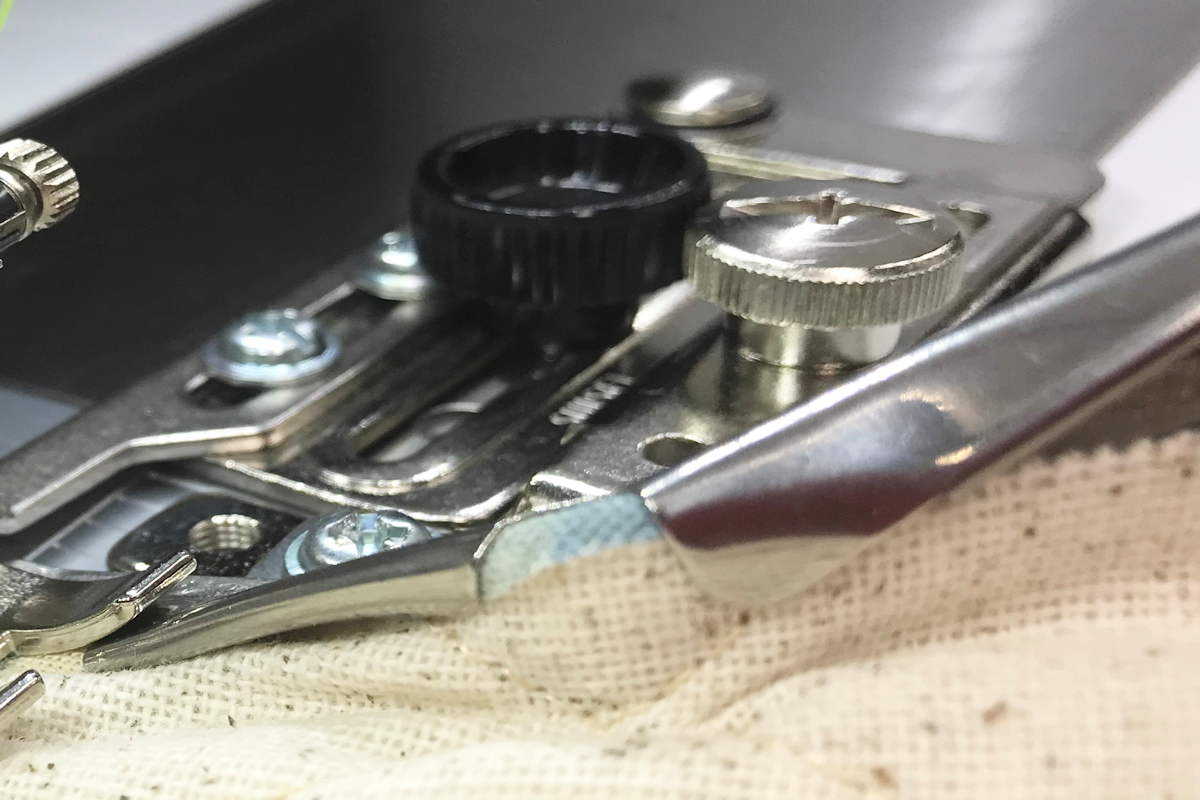
To see the Binder in action, take a look at this tutorial to Refine Your Binding technique here at WeAllSew.
For more information on the BERNINA Bias Binder Attachments #87 and #88, see The Big Book of Feet at your local BERNINA store.
What you might also like


11 comments on “Binding Basics: Bias Binders #87 and #88”
-
-
Are they any where that tells you how wide to cut fabric for #88 bias binder? if they are i can’t find it!
-
1.5 inches is what I did with mine.
-
I tacked my corners by hand instead of pins.
I used the Fons and Porter finishing technique to join the beginning and end. I had to go slow so the binding did not twist and correct it when it did. Looking forward to binding more!
-
-
One and one half inches
-
I know what you are pointing out. I have searched the Internet and have been unable to find out how wide I need to cut the strips of fabric for #88 Binder for 38mm. Based on what others have posted here, it looks like 1-1/2″ is the width.
Come on Bernina, be more user-friendly with the necessary information!
-
-
Help need tips how to keep fabric from moving while binding
-
Does anyone have any other suggestions for joining the ends?
-
Will these attachments work with knit fabric? Thank you!
-
I would love to know this too
-
-
Really could use a video that shows how to join the ends. Is there a video that Bernina provides for this? I’ve been practicing on samples, and finding my old way of joining ends is not working. Searched on YouTube and found no videos. All YouTube videos show how to start and miter corners, but nothing for joining ends.
Leave a Reply
You must be logged in to post a comment.

I love this but at the price that is listed, it’s just too much to pay.