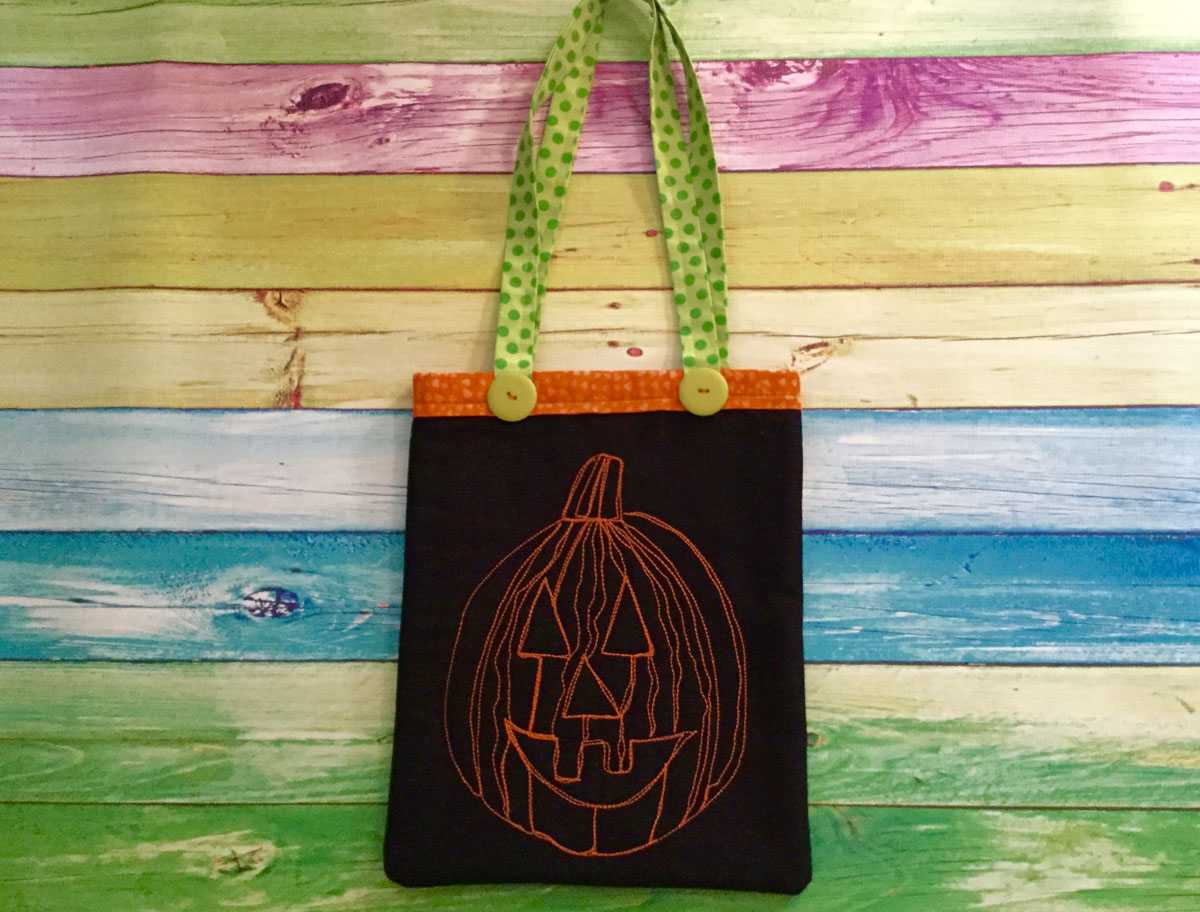
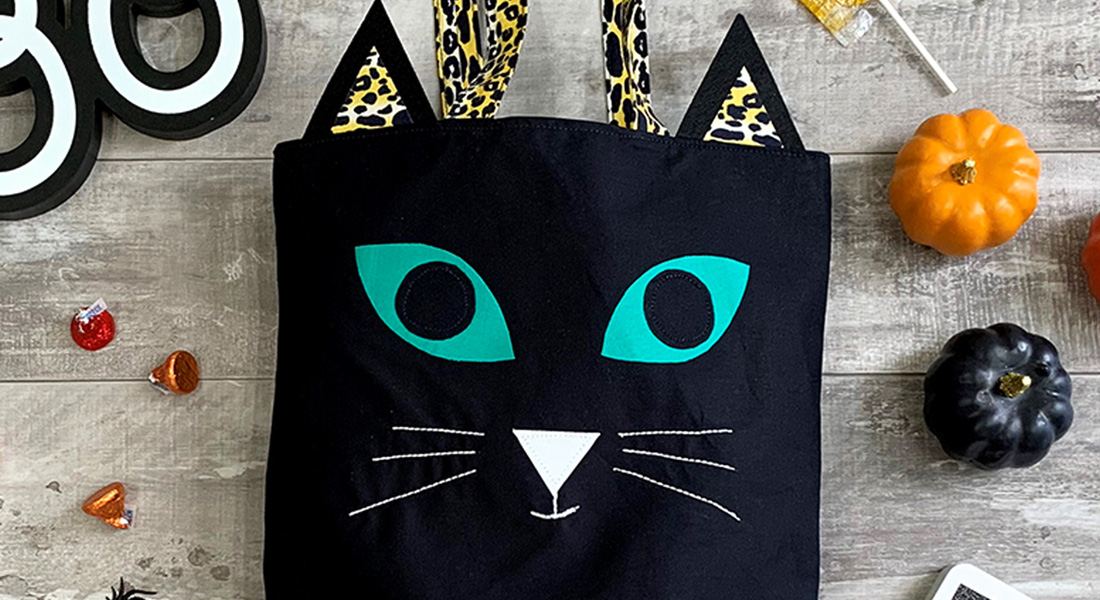
Black Cat Trick-or-Treat Tote
Hello Makers,
Are you a fan of holiday sewing? Here at AGF we love to create decorations and make homemade gifts for the holidays. Halloween is around the corner and it’s time to dress up, be around family and friends, and enjoy the tradition of Trick-or-Treating! Reminisce to when you where a kid and how going to the store to pick out your Halloween costume was of the utmost importance. If you were lucky enough you had parents who sewed or loved to DIY your a costume and you would make it together! Trading candy with your siblings and friends and watching scary movies to get you into the Halloween spirit was what this time of year was all about.
Today we would like to share a fun, beginner friendly project you can make for your littles! The Black Cat Trick or Treat Tote is a great project for beginner sewers or to even teach your children who are eager to learn to sew. Enjoy the step by step tutorial below!

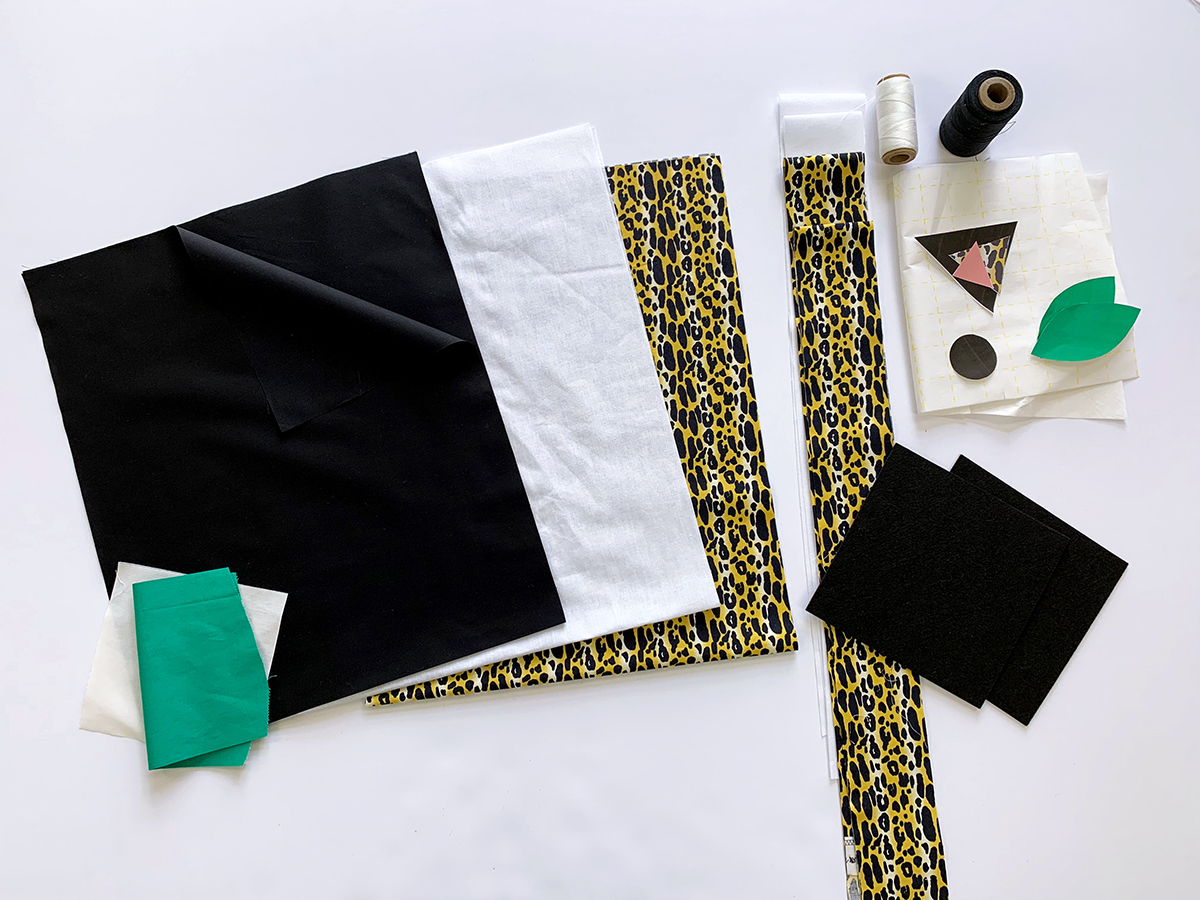
Materials to Make a Black Cat Trick-or-Treat Tote
Fabric cutting guide:
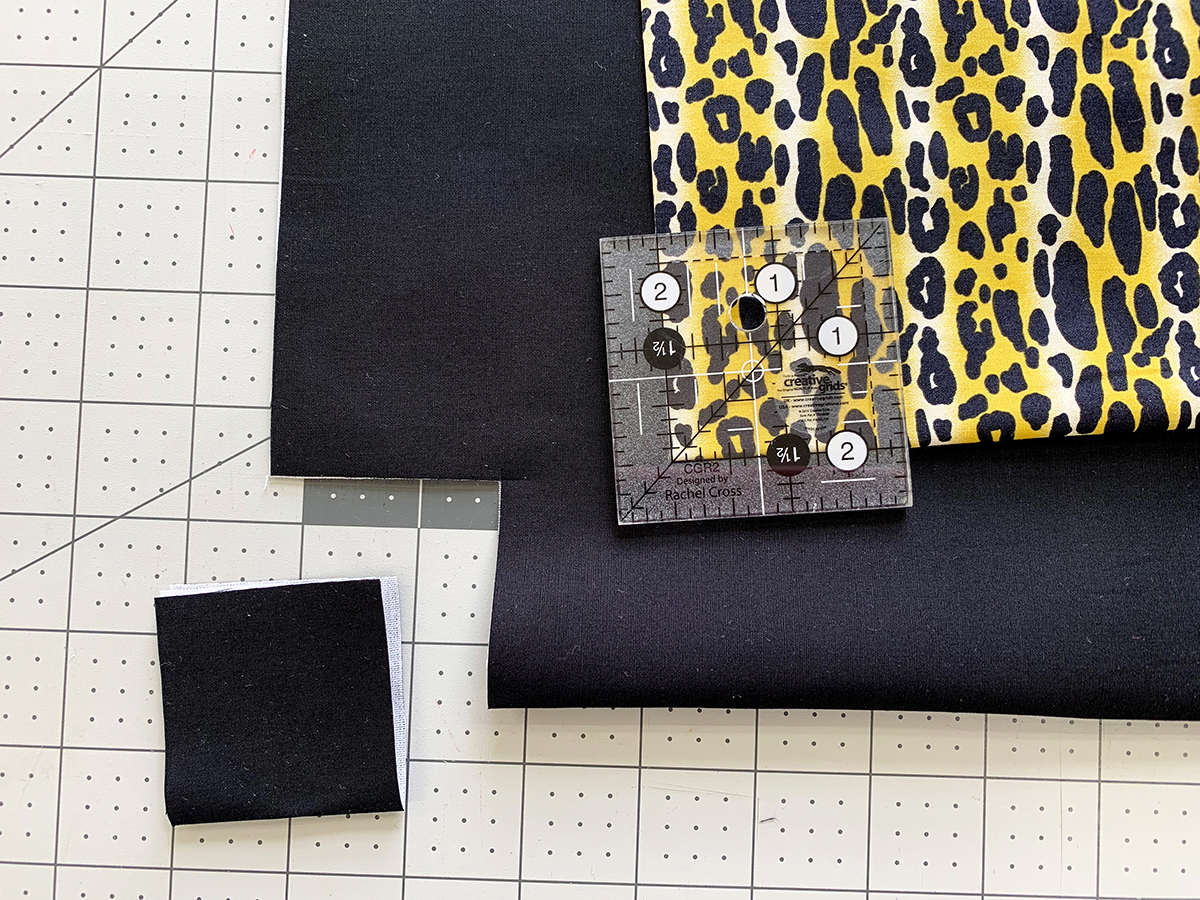
PE- 413- Caviar- Exterior of Bag
Cut one (1) 13″ x 32″ rectangle
Cut one (1) 13″ x 32″ Fusible Interfacing
IDA- 24806- Animalia Exotica Sand – Lining and Handles
Cut one (1) 13″ x 32″ rectangle
Cut Two (2) 2 1/2″ x 26″ strips
Cut Two (2) 2 1/2″ x 26″ Fusible Interfacing
Scraps of PE- 417- Emerald for Eyes, and PR-433- Snow for Nose
-Fuse Steam- A- Seam to scraps large enough to cut out templates
-Cut Templates from Scraps and left over black fabric
Additional Materials:
- Machine used: BERNINA 570 QE
- Black cat trick-or-treat bag template
- Black Felt
- Black and White Thread
- Pellon SF 101 – Woven Fusible Interfacing
- Steam- A- Seam
Tote Instructions:
Sew at 1/2″ seam allowance unless noted otherwise.
Interfacing
Following the manufacturer’s instructions fuse your interfacing to your exterior and strap pieces to add a bit more body and stability to your tote.
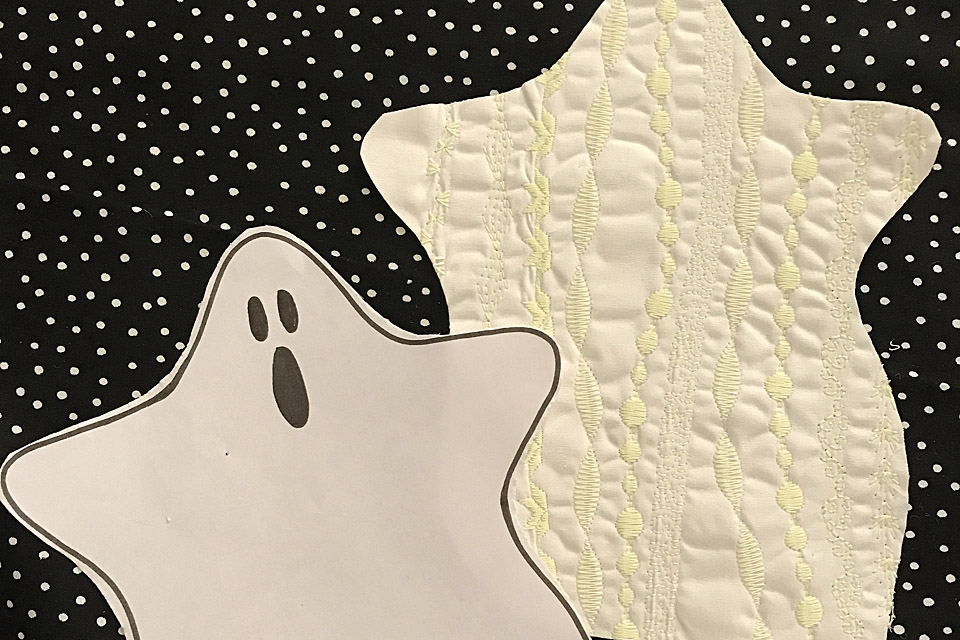
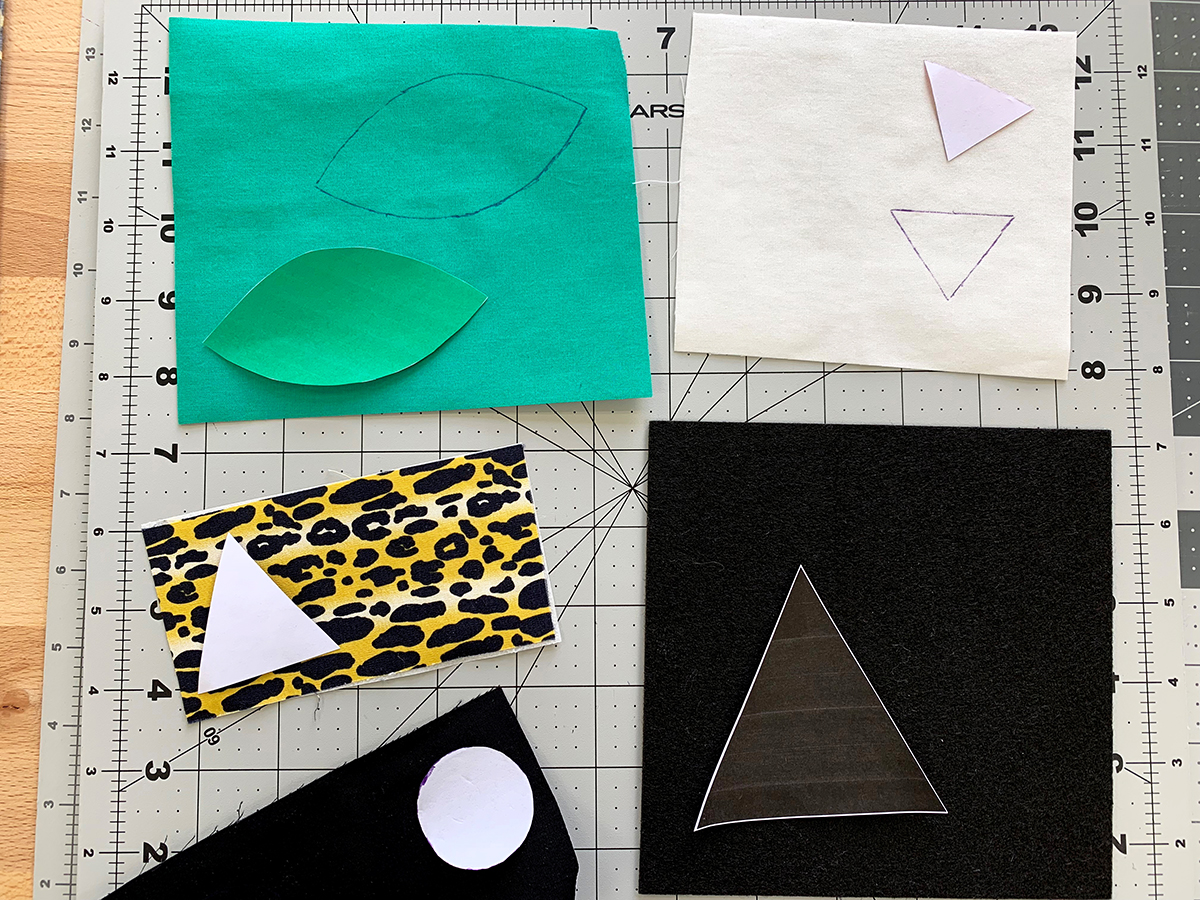
Assembling the Templates
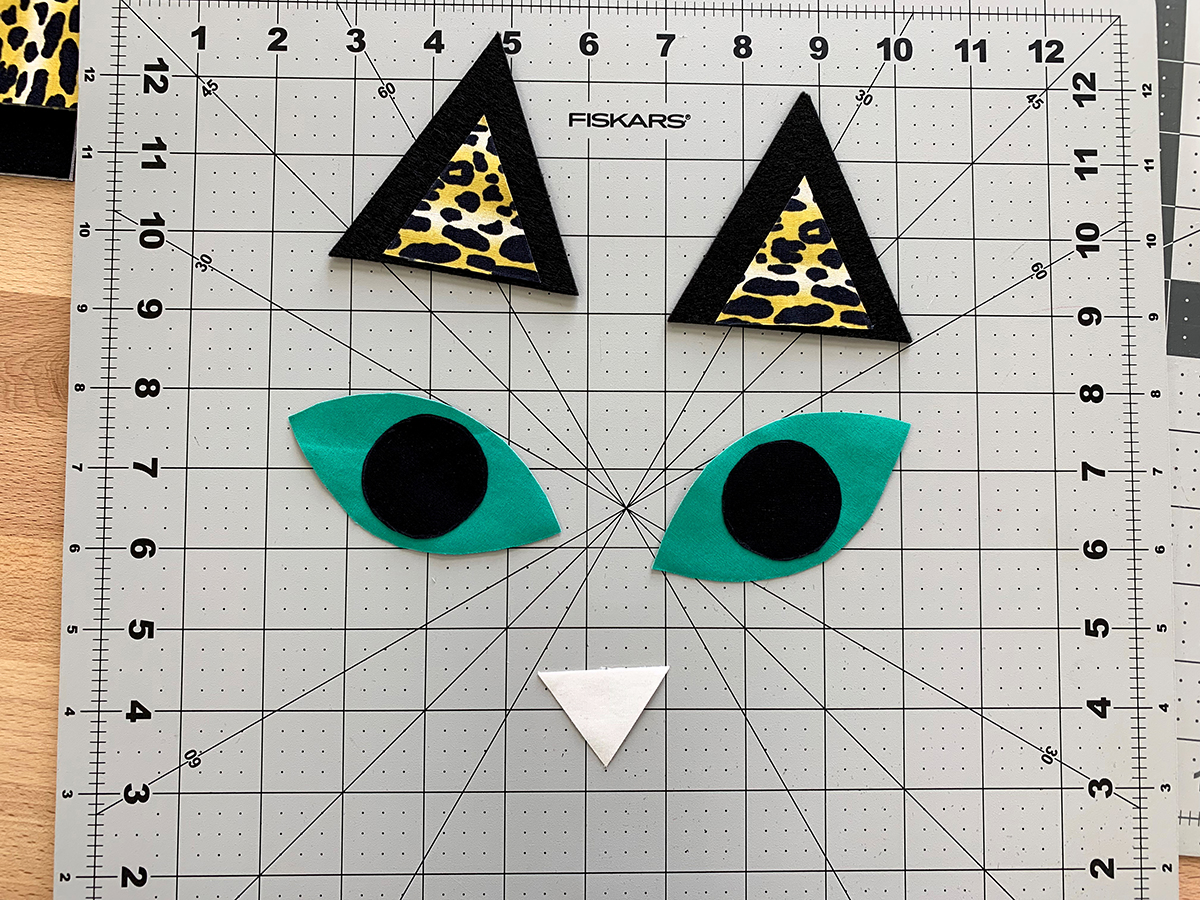
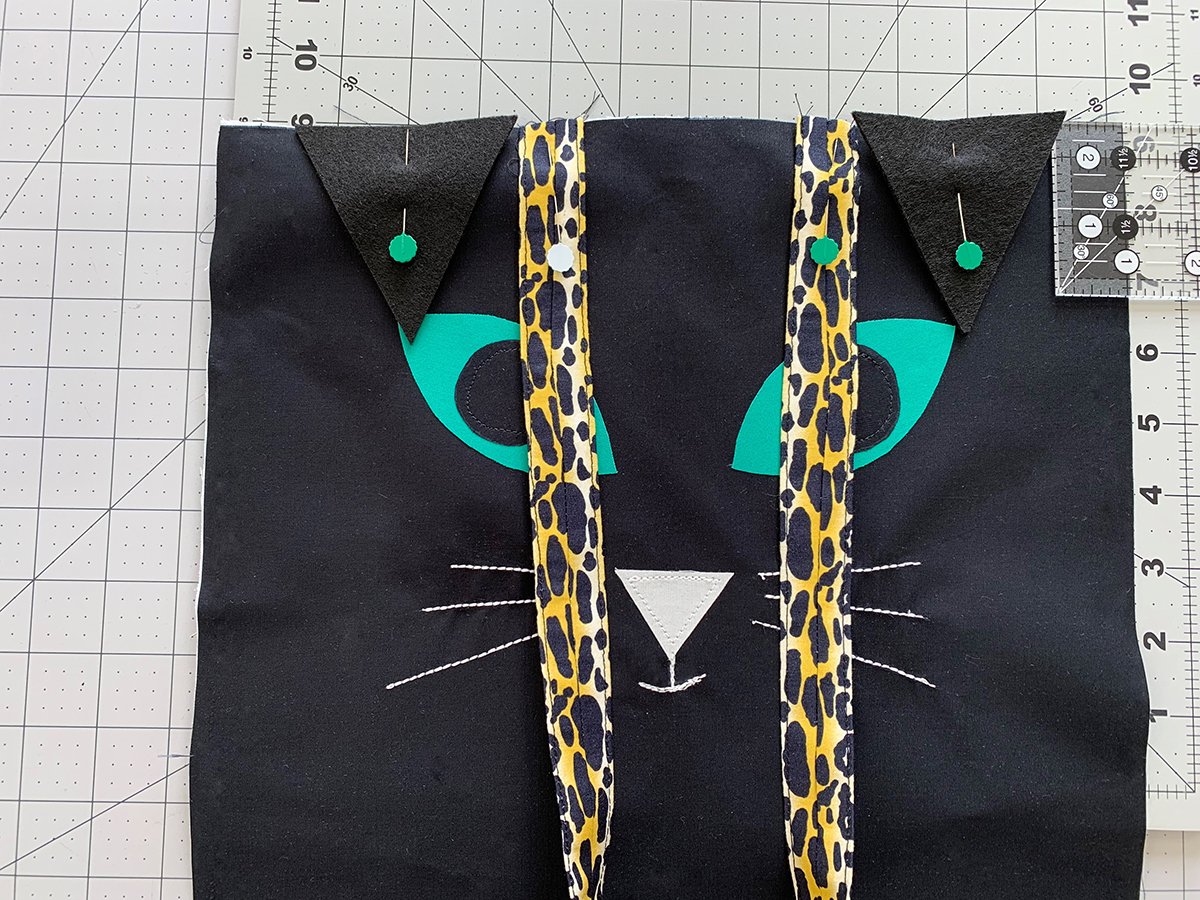
Trace the templates to your fabric pieces after fusing Steam-A-Seam to the wrong sides of your fabric scraps. Cut out templates as pictured below! Stick your inner ear to your felt ear pieces and press with a iron to secure the fabric. Repeat this same process to secure the inner eye.
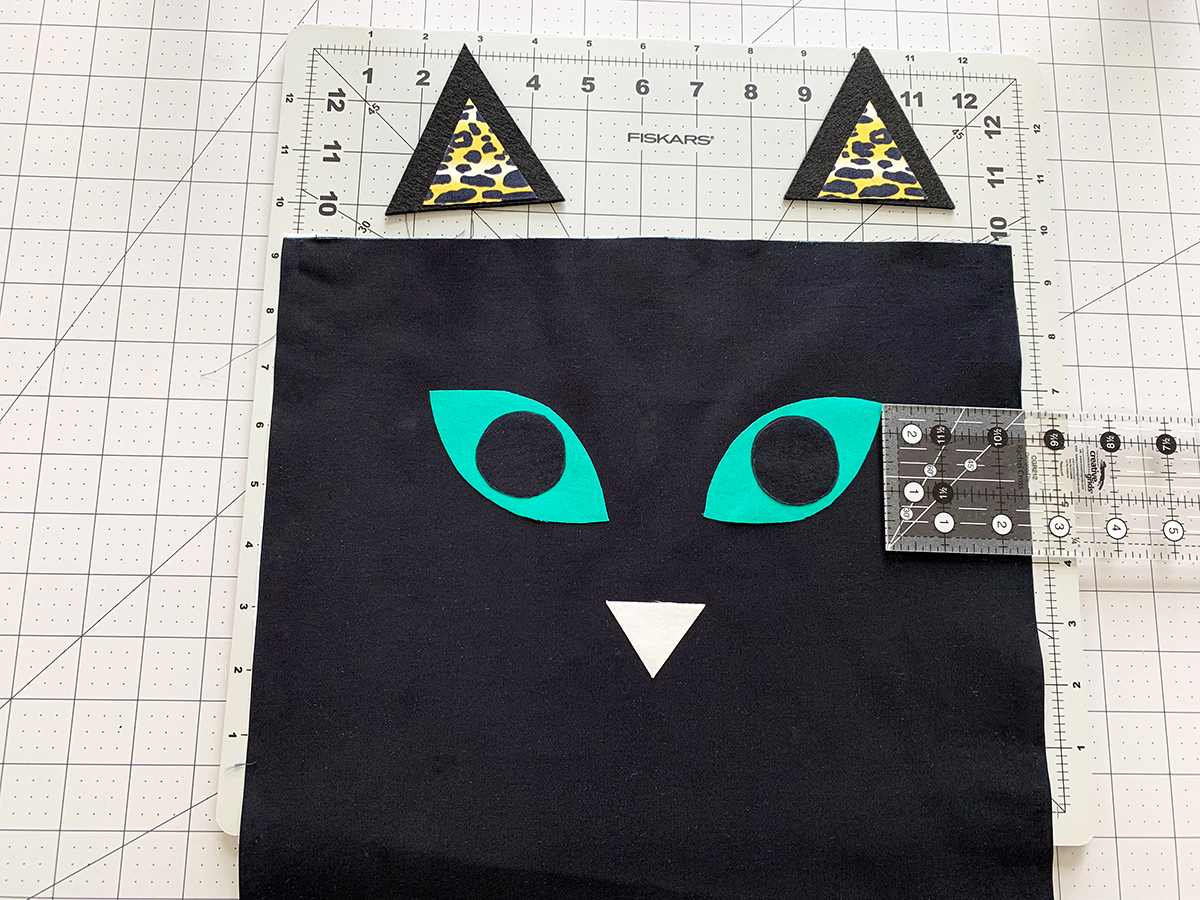
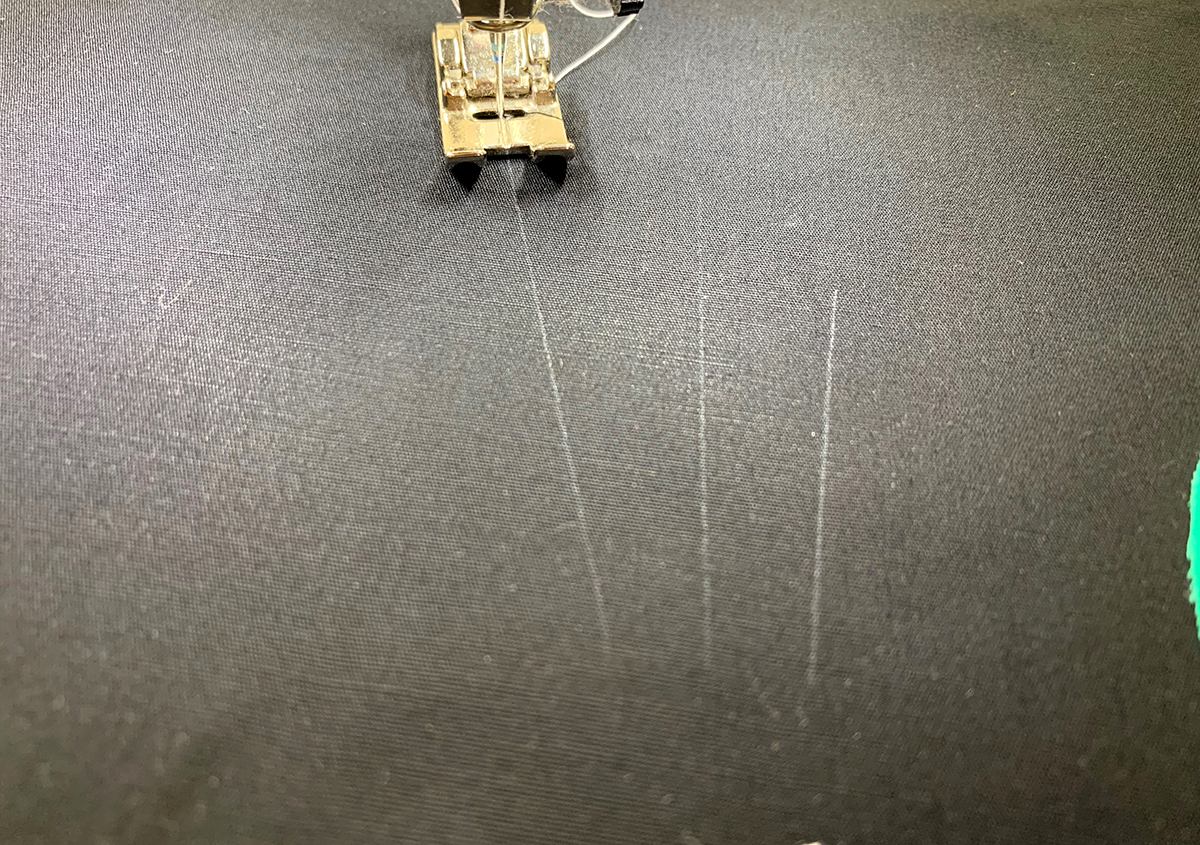
Peel the backing paper off all your templates and place on to the front of your tote, making sure to center your pieces and align the eyes. Stitch your pieces down following the edges of your templates. Draw your whiskers with a fabric marking pen and stitch with a triple stitch. On the B 570, it’s stitch number 6! Repeat this same process for the mouth. Stitch your felt ears into place about 1 ½” from the sides of your bag. Secure into place with a basting stitch.
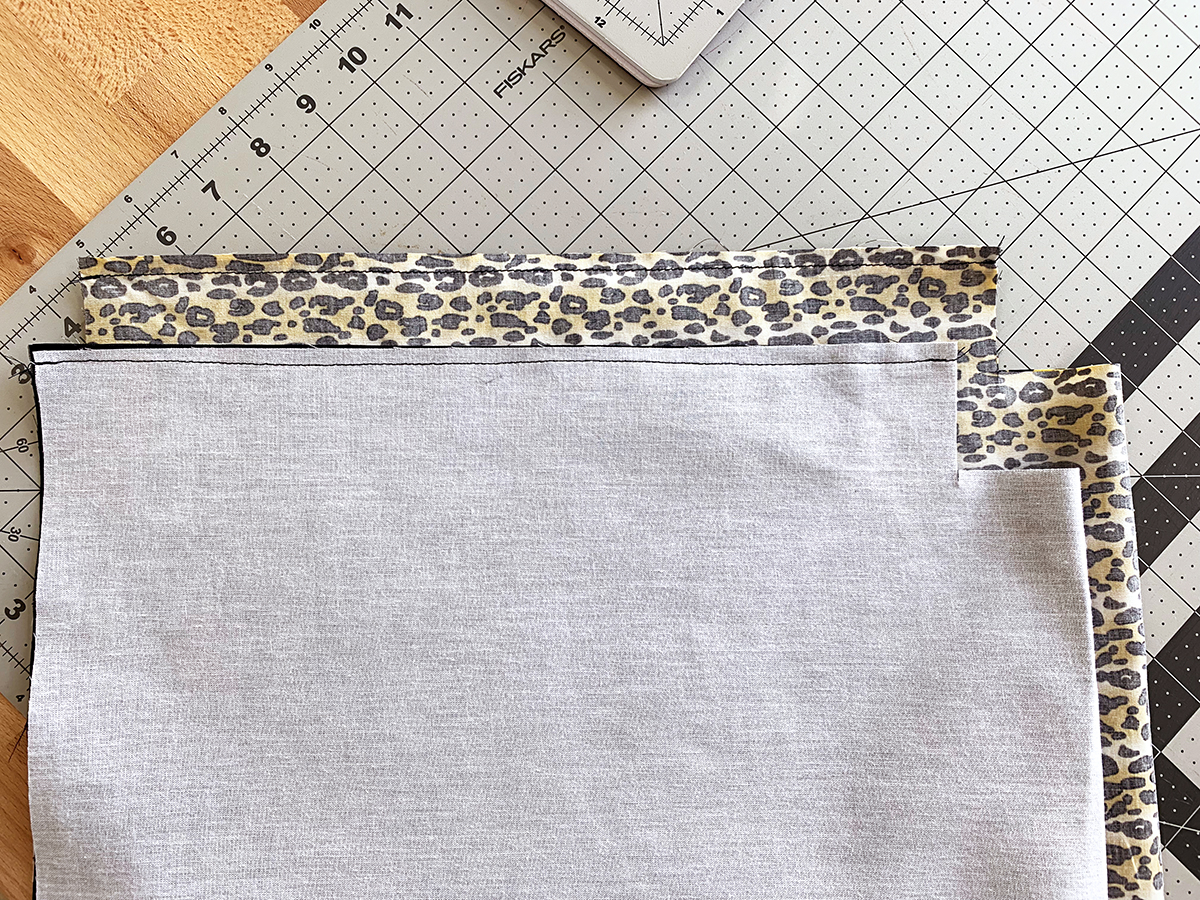
Creating Box Corners
Fold your exterior and lining pieces in half and at the bottom of your tote cut away 2” on each of these pieces.
Sew your side seams together at ½”. On your lining piece leave a small unsewn portion on one of the sides of your bag to be able to flip bag right side out after attaching the lining to the exterior bag.
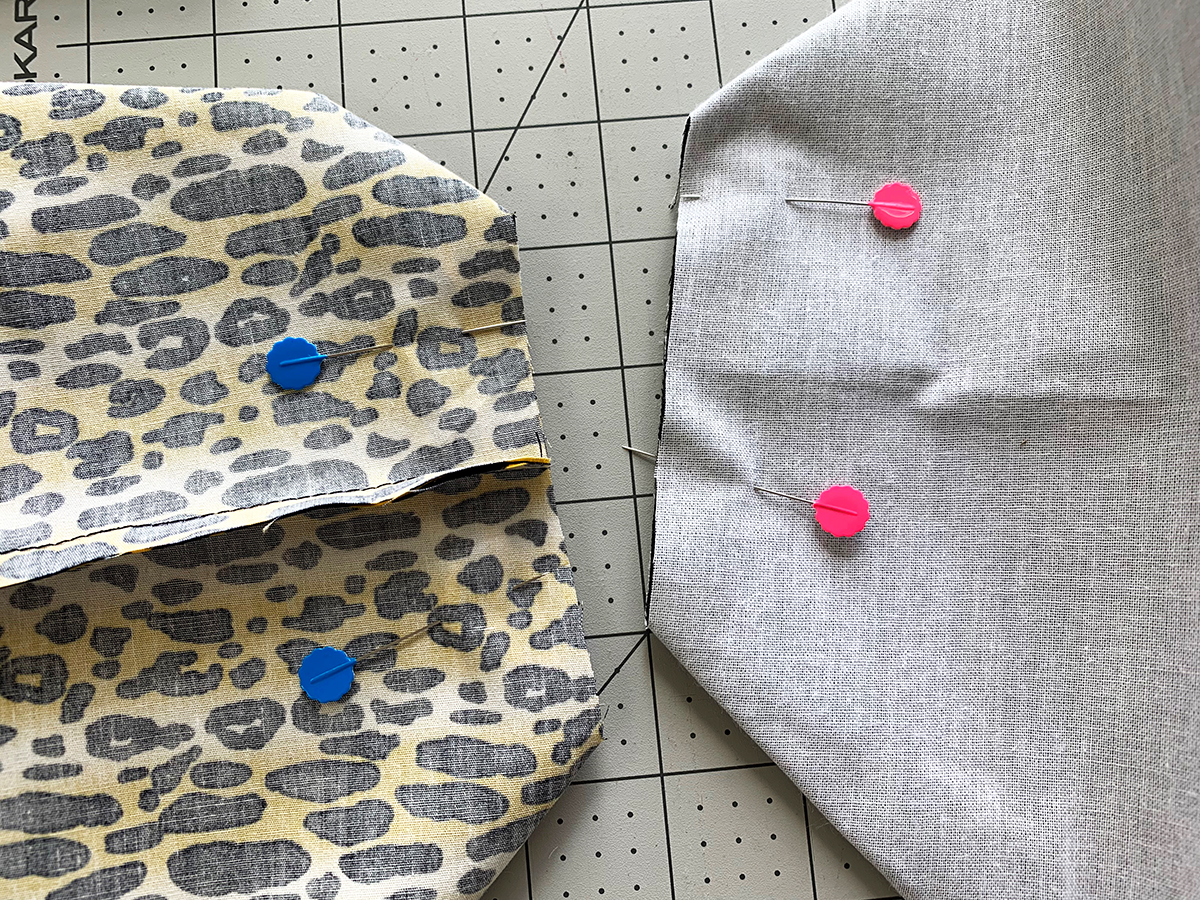
Then pinch your box corners together as follows and stitch corners closed, to create a box corner on each side of your tote. Repeat this process with your lining pieces as well.
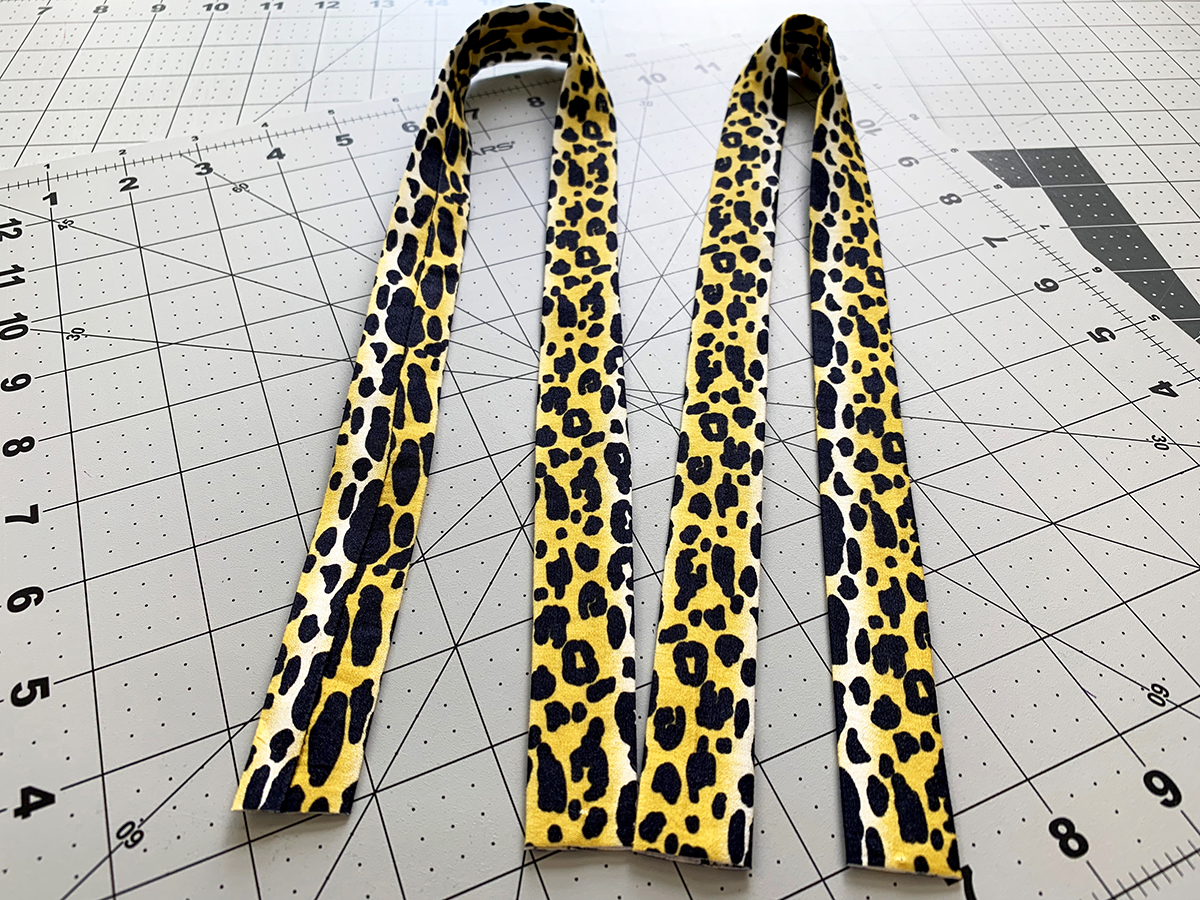
Creating your Straps
Fold your strips in half with right sides together and stitch at ½”. Attach a safety pin or use a turning tool to flip right side of your strap out.

Press you strap so the seam is centered in the back of your strip.
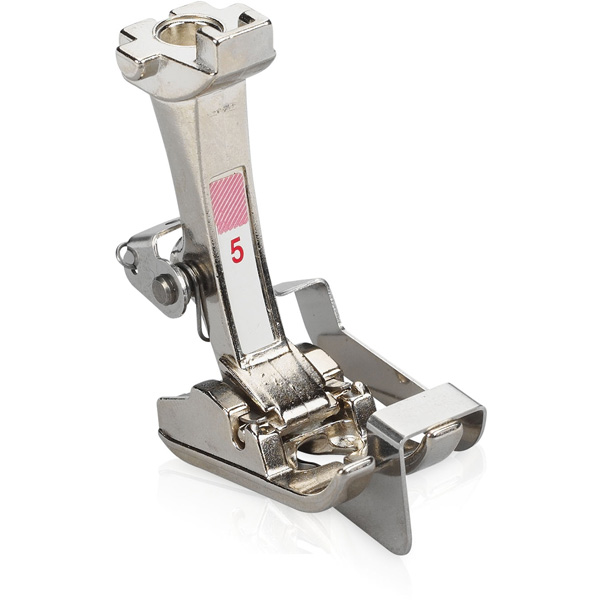
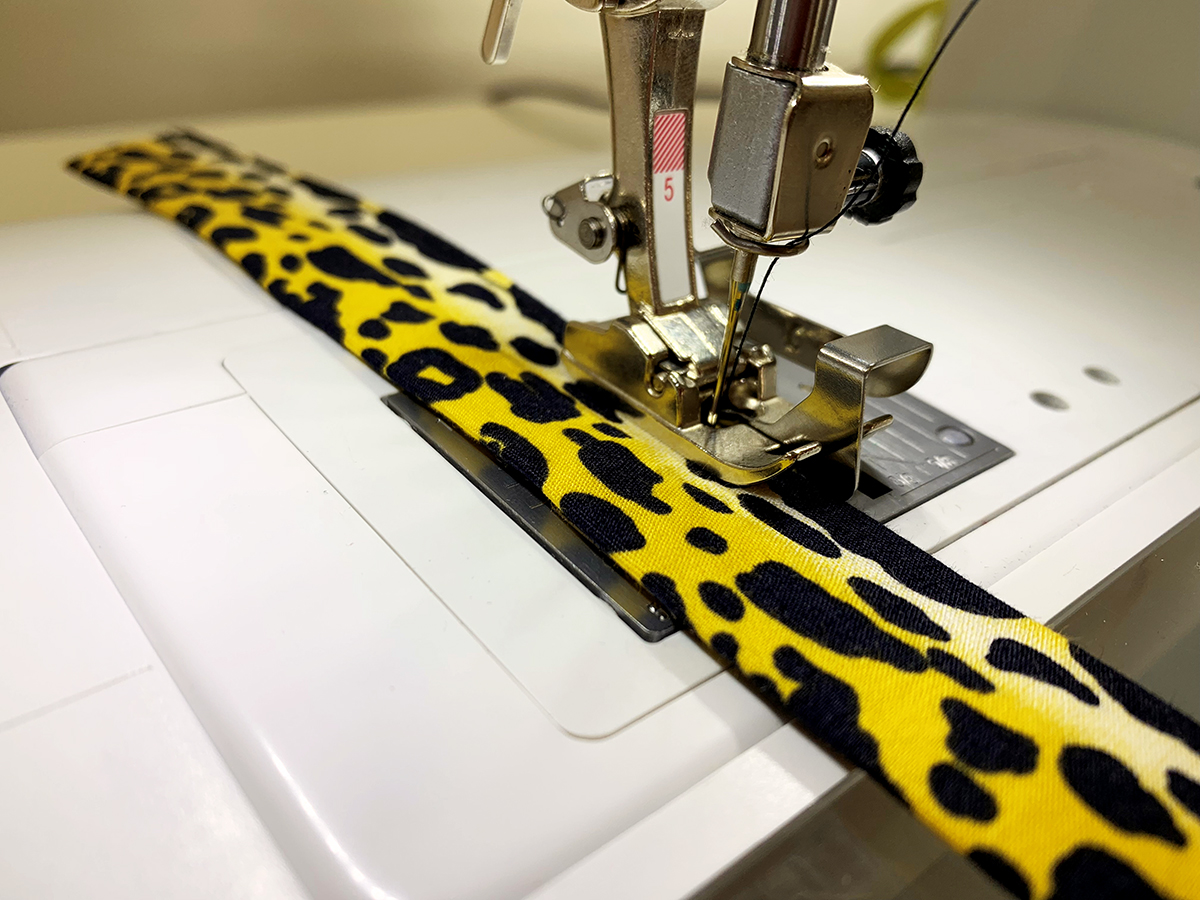
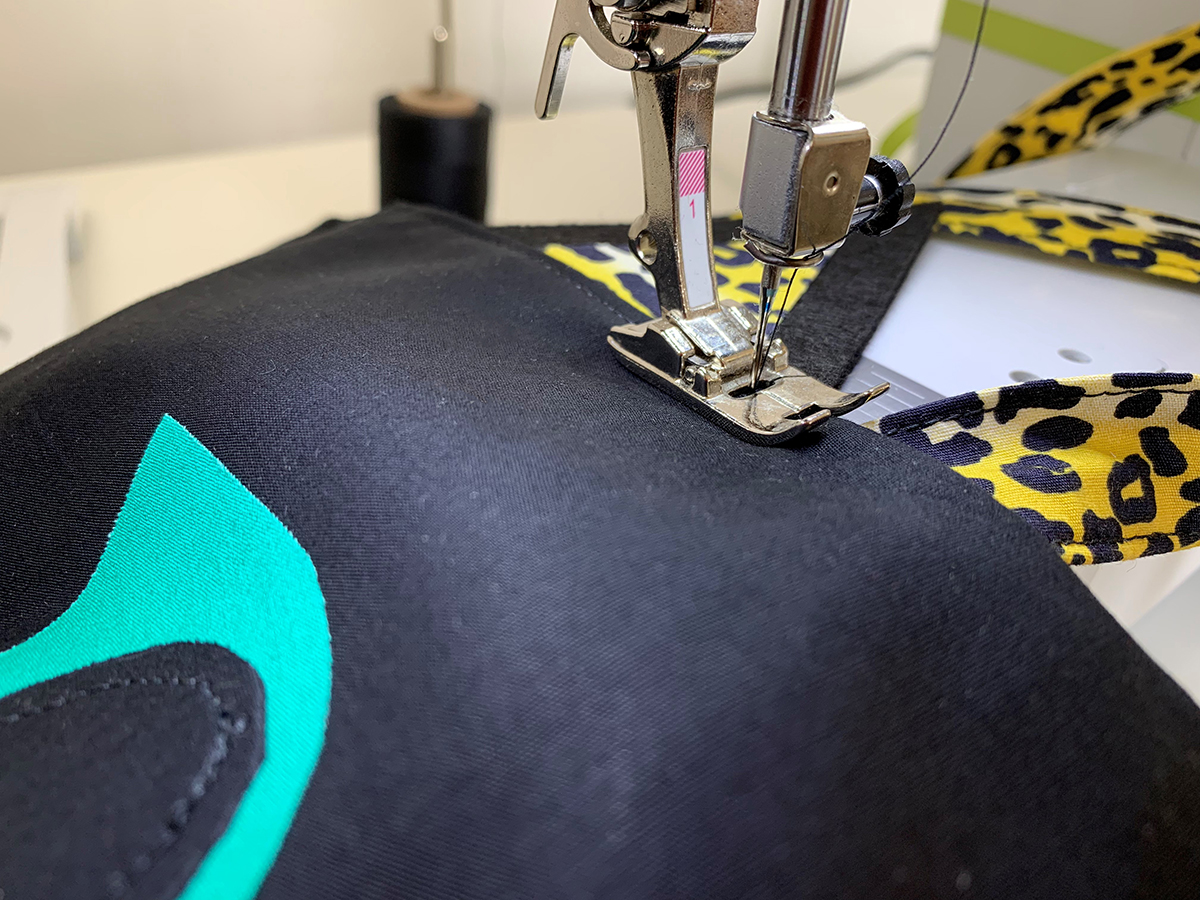
Topstitch the sides of your strap using the blind hem foot #5. Make sure the needle is all the way to the left and line the metal guide up with the edge of your strap. Use a bit bigger stitch length to create a nice looking topstitch!
Secure both your straps to your bag about 4 ½” in from your side bag.
Attaching the Lining
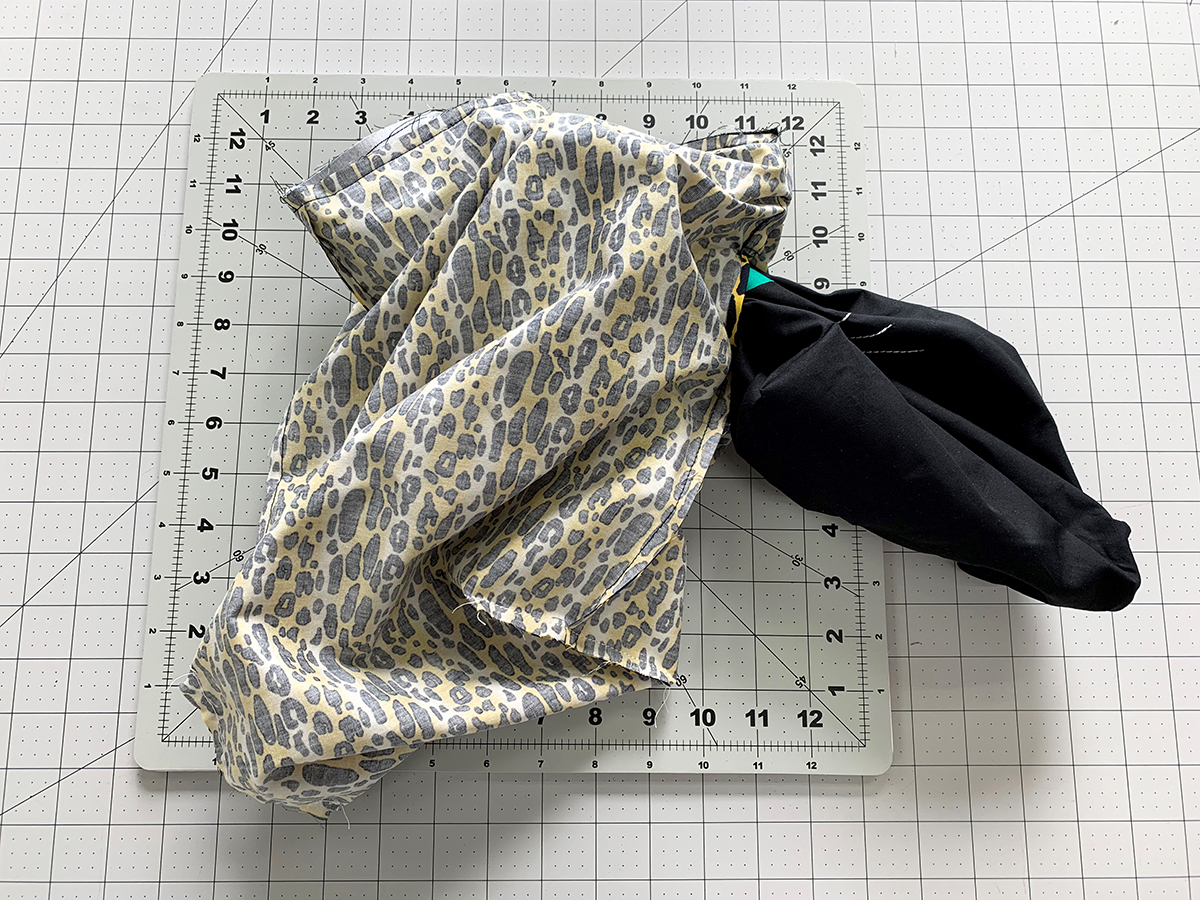
Place you lining and exterior bag right sides together. Stitch around the top of your bag at ½”. Slide the slide on table off your machine to easily stitch around your top bag.

Flip right side of bag through the unsewn portion in the lining.
Stitch the lining closed and tuck the lining into your bag.
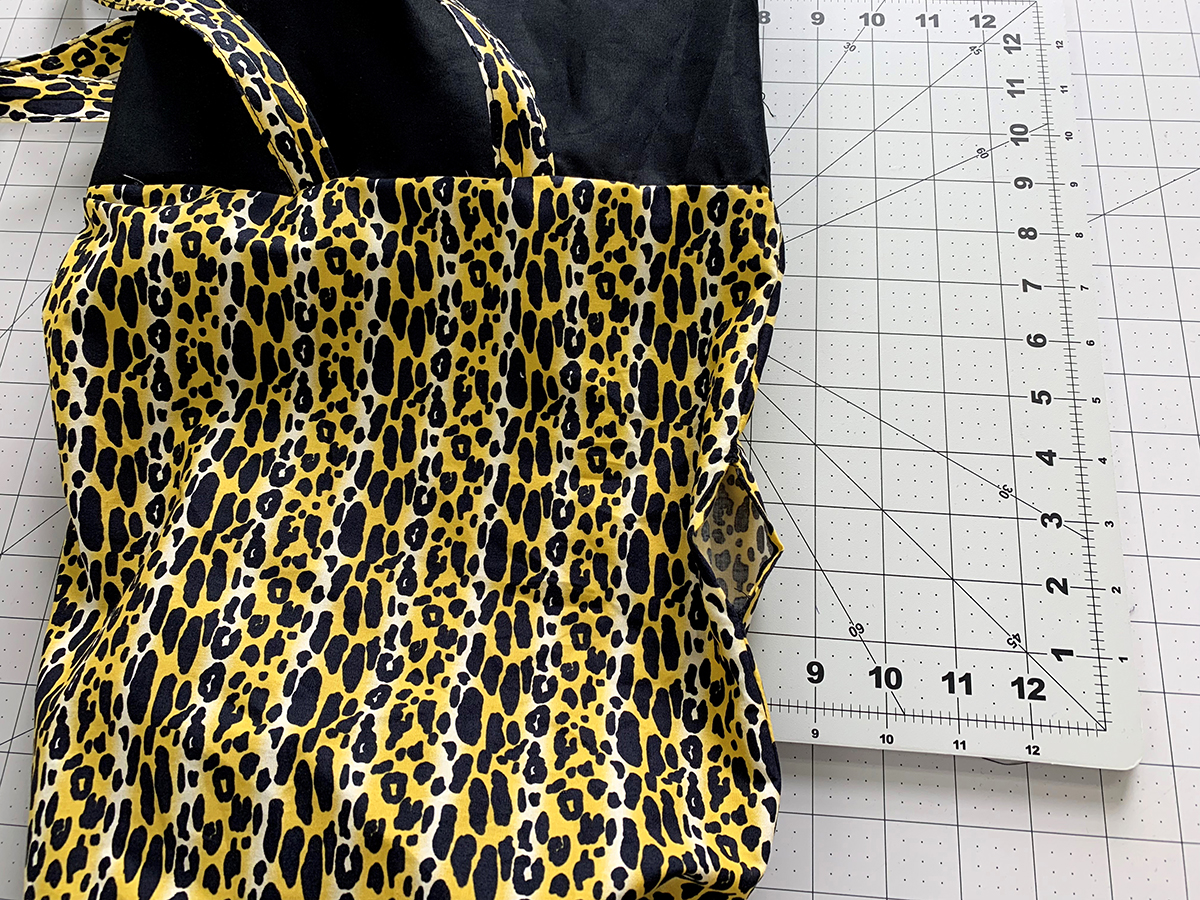
Give the top of your bag a nice press and topstitch around your bag at ½” to secure the lining into place.
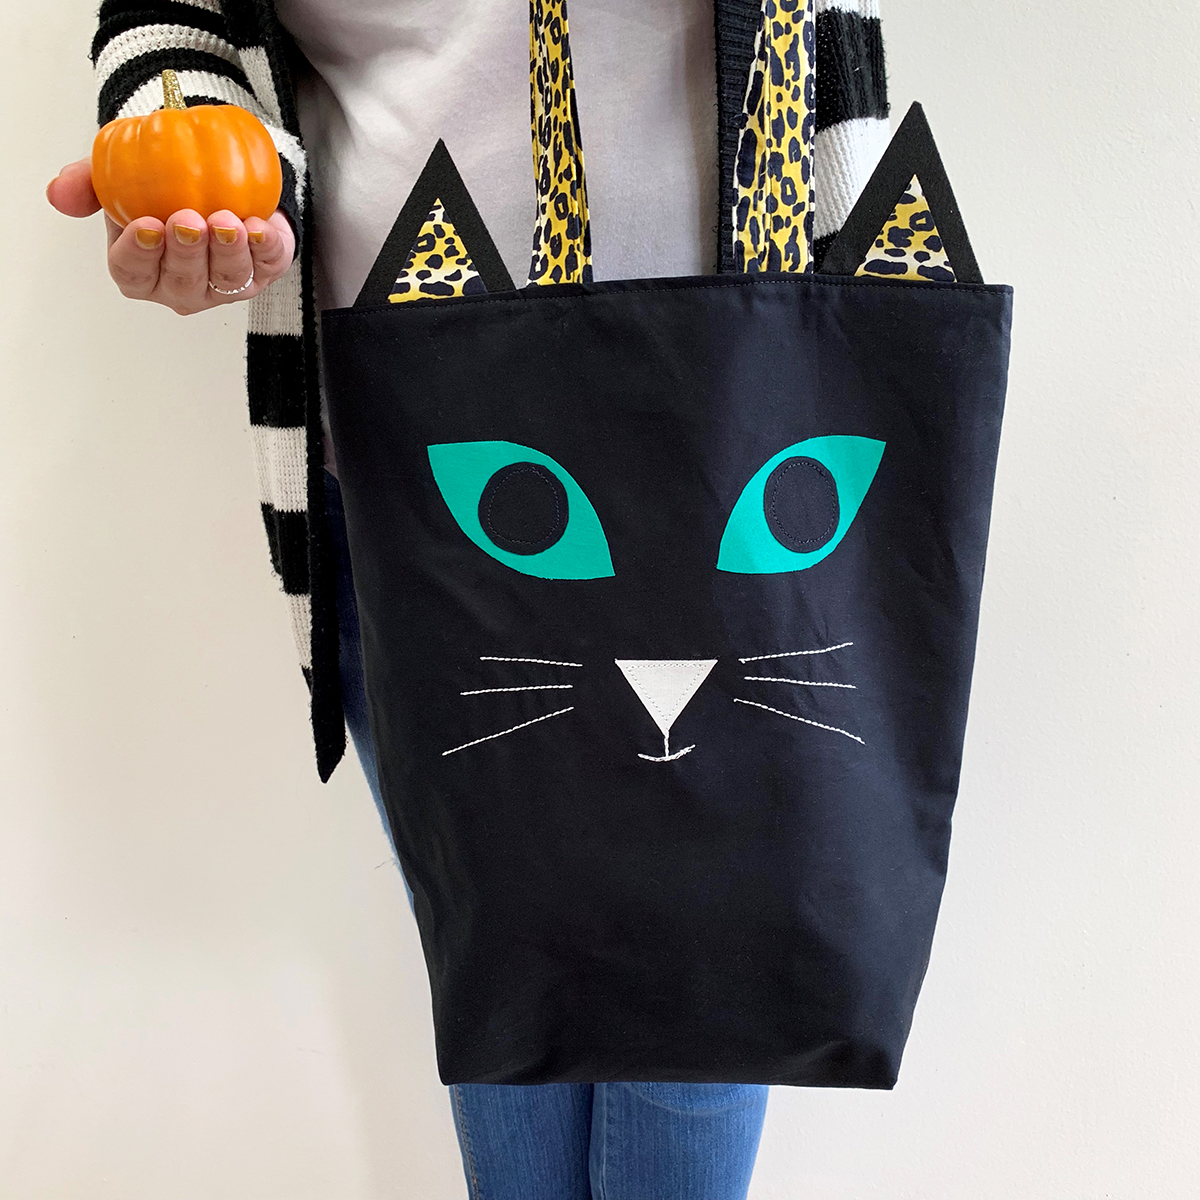
Your Black Cat Trick or Treat Tote is complete and it’s time to collect your favorite treats! Wishing you all a fabulous Halloween!

Happy Sewing,
AGF