Boxy Travel Pouch Tutorial
Hello Makers,
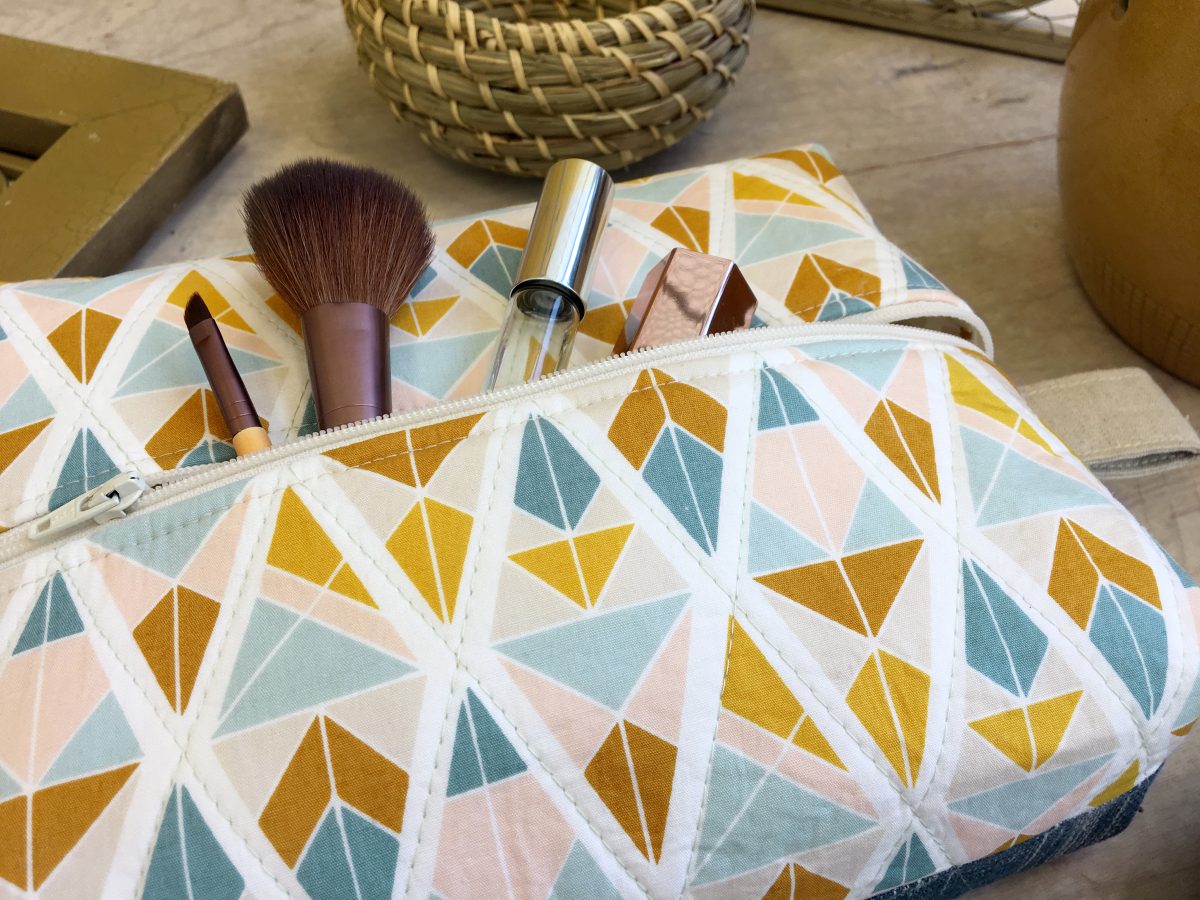
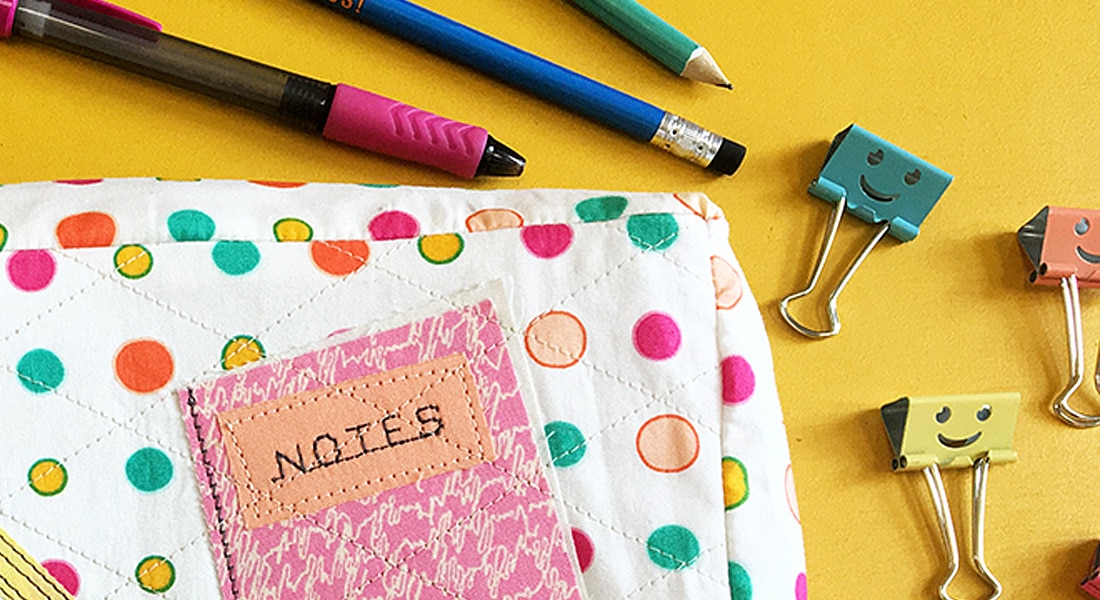
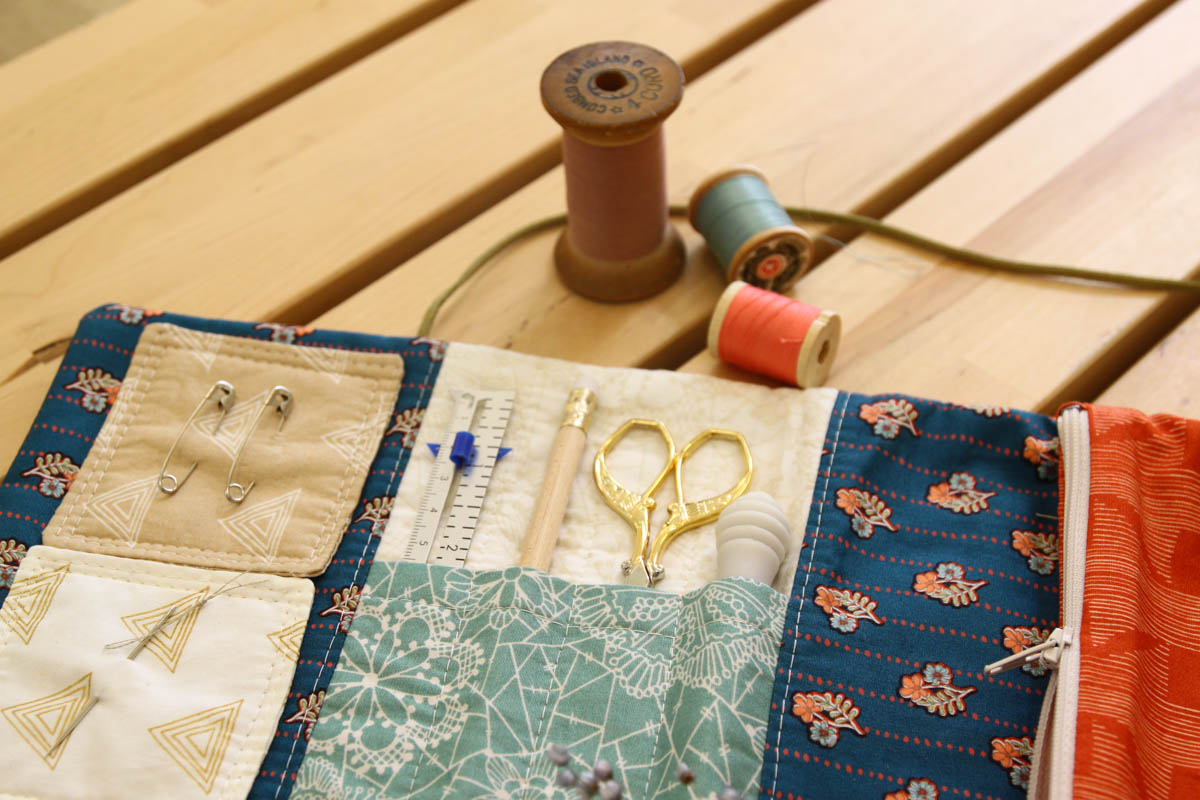
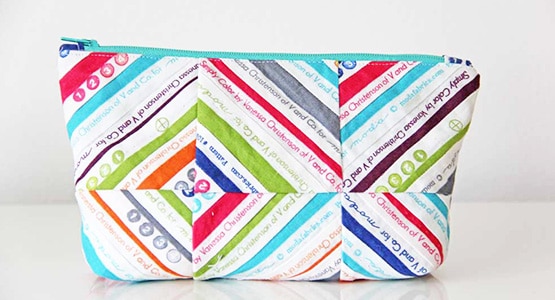
It’s already January, the start of a new year! Time to enjoy the successes from 2016 and get ready to make great things happen in 2017! For those of you who have “sew more” on your new year resolution list, I have a great project for you today. Everyone needs a great travel pouch to fit all their travel essentials! Sometimes buying toiletry bags at the store you may find some bags are too small to fit everything you need and some bags are too big. The Boxy Travel Pouch made with Garden Dreamer and Denim Studio fabric might be the solution to this problem. This pouch will also make a cute gift, especially if you add some goodies inside the pouch.

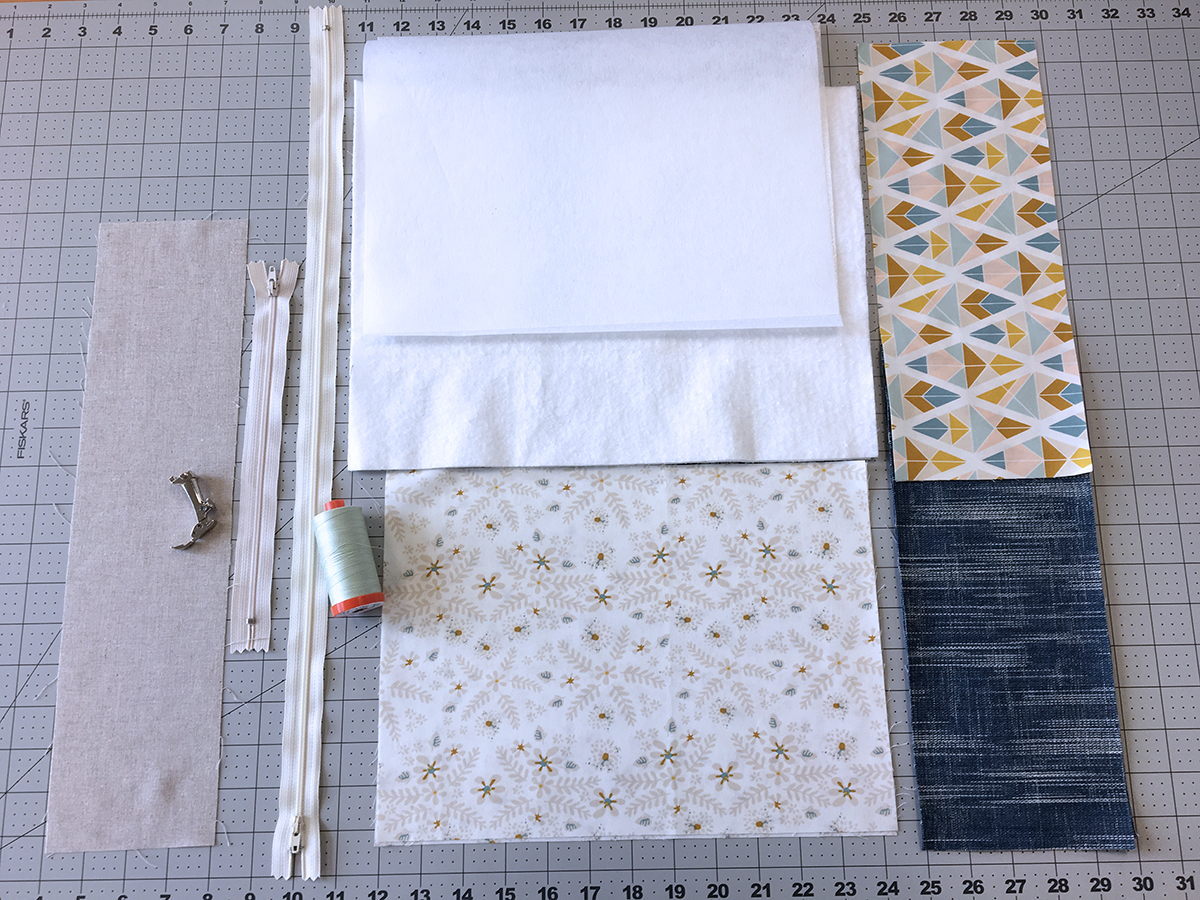
Materials to Make the Boxy Travel Pouch
Fabric Requirements:
- Fabric A-GRD-89905 – 1 Fat Quarter
- Fabric B-GRD-89903 – 1 Fat Quarter
- Fabric C-DEN-CT-8001 – 1 Fat Quarter
- Fabric D- DEN-L-4000 – 1 Fat Eighth
Other Materials:
- Sewing machine (we use a BERNINA 570 QE)
- Zipper foot #4
- Reverse pattern foot #1/#1C/#1D
- 12″ All Purpose zipper or longer
- Fabric Marking Pen
- Batting
- Woven Interfacing
- Quilting Thread- Aurifil # 2912 – Platinum
- Sewing Thread: Aurifil #2021 – Natural White
Cutting Directions
Two (2) 5″ x 12″ strips from Fabric A and C (Front Pouch)
Two (2) 9″ x 12″ rectangles from Fabric B (lining)
Two (2) 9″ x 12″ rectangles from woven interfacing and batting
One (1) 4″ x 12″ strip from Fabric D (loops)
Step 1: Outer Pouch
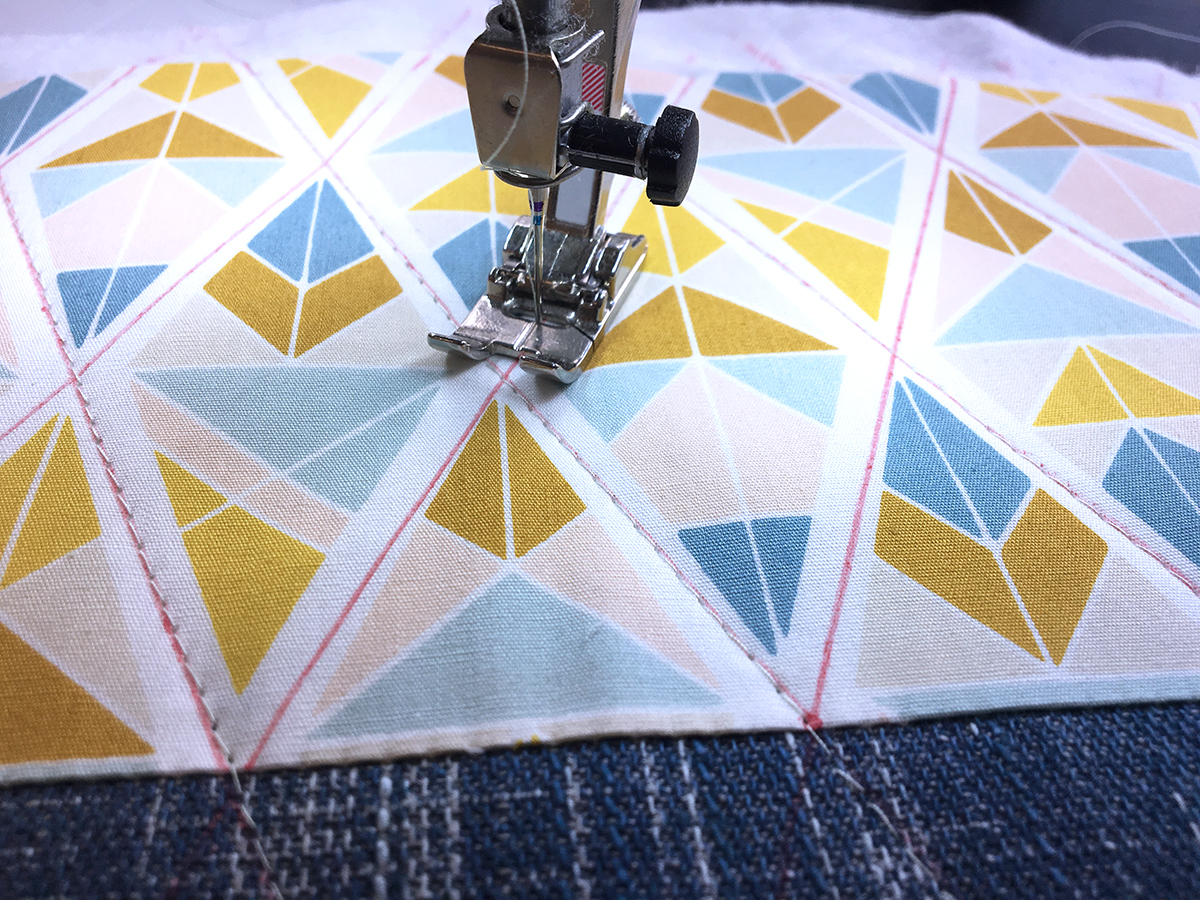
Take your 5″ x 12″ strip from Fabric A and C and sew together at 1/2″ seam allowance. Iron woven interfacing to the wrong side of your fabric and then place it on your batting. Using a fabric marking pen, draw your desired quilting motif. This print from Garden Dreamer fabrics lends itself perfectly to diagonal straight line quilting.

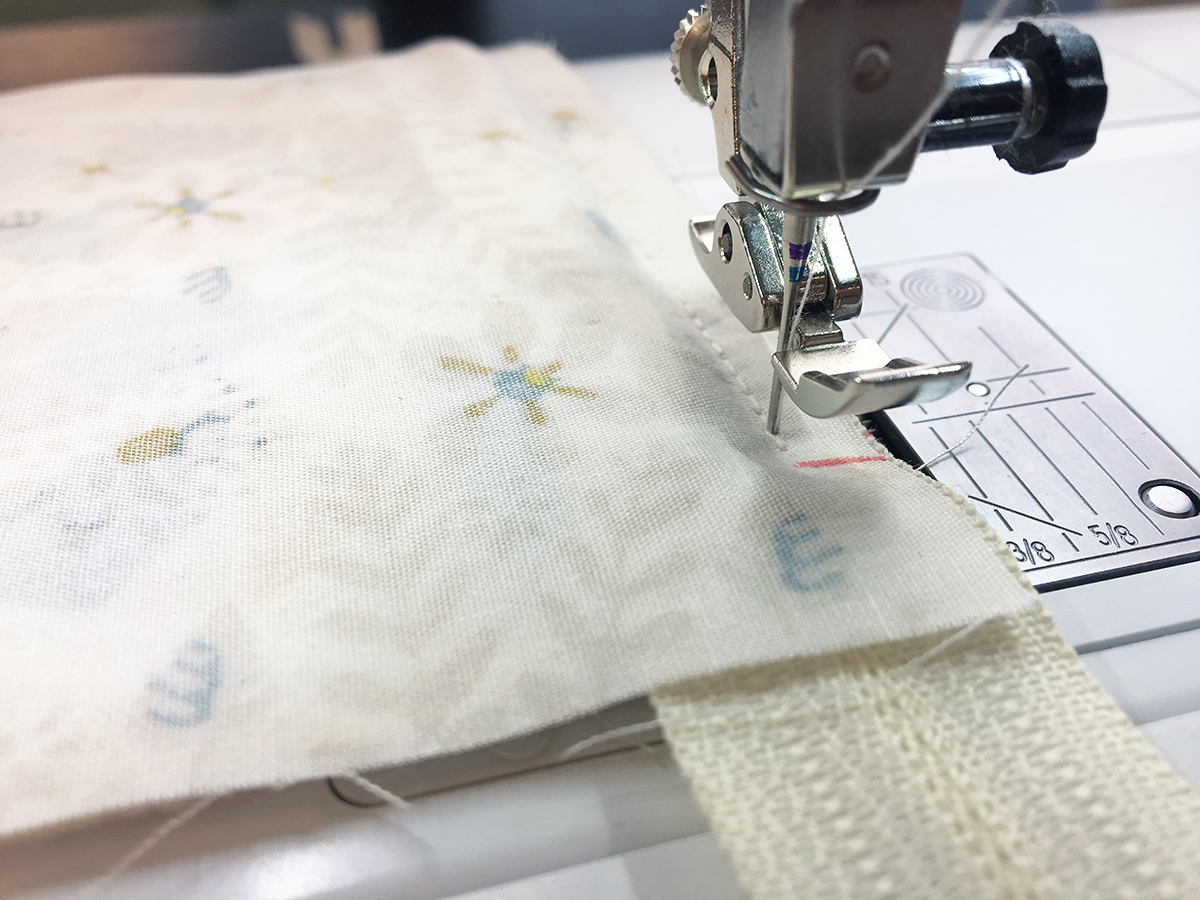
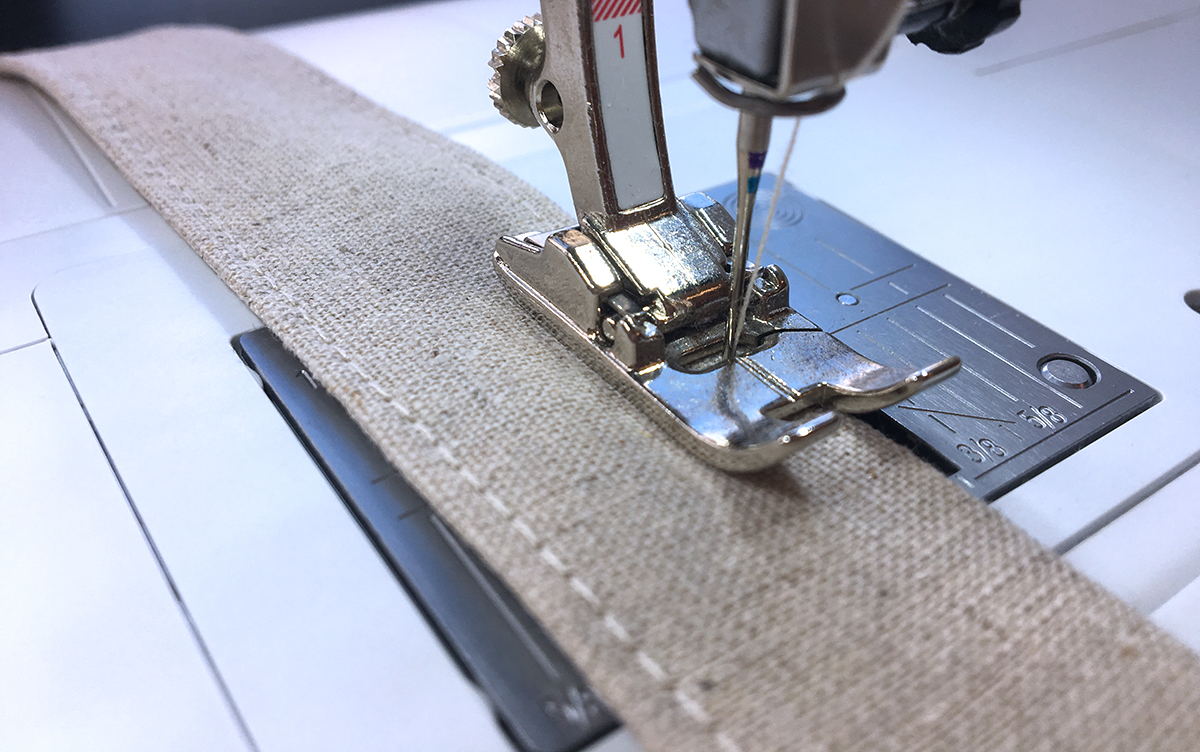
Center your needle position and follow the lines you drew.
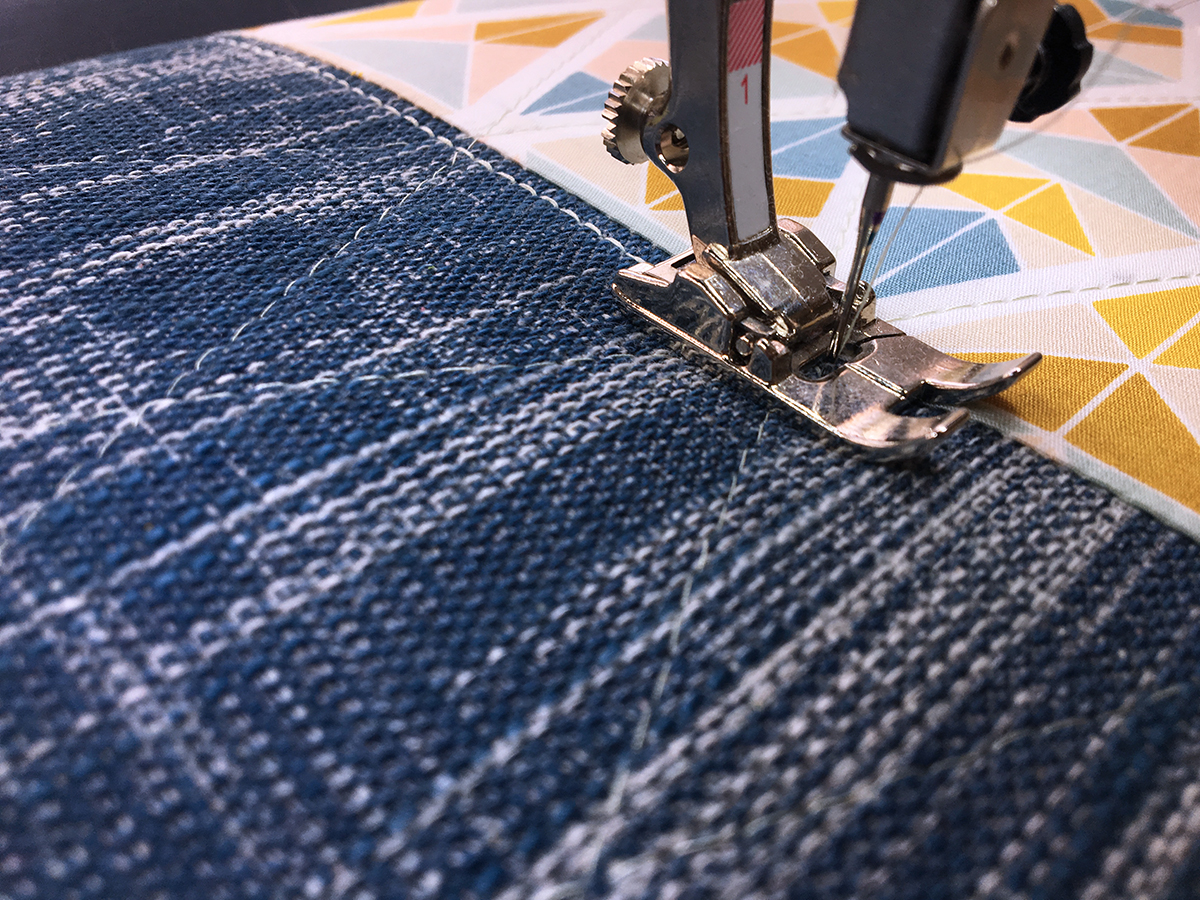
Top stitch your seam using a triple stitch to make your stitch pop from the fabric and create a sporty professional look to your pouch.
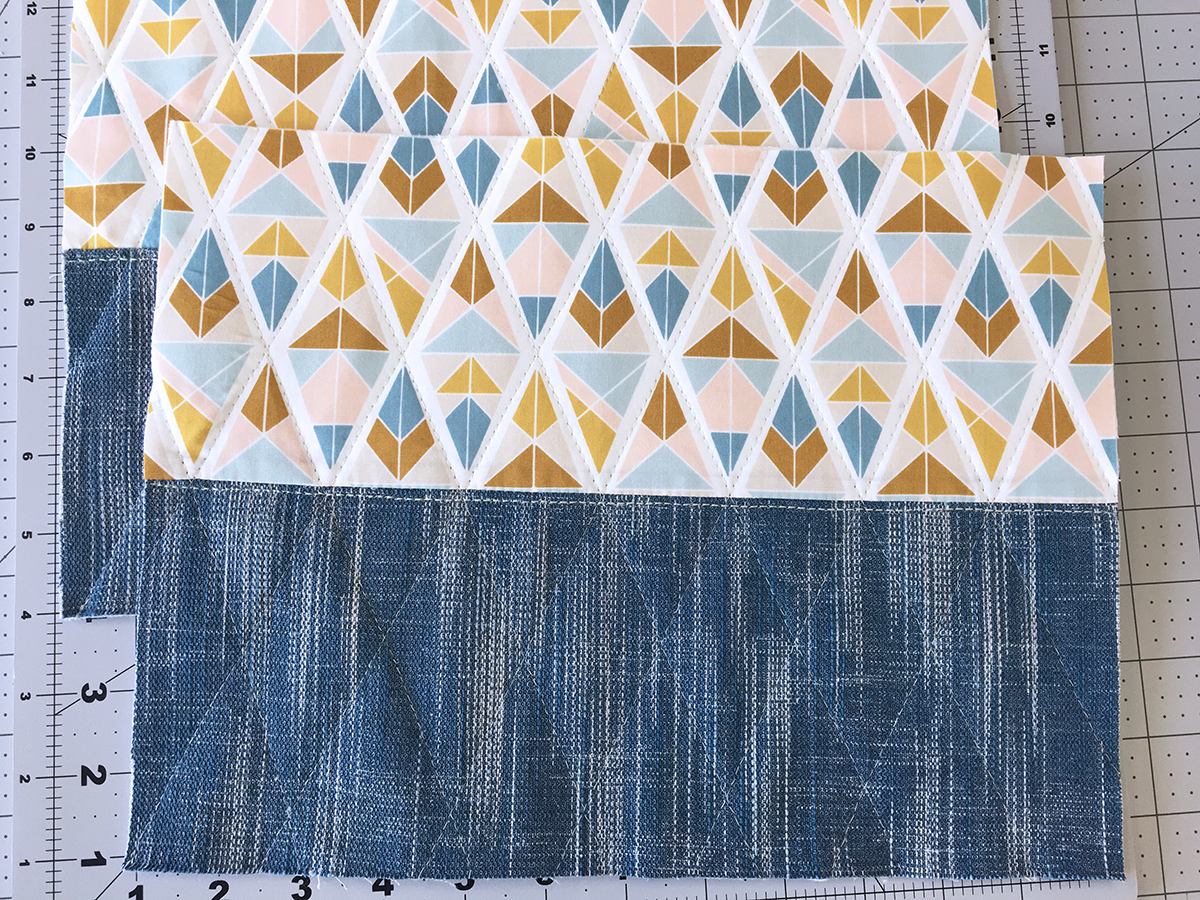
Repeat this same process with your other 5″ x 12″ strips to get both pieces of your outer pouch.
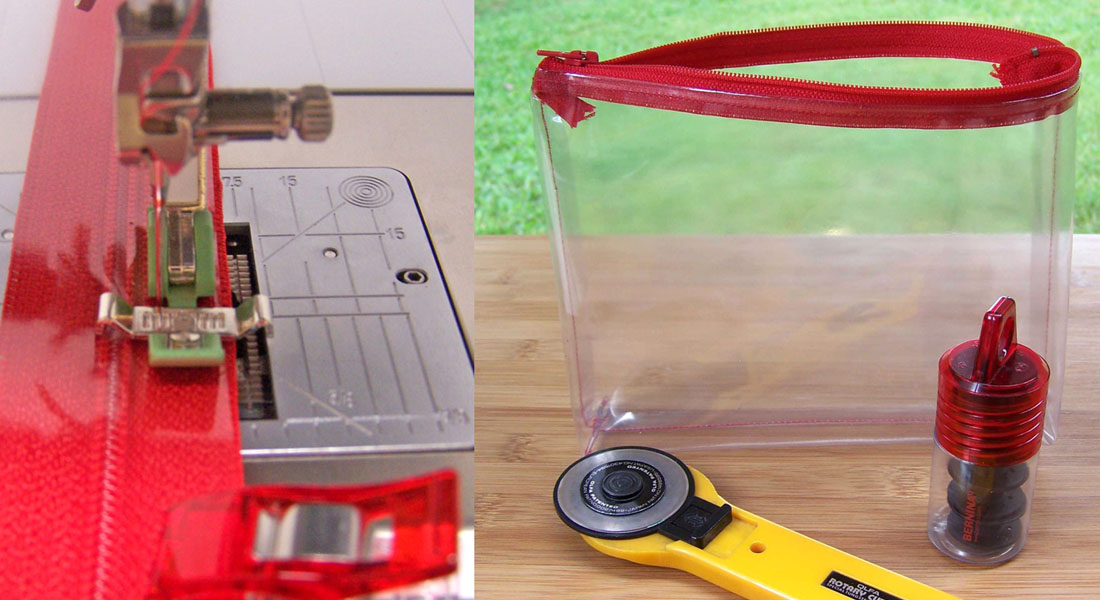
Step 2: Attaching the Zipper
Place one outer pouch piece facing up and the zipper facing down along the top edge of the print. Take your lining piece and place wrong side of fabric down and pin together.
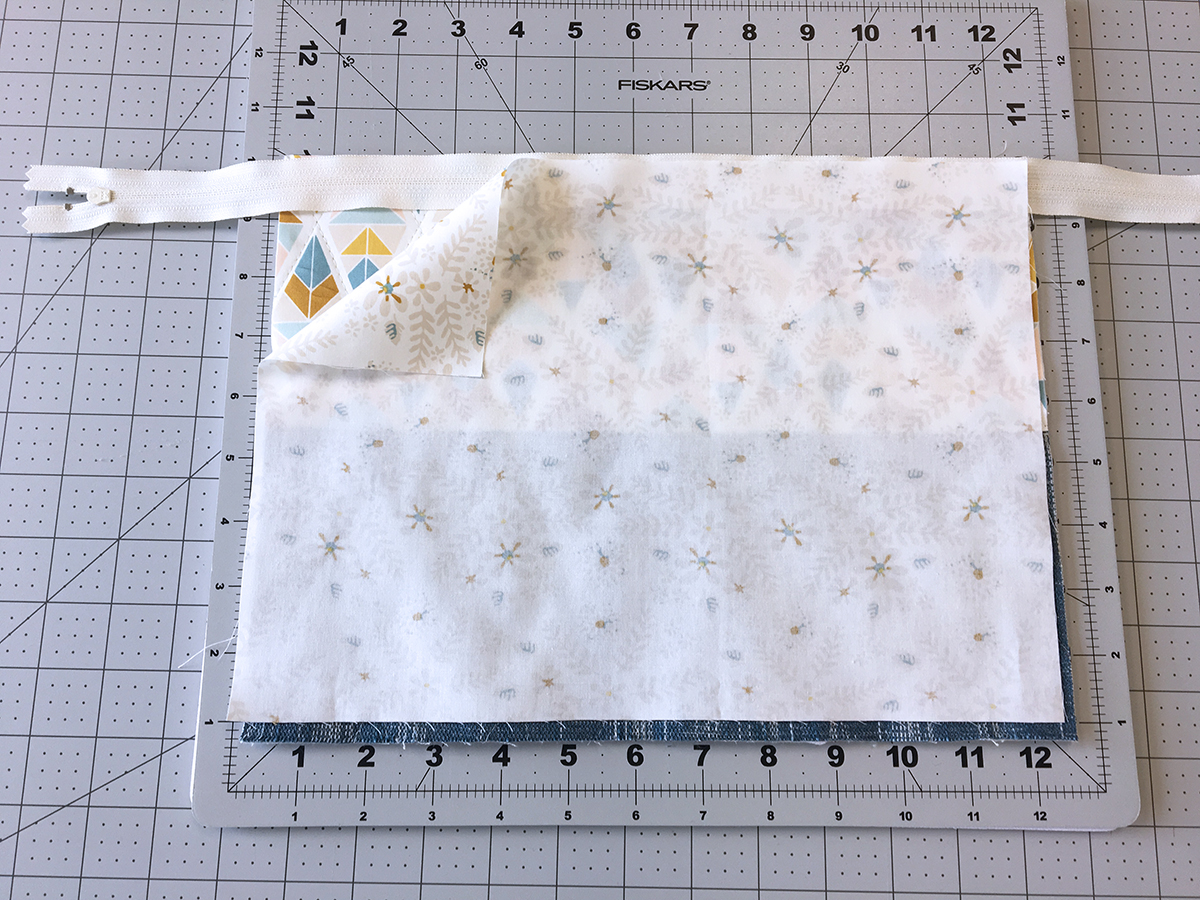
Attach your zipper foot and move your needle all the way to the left. Start sewing 1/2″ from the leading edge, and stop sewing 1/2″ from the end.
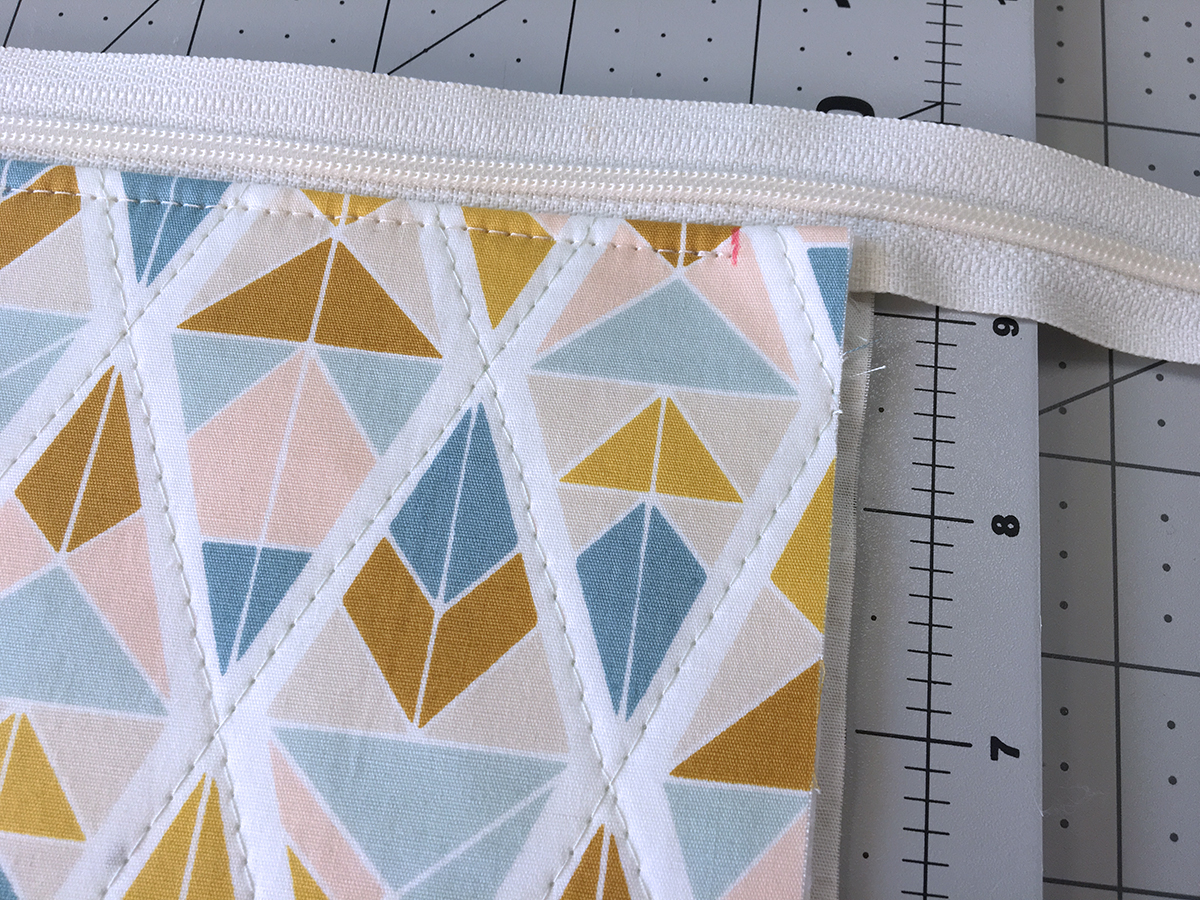
Press piece open and topstitch 1/4″ from your zipper.

Make sure to start and stop 1/2″ from each edge when sewing the zipper!
Repeat this same process to attach the other outer piece and lining to the other side of your zipper. After completing this step, leave the zipper open to make it easier to turn the bag inside out.

Step 3: Making the Boxy Corners
Place lining and outer pieces right side together and sew on each 12″ end making sure to leave a 4″ unsewn section in the lining to flip the bag to the right side of the fabric.
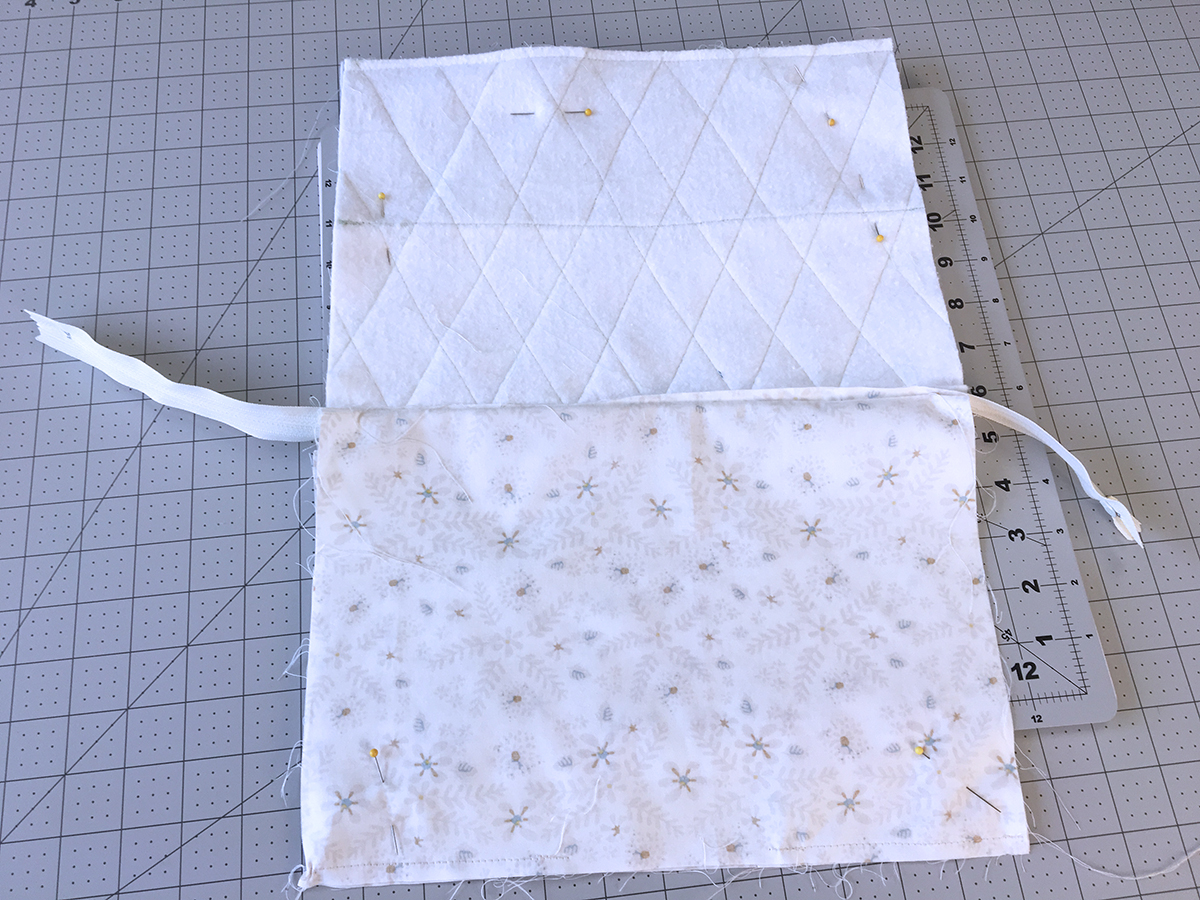
Center the seams of your lining and outer bag over the zipper and press in place.

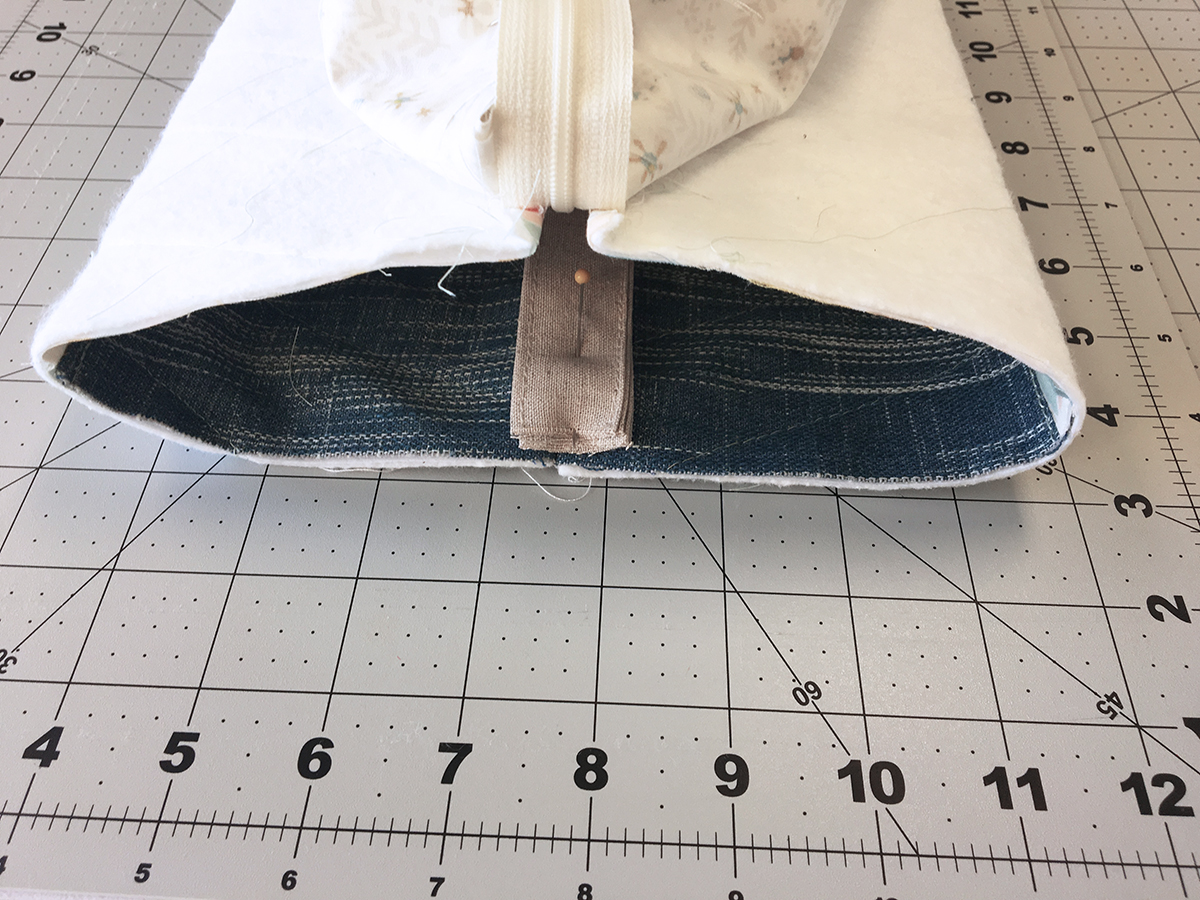
Lift the lining layer and pin out of the way on the short side with the bottom of the zipper. To make your loops take your 4″ x 12″ strip from Fabric D and fold raw ends into the middle of the strip and then fold in half and topstitch on each side of your strip. Cut in half to create two 6″ long strips to make the loops.
Place a loop between the outer fabric layers, with the loop pointing inward. The loop should be centered over the zipper. Pin in place. Sew the outer fabric layers together with a 1/2″ inch seam allowance, securing the loop as you sew. Backstitch over the loop for durability. Sew each outer ends shut and then both lining ends.
Now let’s give your pouch corners their boxy shape. Lift one half of the lining piece, and separate the layers by pulling apart gently. Your fabric should have a pressed line in the middle, center this, then squash the fabric flat in the middle. This creates triangles at each end. Measure 1 1/4″ in from the tip of the triangle and draw a line with a fabric marking pen. Sew on this line. Repeat this same process for both sides of your lining pieces and both sides of your outer pieces.
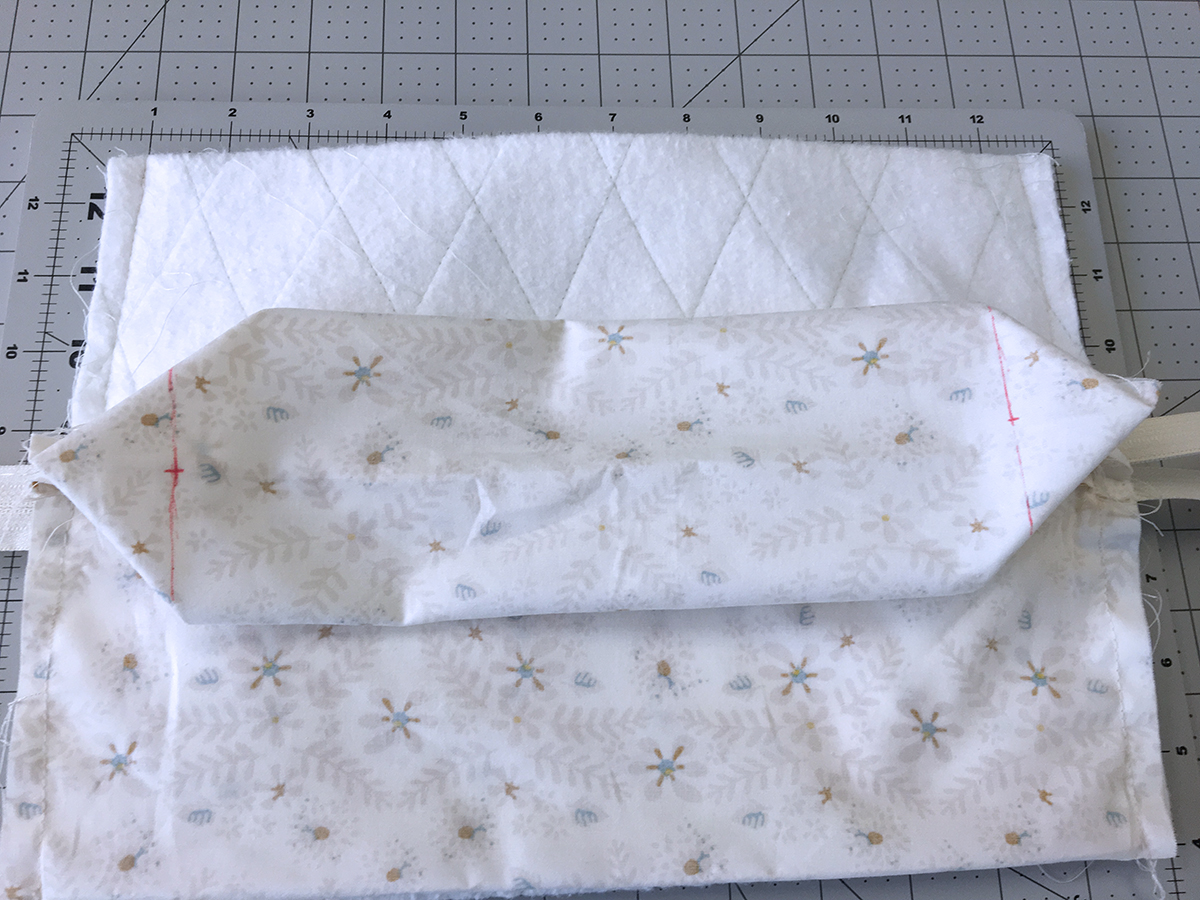
Your should get something that looks like this when you’re finished. Trim your corners to have less bulk in the corners of your pouch.

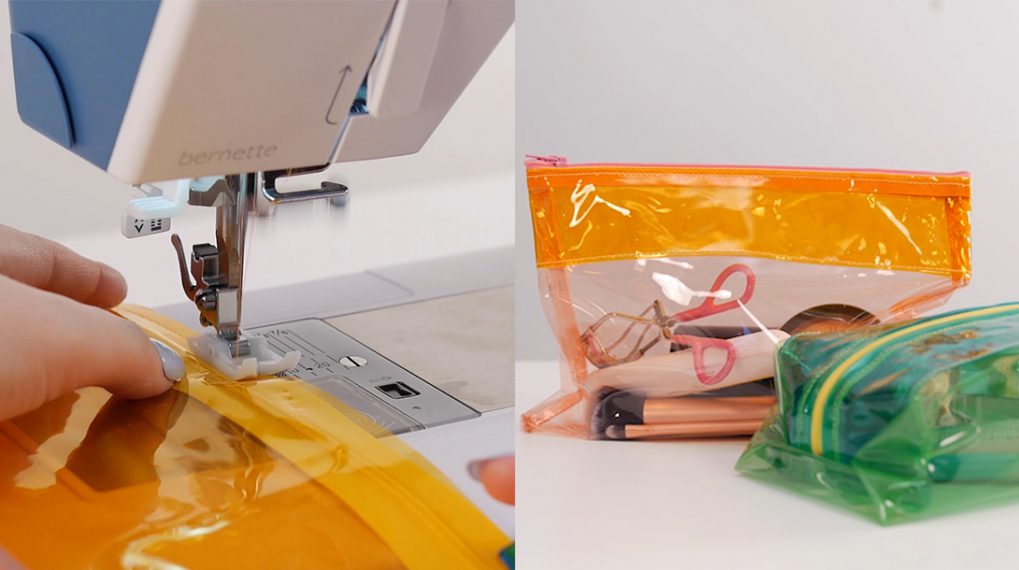
Flip the bag right side out through the hole in the lining, and hand stitch or machine stitch closed!
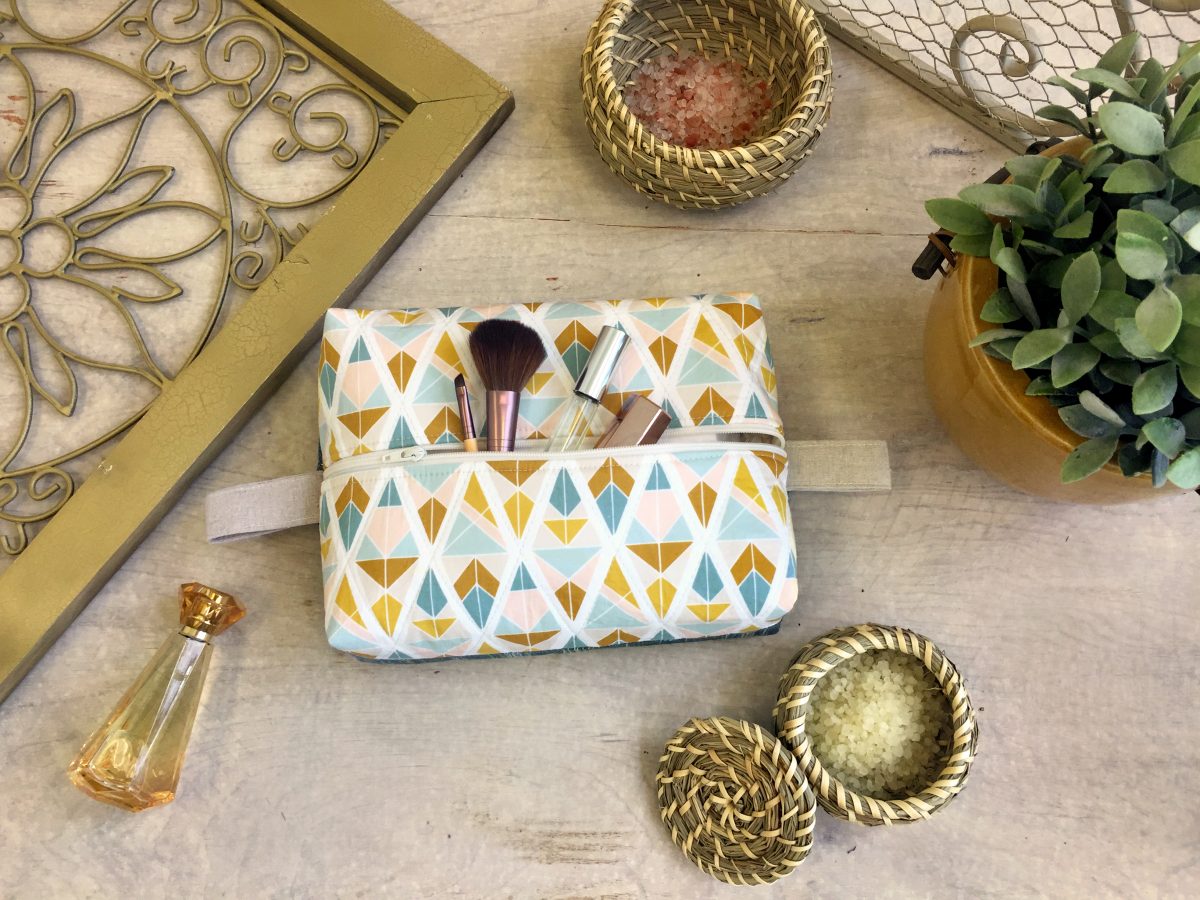
Have fun filling your bag with all your travel needs!
Enjoy,
AGF
What you might also like


5 comments on “Boxy Travel Pouch Tutorial”
-
-
Thank you! It was a really fun make! Enjoy!
-
Love your pattern for this travel case. I already bought fabric and will definitely make it, but could you please tell me the finished size of your pattern? Do you have cutting measurements to make it larger….since I have a half a yard each of 3 coordinating fabrics? Thanks so much.
-
Thanks Lauren! The dimensions are about 9″ long x 6 1/2″ wide. It is about 2 1/2 depth! I hope this helps!
-
-
In step 2 it should say: “Take your lining piece and place RIGHT side of fabric down and pin together.” The photo is correct.
Leave a Reply
You must be logged in to post a comment.

Beautiful, I will definitely try this one.