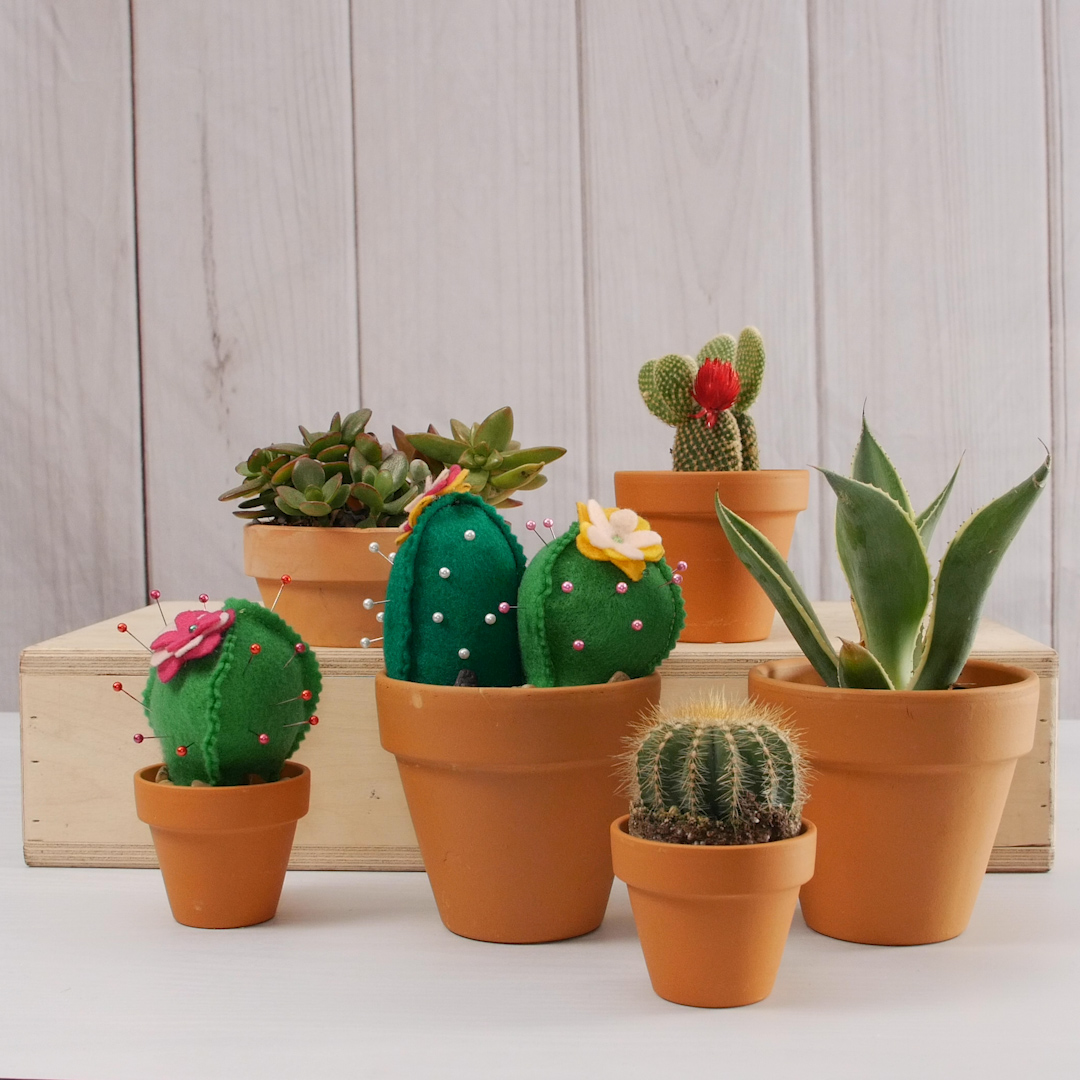
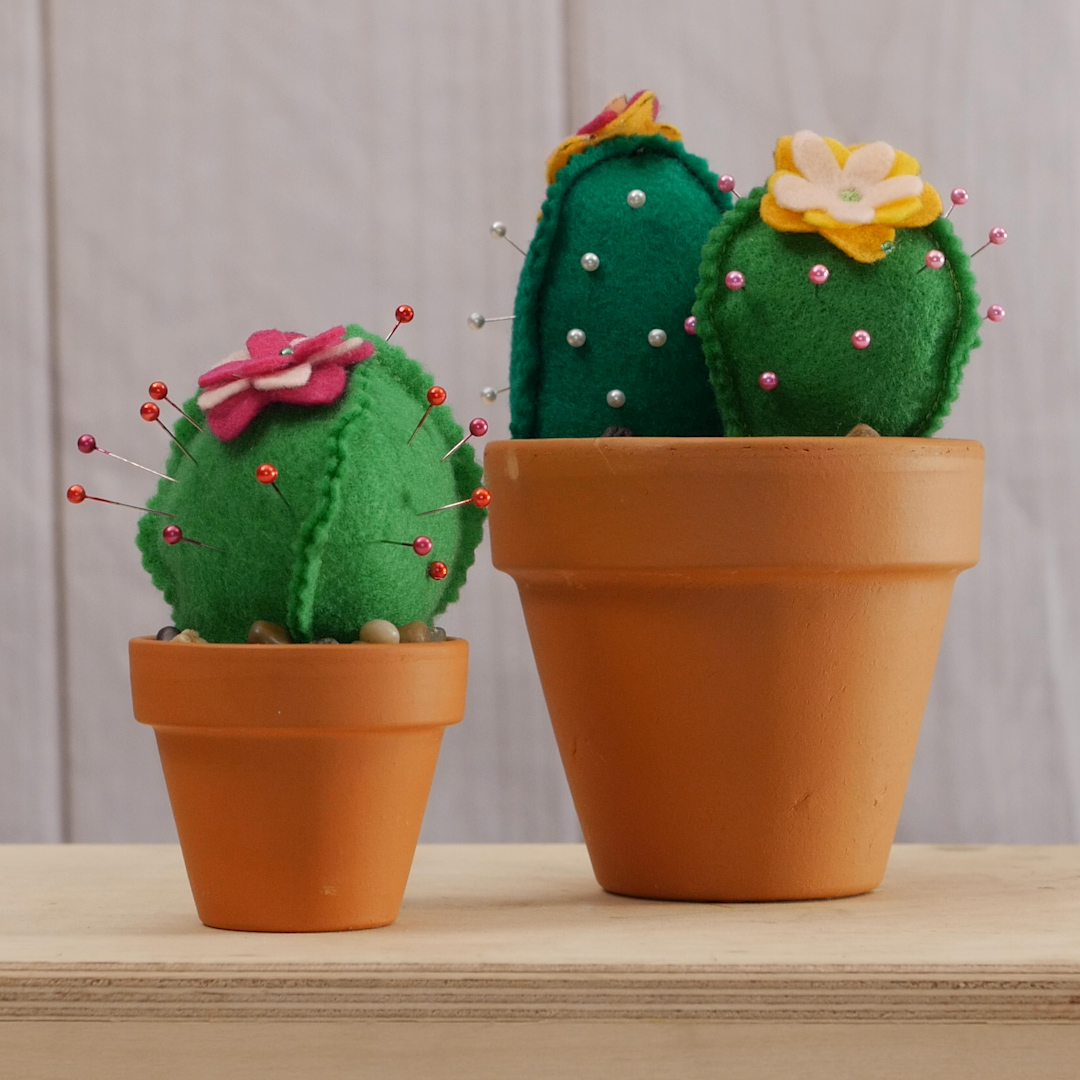
In the Hoop Cactus Pincushion
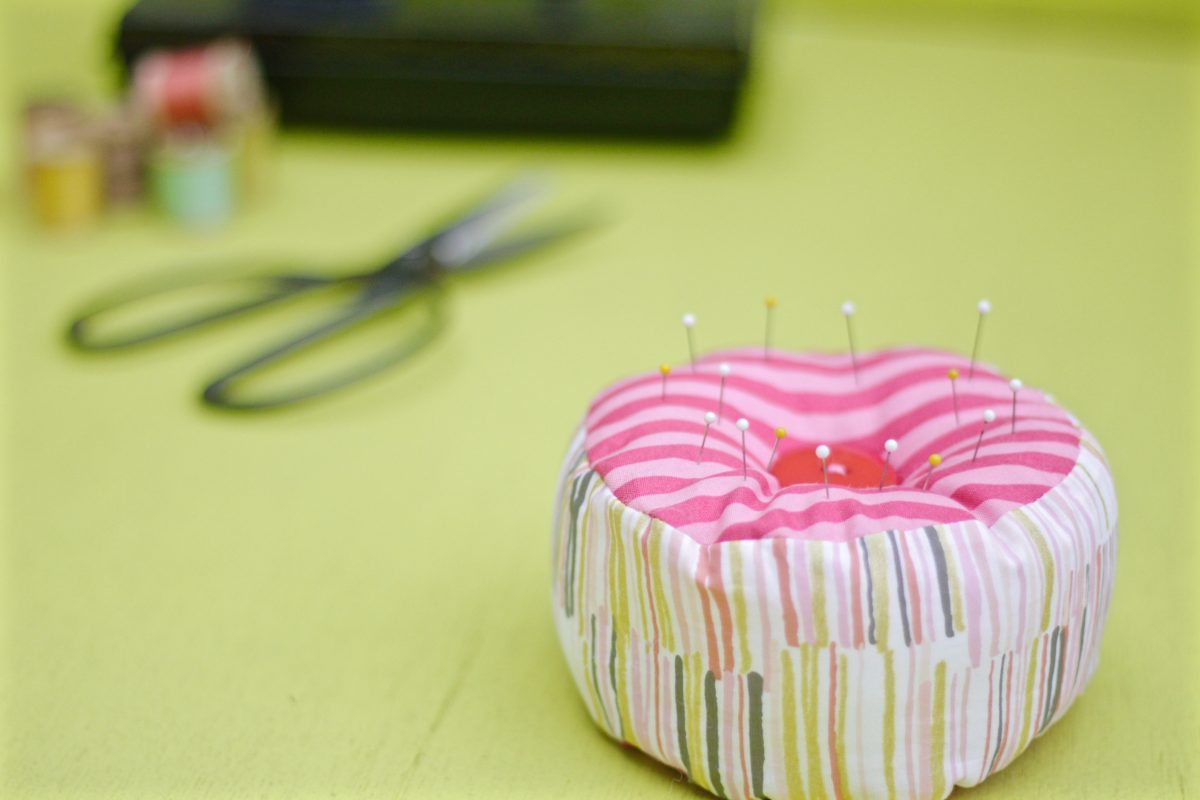
A little bit of greenery in a home makes the space feel so much brighter and lively. Why not add a bit of greenery to your sewing room? This cactus pincushion is a wonderfully easy project to put together—the machine does all the work for you! As an in the hoop embroidery design, these cacti stitch up in no time.
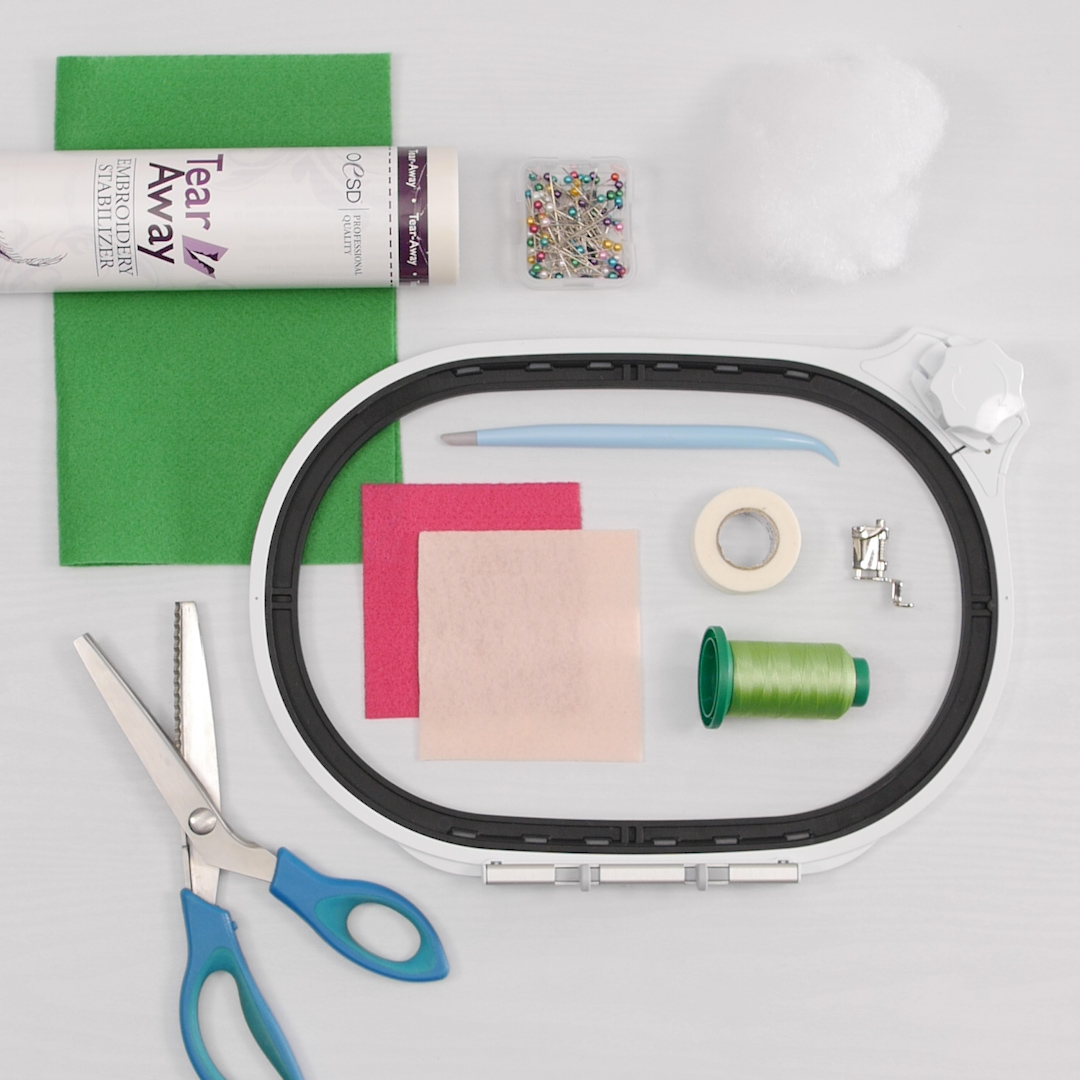
Supplies to Create an In the Hoop Cactus Pincushion
- In the Hoop Cactus Pincushions #12529 from Scissortail Stitches
- Green felt
- Two 4” x 4.5” rectangles
- One 4” x 4” square
- Pink felt
- Three flowers cut out to pattern templates
- Isacord thread
- OESD StabilStick TearAway stabilizer
- OESD Expert Embroidery Tape TearAway
- Pinking shears
- Polyester Fiberfill
- 2” terracotta pot
- Hot glue gun
- Straight pins
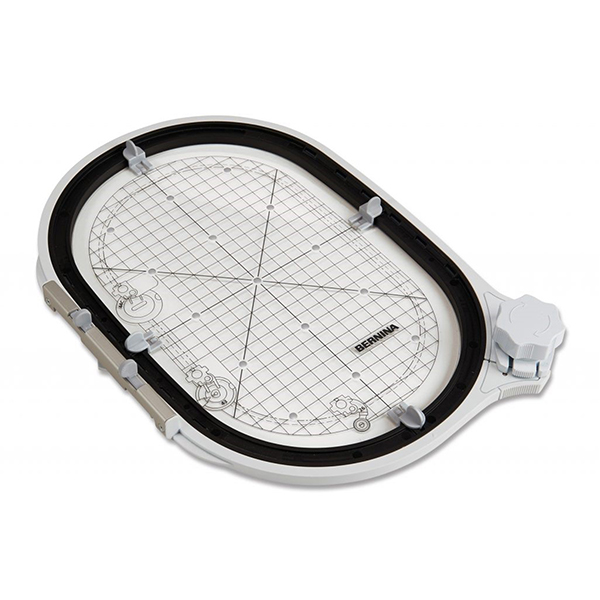
- BERNINA Midi Hoop
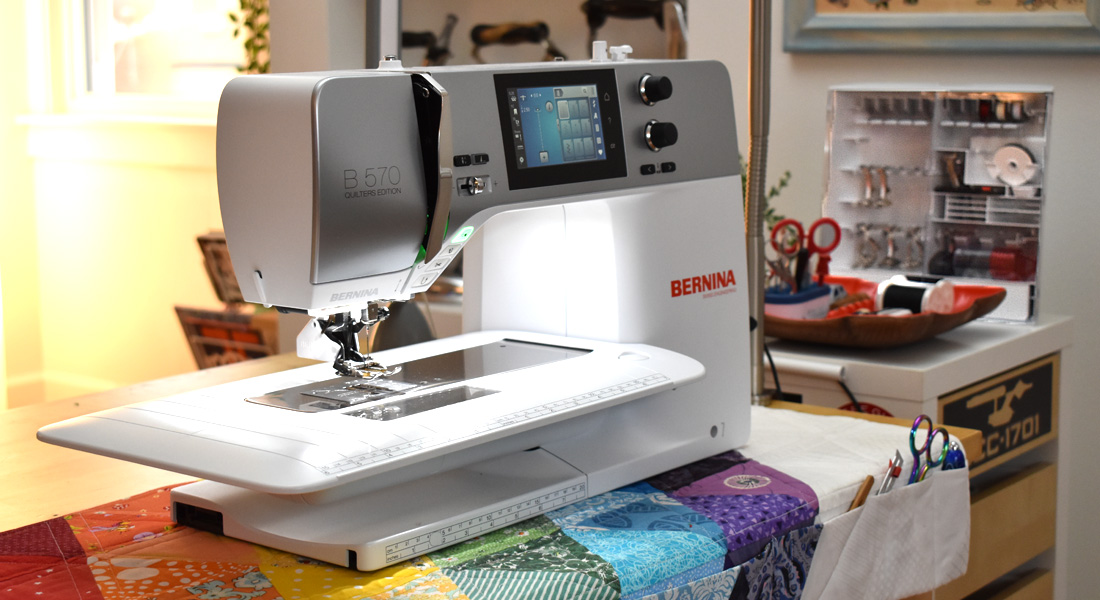
- BERNINA 590 E
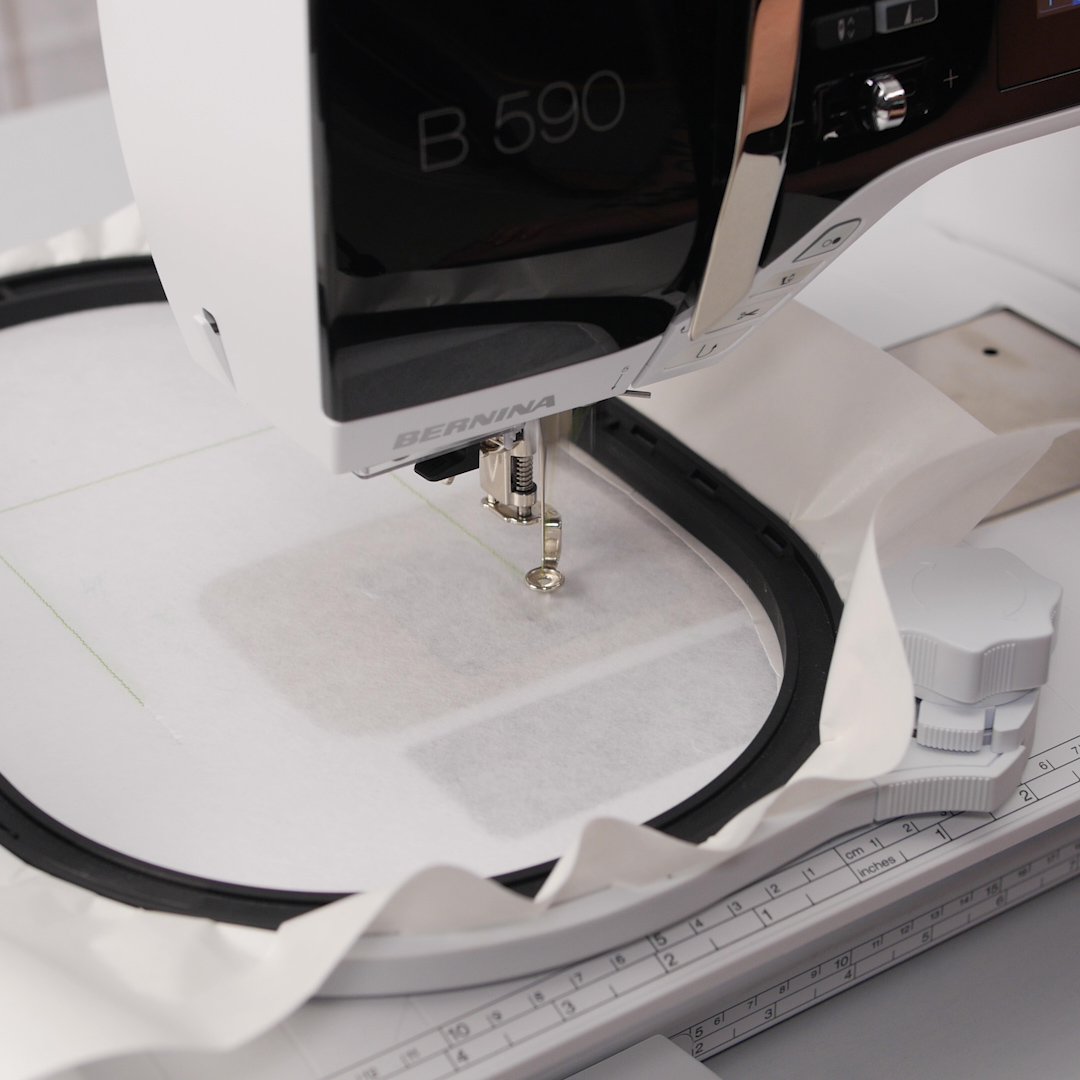
Step 1. Hoop stabilizer
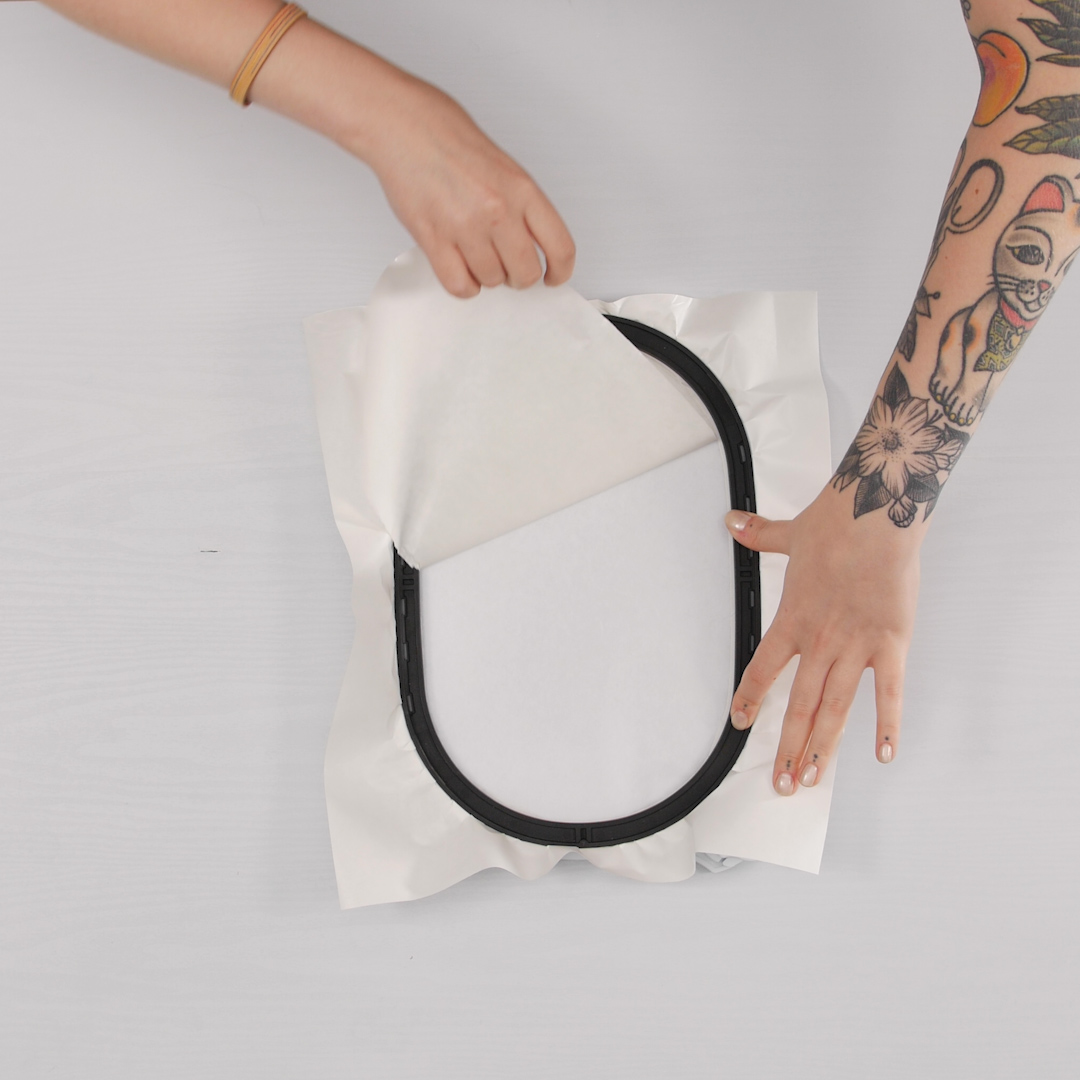
Our first step is to hoop up some stabilizer. Cut a piece of OESD StabilStick TearAway to fit the Midi Hoop and hoop the stabilizer by itself. Make sure the paper layer of the stabilizer is facing up when hooped.
Use a pin, awl, or other sharp implement to score inside the perimeter of the hoop. Tear away the paper, exposing the sticky surface of the stabilizer.

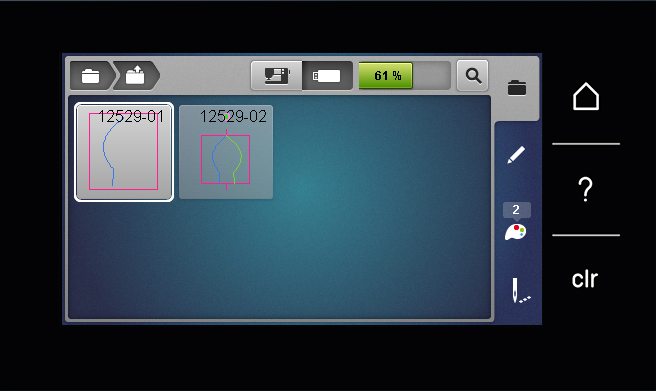
Step 2. Load design
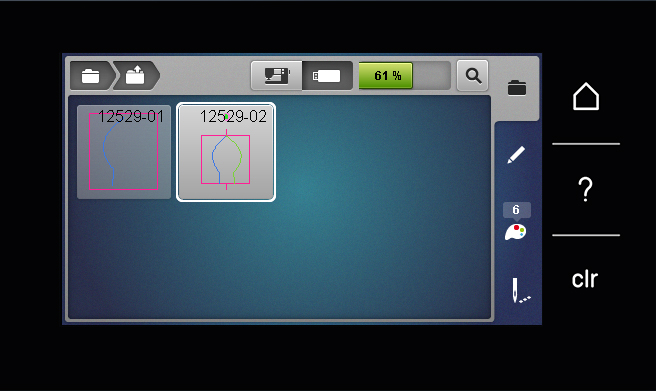
With designs #12529-01 and #12529-02 saved on a USB stick, insert the stick into the machine and open the first (12529-01) file.
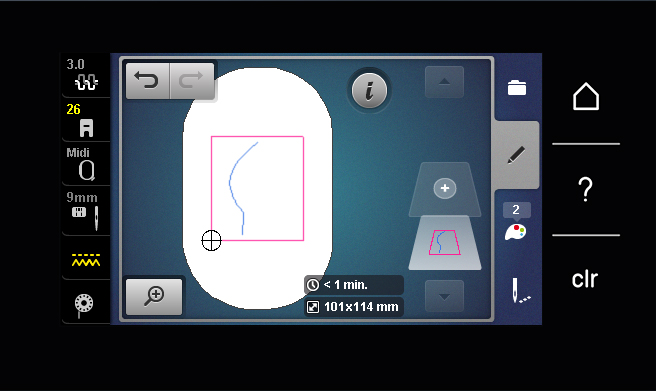
Select the Hoop Selection/Hoop Indicator icon on the Status Bar. Select the Midi hoop then close the menu.

Select the OK (needle) icon to move to the stitchout screen.
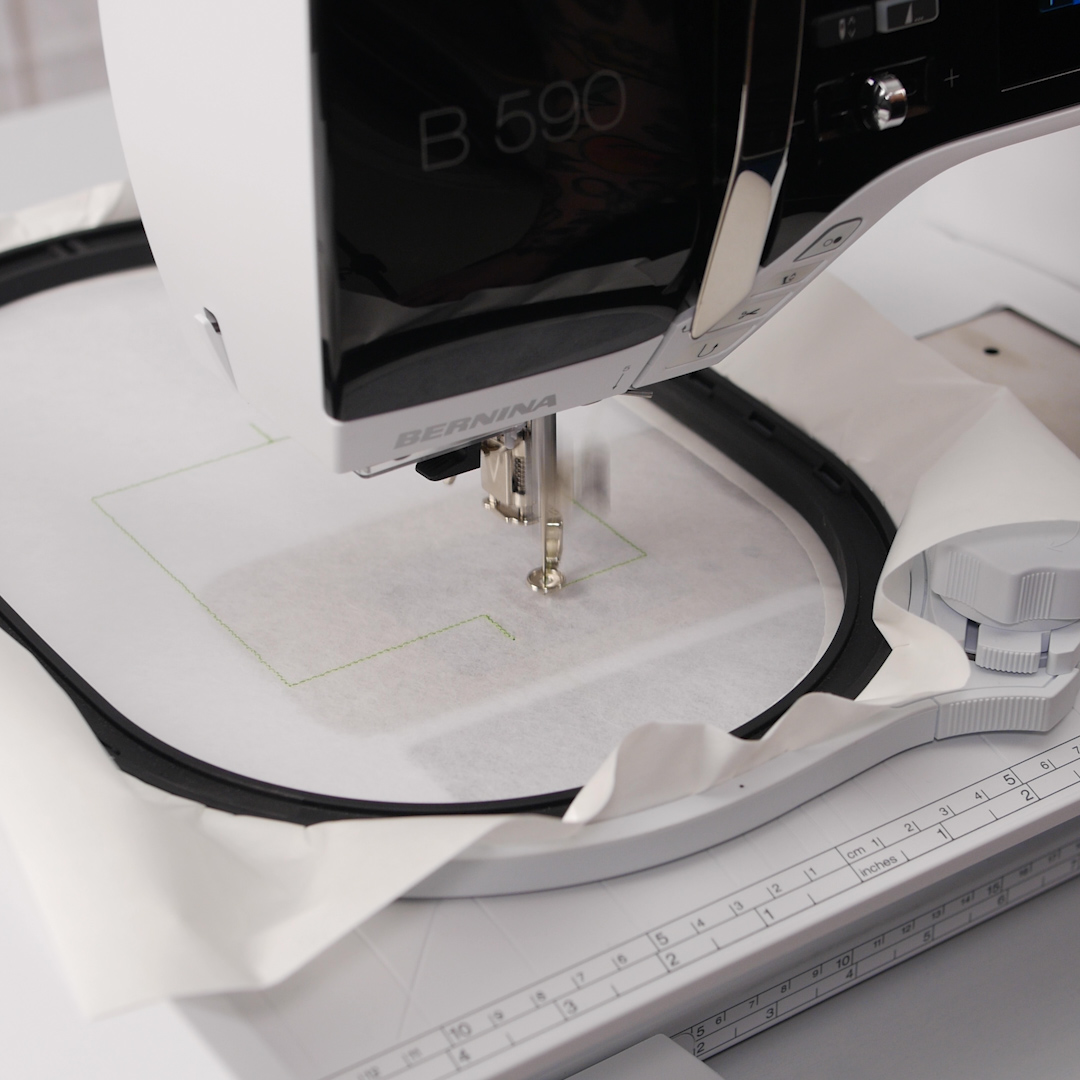
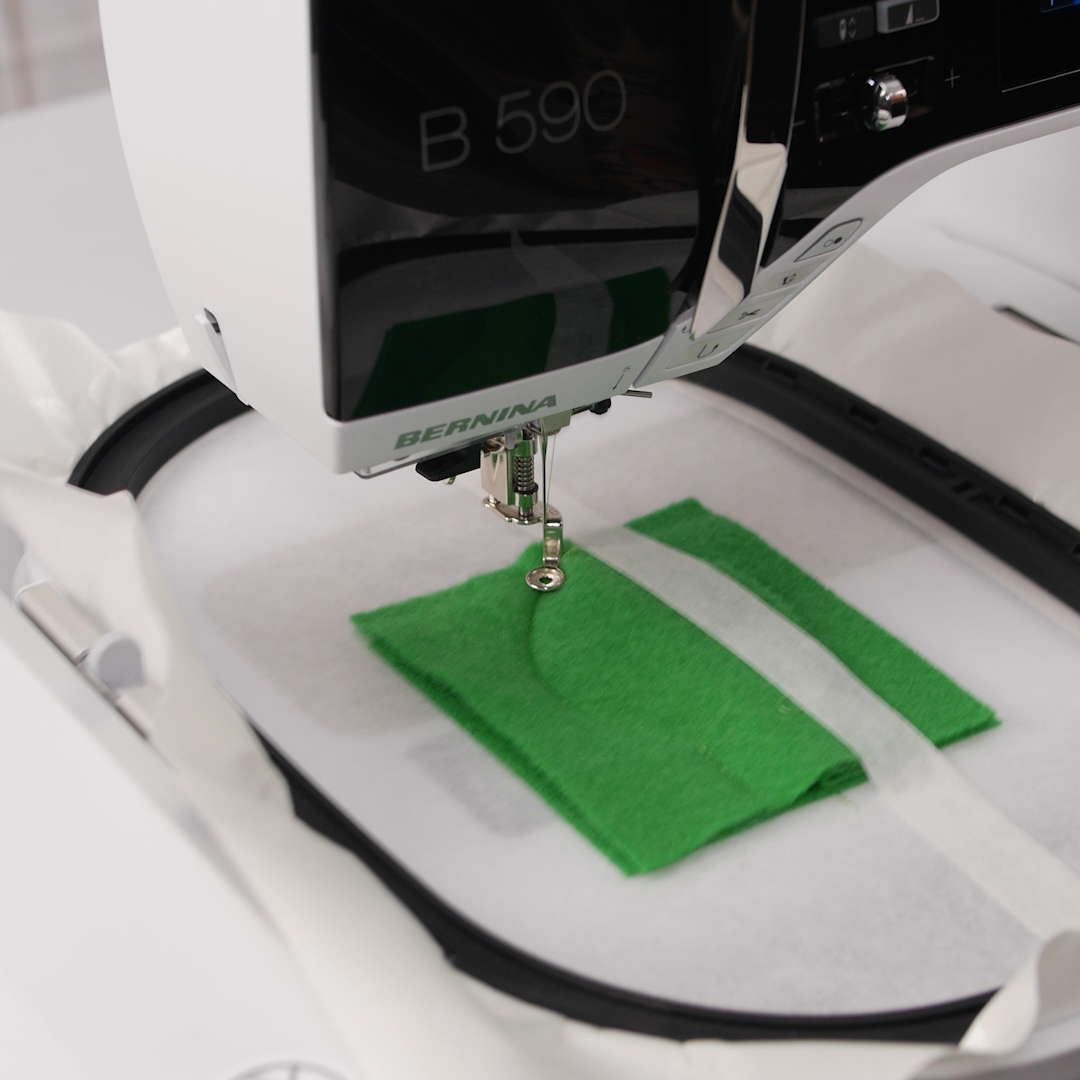
Step 3. Stitch first seam
The first “color” of our design file is a placement line. Press and hold the Start/Stop button to stitch out this line.
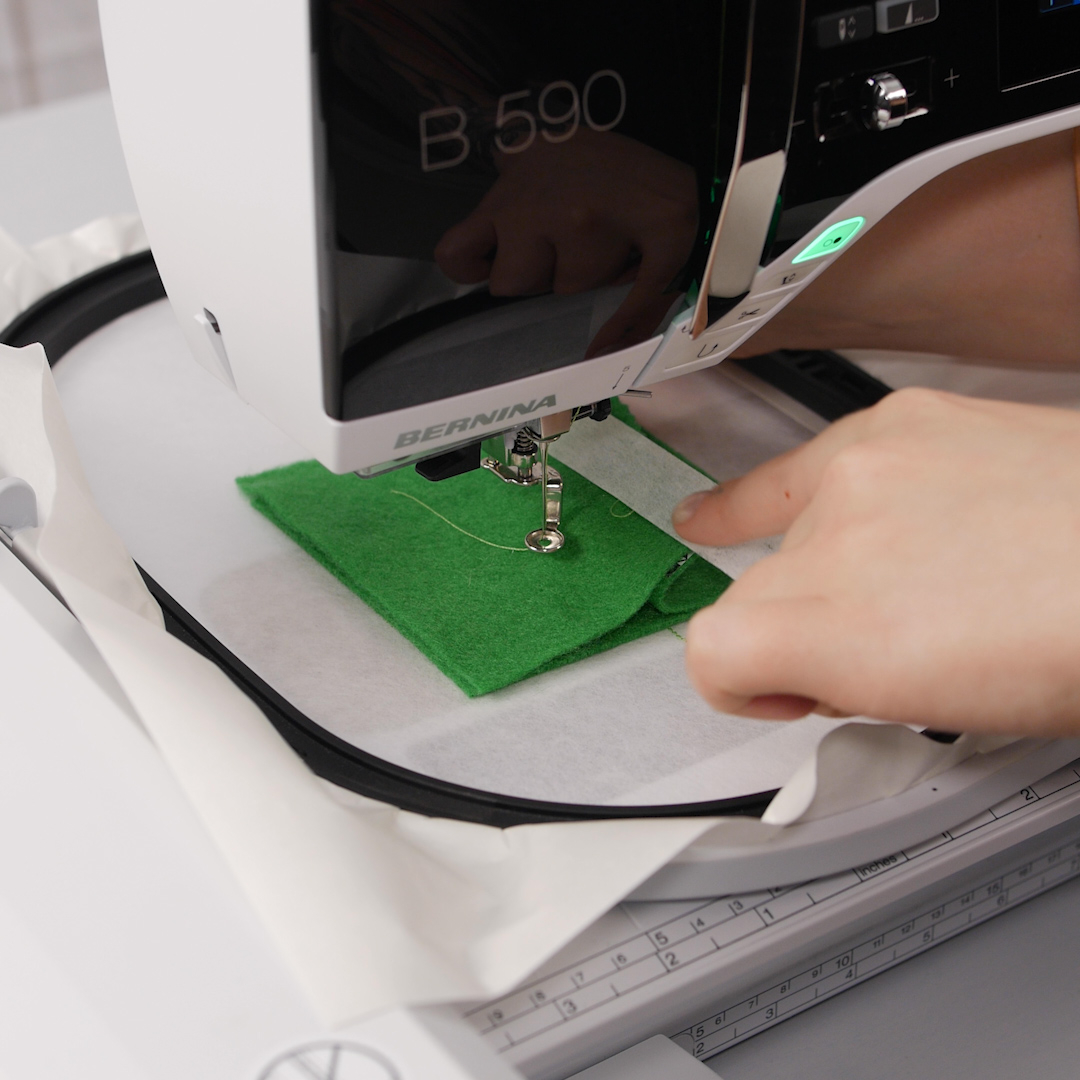
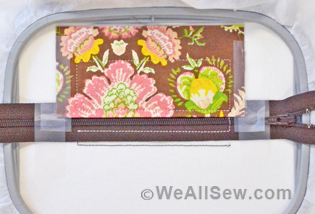
Lay the two 4” x 4.5” rectangles in the hoop, aligning within the stitched placement outline.
Stitch the second color of the design.
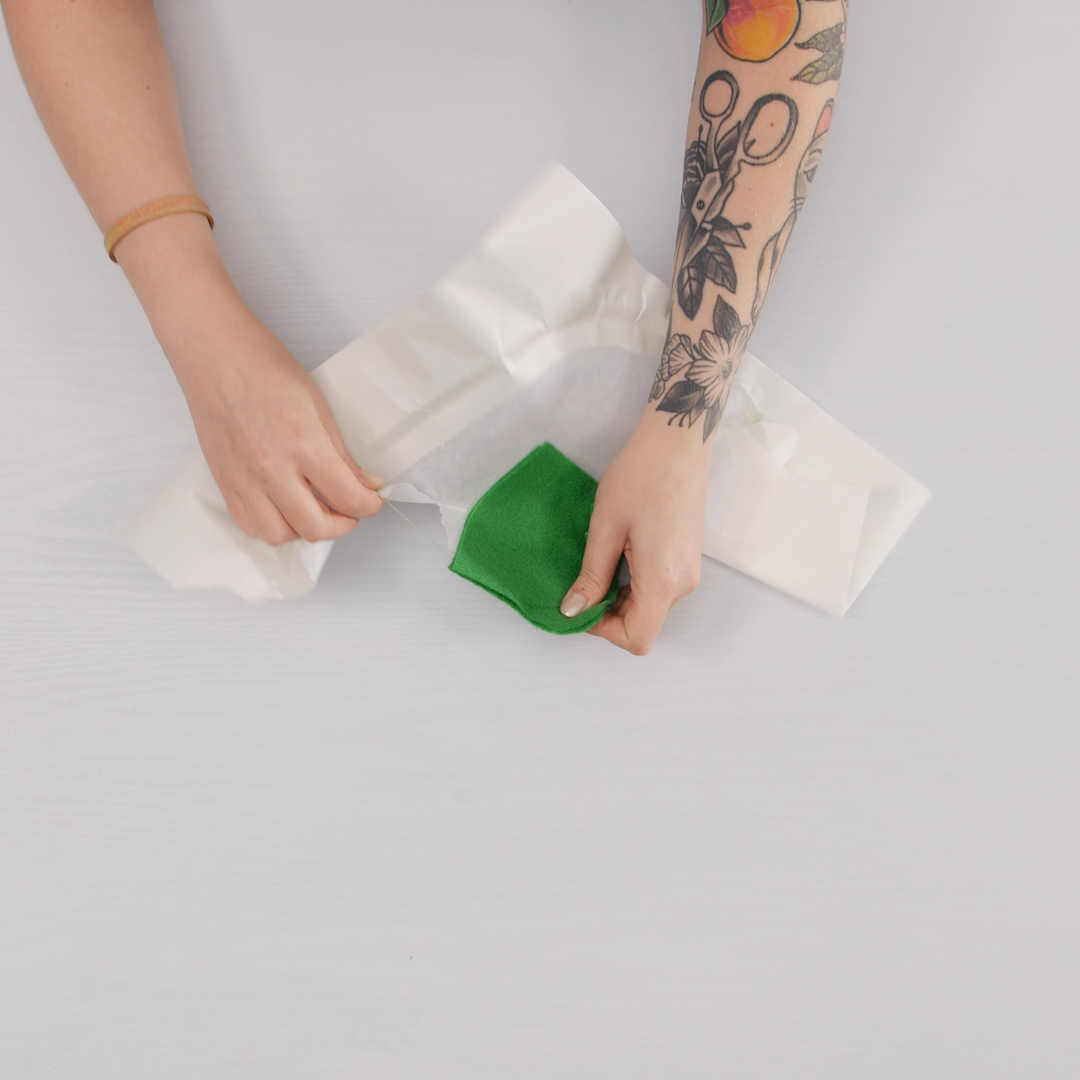
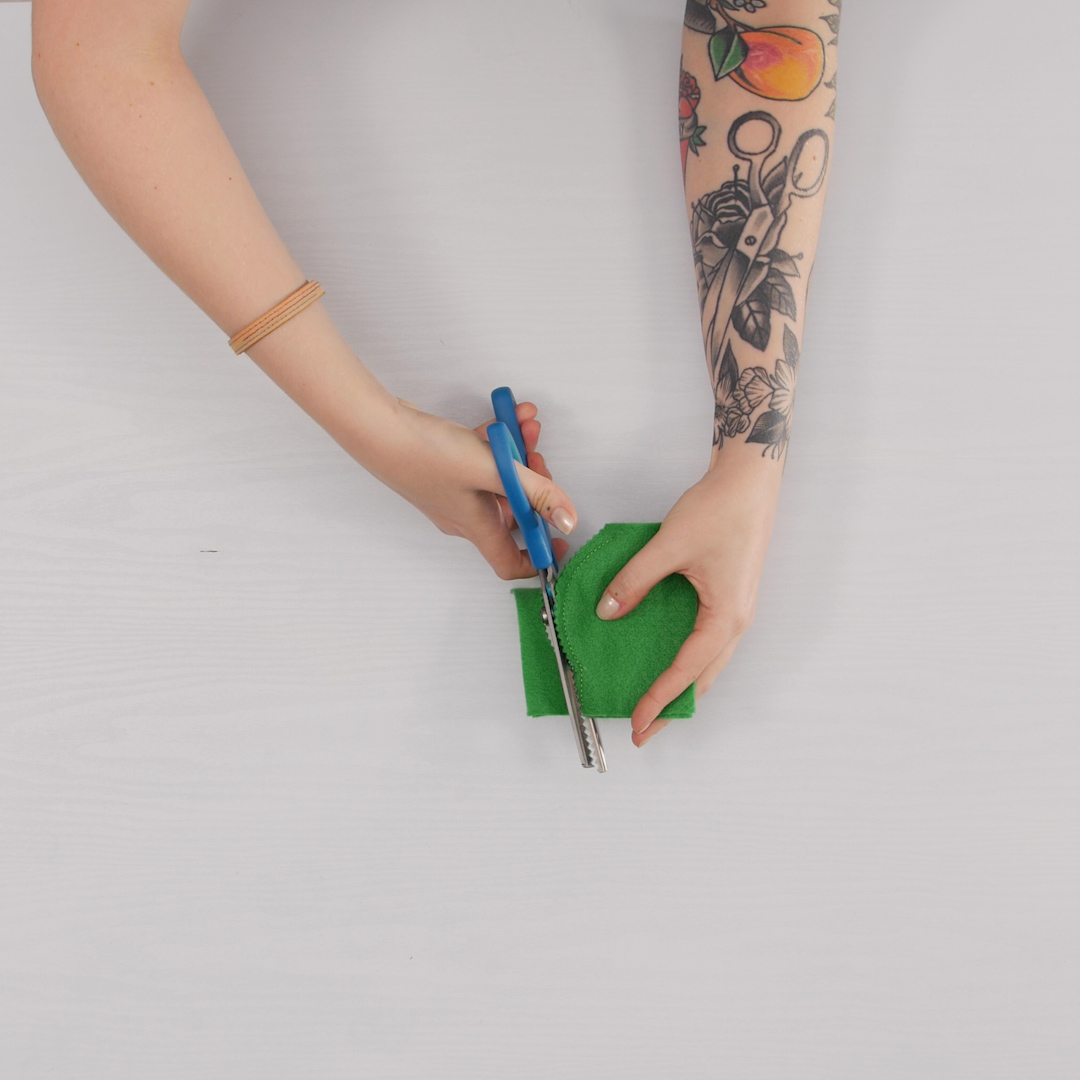
Step 4. Trim & re-hoop
Remove the fabric and stabilizer from the hoop. Tear away all the excess stabilizer from the felt.
Trim down the seam allowance from the first stitching line down to about ¼” with pinking shears.
Cut another piece of StabilStick to fit the Midi Hoop. Hoop the stabilizer, score, and tear to expose the sticky surface again.
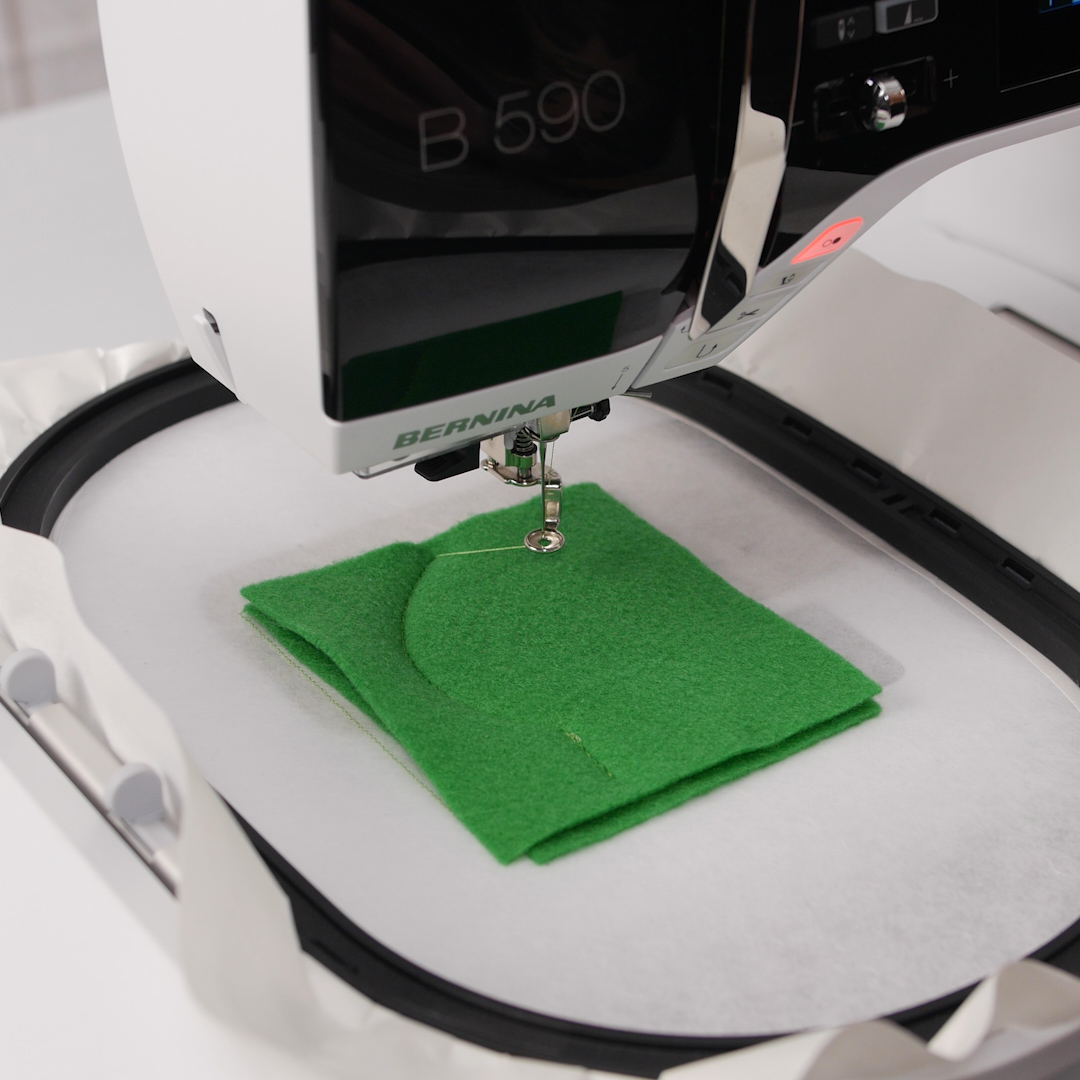
Step 5. Stitch Y seam
Open the Selection menu. Select the Open Motif icon. Select the second (12529-02) file.
Select the OK (needle) icon to move to the stitchout screen.
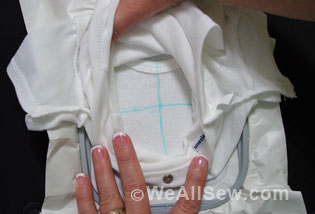
Again, the first “color” of the design is our placement line. Press and hold the Start/Stop button to stitch this out.
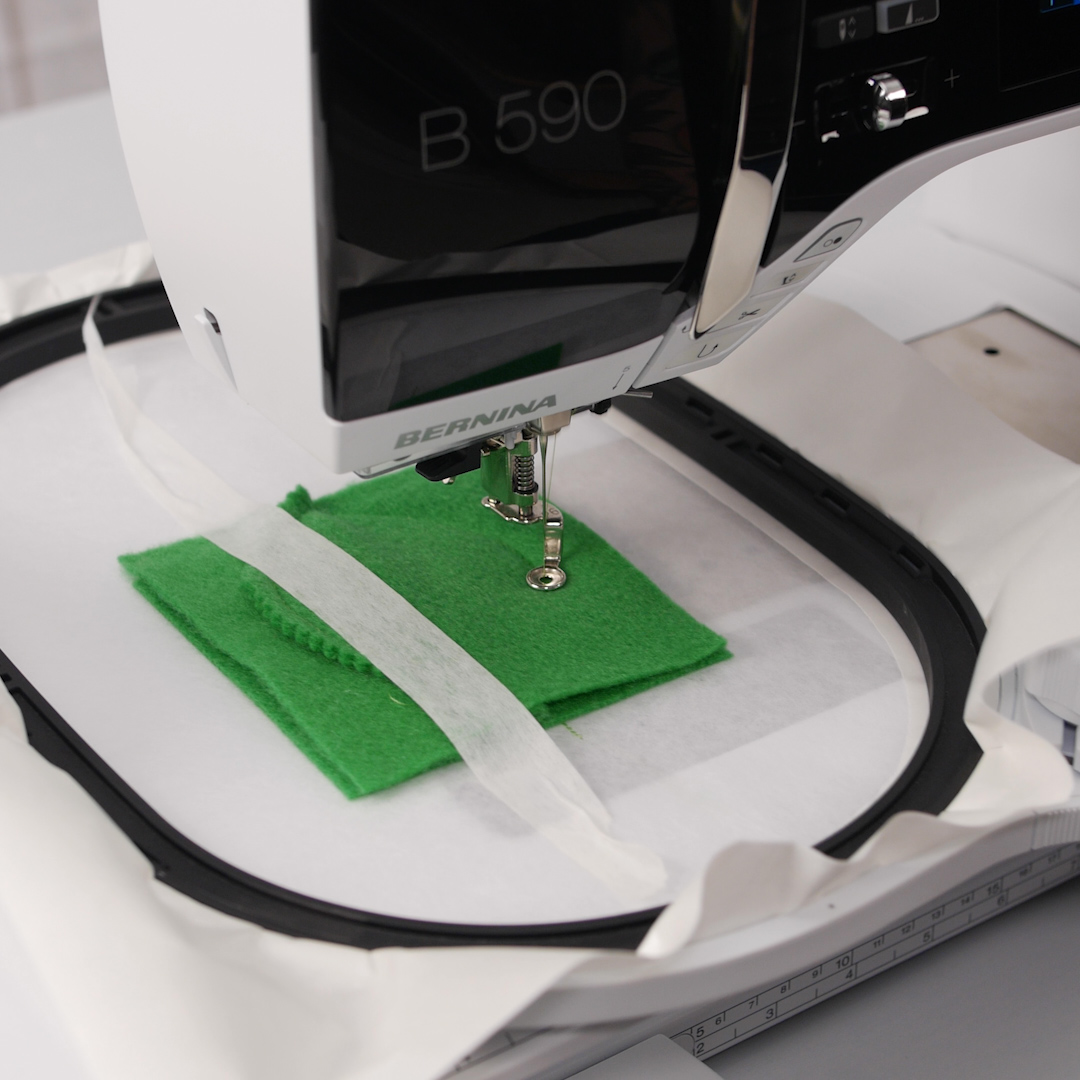
Then, place the 4” square of felt inside the placement line.
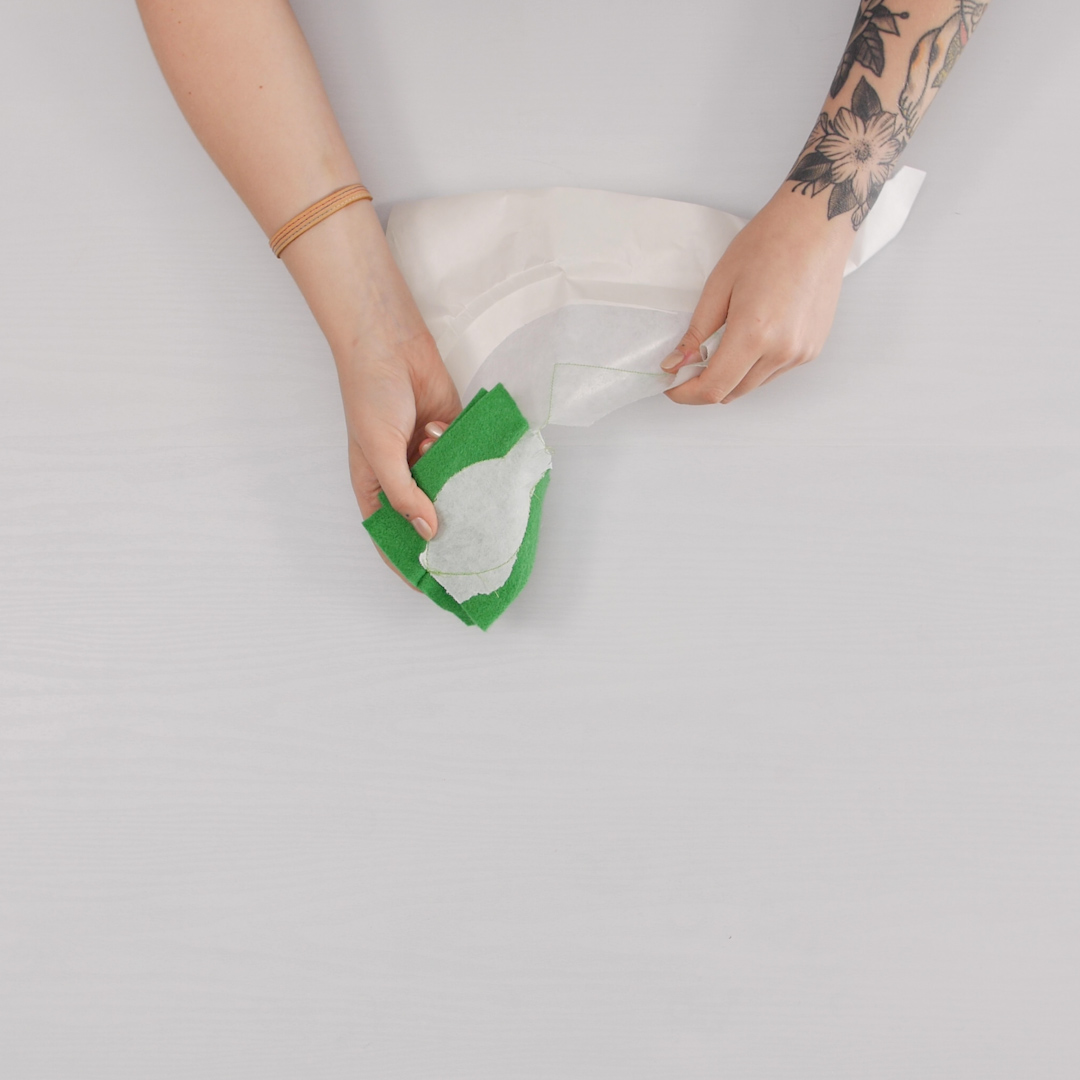
Take the two stitched felt pieces from the first hooping and lay them open like a book over the other felt square with the “spine” facing up. Line up the “spine” with the vertical lines in the placement stitch.
Fold the “spine” to the right and hold in place with a piece of OESD Expert Embroidery Tape.
Press and hold the Start/Stop button to stitch the next color in the design.
Remove the embroidery tape. Move the “spine” over to the left side and tape in place again.
Stitch the next color in the design.
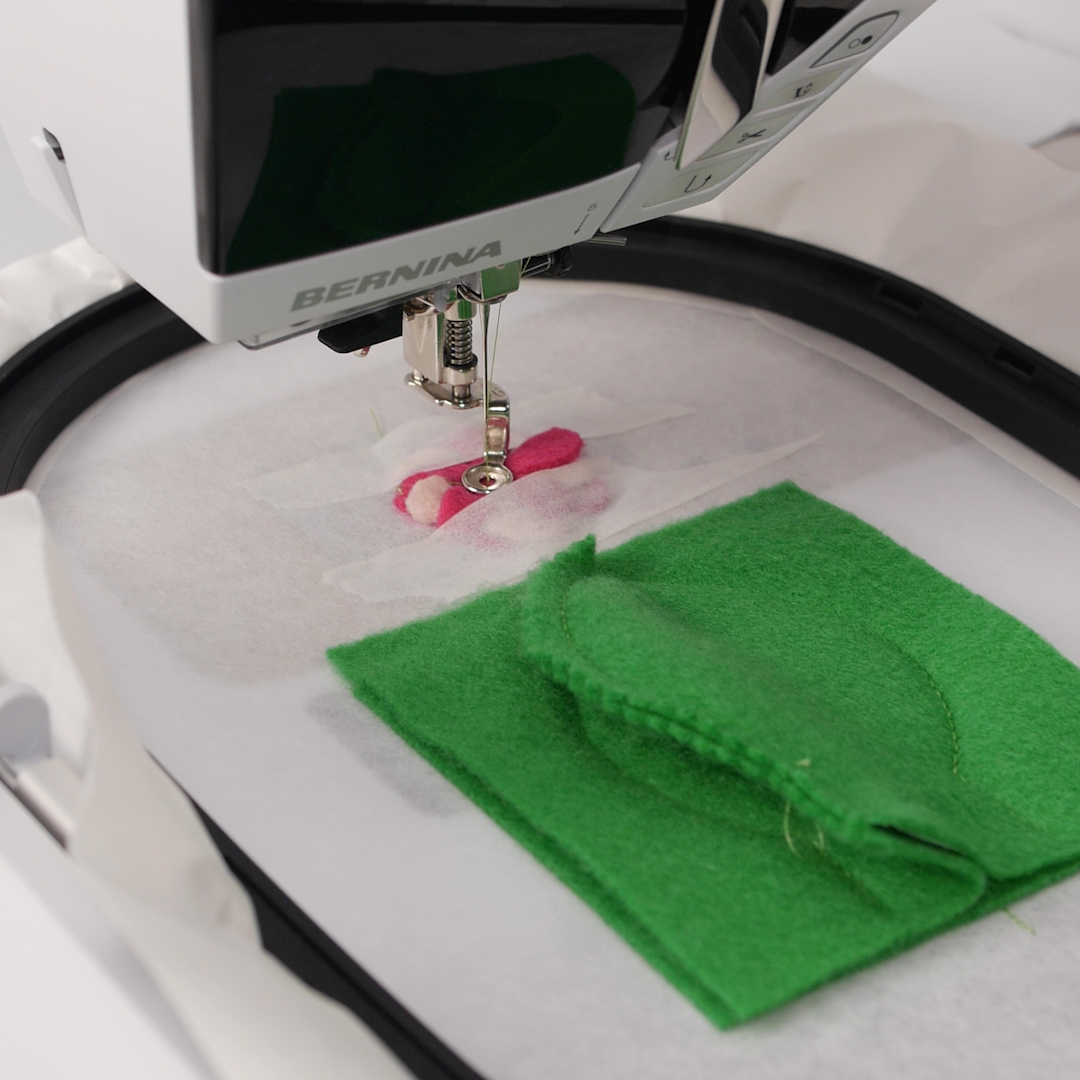
Step 6. Stitch flower
The next color in the design is the flower placement stitch. Press and hold the Start/Stop button to sew out this placement.
Place the two largest felt flowers centered over the flower placement stitch. If you’d like to change thread colors for sewing your flower, do that at this point. When you’re ready, press and hold the Start/Stop to sew the satin ring to anchor these two layers together.
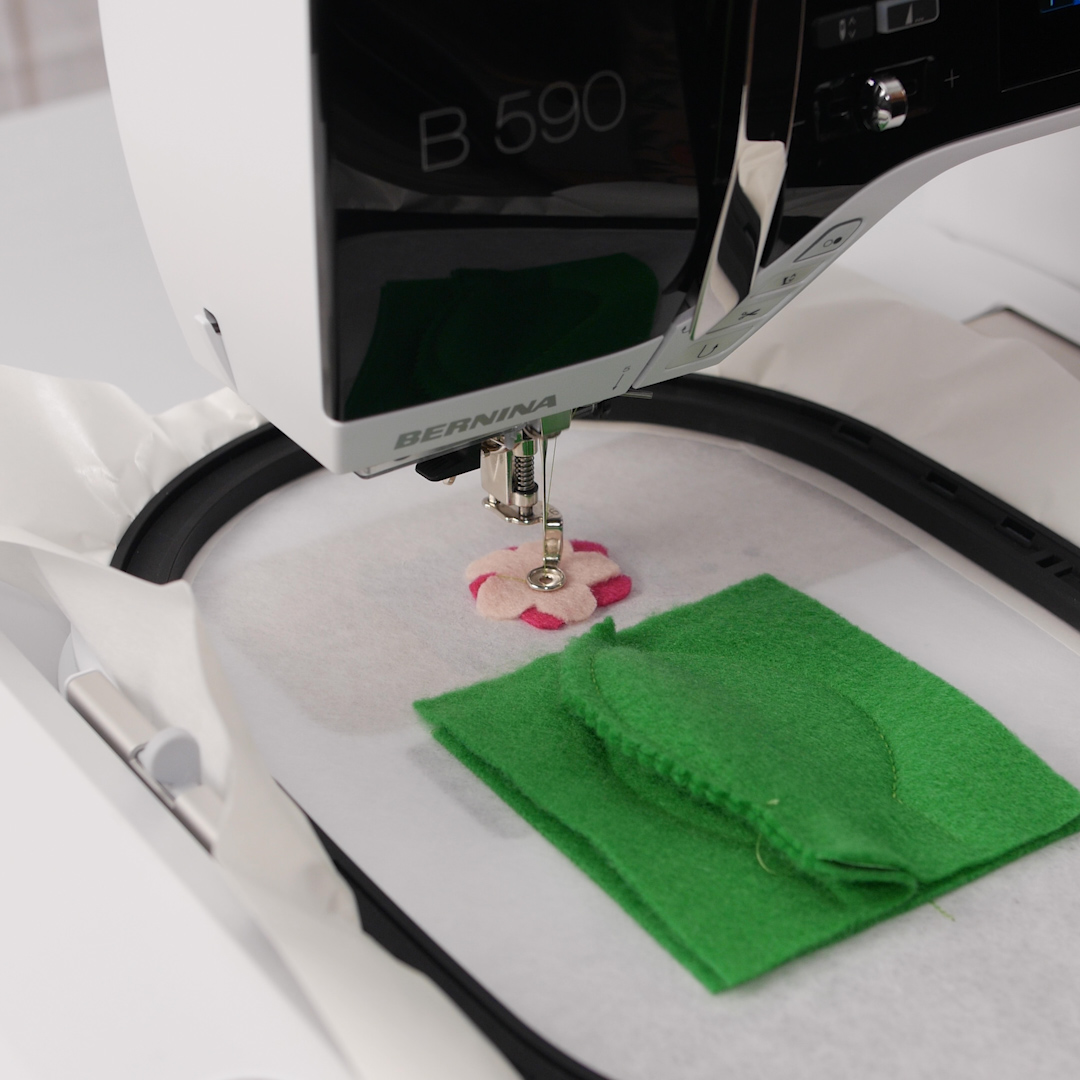
Finally, place the smallest felt flower centered on top of the previously stitched flowers. You can hold this in place with embroidery tape if necessary. Stitch out the final color, the flower center.
Step 7. Assemble
Remove the fabric and stabilizer from the Midi hoop and tear all the stabilizer away from the felt.
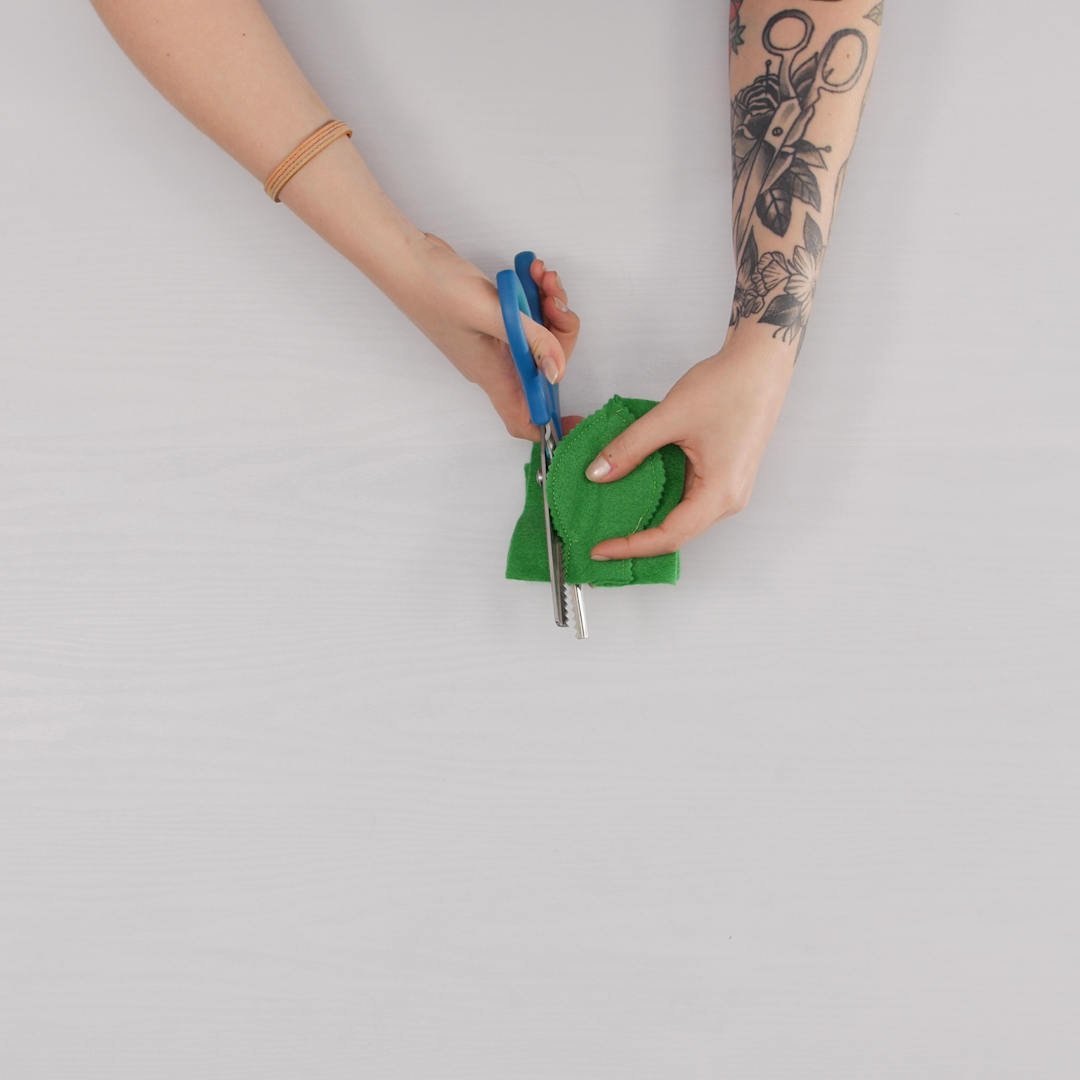
On the cactus piece, trim the seam allowance with pinking shears again to match the first seam.
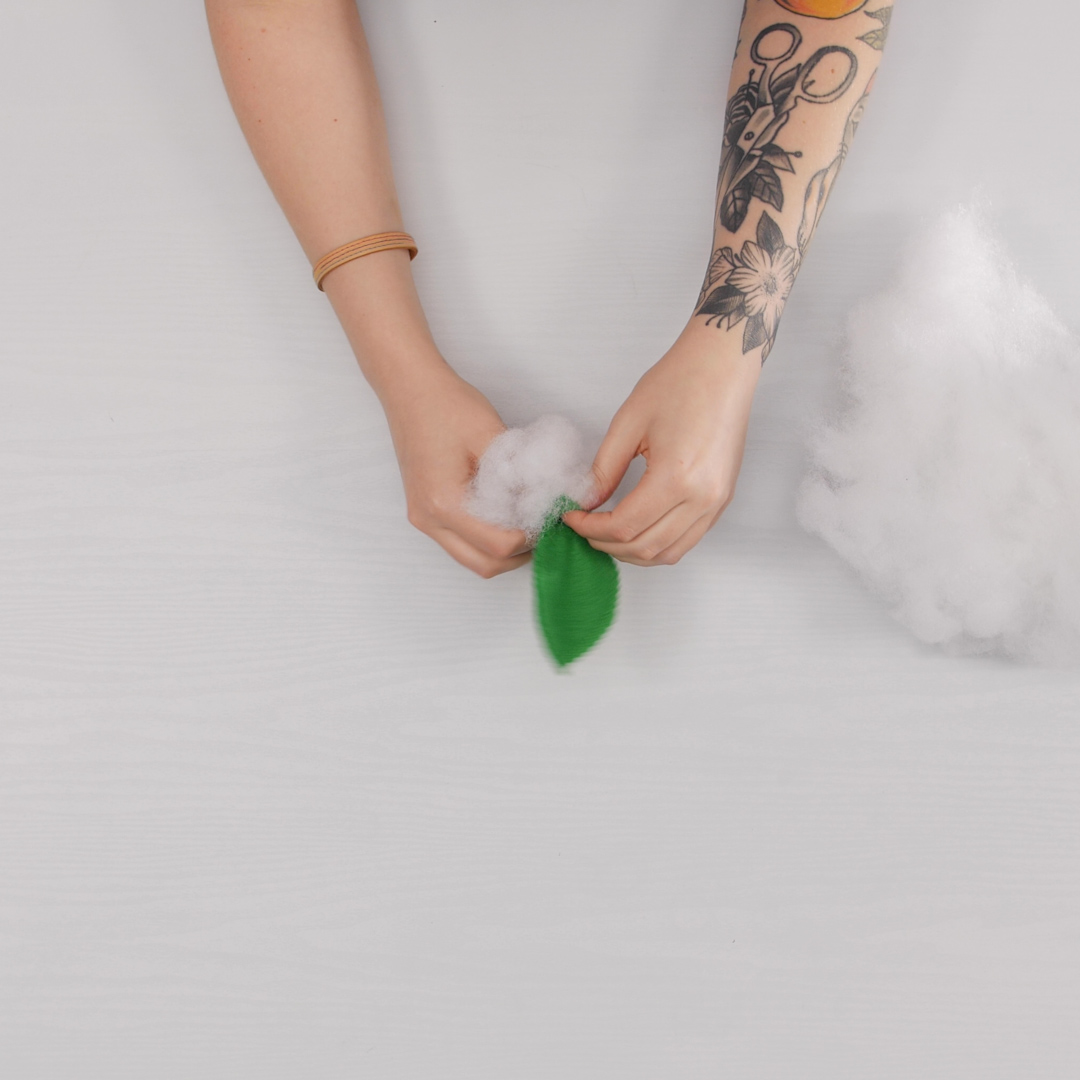
Stuff the cactus with polyester filler.
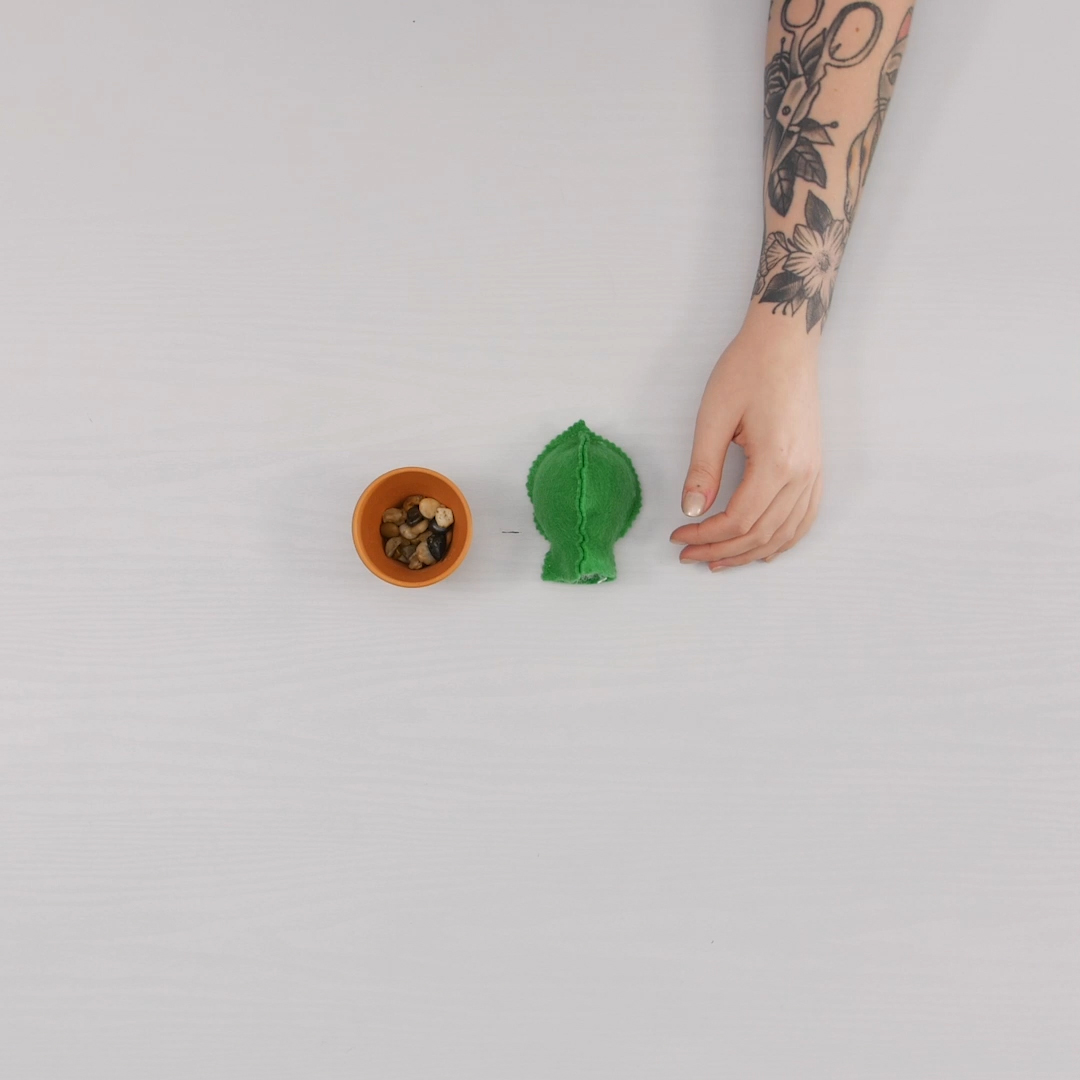
Fill the bottom inch or so of the terracotta pot with small decorative river rocks to weight the pin cushion. Place pin cushion into the pot and secure with hot glue. Fill in the area around the pin cushion with more rocks to anchor.
Attach the flower to the cactus by either hand stitching or securing with a dot of hot glue.
Used Products

What you might also like


5 comments on “In the Hoop Cactus Pincushion”
-
-
Where is the template for the flowers? I can’t seem to find them. Thank you
-
https://scissortailstitches.com/content/PDF/12529.pdf
This has the pattern for the flowers.
-
-
So glad that you posted these instructions as I’ve never done an in-the-hoop 3D project but often wondered how it is done. I’ve wanted to make pouches. Now I’m less apprehensive about it.
-
The cactus flower patterns are included in the Cactus Pincushion Design #12529 from ScissorTail.
It is in this PDF: https://scissortailstitches.com/content/PDF/12529.pdf
I hope this helps those who are interested in making the pincushion. 🙂
Leave a Reply
You must be logged in to post a comment.

I made a decorative one for my daughter in law for Christmas. I posted on OESD Facebook page. It’s in a log planter and put Spanish moss in the pot. Also put sticks in cactus to stay in place.