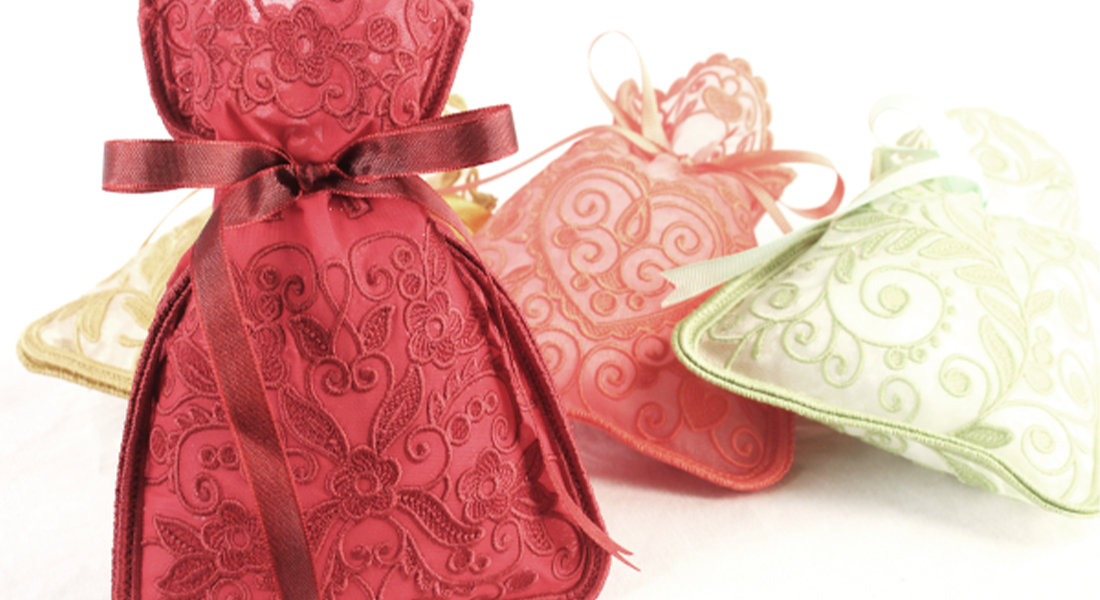
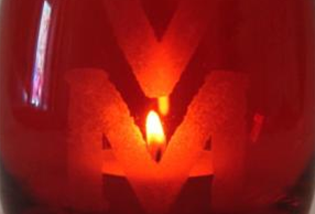
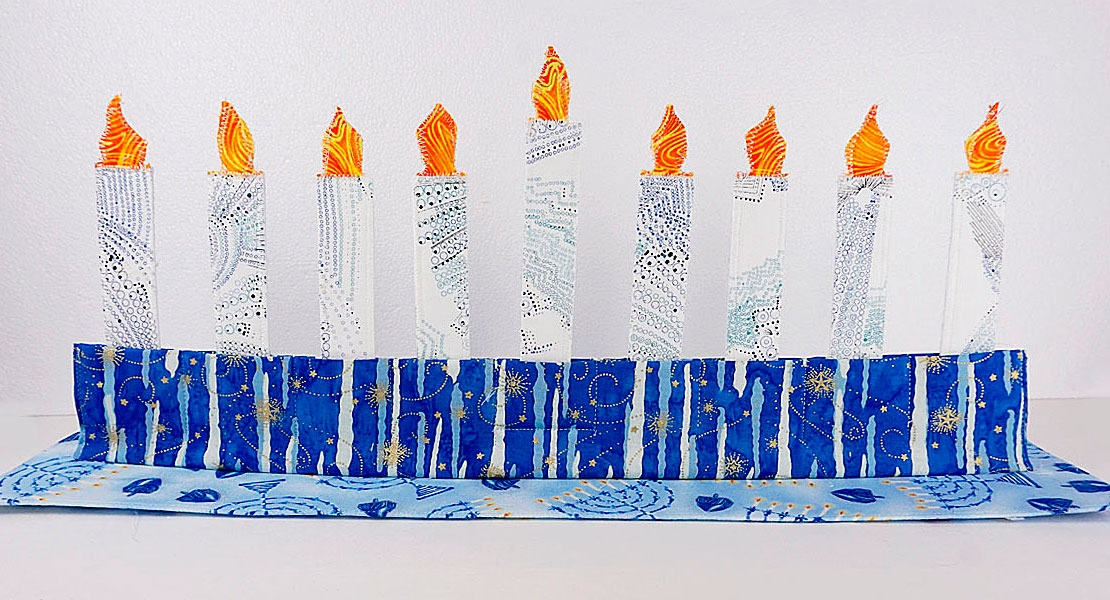
Candle Mat In-the-Hoop
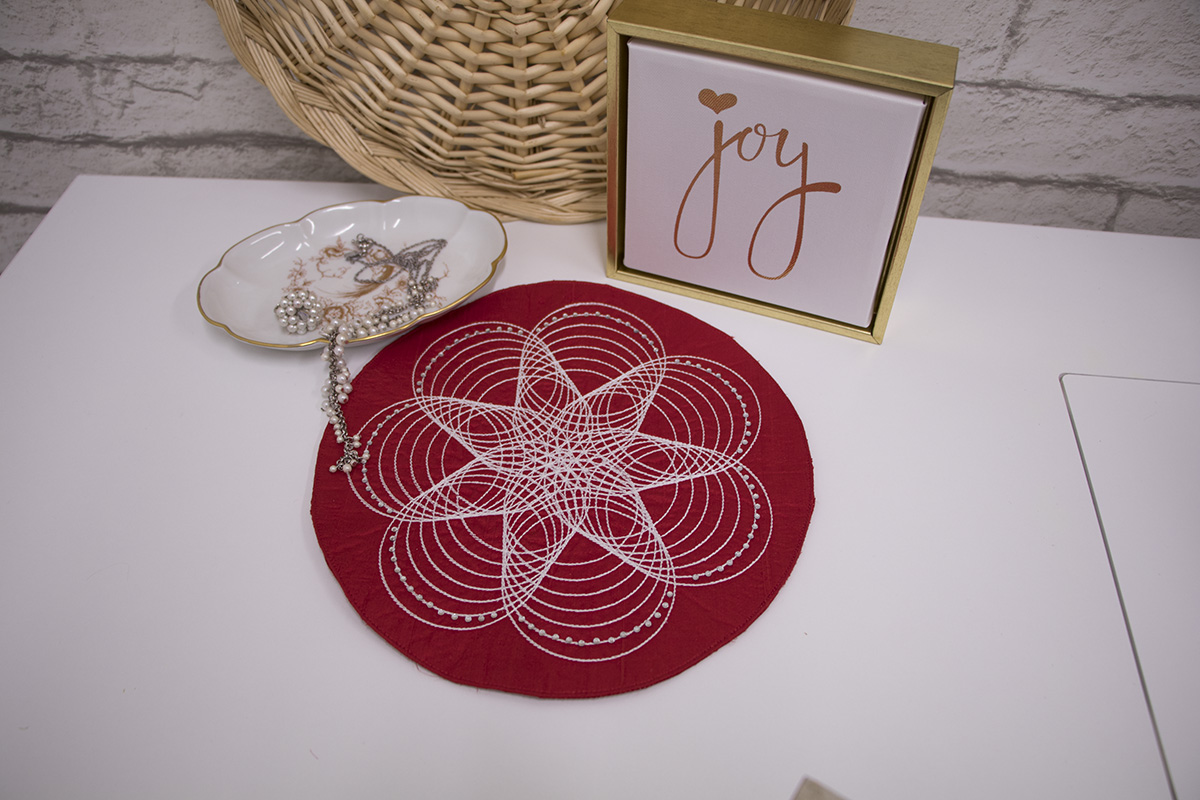
I love BERNINA Embroidery Software 8.1! It adds so many capabilities to embroidery machines and gives us the chance to create anything we want. In-the-Hoop projects can be easily created, and with larger hoops for the machines, our projects can be even larger! I added a touch of sparkle to this project with crystal appliques created with BERNINA DesignWorks.
Click here if you would like to download the instructions for creating the design in BERNINA Software 8.1 and DesignWorks Software: BERNINA Software 8 In the Hoop Candle Mat.
Materials to Make an In-the-Hoop Candle Mat:
- BERNINA embroidery machine
- BERNINA Embroidery Software 8.1
- Midi Hoop, Maxi Hoop, or Jumbo Hoop
- Fusible TearAway
- 1/2 yard fabric (I used red silk dupioni) for embroidery and lining
- 1/2 yard lightweight fusible knit Interfacing for the dupioni
- Batting—10″ square
- Isacord Thread—one contrast color; one color to match the fabric
- Duck billed applique scissors
- Hand sewing needle
- Iron
- Perfect Embroidery Press Cloth
- For Crystal Application (optional)
- BERNINA DesignWorks
- CrystalWork Tool #48
- CutWork stitch plate for your machine
- Crystals, size 10 SS
- Parchment Paper
- Crystal Template Material
- Crystal Transfer Film
- Iron
- Presser Feet:
- Edgestitch Foot #10/10C/10D
- Drop-Shaped Embroidery Foot #26
Step 1: Fabric Preparation
Cut fabric for your chosen hoop size:
- Jumbo Hoop: 21″ x 15″
- Maxi Hoop: 21″ x 13″
- Midi Hoop: 15″ x 10″
Cut lining fabric for your chosen hoop size:
- Jumbo Hoop: 11″ x 11″
- Maxi Hoop: 9″ x 9″
- Midi Hoop: 8″ x 8″
Adhere the lightweight knit interfacing to the wrong side of your main fabric following manufacturer’s recommendations.
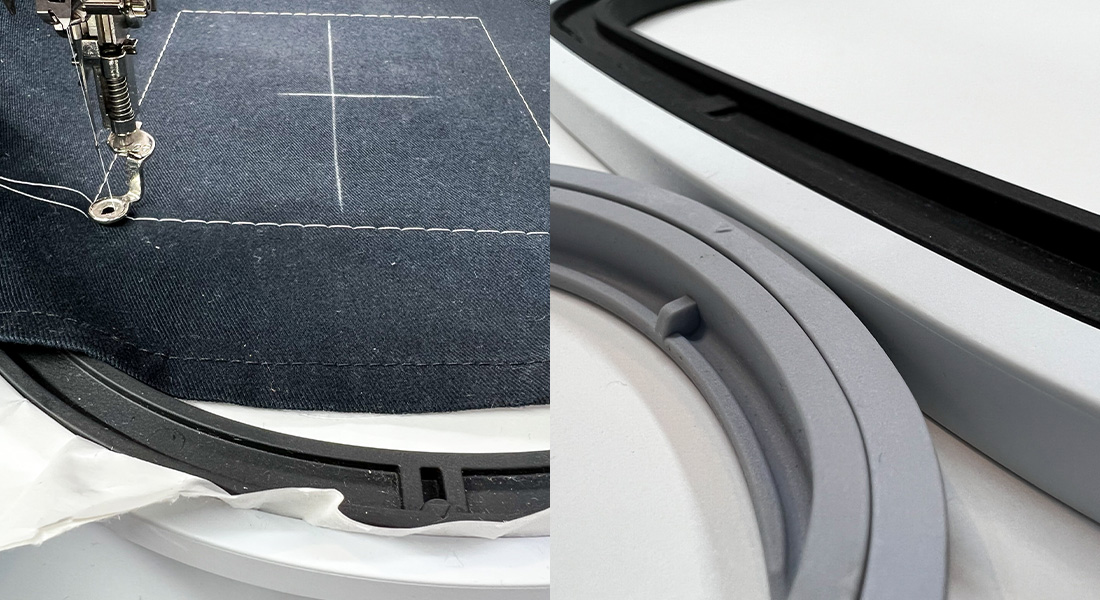
Hoop Fusible TearAway in the hoop, fusible side up.
Float the piece of batting on the back of the hoop.
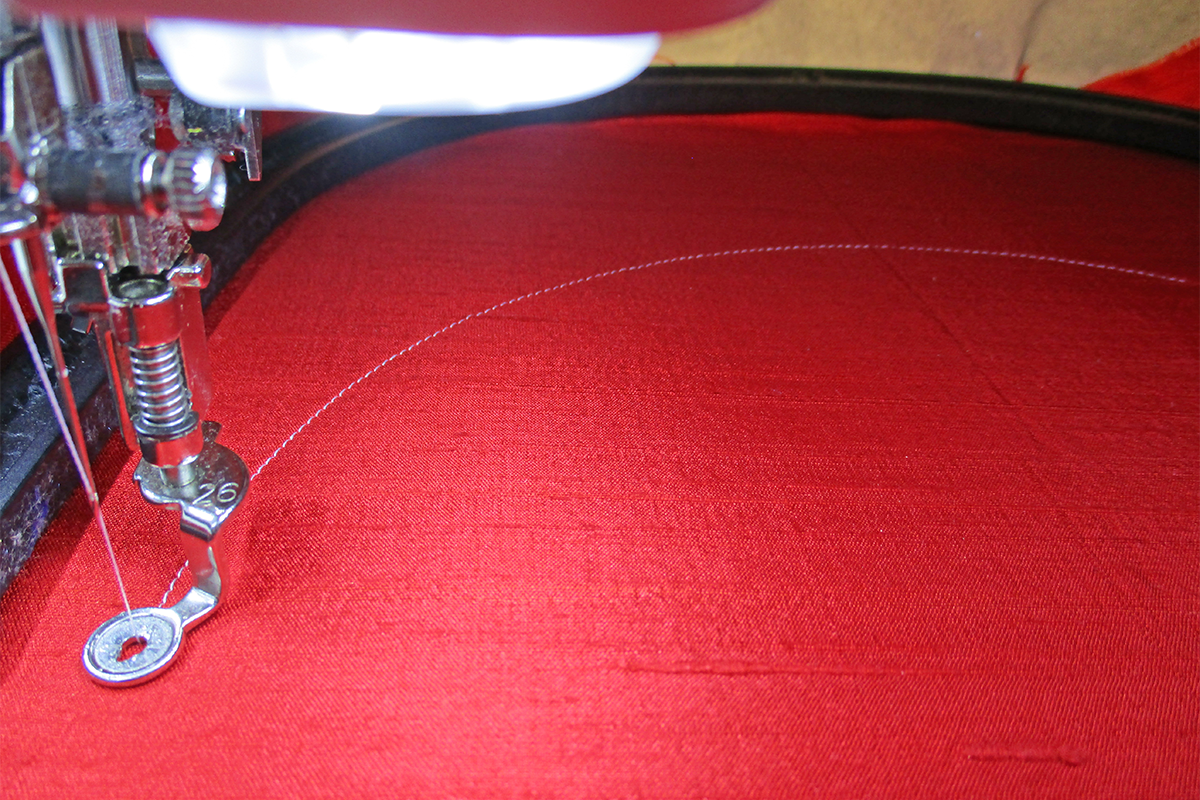
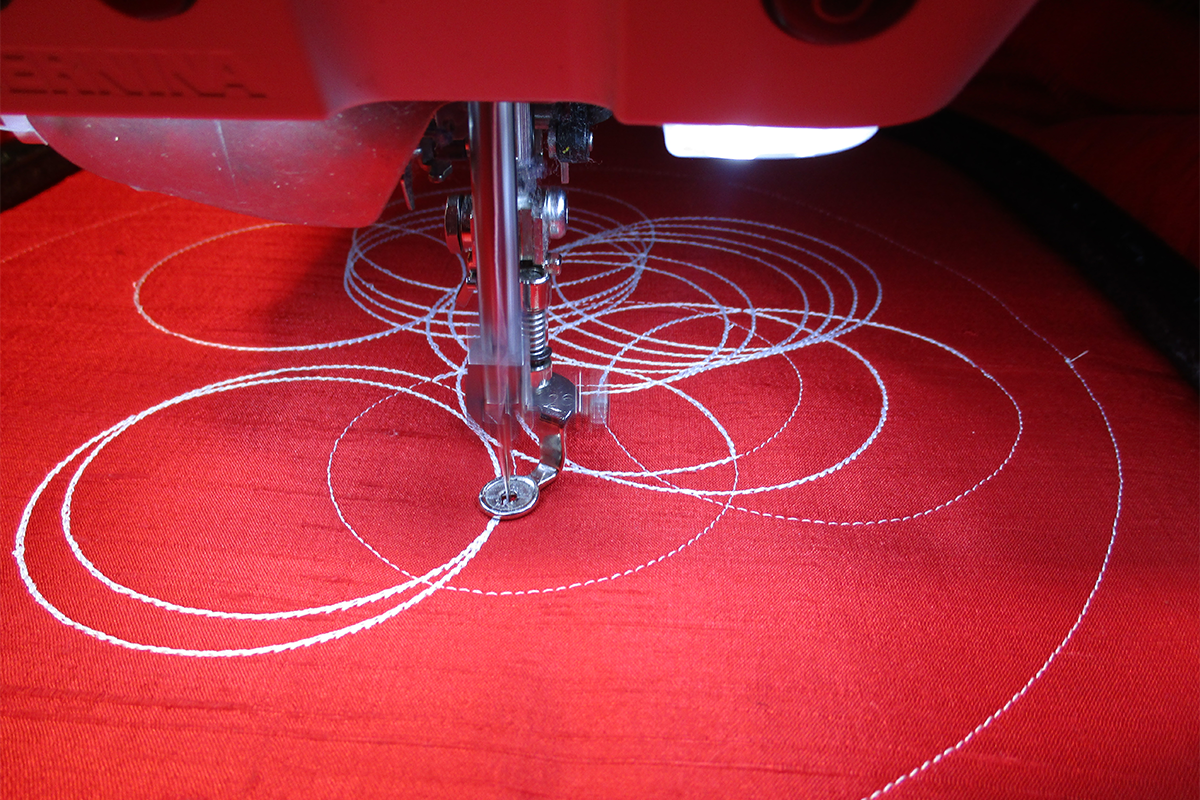
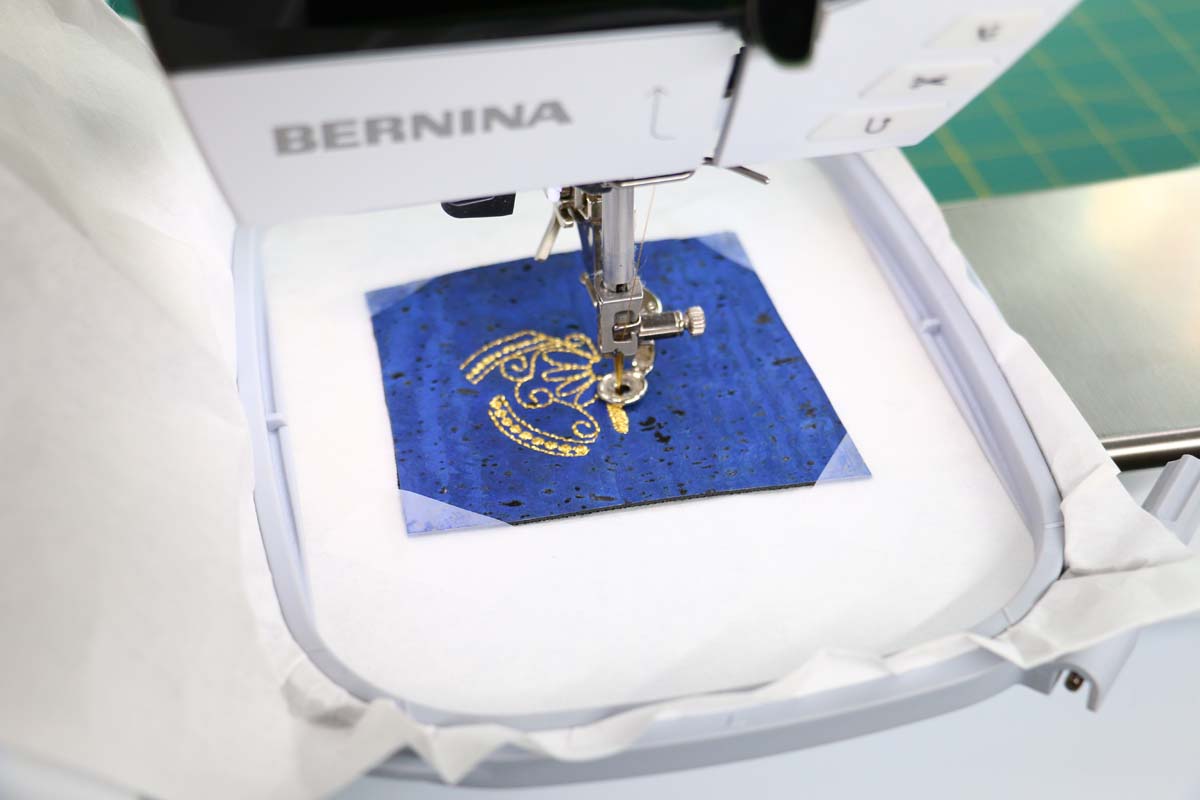
Step 2: Embroidery
Thread the machine with contrast thread with white bobbin thread in the bobbin.
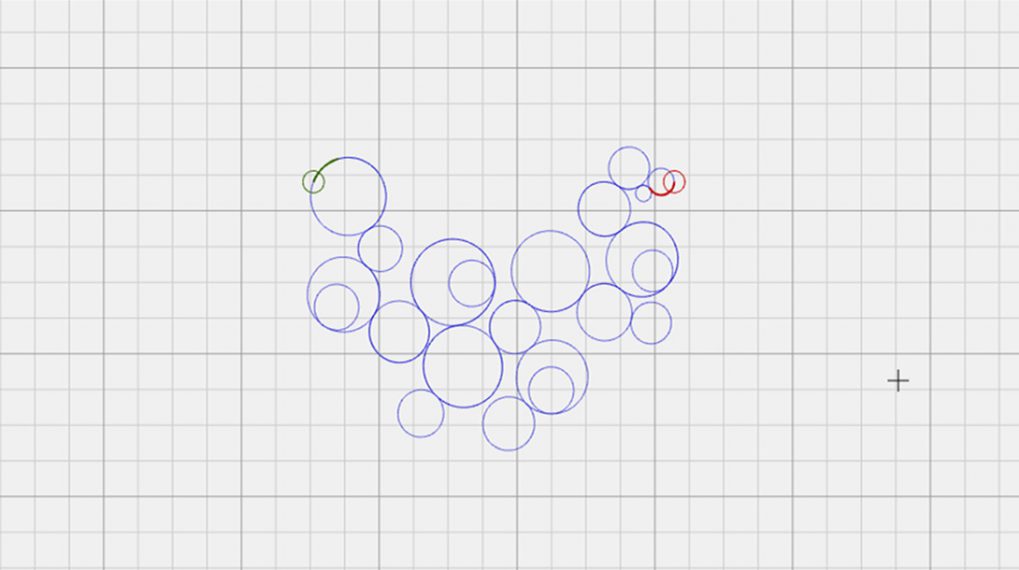
Stitch Color #1 of the design. This is the circle that attaches the batting to the fabric.
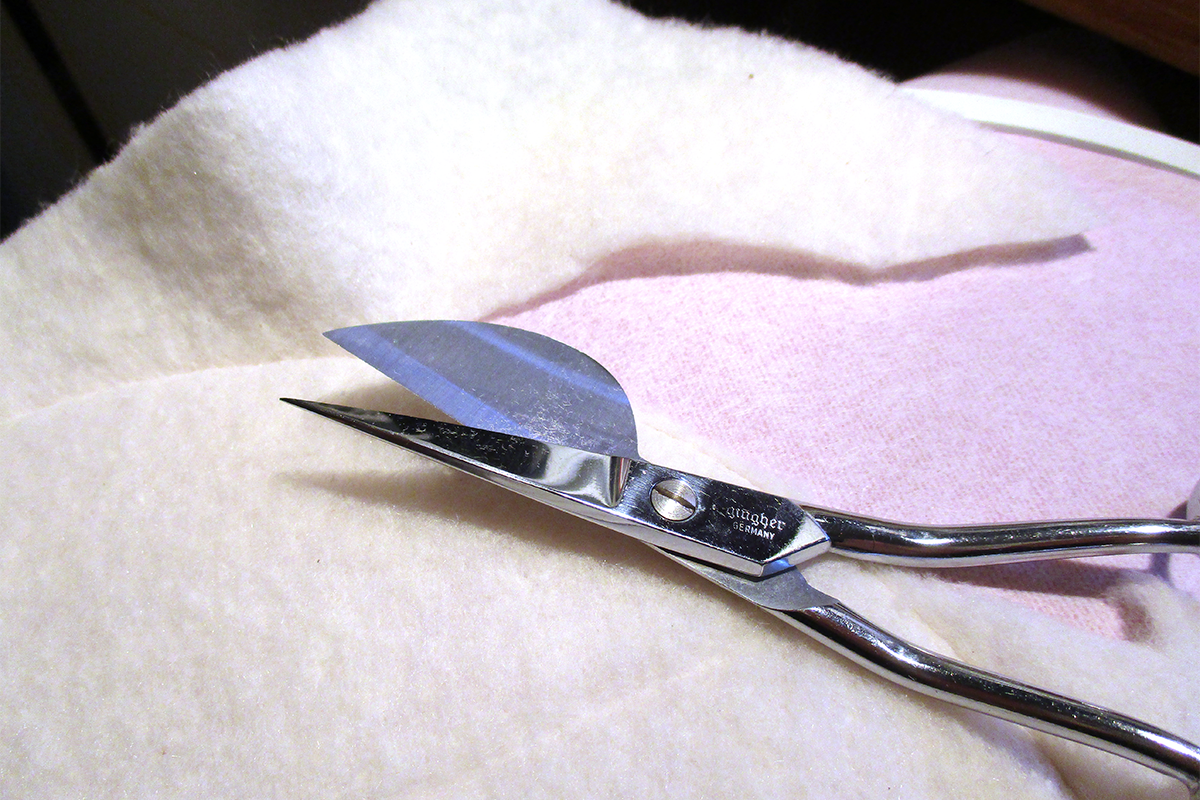
Remove the hoop and trim close to the stitching with applique scissors.
Stitch Color #2 of the design. This is the quilting design.
Rethread the machine with a color that matches the fabric. Use matching bobbin thread as well.
Place the lining with right side over the embroidery design so that it covers the circle stitching.
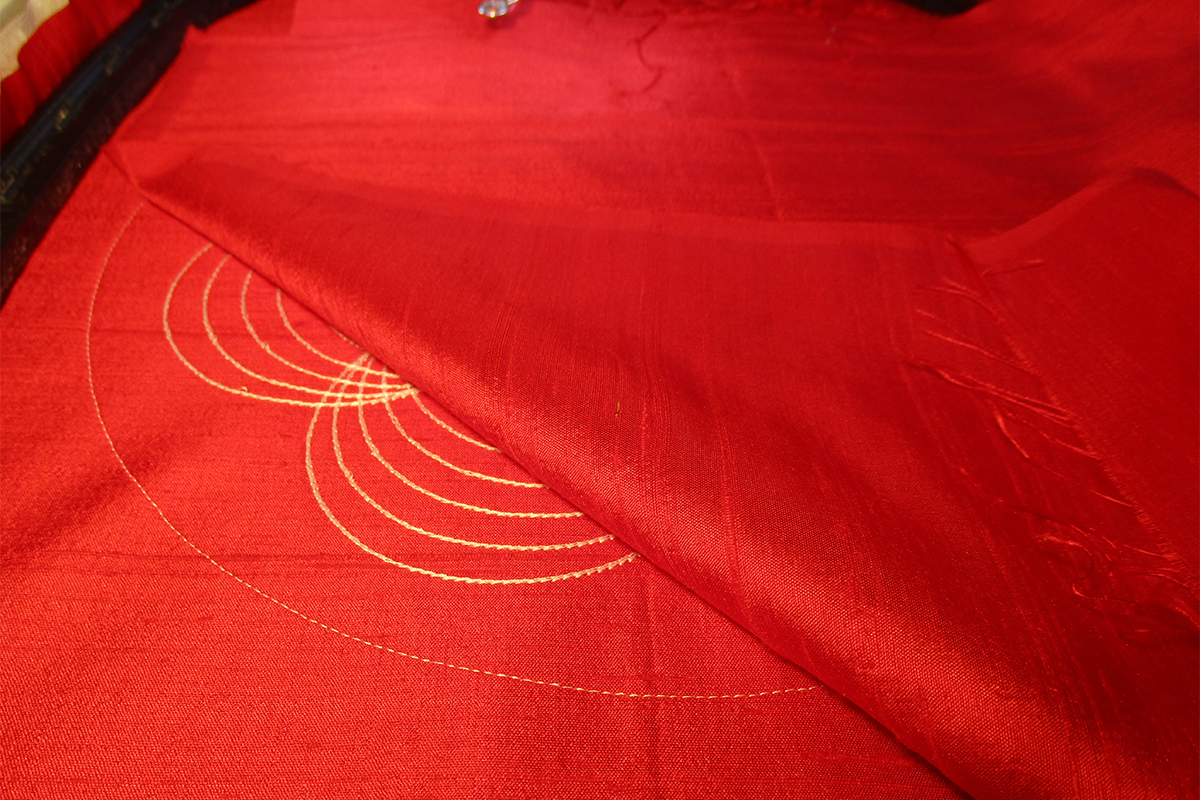
Stitch Color # 3.
Step 3: Finishing
Press around the seam edges before turning to make it easier to turn.
Trim around the circle so that the seam allowance is less than 1/4″.
Turn the mat right side out.
Press embroidery side down on the Perfect Embroidery Pressing Mat.
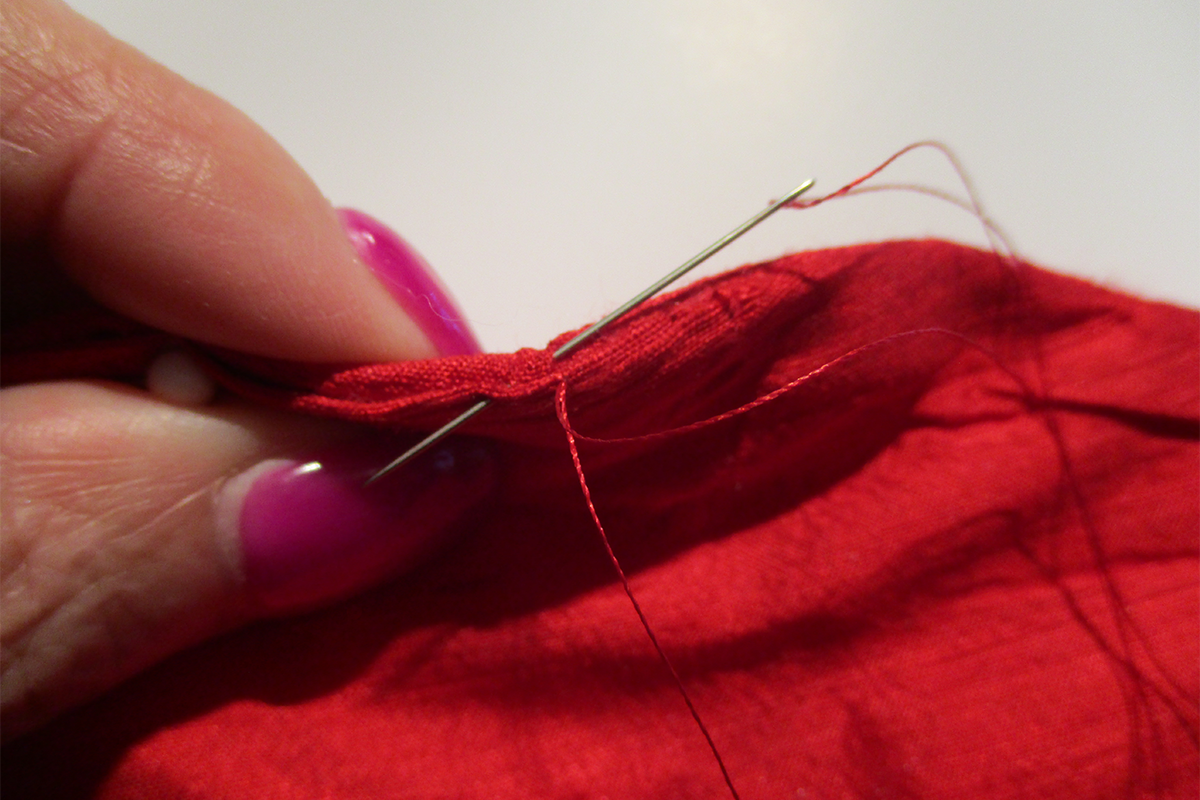
Slip stitch the opening closed.
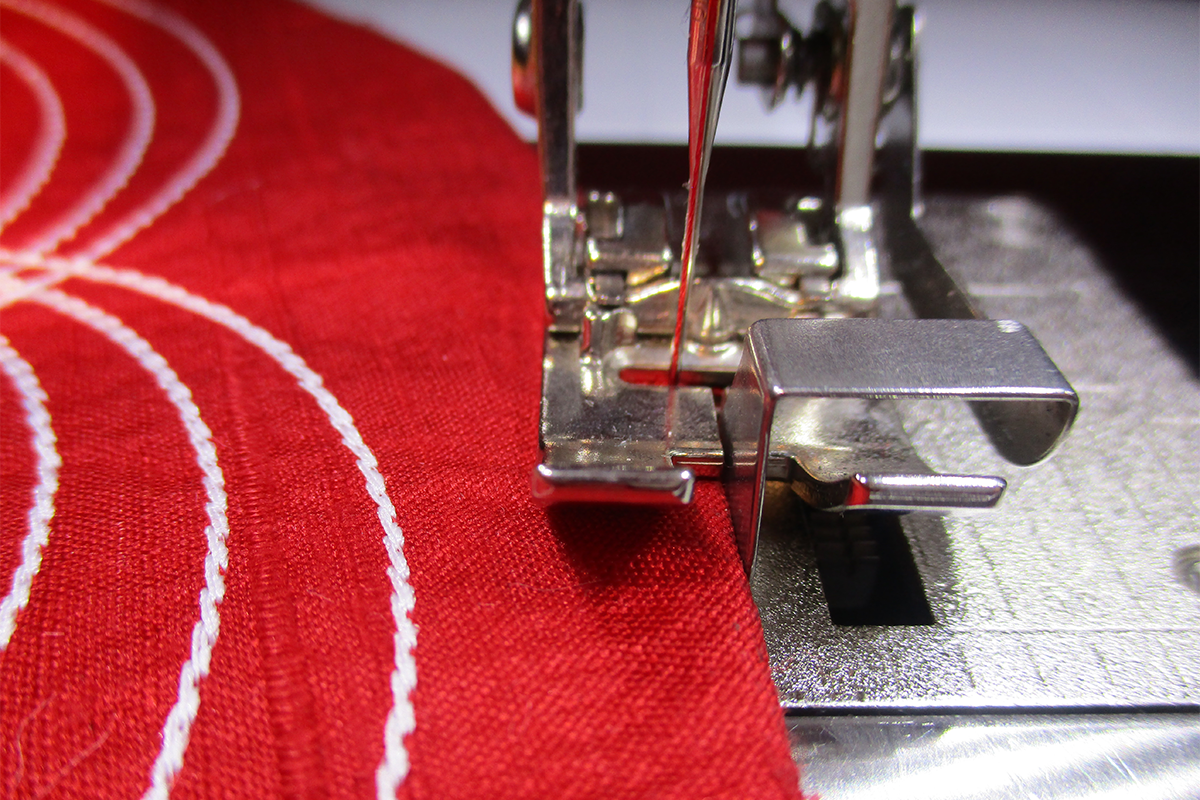
Place Edgestitch Foot #10/10C/10D on the machine.
Select stitch #1. Move the needle position to -2.
Stitch along the edge of the circle.
Step 4: Crystals (optional)
Set up the machine for CrystalWork.
- CutWork throat plate
- Size 10 punch
- Size 10 plate in receptacle
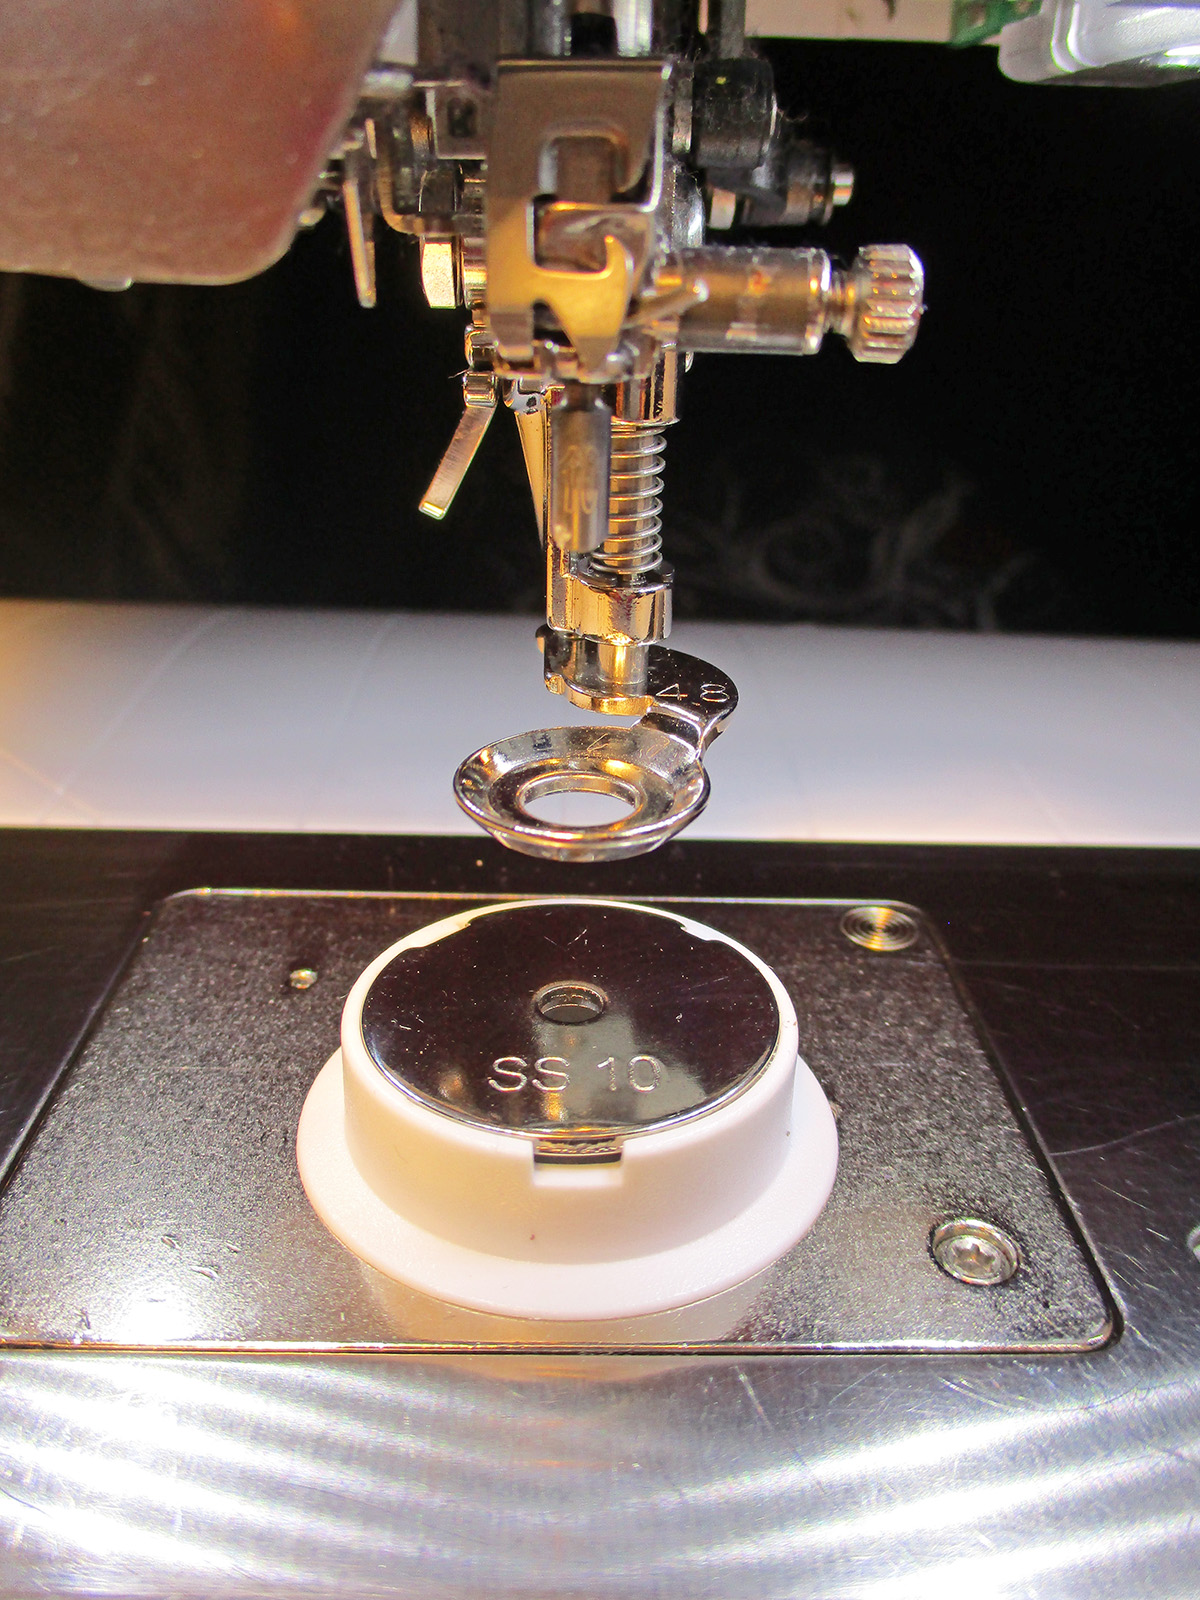
Layer the inner hoop, parchment paper, and then the outer hoop on the table. Tighten the hoop screw.
Peel the paper away from the Template Material and place on top of parchment paper.

Punch design.
Remove template.
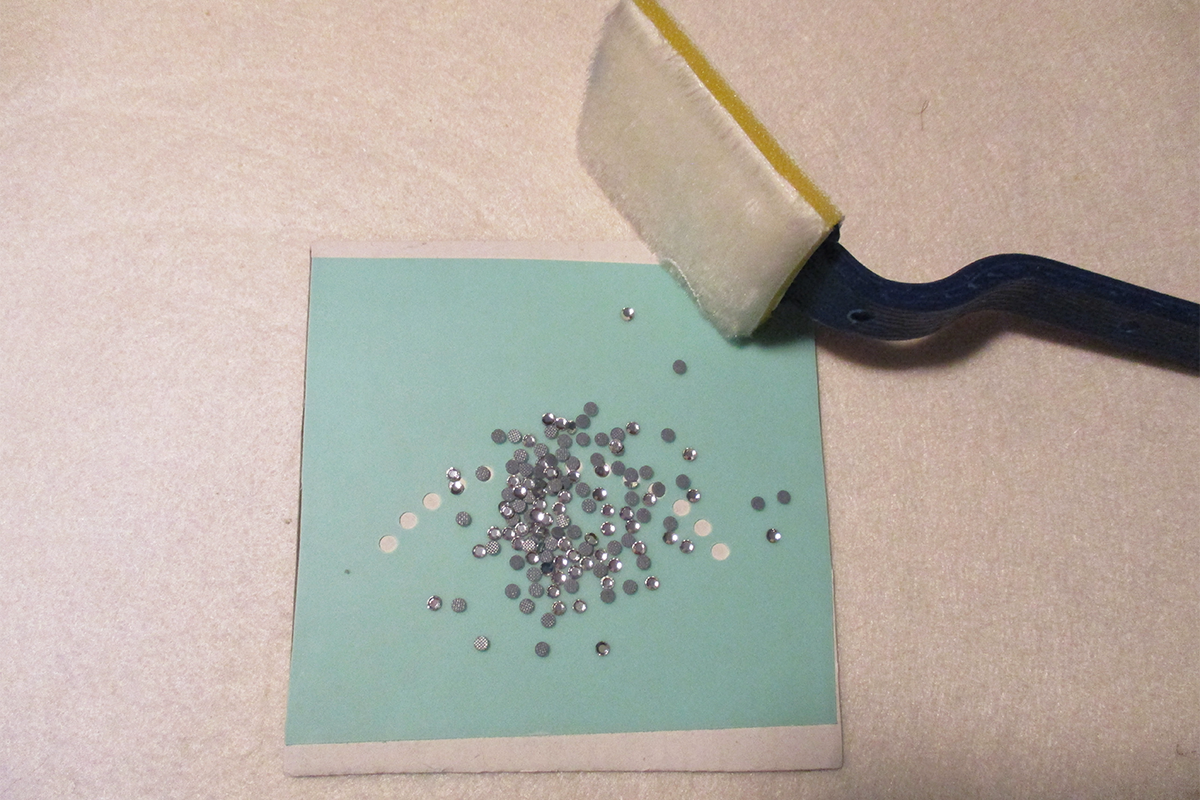
Place on backing board.
Sprinkle crystals on top; distribute with a brush so that crystals are right side up in the holes.
Peel the backing from the Transfer Film.
Place over crystals. Finger press over the crystals to make sure they adhere.
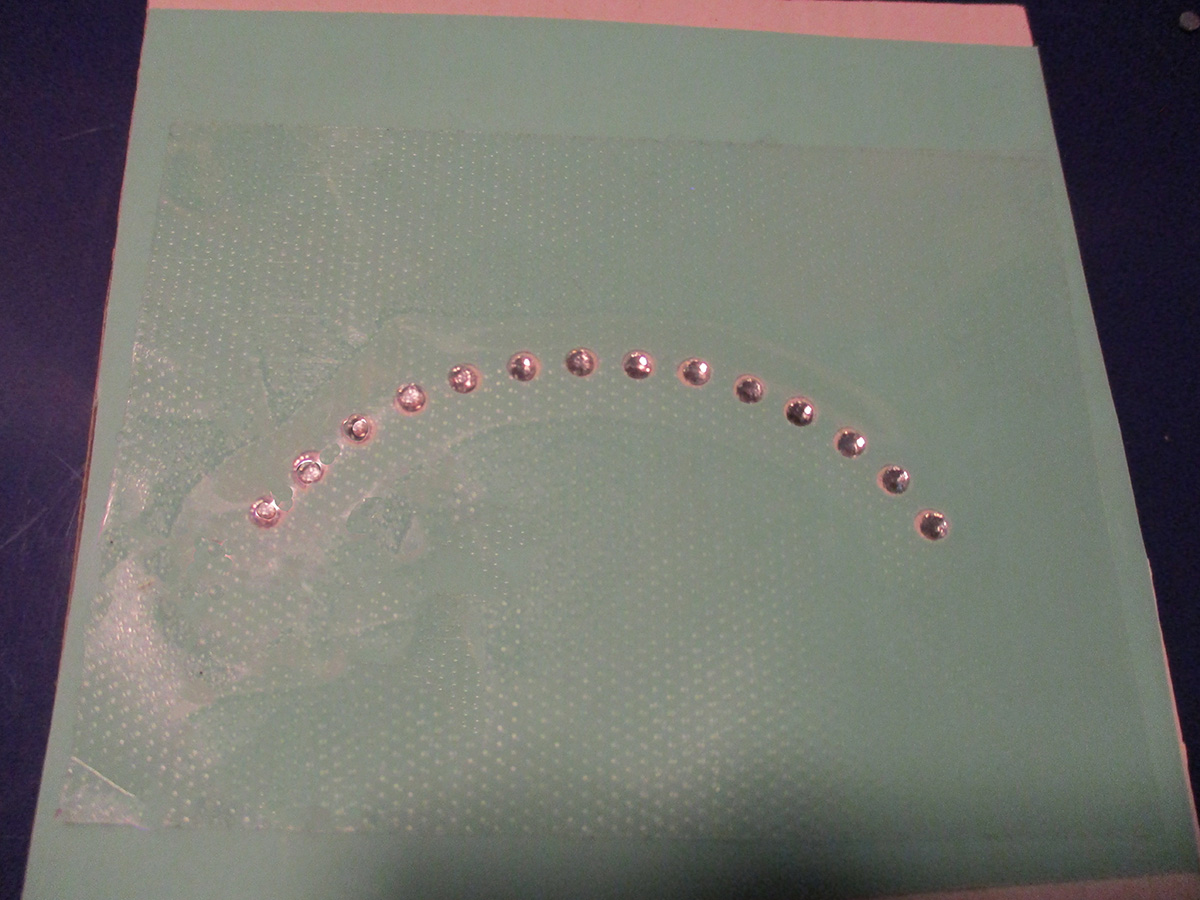 Remove the tape.
Place on design.
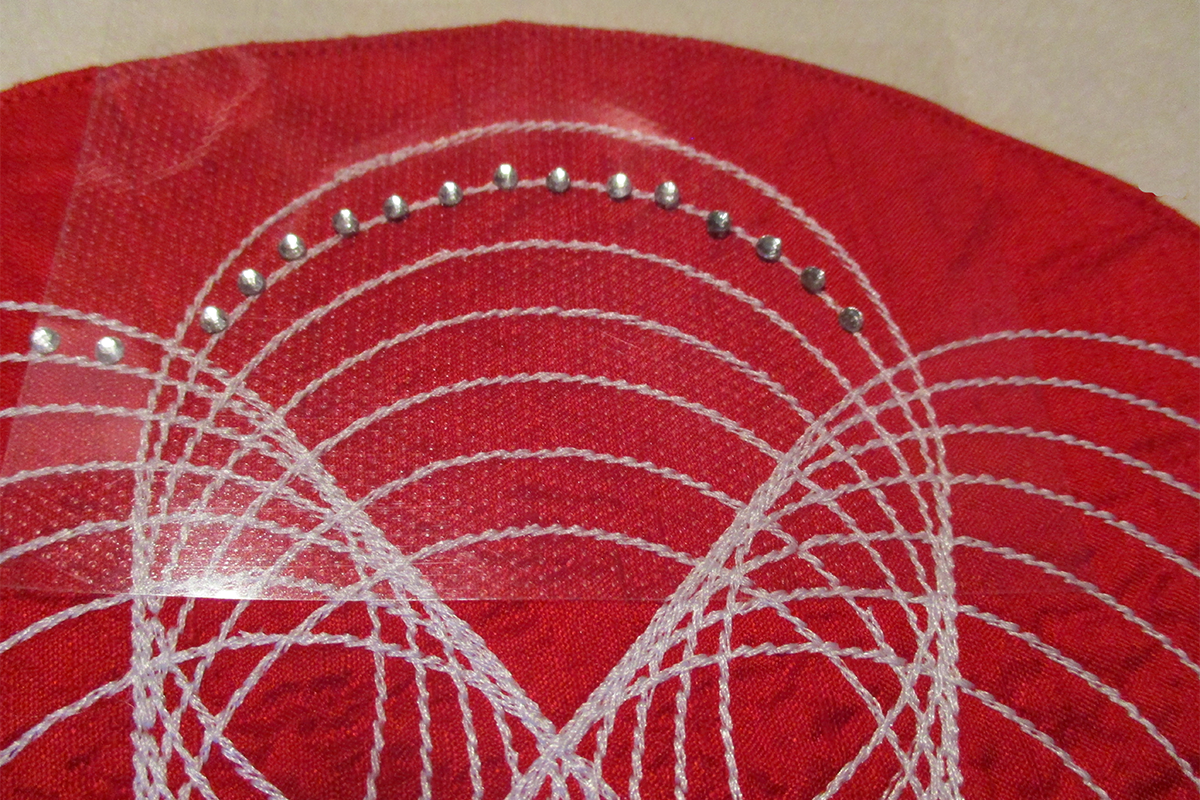
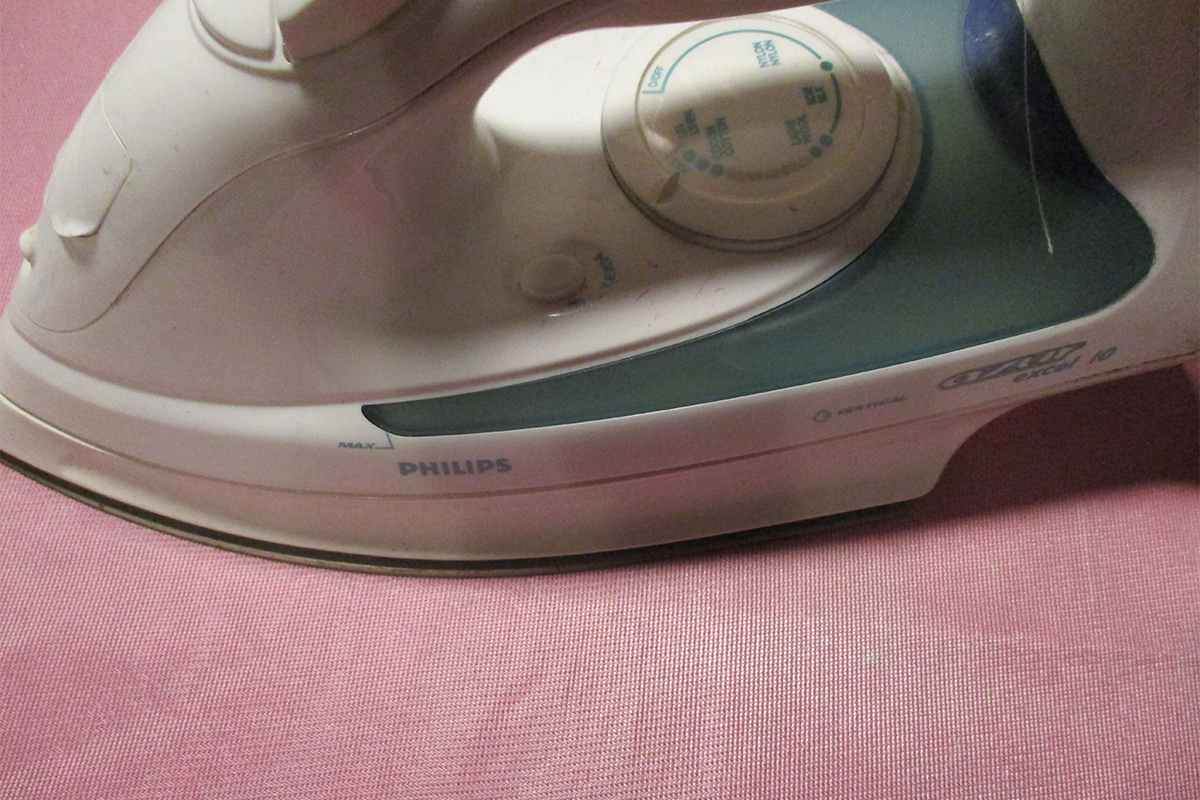
Press with a dry iron for 10 seconds. Use the part of the iron that does not have vent holes.
 Remove the Transfer Tape.
Repeat the steps around the circled design until all 7 circles have crystals.
Used Products


What you might also like


2 comments on “Candle Mat In-the-Hoop”
-
-
Are the 4 mm crystals for this project size 10SS ? thank you.
Leave a Reply
You must be logged in to post a comment.

Thanks so much Debbi