Clear Embroidery Foot #39/39C: Tips to Use
When I teach presser feet classes, many of my students own Clear Embroidery Foot #39/39C and use it on a regular basis but most of them have overlooked one great feature of this foot. Before we get to the secret of Clear Embroidery Foot #39/39C, let’s talk about the main purpose of this useful accessory.
![]()
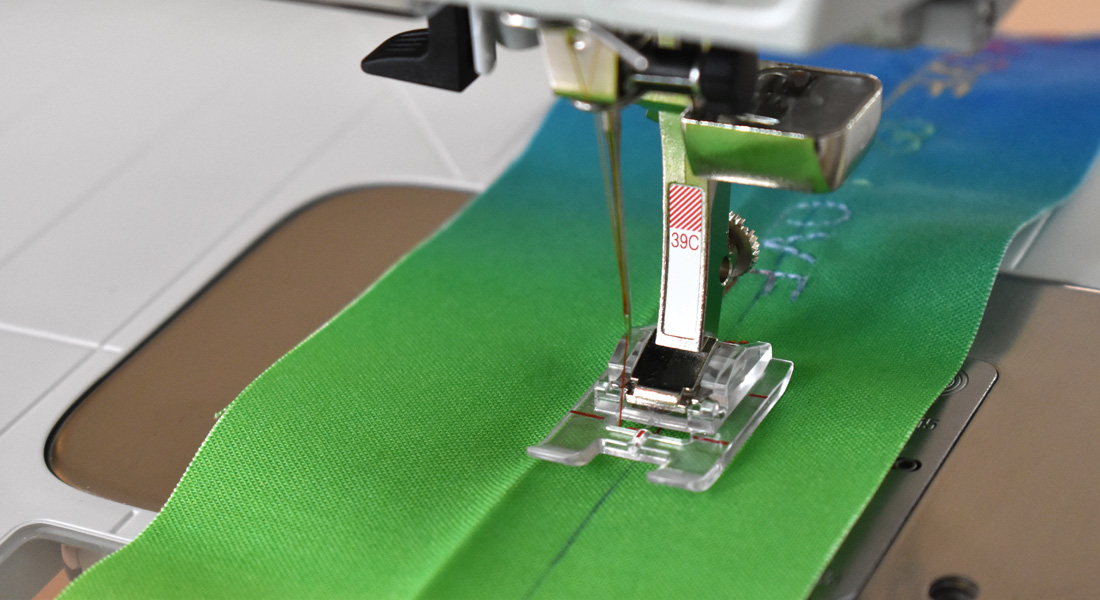
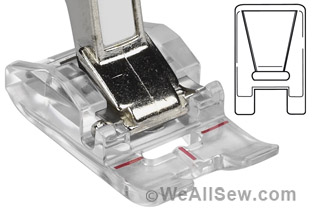
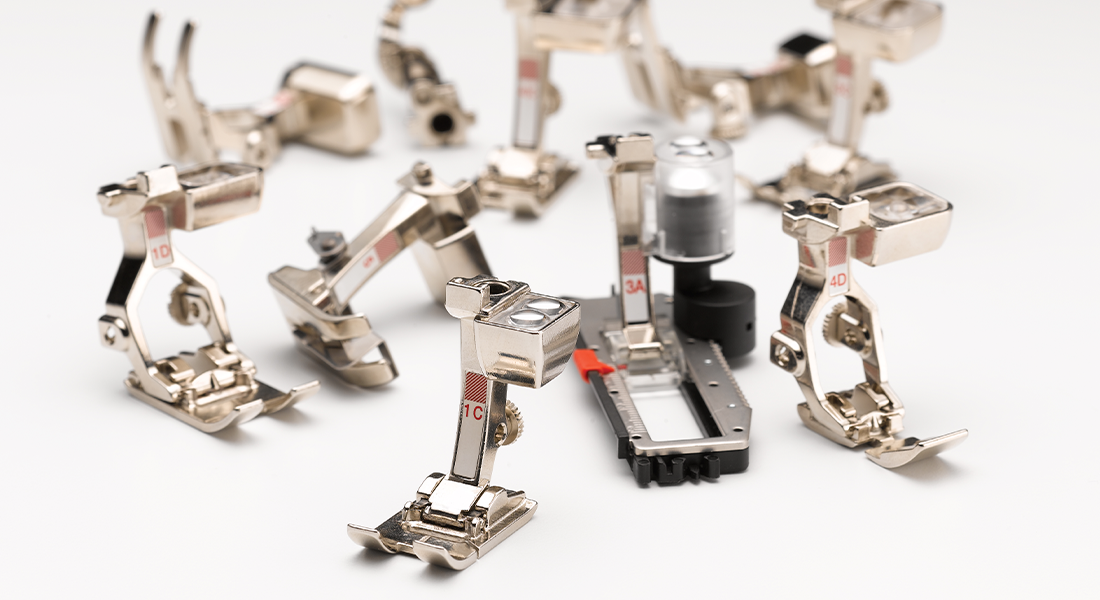
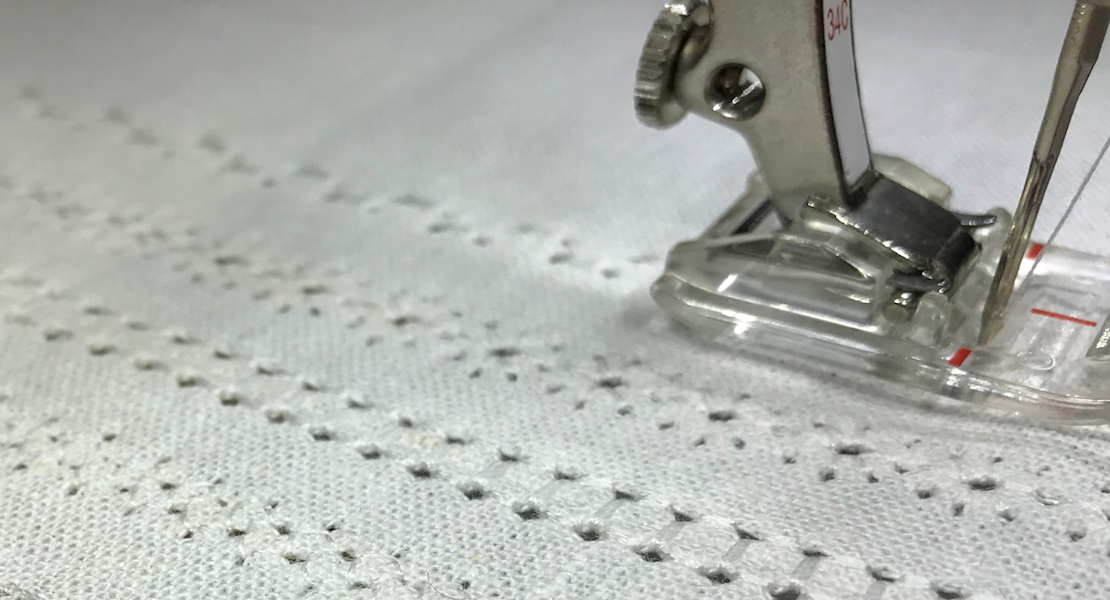
Clear Embroidery Foot #39/39C
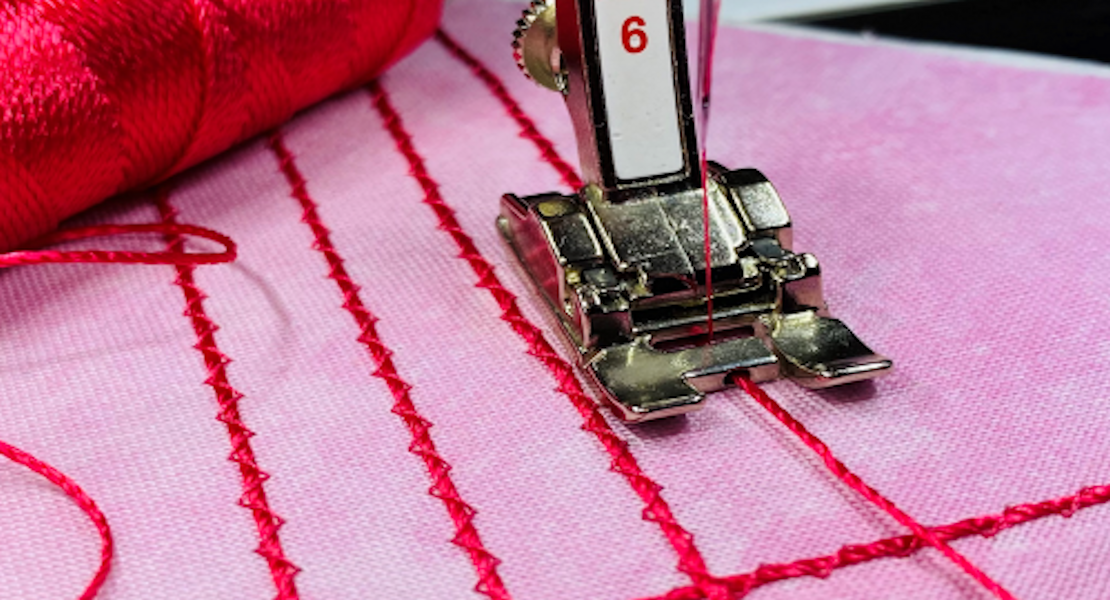
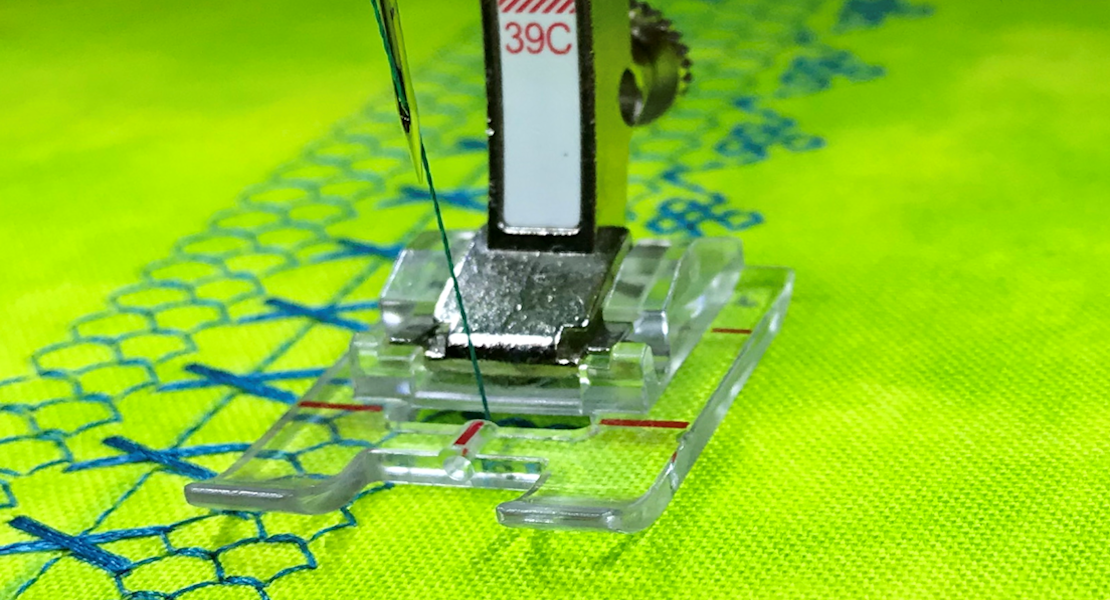
The foot is designed for stitching decorative stitches, especially dense or compact stitches, including satin stitching. The wide, wedge-shaped indentation on the bottom of the sole lets the foot ride smoothly over any heavy thread build-up. This keeps the foot from dragging as the needle stitches, preventing distorted stitch patterns. Because the indentation is wider at the back, the foot works well for turning corners and stitching curves, making it perfect for stitching appliqué shapes.
![]()
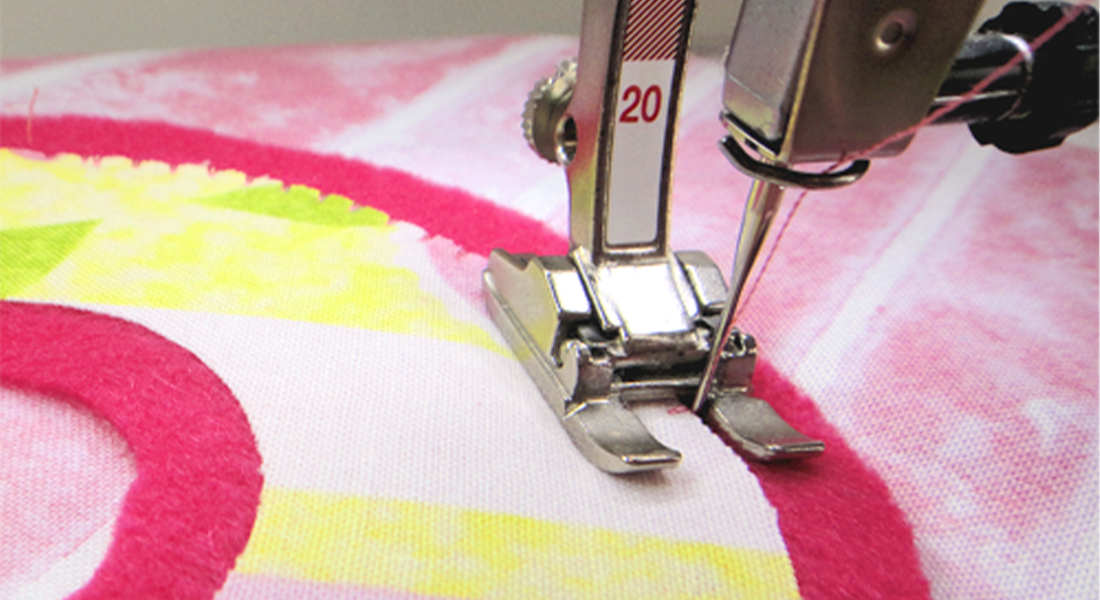
The sole is clear, which lets you see the stitching area and the fabric under the foot. This makes it easy to precisely place your stitches where you want. The red markings also help with stitch placement. The side markings are in line with the needle, making it easy to exactly align rows of stitching. The front marking indicates the center of the foot, again helping to stitch exactly where you want.
![]()
The Big Little Secret
Now, here’s the thing that most people don’t see unless it is pointed out to them. Underneath the center red mark is a tiny hole in the center of the sole. Because of the reflection of the clear sole, it’s often hard to see even if you know it’s there! Thread the hole with a narrow cord or heavy decorative thread, and you are ready to sew several techniques for a variety of reasons. Check out the techniques below that are simple to do because of the secret of Clear Embroidery Foot #39/39C. I did these techniques on my BERNINA 790 PLUS but they will work on any model, new or not!
![]()
Threading the Hole
The easiest way to thread the hole is to use a dental floss threader found at drugstores. Slide the straight end into the hole and drop the heavy thread or cord into the loop of the threader. Pull the threader with the cord through the hole, out the back of the foot.
![]()
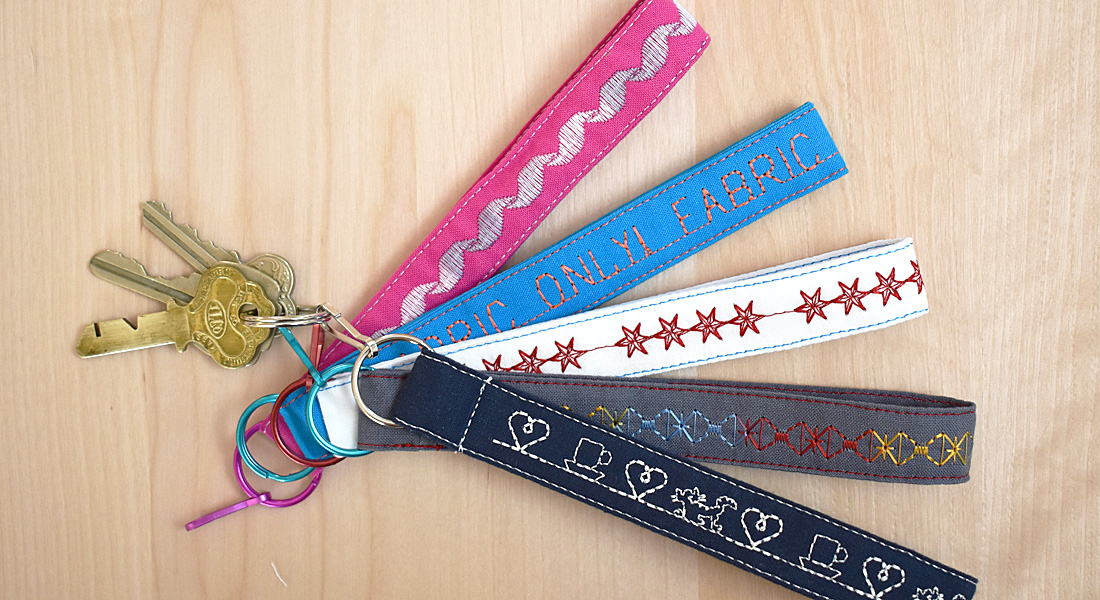
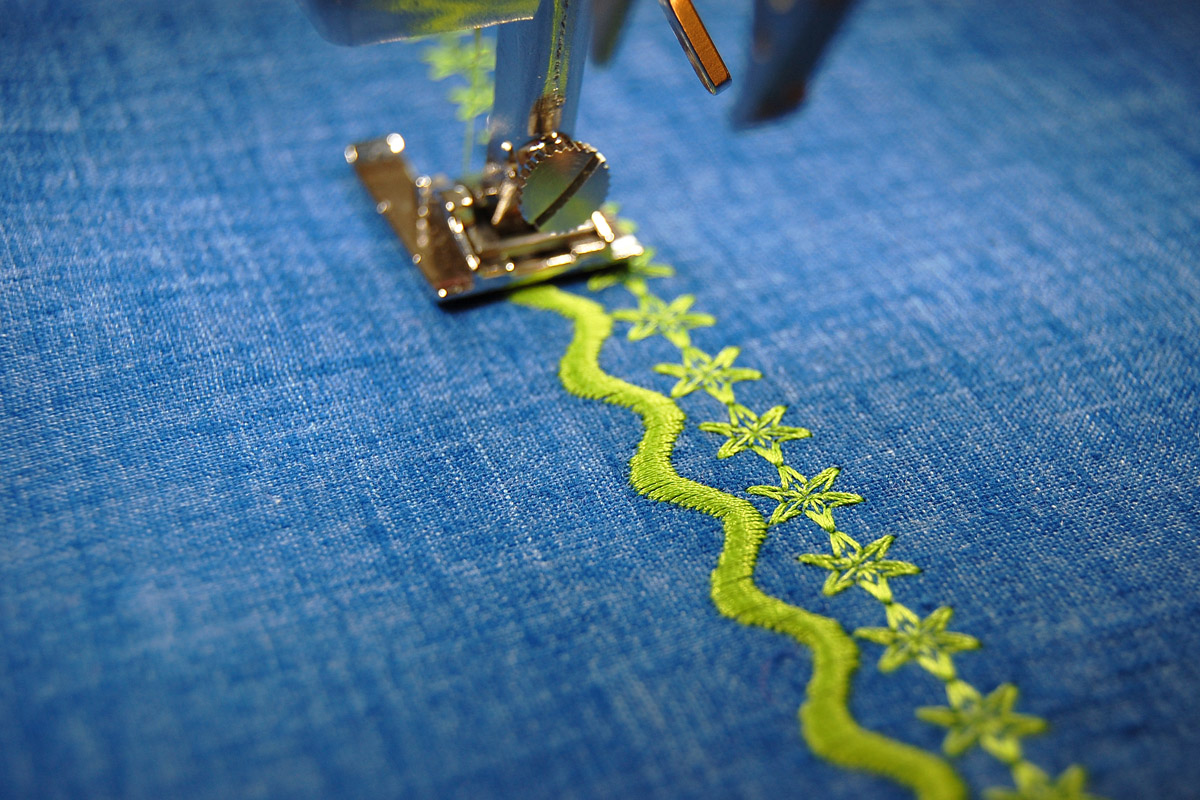
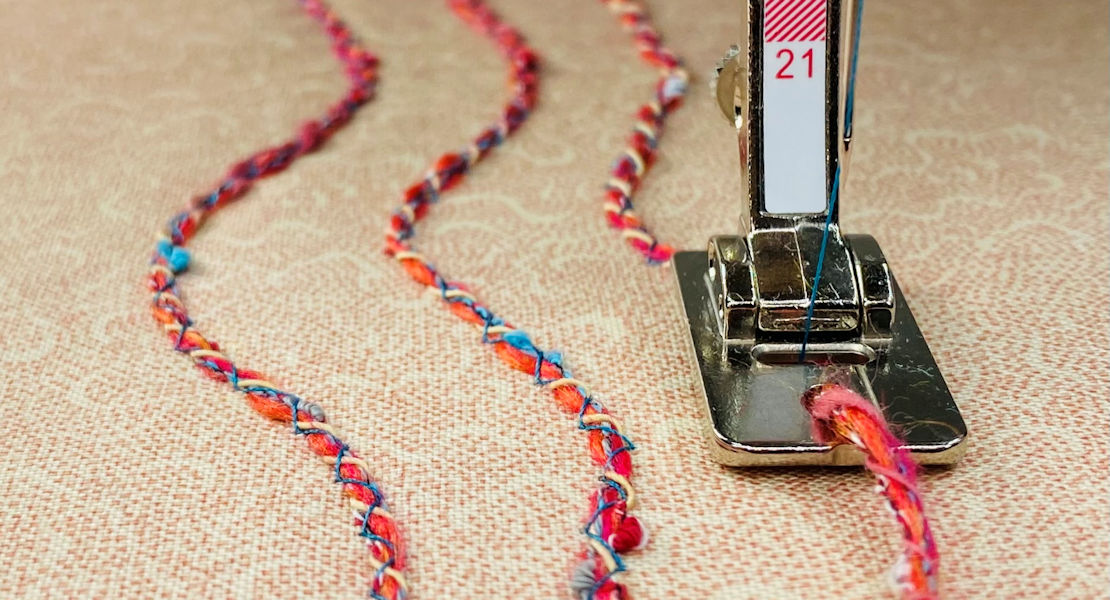
Couching
This is a great way to add subtle texture to your project. Select the zigzag stitch and set the width just wide enough to go from one side of the cord to another. Adjust the length as desired. Thread the cord though the hole and sew. No need to hold the cord – it will follow the path of the needle as you sew.
![]()
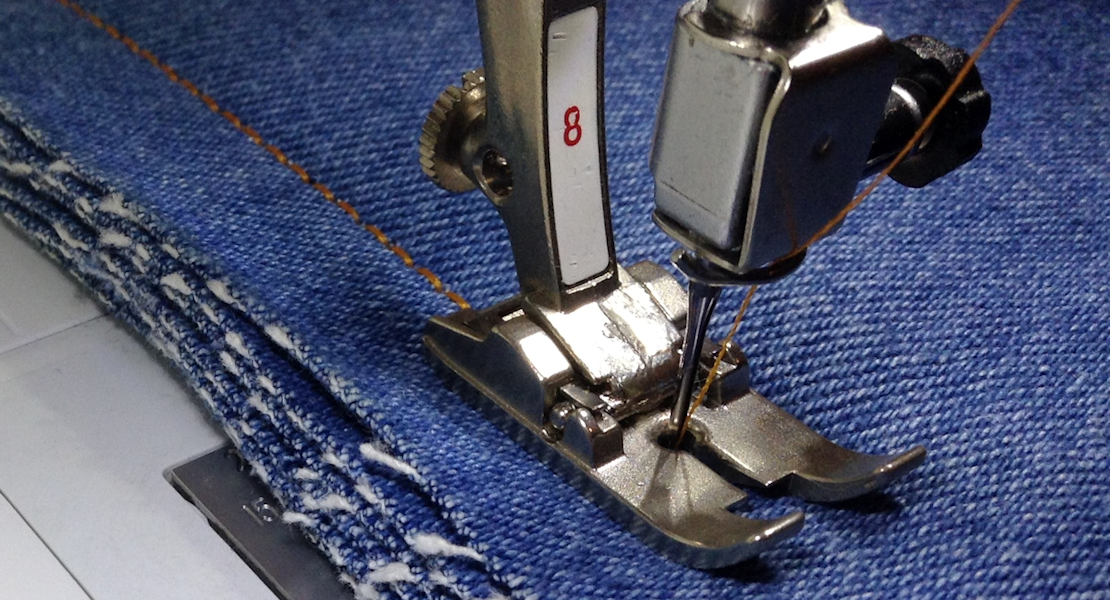
Gathering
This is a useful gathering technique for any fabric but especially for heavier materials (lightweight denim, medium weight linen and drapery weight fabrics) because the cord won’t break as it is pulled to gather the fabric. Put topstitching thread in the hole and zigzag over it using a stitch width that is wider than the cord. Position the cord where you want the gathers and stitch, making sure you do not stitch into the cord. Remove the fabric from the machine and pull the cord to form gathers, taking care not to pull the cord out. Tip: Stitch over one end of the cord to keep it from pulling out. Once you have stitched the gathered fabric to a flat piece (such as a gathered skirt to a bodice), you can clip the cords and remove then from the seam allowance if desired.
![]()
Shirring
Sew this technique the same way as gathering but use elastic thread and stitch several parallel rows on the wrong side of the fabric. The elastic thread allows the shirred fabric to stretch, making it a good technique for a bodice, cuffs, or the yoke of a skirt. After the rows are stitched, remove the fabric from the machine and pull the cords to shirr the fabric, again taking care not to pull the cords out. The cords may be pulled from both ends to shirr the fabric. Tip: Tie the elastic cords together at each end to keep them from pulling out.
![]()
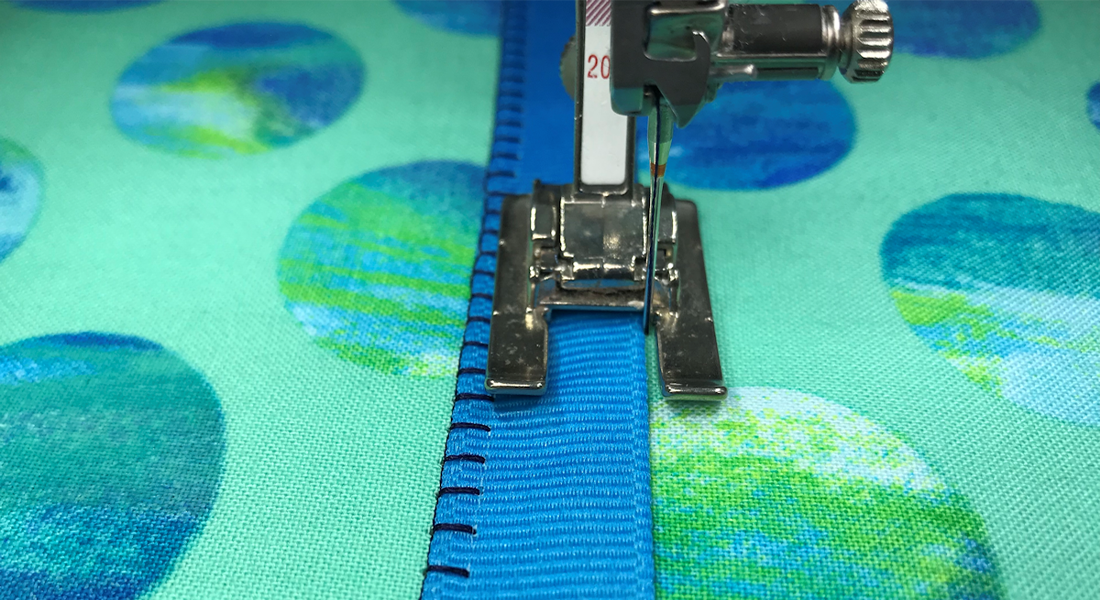
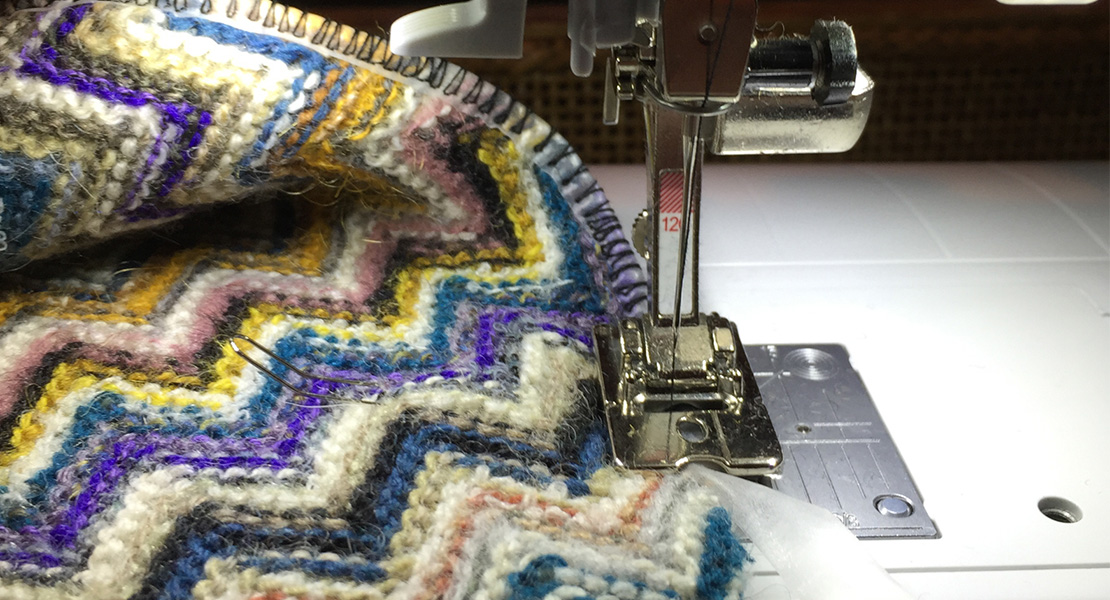
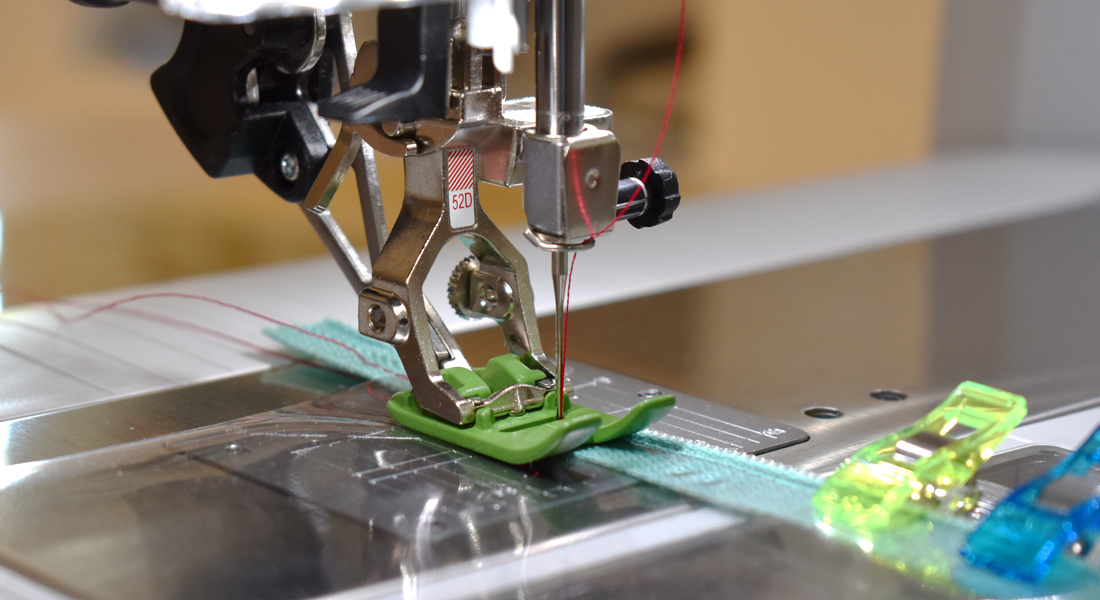
Corded Edge Finish
Use the cord to add a subtle embellishment to the edge of a project. You need to hem, face or fold the edge because this technique doesn’t work well on raw edges. After threading the cord, position the center red mark next to the edge of the fabric and zigzag over the cord.
![]()
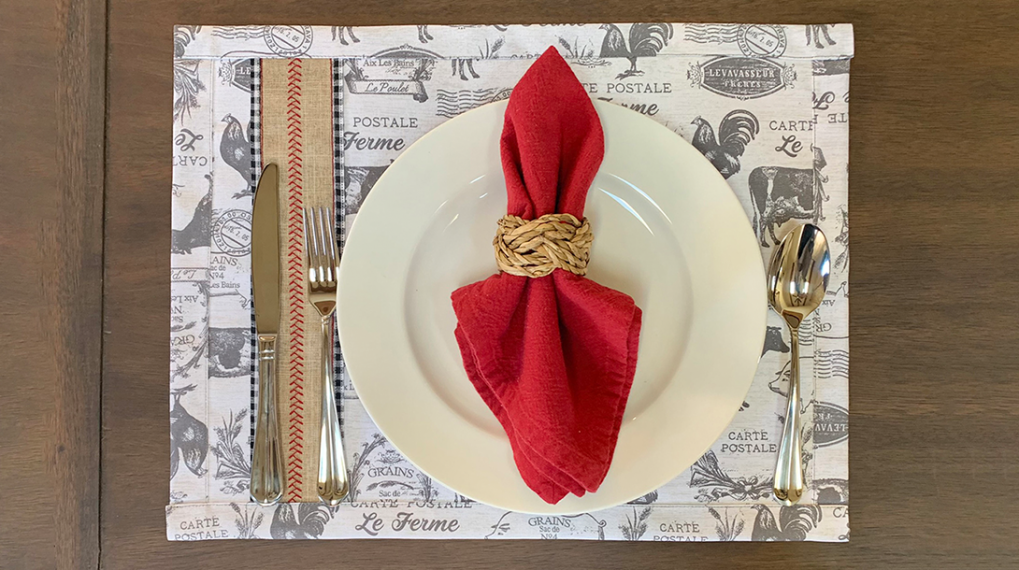
So now that you know the secret of Clear Embroidery Foot #39/39C, you have a few new tricks in your sewing toolbox!
See more posts about Clear Applique Foot #39/39C:
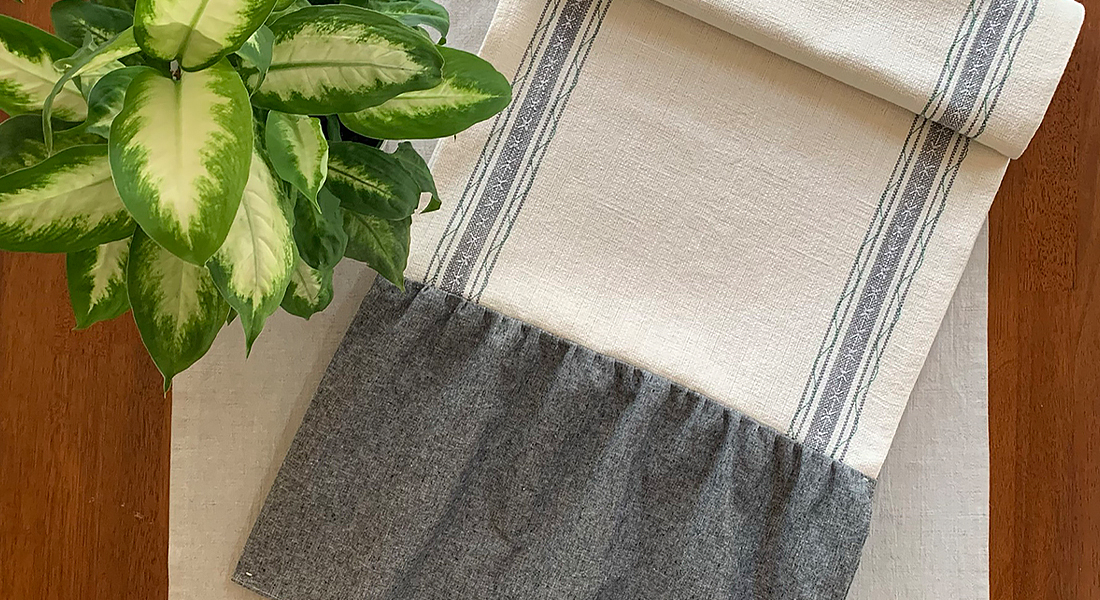
How to Make an Arrow and Hexies Bed Runner
BERNINA Stitch Recipes-Then and Now
For more information on BERNINA presser feet and accessories, see The Big Book of Feet at your local BERNINA store.
Used Products

What you might also like

7 comments on “Clear Embroidery Foot #39/39C: Tips to Use”
-
-
37 or 39?
-
I had to get out my 1988 Know Your BERNINA book & all of my presser feet to see if I have this foot for my 830Record. I don’t have the clear foot, but I do have the 030 foot and I even have some of those threaders that you suggested. So now I want to go play?!
-
What size needle would I use with the #12 thread and 39C foot?
-
Would either the Clear Embroidery Foot #39/39C, work on my Bernina 1230 machine? Which one would it be?
-
Oh my goodness what a great tip I was looking at adding elastic shiring to a top
-
What is the purpose of the sideways red line toward the back of the foot? I understand the one in the front lines up with the needle, but can’t figure out what the rear one is for.
Leave a Reply
You must be logged in to post a comment.

Wow! That’s a great tip! I better go dig my 37 foot out pronto!