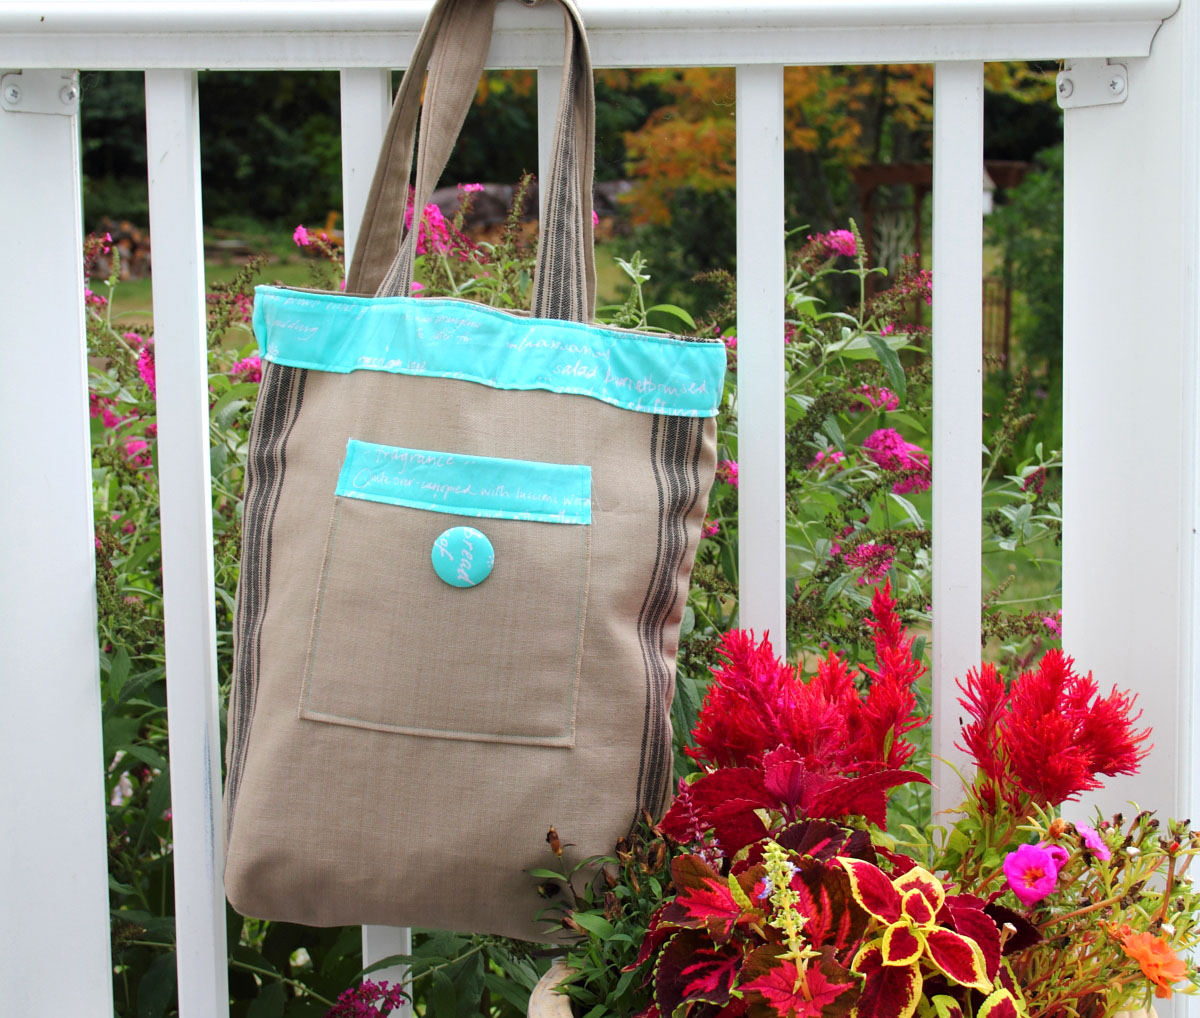
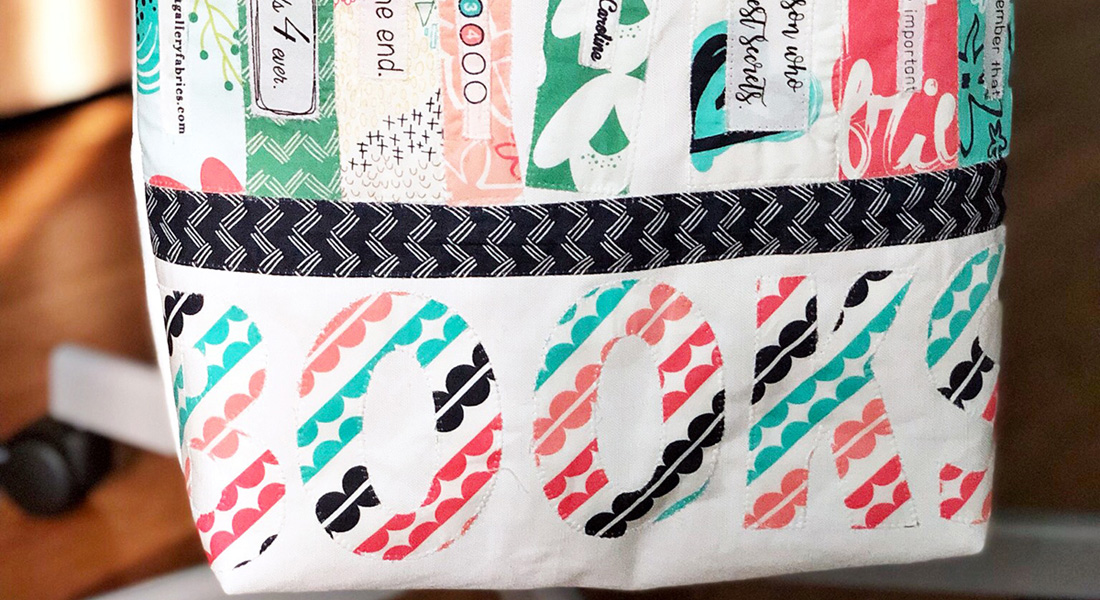
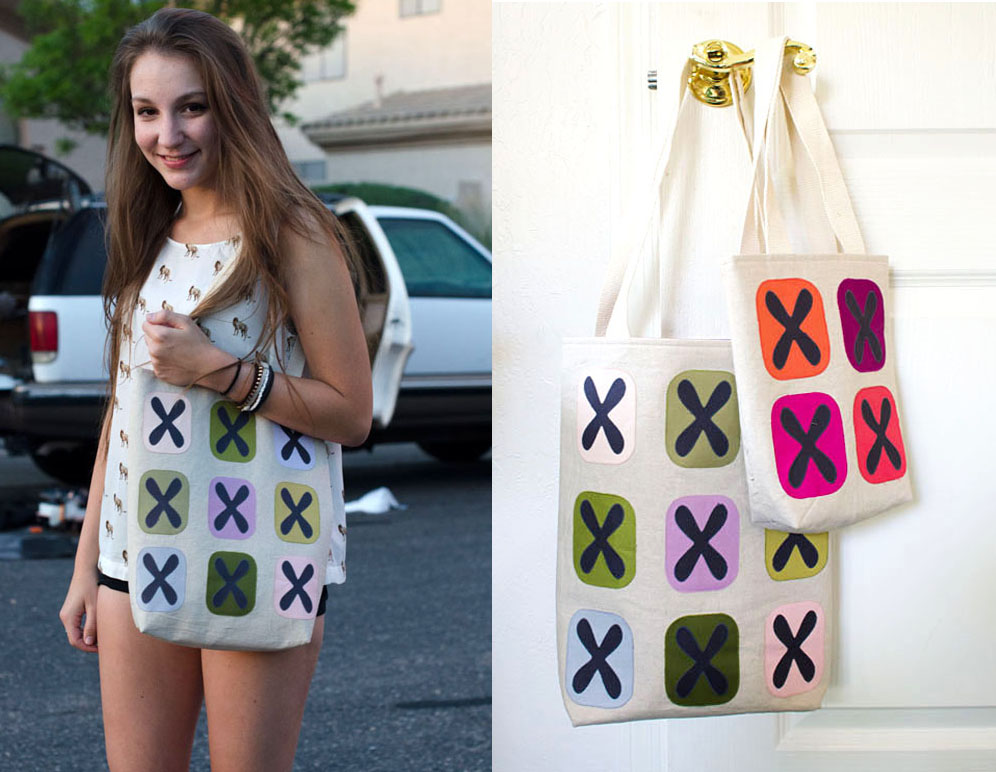
Color Block Tote Bag

Have you ever tried to carry a quilt (or two, or three) to show-and-tell at your guild? Or found yourself dragging a quilt all around the house while you try to hand-sew the finishing touches on the binding? Happens to me all the time, and I found myself wishing I had a bag big enough and sturdy enough to tote a quilt around. Since I couldn’t find the perfect bag, I decided to make one, and the result is the Color Block Tote Bag!
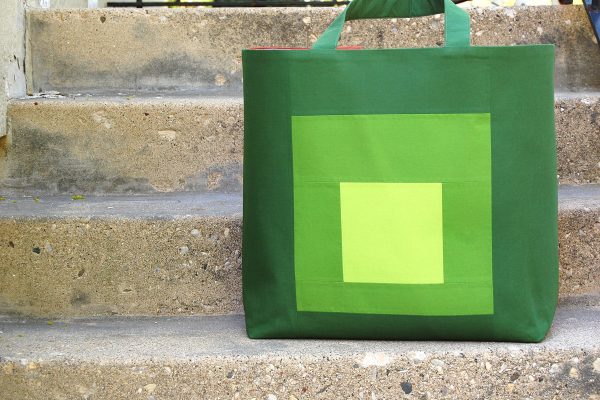
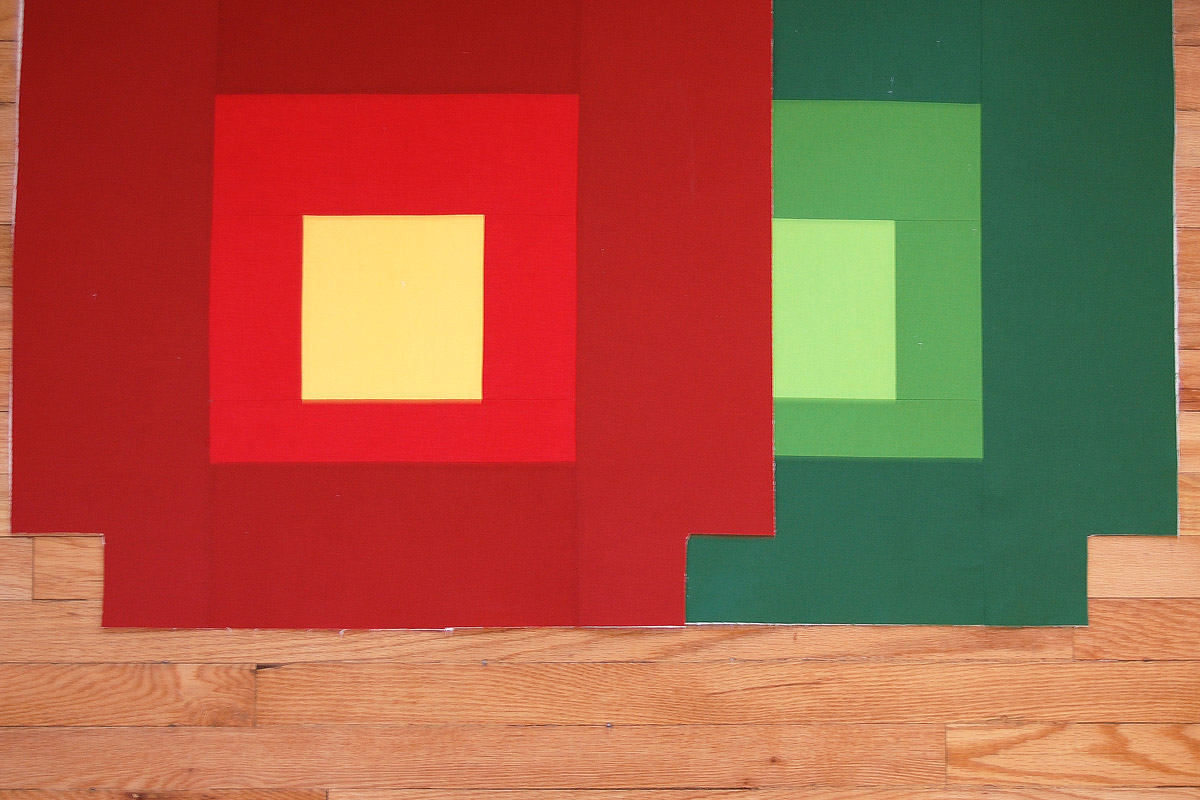
The design of nesting colored squares is inspired by my love of color theory and artist/color theorist Josef Albers. The tote is wide and roomy, standing up on it’s own plus it is easy to drop a quilt in as you are working on it—or to tote quilts to show-and-tell. It’s even big enough to hold several balls of yarn, crochet hooks or knitting needles.
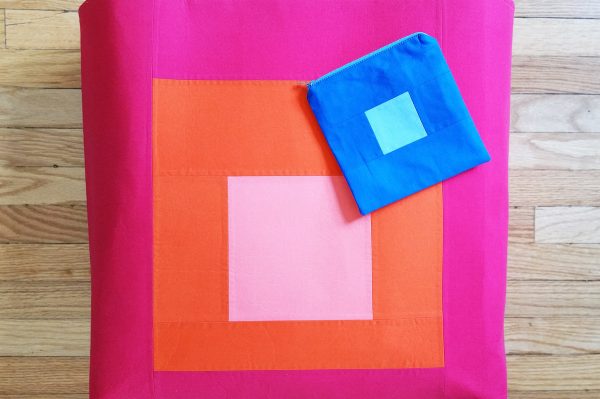
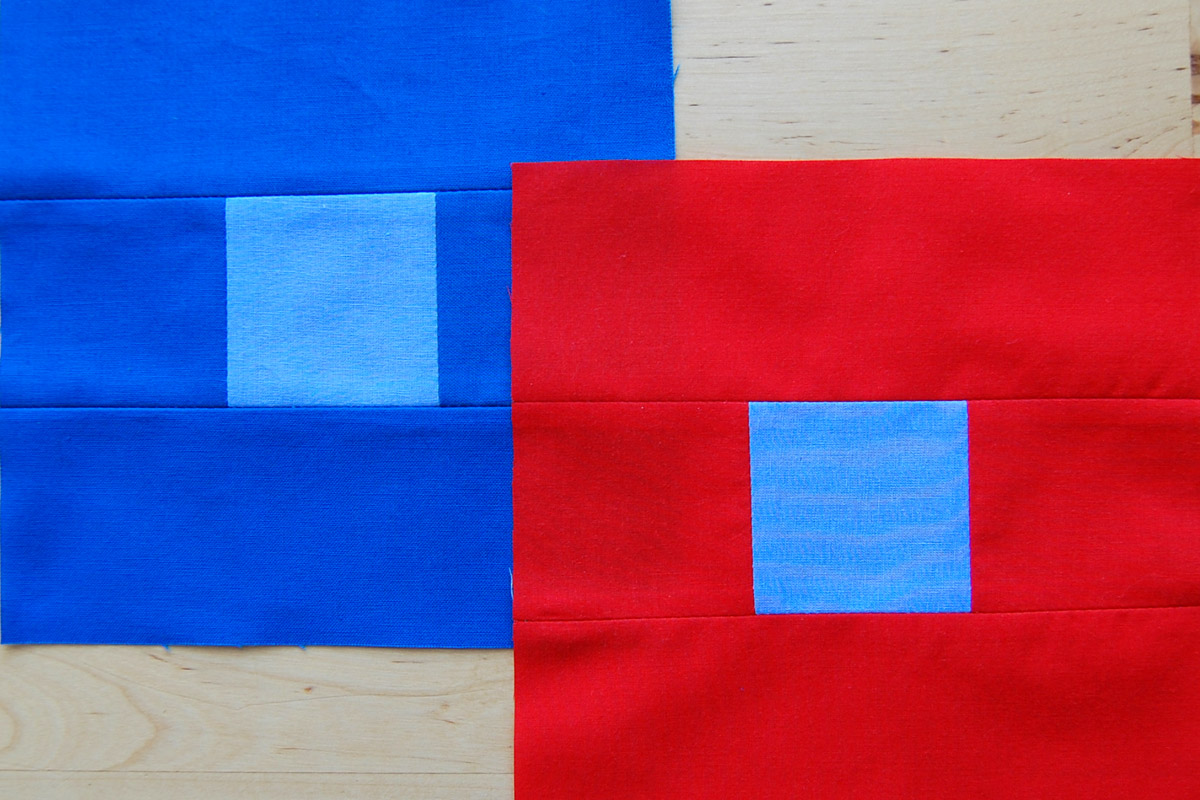
I used a color wheel to help select my color combination, and you can read all about finding color harmony in my earlier post. I chose the complementary pair of colors red and green from the red/yellow/blue color wheel, one for each side of the tote. Then, I chose to use a green monochromatic color combination (all tints and hues in the same family color green) on one side, and an analogous combination (colors next to each other in a color wheel: red/red-orange/yellow) on the other side.
You can create a tote with both sides using the same color combination, or make two different sides. Choose three different values (lightness or darkness) of fabrics for the patchwork squares, the lightest value for the inside square, a medium value for the middle square, and the darkest value for the outside square and strap.
Finished tote measures about 18″ tall x 18″ wide x 6″ deep.
Materials to Make a Color Block Tote
- Lining fabric: 1 1/3 yards fabric
- Heavy cotton canvas or duck cloth (can also use fusible batting for a softer bag): 1 1/3 yards
- 44″ wide heavy duty fusible interfacing (for home decor projects): 1 1/3 yards
- Heavy duty fusible webbing: 2 yards
- Medium weight fusible interfacing (optional for thicker straps): 1 yard
- Coordinating thread
- For each patchwork square (you will need to create two squares, one for each side of the tote)
- Fabric A (inner square), use the lightest value of fabric: fat quarter or 1/4 yard fabric
- Fabric B (middle square), use a medium value of fabric: two fat quarters or 1/3 yard fabric
- Fabric C (outer square and strap), use the darkest value of fabric: 2/3 yard fabric
- Iron and pressing surface
- Rotary cutter, mat, and 6″ x 24″ quilting ruler
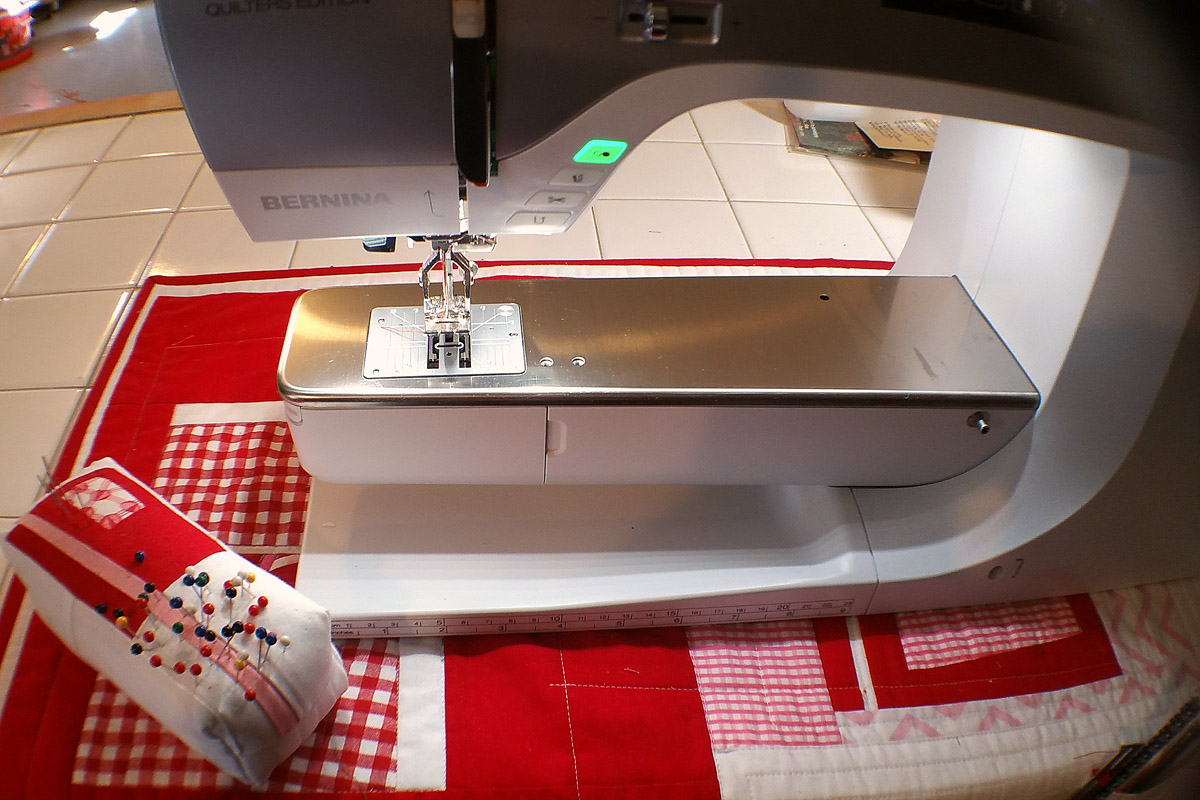
- Sewing machine (I sew with a BERNINA 770 QE)
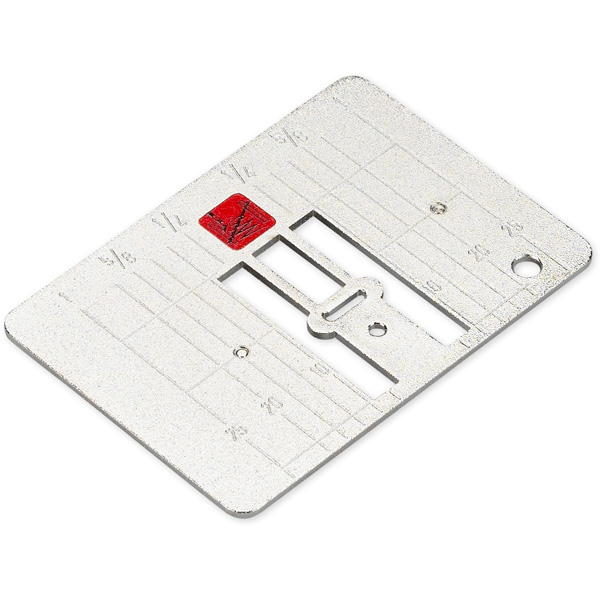
- Patchwork foot #97D (or patchwork foot of your choice) and straight stitch needle plate
- Reverse pattern foot #1D and zig-zag needle plate
1. Sew the Patchwork Nlocks for the Color Block Tote
Cut fabrics to size.
- From Fabric A, cut one square 6.5″ x 6.5″.
- From Fabric B, cut two rectangles 6.5″ x 3.5″, one rectangle 2.5″ x 12.5″ and one rectangle 4.5″ x 12.5″.
- From Fabric C, cut one rectangle 4.75″ x 12.5″, one rectangle 5.75″ x 12.5″, two rectangles 6.75″ x 22″, and one rectangle 6″ x 23.5″.
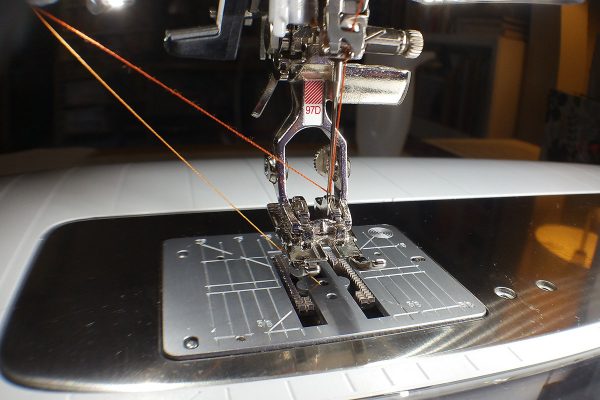
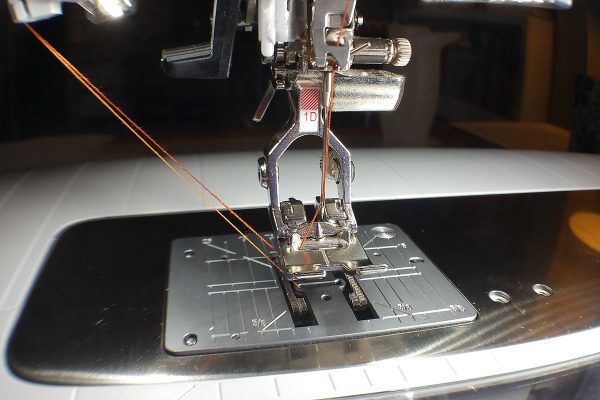
Set up your machine to sew patchwork. I use the Patchwork foot #97D and the Straight stitch needle plate. Load your coordinating thread.
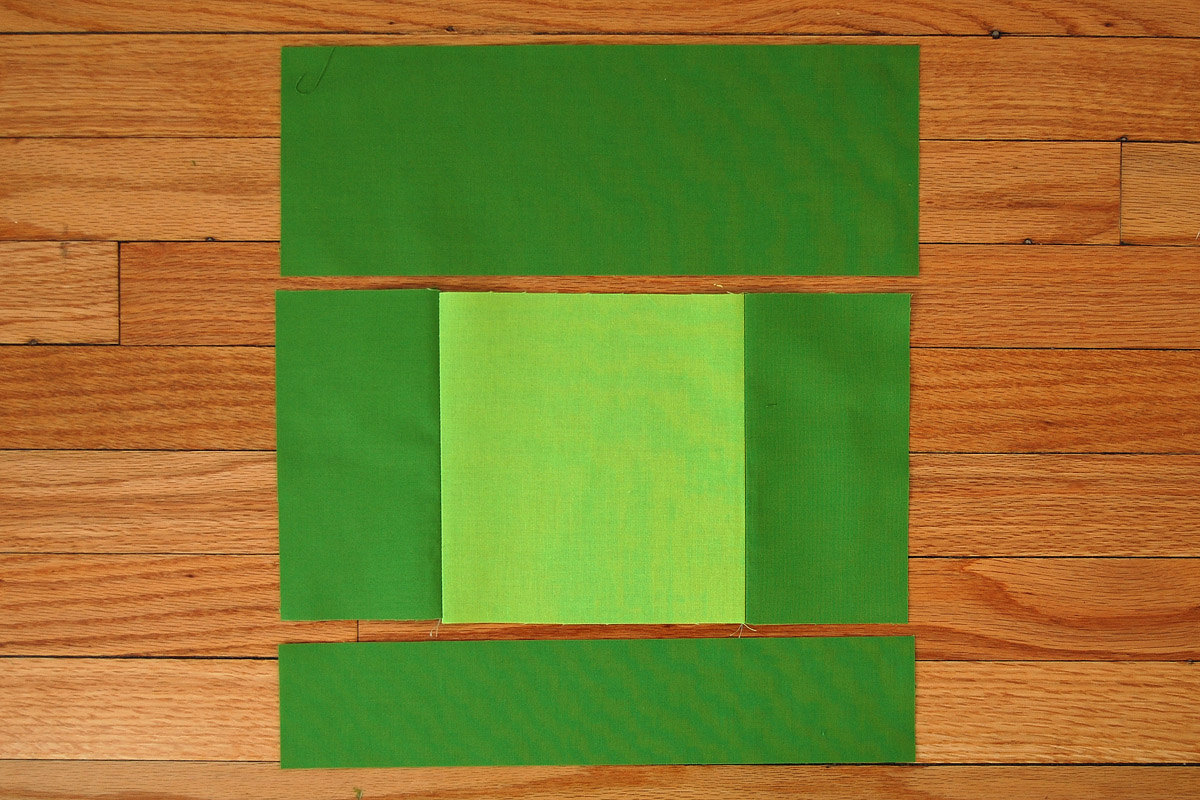
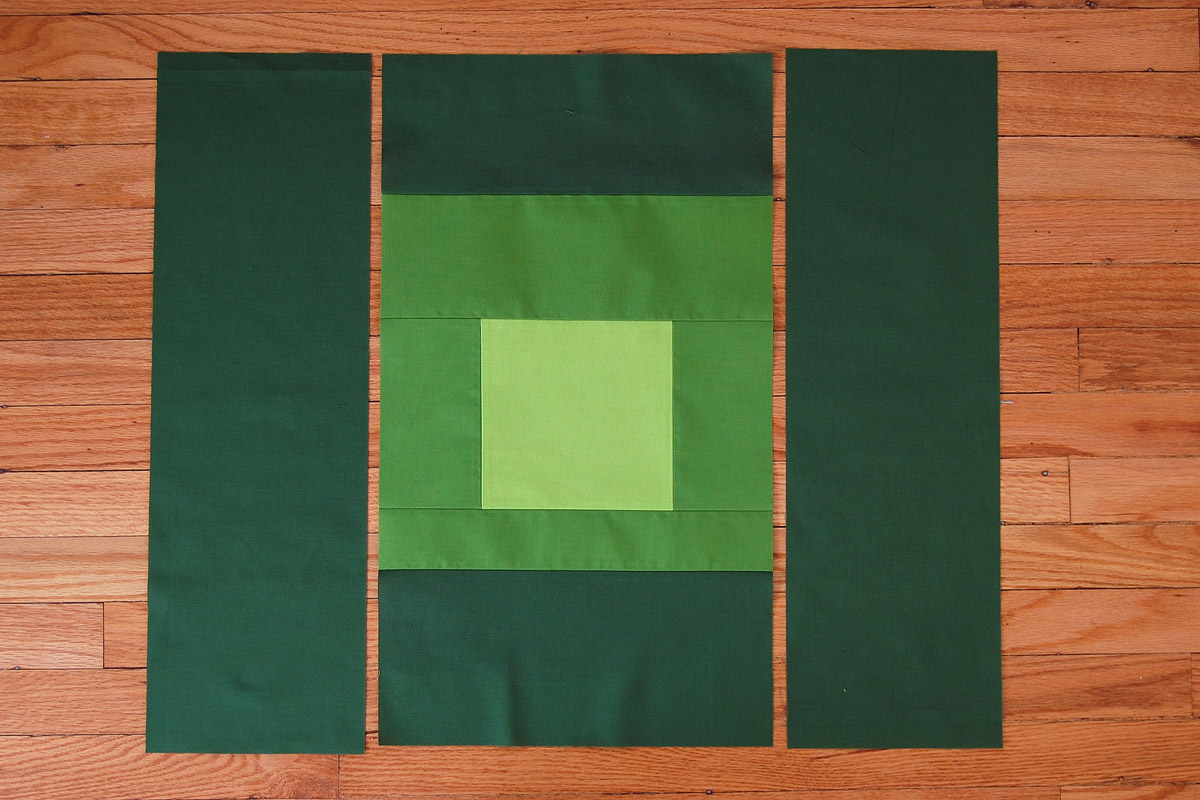
Lay out the first course of patchwork. Start with Fabric A 6.5″ x 6.5″ square in the center, and place the pre-cut pieces from Fabric B as follows. On top of the square place the 4.75″ x 12.5″ rectangle. On each side of the square place one of the two 6.5″ x 3.5″ rectangles. And on the bottom of the square place the 2.5″ x 12.5″ rectangle.
Begin by joining the two side rectangles to the square.
Make sure to sew the seams with a scant quarter inch. Use your patchwork foot of choice to make precise seams.

Press all seams open as you sew. After joining both sides to the center square, join the top and bottom pieces. Press the entire piece well.
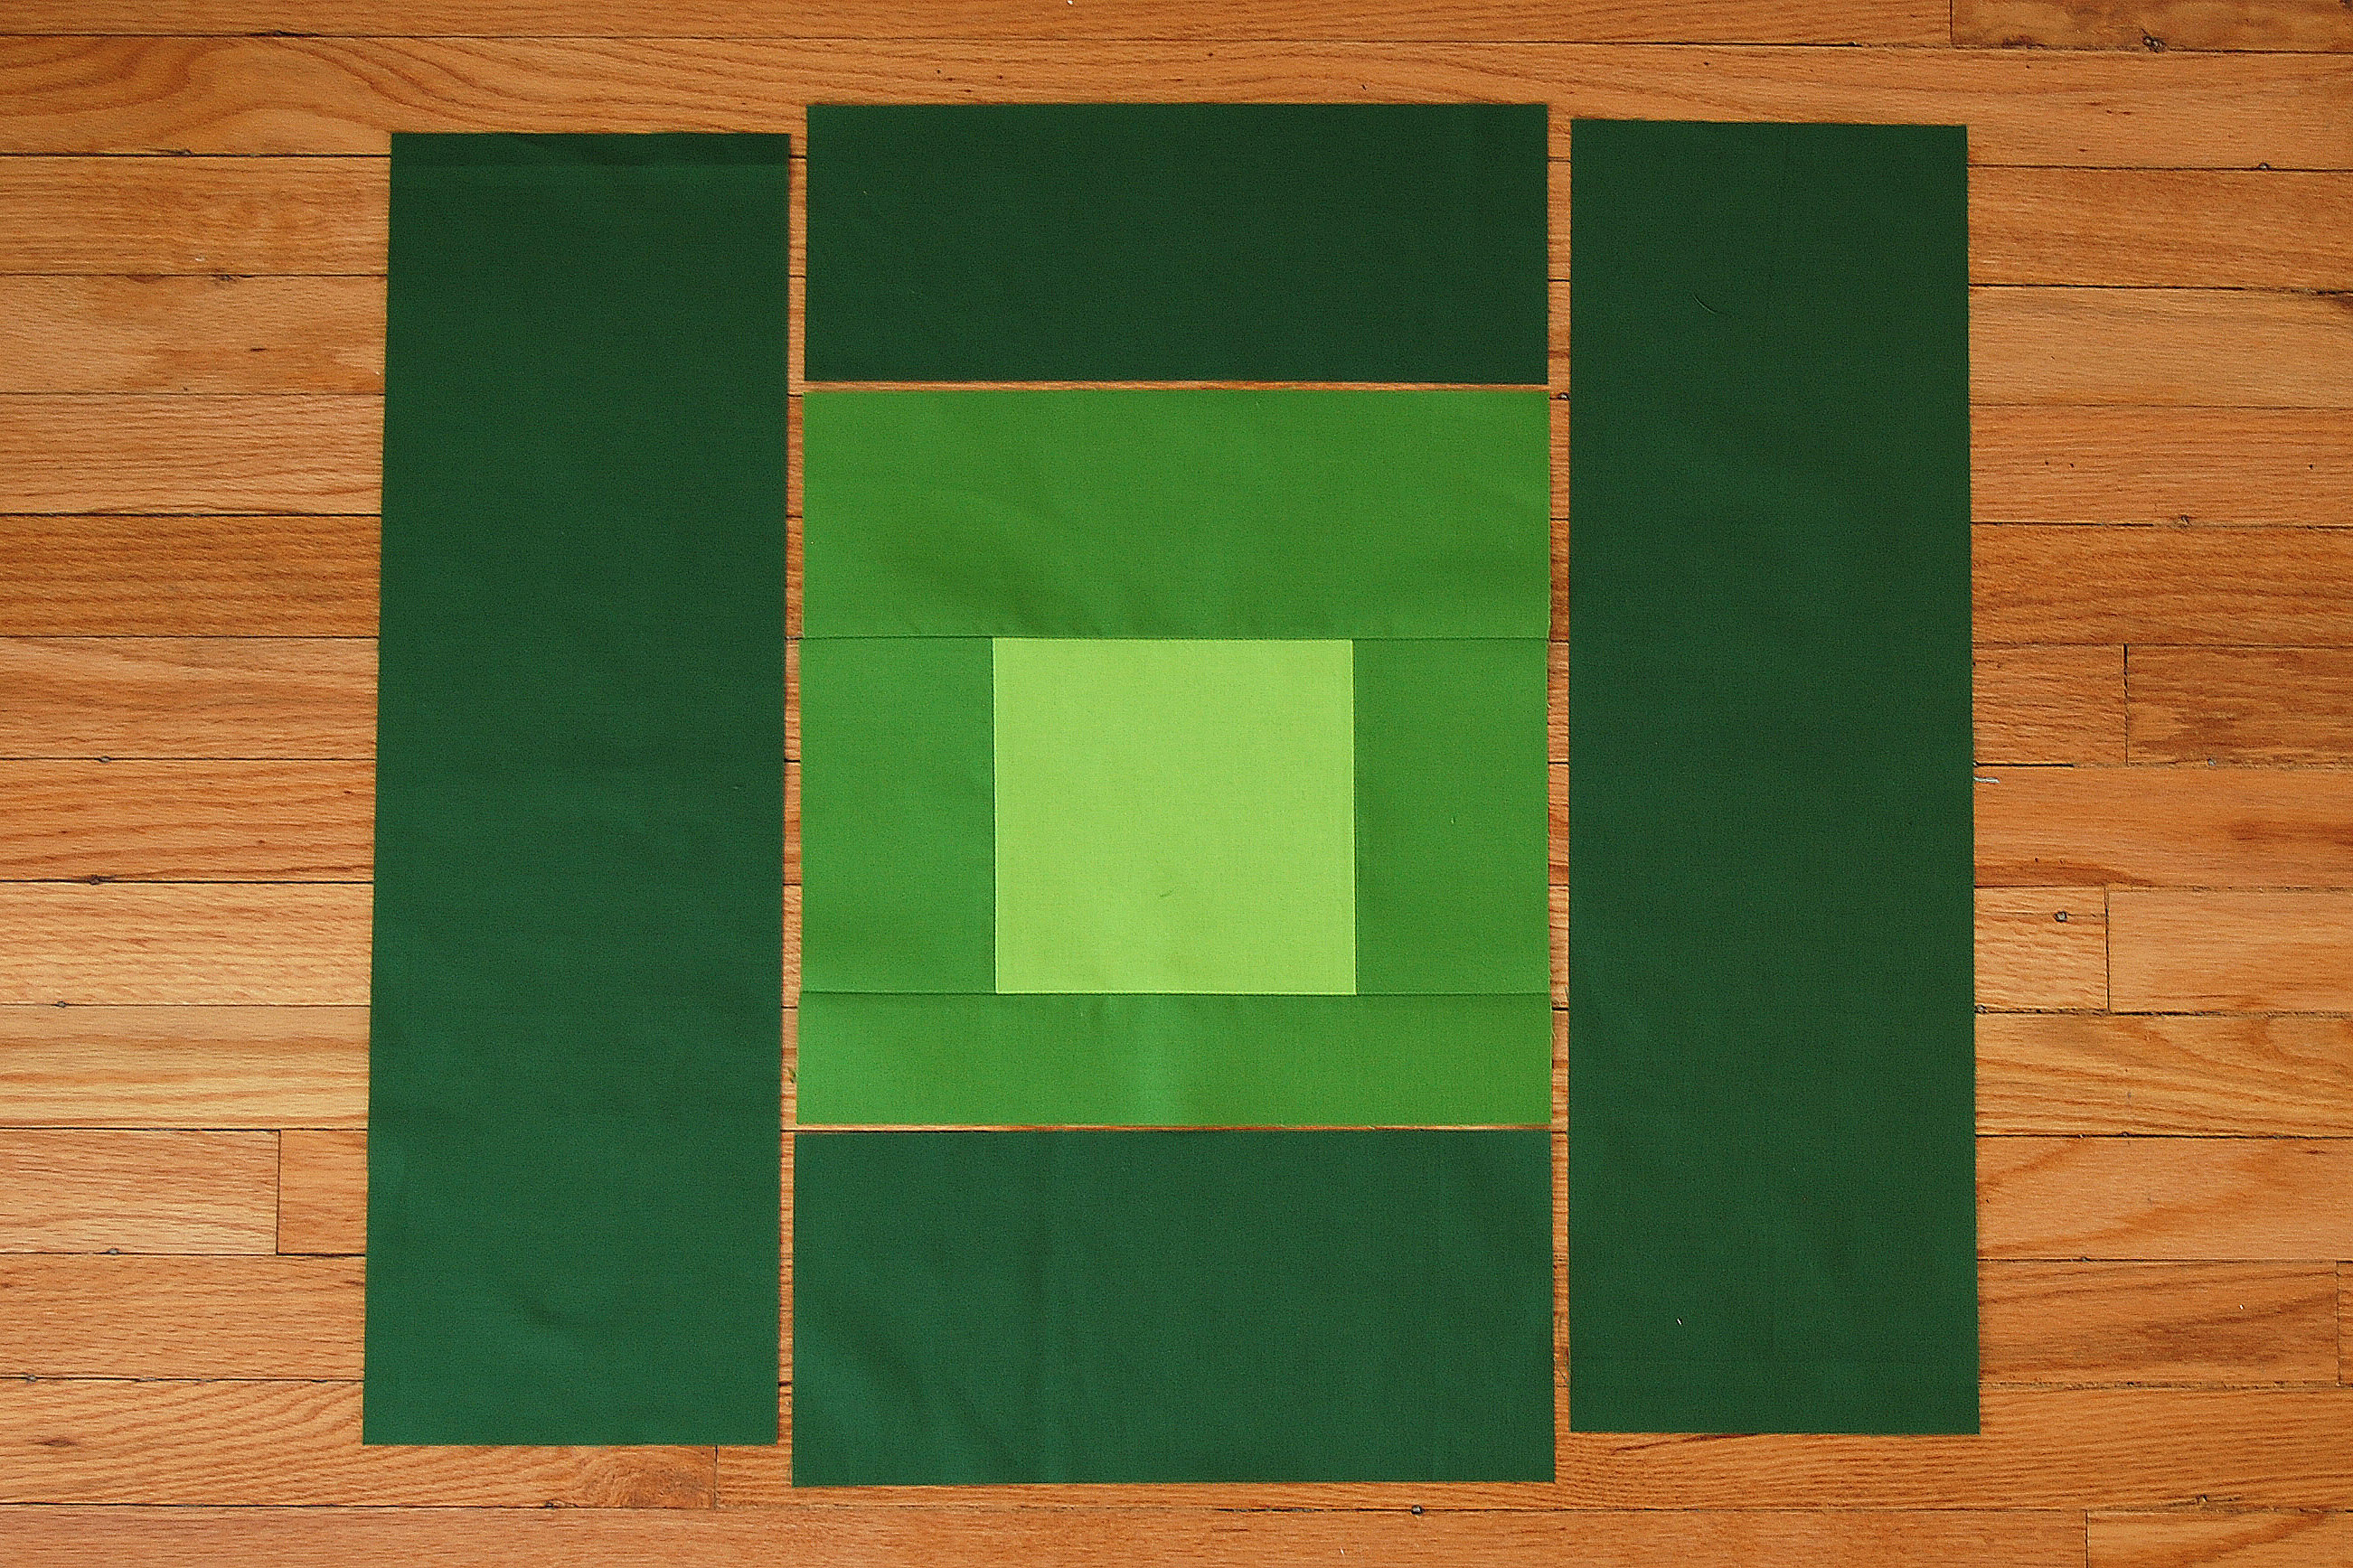
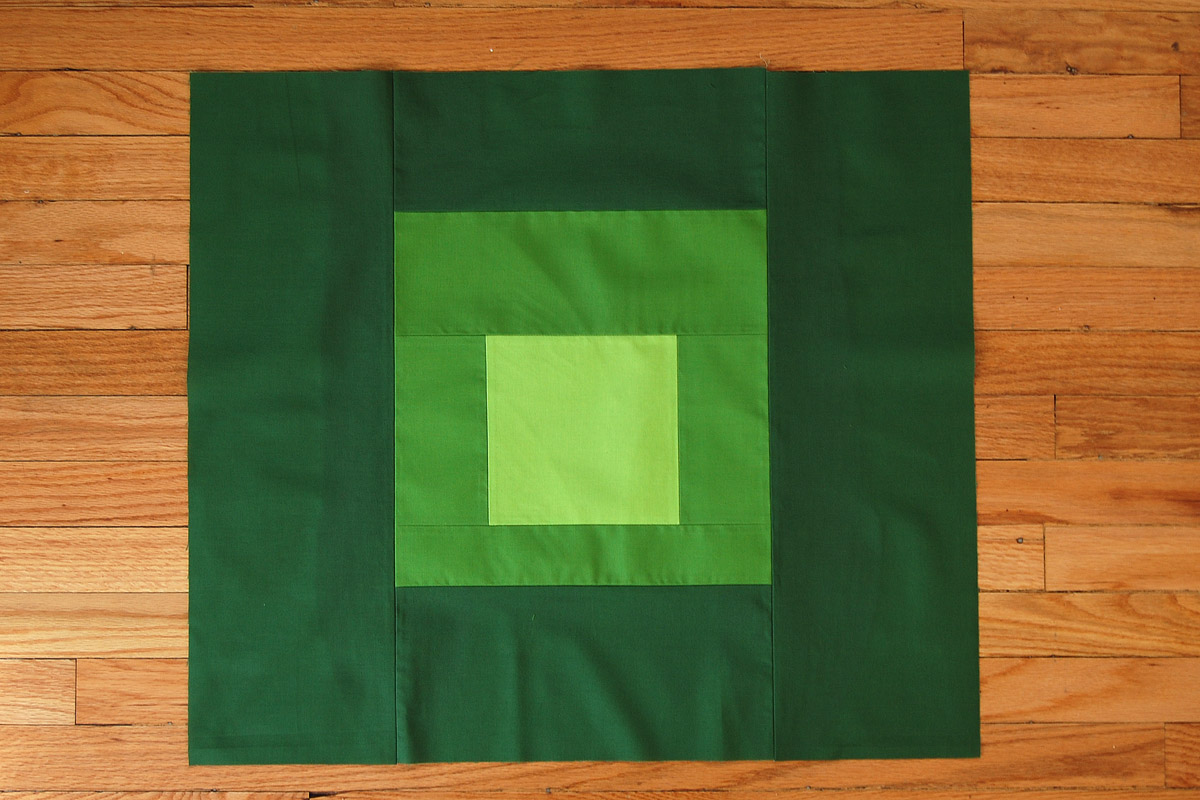
Layout the next course of fabrics. Before moving on, make sure that the largest side of the middle square is facing up. This will become the top end of the bag. Check it out in the photo below for reference.
Grab the pre-cut pieces from Fabric C. Start by placing the 4.75″ x 12.5″ rectangle on the top edge, on the bottom of the squares place the 5.75″ x 12.5″ rectangle, and on each side place one of the two 6.75″ x 22″ rectangles.
Join the top and bottom rectangles to the squares first, pressing seams open.
Next, join the side pieces to the squares.
Press well.
2. Sew the Outside of the Color Block Tote
Grab your cotton canvas or duck cloth for this next step to strengthen the bag and give it some body. Cotton canvas can have lots of shrinkage, so you may want to pre-wash this fabric and press well before using. Or, you can choose fusible batting or fleece in this step to create a much softer bag (and if so, just follow the directions on the package to fuse to your patchwork squares).
Cut the cotton canvas slightly larger than the patchwork square. Cut the fusible webbing to fit the back of the patchwork, and apply to the back of the patchwork following the manufacturer’s directions. If you need to overlap the fusible webbing, peel back a little bit of the paper backing from the edge of the piece already fused to the patchwork. Slightly overlap another piece about 1/8″ – 1/4″ on top of the adhesive exposed from peeling up the paper edge, and replace the edge of the peeled up paper backing down on top of the overlap. Continue to press.
Peel off all the paper backing, being careful to make sure the adhesive is not lifting off as you pull. If it is starting to pull away the adhesive, give it another press and let it cool before trying again.
Once the fusible webbing is applied and the paper backing is removed, center the patchwork squares carefully on the cotton canvas, smoothing out any wrinkles from the center out. Carefully carry both layers to your pressing surface to fuse both layers. Work from the center out, moving slowly with your iron. Move any wrinkles from the center out to the edges as you work. Finish by giving the whole thing a final and thorough pressing.
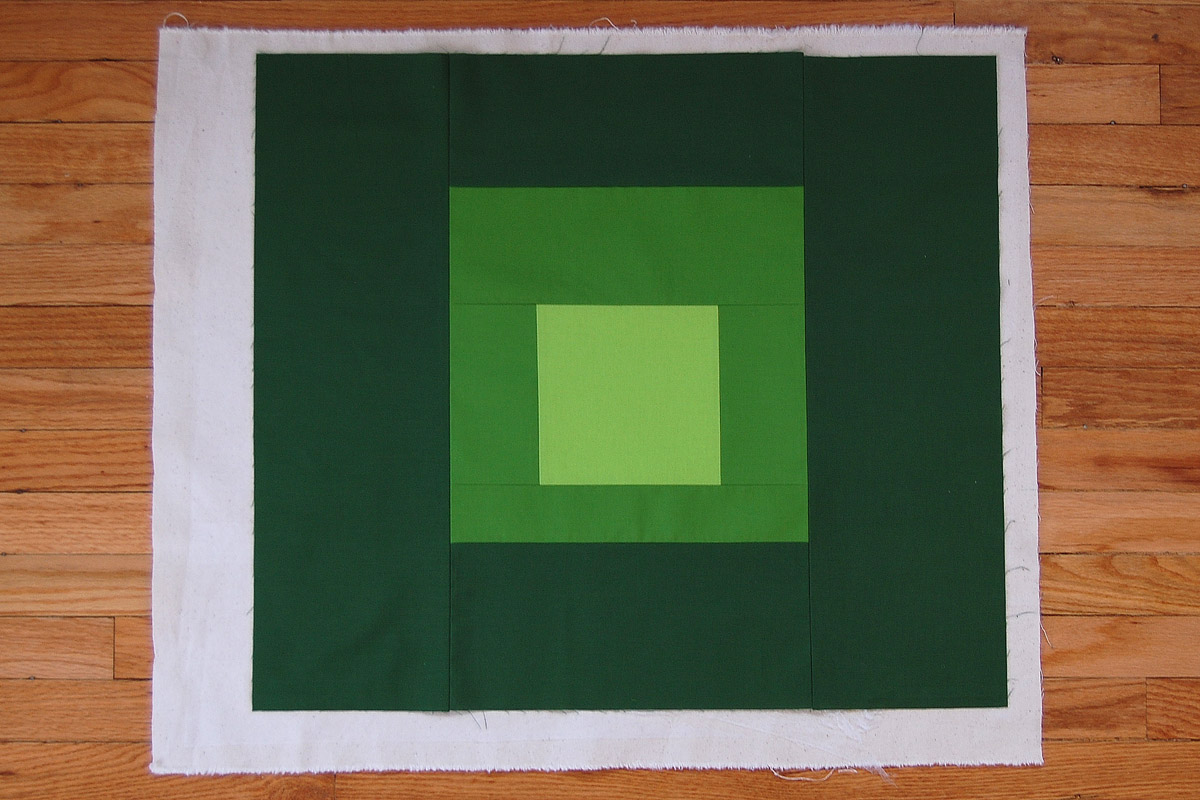
After fusing the patchwork squares to the canvas, trim down the extra to size. The overall patchwork squares piece should measure 25″ wide x 22″ tall.
Follow the directions above to create the patchwork square for the other side of the bag.
Lay each finished patchwork square panel down on your work surface. Make sure that the panel is oriented in the right direction with the fattest side of the middle square facing the top. Check the photo below for reference.
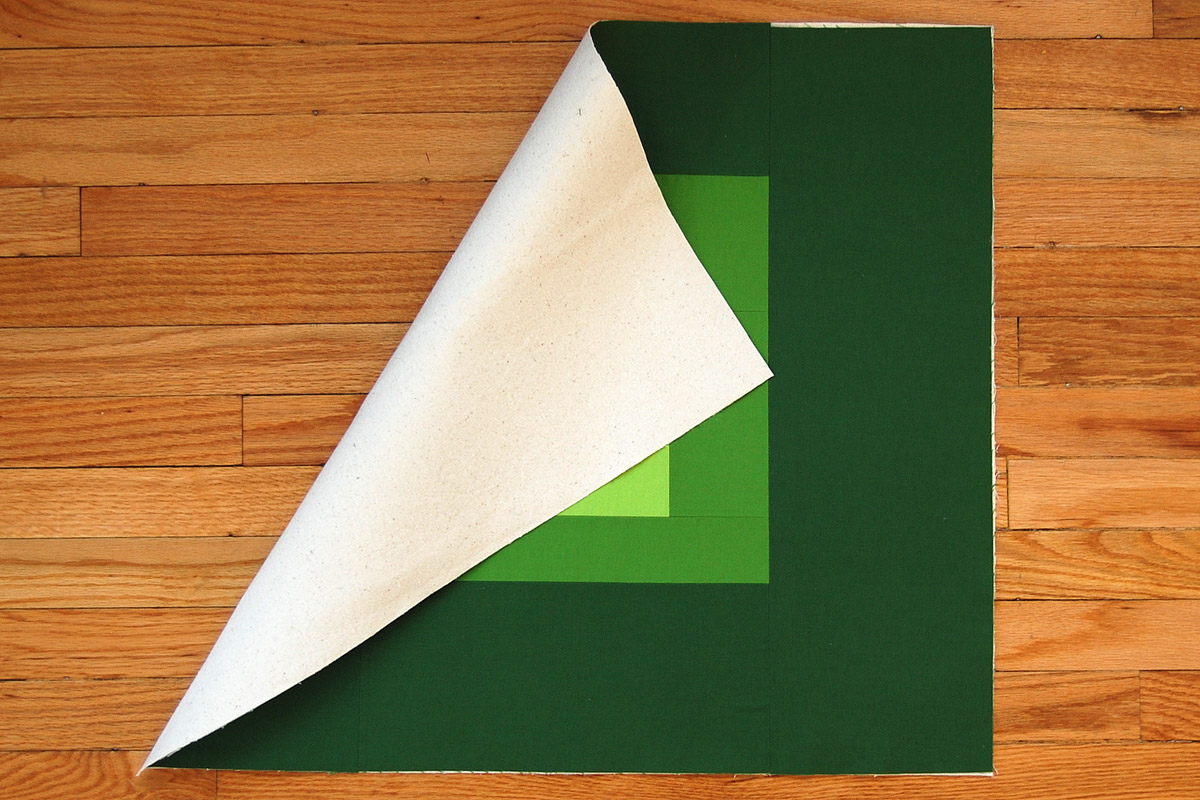
Next, cut out a 3″ x 3″ square from each bottom corner to box out the bottom of the bag.
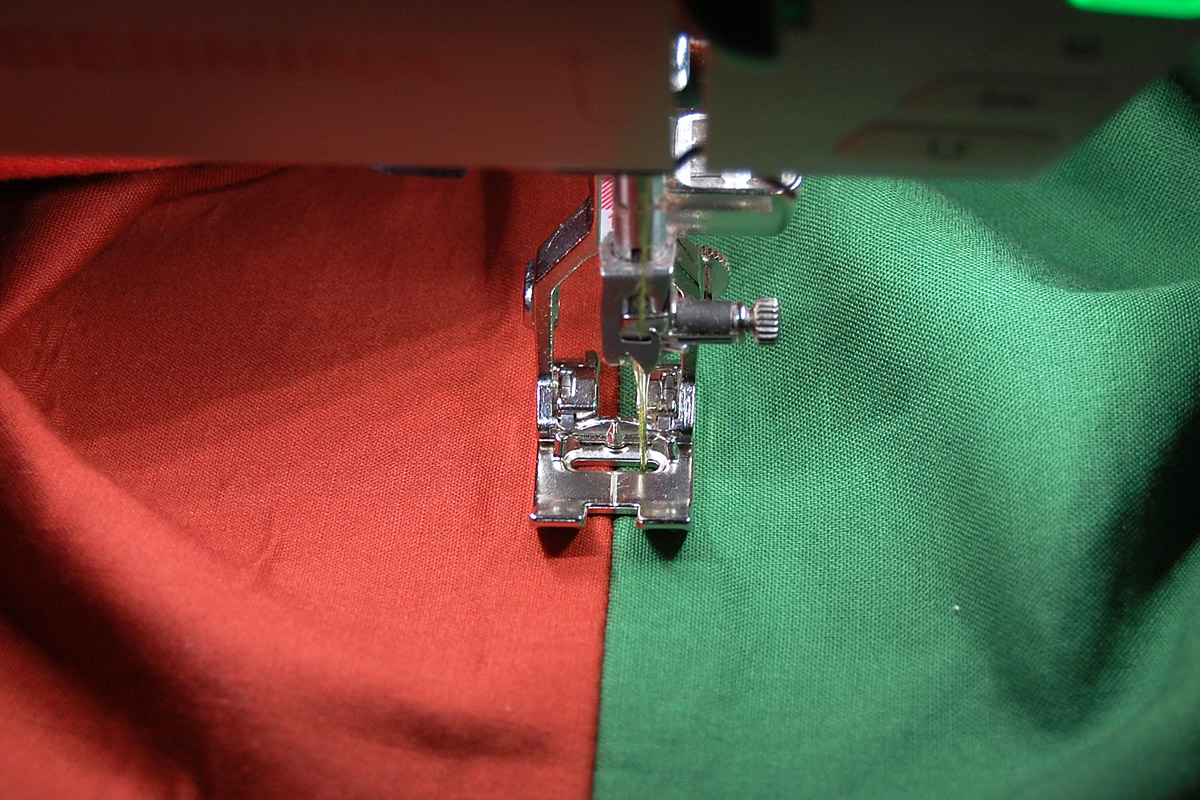
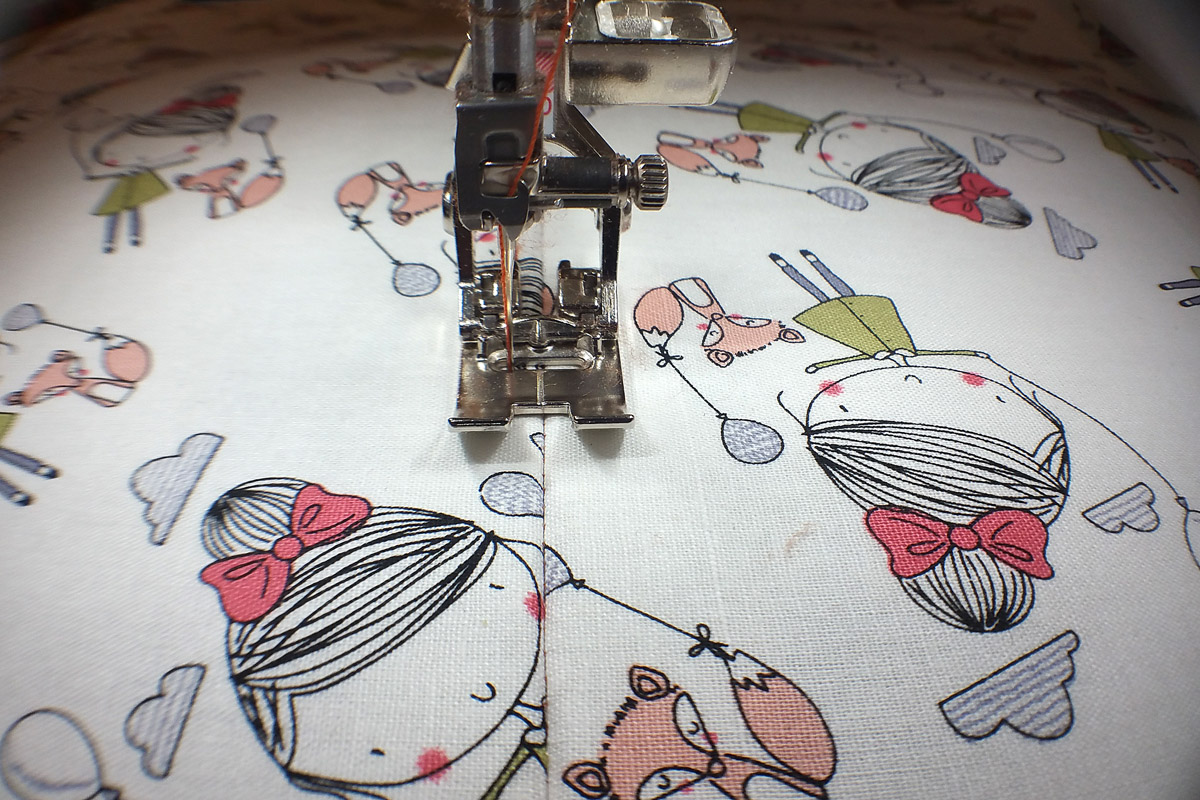
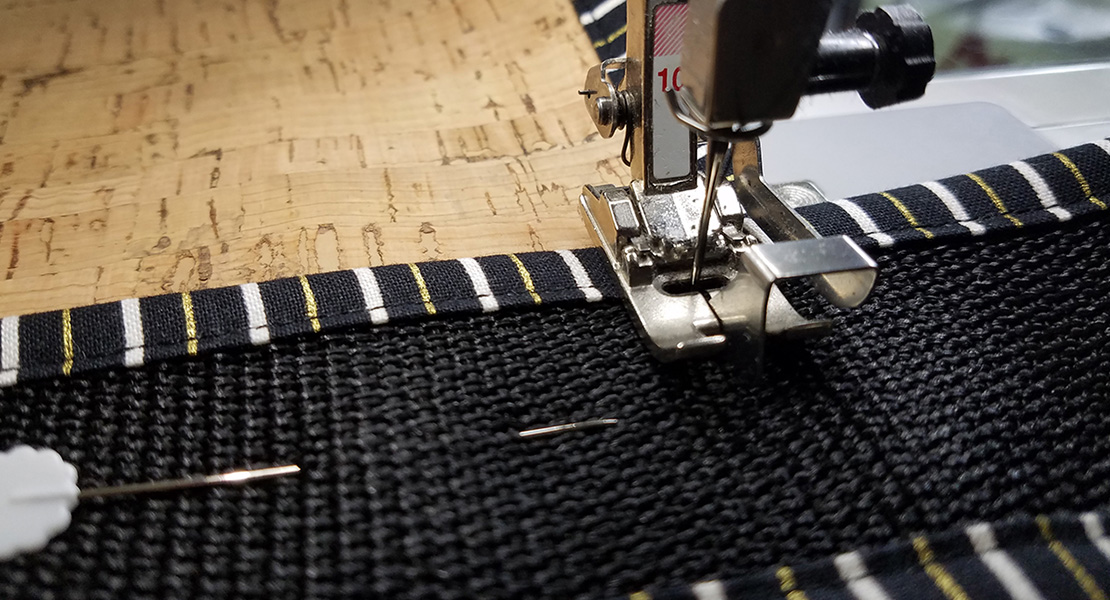
Change from the Patchwork foot #97D and straight stitch needle plate to the Reverse pattern foot #1 and zig-zag needle plate to sew the remainder of the Color Block Tote.
Match up the bottom raw edges of the bag, right sides together, between the two cut out 3″ x 3″ notches. Stitch down the bottom of the bag using a 1/2″ seam.
Press the seam open after stitching. On the right side of the bag, top stitch close to each side of the seam. Move your needle position over to the right or left, and align the center mark of the Reverse pattern foot #1 with the seam for even stitching.
Next, sew both side seams on the bag with a 1/2″ seam. Press open seams and topstitch on each side of the seam. You may need to work the fabric a bit to open it up and get those side seams under the presser foot of the machine.
To box out the bottom of the bag, match both side seams together and pin in place.
Sew with a 1/2″ seam, backstitching well at the beginning and end of the seam to add strength.
Trim the seam allowance down to about 1/4″ and sew another line of stitching close to the seam.
Set the finished outer patchwork squares part of the tote bag aside.
3. Create the Straps for the Color Block Tote
You will need the two pieces of Fabric C cut 6″ x 23.5″ for this step. I used medium weight interfacing with the straps to create stiffness, and these straps definitely stand at attention in the finished bag. If you want straps that are not as stiff, you can use a lightweight fusible interfacing or skip the interfacing altogether.
If you choose to interface your straps, cut two long rectangles of interfacing 6″ x 23.5″ and fuse one to the back side of each strap piece.

Press the strap in half lengthwise to create one long crease down the middle. Open up the strap, and fold each side in towards the middle crease, leaving about 1/16″ – 1/8″ space from the center crease to allow the ends room to fold into the middle. Press well. Repeat with folding over the other side of the strap.

Fold the entire strap with folded sides in half. Press well.
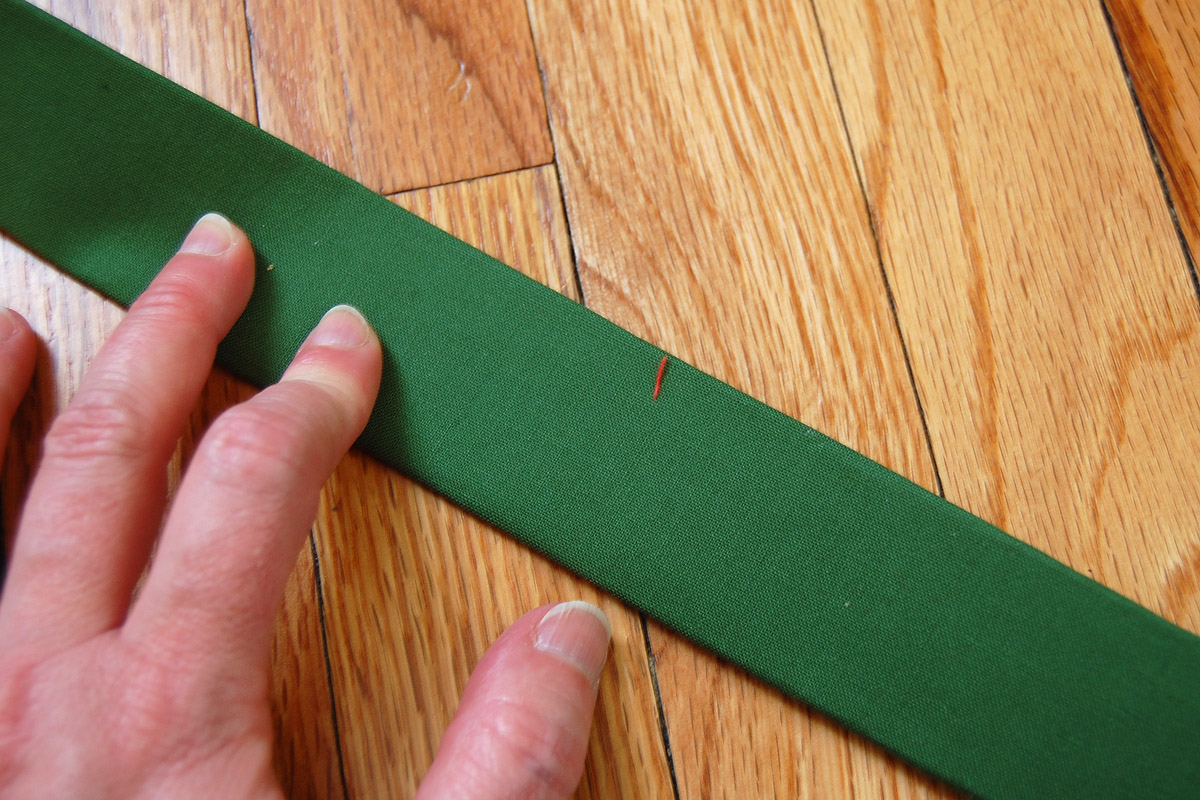
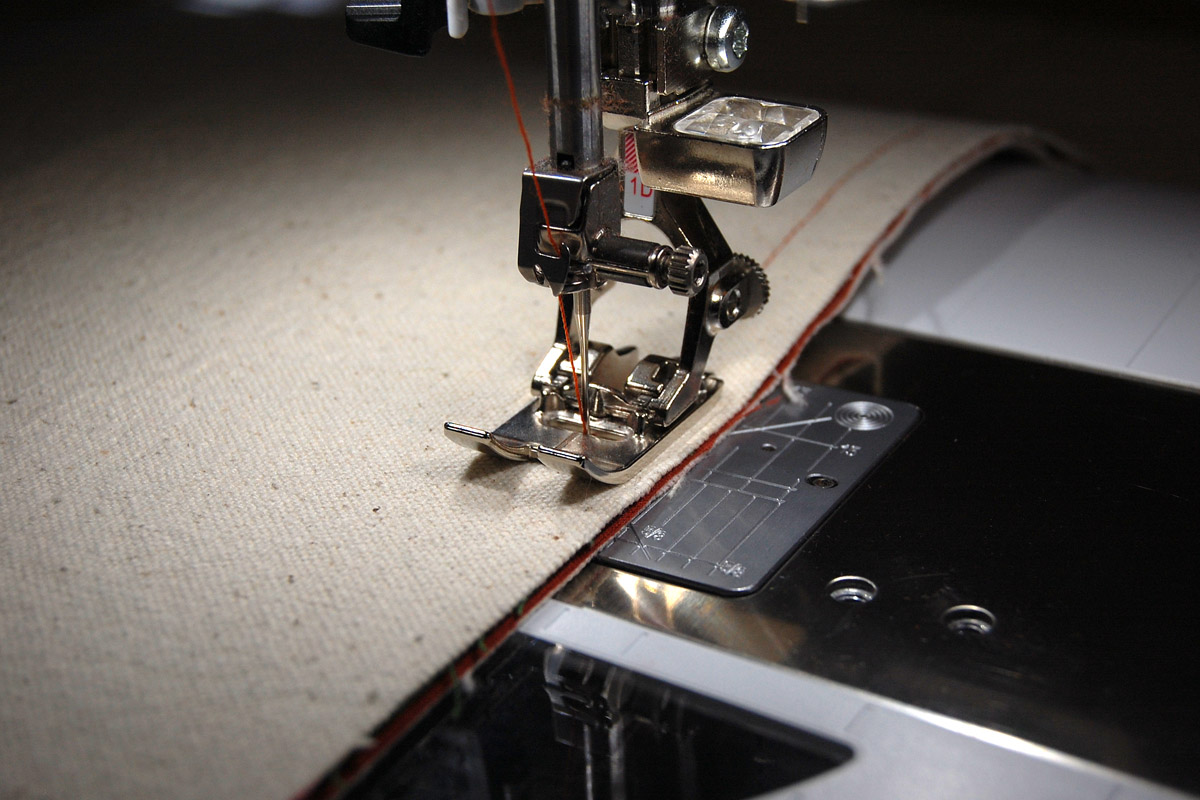
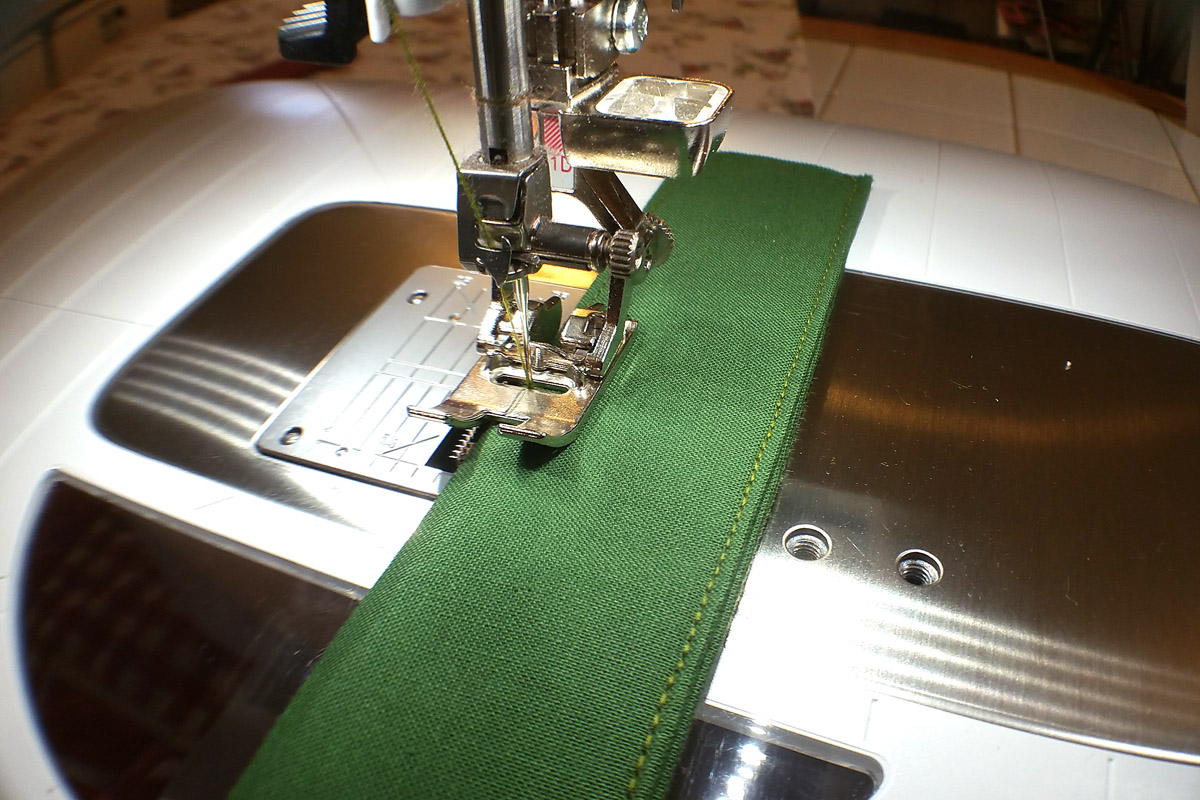
Topstitch down each side of the strap.
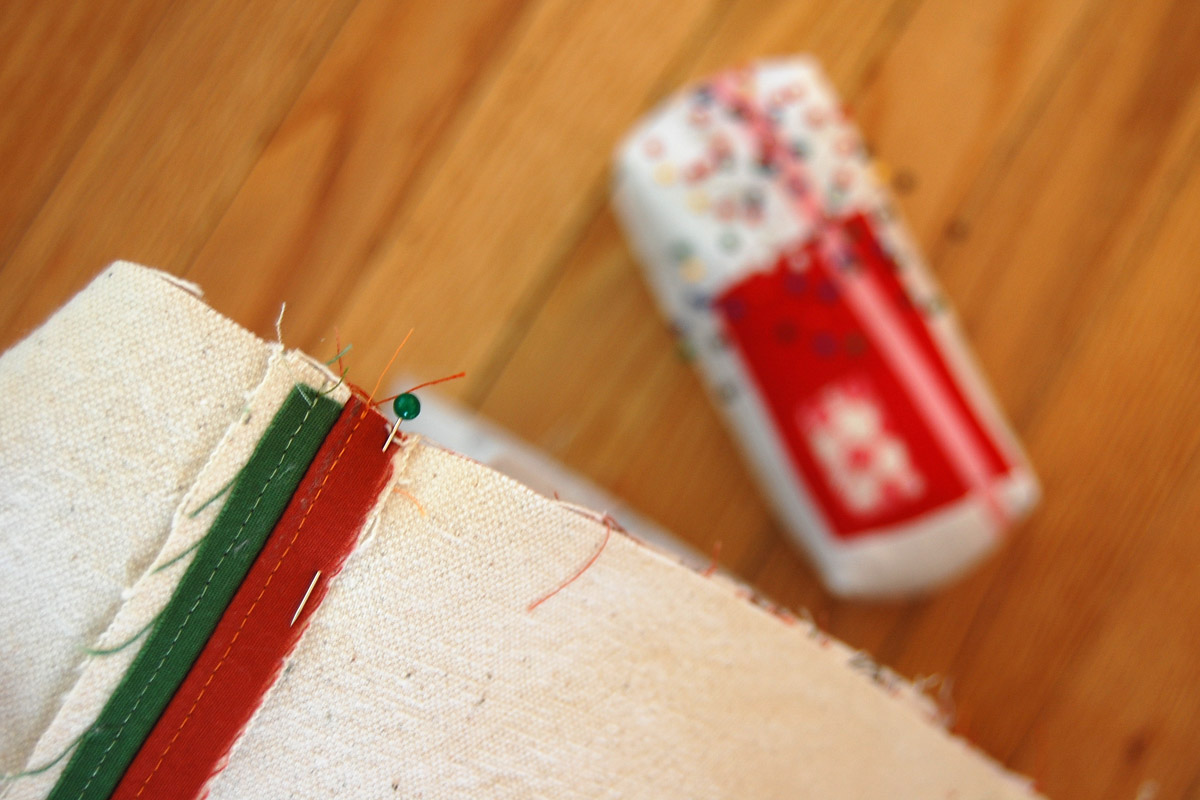
Pin the finished straps to the outside of the patchwork squares bag. Mark the center on the top edge of the bag, and measure over 3″ on each side of the center mark. Place the edge of each side of the strap along the mark—the straps will measure exactly 6″ apart.
Pin once to secure the raw edges of the strap to the raw edge of the bag. Pin again a few inches down from the raw edge to keep the strap perpendicular to the top of the bag. Check out the photo below for reference.
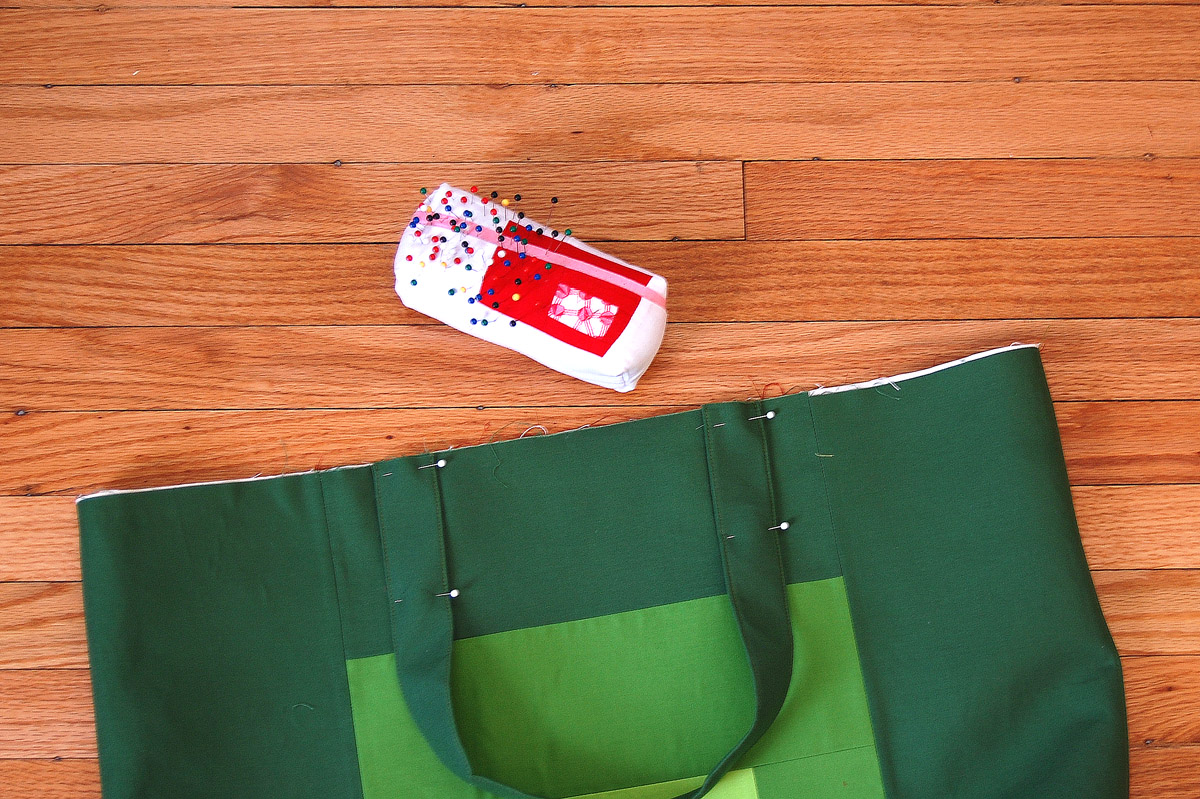
Set the bag with pinned on straps aside.
4. Sew the Lining for the Color Block Tote
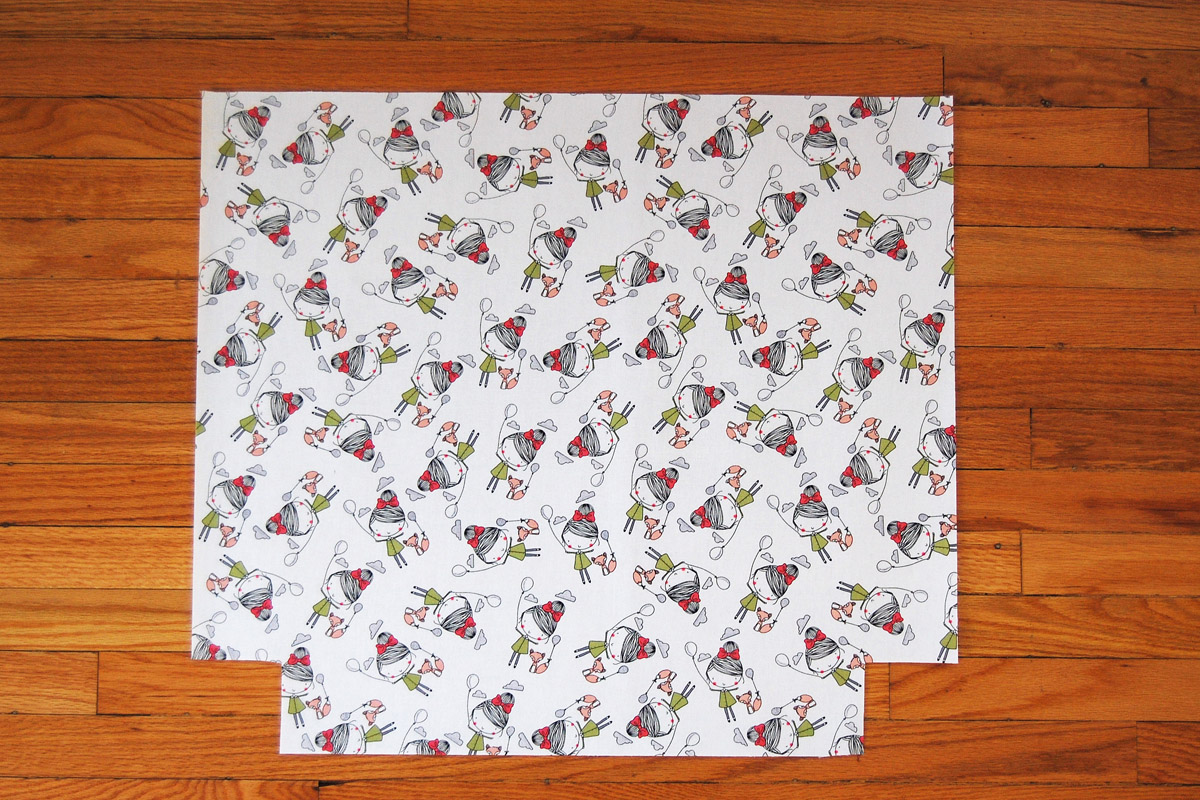
Cut two pieces from the lining fabric to measure 25″ wide x 22″ tall. Pay attention if you have a directional fabric to make sure the pattern will be going in the right direction.
Cut two pieces from the heavyweight fusible craft interfacing, and fuse to the back of the lining following the manufacturer’s directions.
After fusing, cut two 3″ x 3″ squares out of the bottom edge of each lining piece as in the photo below.
Make a note that all the seams for the lining are different than the outside of the bag! Use a 5/8″ seam for the next steps.
Match lining pieces right sides together, and pin along the bottom edge. Sew the bottom together with a 5/8″ seam.
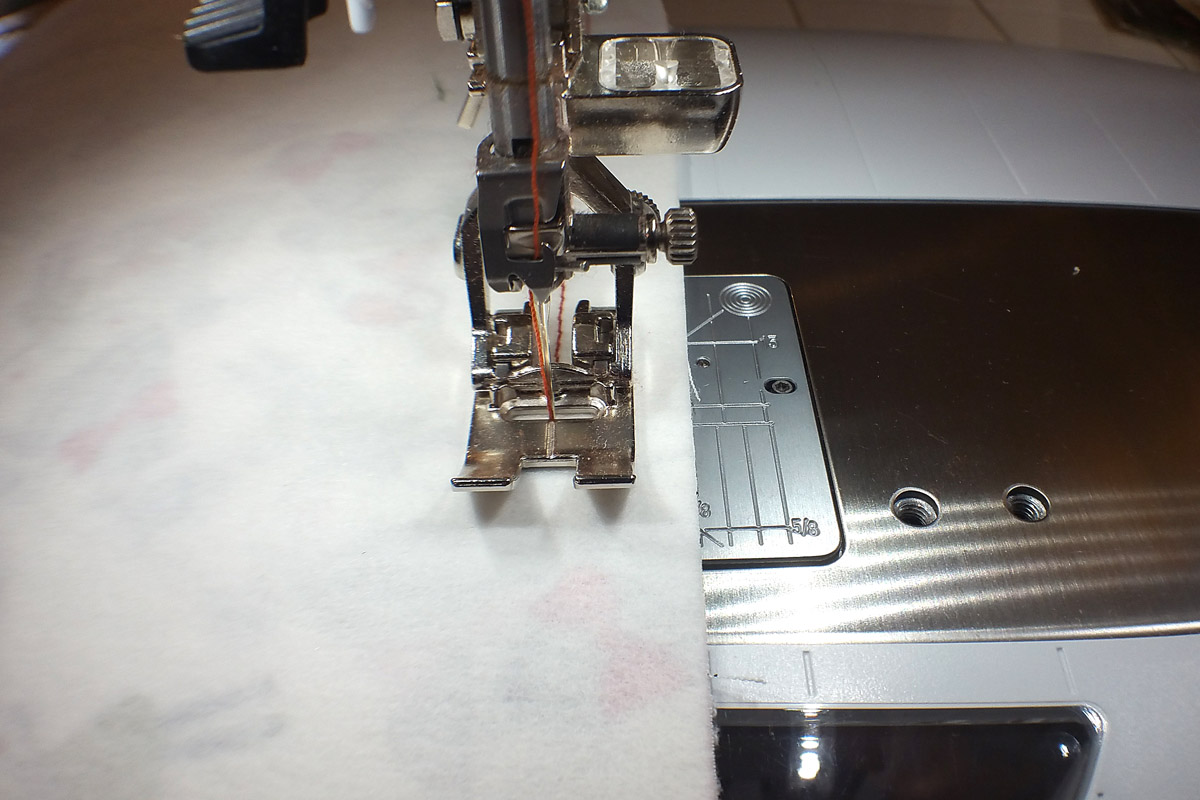
Press seam open. Topstitch on each side of the seam as above, using the center mark of the Reverse pattern foot #1 as a guide and moving the needle position over to the right or left.
Sew one side seam together as above, pressing seams open and topstitching.
On the final side seam, sew only the first few inches at the top and the first few inches at the bottom with a 5/8″ seam, leaving a wide opening in the middle to turn the bag inside-out. Press the seams open, and carefully press the extra fabric to each side along the opening during this step. Carefully top stitch on each side of the seam and continue down the extra fabric pressed to each side of the opening during this step. The end result will be a nicely finished wide opening in one side of the bag lining.
5. Sew the Color Block Tote together
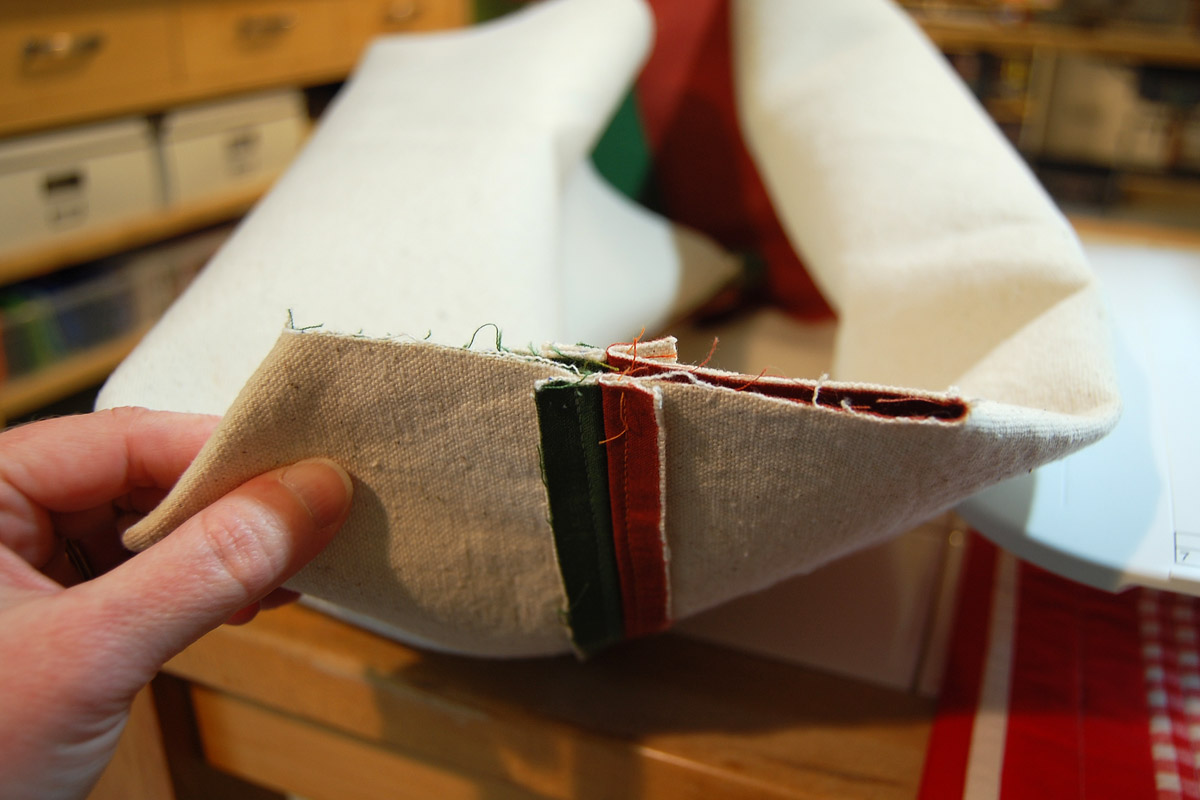
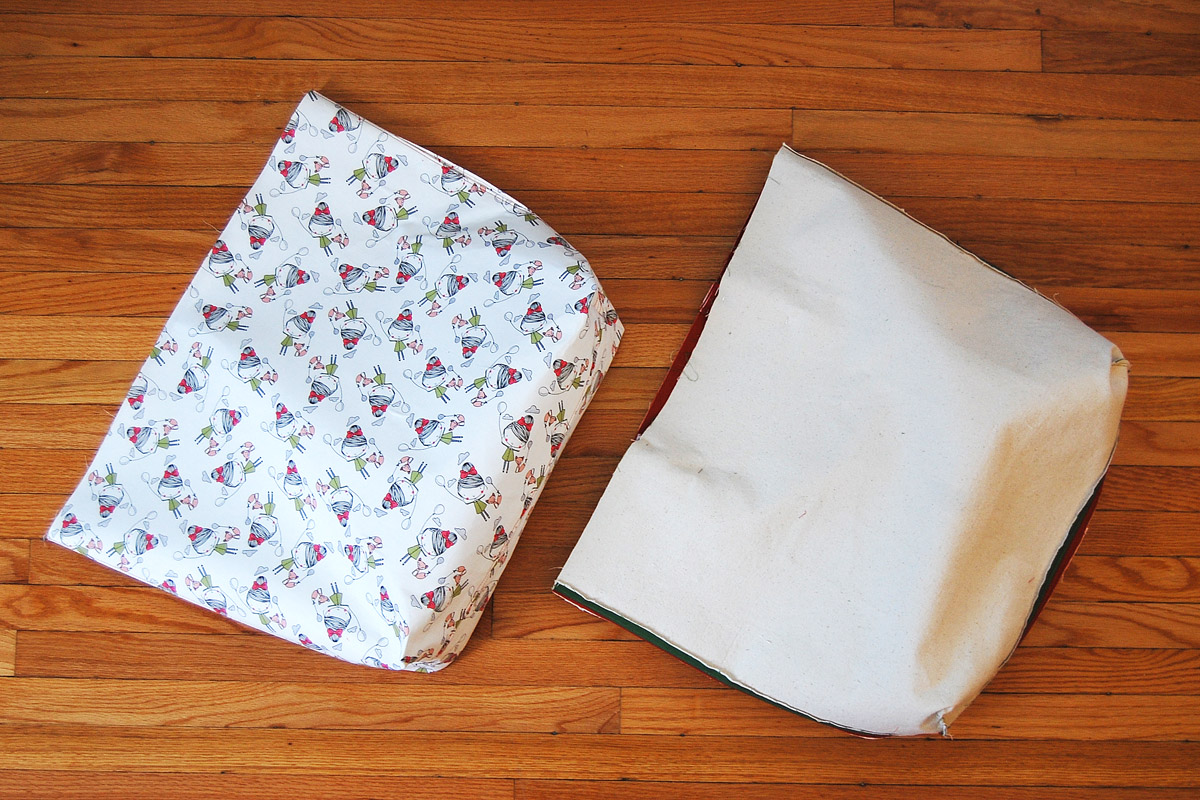
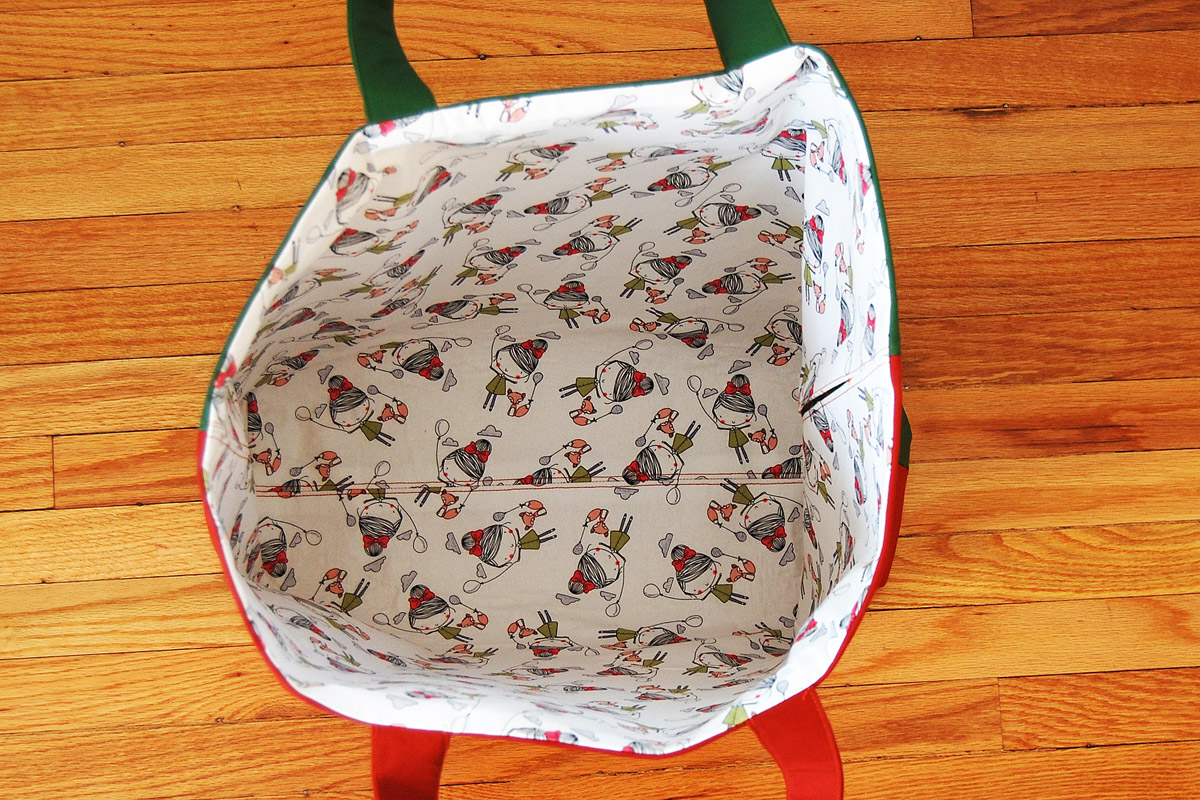
Make sure the lining is turned right side out, and the outside of the bag is wrong side out as in the photo.
Nest the lining into the outside part of the bag, right sides together, aligning the side seams.
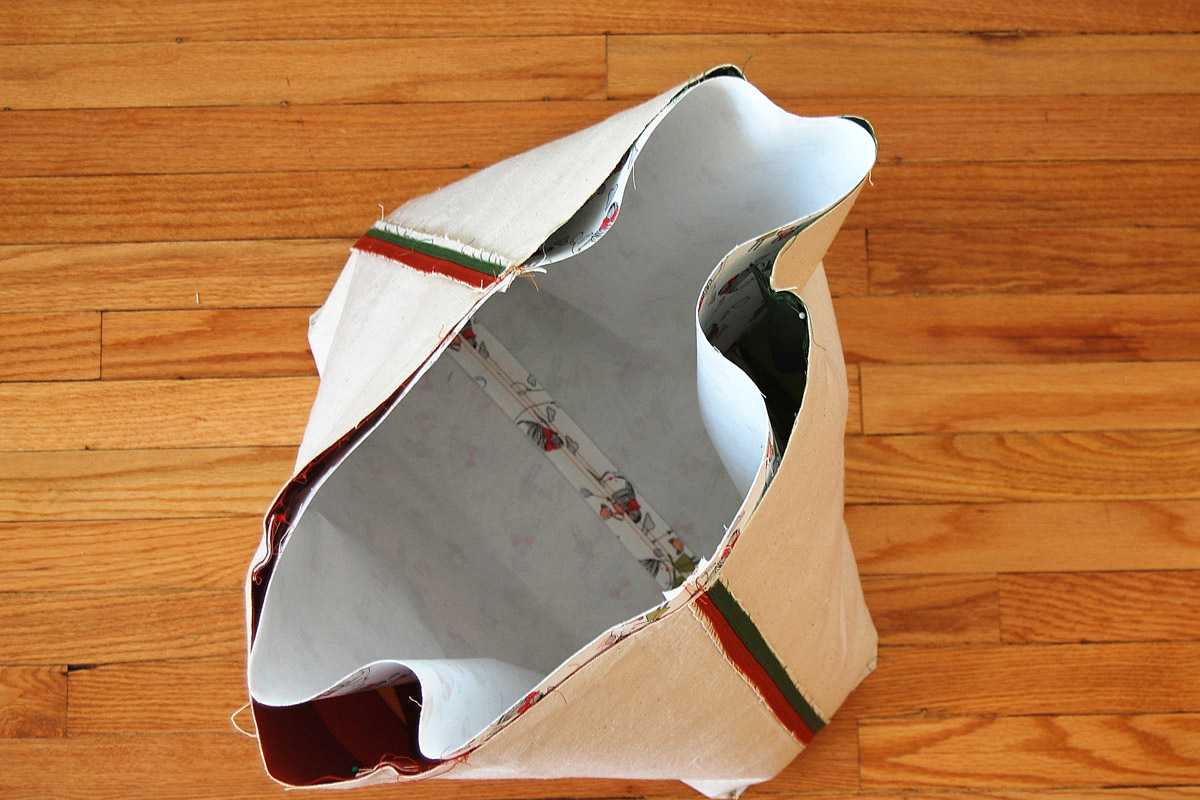
Beginning at the side seams, pin the two layers together with pins perpendicular to the raw edges. Ease in any extra fabric gently as you pin all around the bag edge.
When pinning over the straps, remember to remove the pins at the top edge holding the strap to the outside of the bag, and replace with pins through all layers.
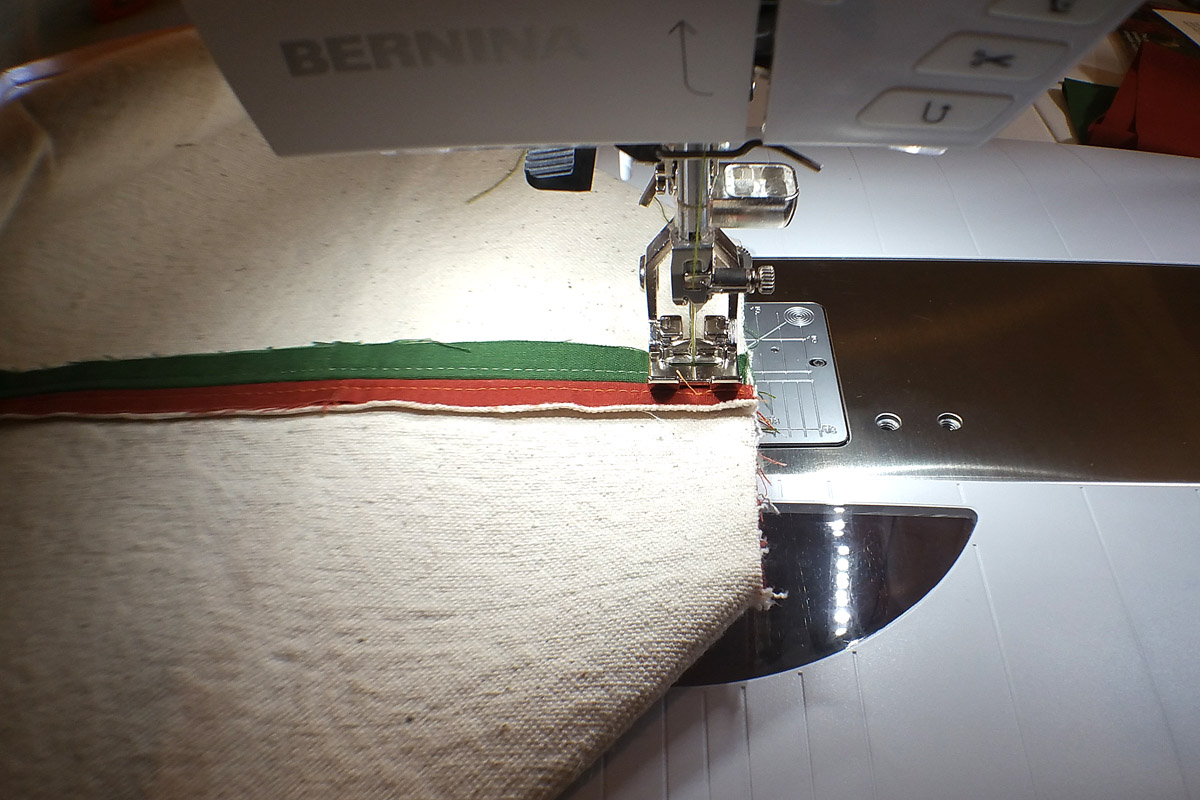
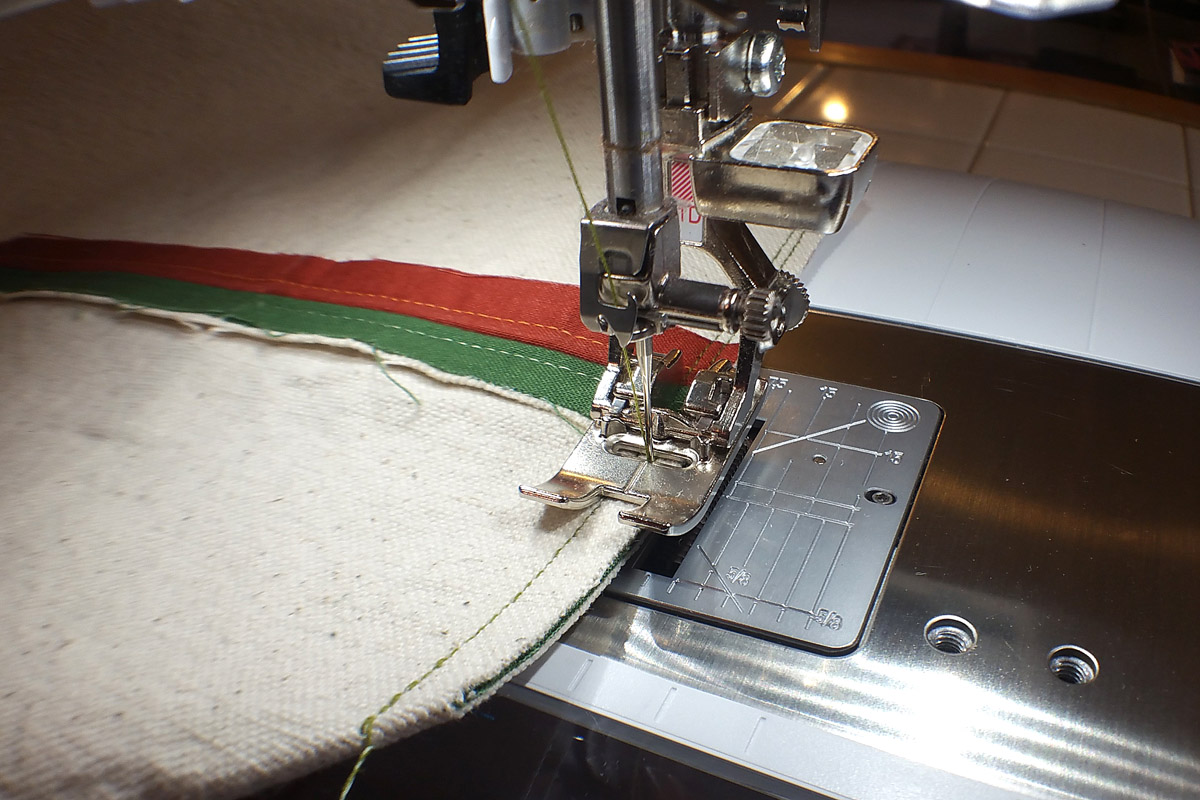
Get ready to sew the bag together by removing the sewing table on your machine. You will need to let the bottom part of the bag float underneath the sewing machine free arm while sewing. If you have the Dual Feed feature on your sewing machine, make sure it is engaged with the Reverse pattern foot #1D.
If you do not have Dual Feed on your sewing machine, you may choose to use the Walking foot #50 to help move all the thick layers through the machine to prevent shifting through this step.
Sew all along the top edge of the bag using a 1/2″ seam allowance. Backstitch a few times over the side seams and the straps. Sew slowly and carefully over the thick straps and side seams!

After stitching, take a close look at your stitches. If there are any crooked stitches around the top seam, they may result in the top edge of your bag looking a little off or wonky. Now is the time to go ahead and sew over any crooked or meandering stitches on the top edge to straighten them out.
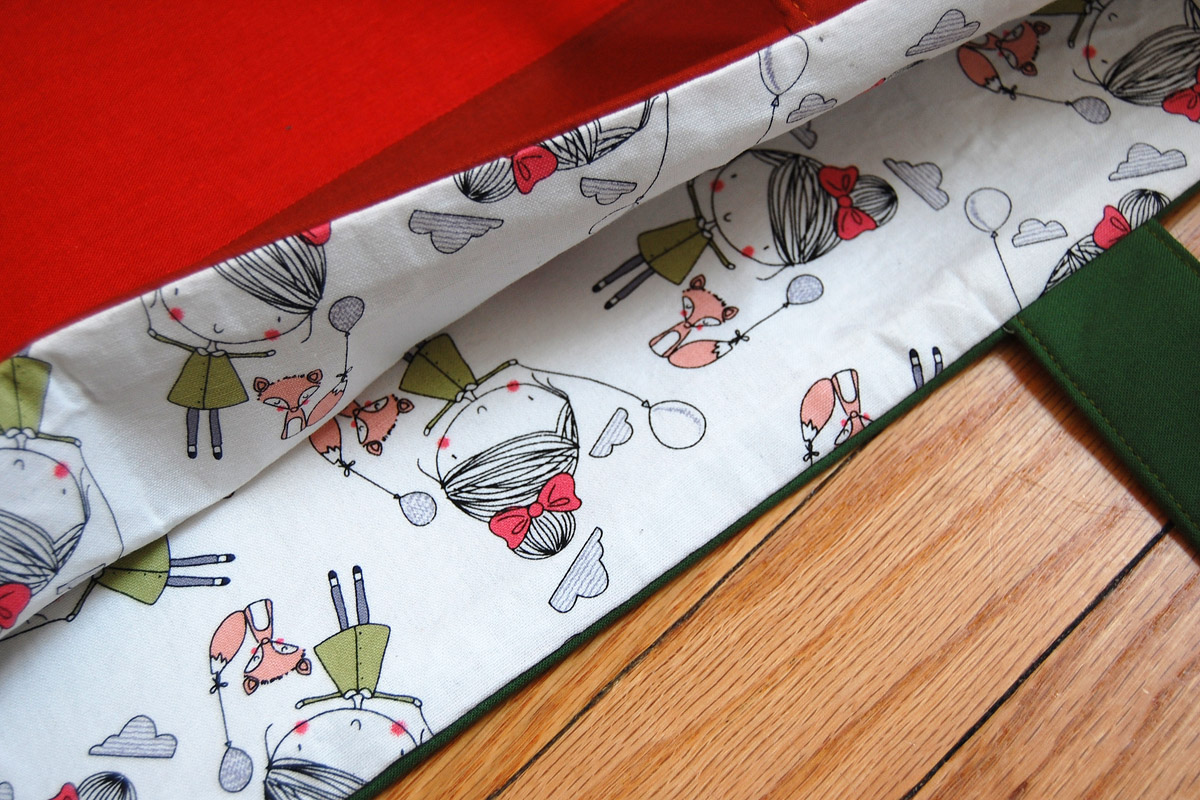
Turn the bag right side out through the side opening of the bag. Carefully push the lining down into the bag, easing out the corners as you go. You can see the open edge in the lining on the inner right side of the bag below.
Press the top edge of the bag, favoring the lining to the inside edge.
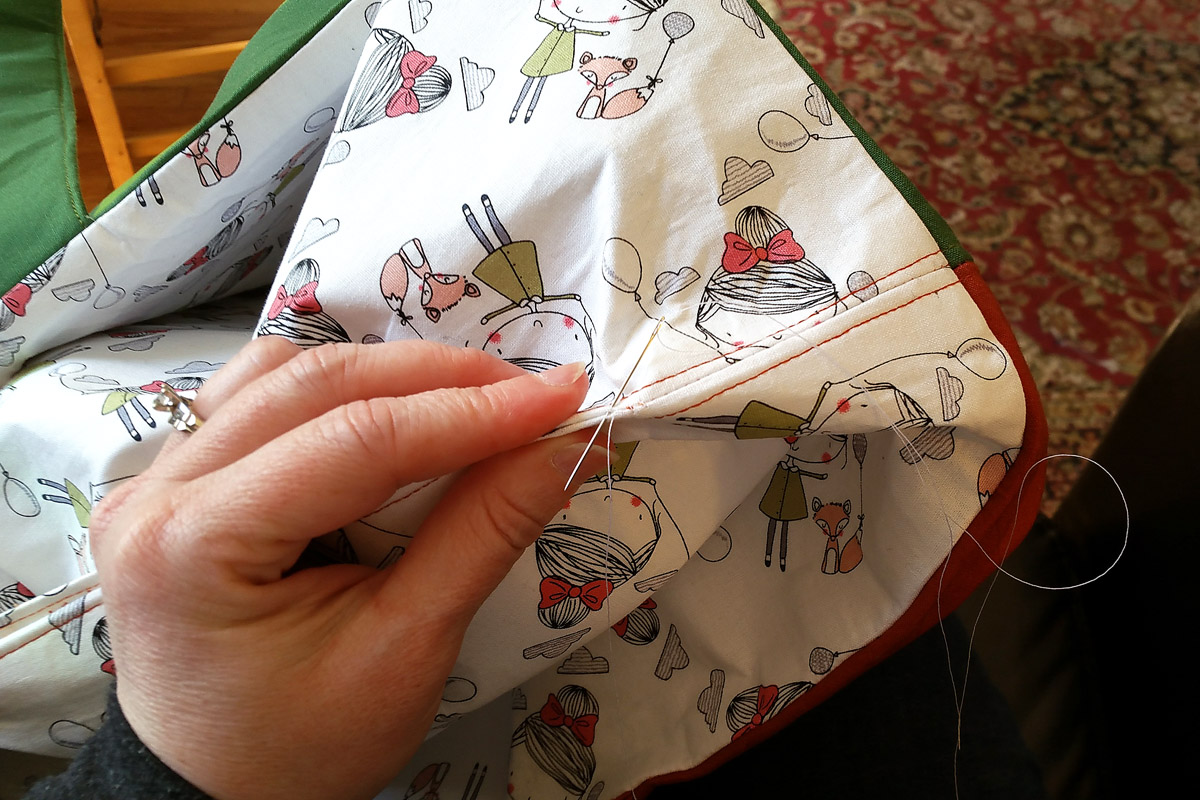
Hand-stitch the opening in the lining closed. I used a very teeny tiny whip-stitch, but you could use a ladder stitch or any other stitch you’re comfortable with.
Give your finished bag a final pressing, and you’re ready to enjoy it!
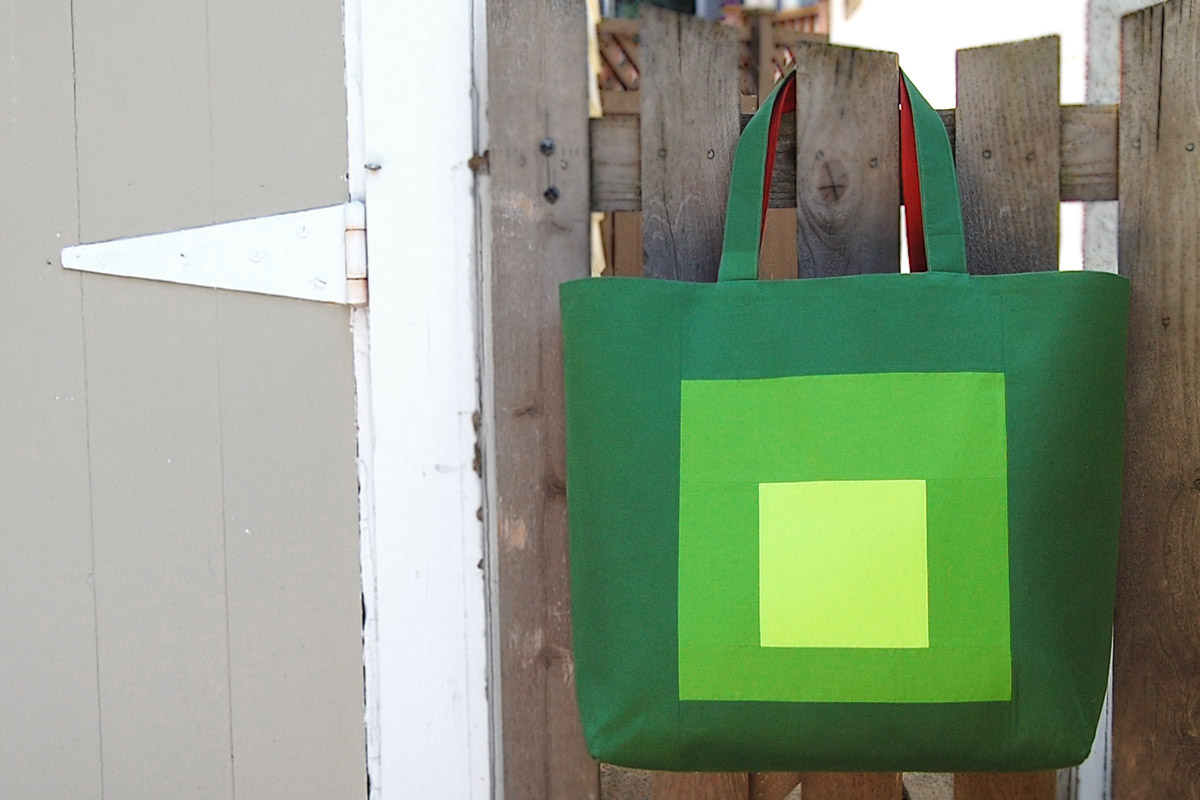
This bag definitely stands open all by itself, ready to carry your quilts (or anything else you can throw in it) anywhere you want to go!

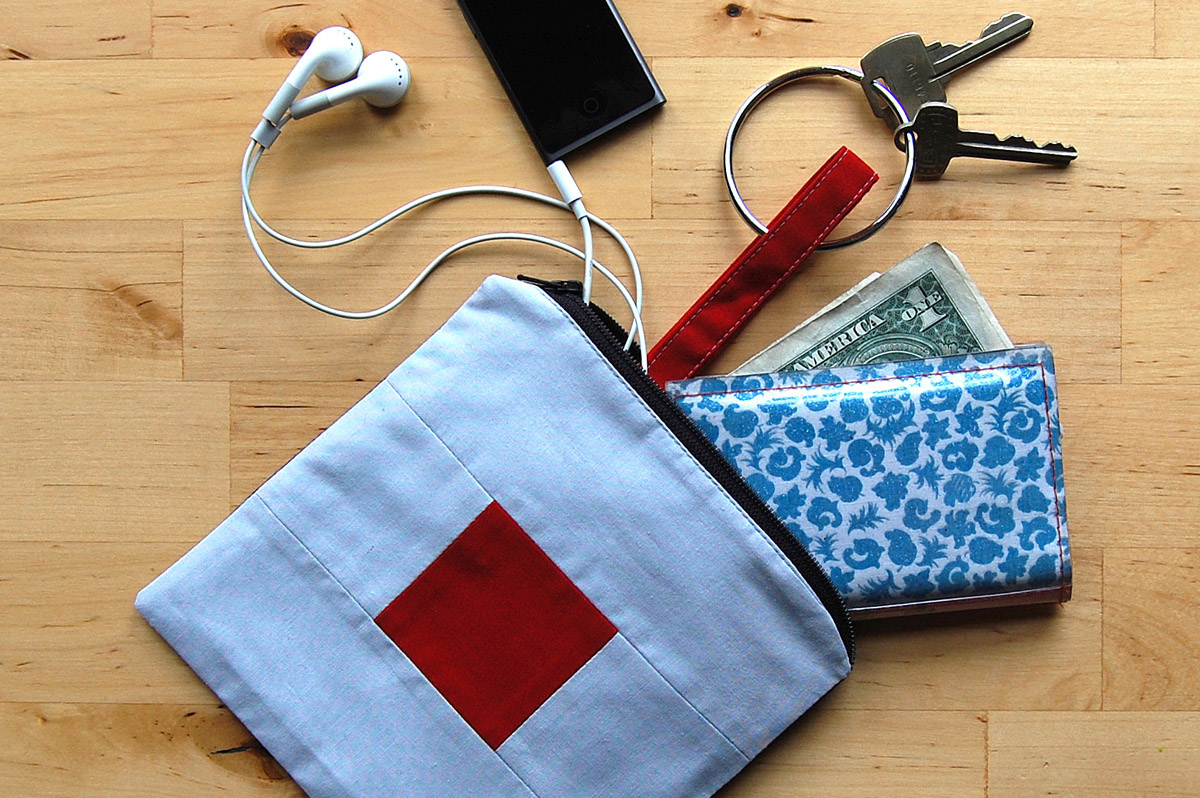
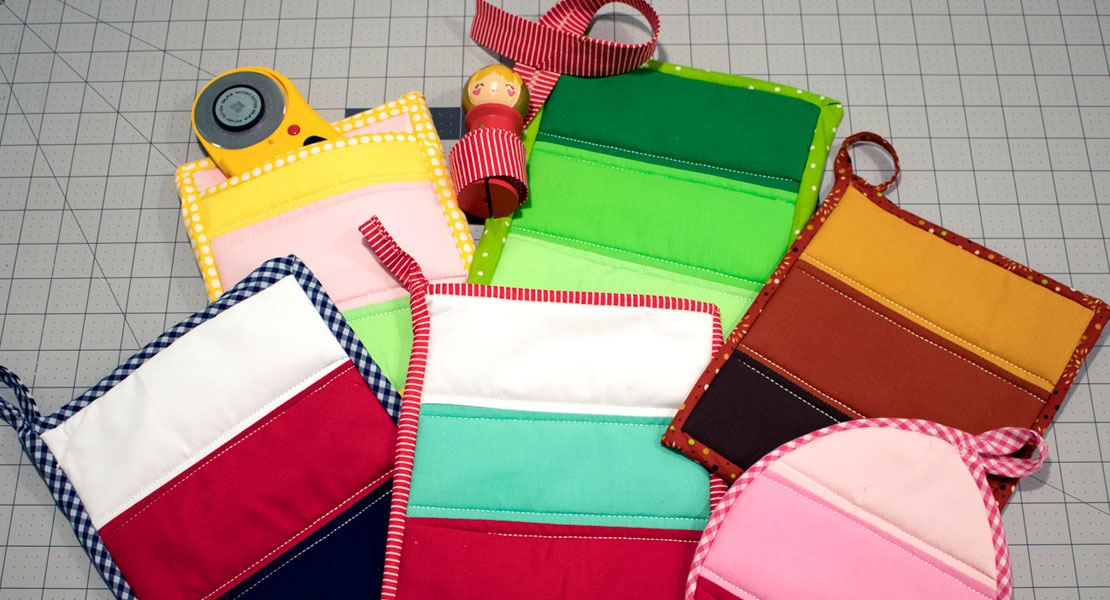
And speaking of quilts and hand sewing, if you plan on using this bag for carrying your hand sewing work, why not also stitch a little coordinating Color Block Zipper pouch to match? These little zip pouches have a D ring to attach your thread snips with a ribbon or lanyard (no loosing your snips if you’re sewing away from home!) and a small pocket to hold little sewing supplies—and you can toss it right into the tote!
Used Products


What you might also like


4 comments on “Color Block Tote Bag”
-
-
I agree. Very well written and detailed. I’ve got this on my list of things to sew and give for Christmas!
-
-
Nicely done. Can’t wait to give it a try.
-
love the pictures along with the step by step instructions. Thanks
Leave a Reply
You must be logged in to post a comment.

This is probably the best tote tutorial I have ever seen. Besides having clear instructions on how to do the color blocks, the bag lining and overall construction of the bag is great. I like how you told us what feet to use. I have saved this to my DIY Grocery Bags Pinterest board: https://www.pinterest.com/thelostapron/diy-grocery-bags/