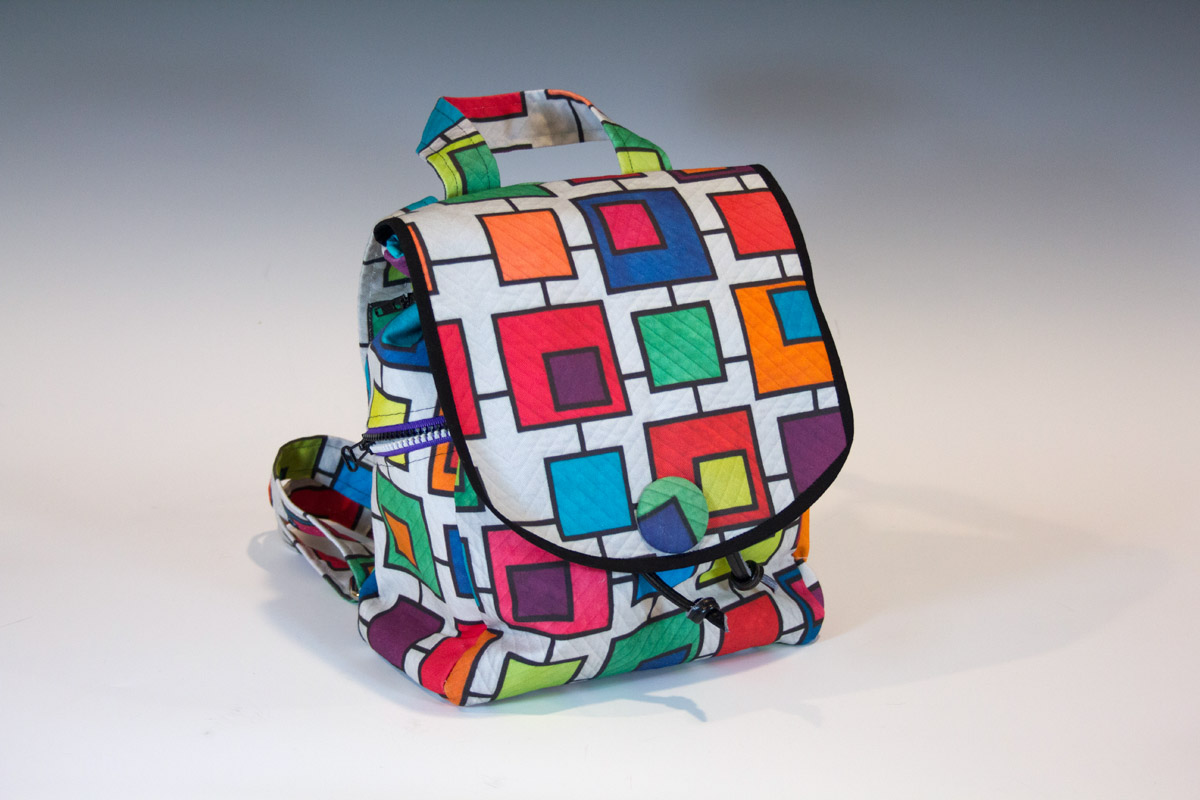
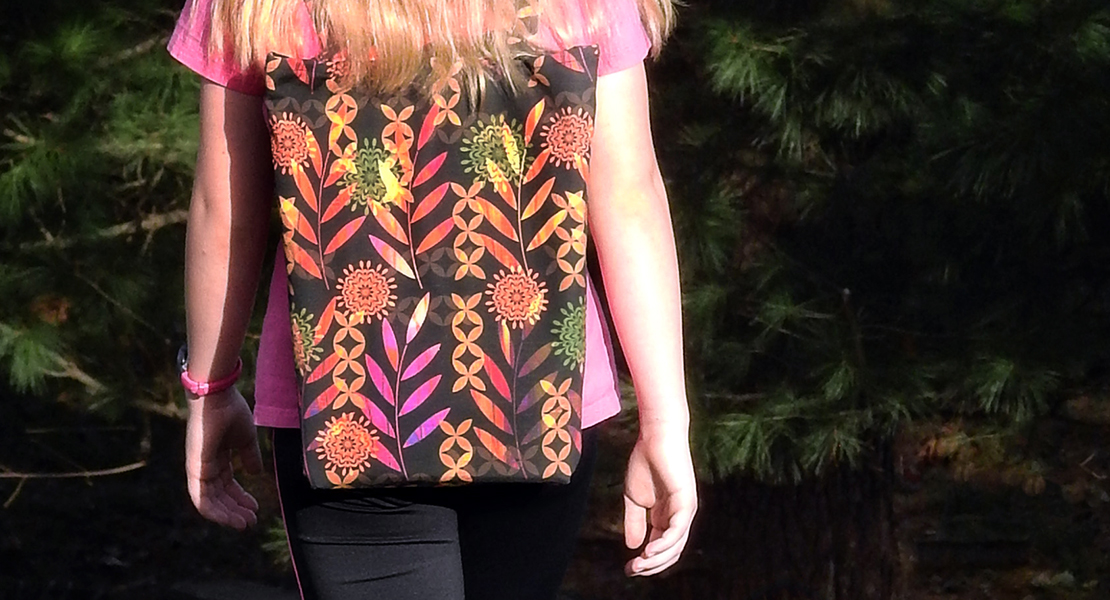
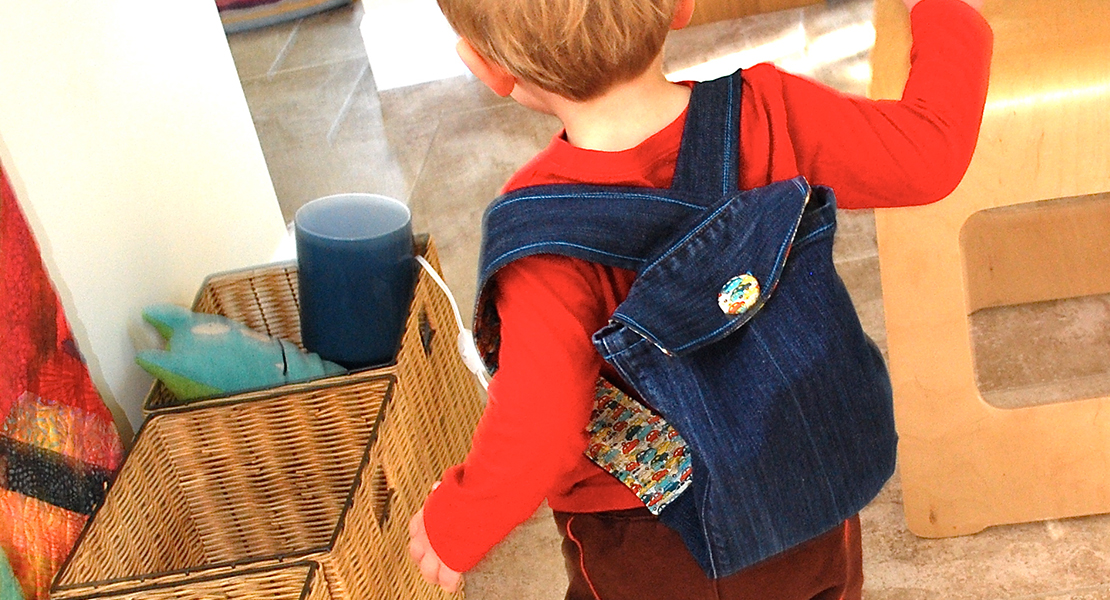
Connect the Boxes Backpack Tutorial: Part 1
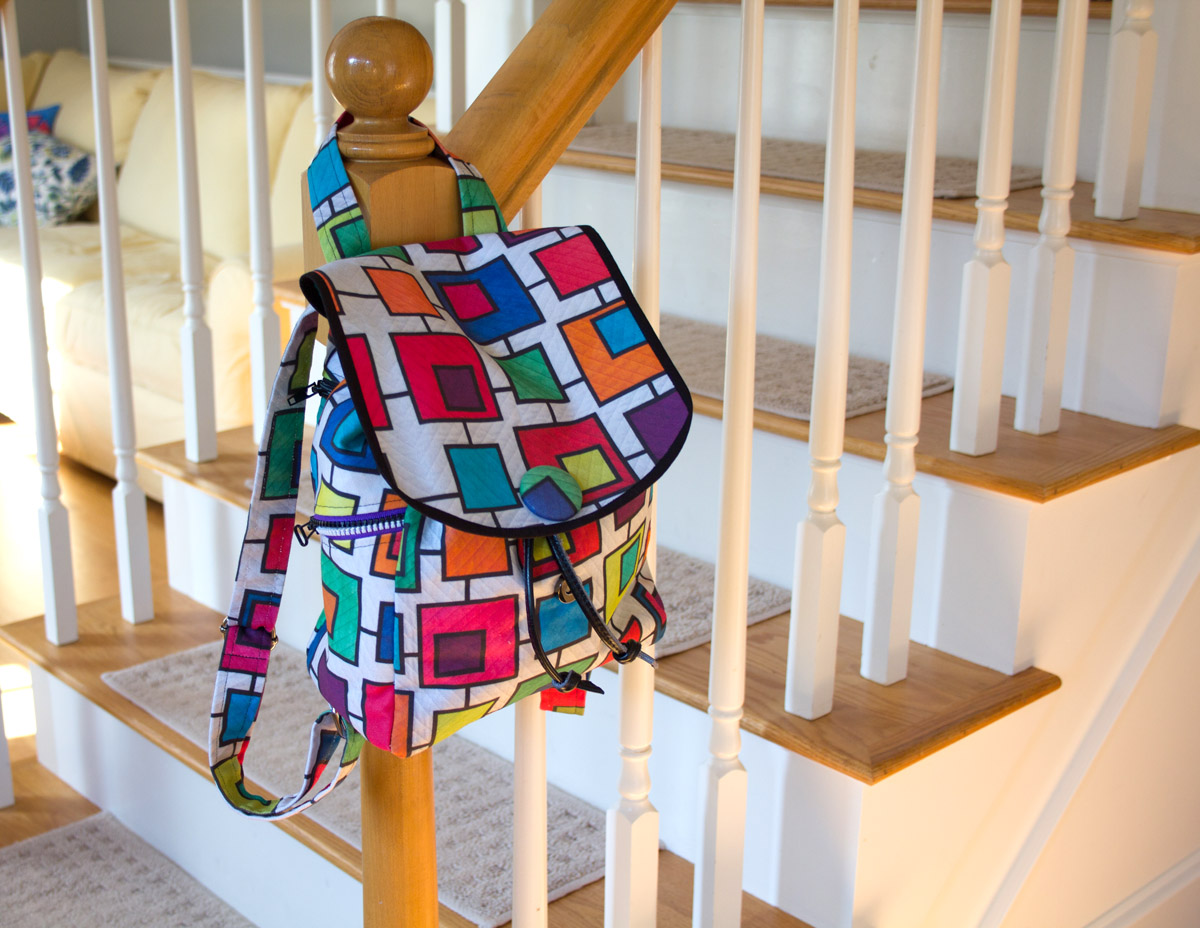
The design for this backpack was inspired by the fabric that I used which is a print of my “connect the boxes” quilt that I turned into fabric using Spoonflower. I thought it would be perfect for a backpack and I was right! I know that the idea of creating a backpack with lots of zippers and adjustable straps may seem like a daunting project but trust me—if you can sew a straight line you can make this bag. I’m going to walk you through the construction of the bag in two parts. In the first part today we’ll make the outside of the bag, and in part two we’ll make the lining and assemble the bag. There are a lot of steps to follow but just take them one at a time and before you know it you’ll have a new bag to show off.
Materials to Make a Connect the Boxes Backpack:
- Fabric for the outside of the bag: I used one yard of 54″ wide canvas fabric. If you want to use the same fabric that I did you can order that through my spoonflower shop here
- Lining fabric: 1 yard. I used cotton because it’s easy to sew
- Contrasting fabric to bind the bag flap with (I used black): one piece 1 1/2″ x 32″
- Mistyfuse fusible web
- One 12″ zipper for the back panel (Note that the zipper pockets are optional so if you prefer to leave them out, it’ll still be an awesome bag.)
- Two 6″ zippers for the side panels
- One 12″ zipper for the inside pocket
- Eyelets/grommets—I used the 7/16″ size (Note: if you would prefer not to use eyelets you could do buttonholes instead.)
- 1/2 yard of leather, vinyl, or some other type of cording to use as the drawstring
- Magnetic snap
- Cord stop
- Two D rings at least 1 1/2″
- Two Slide buckles
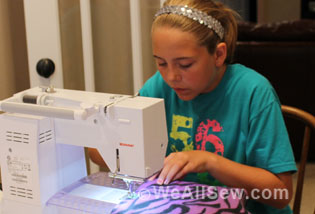
- Sewing machine (I use a BERNINA 740)
- Reverse pattern foot with clear sole #34
- Zipper foot #4/#4D
- Patchwork foot with guide #57/#57D
All seam allowances are 1/2″ unless otherwise noted
Okay ready for part 1? Here we go!
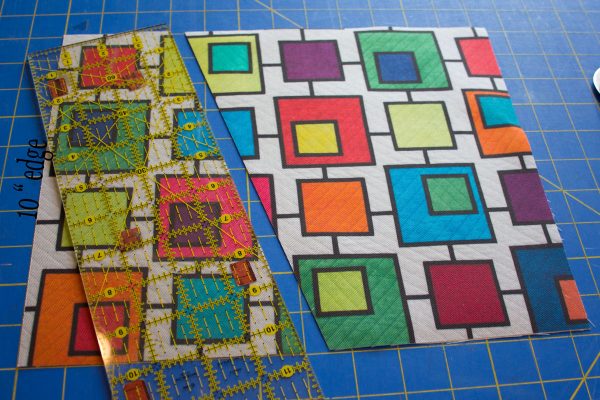
Step 1: Cut the following pieces from your outside fabric. If you are working with a lightweight fabric, you may want to apply a layer of interfacing to the wrong side to give it some body before you cut the pieces. I didn’t have any interfacing on hand but I always have Mistyfuse and muslin so I just fused a layer of muslin to the back side of my fabric to give it a little more body.
Cut the following from your outside fabric:
Two pieces 12″ x 10″—front and back panels
(note that the 10″ sides are the top and bottom of the pieces)
Two pieces 12″ x 5″—side panels
One piece 5″ x 10″—bottom panel
One piece 9″ x 10″—flap
Two pieces 5″ x 36″—straps
One piece 5″ x 12″—carry handle
Two pieces 5″ x 3″—strap loops
Cut the following from your lining fabric:
One piece 10″ x 10″—back pocket lining
One piece 9″ x 10″—flap lining
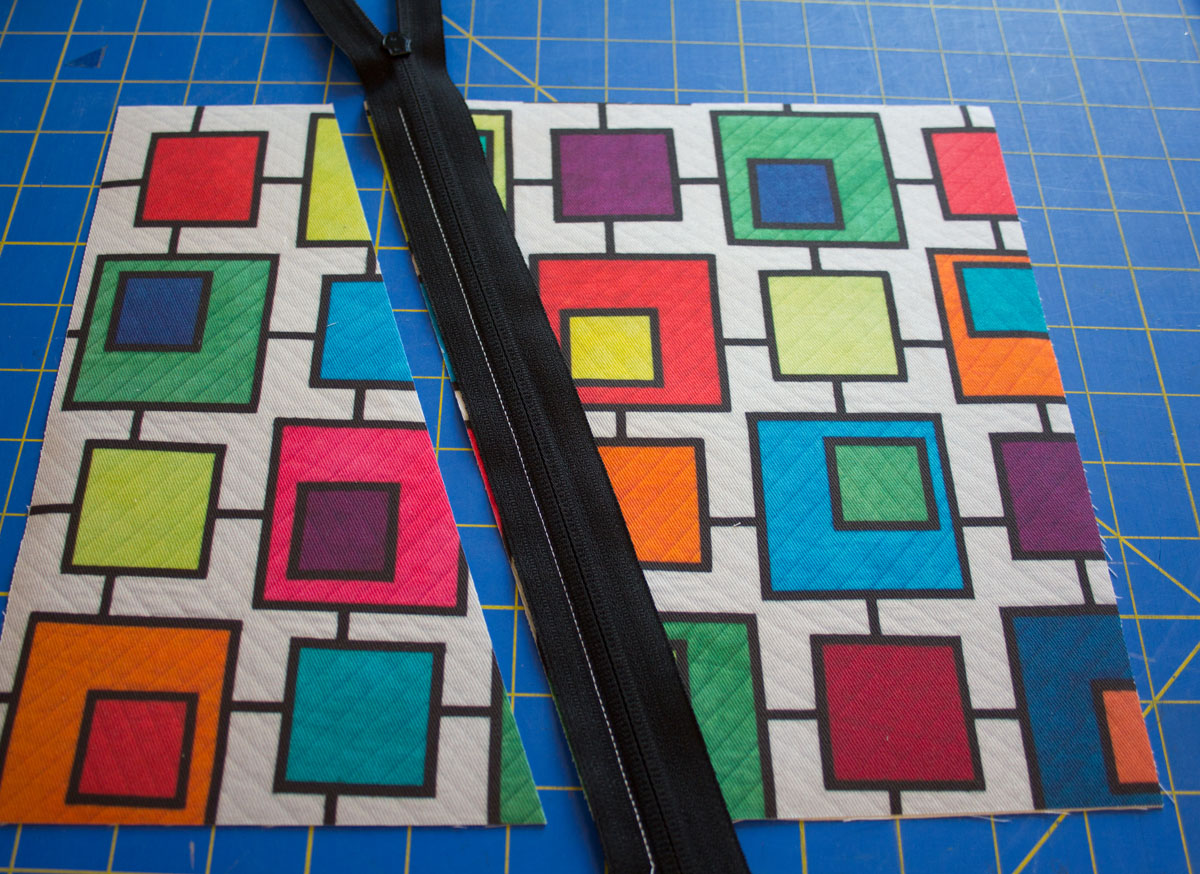
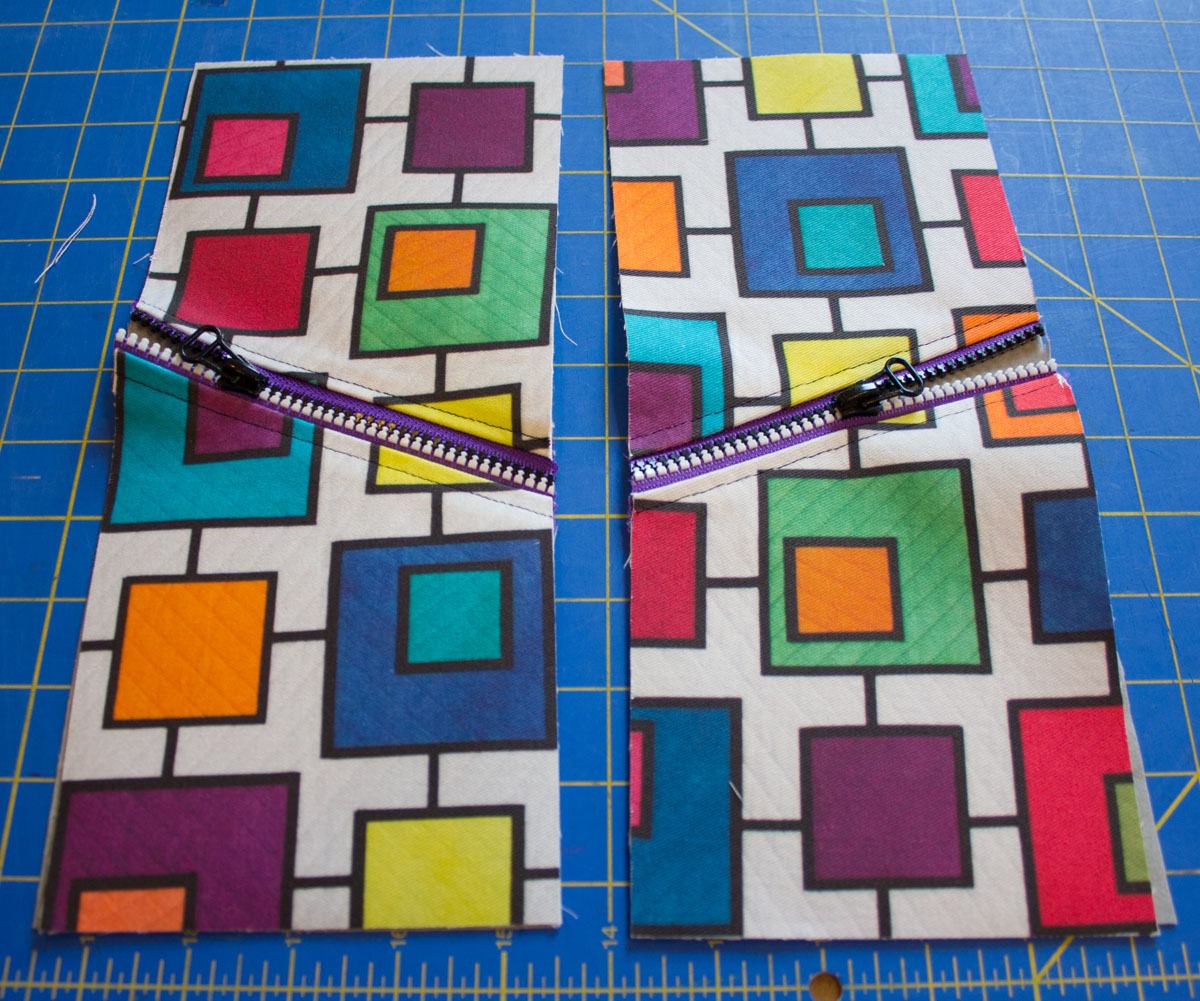
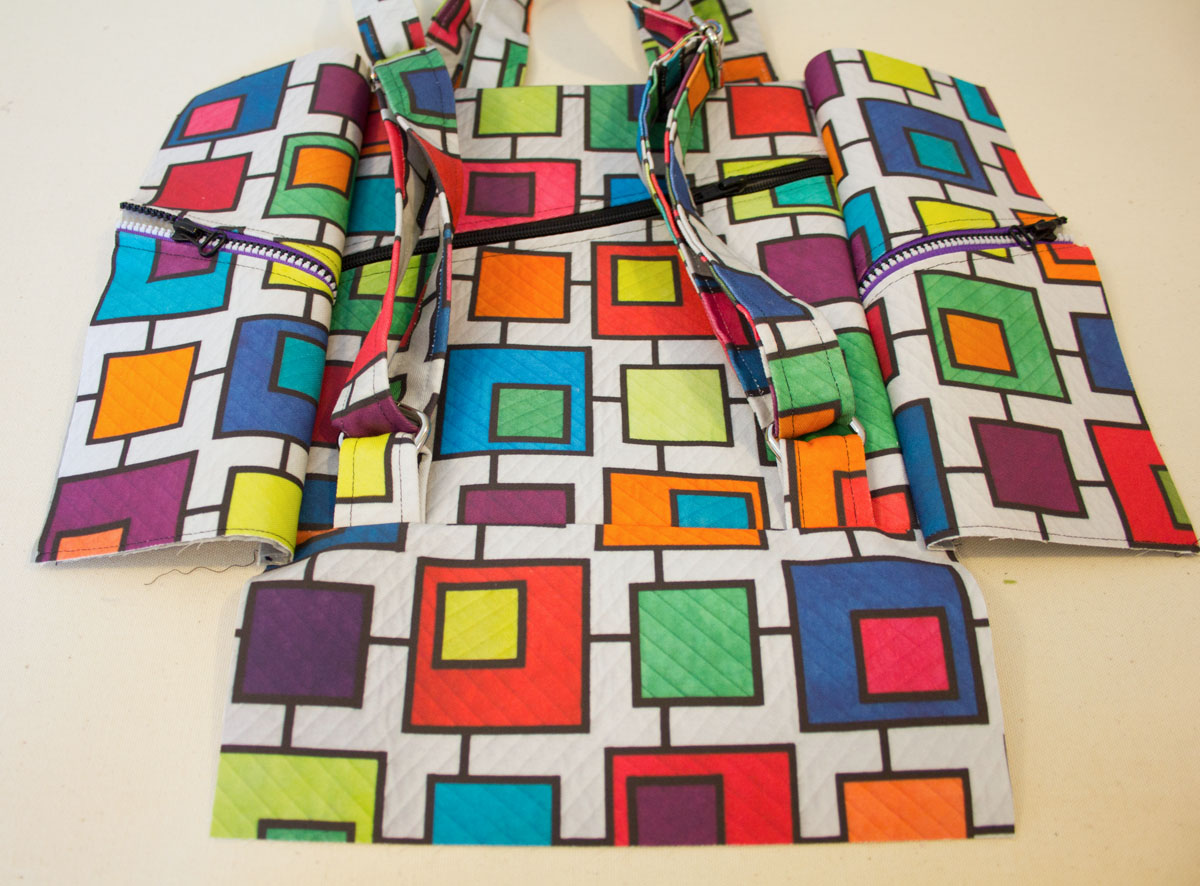
Step 2: Insert the zipper in the back panel
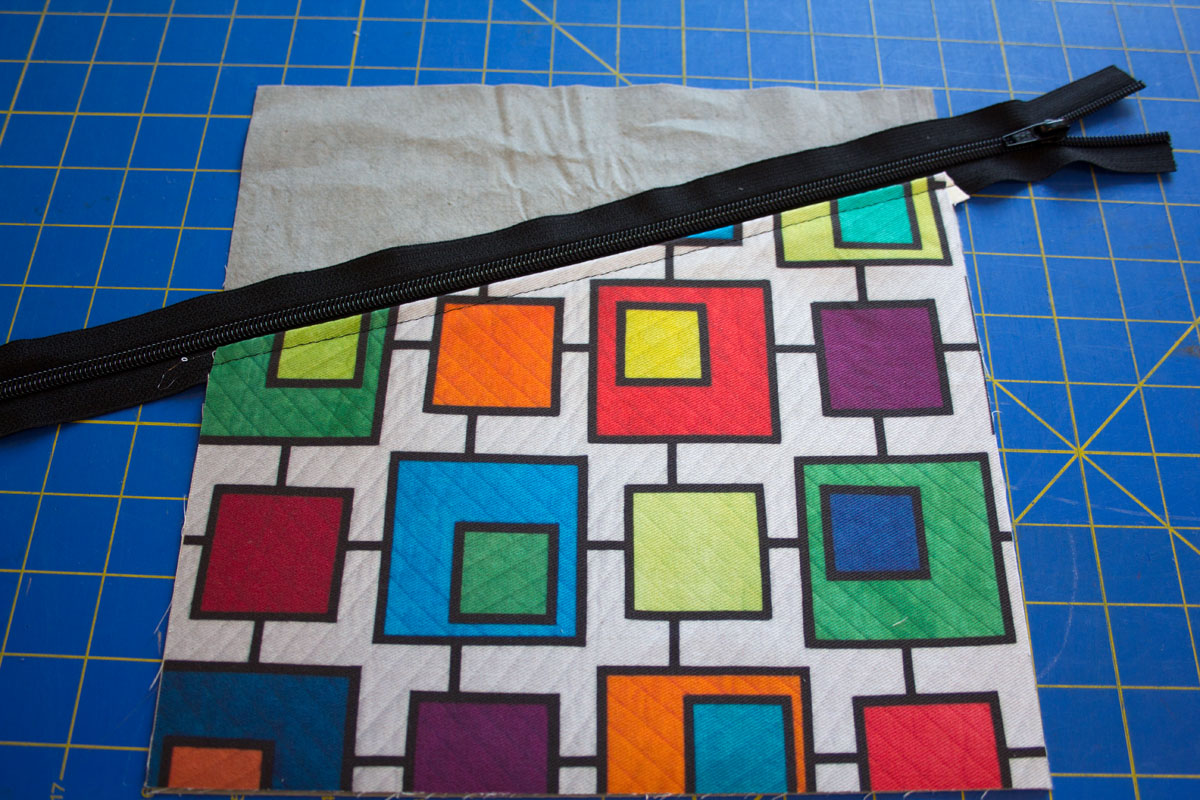
Place the back panel piece on your work surface and make a diagonal cut 3″ from the top of one upper edge and 6″ down from the other.
Place one of the 12″ zippers face down on the right side of the bottom half of the back panel. The zipper will extend beyond the edges and that’s okay, we’ll trim it off later. Put your zipper pressure foot on your machine and sew the zipper in place.
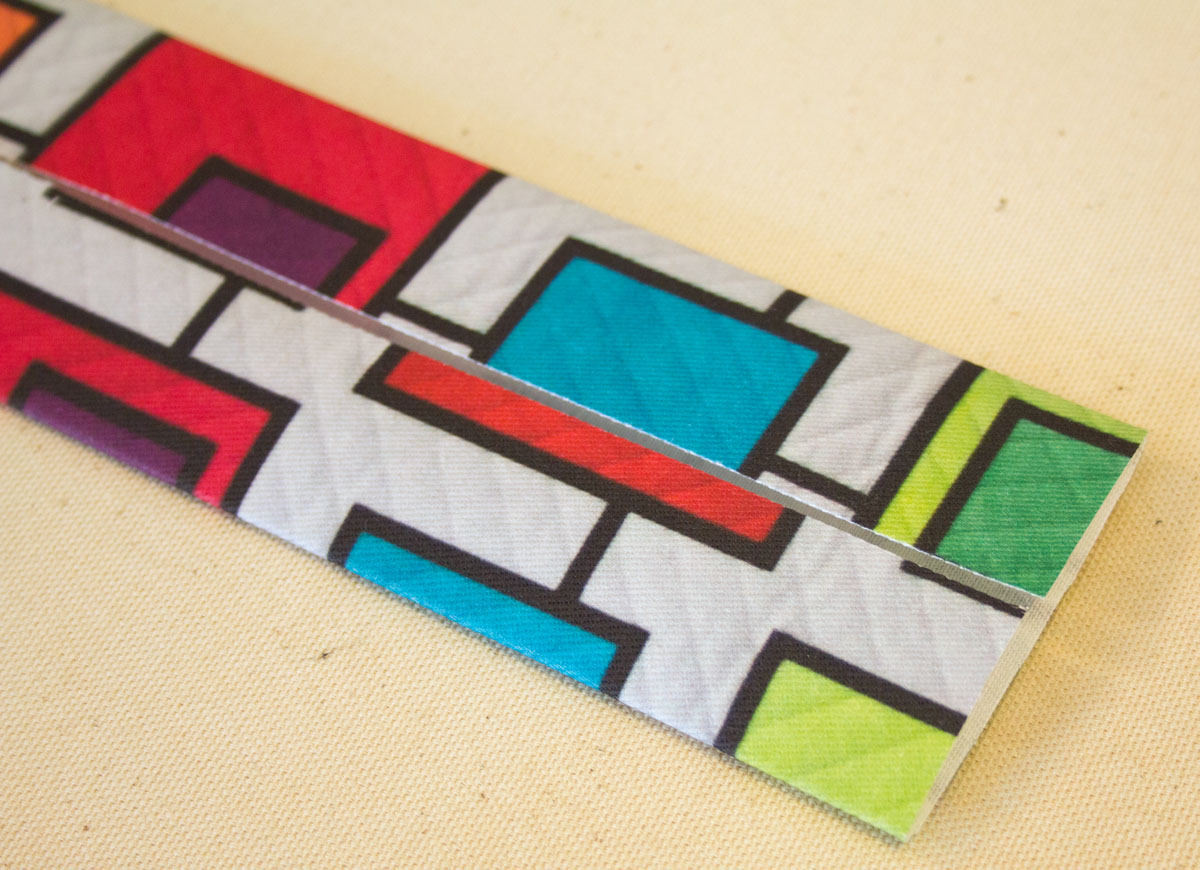
Turn the piece over, press it and then topstitch along the zipper edge.
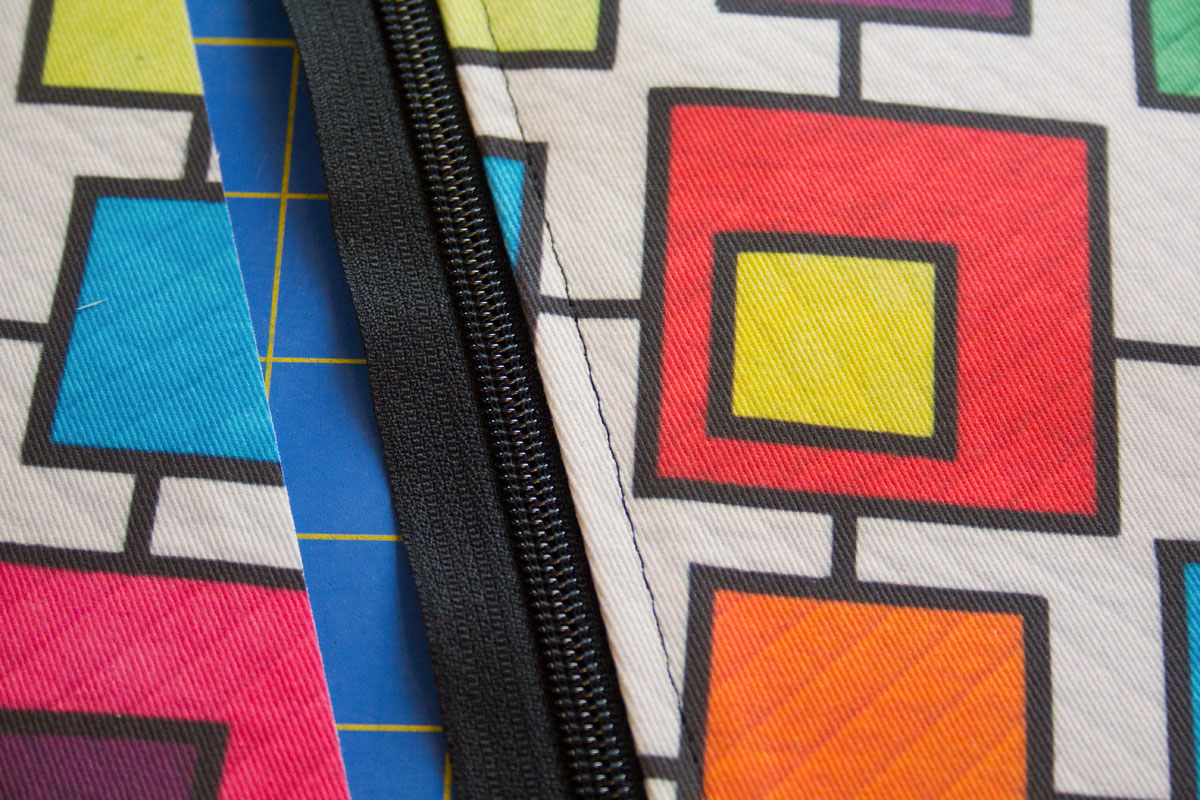
Place your back pocket lining piece on your work surface right side up (I’m using a gray cotton in the photos) and place the lower half of the bottom panel on top of it wrong side down. The right side of the lining fabric should be against the wrong side of the bottom panel.
Place the top half of the back panel on top of the other side of the zipper tape. Take the whole thing to the sewing machine and sew the three layers together.
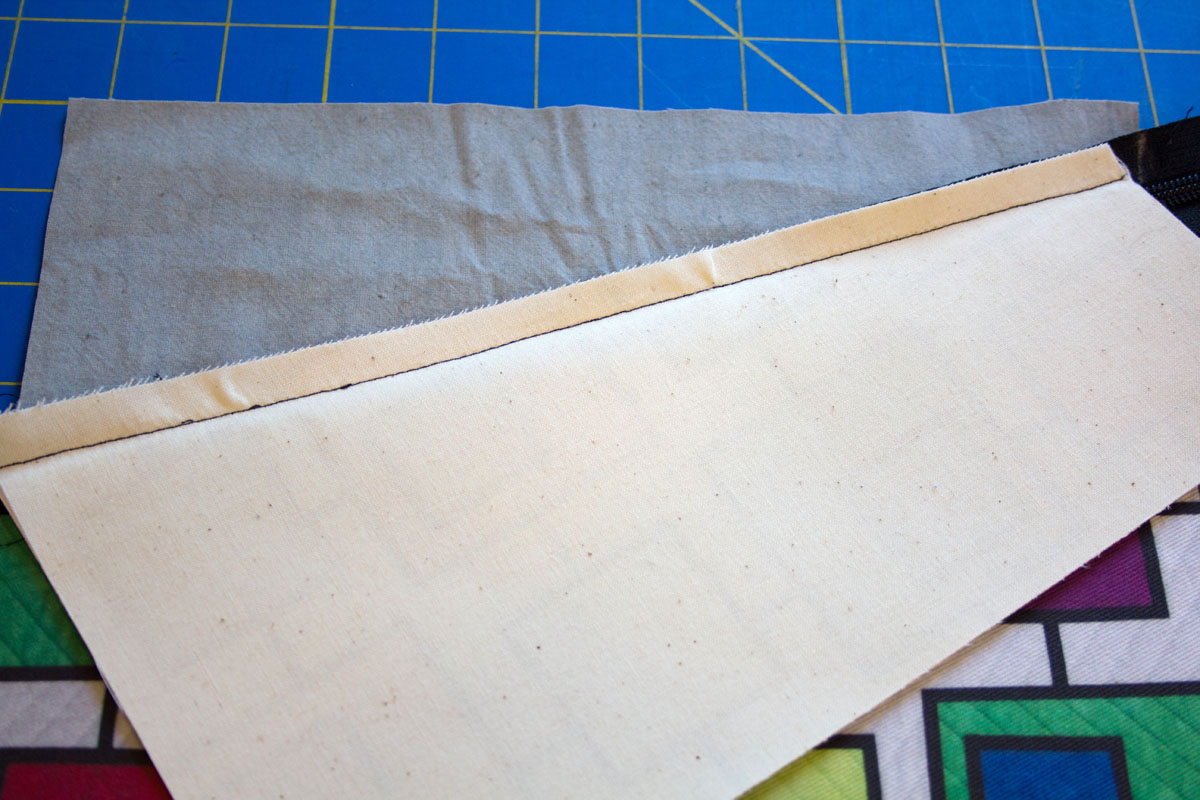
Trim off the excess lining from the top edge.
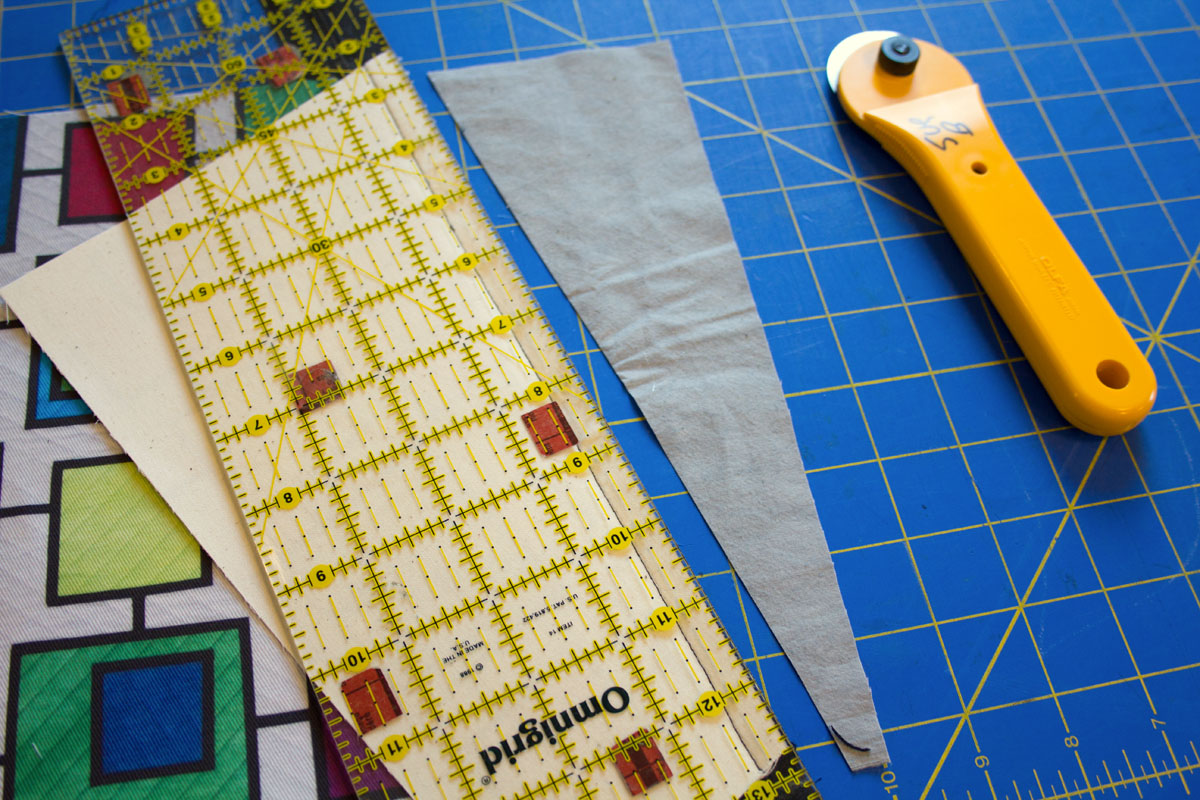
Turn the top edge of the back panel up, press it and top stitch it along the zipper tape edge. Pull the zipper tab to the center of the zipper and then trim off the excess zipper tape.
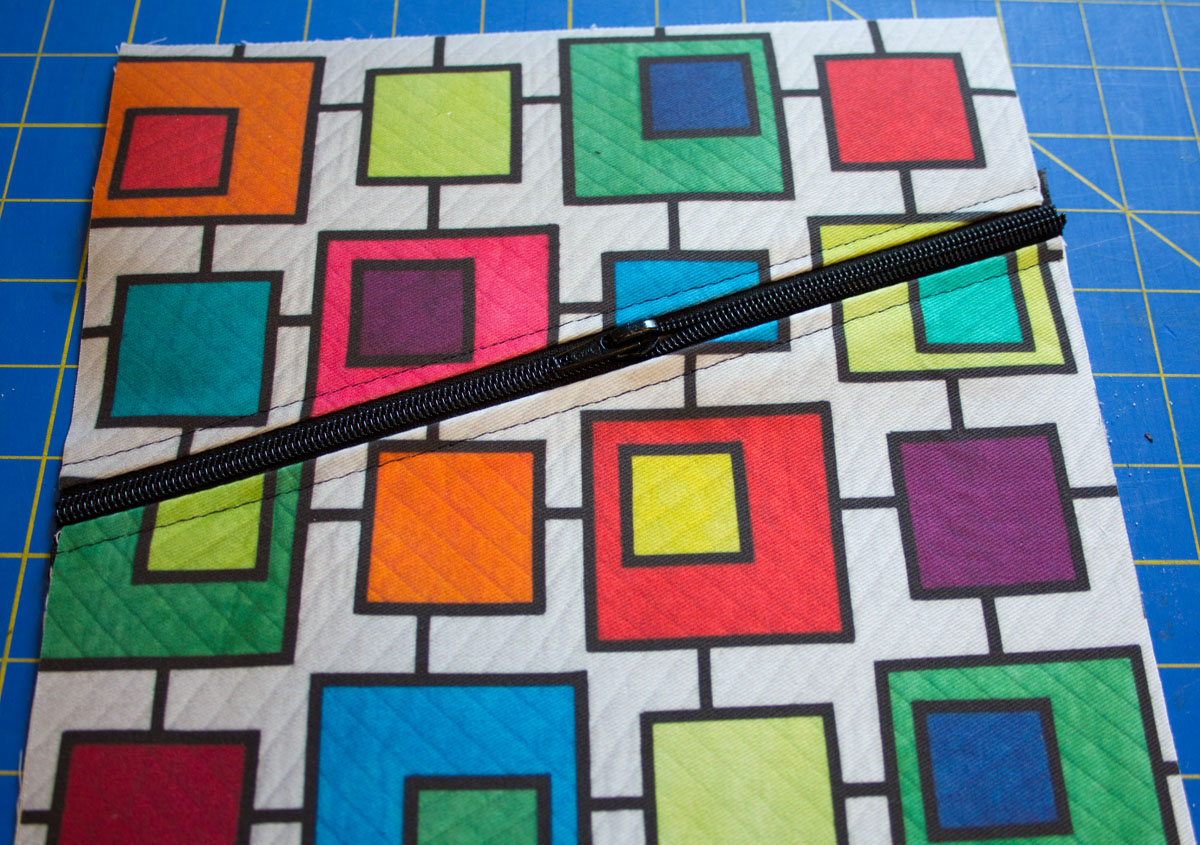
Set the back panel aside.
Step 3: Insert the zippers into the side panels. The side panel zippers are done the same way as for the back panel. The diagonal cuts are made 5″ down from one top edge and 7″ down from the other. Cut the pocket lining fabric 8″ x 5″ and follow the directions to install the zipper in step 2.
Step 4: Make the straps, the carry handle and the strap loops. Fold one of the straps wrong sides together lengthwise and press along the fold. Open out the strap and fold each long edge to the center pressed line and press them well. Fold the strip in half again to encase the raw edges, press and then topstitch 1/4″ in along each long edge.

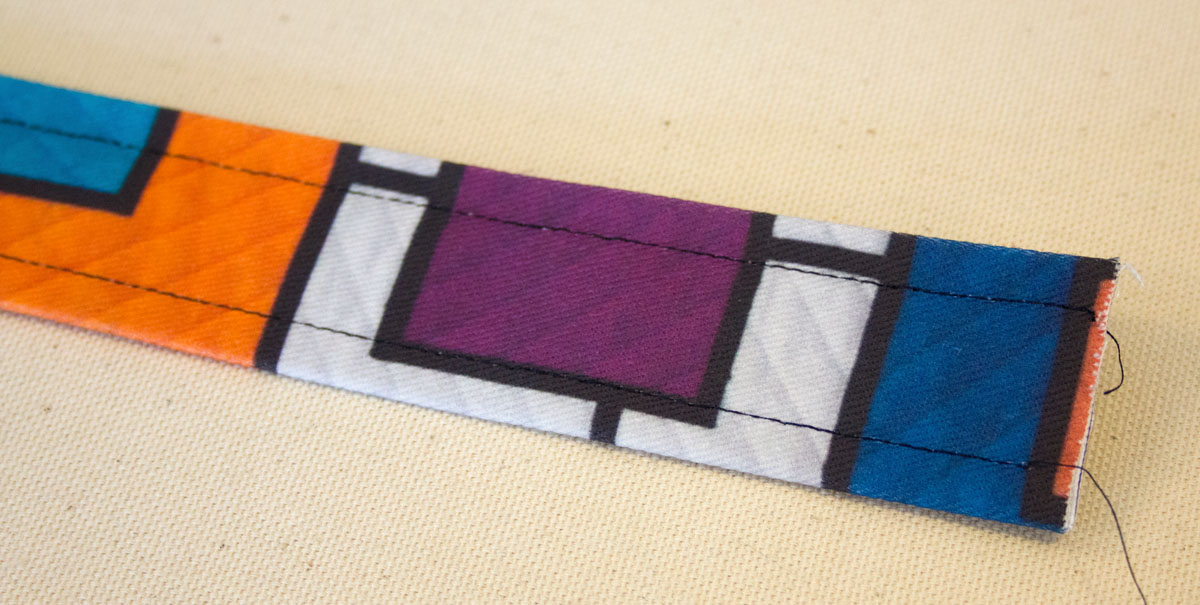
Repeat for the other strap, the carry handle piece and the strap loops.
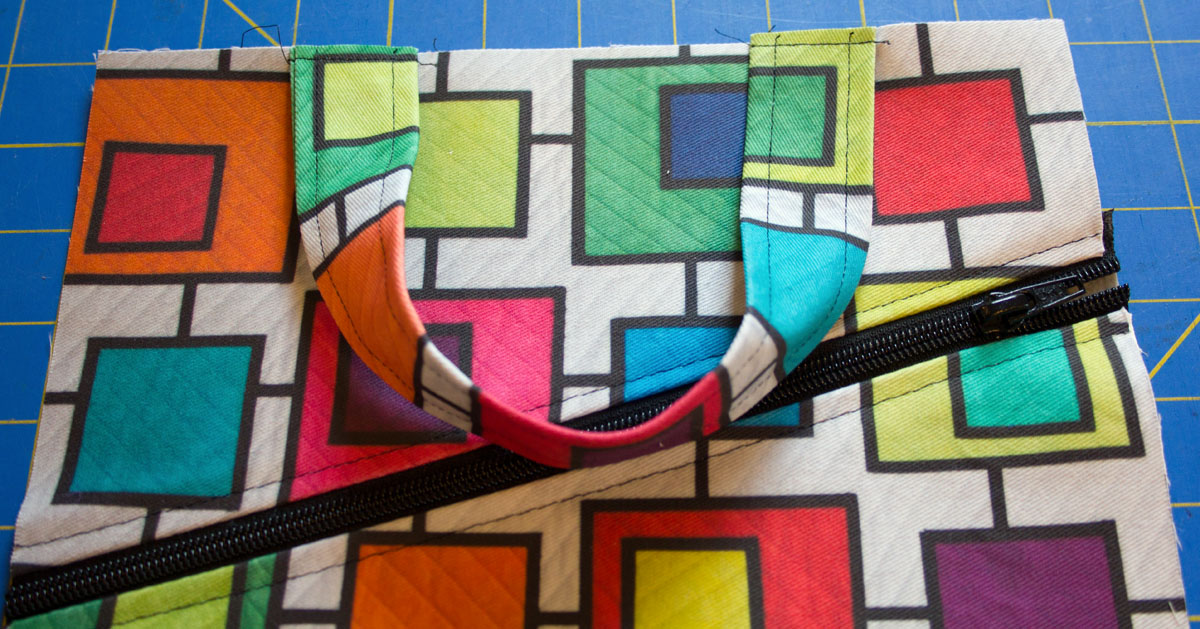
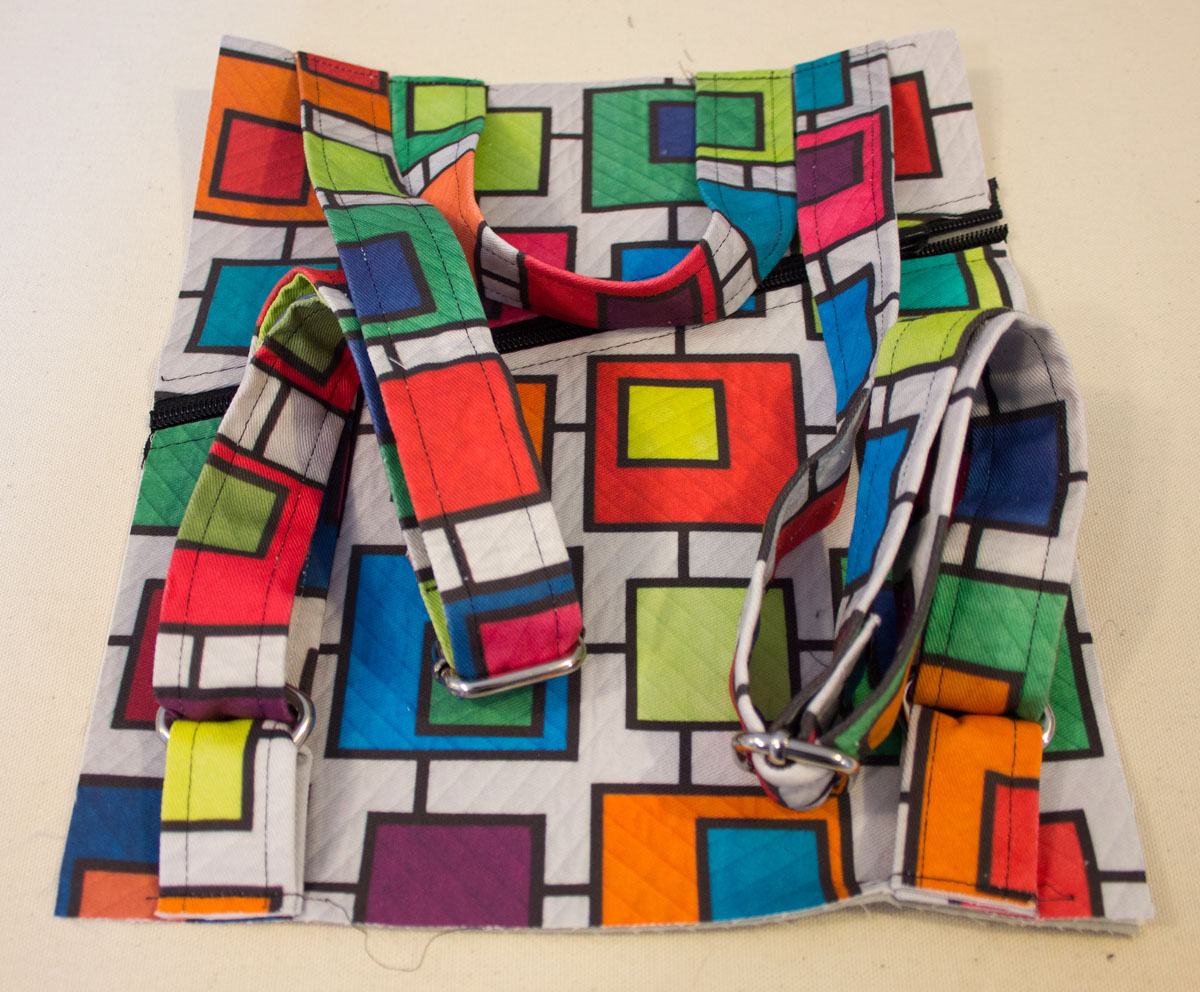
Step 5: Sew the carry handle to the top of the back panel. Place the raw edges of the carry handle along the top of the back panel 2″ in from the outer edge. Baste them in place using a scan 1/4” seam allowance.
Step 6: Create the adjustable straps. Feed one end of the strap over and around the center piece of the slide buckle. Sew the strap end down to the strap encasing the slide buckle.
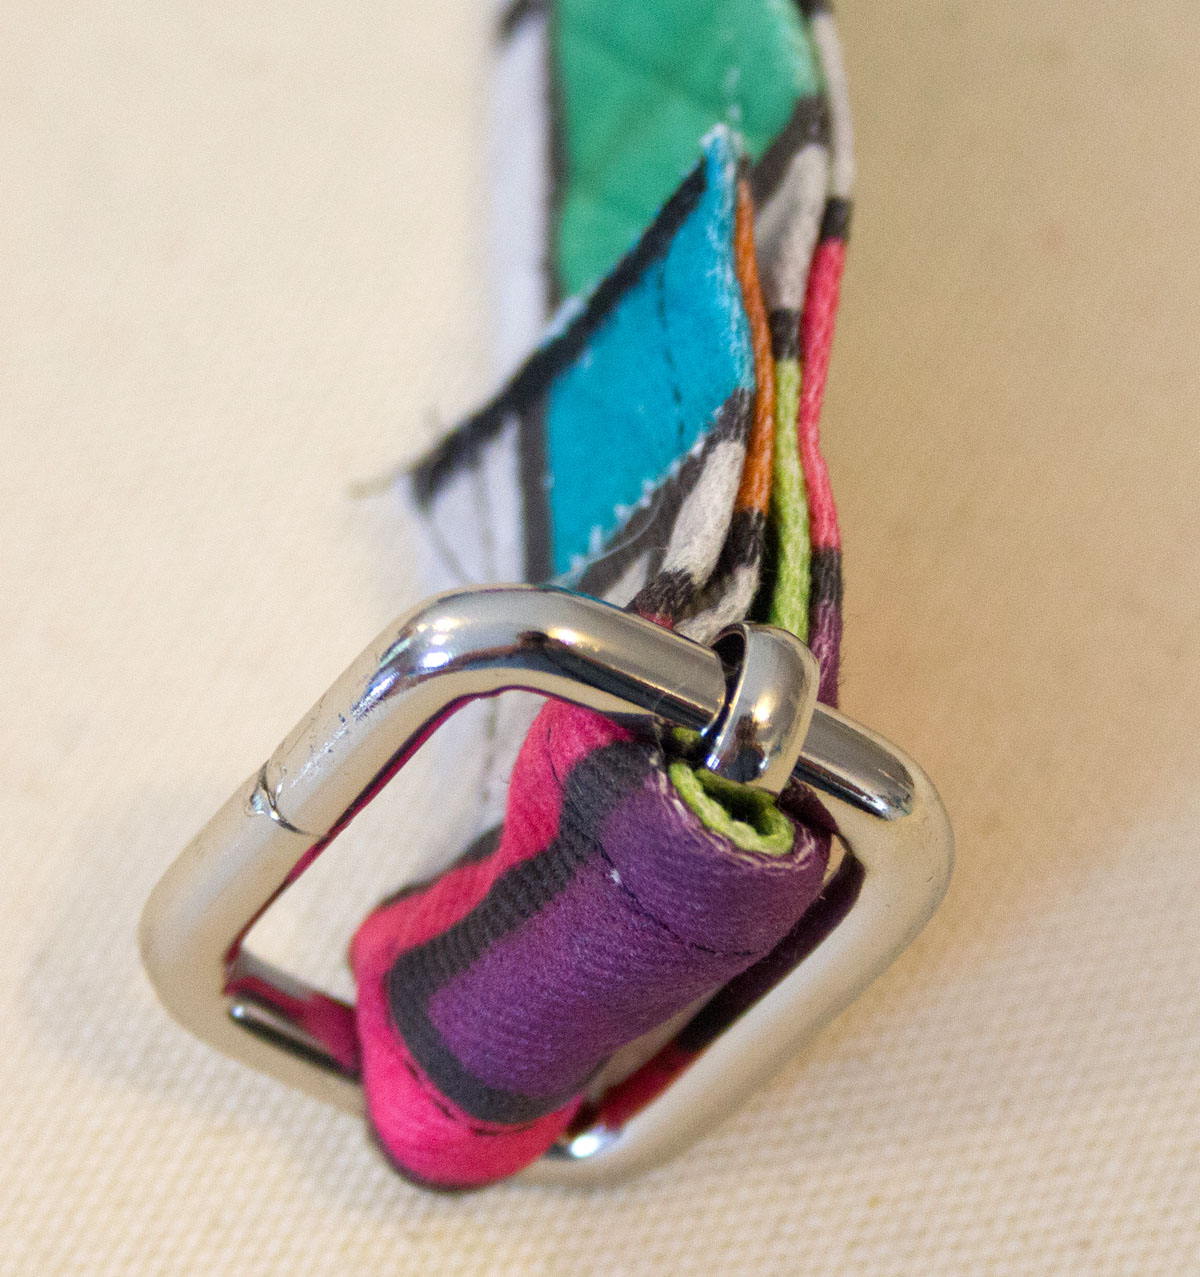
Slip the other end of the strap through a d ring and then through the top of the slide buckle.

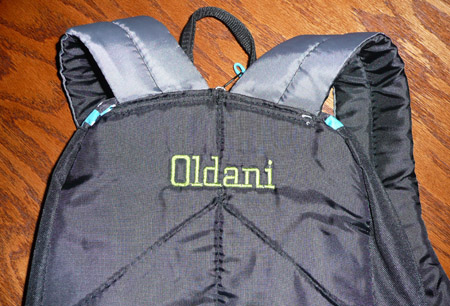
Step 7: sew the straps to the back panel. Slip one of the strap loops through one of the strap d rings. Align the raw edges of the strap loop along the bottom edge of the back panel 1″ from the outer edge and base the strap loop in place using a scant 1/4″ seam.
Repeat for the other strap.
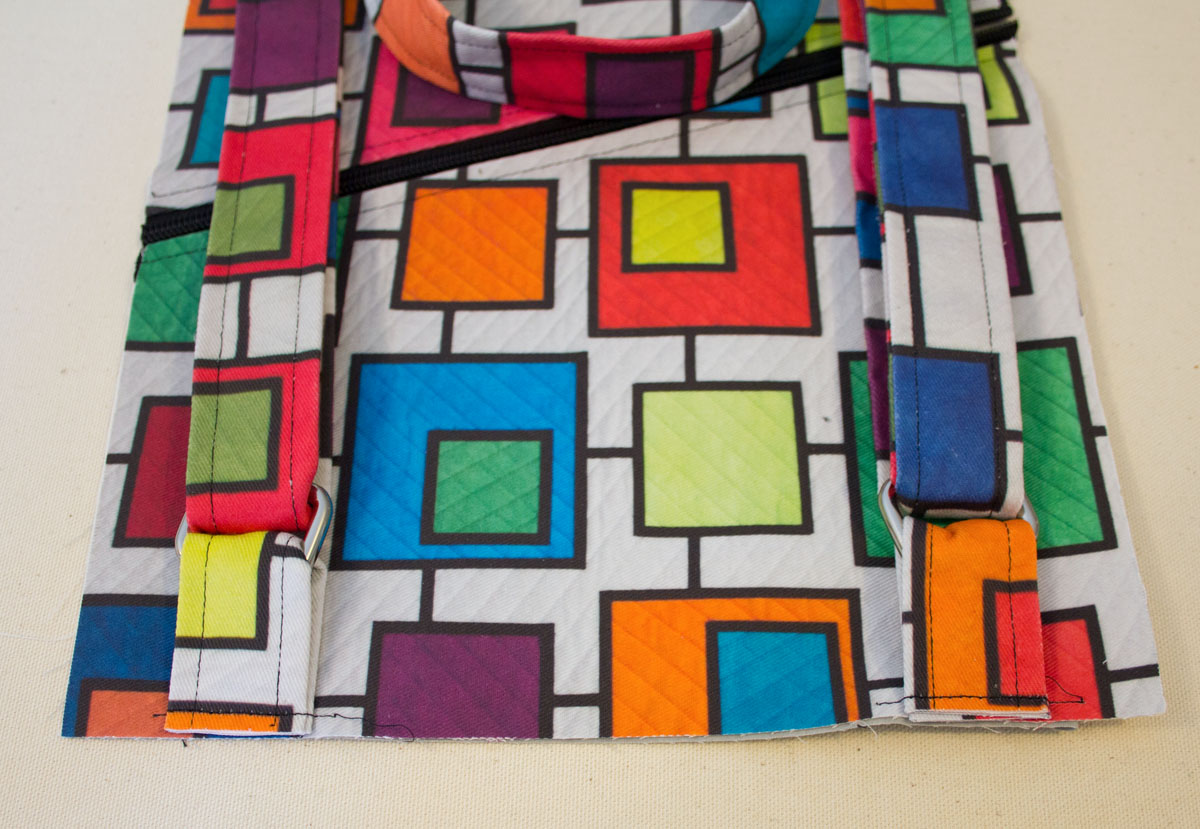
Baste the top of the straps to the top edge of the back panel 1″ from the outer edge.
Step 8: Assemble the rest of the outer bag. With right sides together sew each side panel to the back panel. Open then out and sew the bottom panel to the bottom edge.
Sew the front panel to one of the side panels along one edge. Repeat for the other side and then sew the front panel to the bottom panel along the bottom edge. Finally, sew the bottom panel side seams close.
Turn the back right side out.

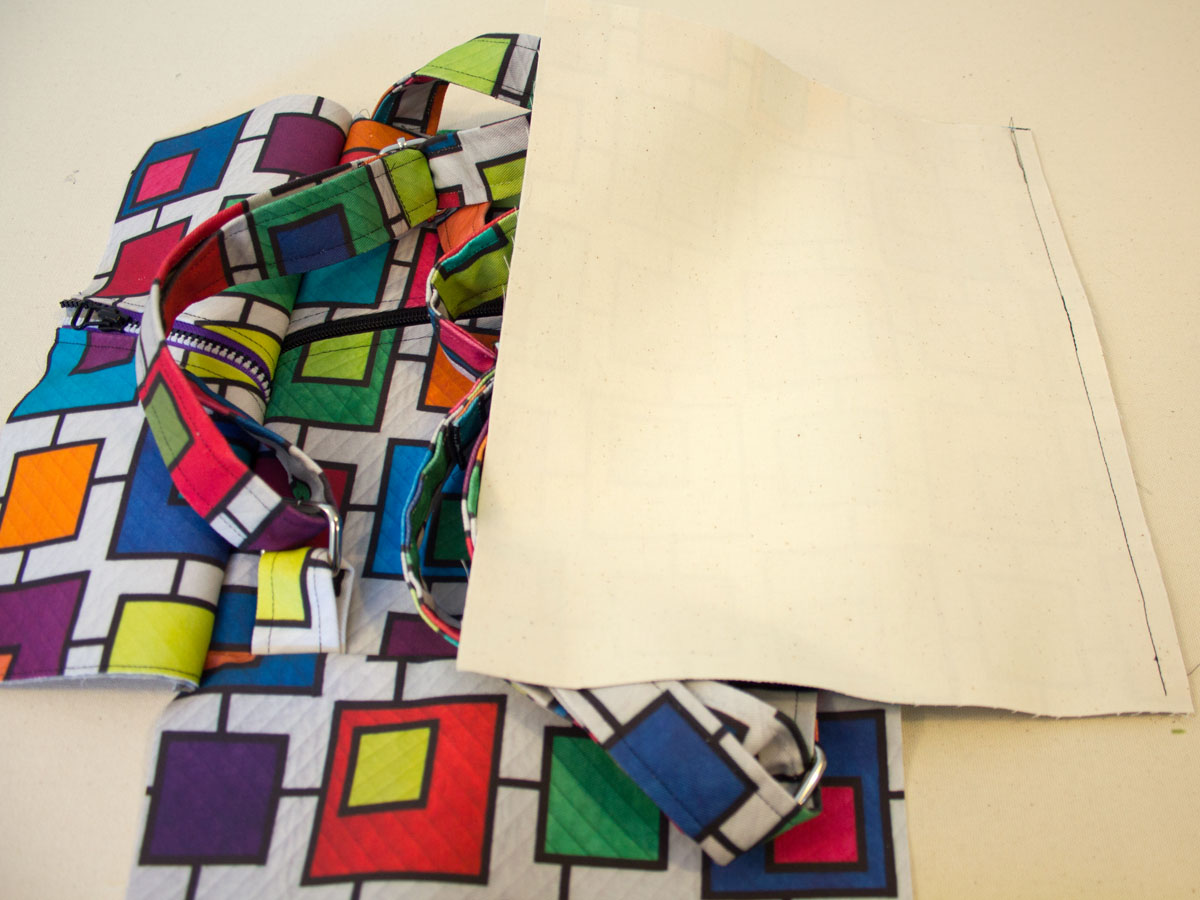
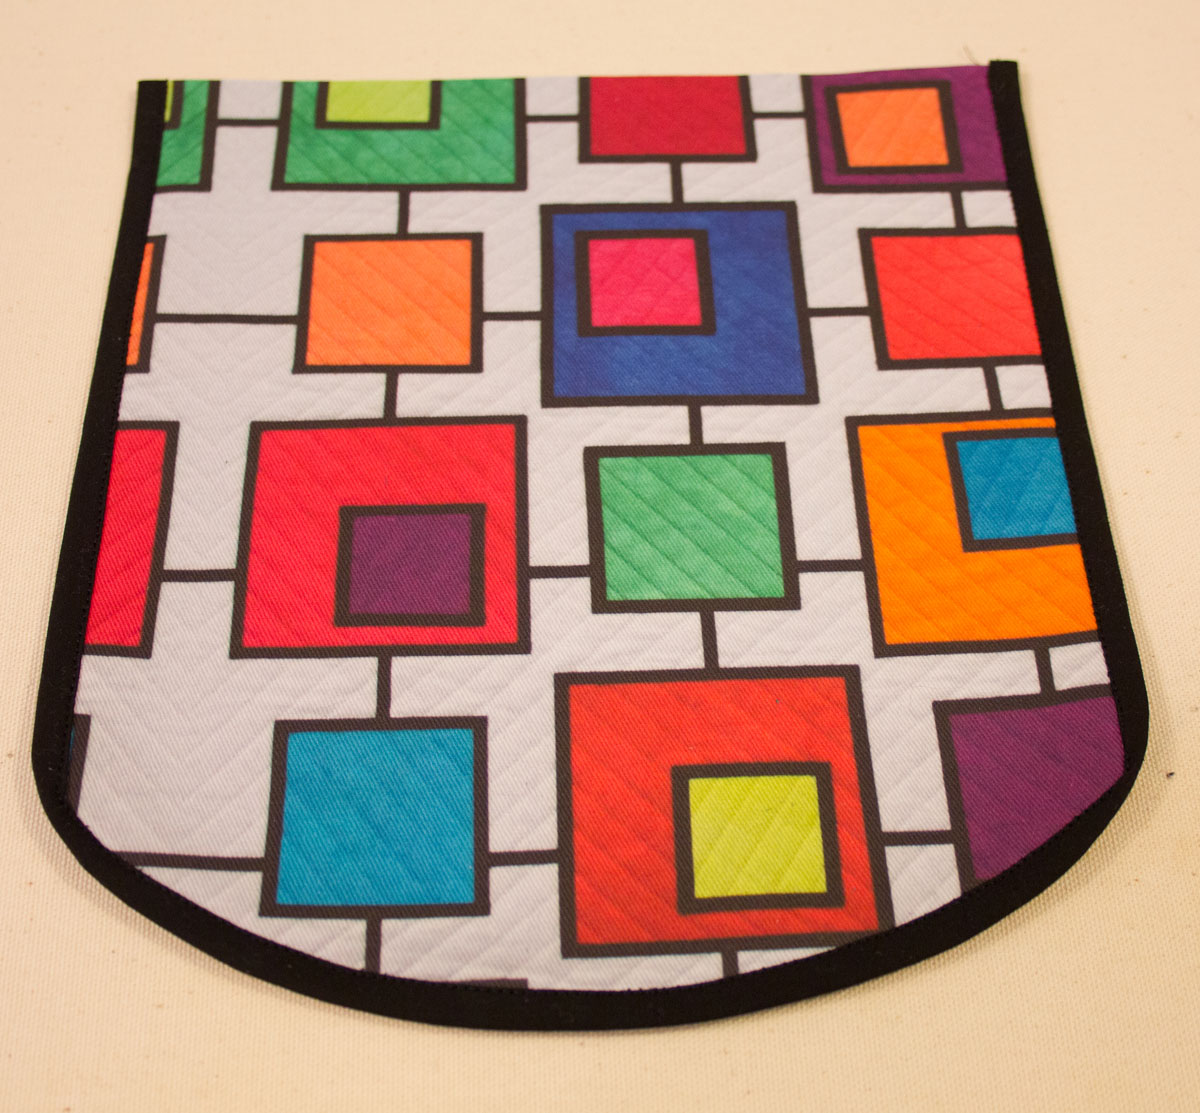
Step 9: make the bag flap. Fuse the bag flap outside piece to the lining piece wrong sides together. Use a dinner plate to round one of the 9″ edges.
To bind the edge of the flap, sew the binding strip to the edge of the flap piece right sides together using a 1/4″ seam allowance. Turn the binding strip to the back of the flap and press it. Fold the strip in half, press it and then fold it against the back of the flap to encase the raw edges. Top stitch the binding in place from the right side of the flap.
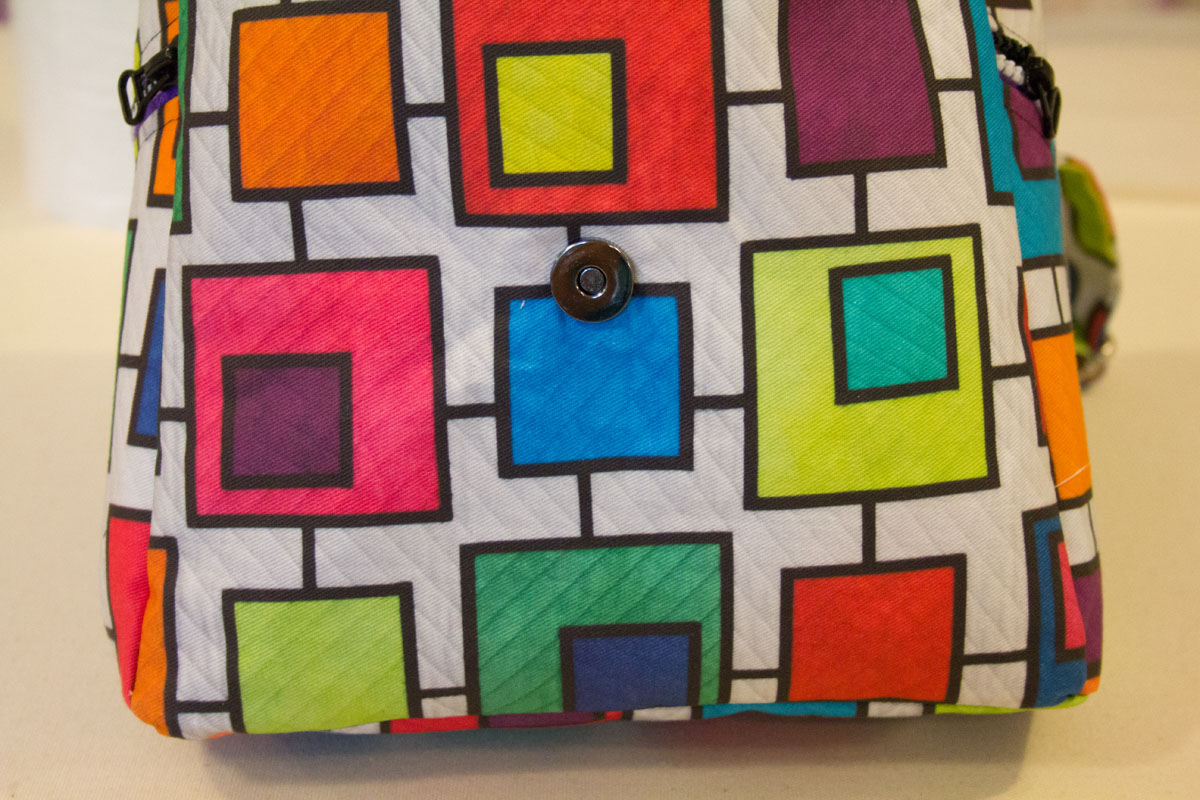
Step 10: install the magnetic snap. Install one side of the magnetic snap on the flap along the curved edge about 1 1/2″ from the edge. Install the other side of the magnetic snap in the front panel of the bag about 4″ up from the bottom edge of the bag.

Step 11: baste the flap to the bag. Baste stitch the flap to the top edge of the back bag right sides together. Use a scant 1/4″ seam allowance.
That’s it! We’re finished making the outside of the bag. In my next post, I’ll show you how to make the lining and finish the bag.
What you might also like


4 comments on “Connect the Boxes Backpack Tutorial: Part 1”
-
-
Love love love the fabric – can’t wait to try this one
-
It would really be nice if you would allow a pdf version.
-
Beautiful backpack, I would love to try for my granddaughter.
Leave a Reply
You must be logged in to post a comment.

This tutorial is so thorough, thank you! I love all the bright zippers you used – Mood has a bunch of colorful ones right now that I wanted to buy. Looks like I found a project for them!