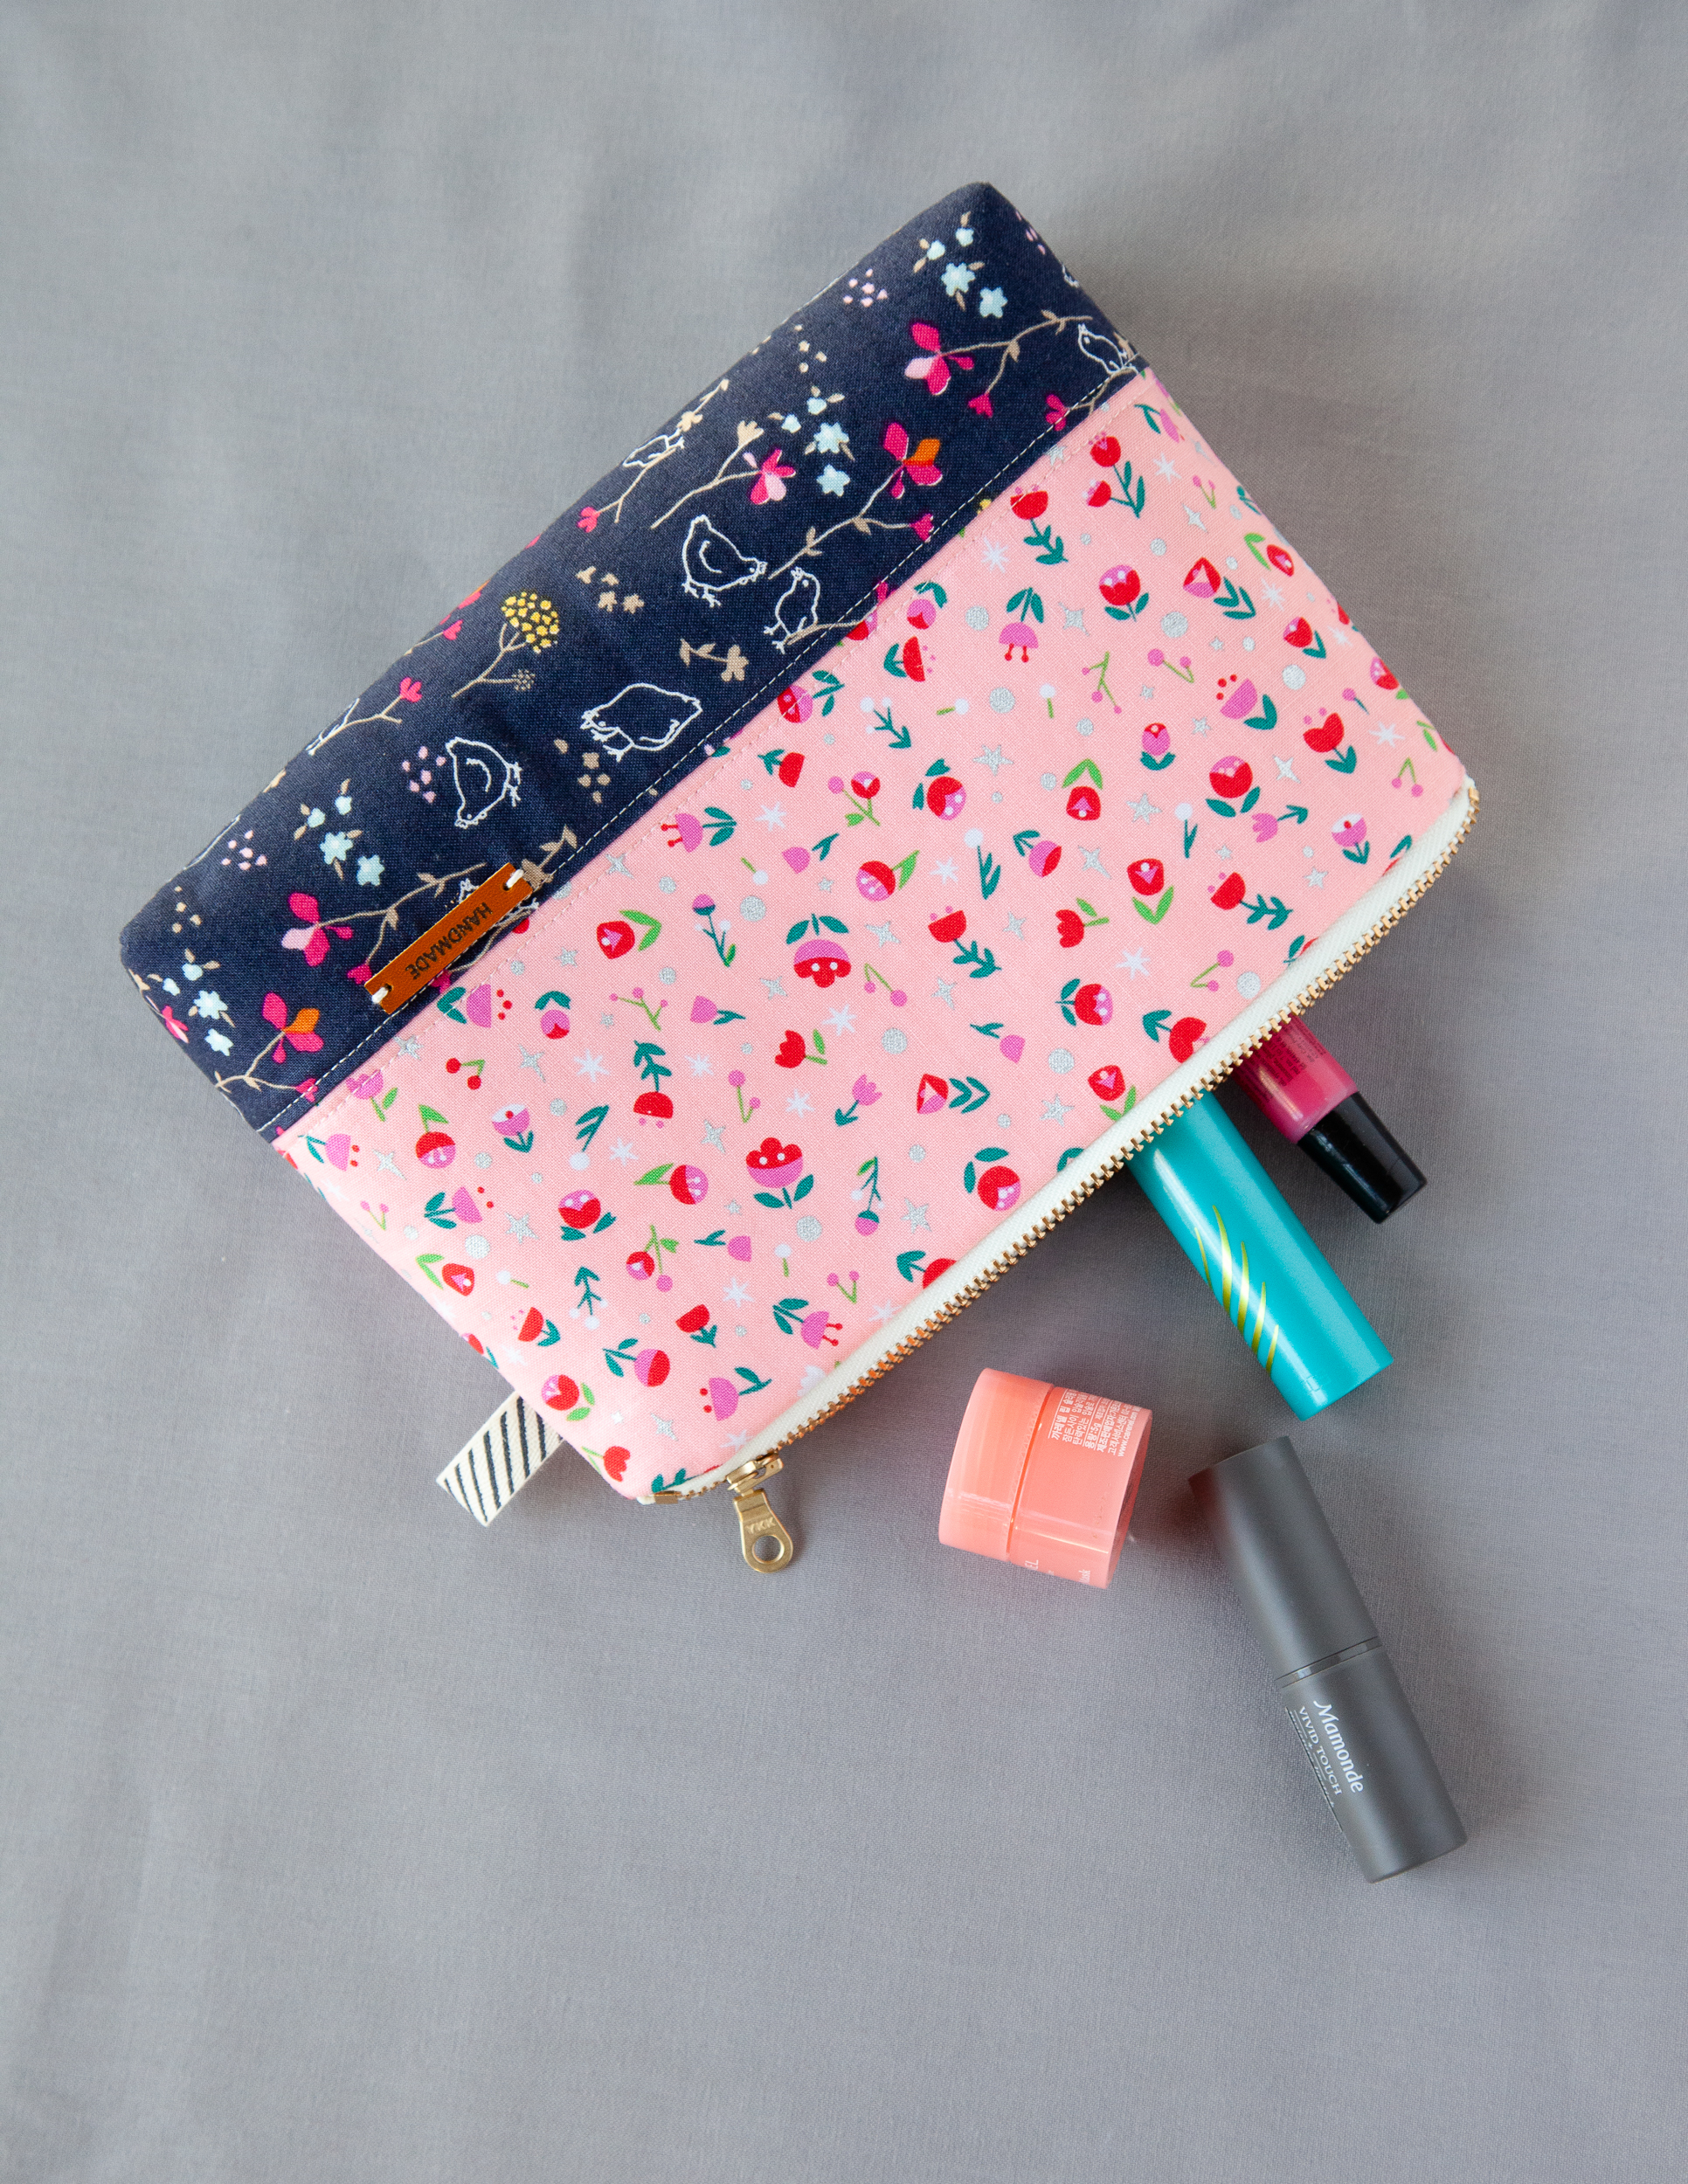
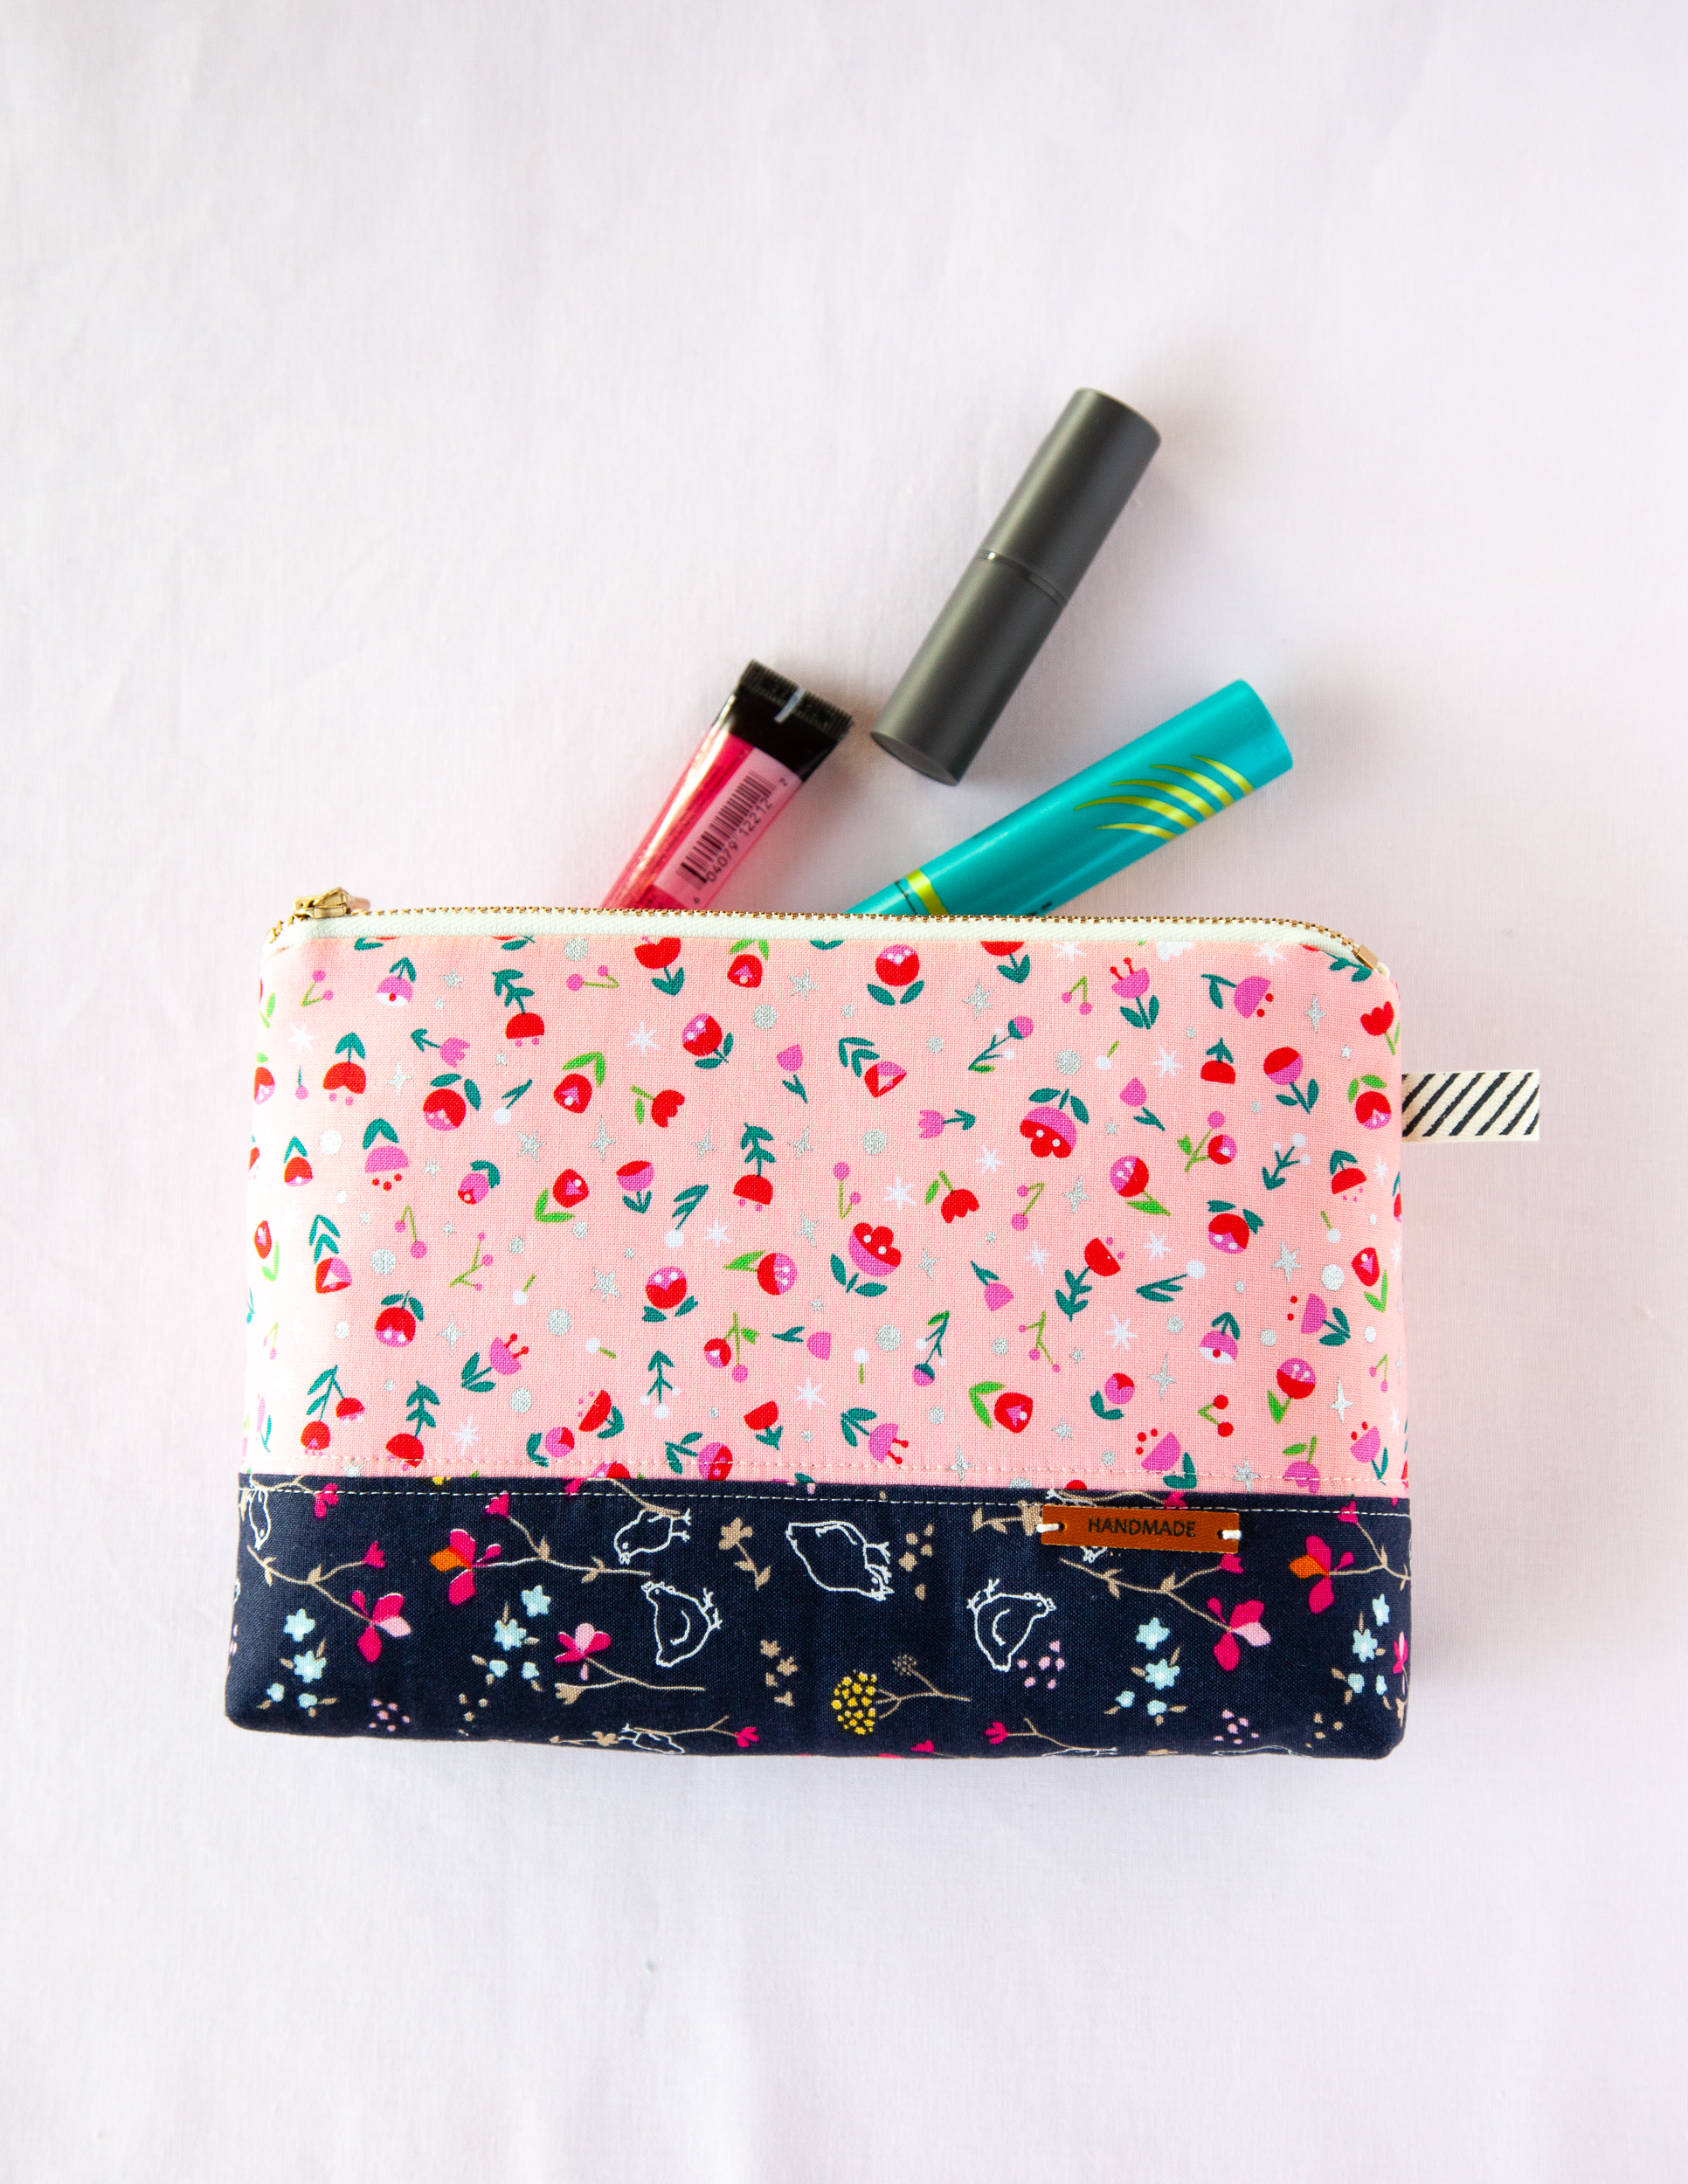
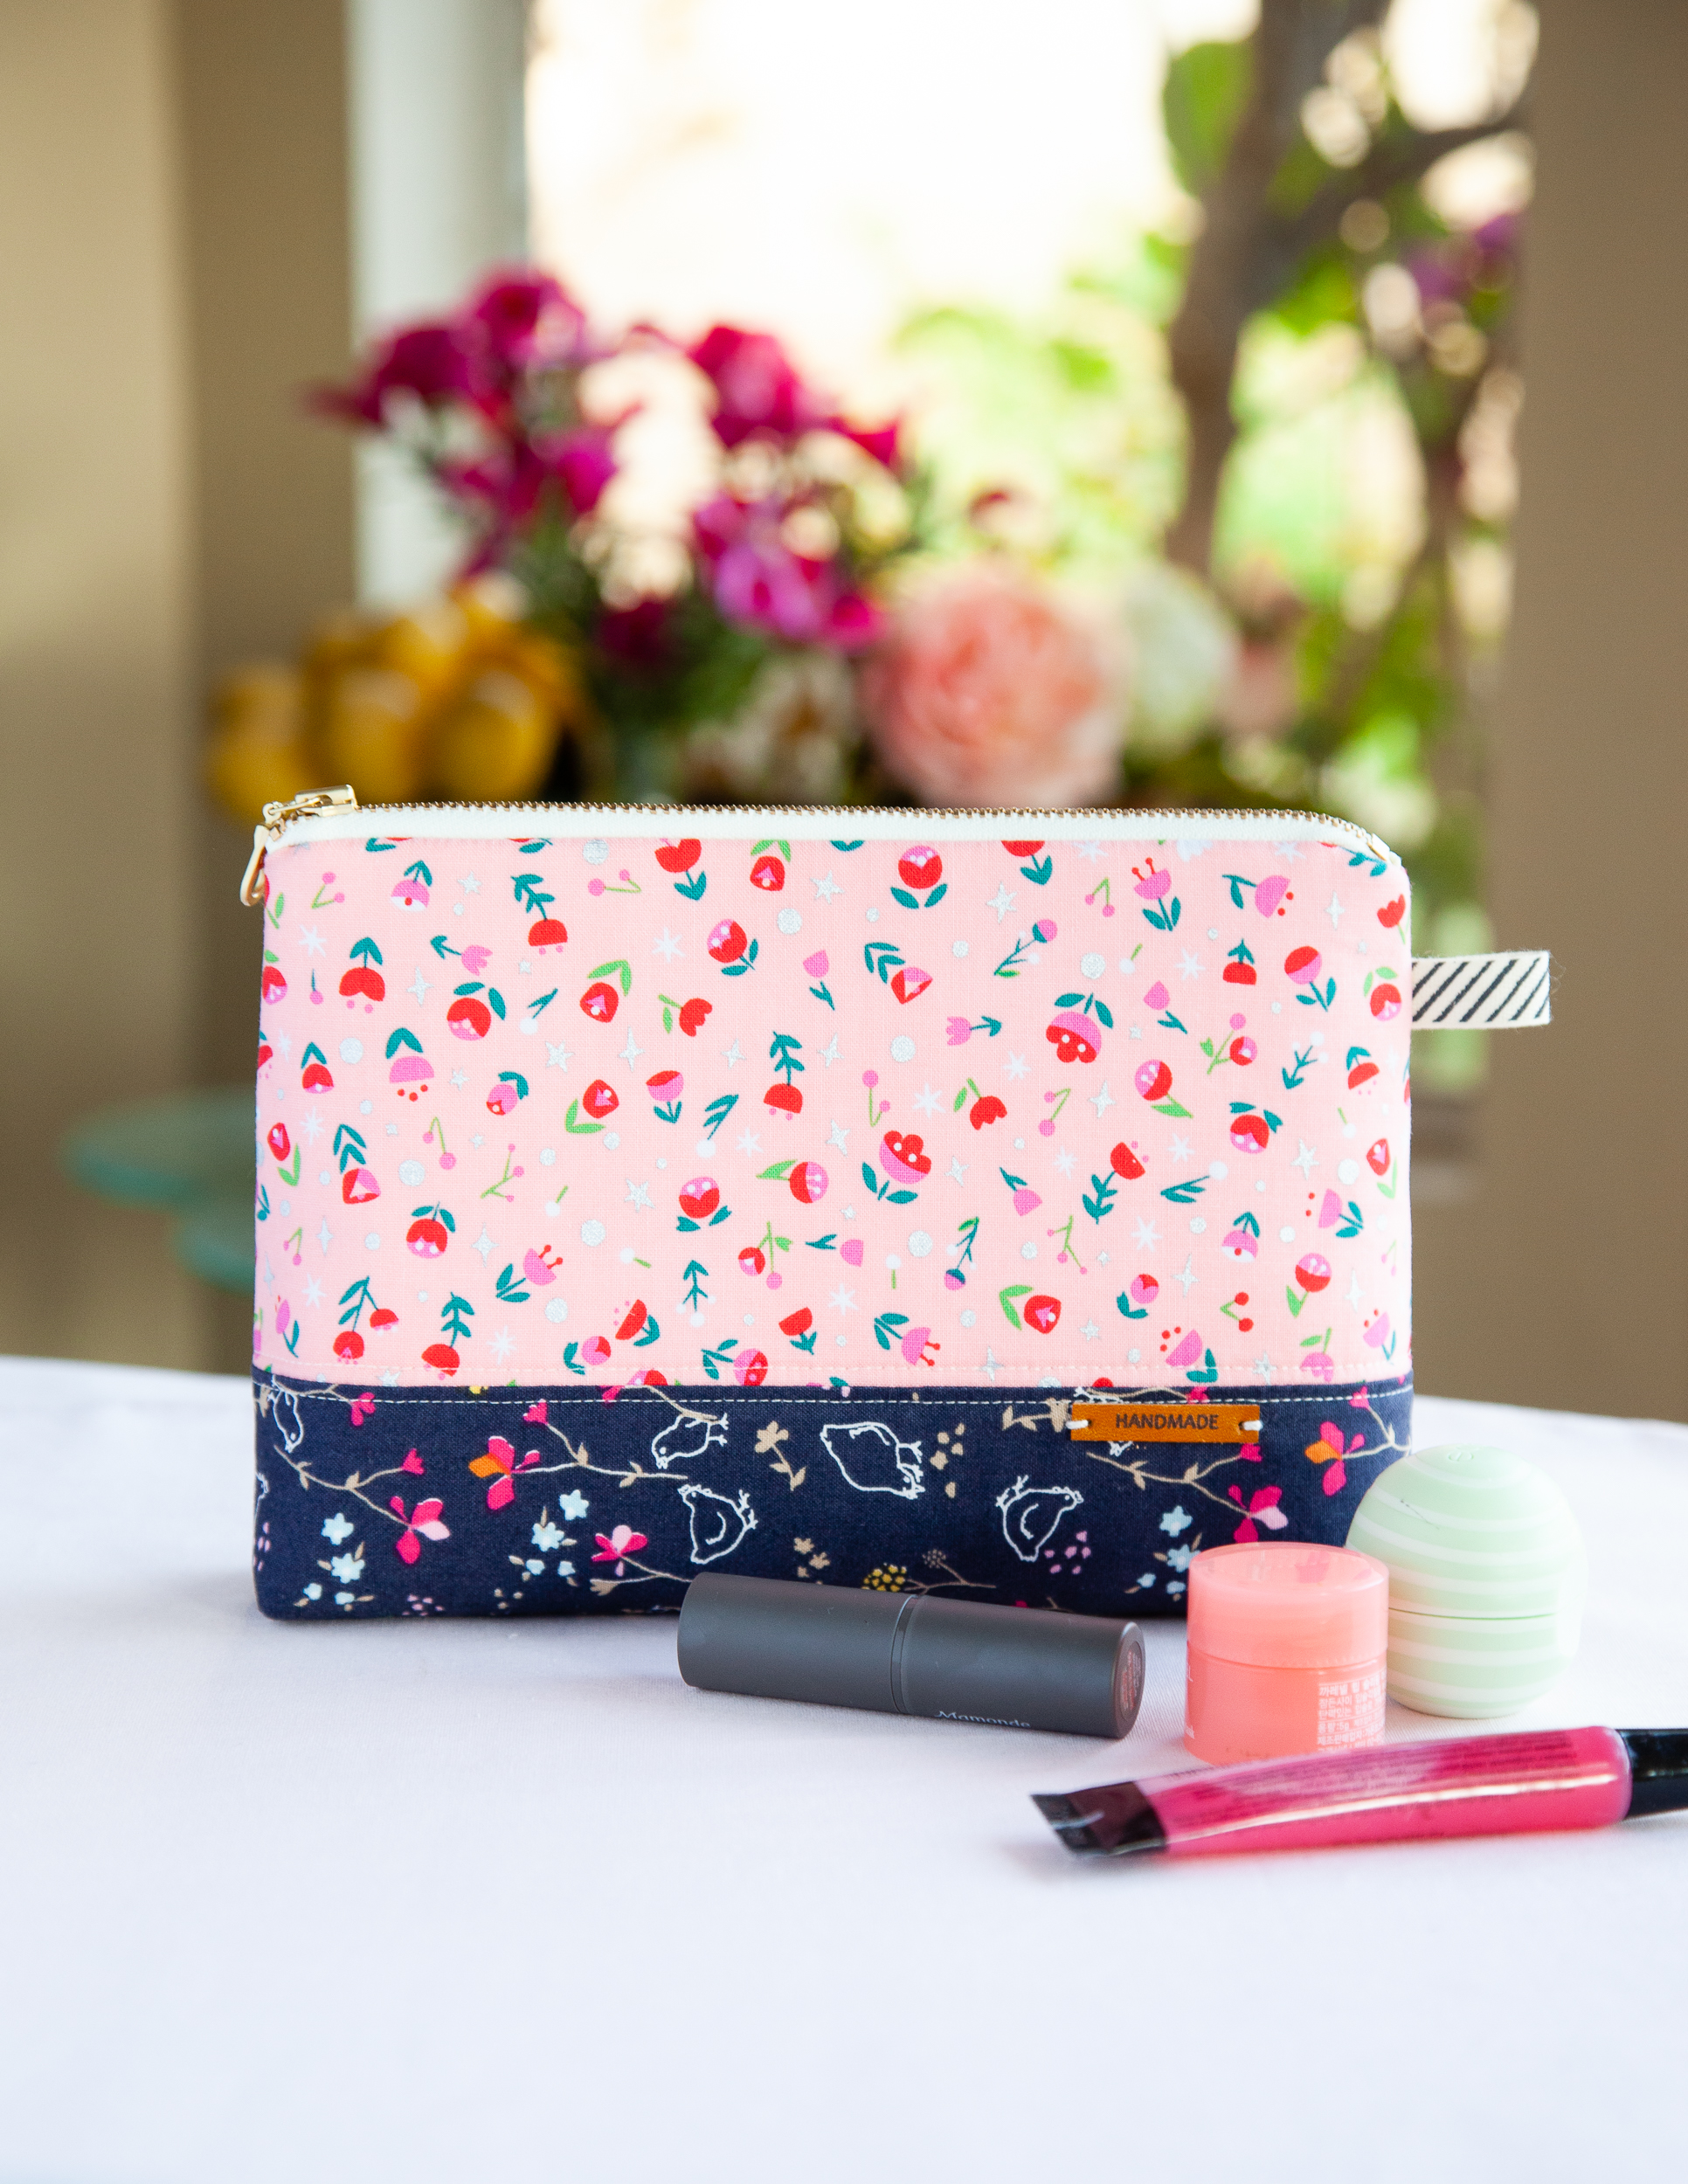
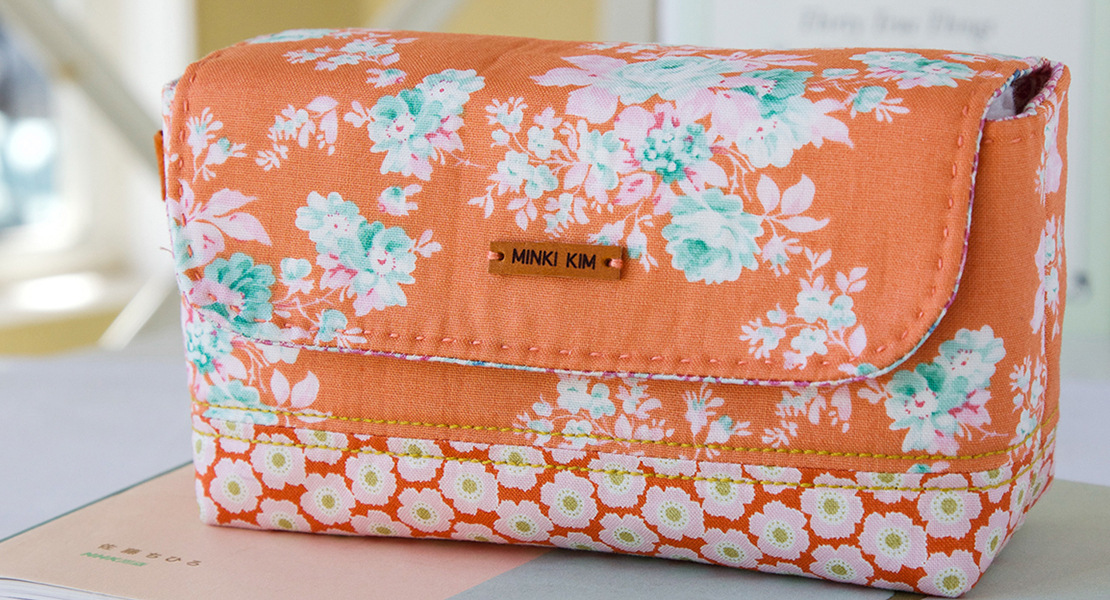
DIY Cosmetic Zipper Pouch
Hello WeAllSew readers,
It’s Minki Kim, and you can find me at Instagram @zeriano and MinkiKim.com. I also design fabric for Riley Blake Designs and I have my own line of sewing patterns.
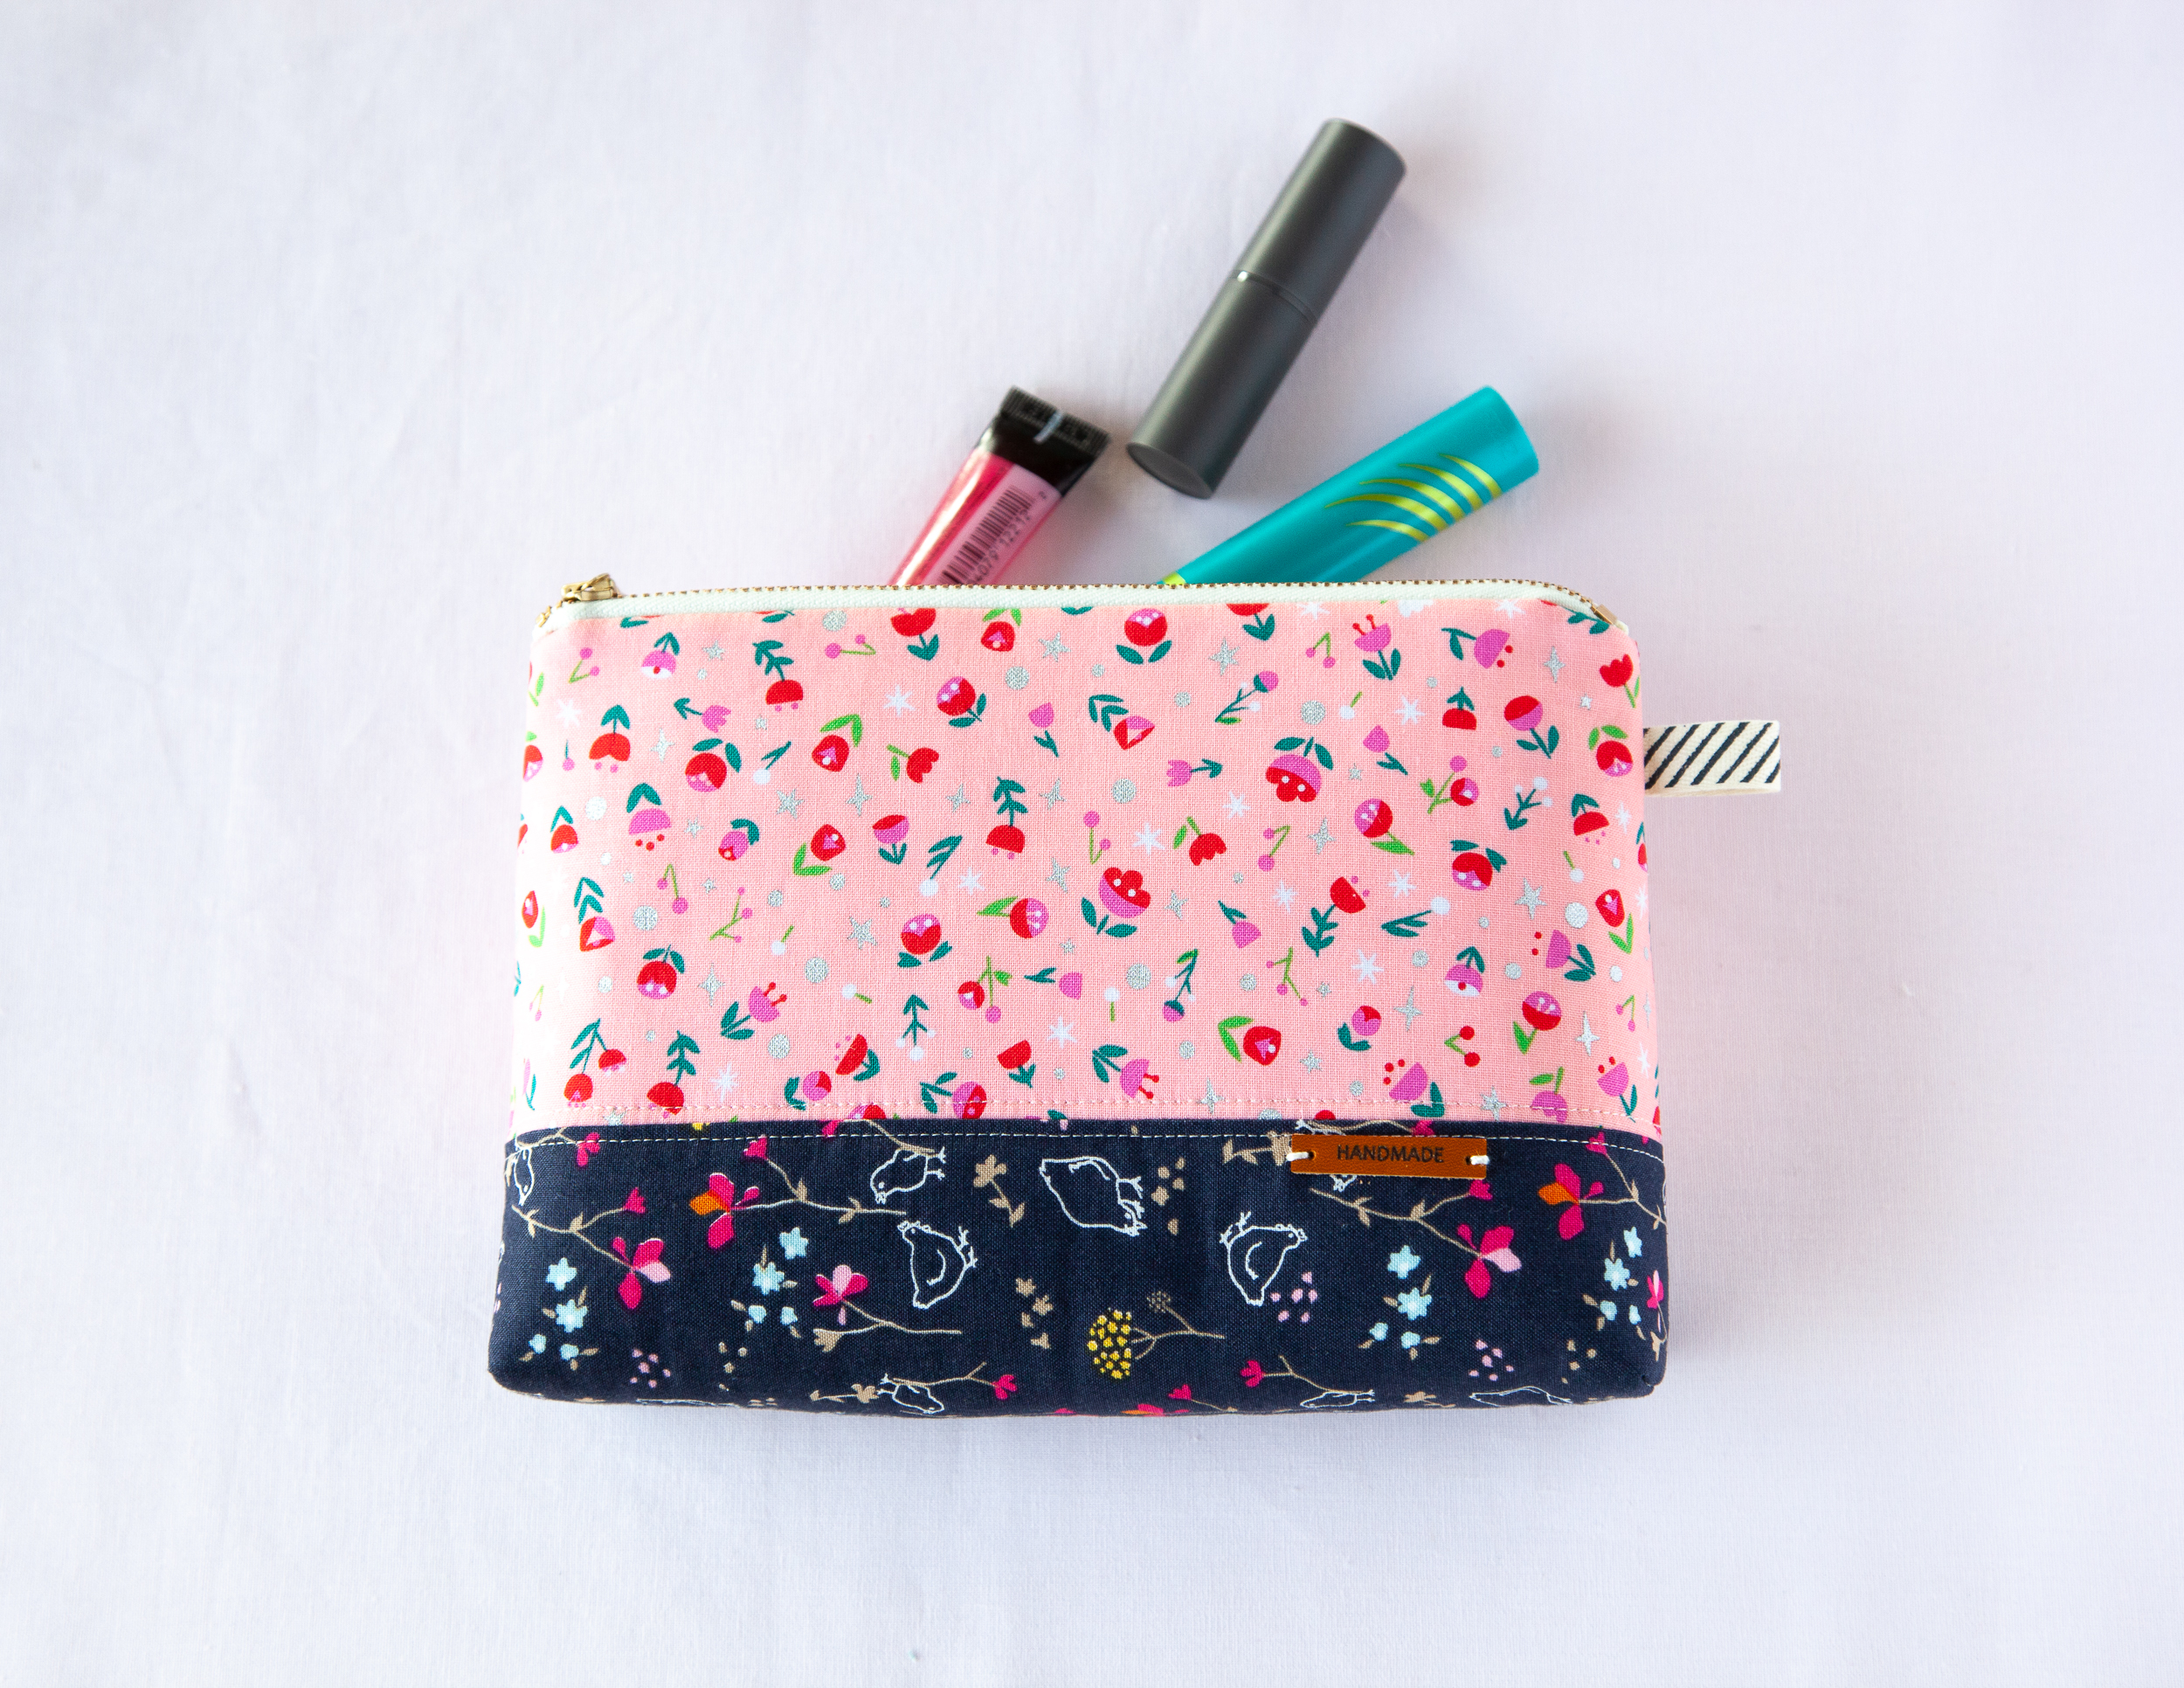
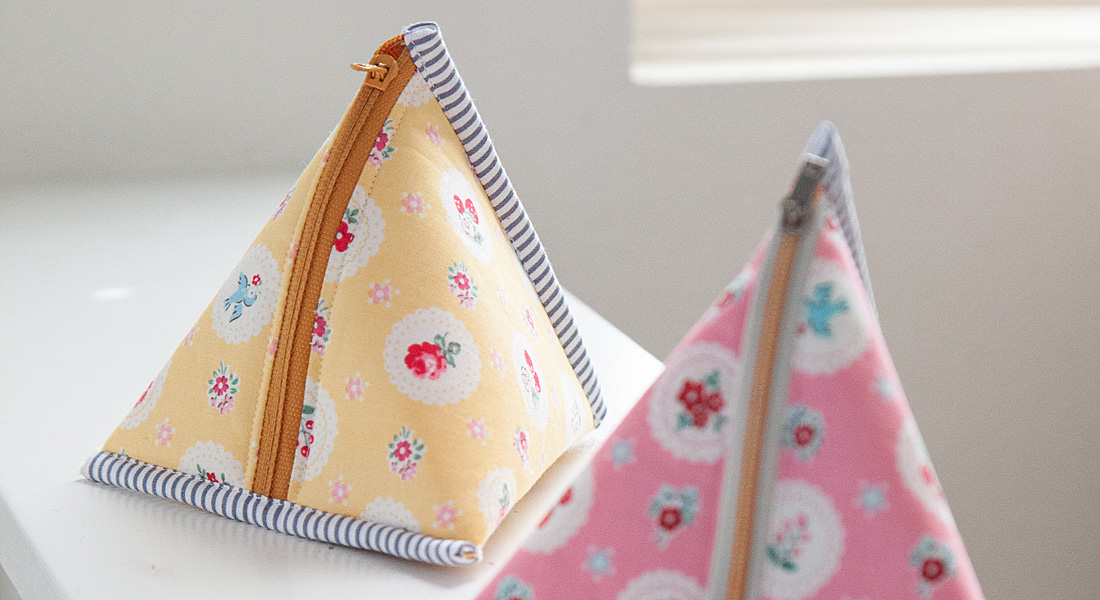
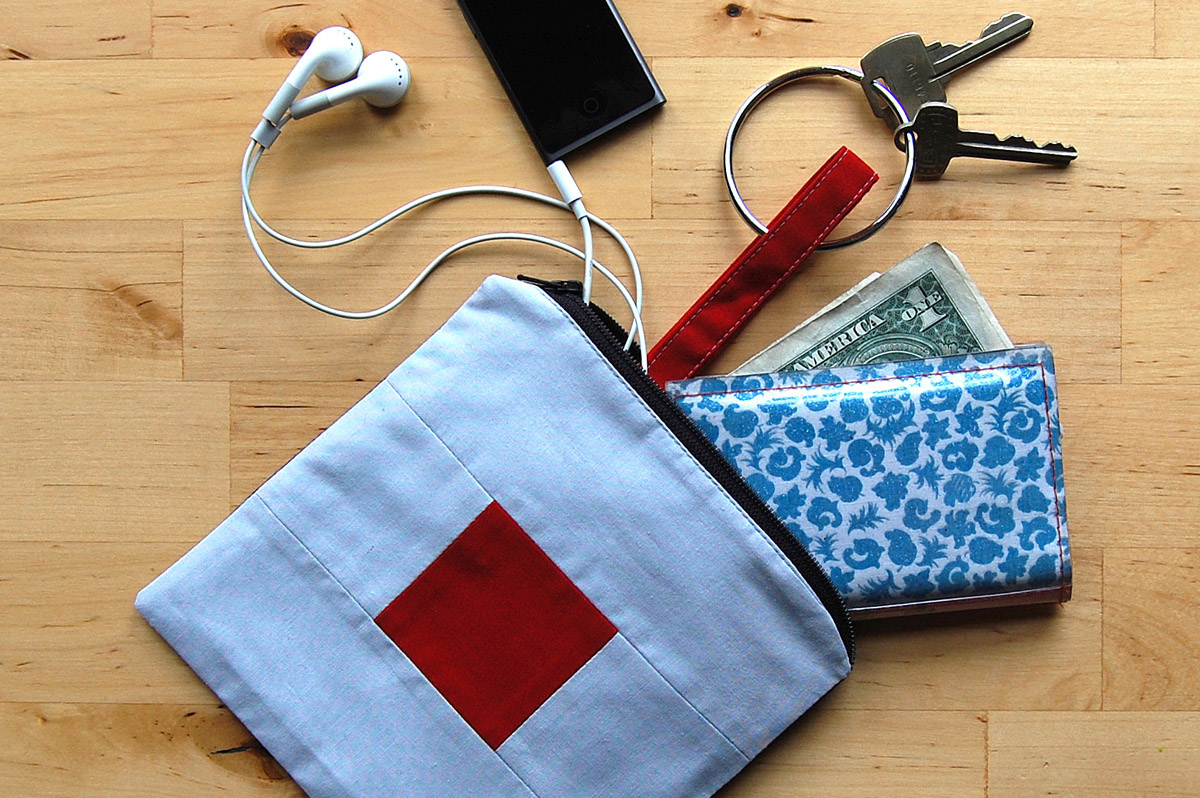
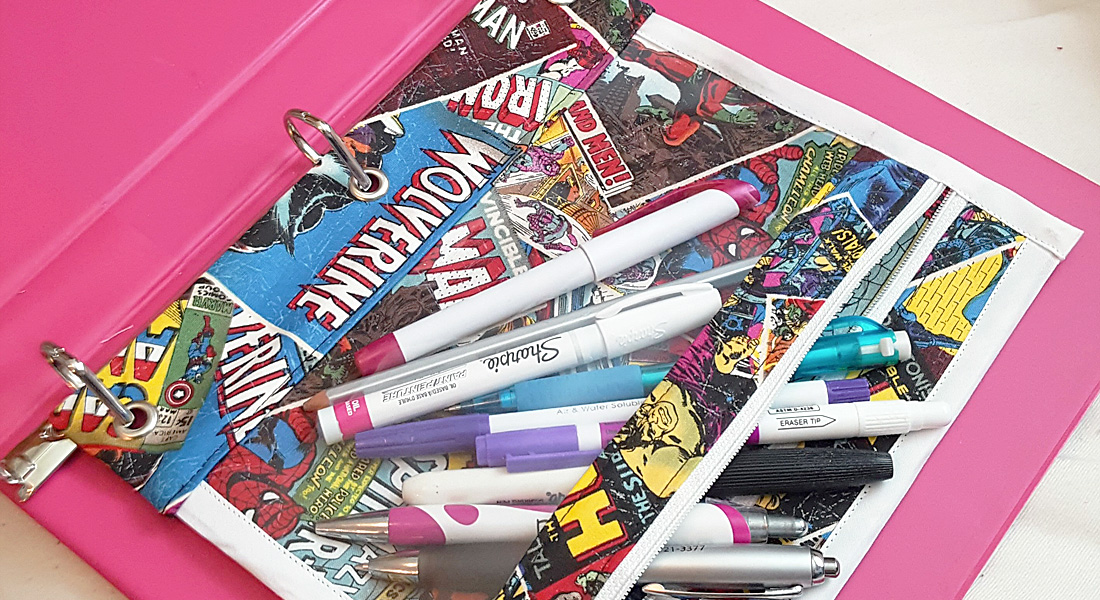
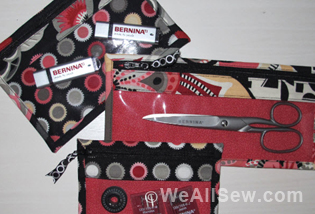
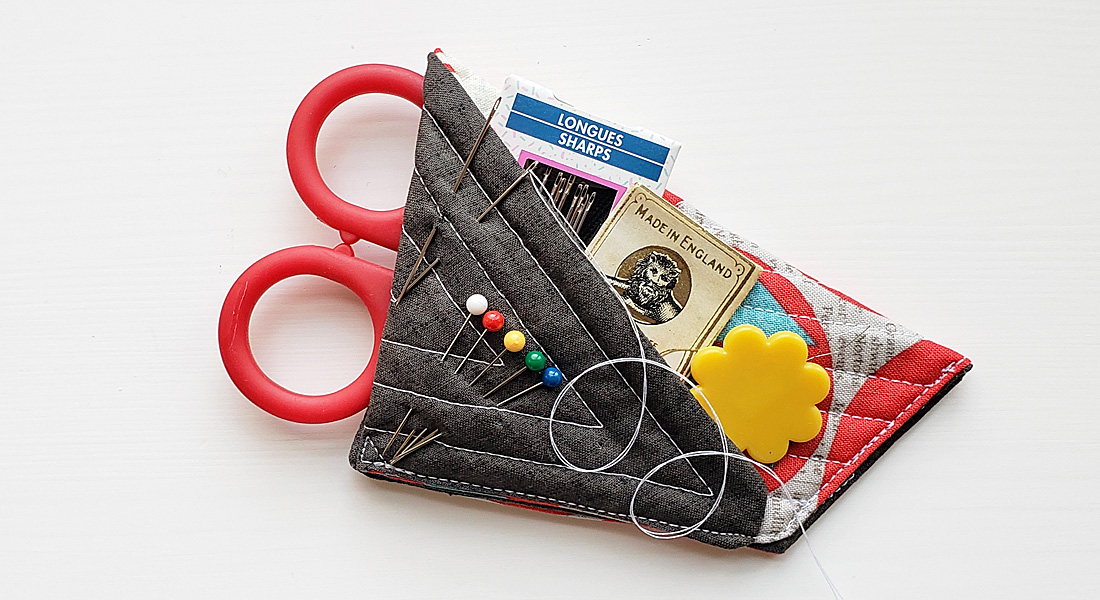
I am excited to share this easy to make DIY Cosmetic Zipper Pouch today. It is perfect for travel, storage at home, as a gift or for any reason that you want a great cosmetic bag pattern. Easy to follow sewing instructions will have you finish this little handy bag in one afternoon! Who wouldn’t love a handy little bag? They’re fun to make and handy to have around. Stuff this little makeup bag full of cosmetics or any other little trinkets that you need to tote.
This pouch would make a perfect gift too for any occasion!
Materials to Sew Cosmetic Zipper Pouch
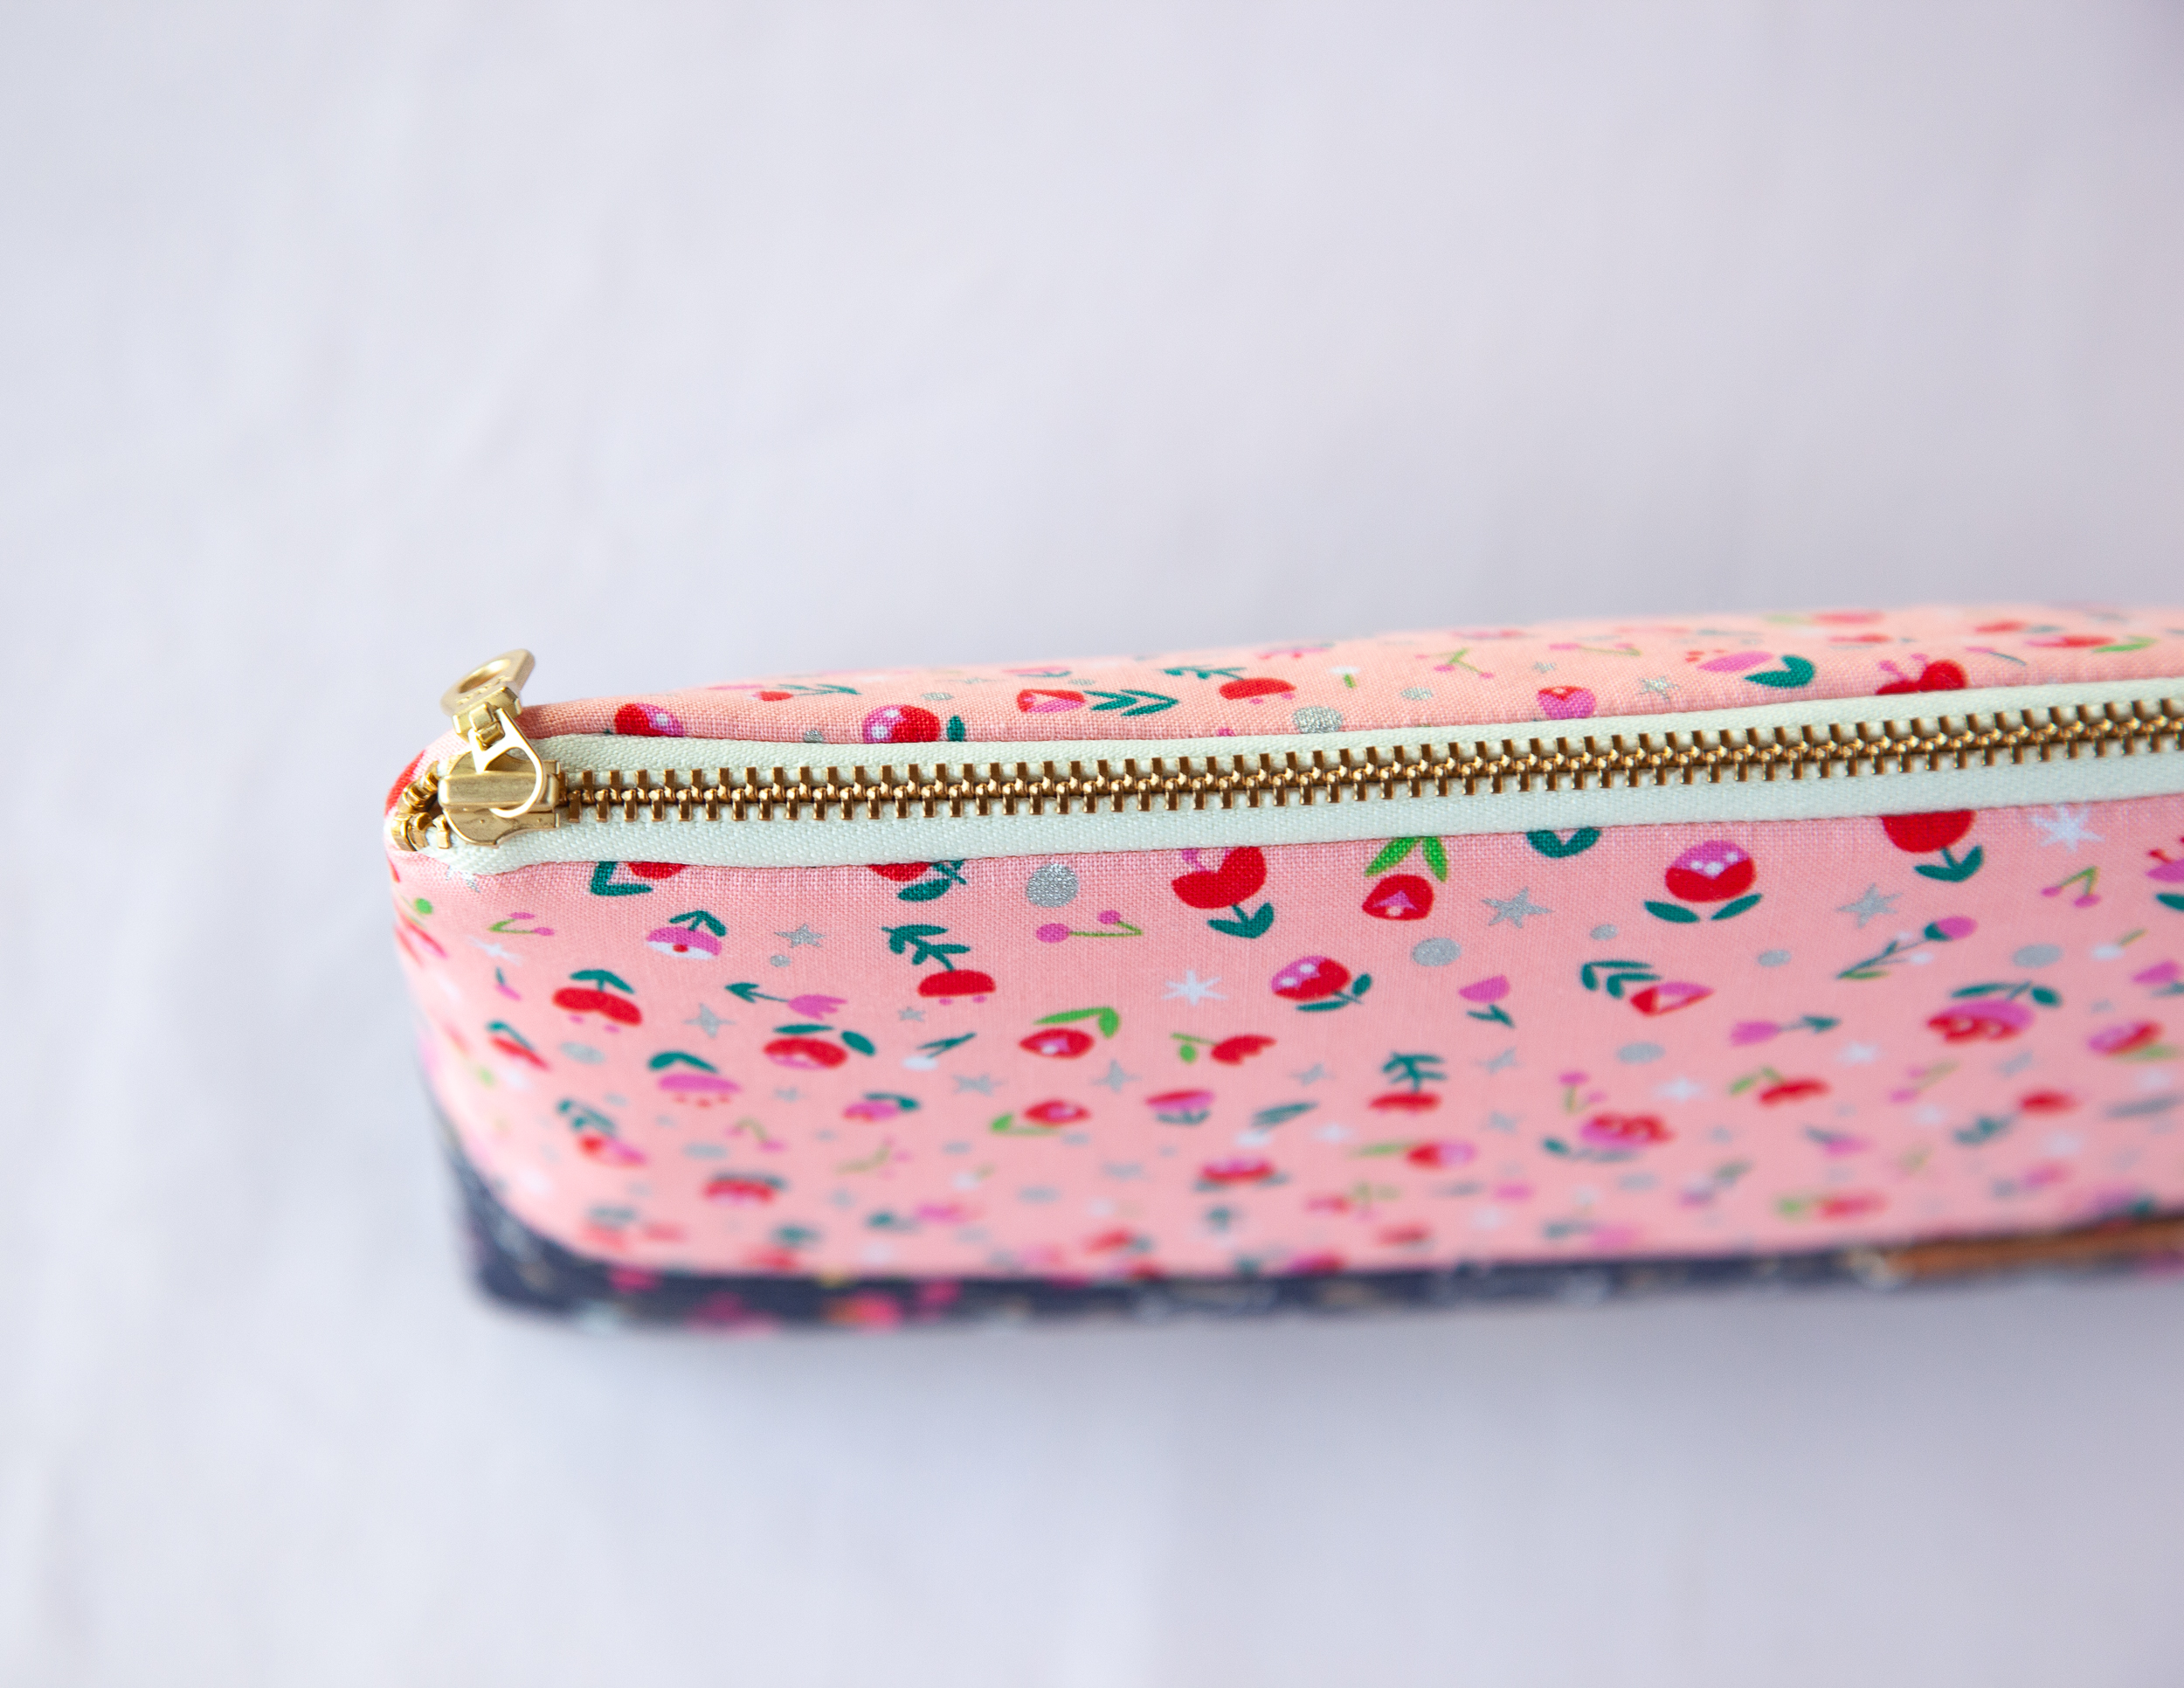
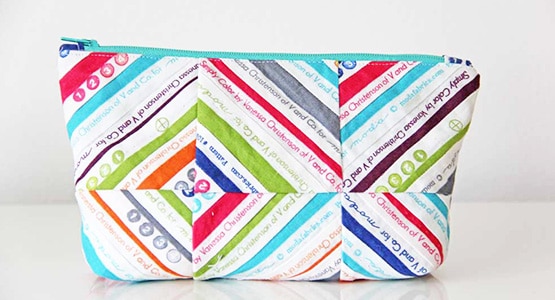
Finished size: 8” wide x 5 1/2” height x 2” deep
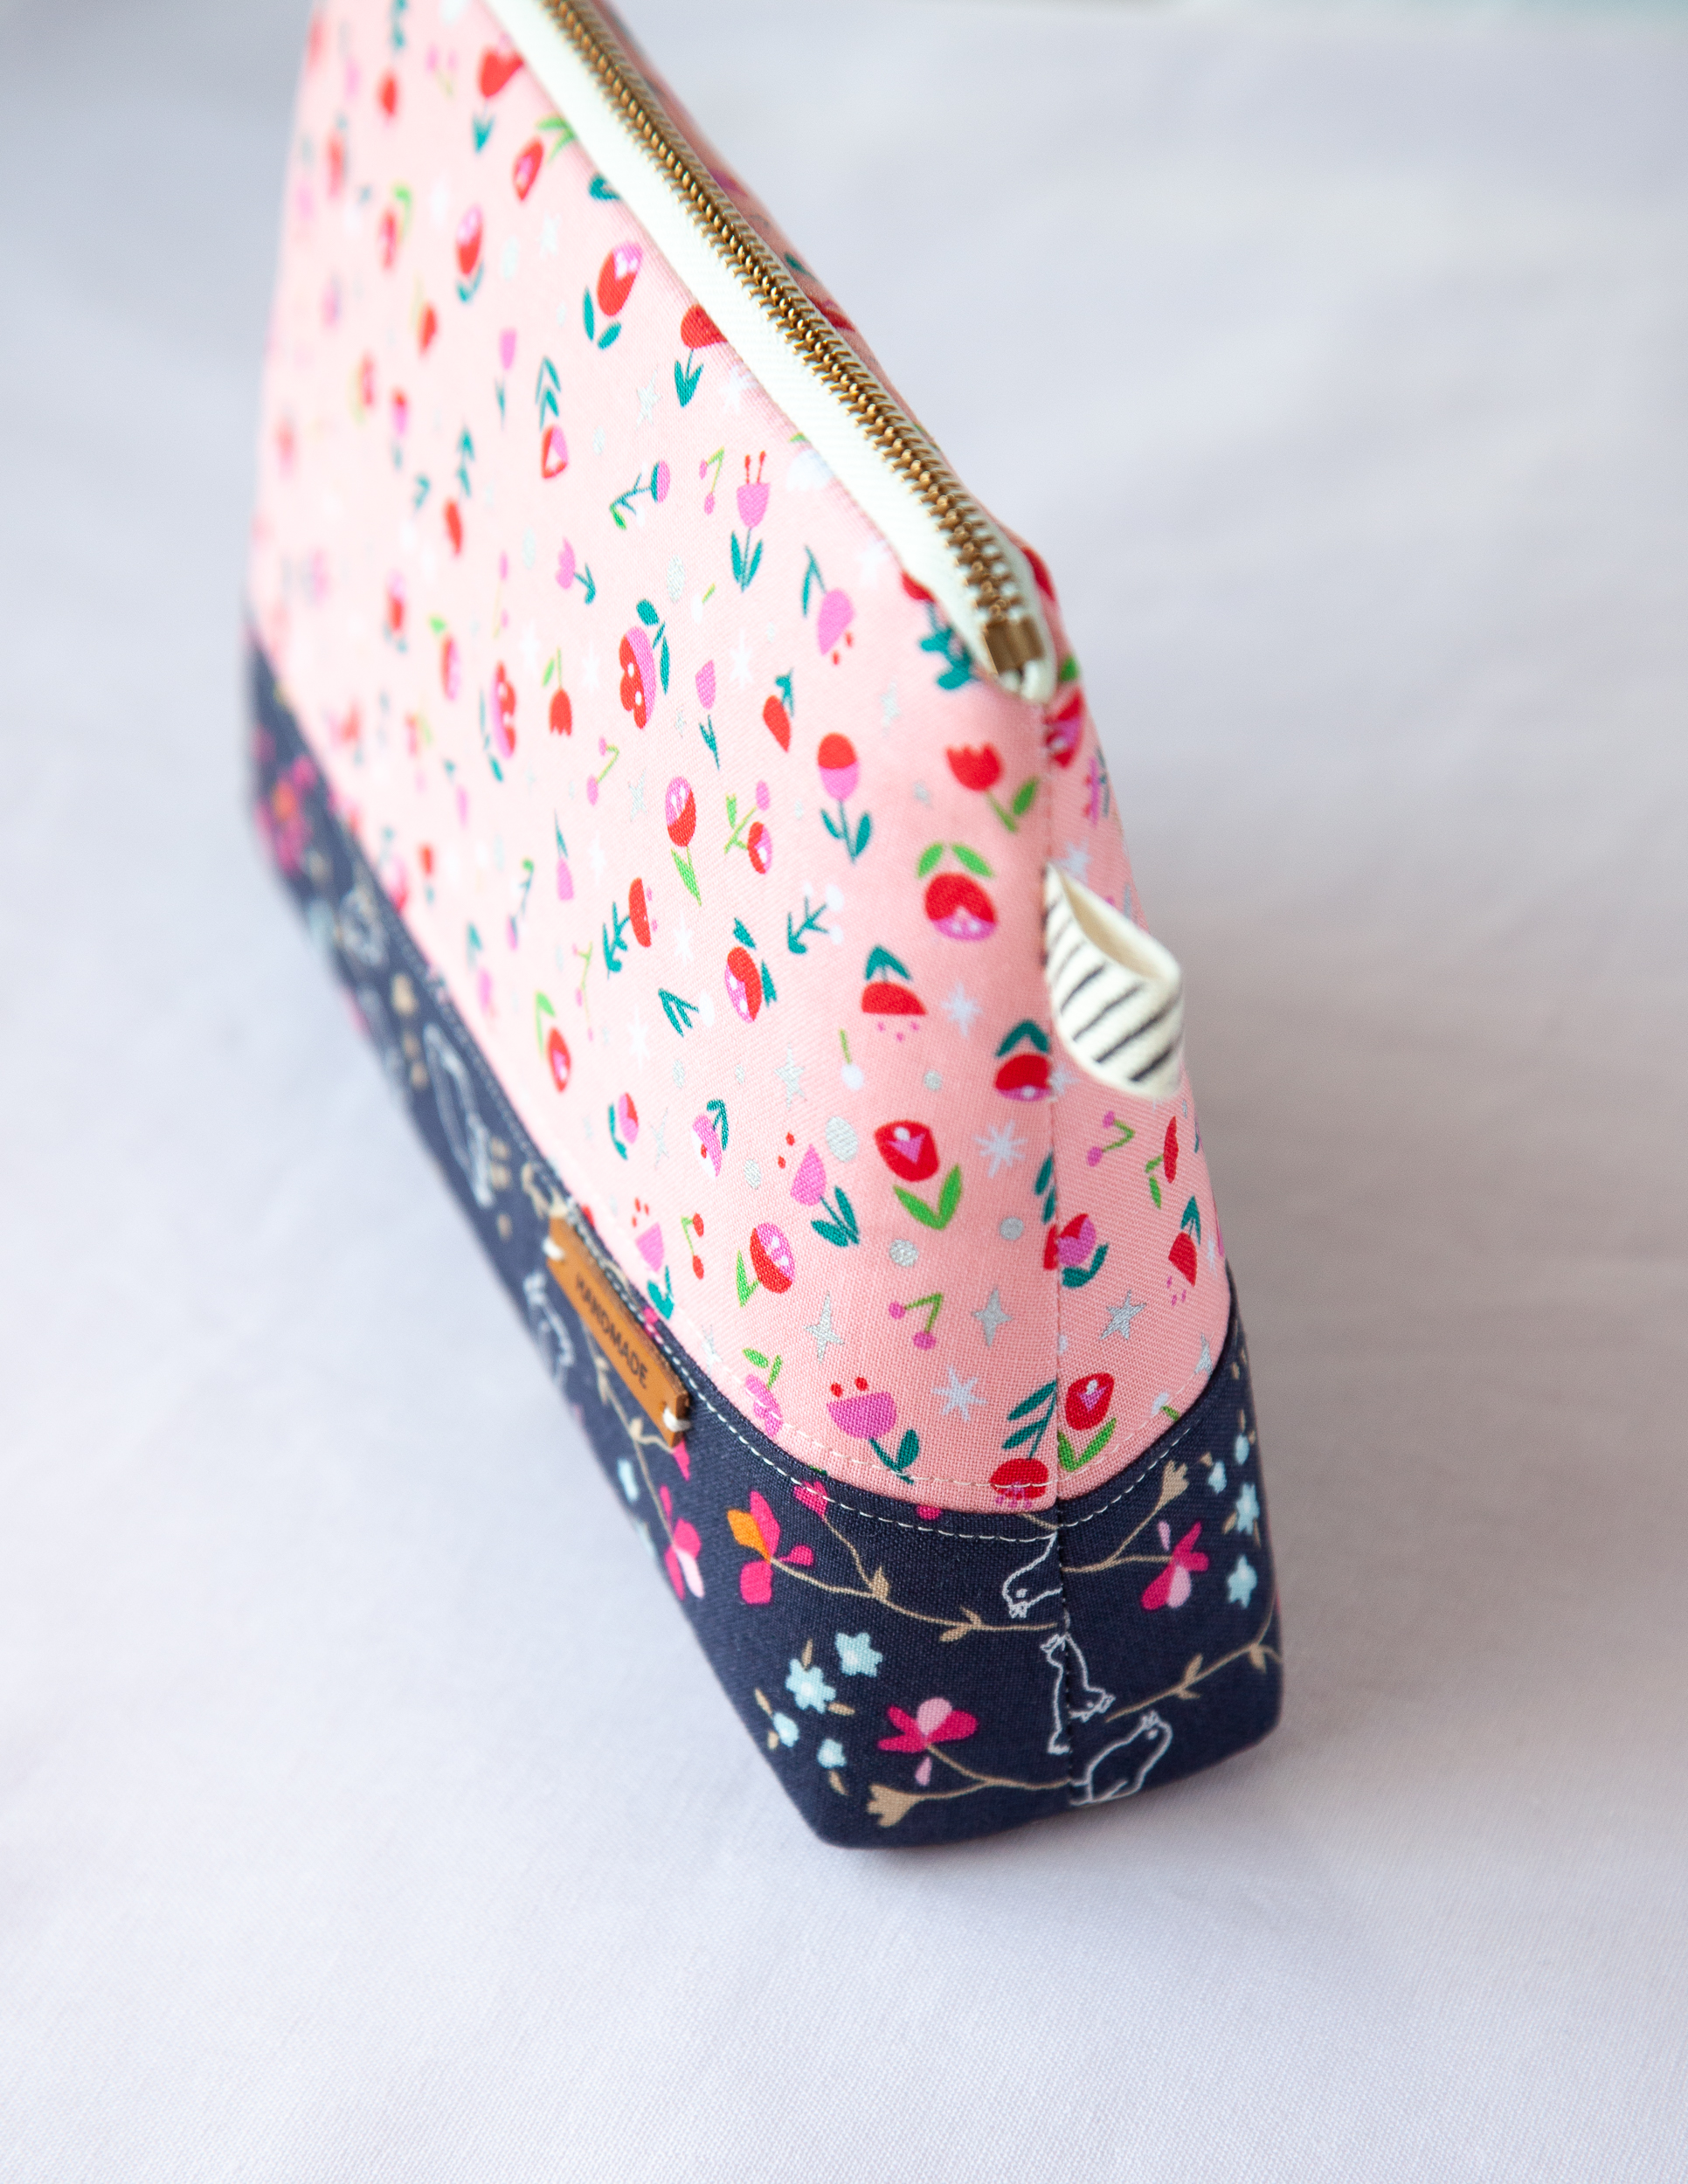
- 1 Fat quarter cotton print A for exterior ( Dorothy’s Journey collection by Jill Howarth for Riley Blake Designs.)
- 1 Fat quarter cotton print B for exterior ( my Someday Chicken Navy print for Riley Blake Designs.)
- 1 Fat quarter cotton print C for lining (Dorothy’s Journey collection by Jill Howarth for Riley Blake Designs.)
- 1 Fat quarter medium weight fusible batting
- 1 zipper – 8”
- 1 cotton ribbon – 1/2” x 2”
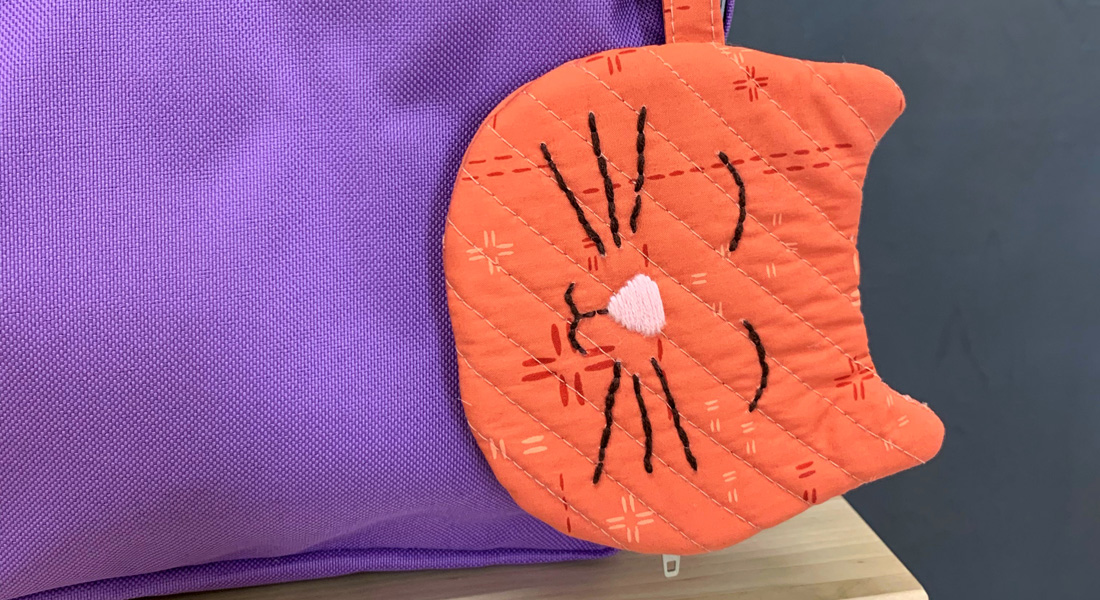
- leather tag and embroidery thread (optional)
- Download the Cosmetic Zipper Pouch Pattern
Cutting
- from print A, cut: two (2) 10 3/4” x 4 1/2”
- from print B, cut: one (1) 10 3/4” x 5 1/2”
- from print C, cut: one Pouch Body outer line
- from fusible batting, cut: one Pouch Body inner line
Note: All seam allowances are 1/4″ unless otherwise noted.
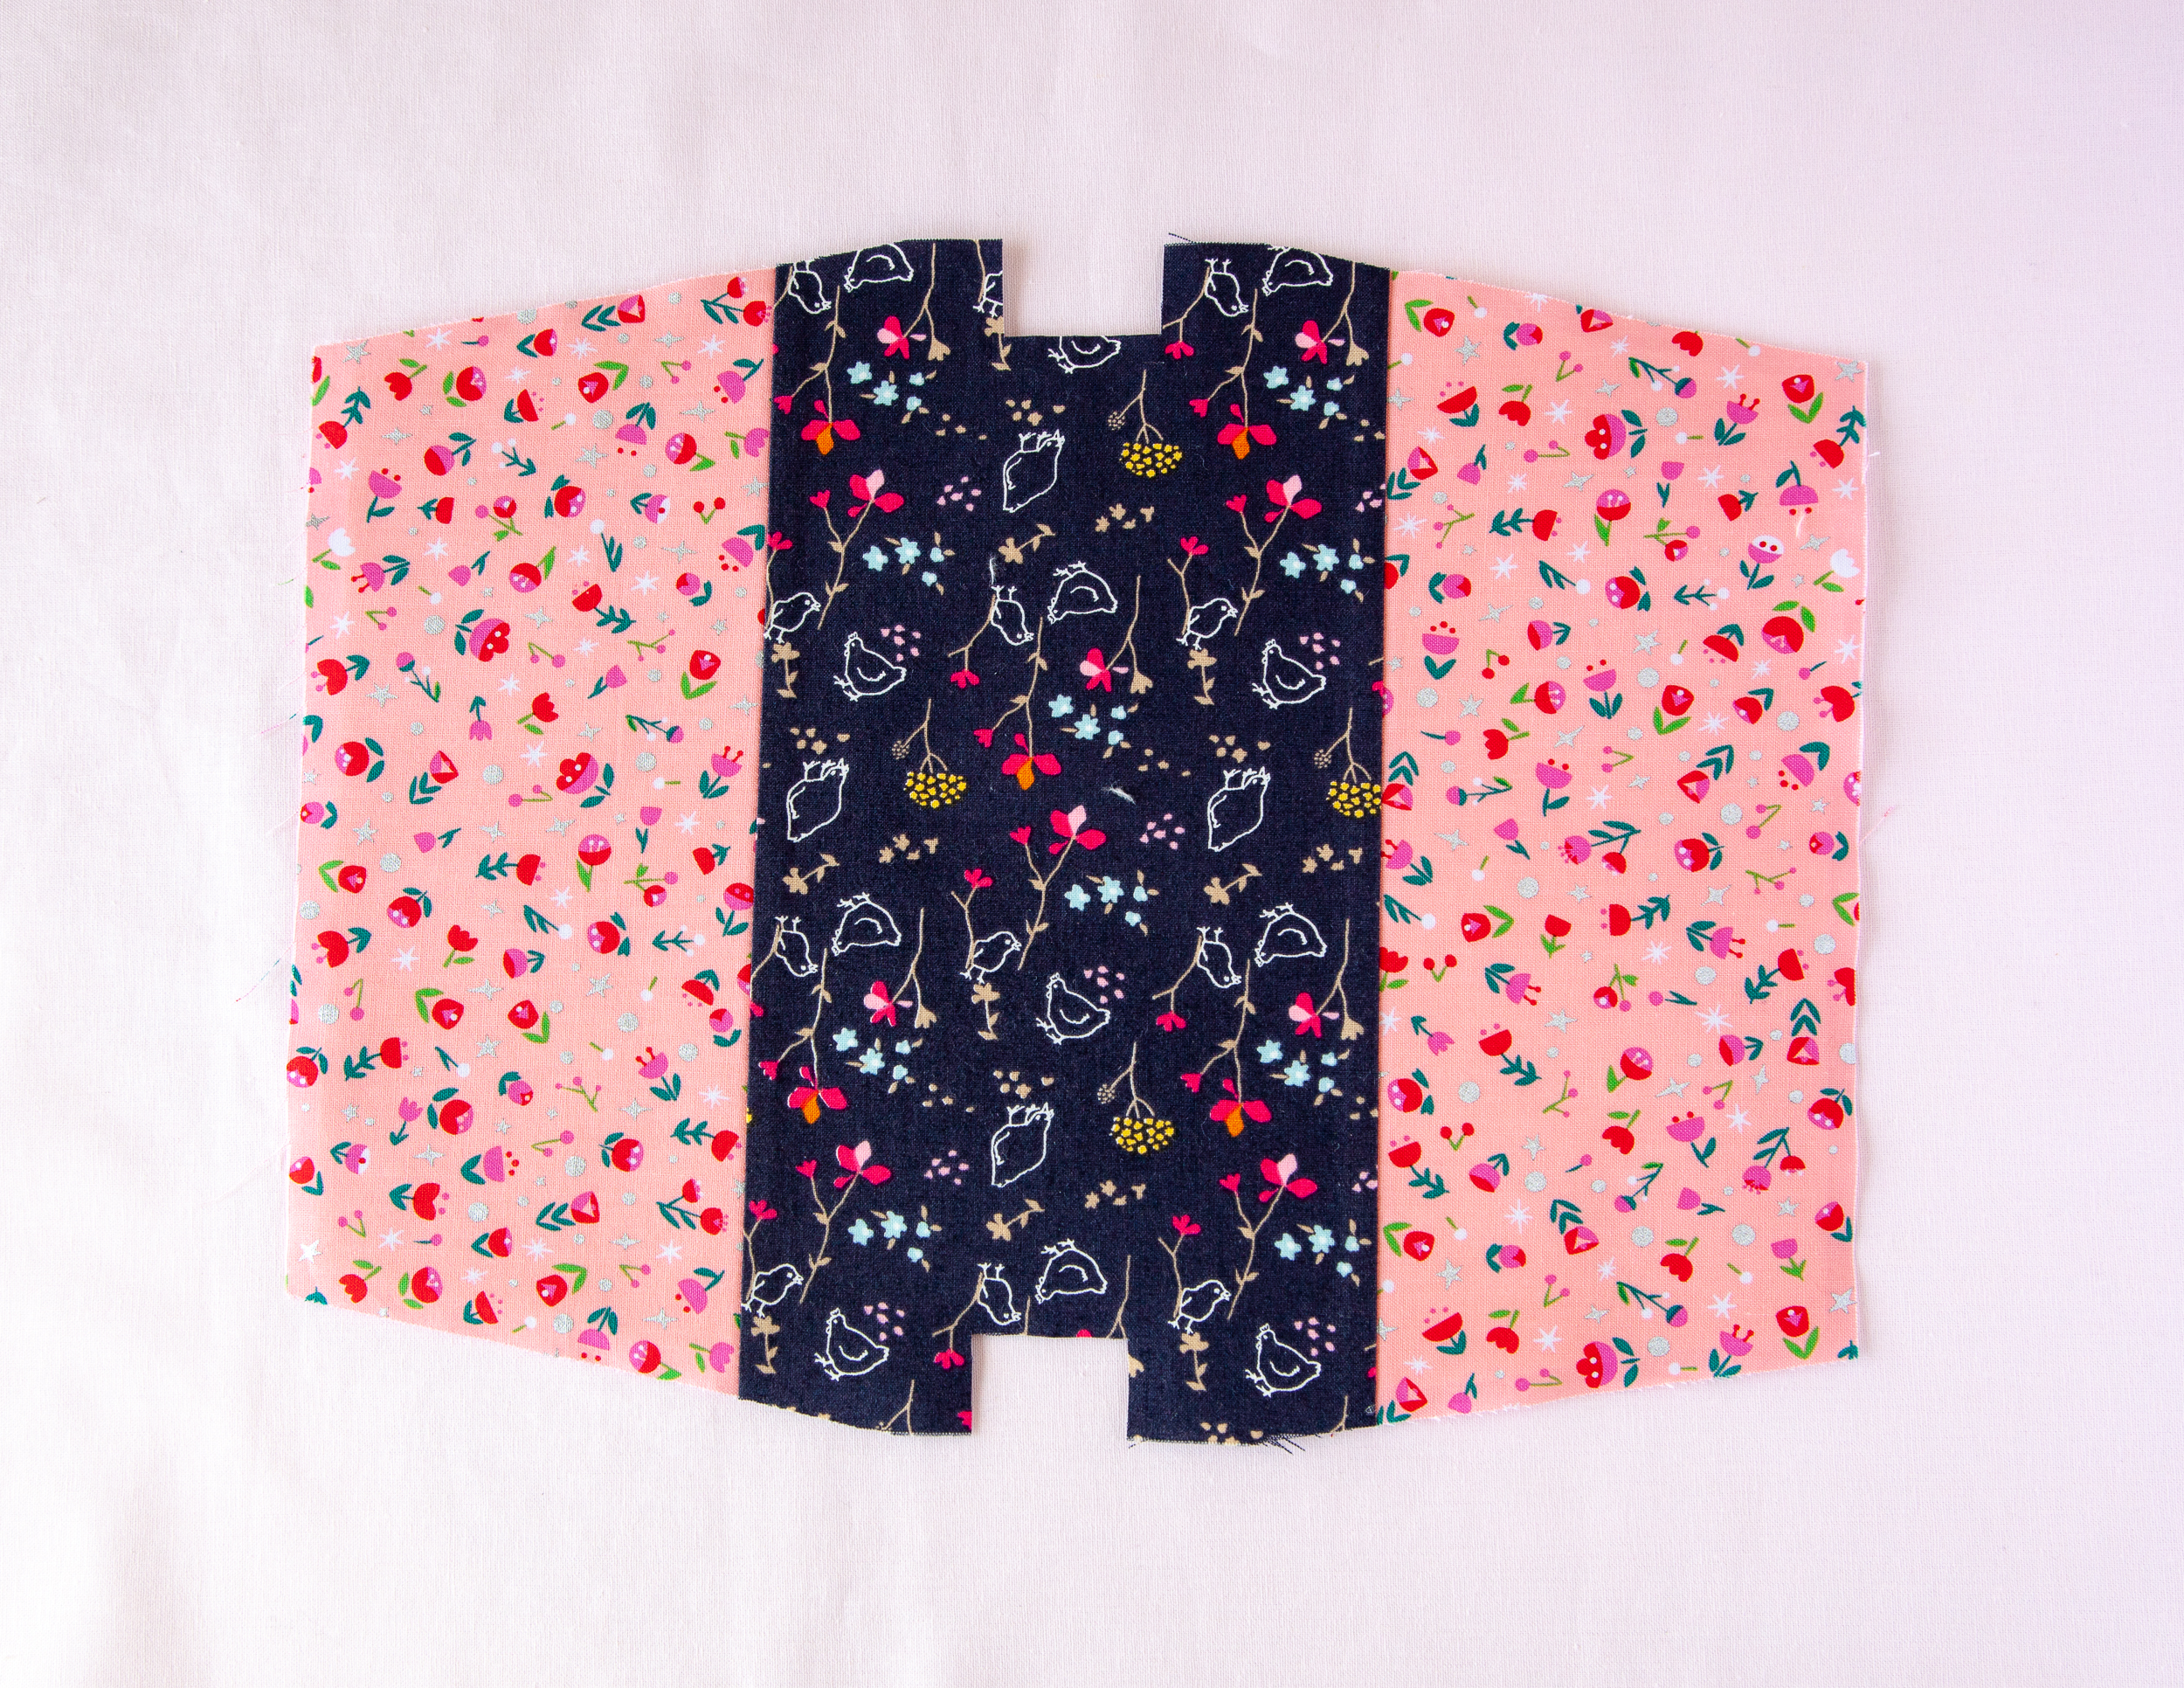
Prepare the strips
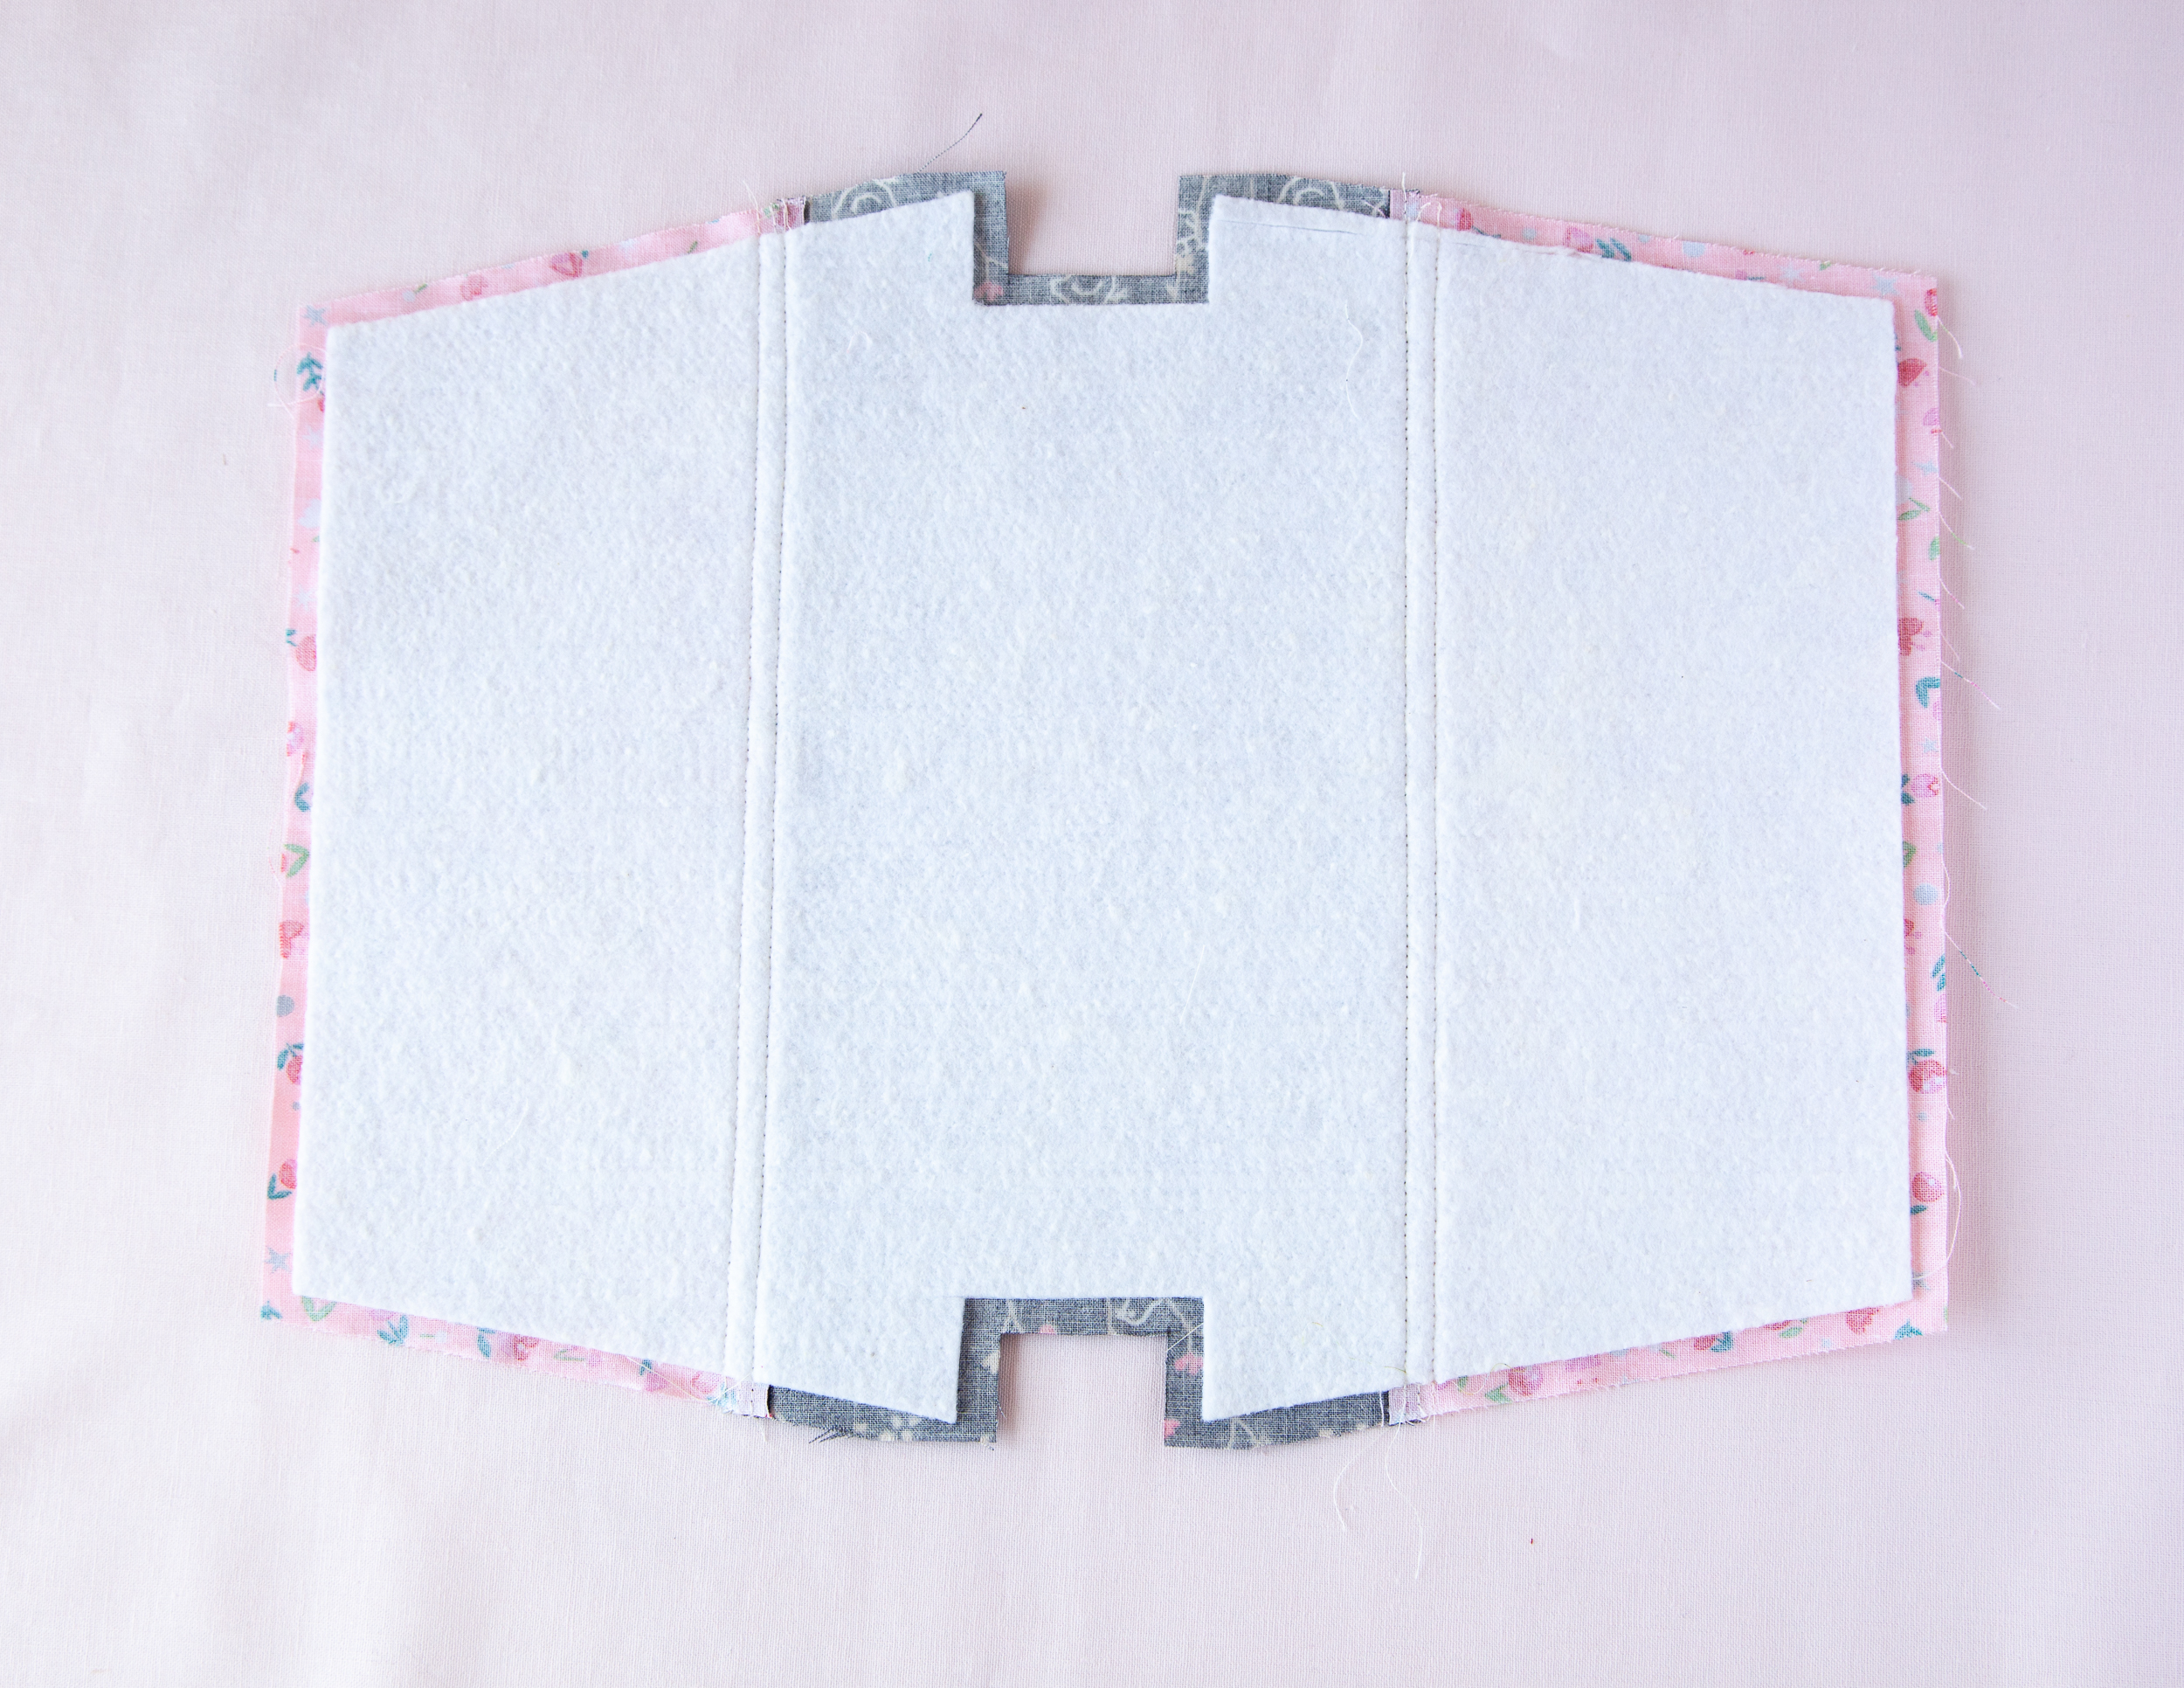
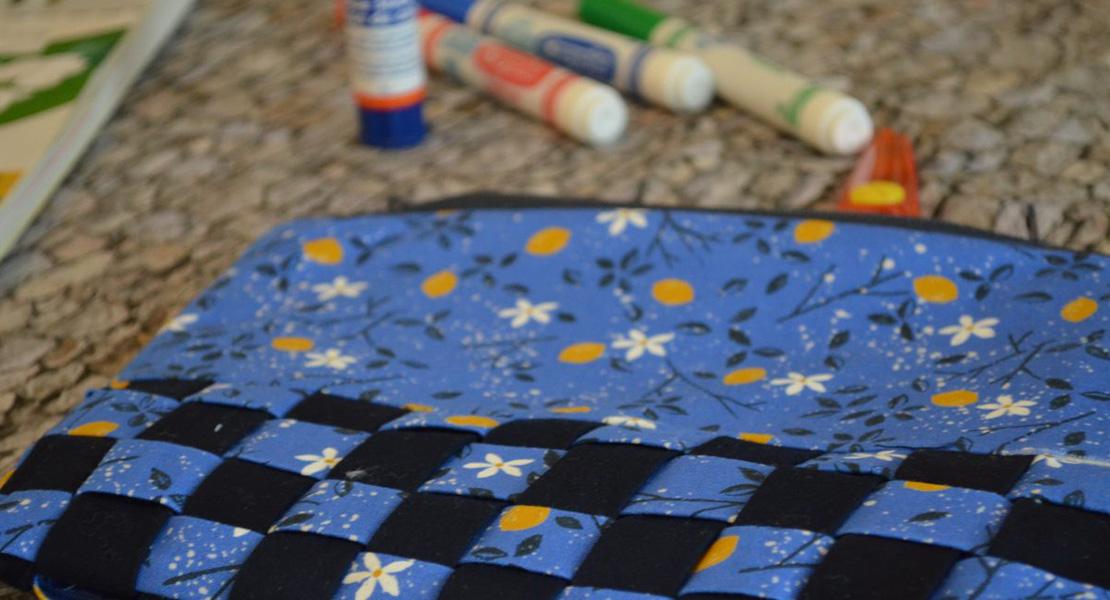
1. Sew print A – print B – print A, matching long edges, with right side. Press seams to the dark print side. Trace the Pouch Body outer line and trim the excess.
2. Fuse the batting on the wrong side of the pouch exterior. Topstitch 1/8” along the sew lines. (optional)
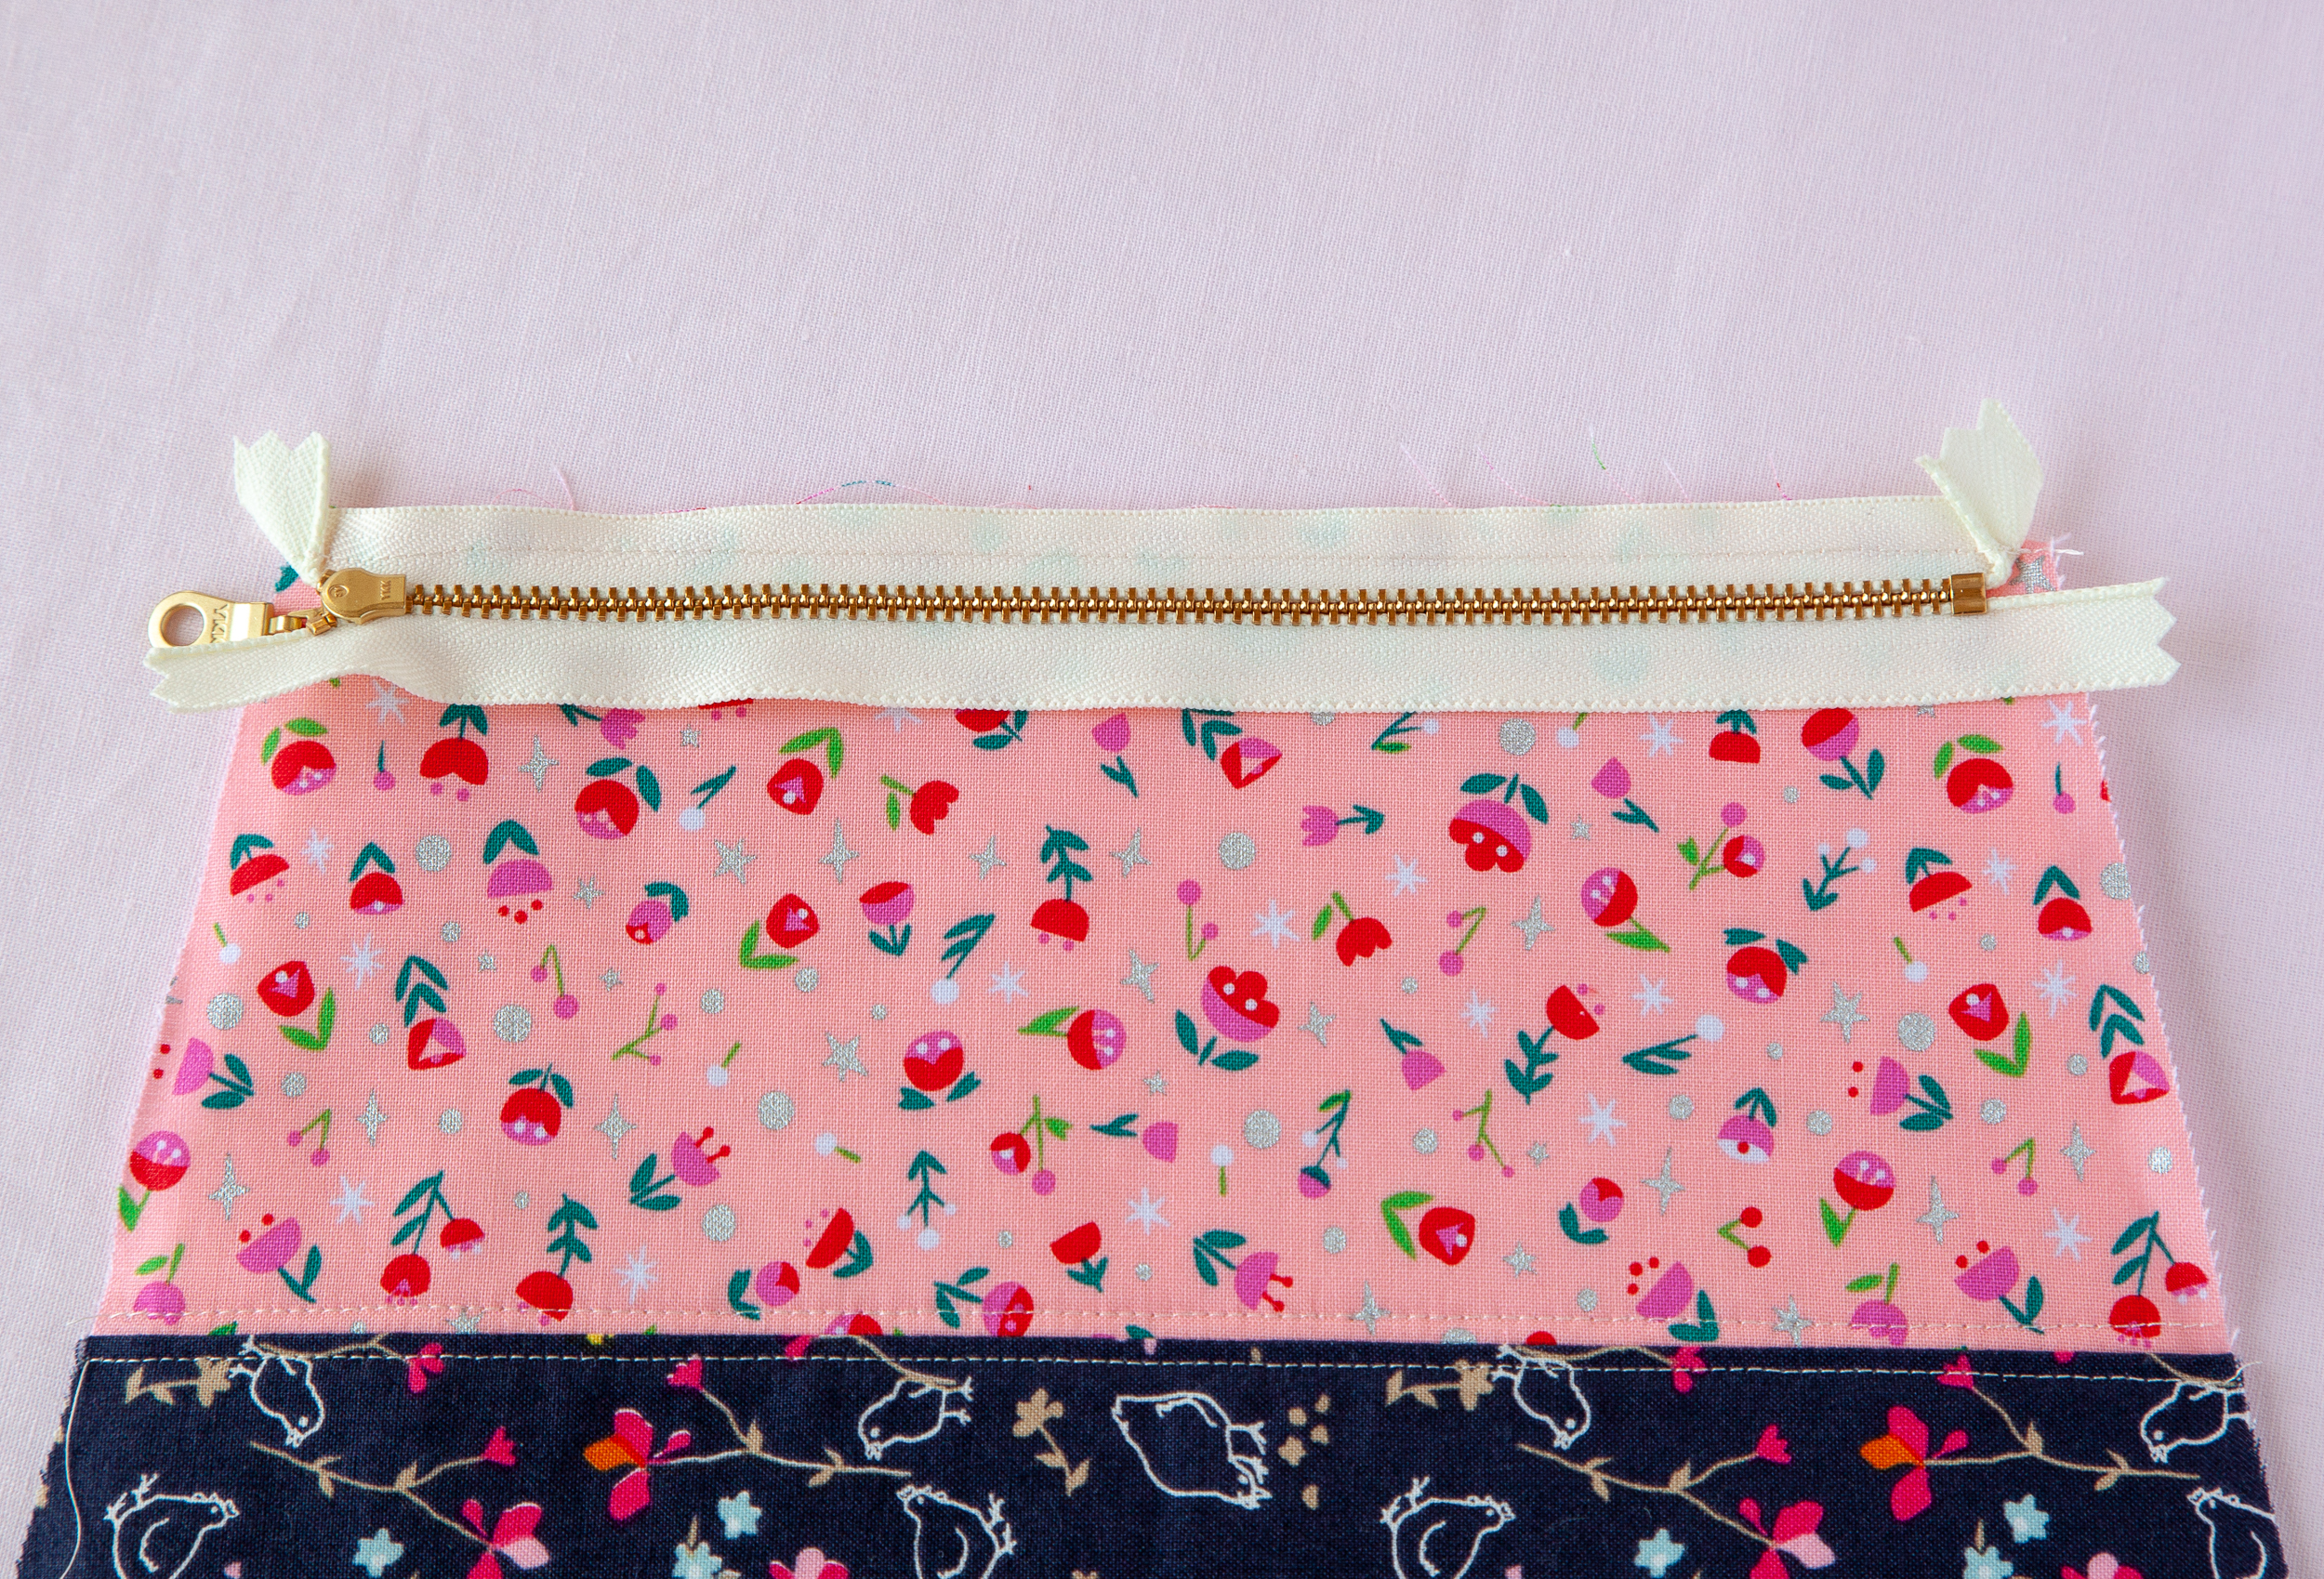
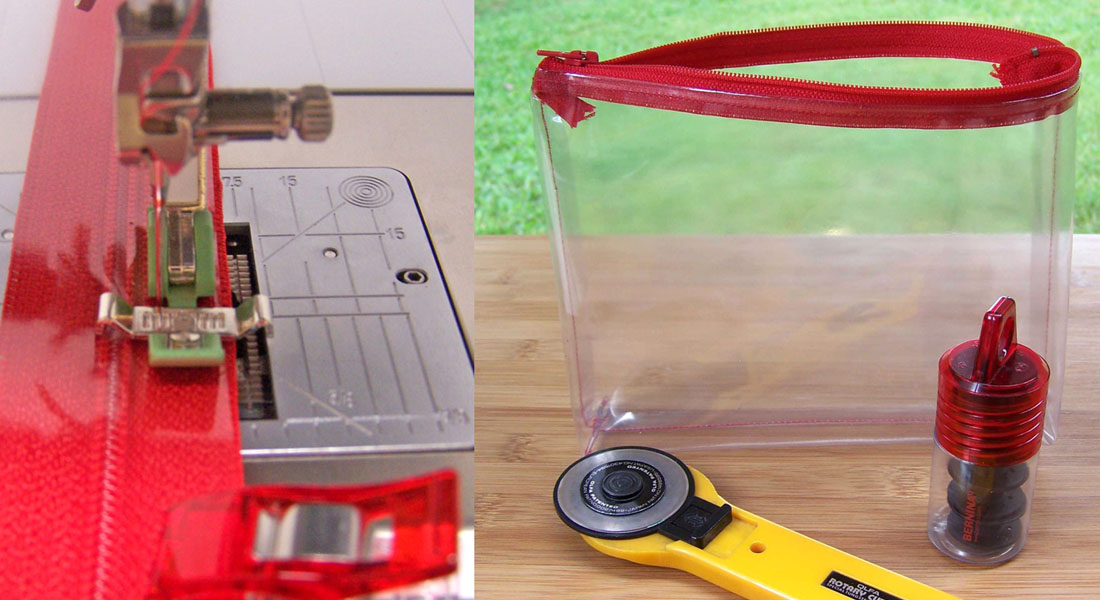
3. Place the zipper on top of the exterior, right sides together. You will be able to see the wrong side of the zipper. Fold zipper ends as shown. Pin in place and sew using a zipper foot.
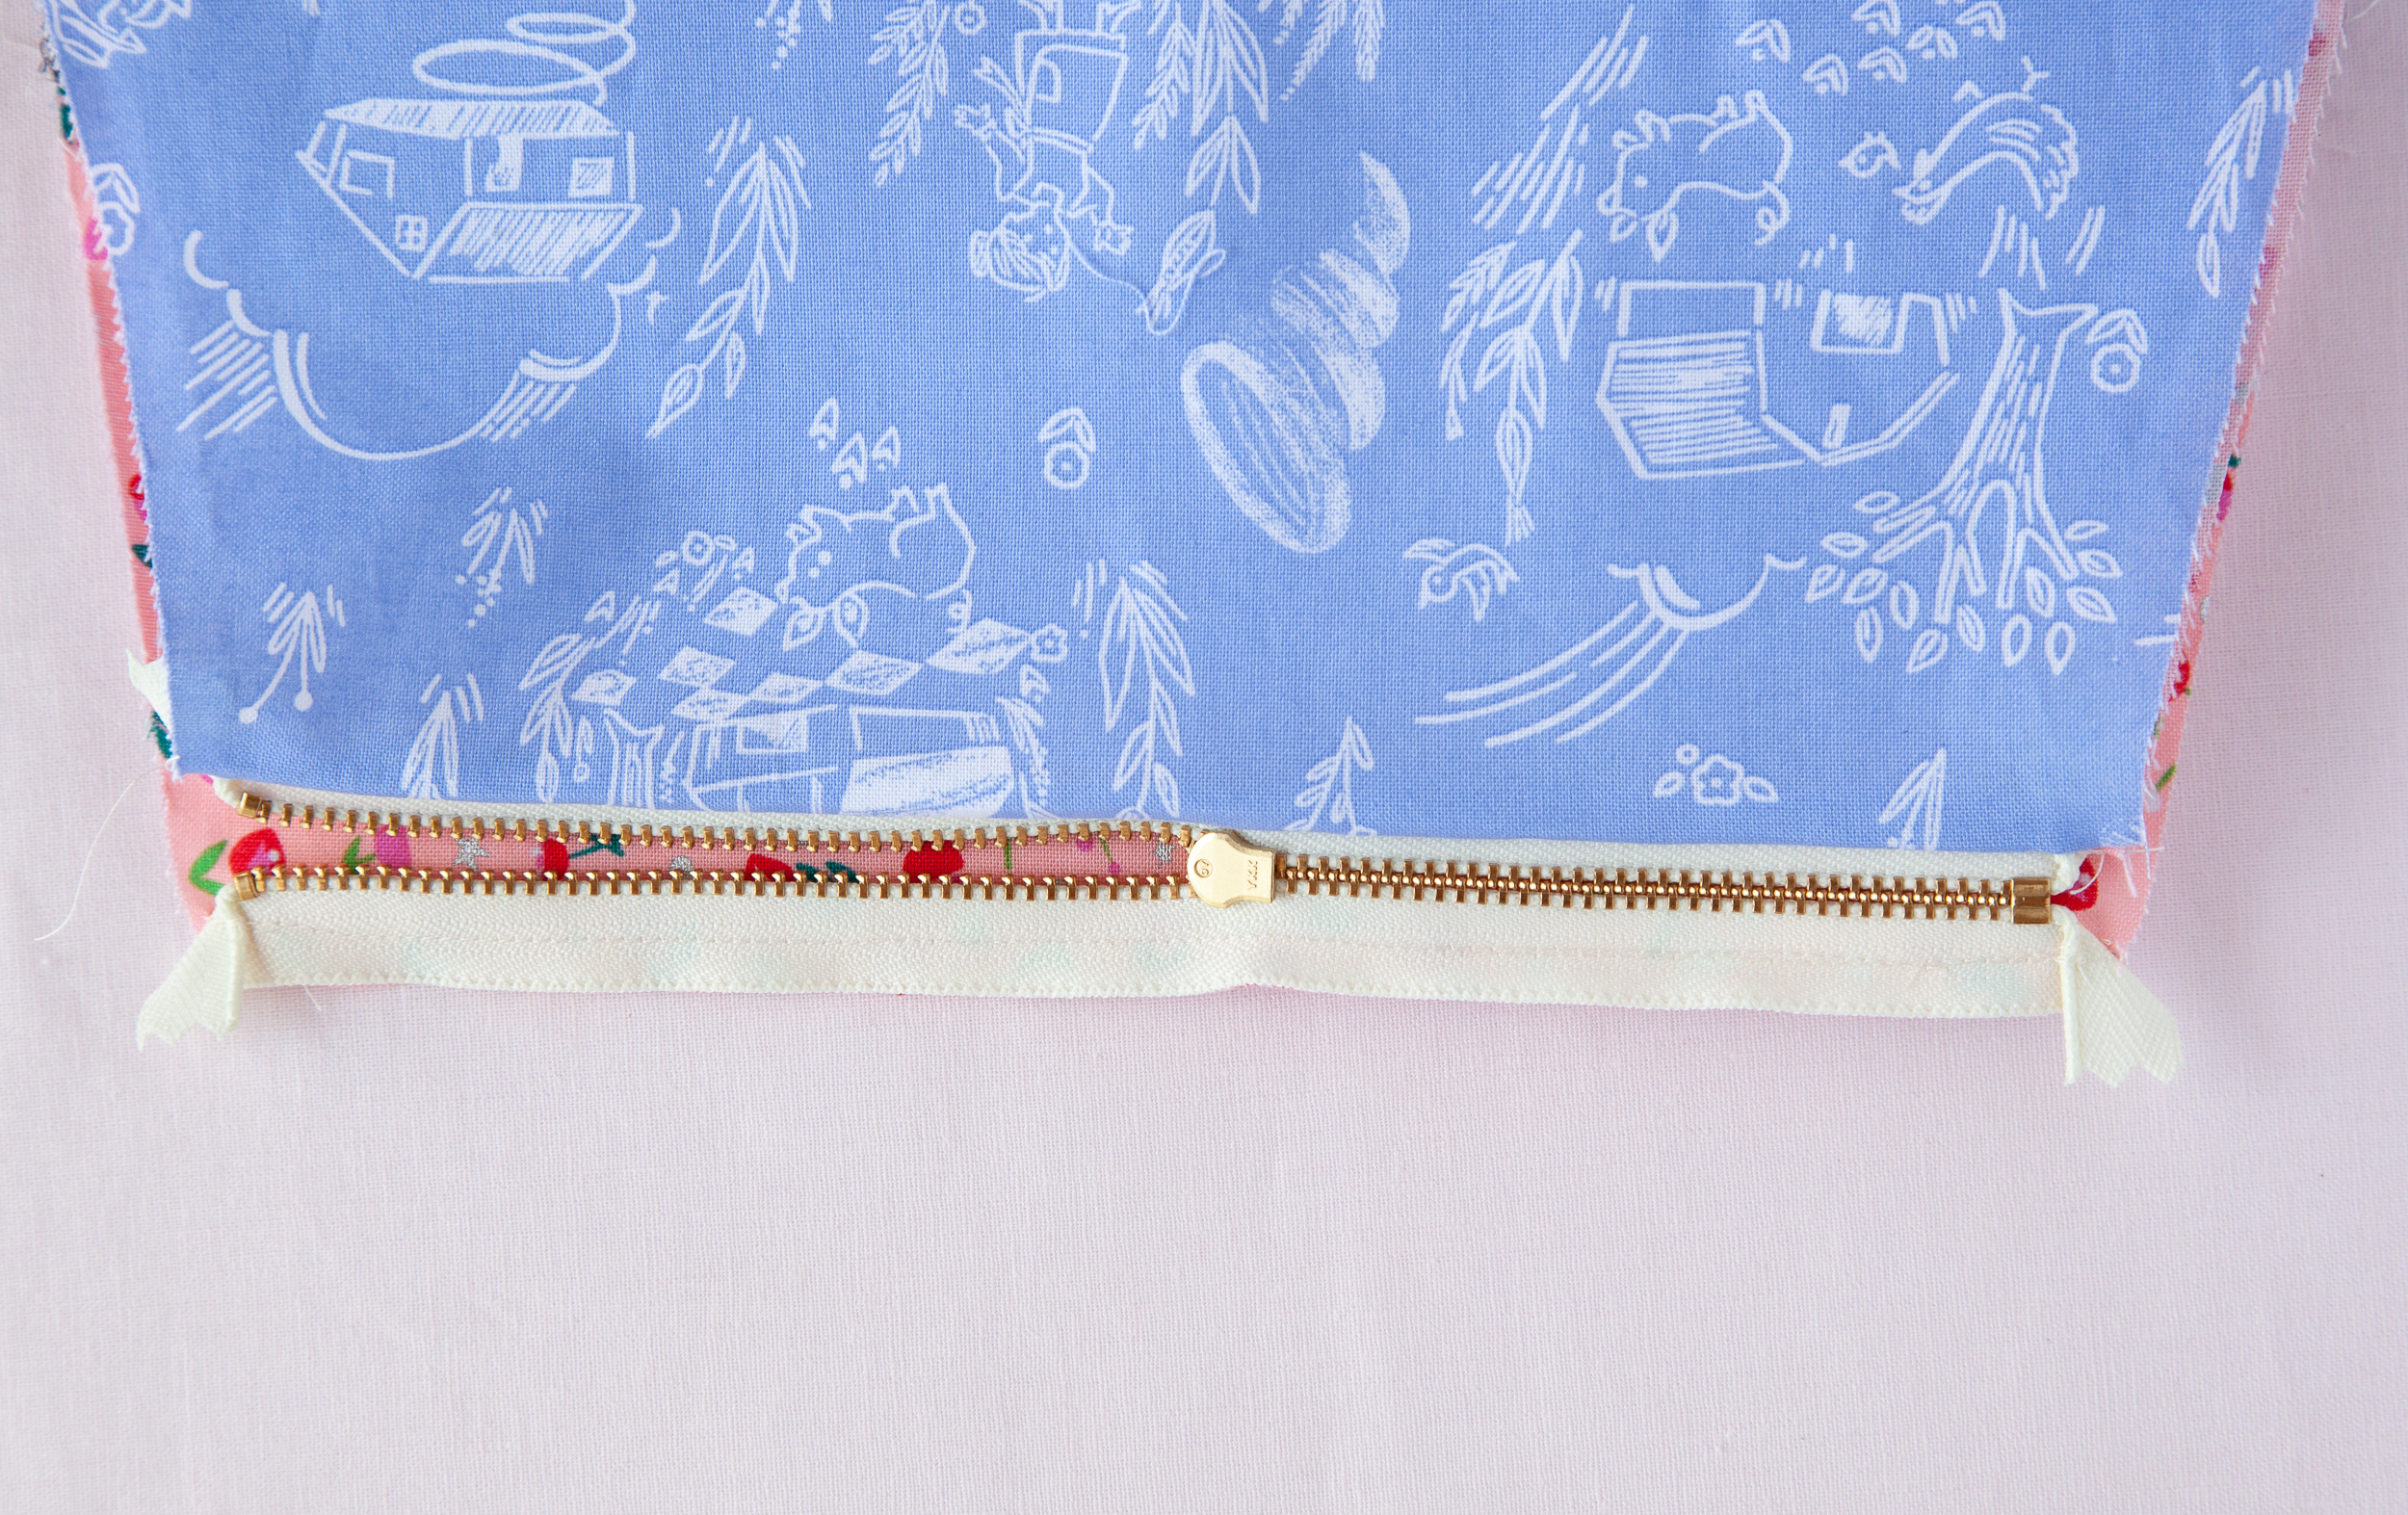
4. With the wrong side up, lay pouch lining on the zipper, matching the top edges. Sew through the layer, using the previous stitching line as a guide.

5. Repeat the step 3-4 to attach the other side of the zipper to the exterior and the lining.
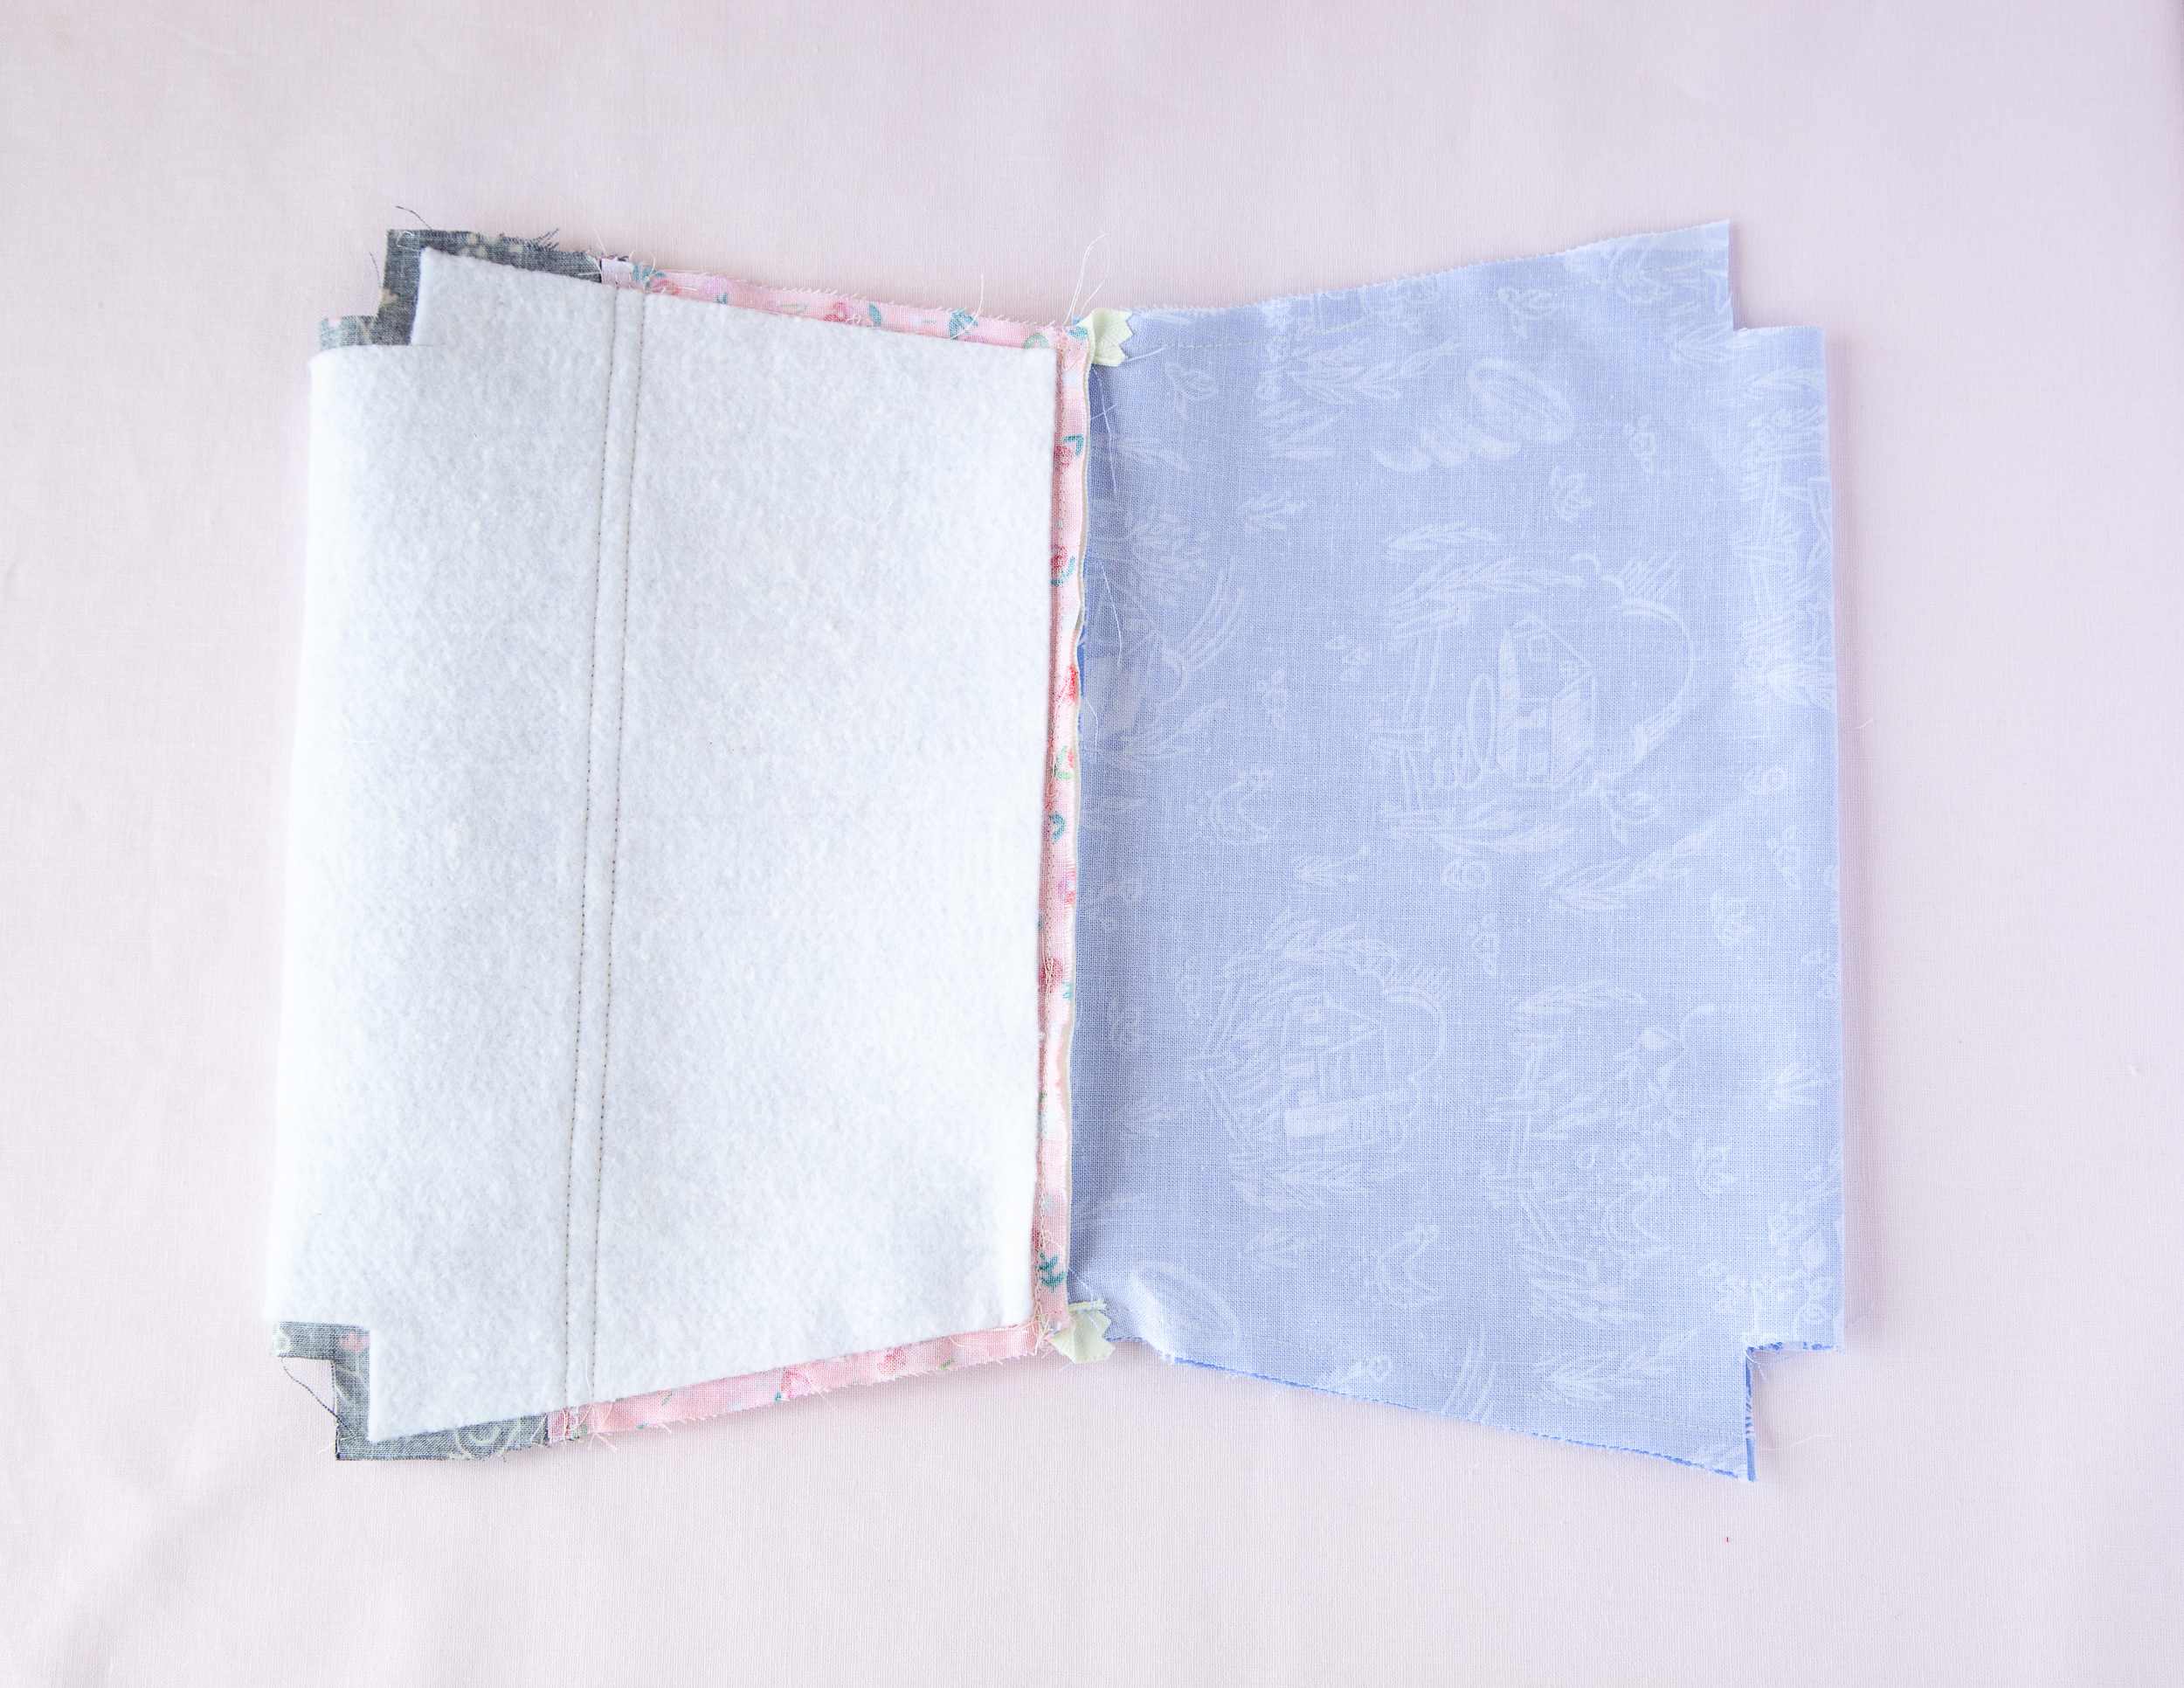
6. Lay flat the pouch as shown. Fold the cotton ribbon in half and slide in one side of the pouch exterior, about 3/4” down from the zipper. Sew the sides, matching raw edges. Use 3/8” – 1/2” seam when sewing the lining sides for the tight fit.
Make sure to leave the zipper half open.
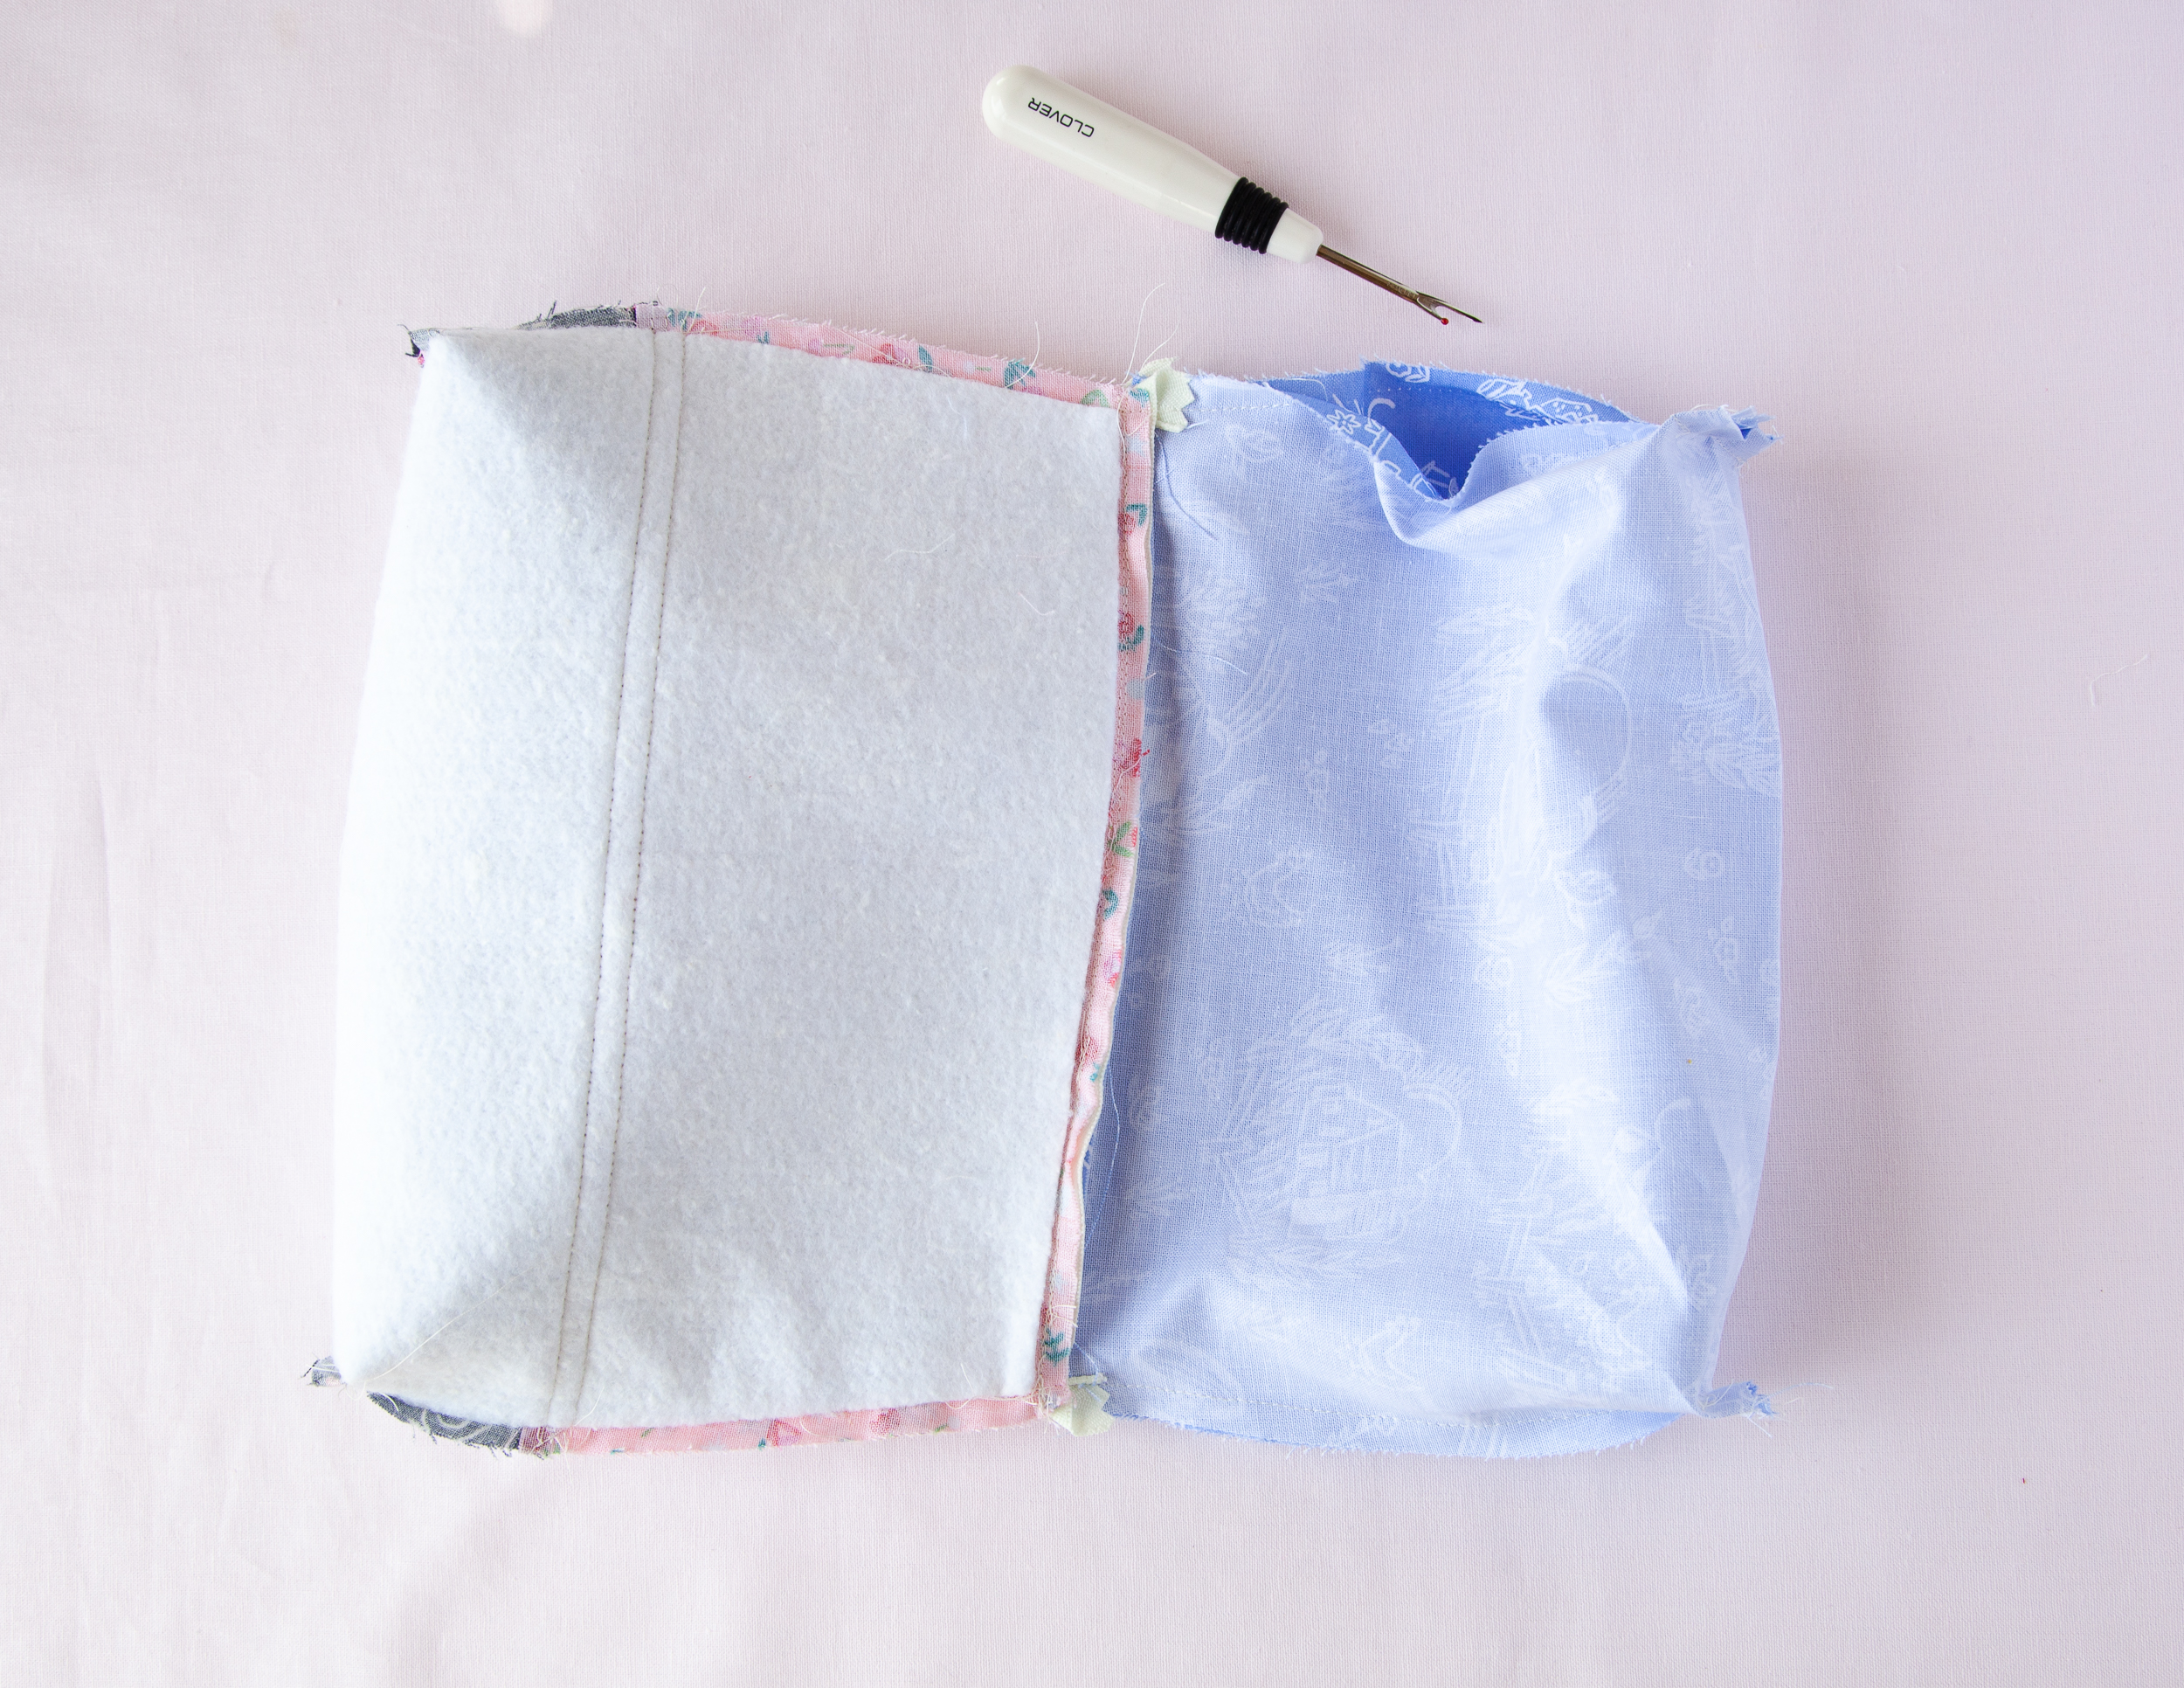
7. Pinch the ends of an opening together to flatten the material. Match up seams and pin well. Sew together along this edge. Make sure to backstitch at the beginning and end of the seam for strength. Repeat on the 3 remaining sides.
Using a seam ripper, make an opening on one lining side.
8. Turn right side out through the opening and hand stitch the gap closed. Then tuck the inner pouch into the outer and press everything nice and neat and you are DONE!
You can find more bag and pouch patterns on my shop sewingillustration.com.
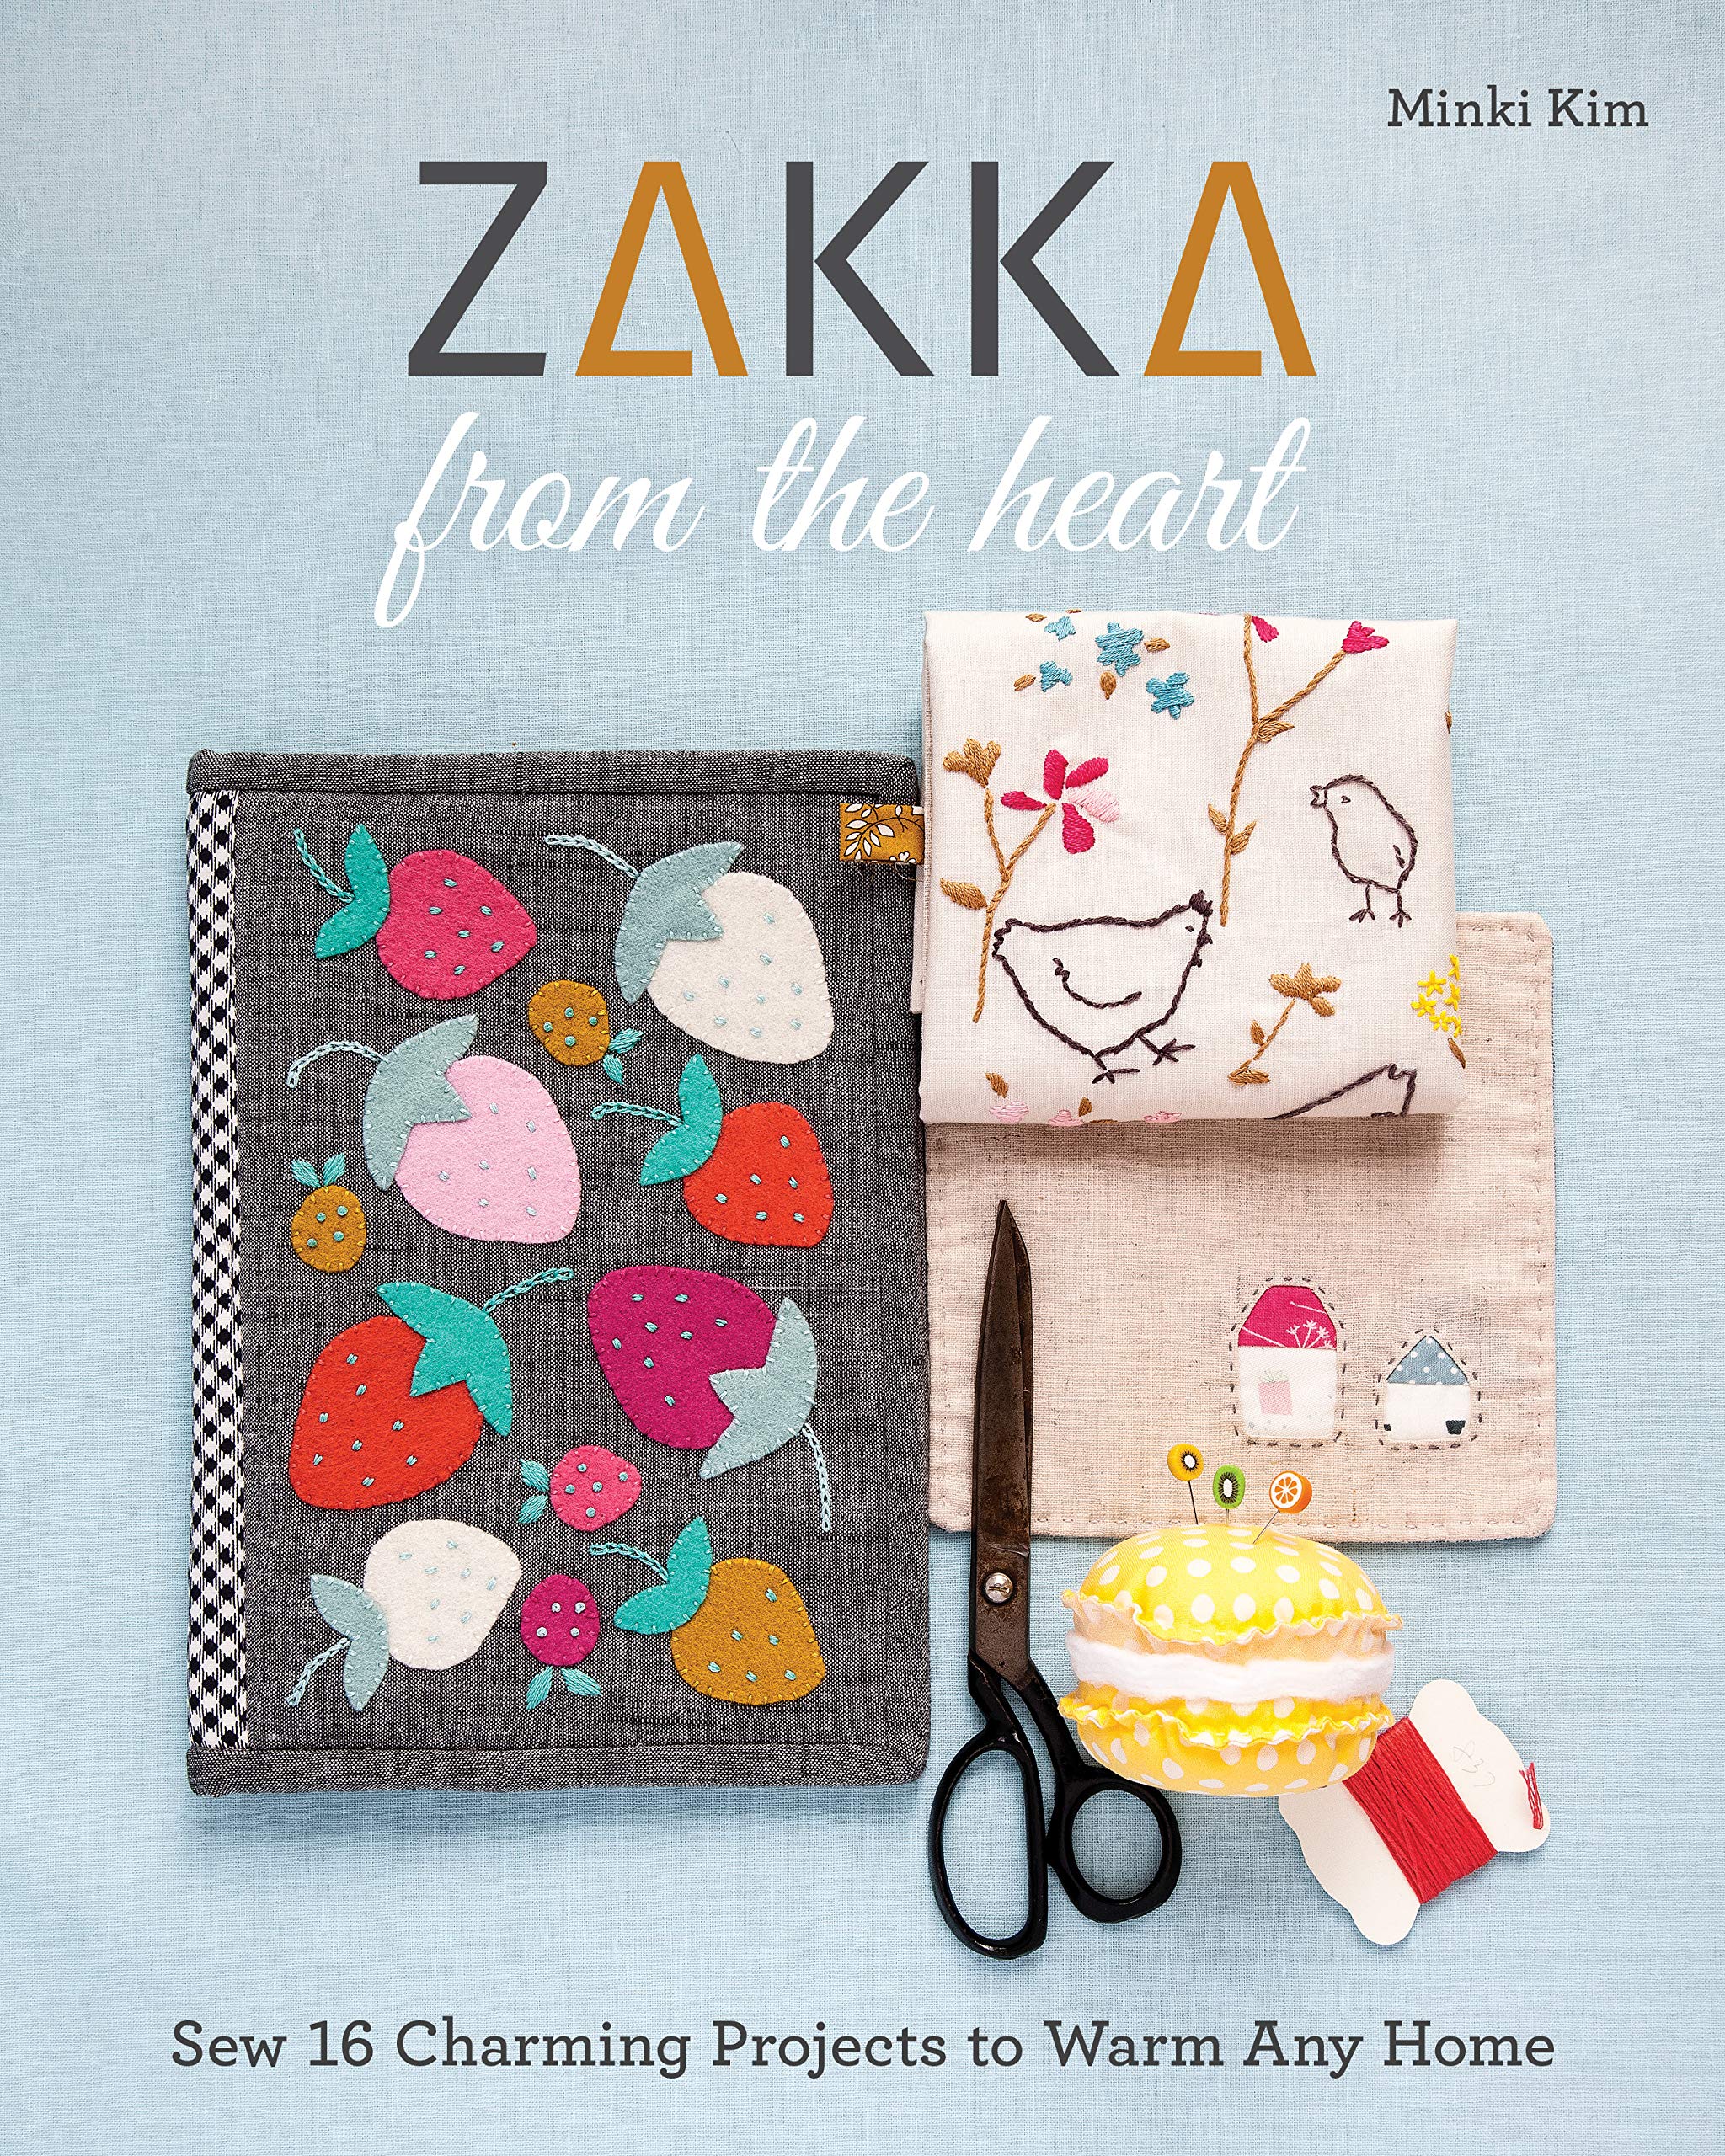
My new book Zakka from the Heart will be out this October from Stash Books.
I can’t wait to put it in your hands and hope to share more when it’s the time!
Used Products


What you might also like


15 comments on “DIY Cosmetic Zipper Pouch”
-
-
Thanks for sharing your pattern. This bag is adorable!
-
-
Very cute but I wish there was a download for directions besides the pattern.
-
Thank you
-
This is so cute and it looks easy to make.
-
Adorable zip pouch Minki! Congrats on your new book! I can’t wait to get a copy!
-
cute fabric & very versatile bag/pouch. I love Minki Kim work, always so fresh & sweet looking. Glad to see it here. I purchased a pattern a few weeks ago & love the pouch. She has such lovely quick patterns, with gorgeous fabrics. Thanks for featuring the pouch here, a must make!
-
So fun! Thanks for the tutorial and tips. Where does the “Handmade” tag come from?
-
Thank you! you can order on my pattern shop Sewingillustration.com.
-
-
The downloadable pattern only has the part for the lining and batting. Is there another part?
-
I’m a bit confused about where to “pinch” the fabric in step 7, so that the pouch has a flat base. Could you please explain this a little clearer for me? Thansk!
-
The downloadable pattern only has the lining and batting part. Where are the lines on the pattern for favric A and B? This is so disappointing Minki! I’m going to have to work it out for myself which is not good for new sewers who really need help. There is no point in giving readers free patterns if half of it is missing.
-
Hi, there’s no pattern for A & B because they are simply rectangles/strips. The instructions give the size of the rectangles to cut. To get the right shape you just lay the batting/lining over, trace the outline and trim to shape.
-
-
Hello, Ive been following you for a while and have seen your cute books at the bookstore. I thought I’d try this tutorial today for the pantone #veryperi challenge on IG that Goimagine(dot)com is hosting for their shop Owners.
I see that I need to download part of the pattern. Is that these two items?
from print C, cut: one Pouch Body outer line
from fusible batting, cut: one Pouch Body inner lineThanks so much. Have a great week! Tina
-
Hi, I have had trouble with “pinching” the bottom corners. I end up with edges that aren’t caught. It bottom corners look like boxed corners. Should I fold them like that and sew across the folded seam? Maybe a photo of how the bottom corners are pinched would be helpful. Thanks. Otherwise, a cute bag.
Leave a Reply
You must be logged in to post a comment.

Great Fabric!