How to Create Shirring with Elastic Thread

We’re almost at the end of summer and I decided to end it on a good note with this super cute tunic/dress. I’m going to show how to create shirring with elastic thread. It’s a quick and easy technique that’s really popular in women’s wear right now. Shirring with elastic is not to be confused with smocking, even though they look very similar.

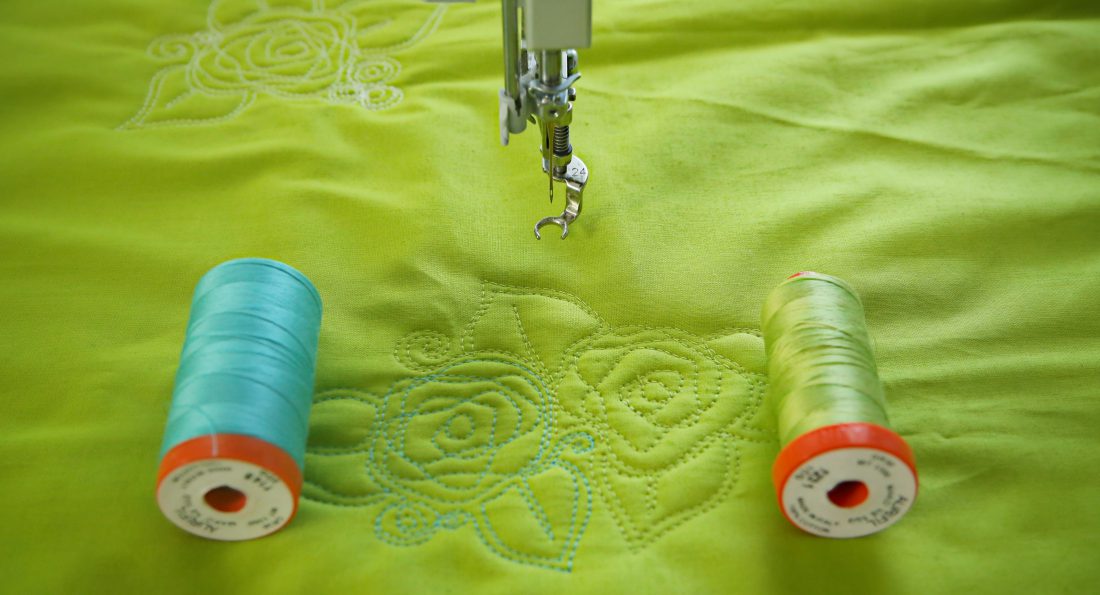
Smocking is created by hand using embroidery stitches in decorative patterns to gather fabric which creates stretch without the use of elastic thread. Shirring is created by using elastic thread in the bobbin and all-purpose thread in the needle, while sewing rows of stitches 3/8″ – 1/2″ apart with 3-4mm stitch length. The elastic thread will evenly gather the fabric while creating stretch and texture.
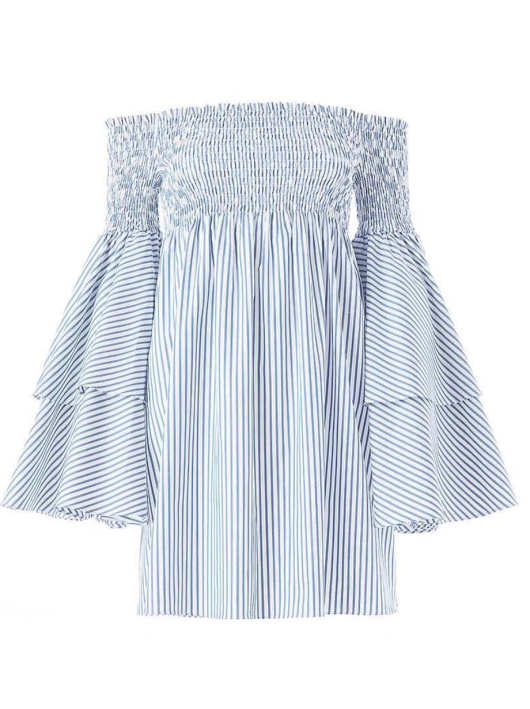
My project is inspired by this fabulous dress by designer Caroline Constas.
Materials for Shirring with Elastic Thread
- Sewing Machine (I use a BERNINA 350 PE)
- BERNINA Reverse Pattern Foot #1
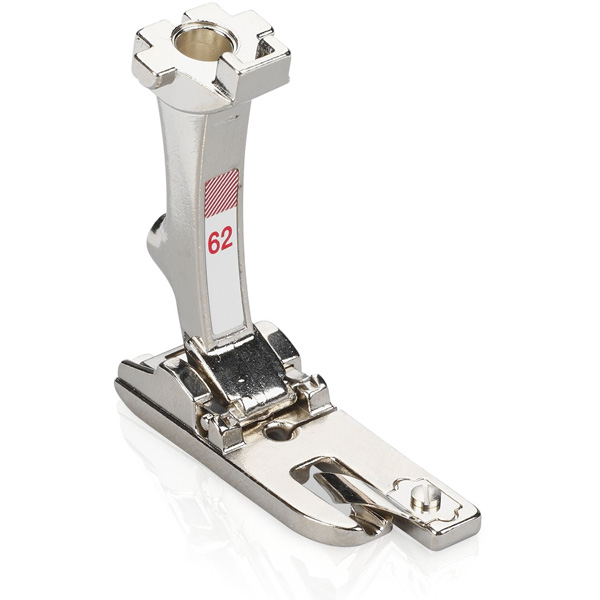
- BERNINA Narrow Straight Stitch Hemmer #62
- Lightweight fabric such as a lightweight cotton (I used a lightweight seersucker)
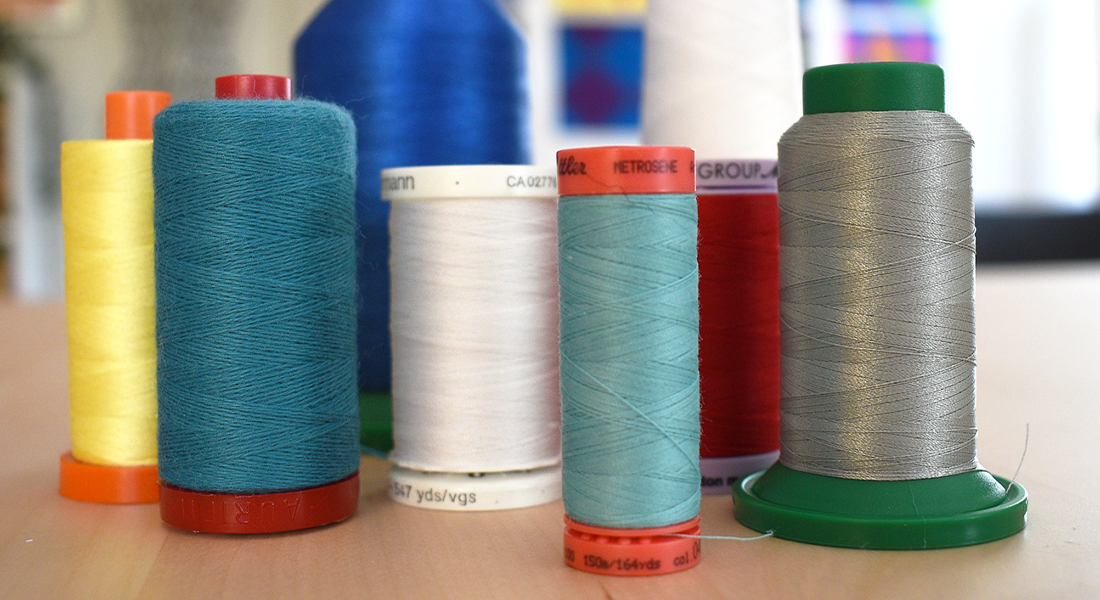
- Elastic thread
- All-Purpose thread
- Scissors
- Pins
How to Set-Up Your Machine for Shirring with Elastic
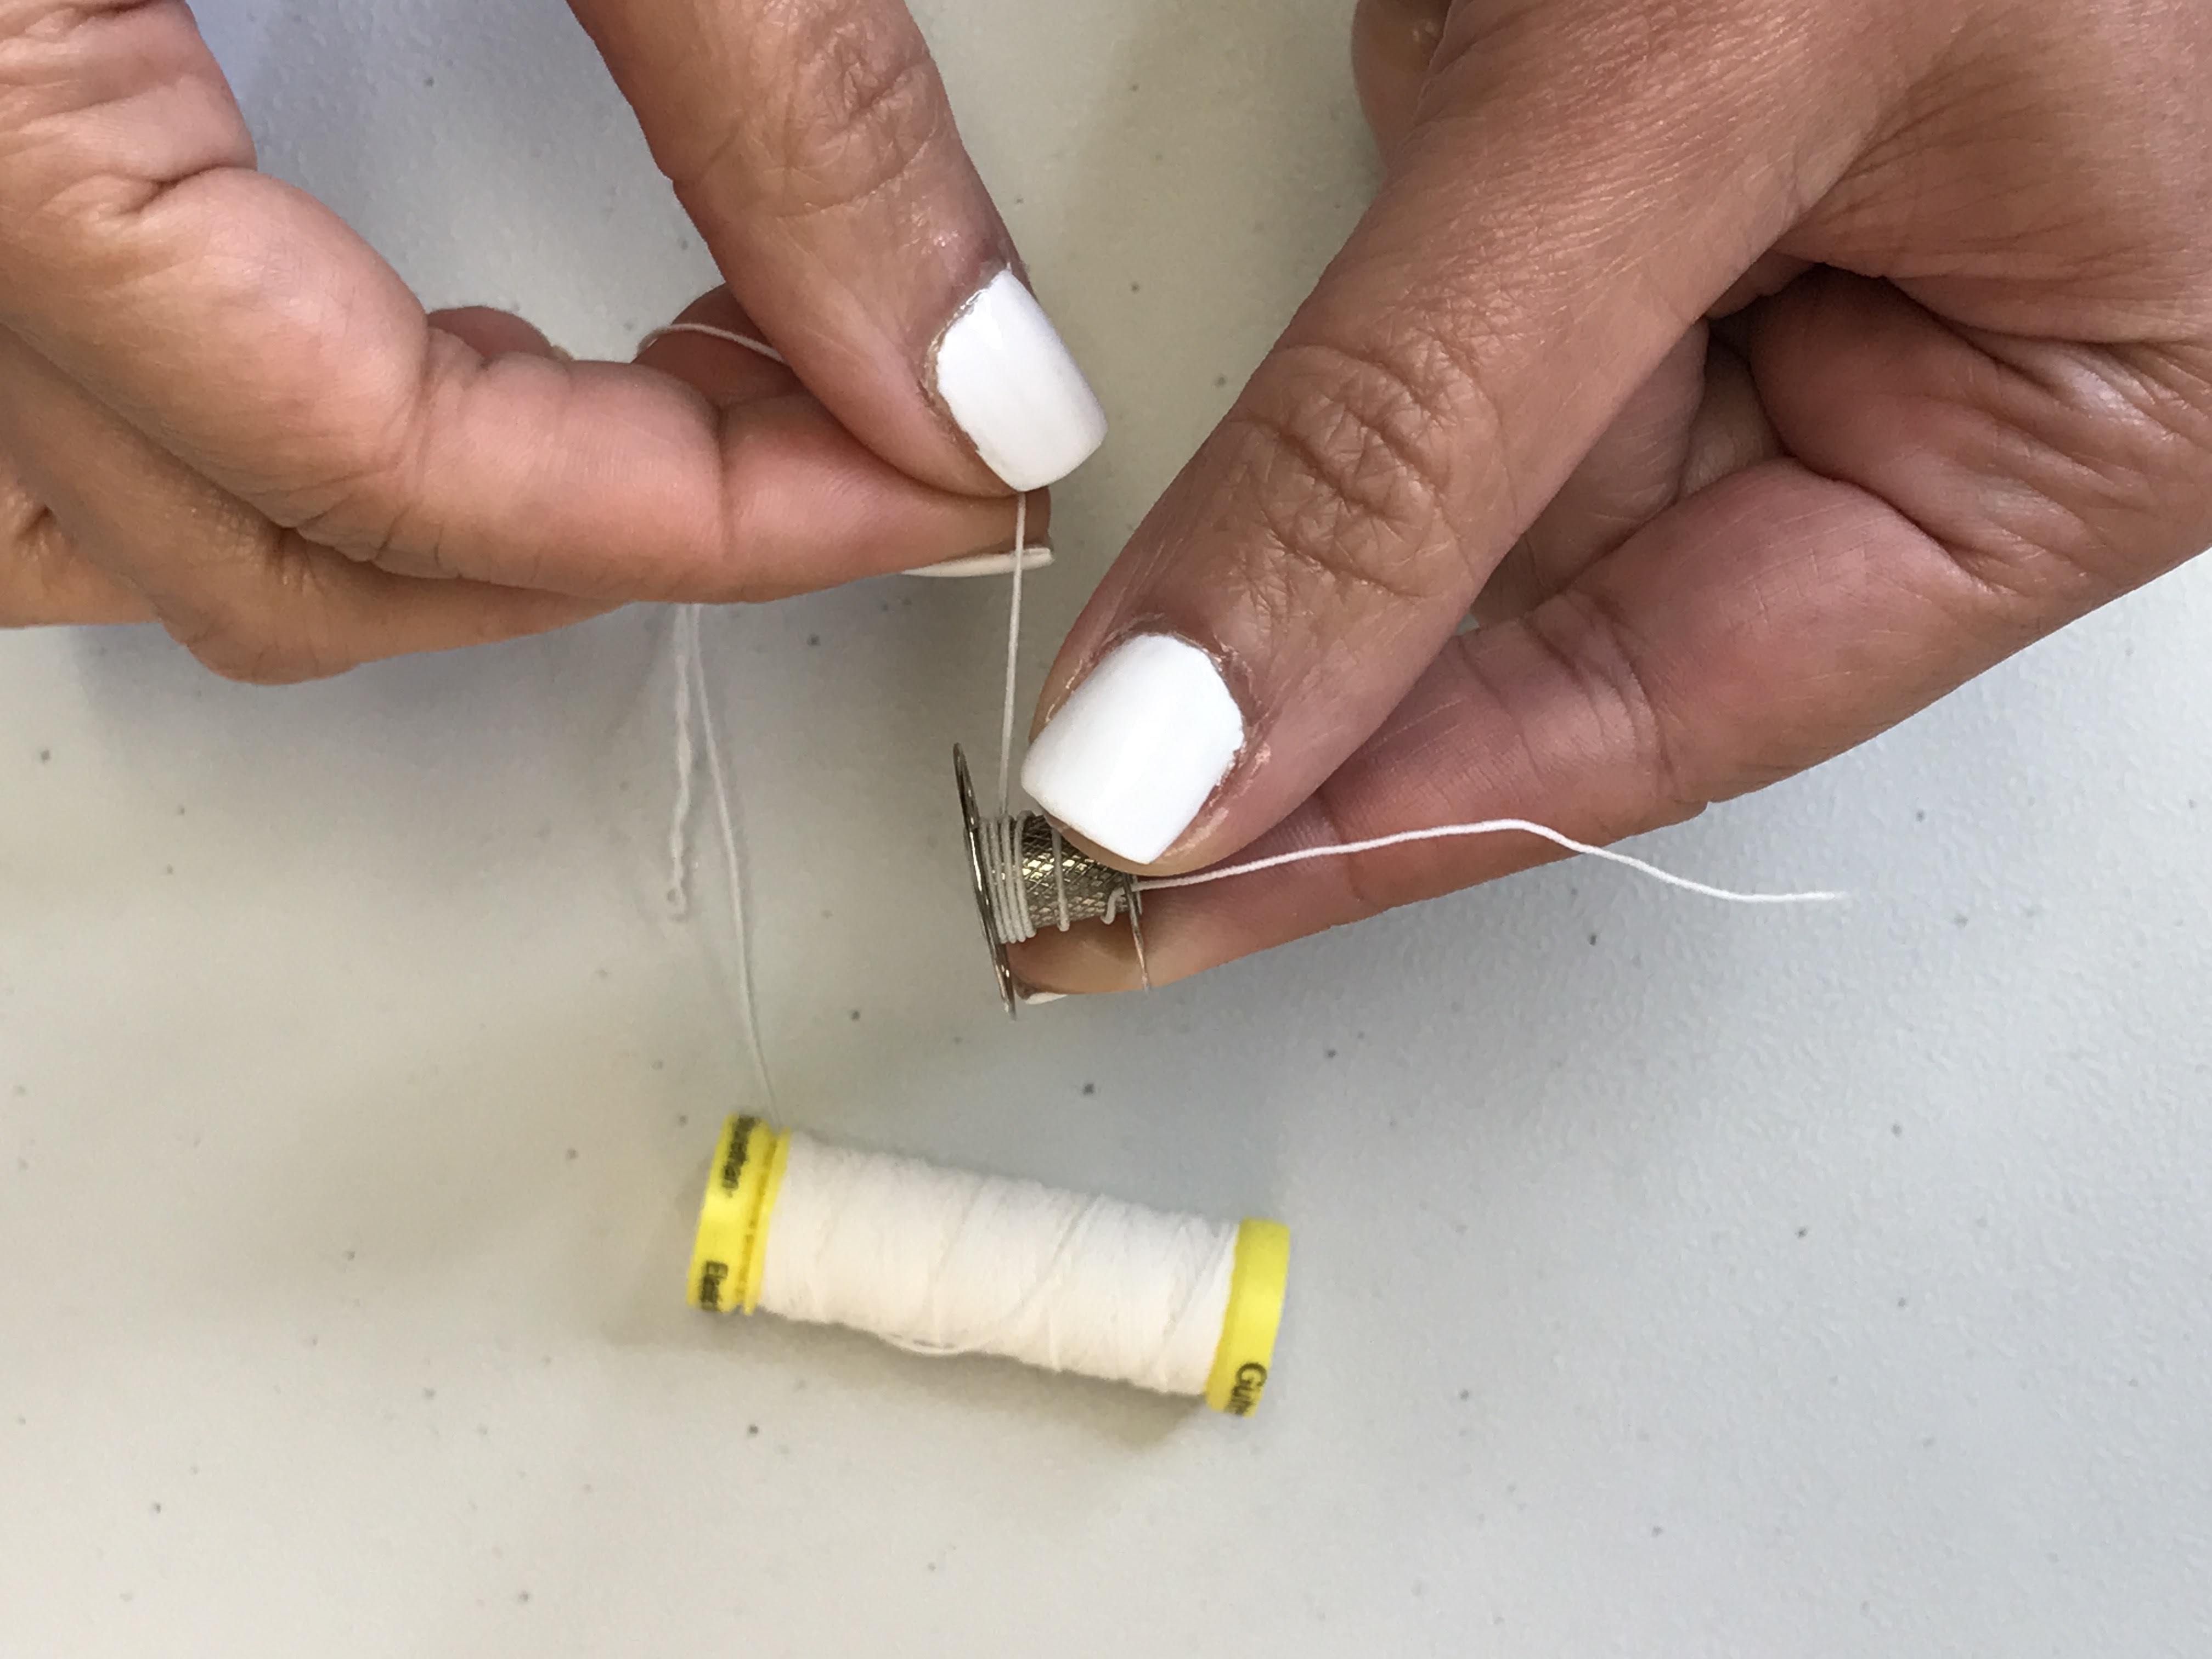
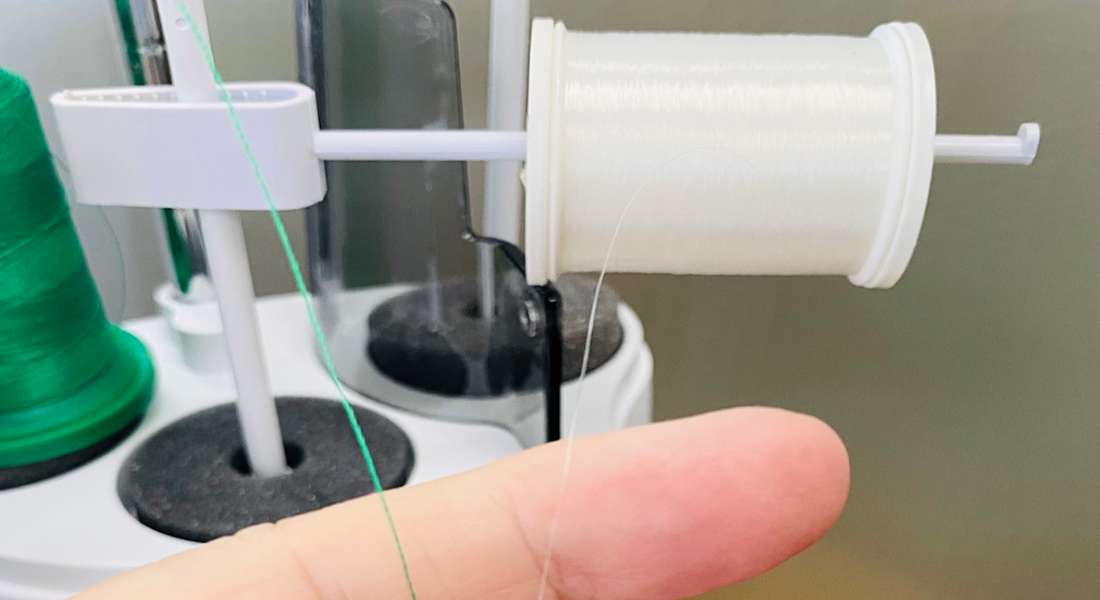
First thing, you have to wind your elastic thread around an empty bobbin, but don’t stretch it! Do NOT use your machine to wind your bobbin! Make sure it’s neat, so that it feeds well and it’s not too tight or too loose.
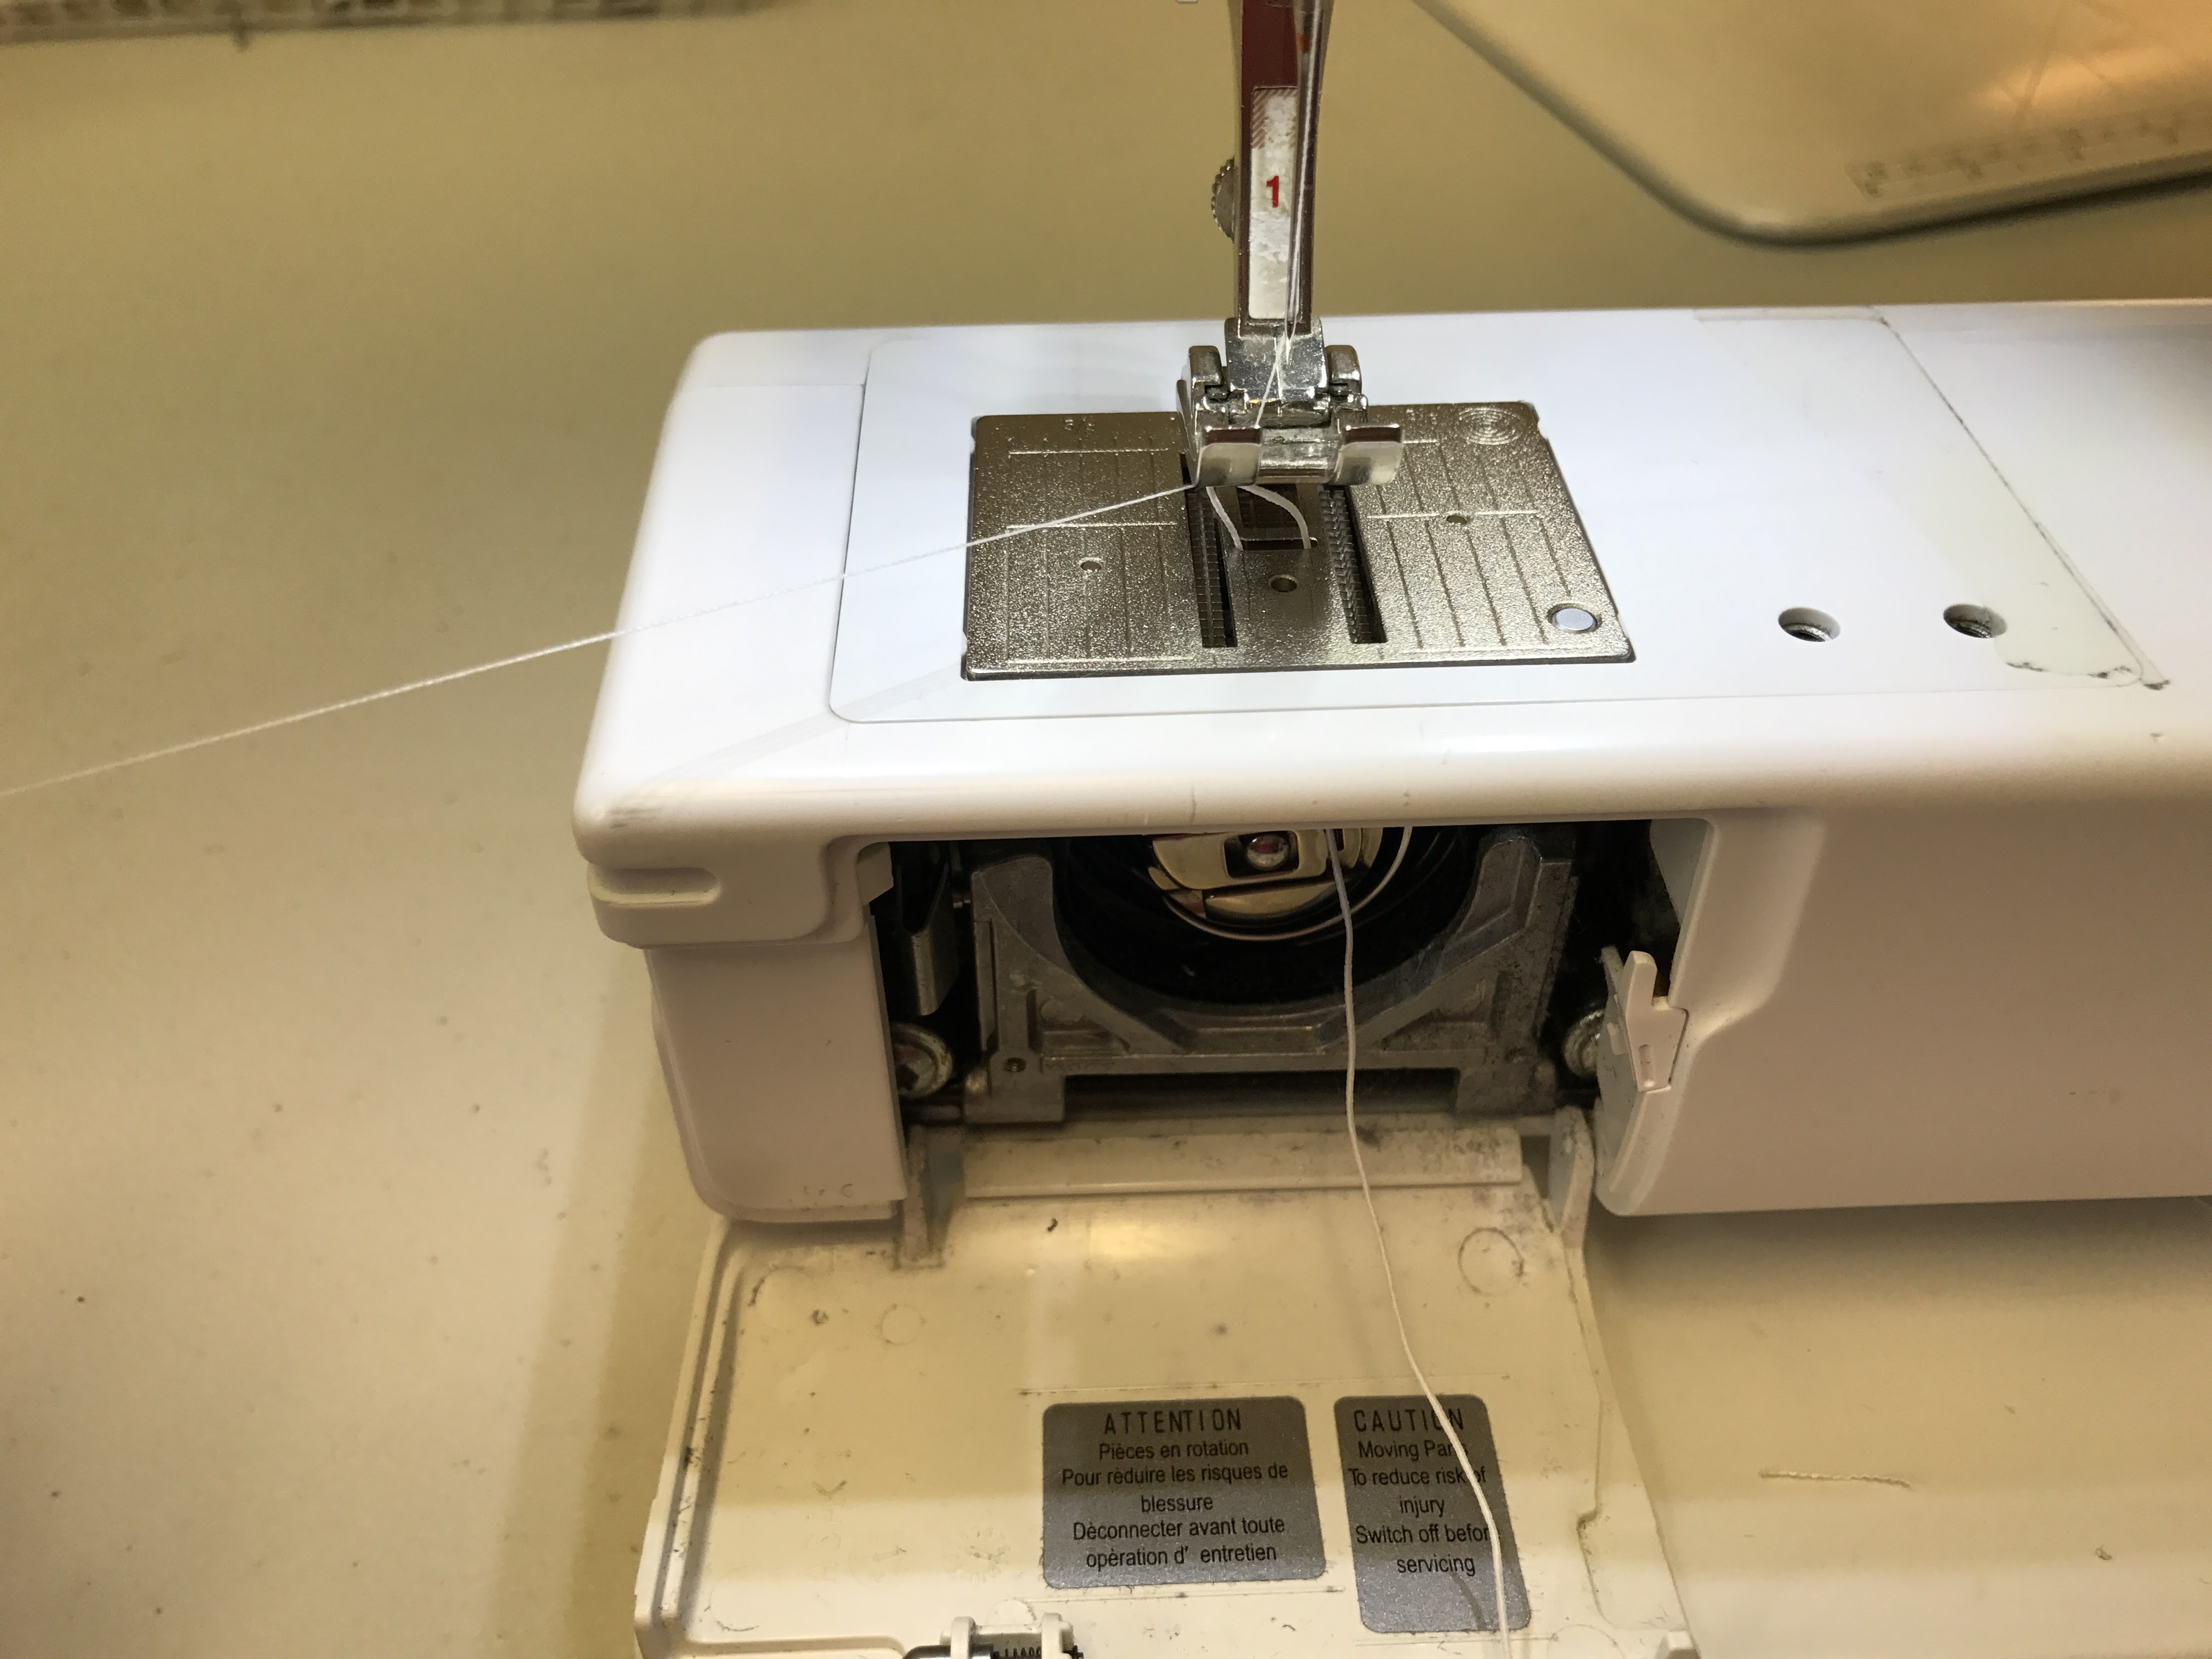
Insert your bobbin into the machine normally.
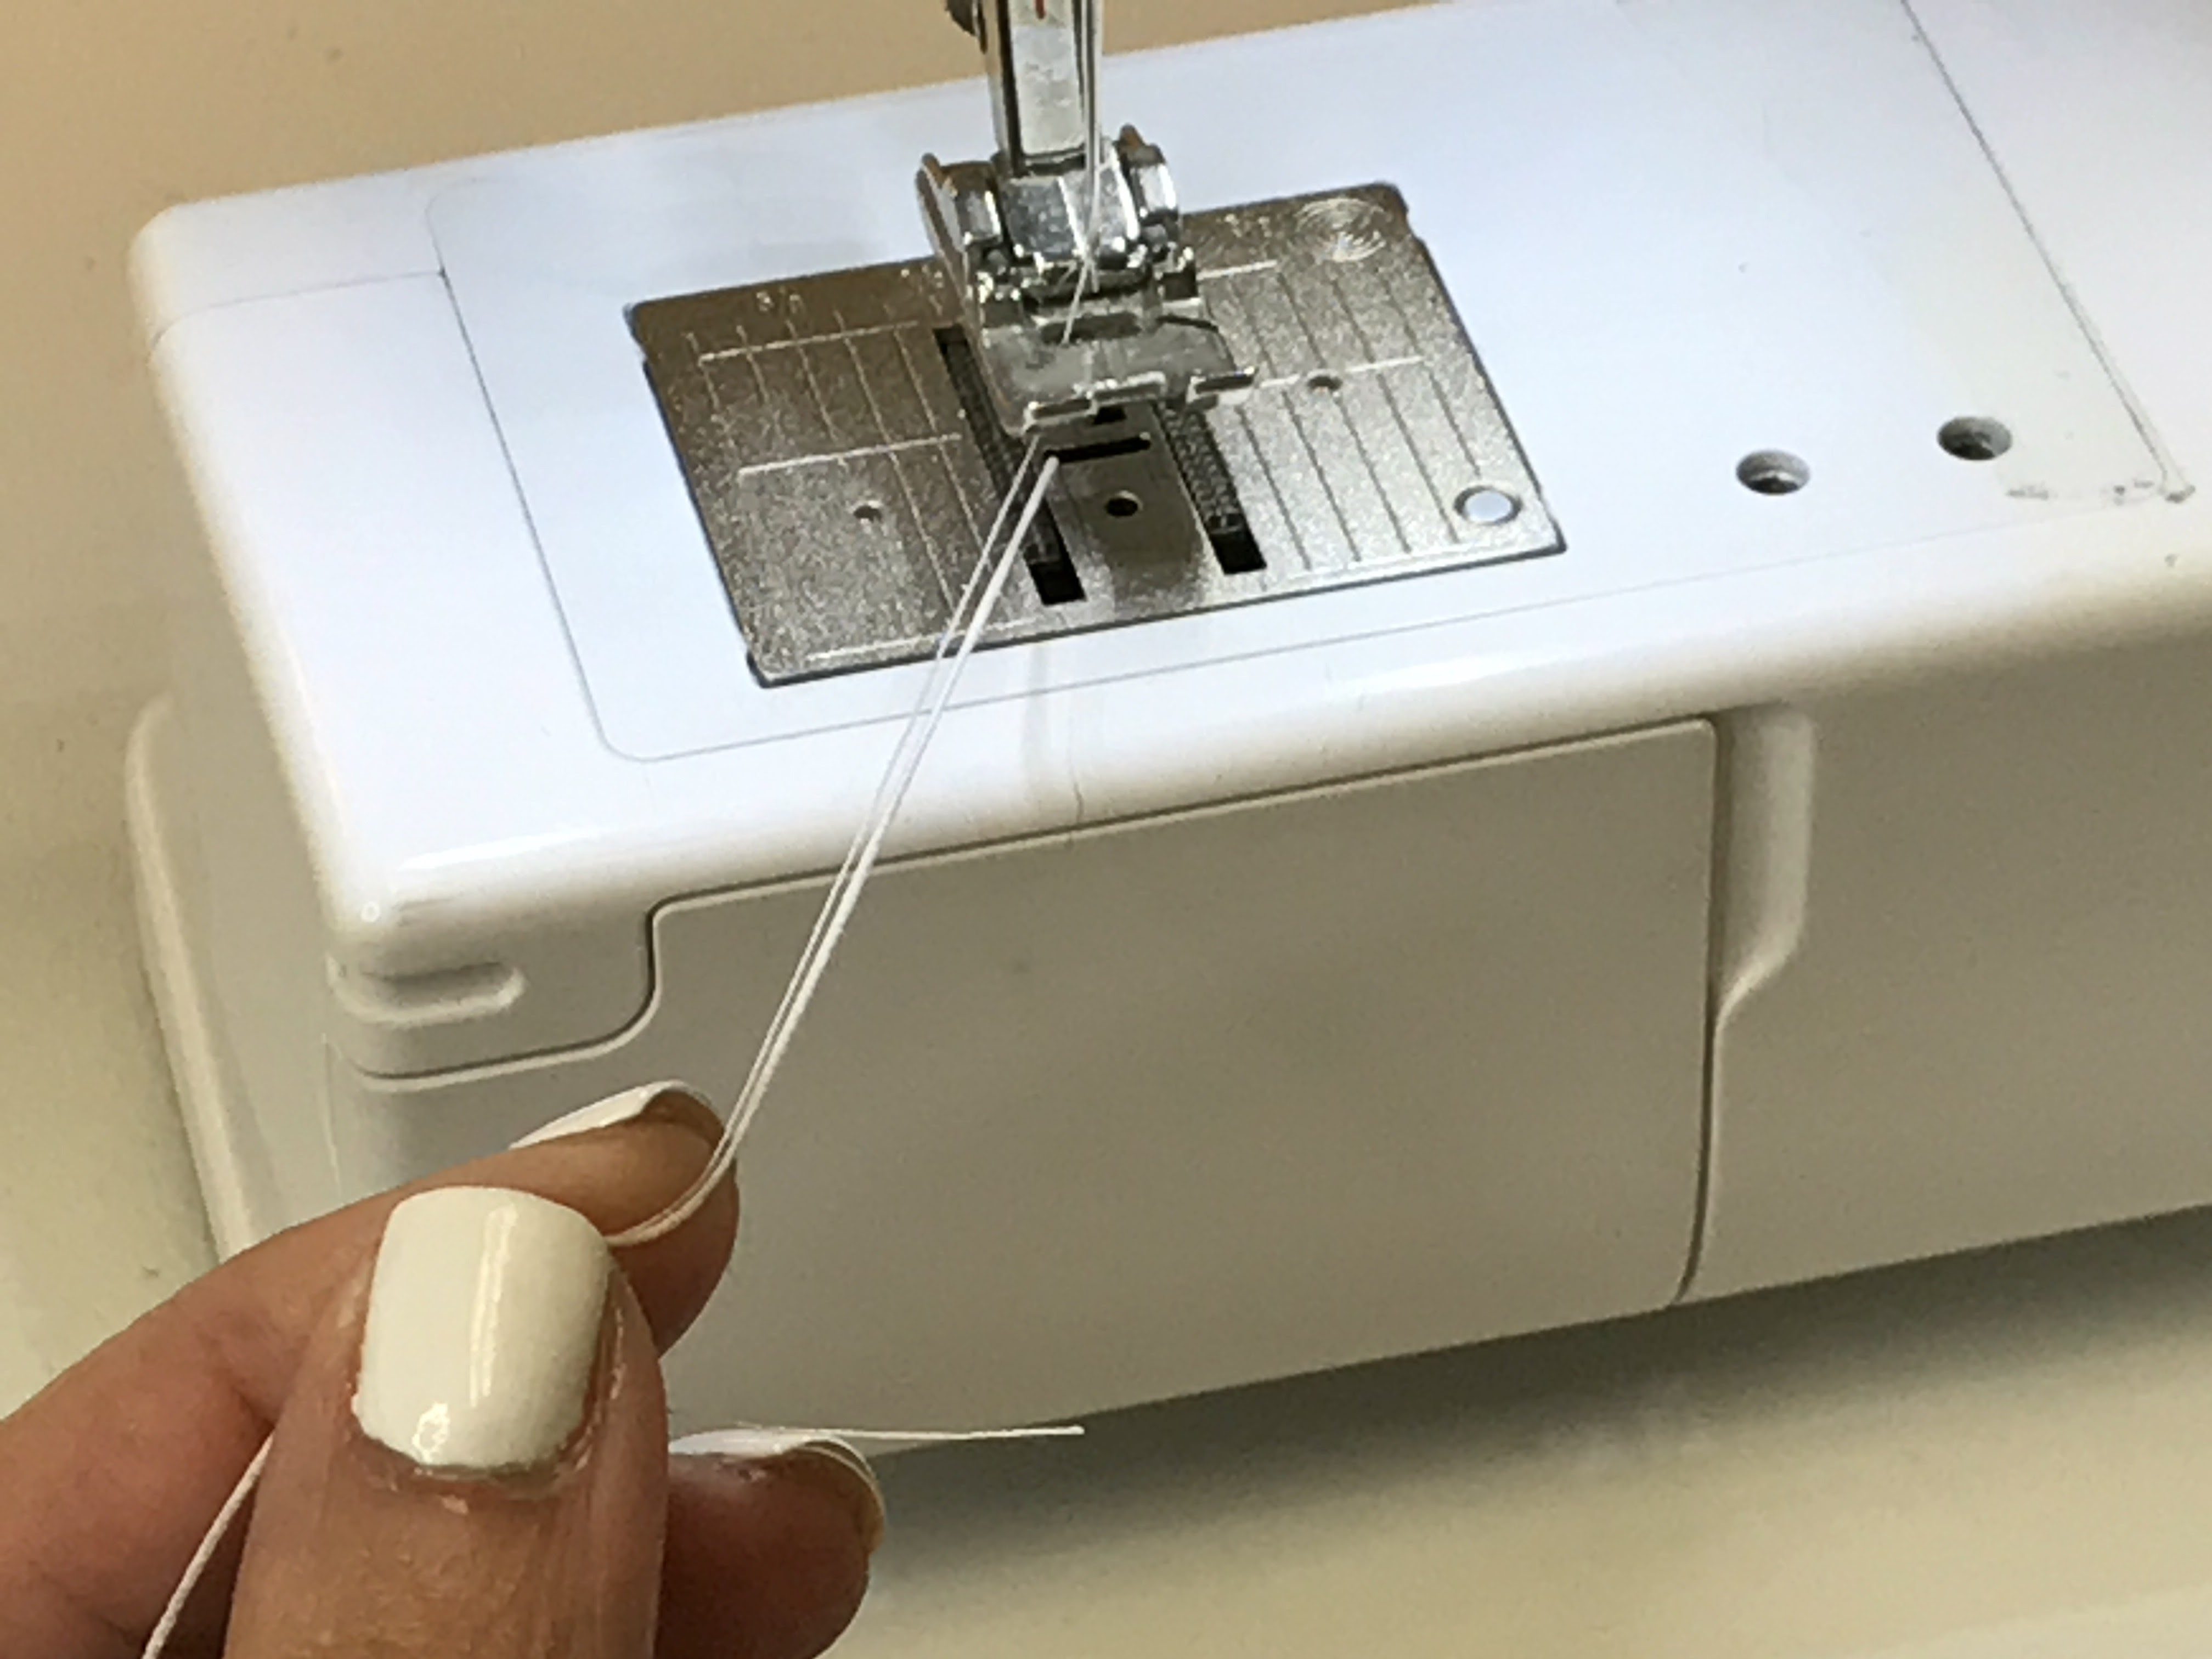
and pull the elastic thread up through the needle plate.
How to Create Shirring with Elastic Thread
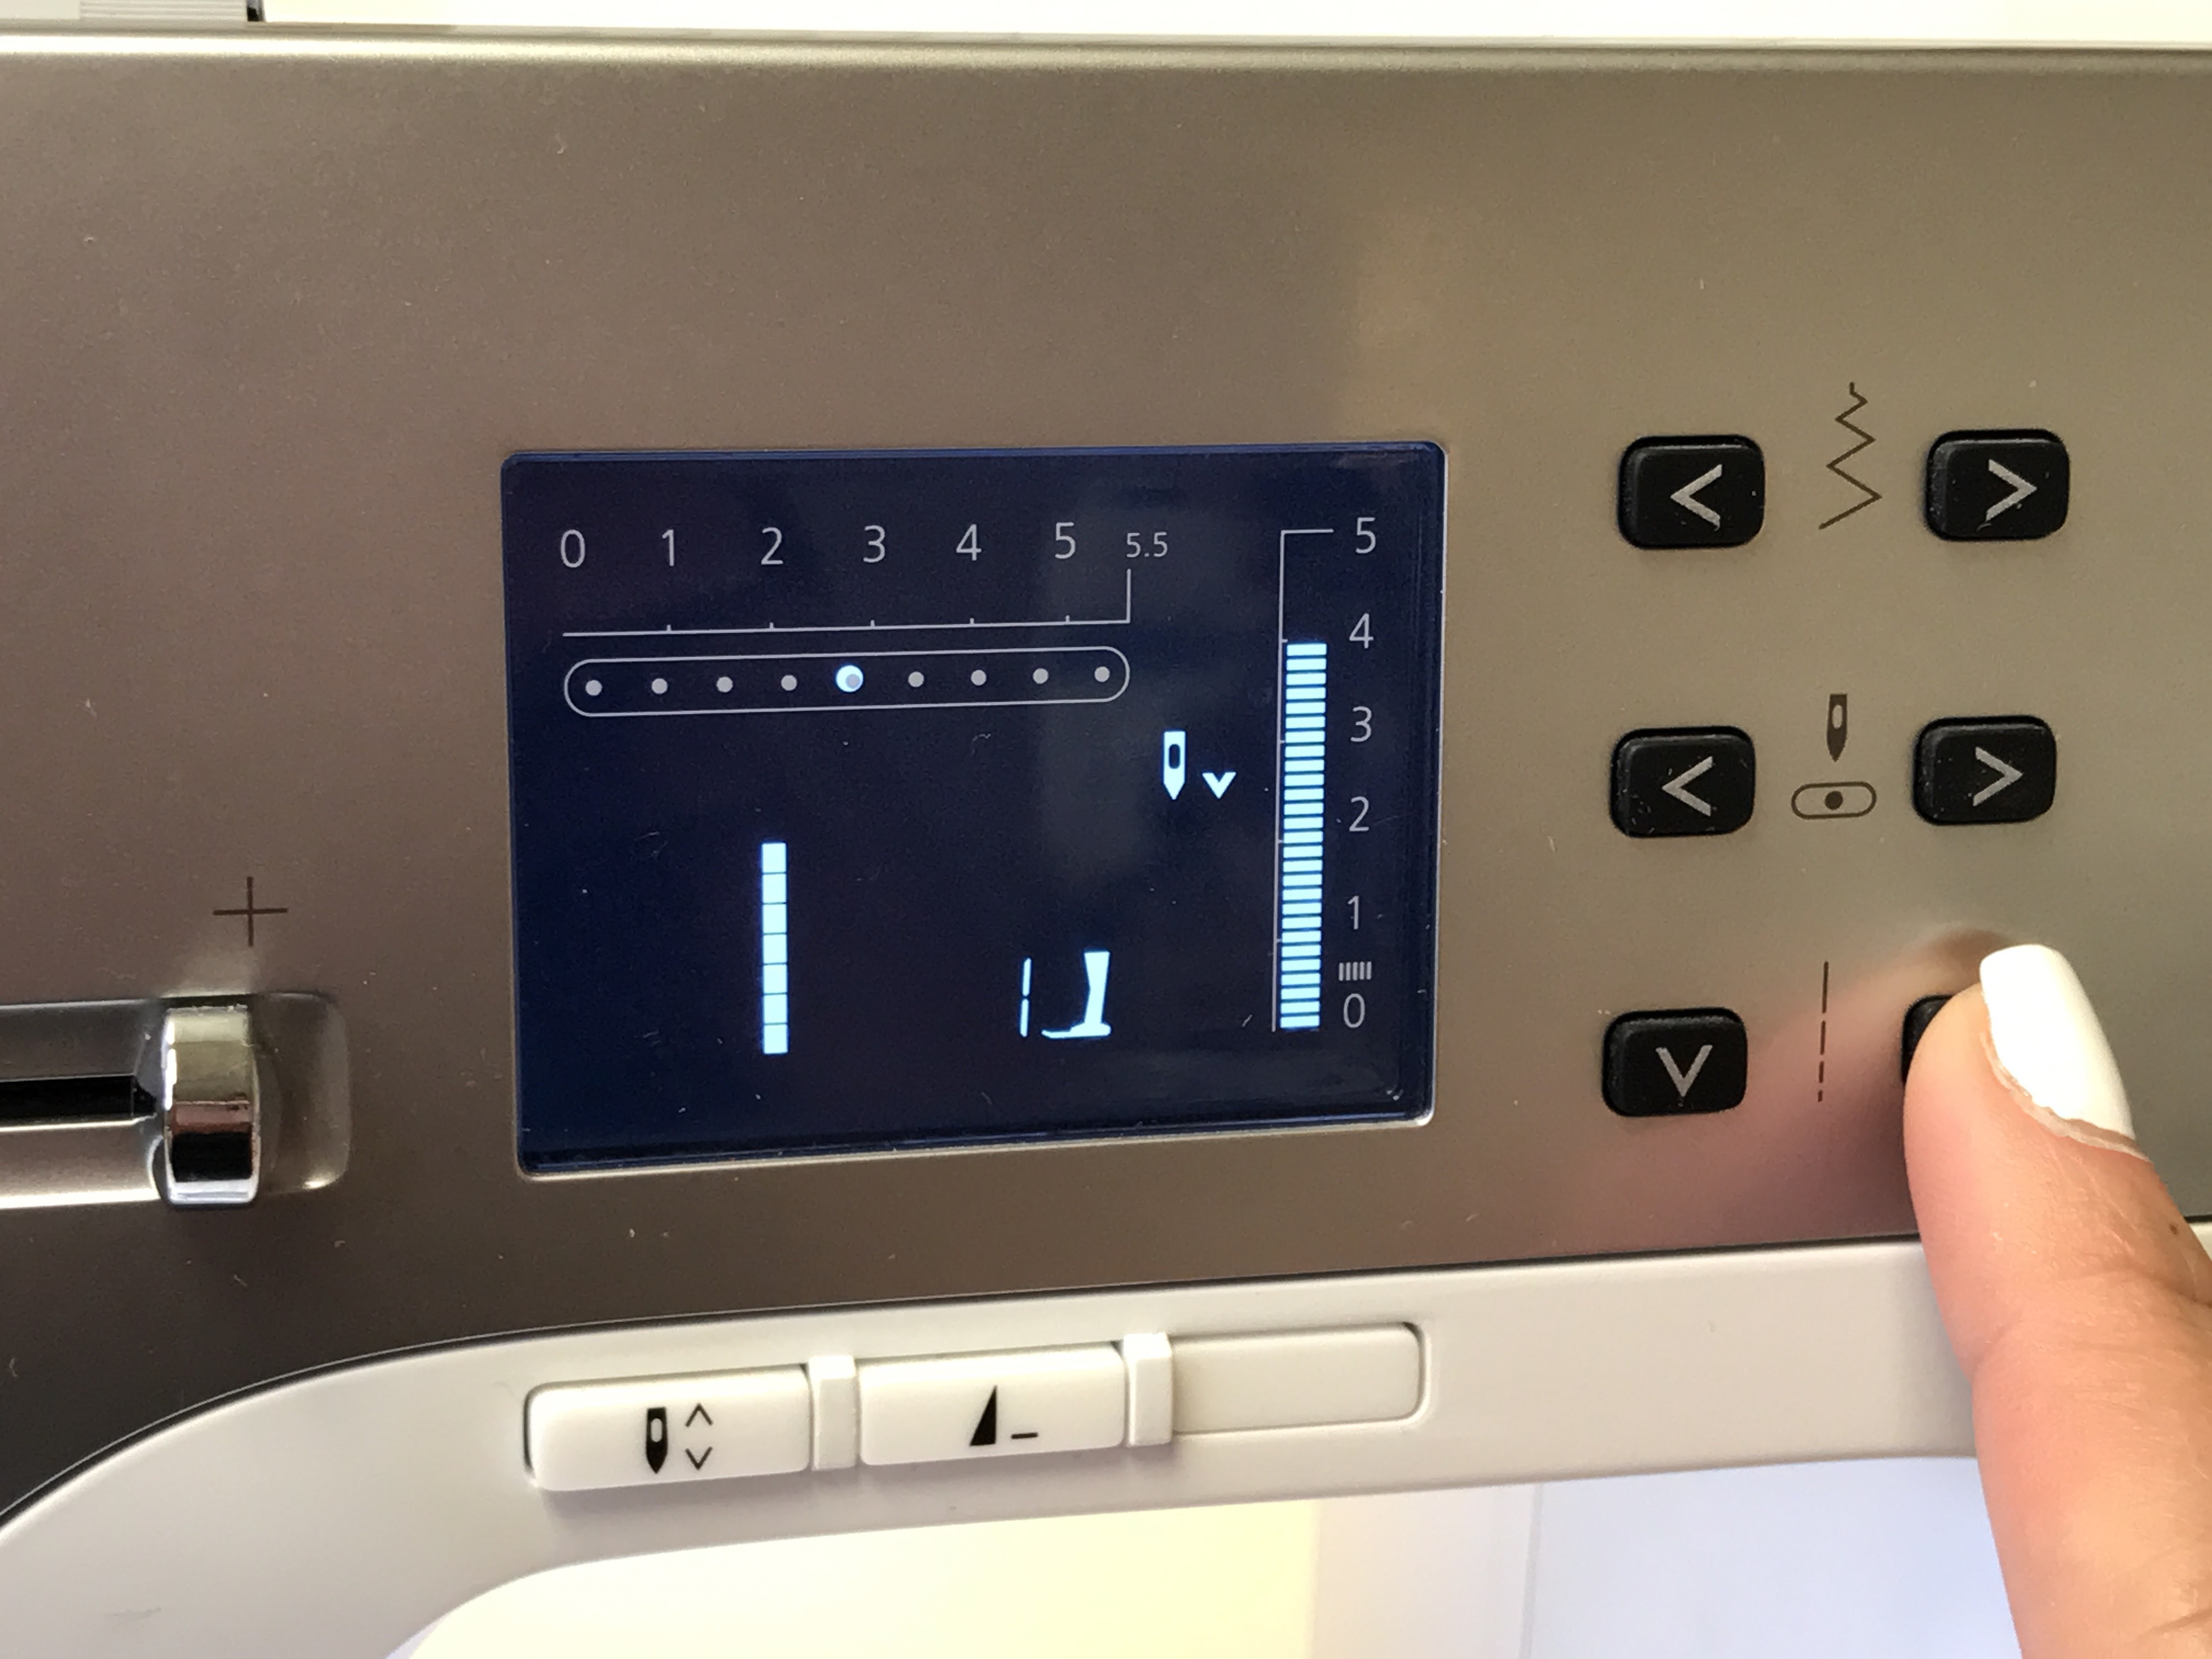
Use a straight stitch 3-4mm and increase the tension. You may want to test this out a few times on fabric scraps to see what works best with your machine.
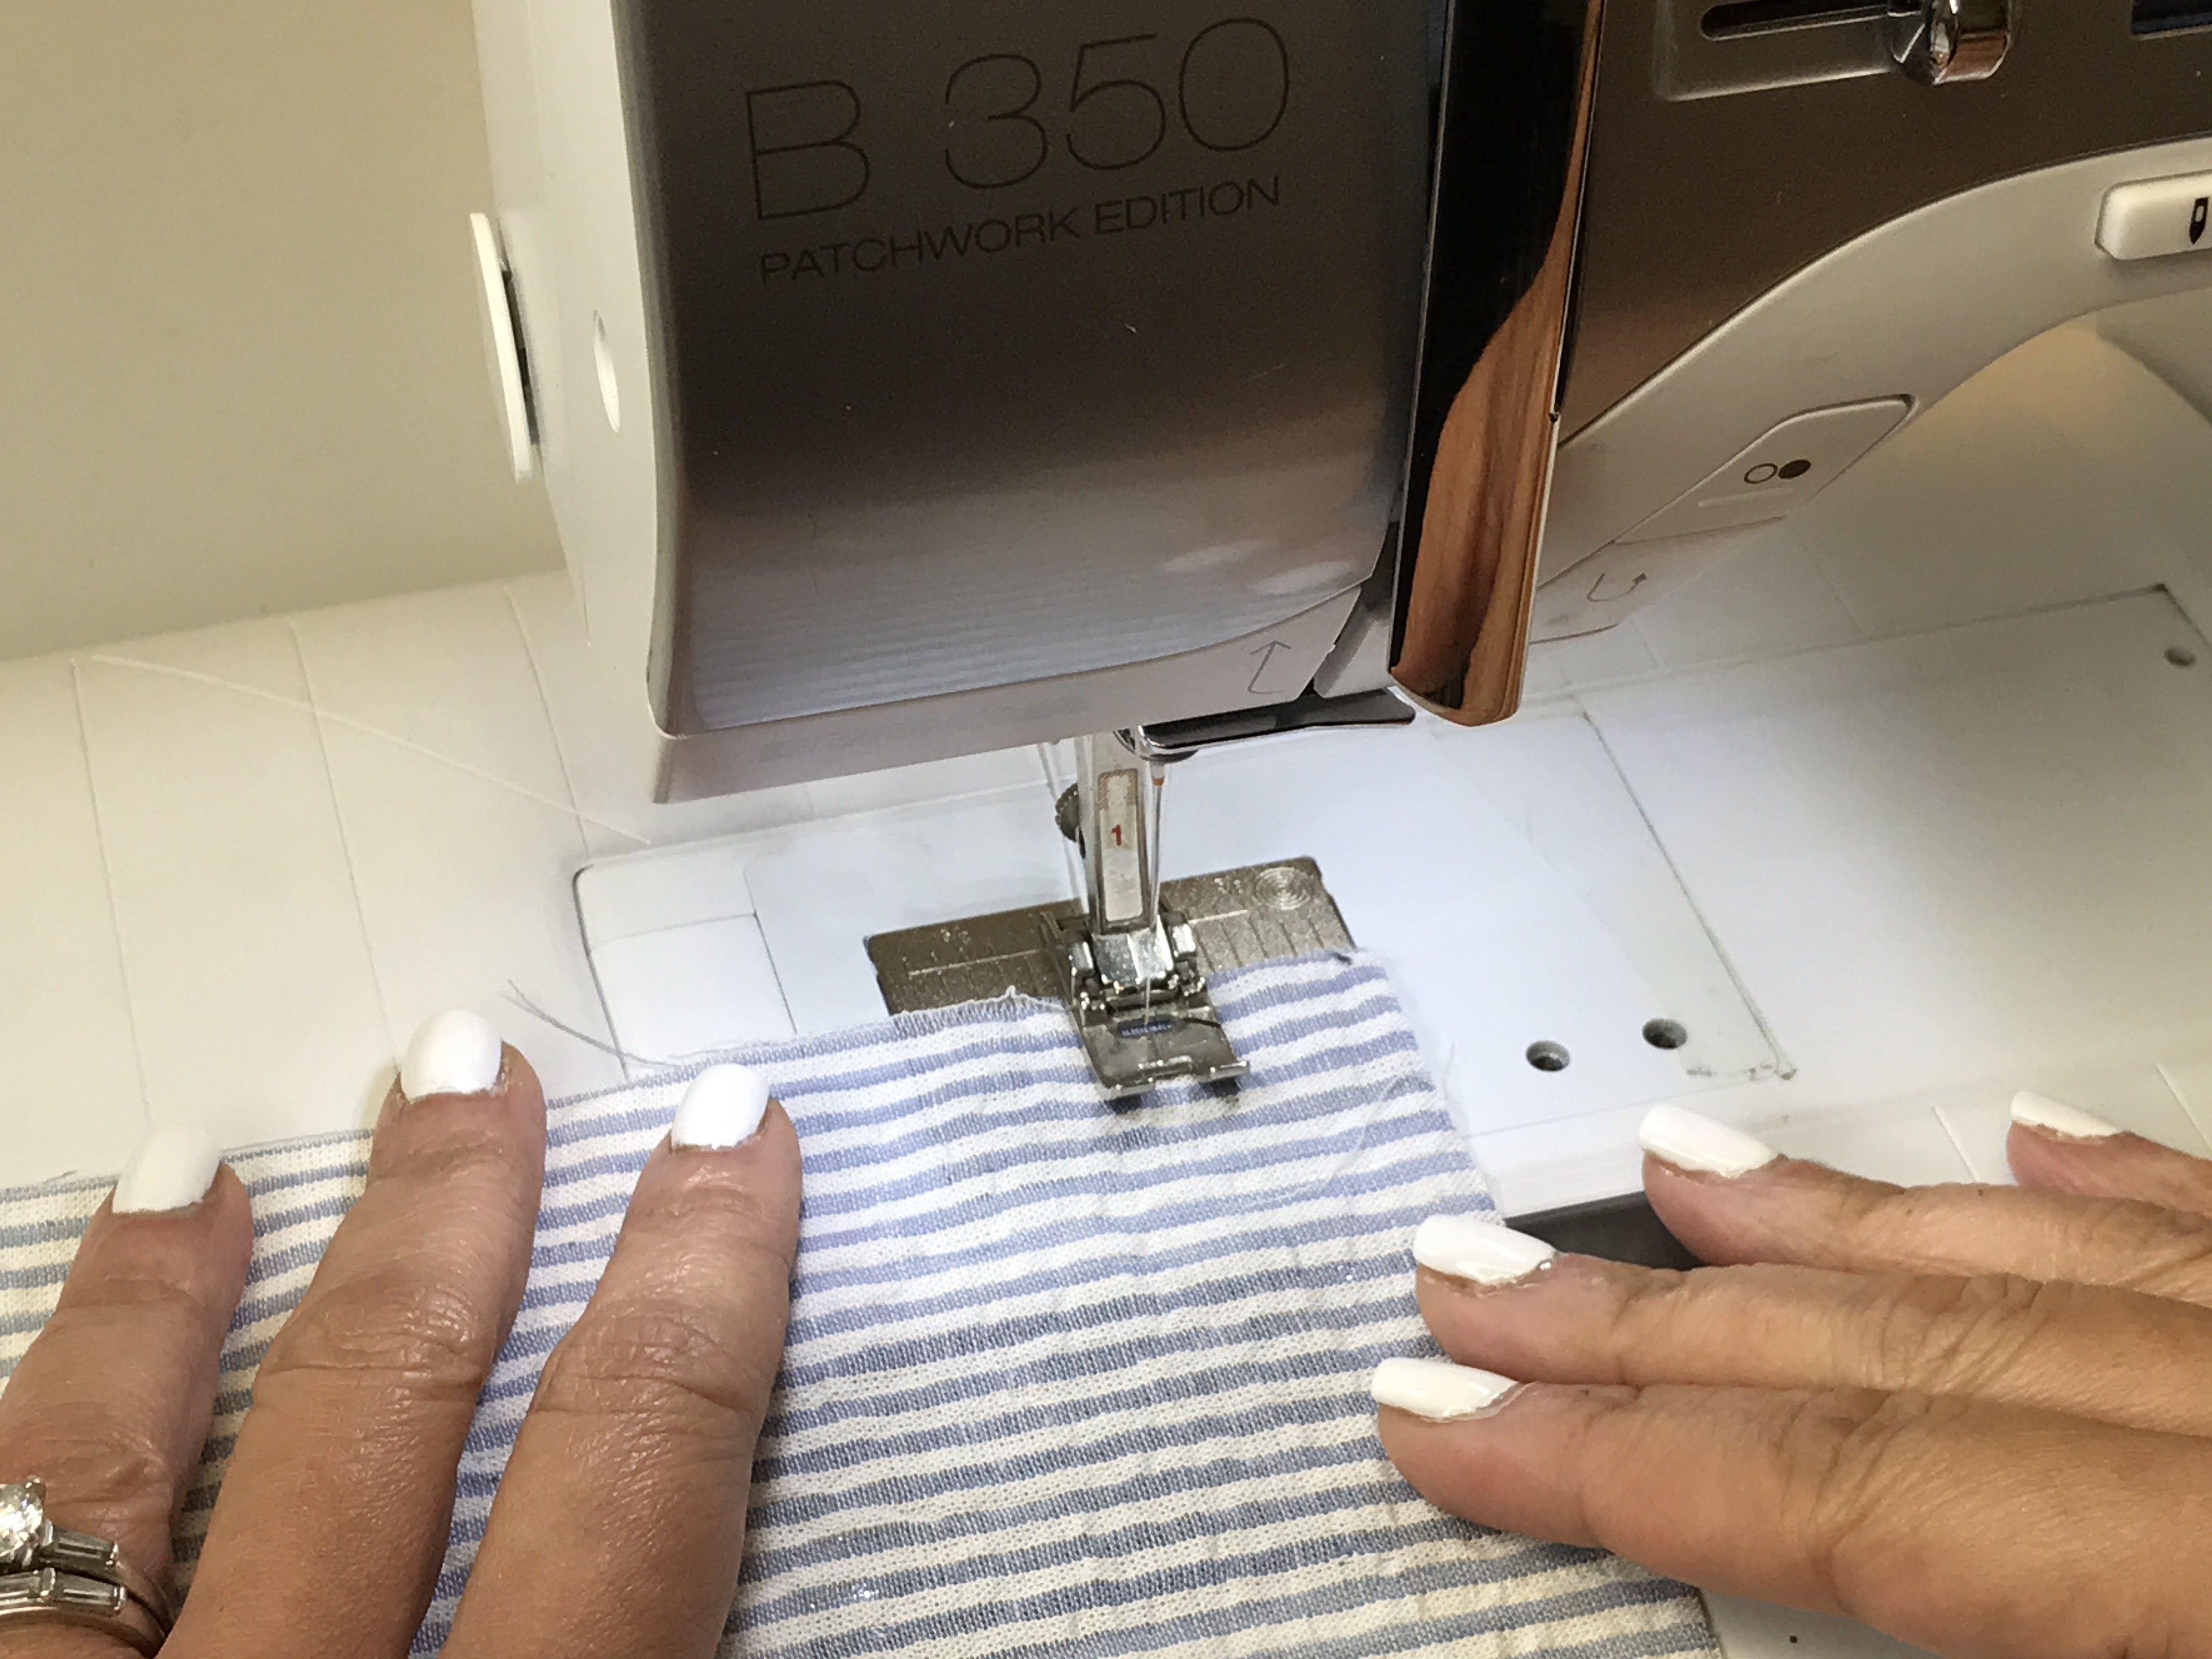
For this particular project, I left one inch at the top for finishing. You can sew with a walking foot if you have one, or the BERNINA Reverse Pattern Foot #1 is perfectly okay.
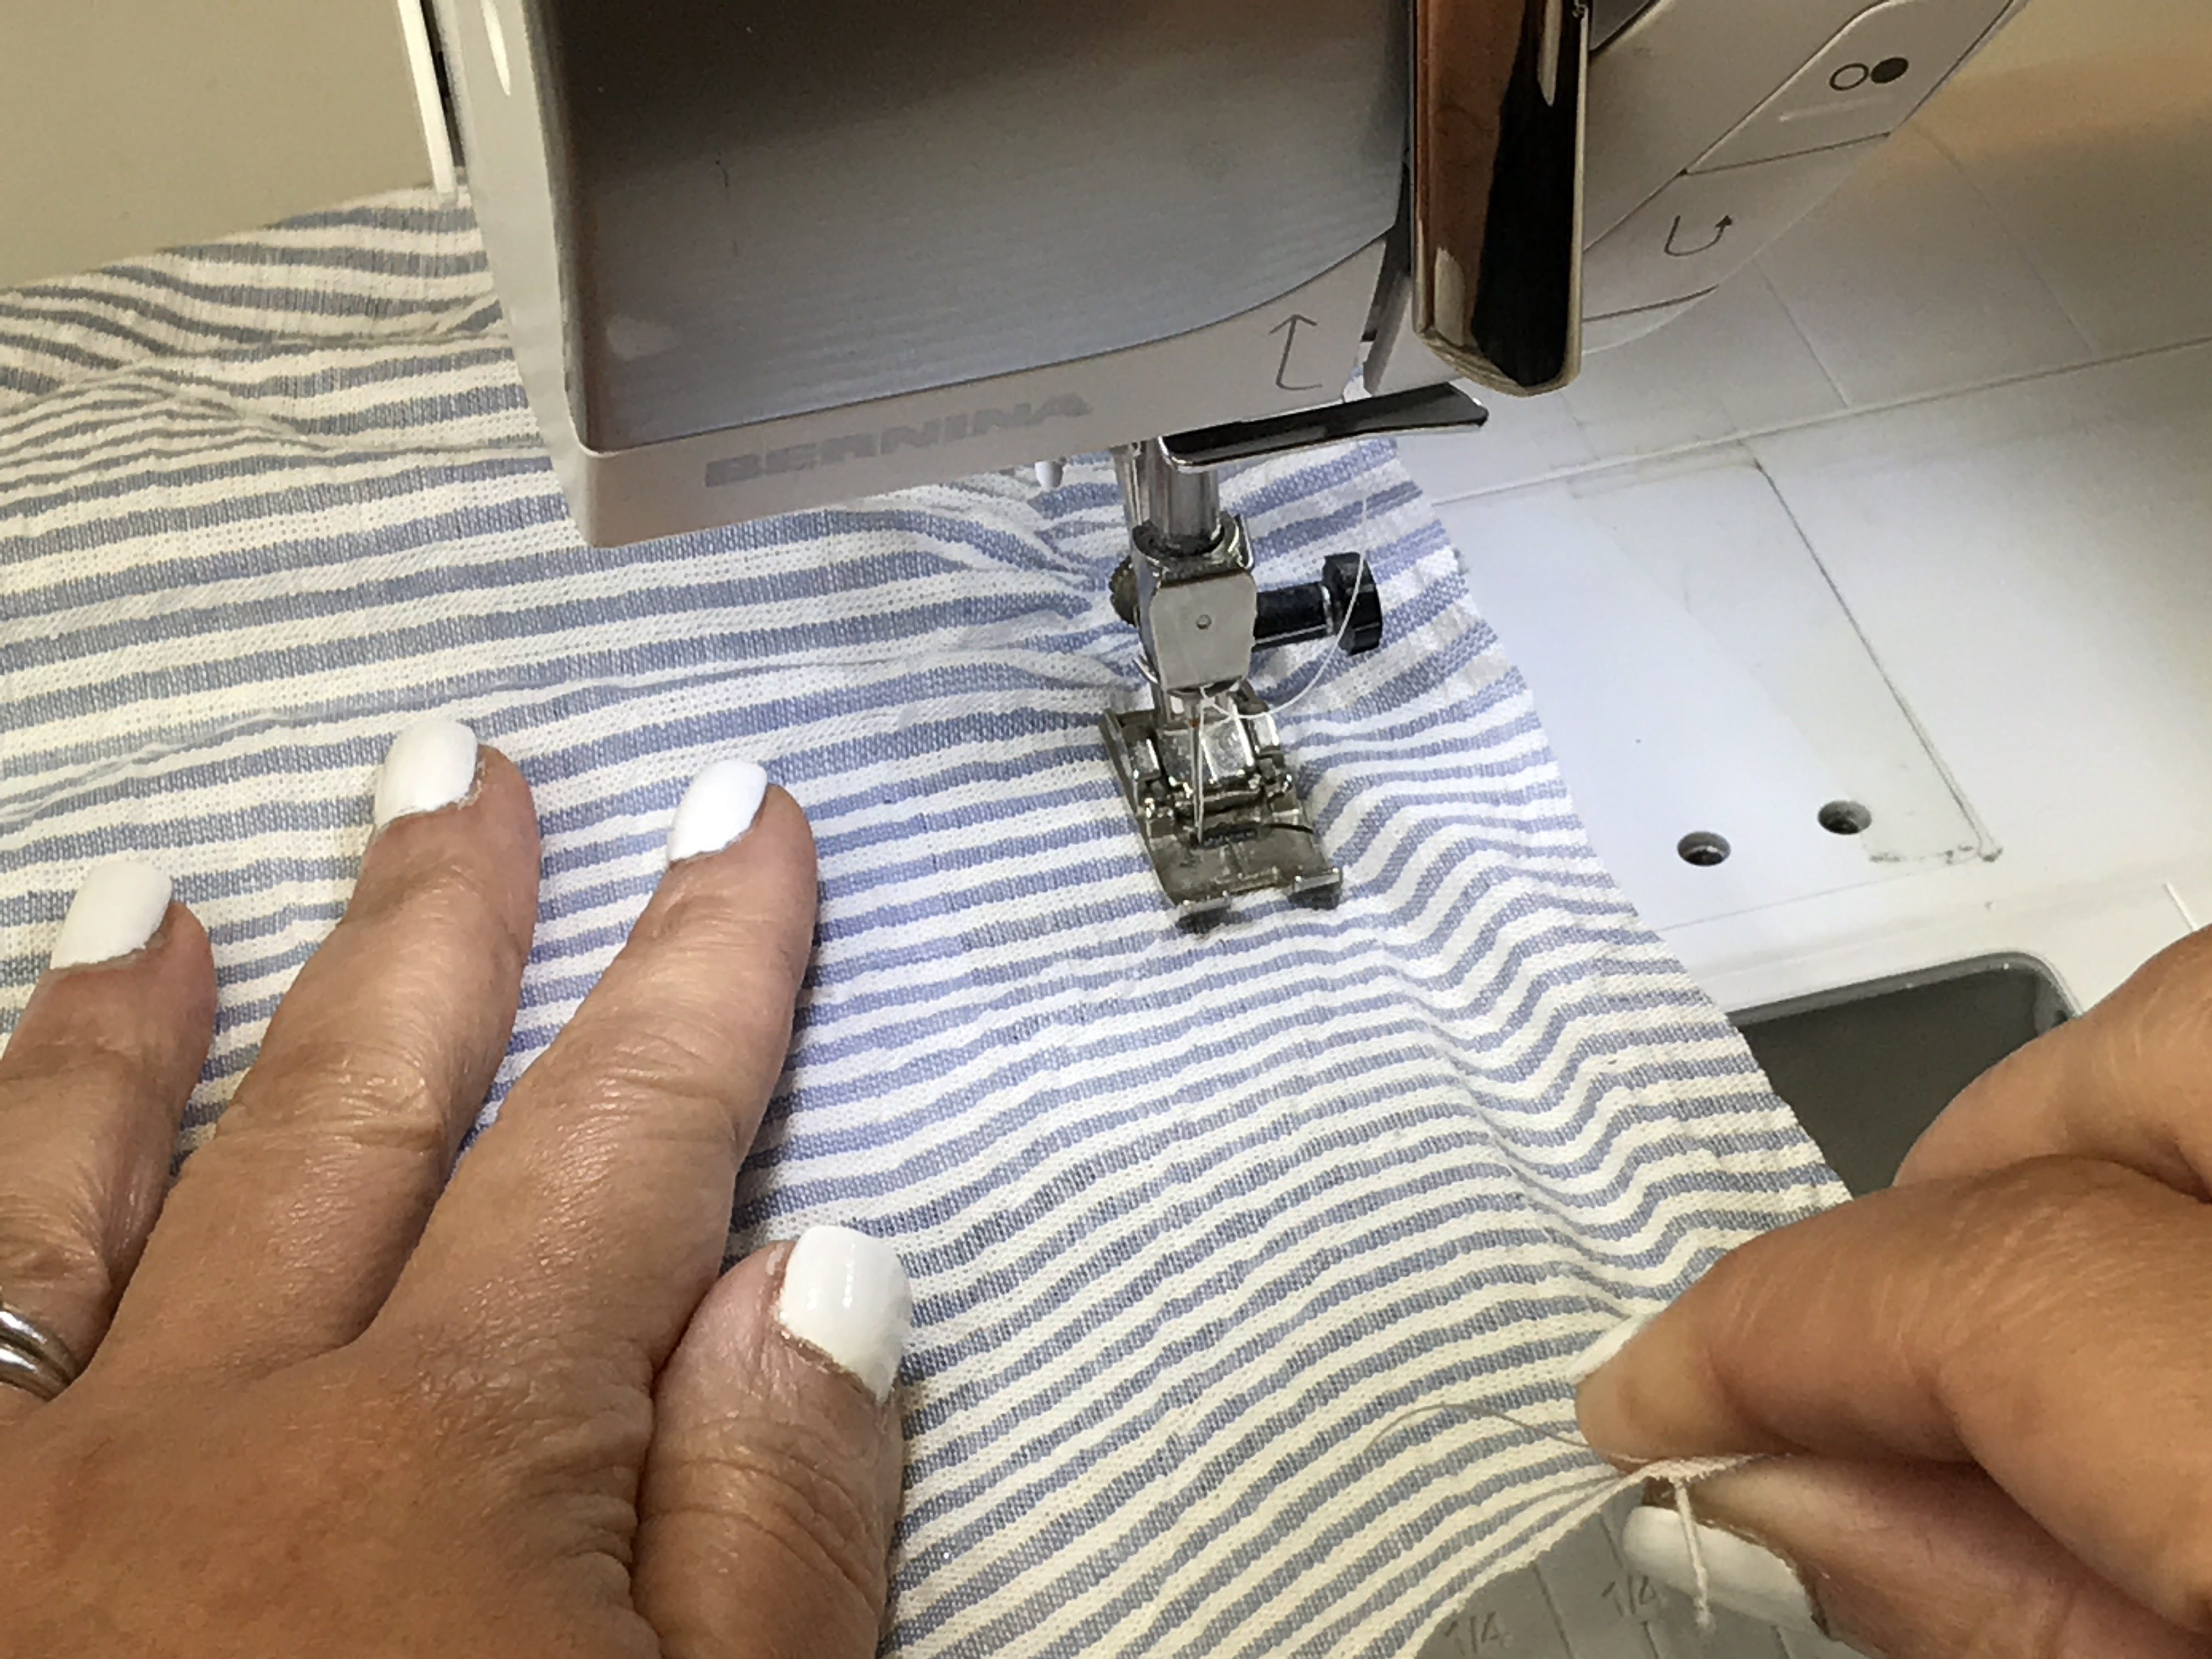
You need to backstitch 2-3 stitches at the beginning and end of each row. And make sure to stretch the fabric as you sew.
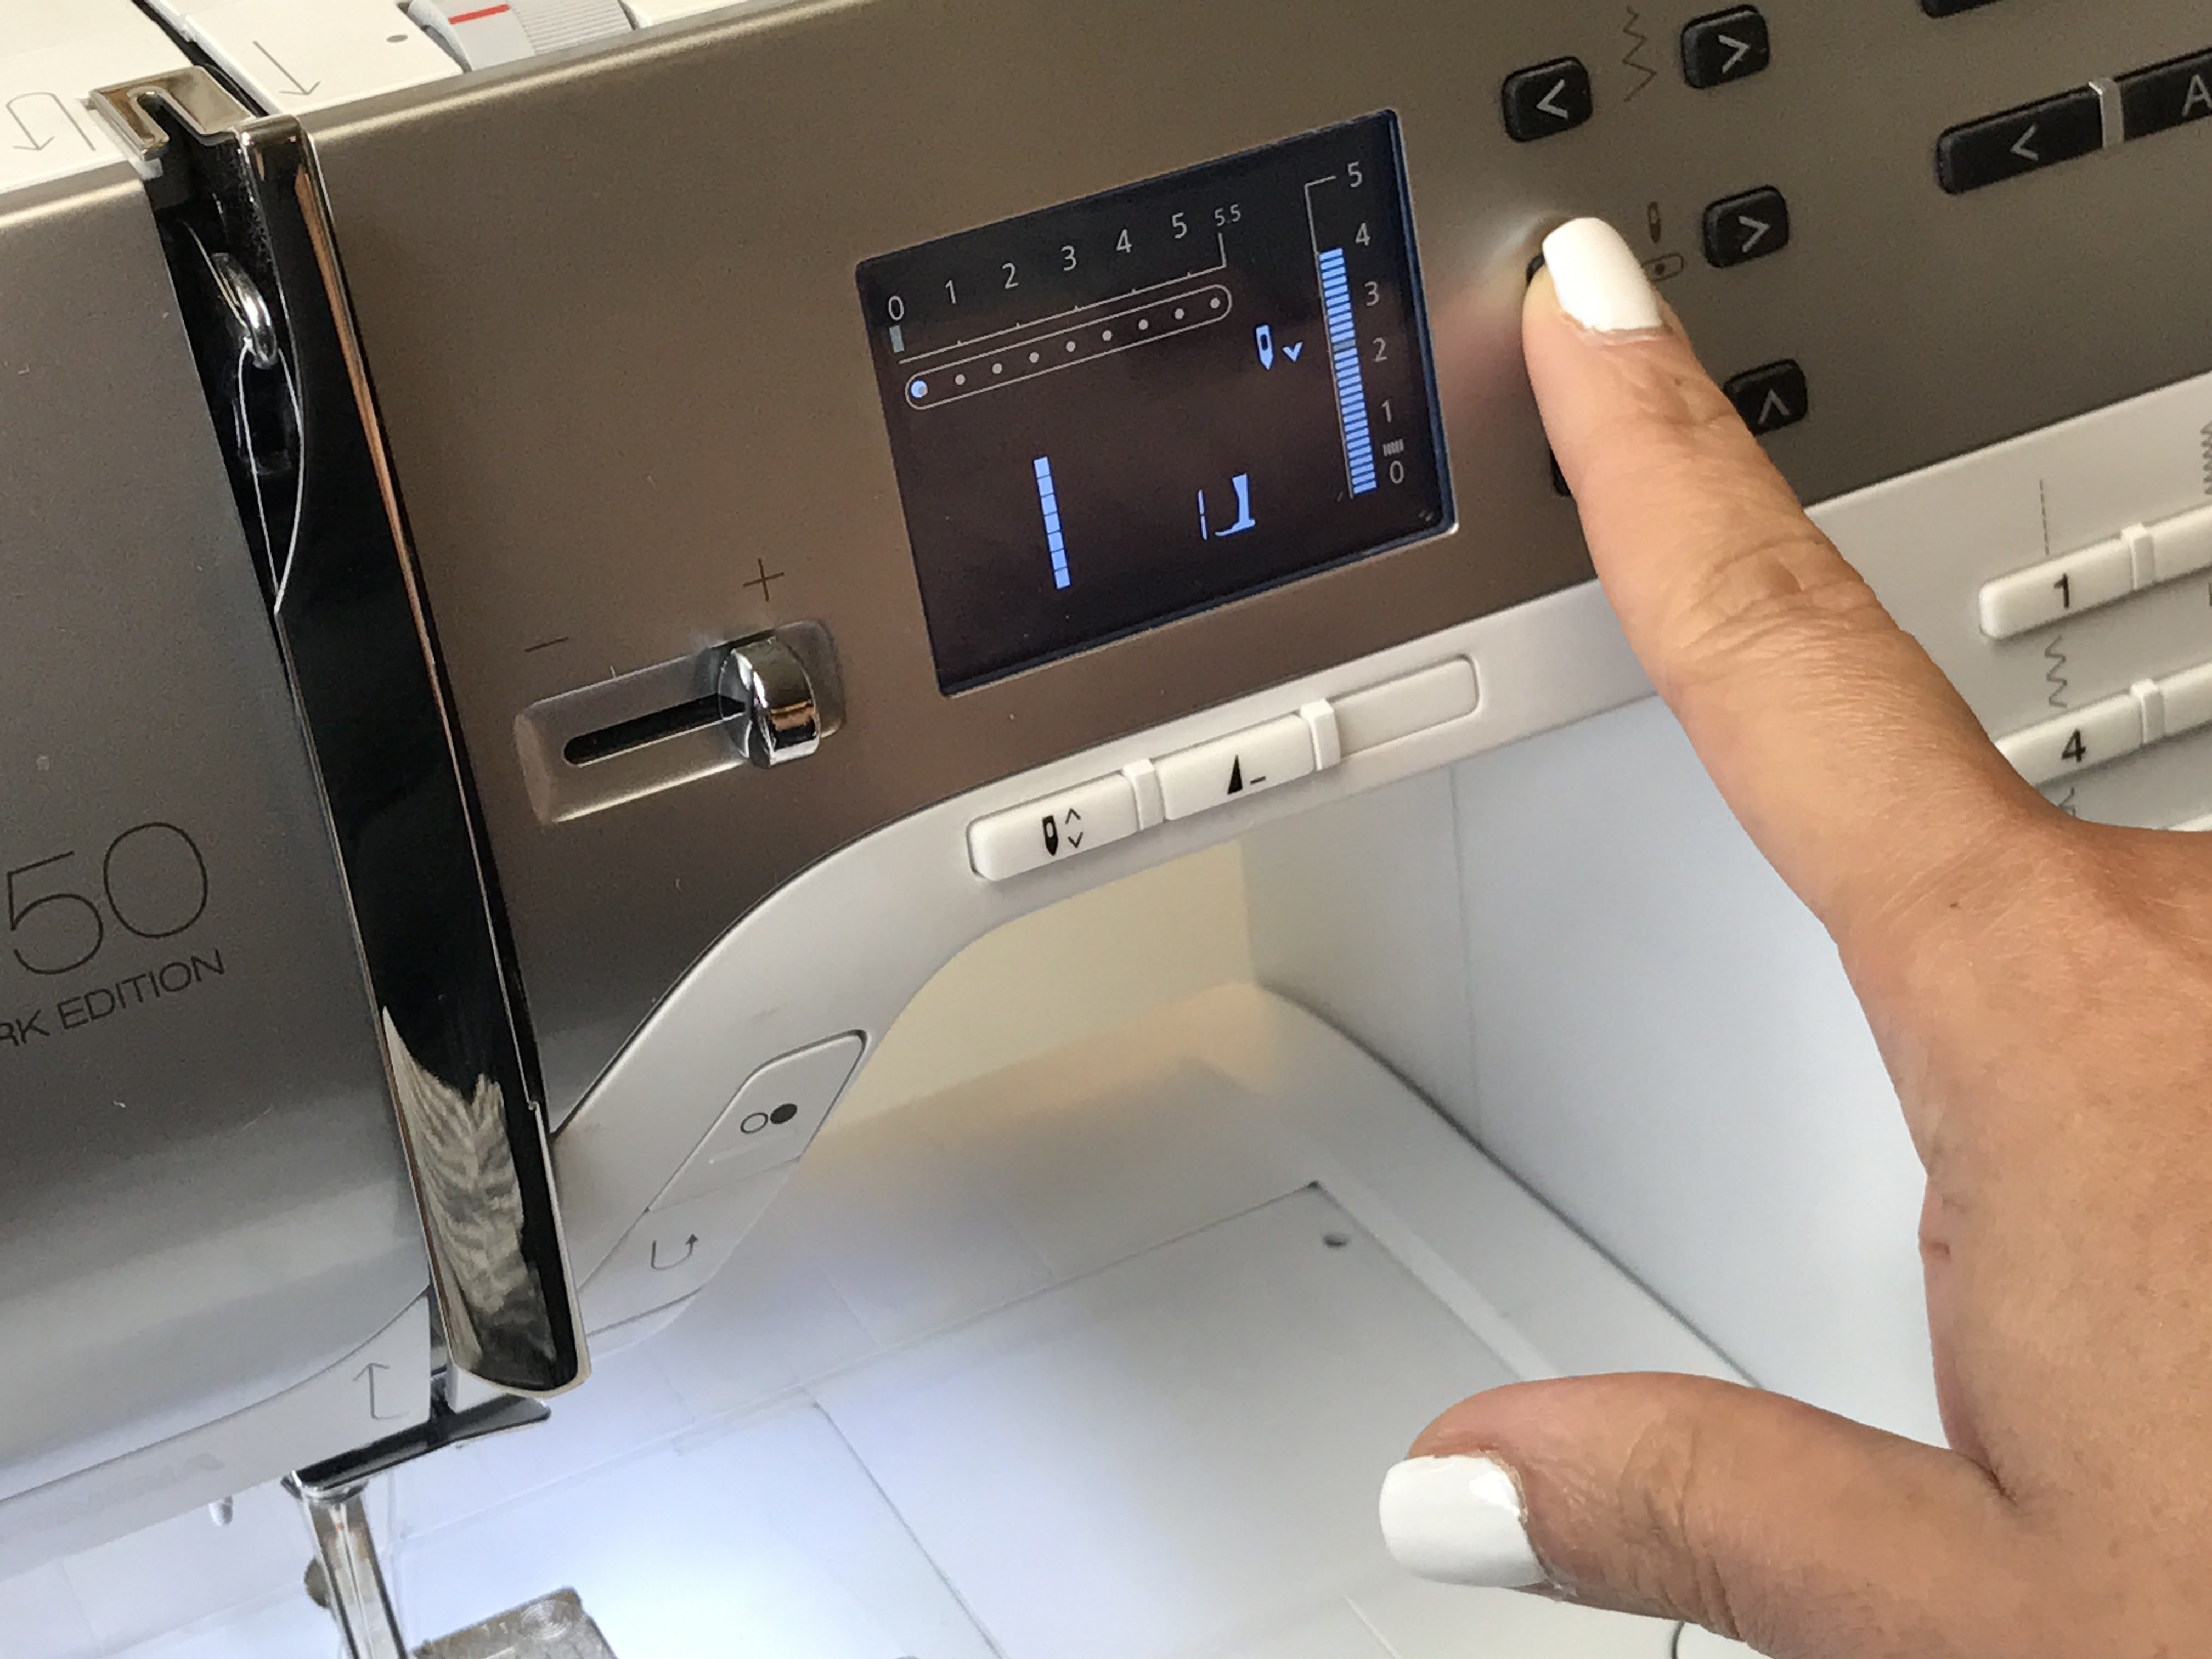
Move the needle to the far left position.
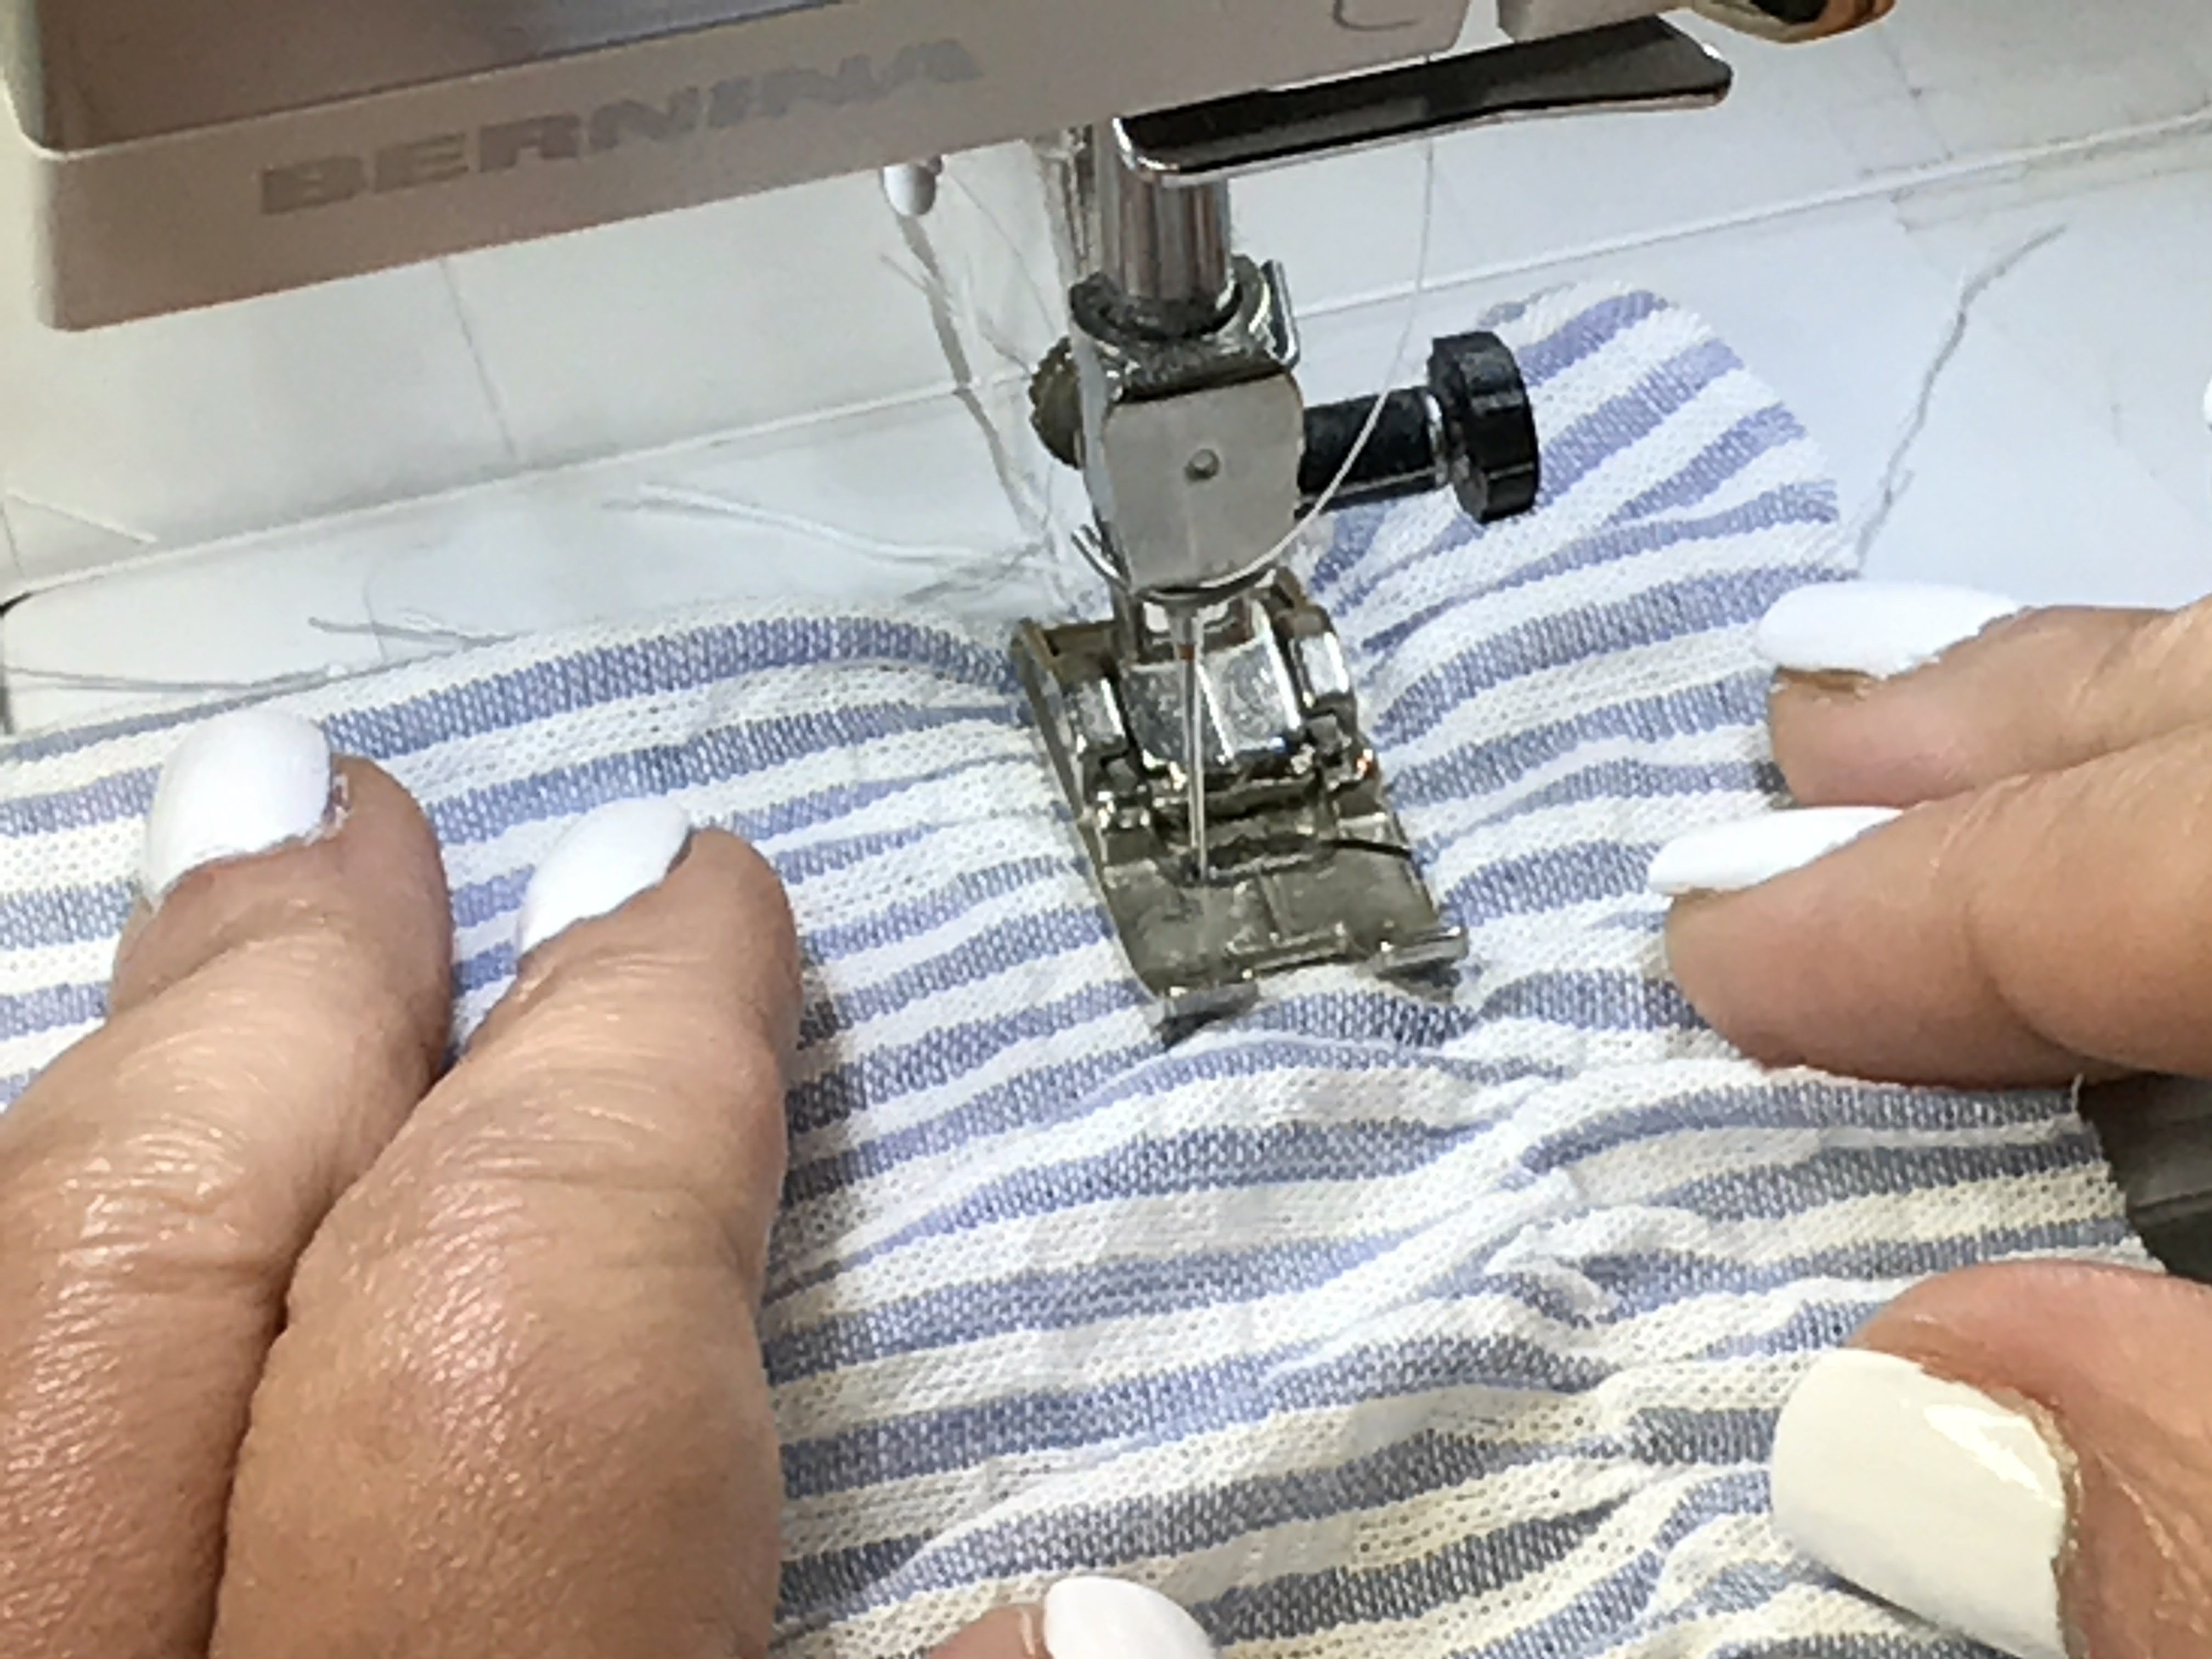
I’m using the side of my presser foot as a spacing guide. I find that aligning the right edge of the foot against the line with the needle in the far left position creates a distance of 3/8″.
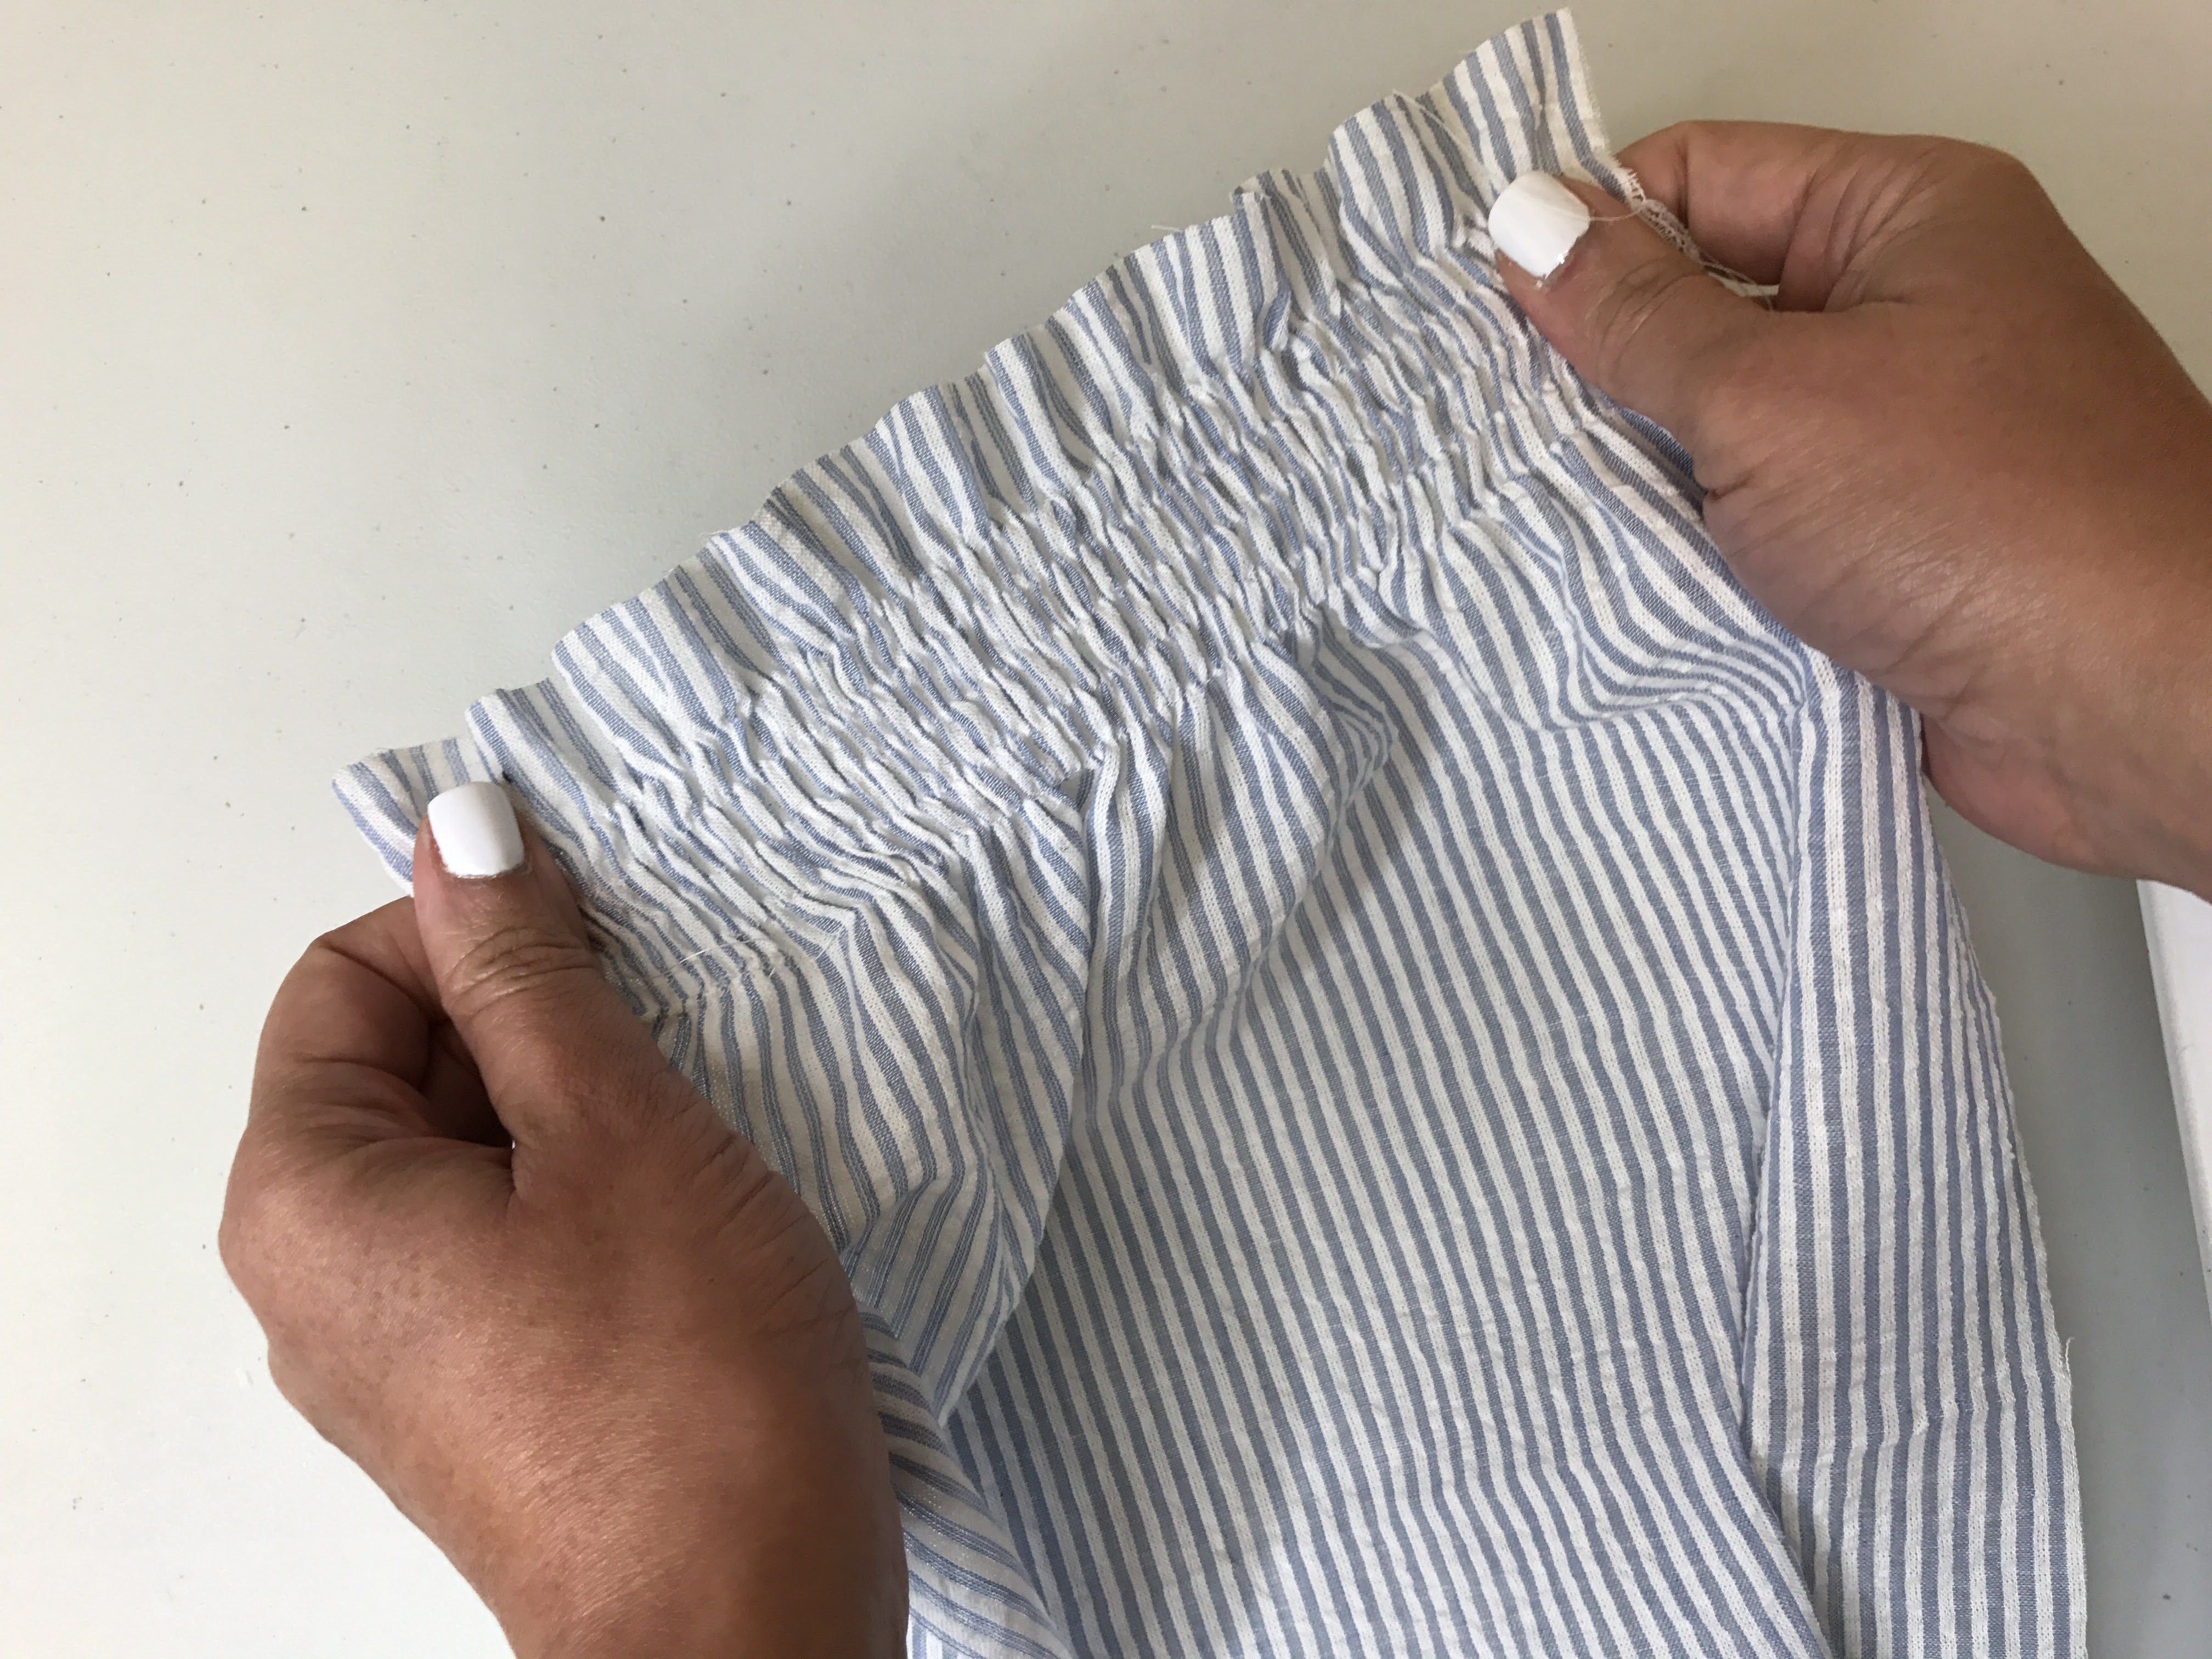
After a few rows, here is what it looks like so far.
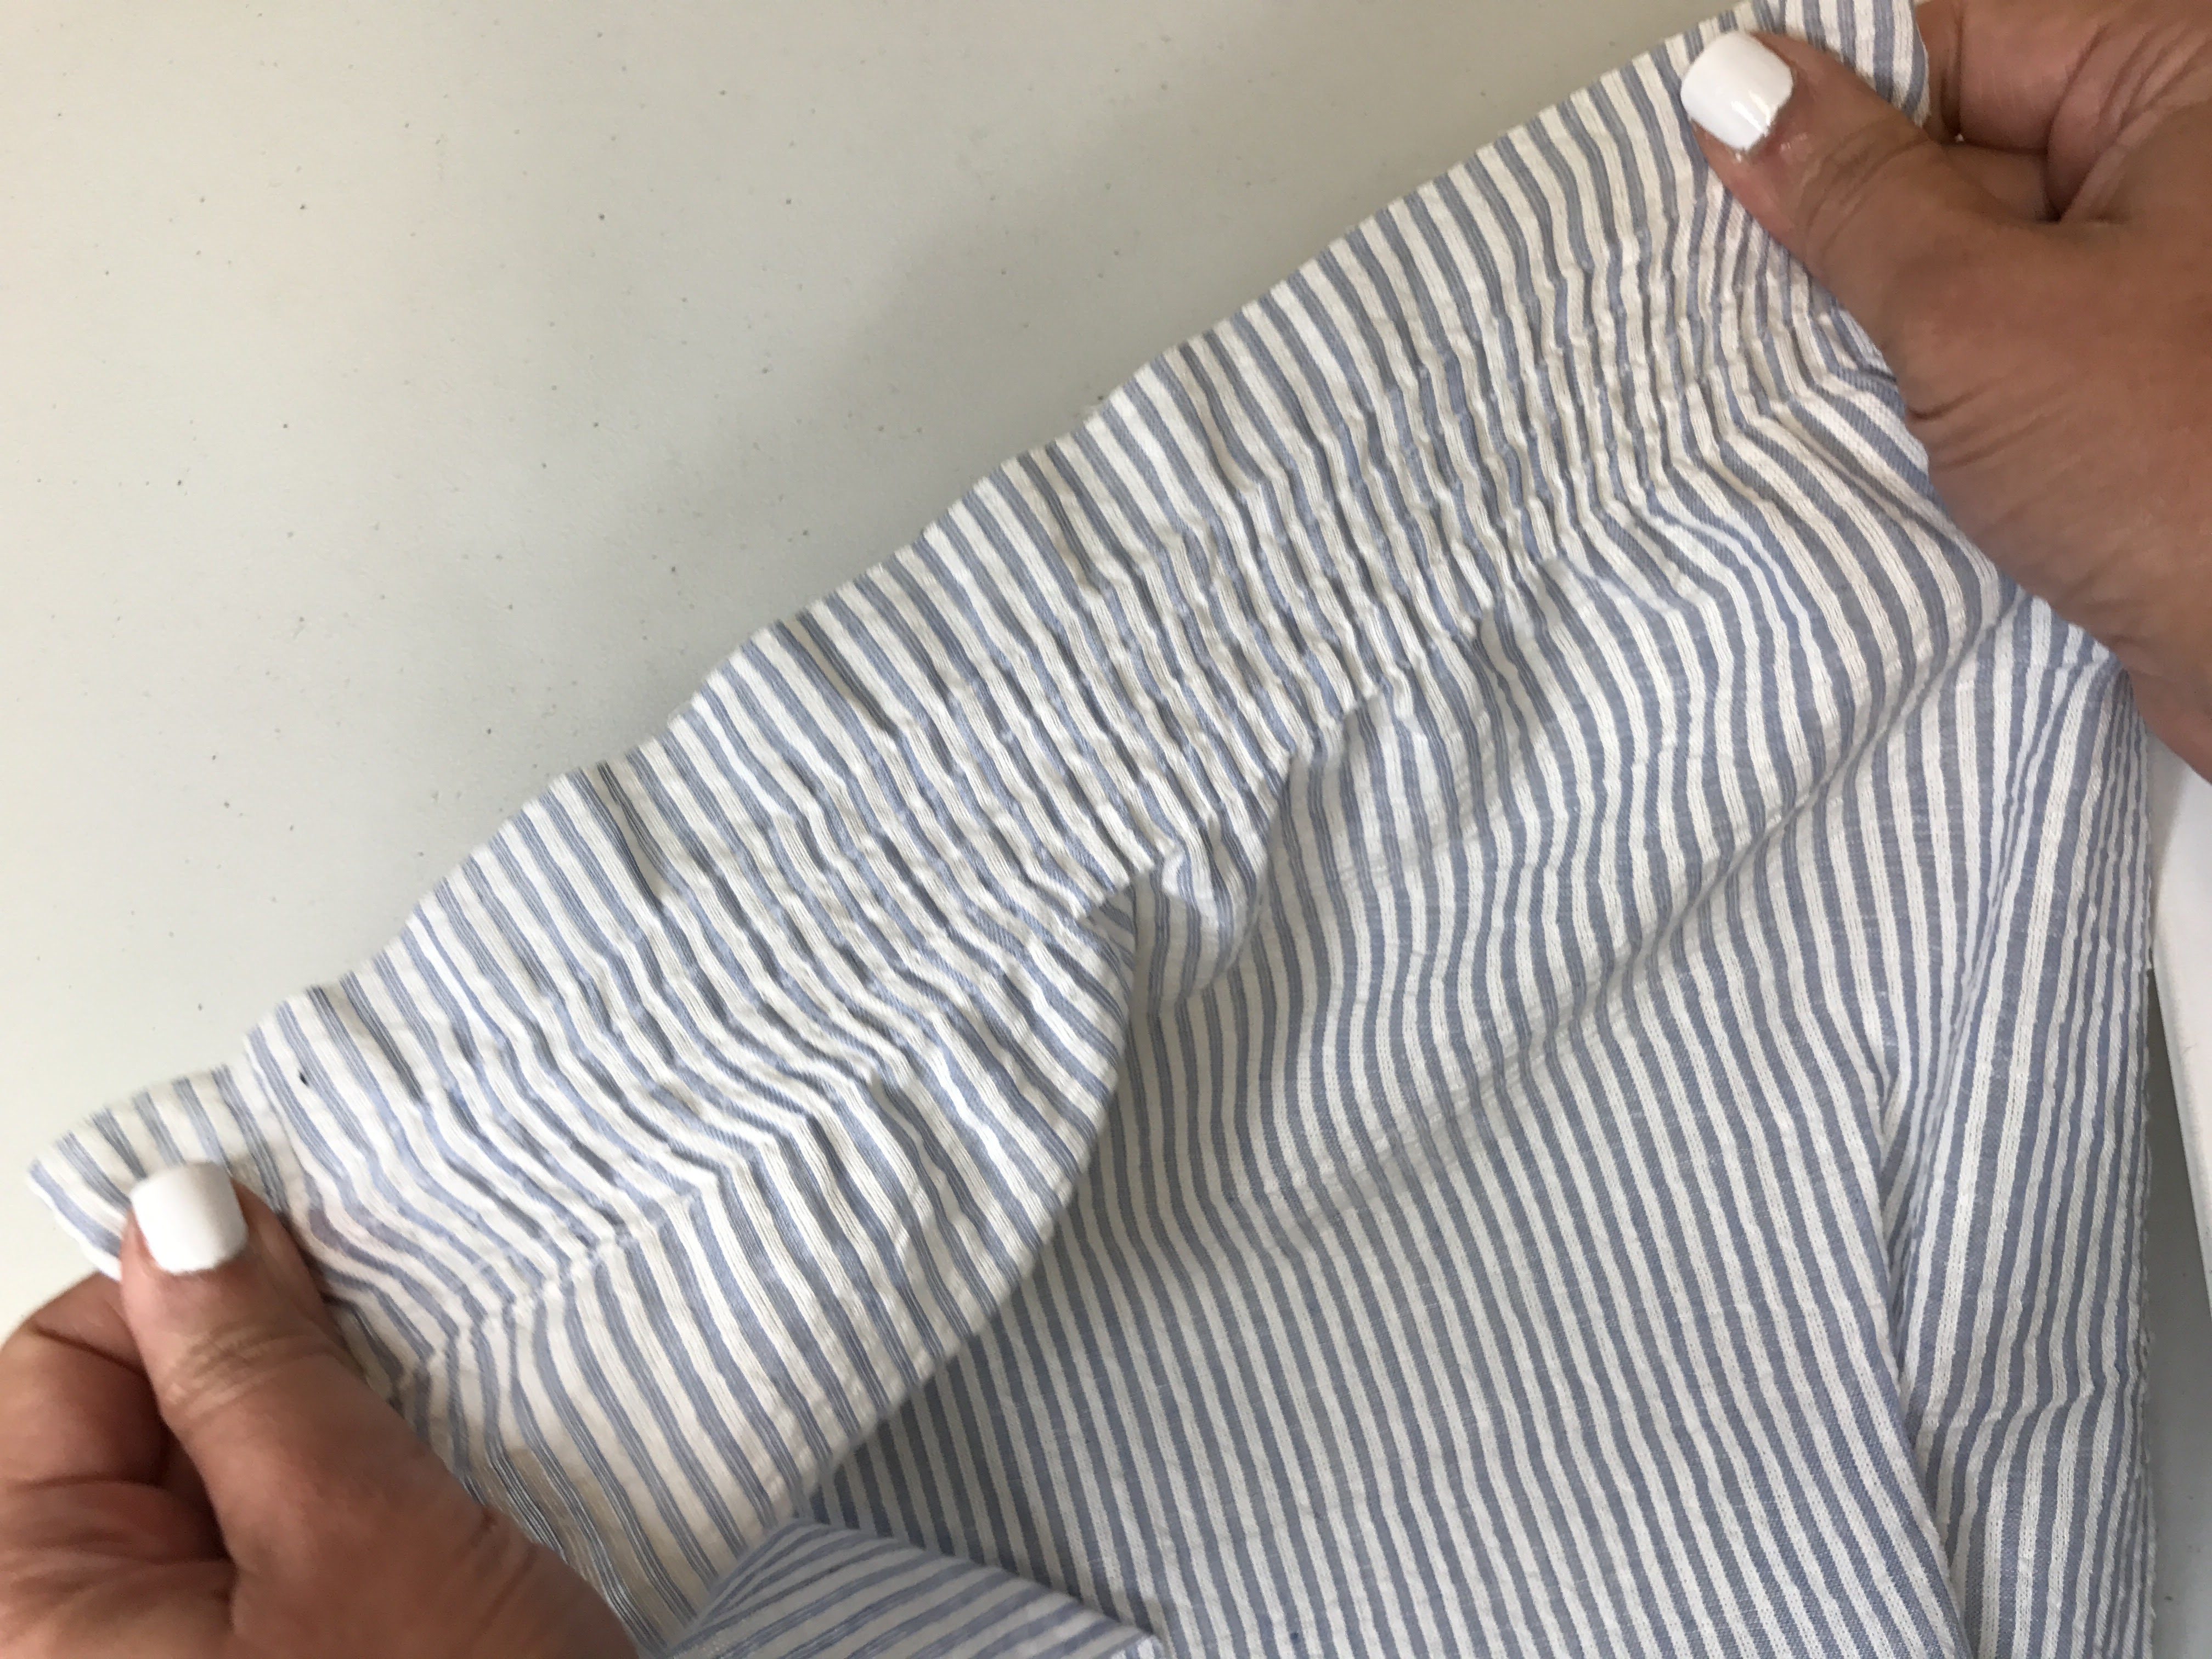
This is what it looks like stretched.
This is what the wrong side looks like.
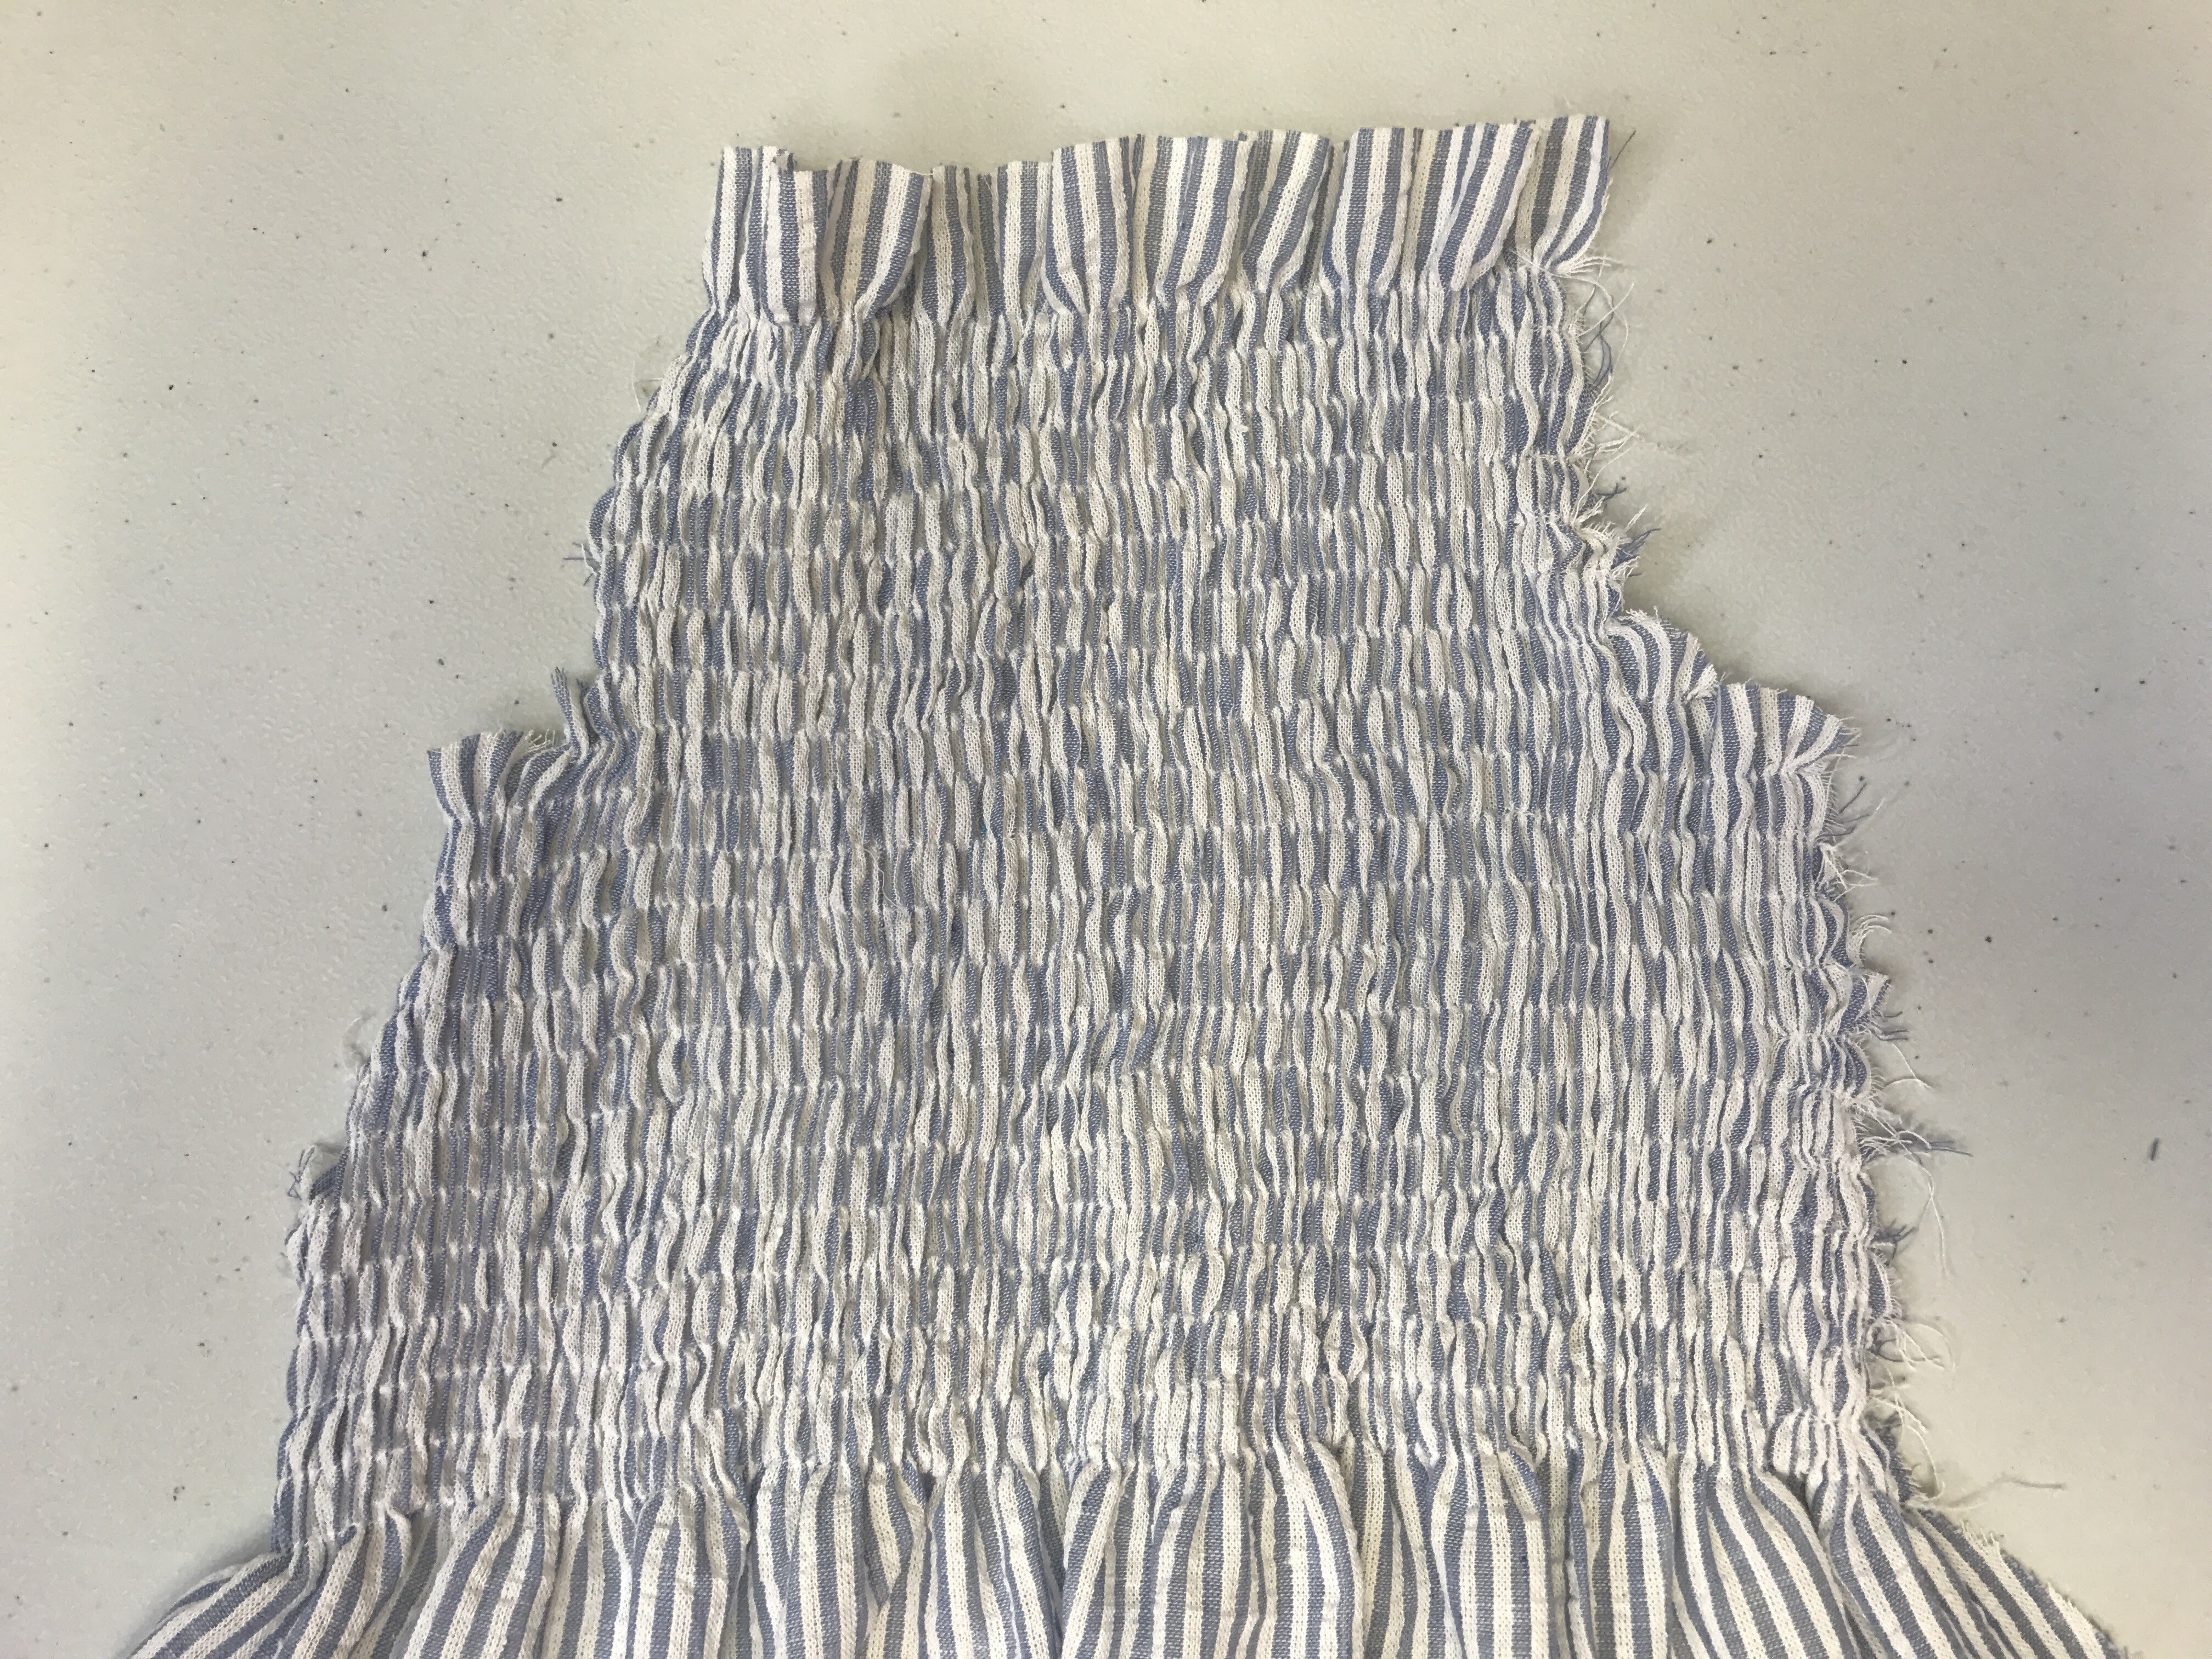
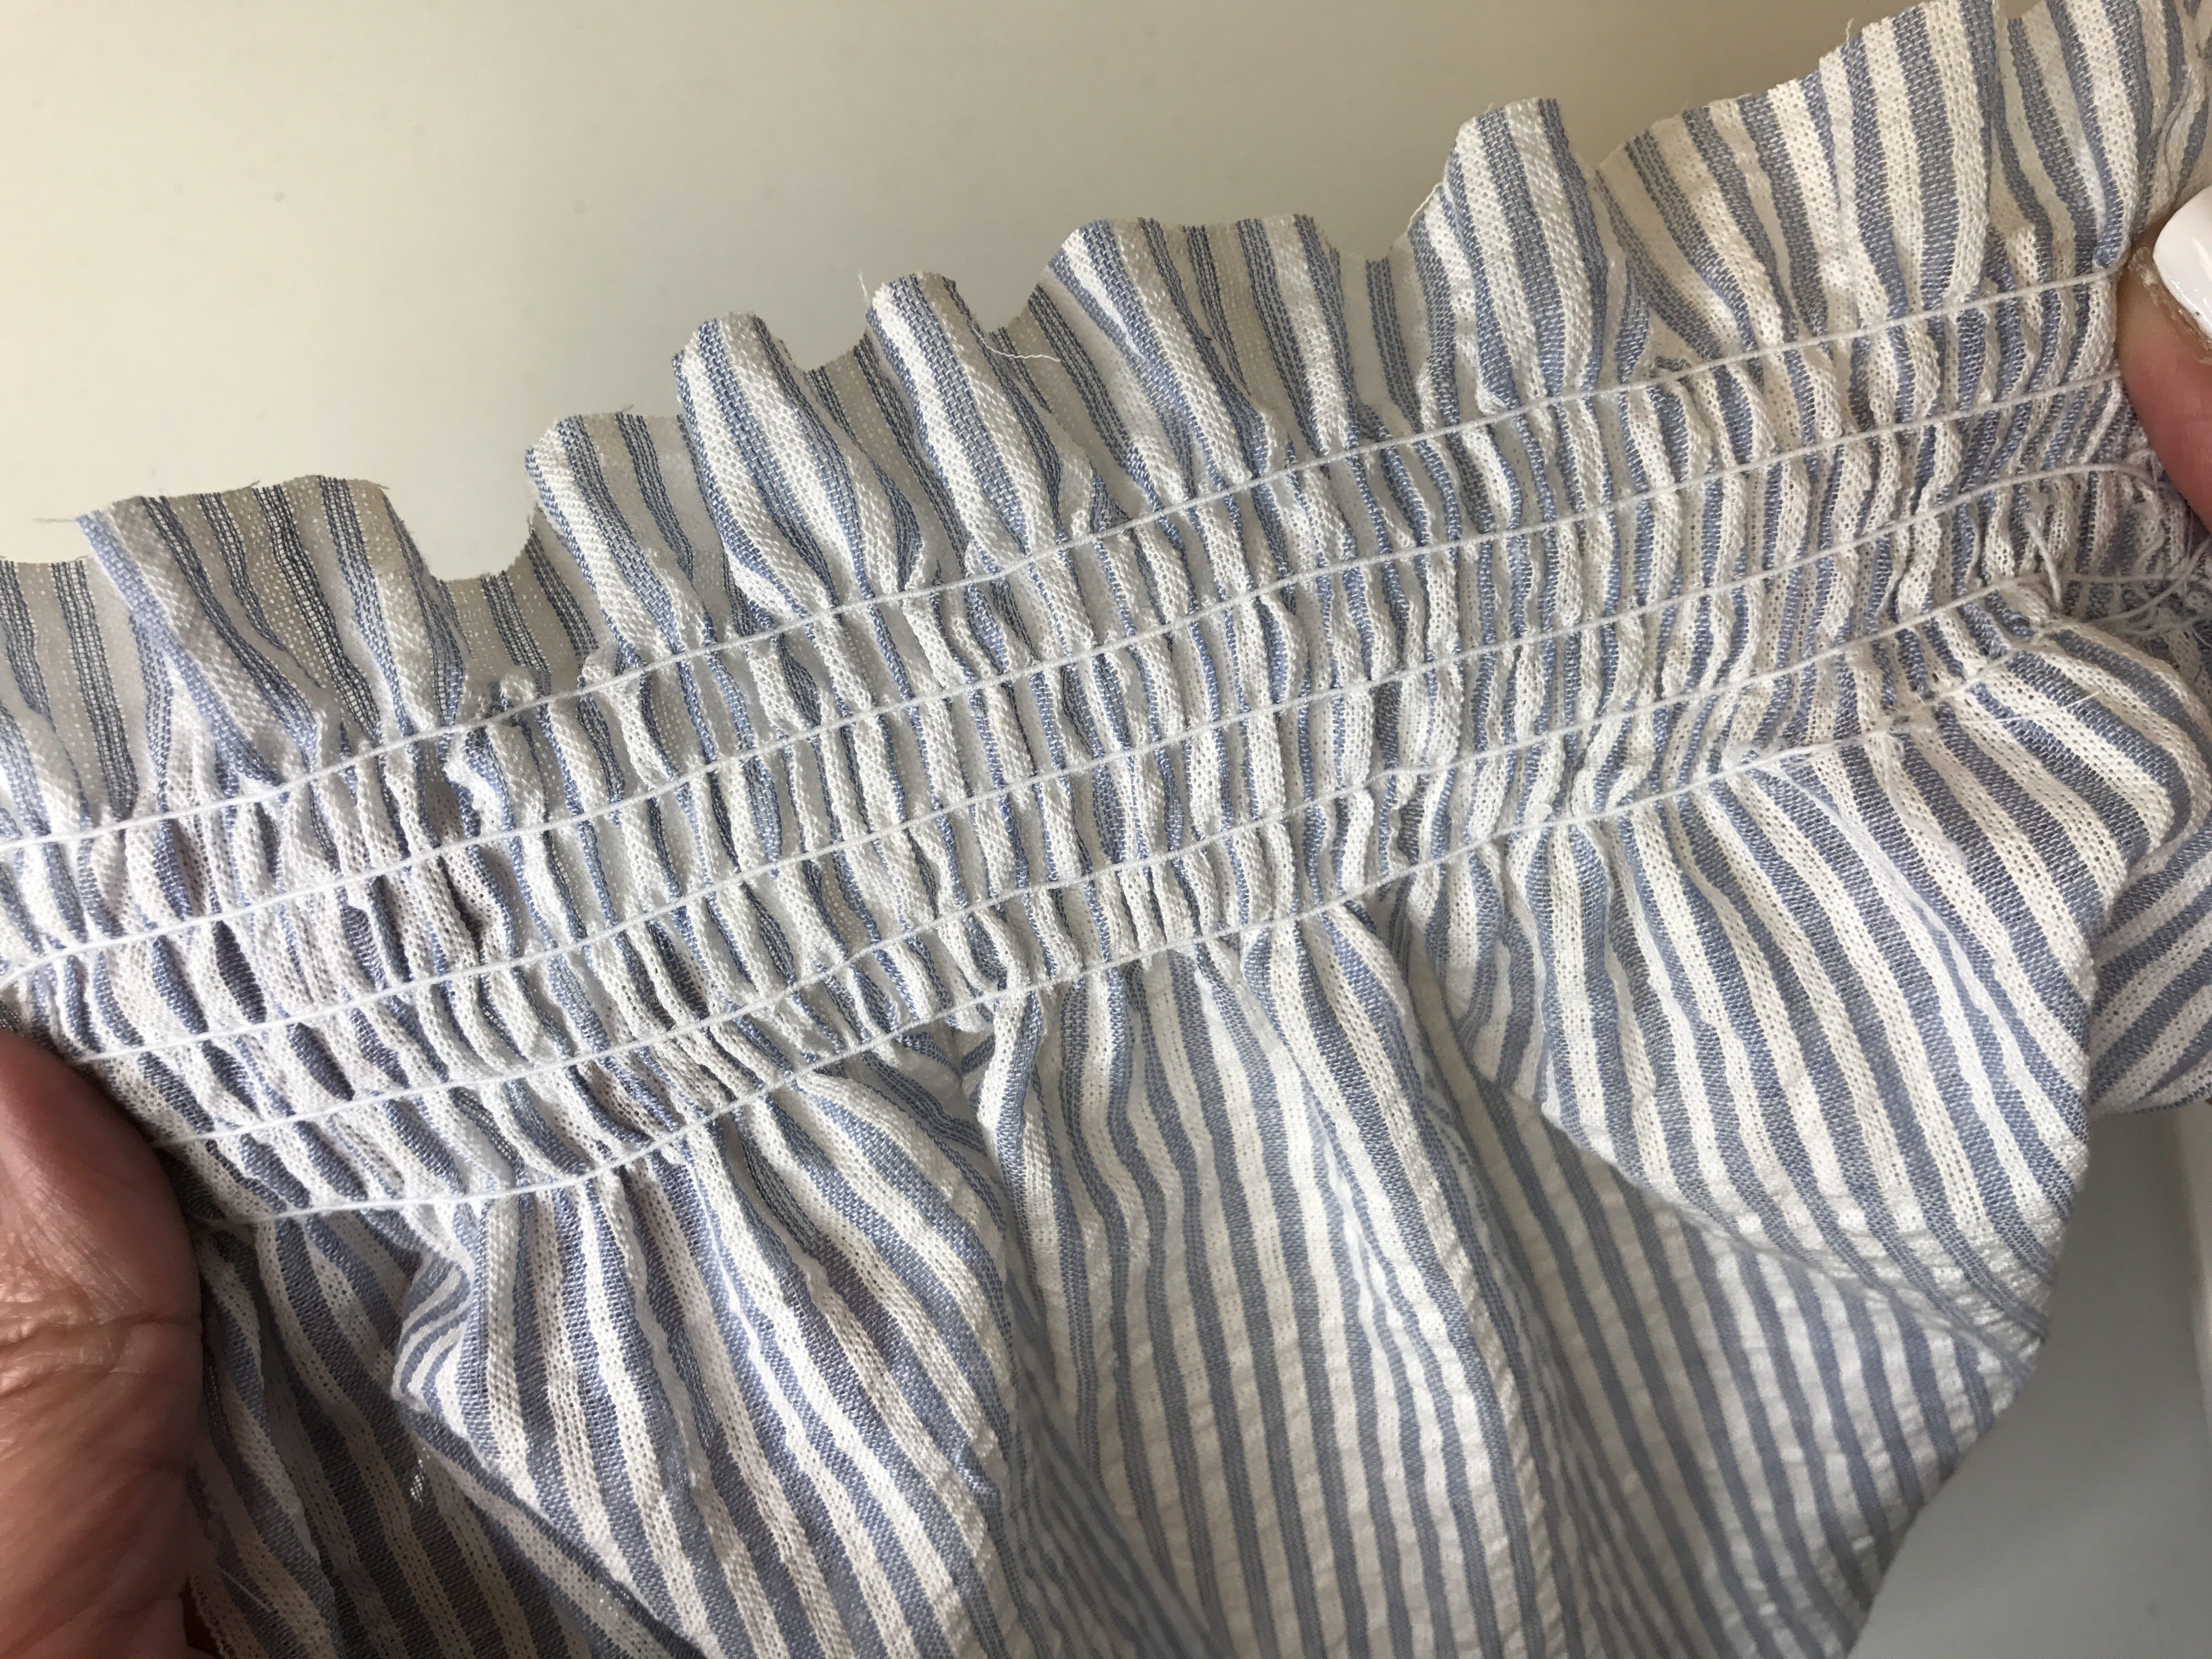
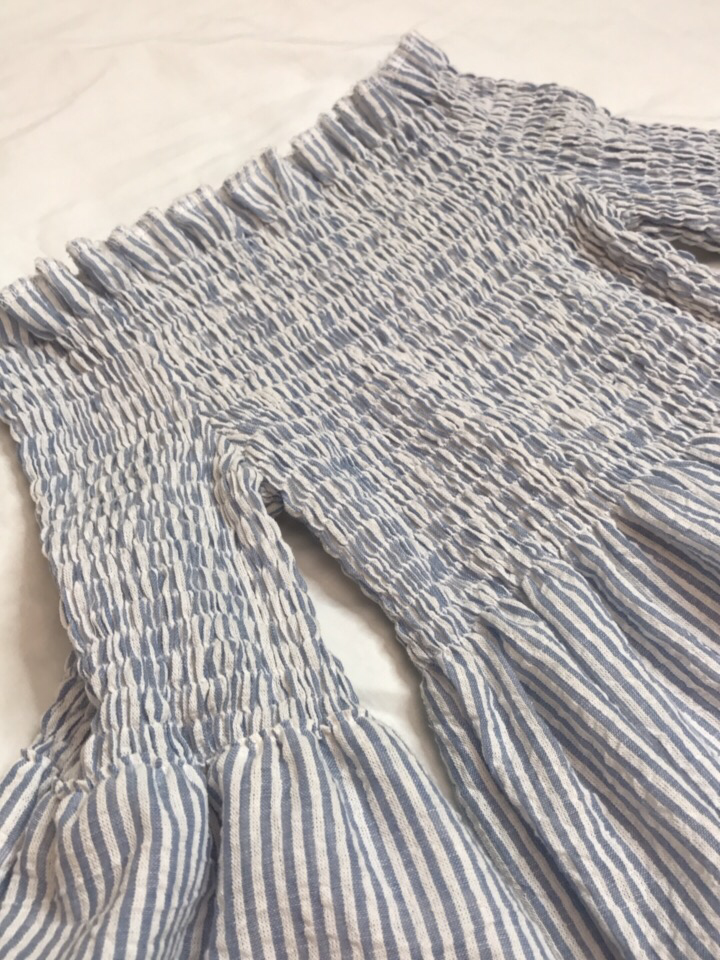
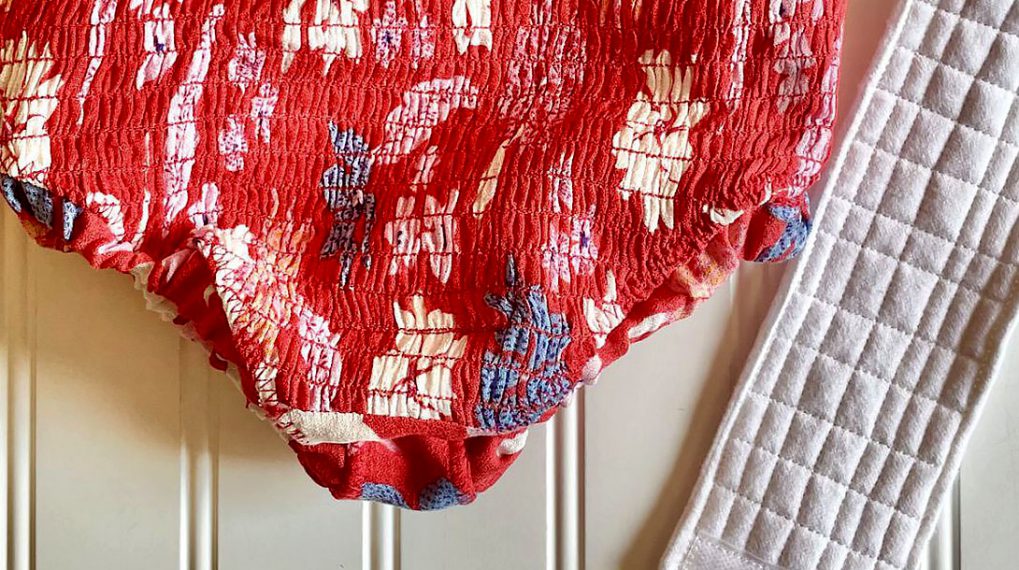
This is after all 20 rows. For this project, I need my shirring to cover the bust area. I’m going to create 20 lines. If you have a larger bust, perhaps 25 or 15 for a smaller bust.
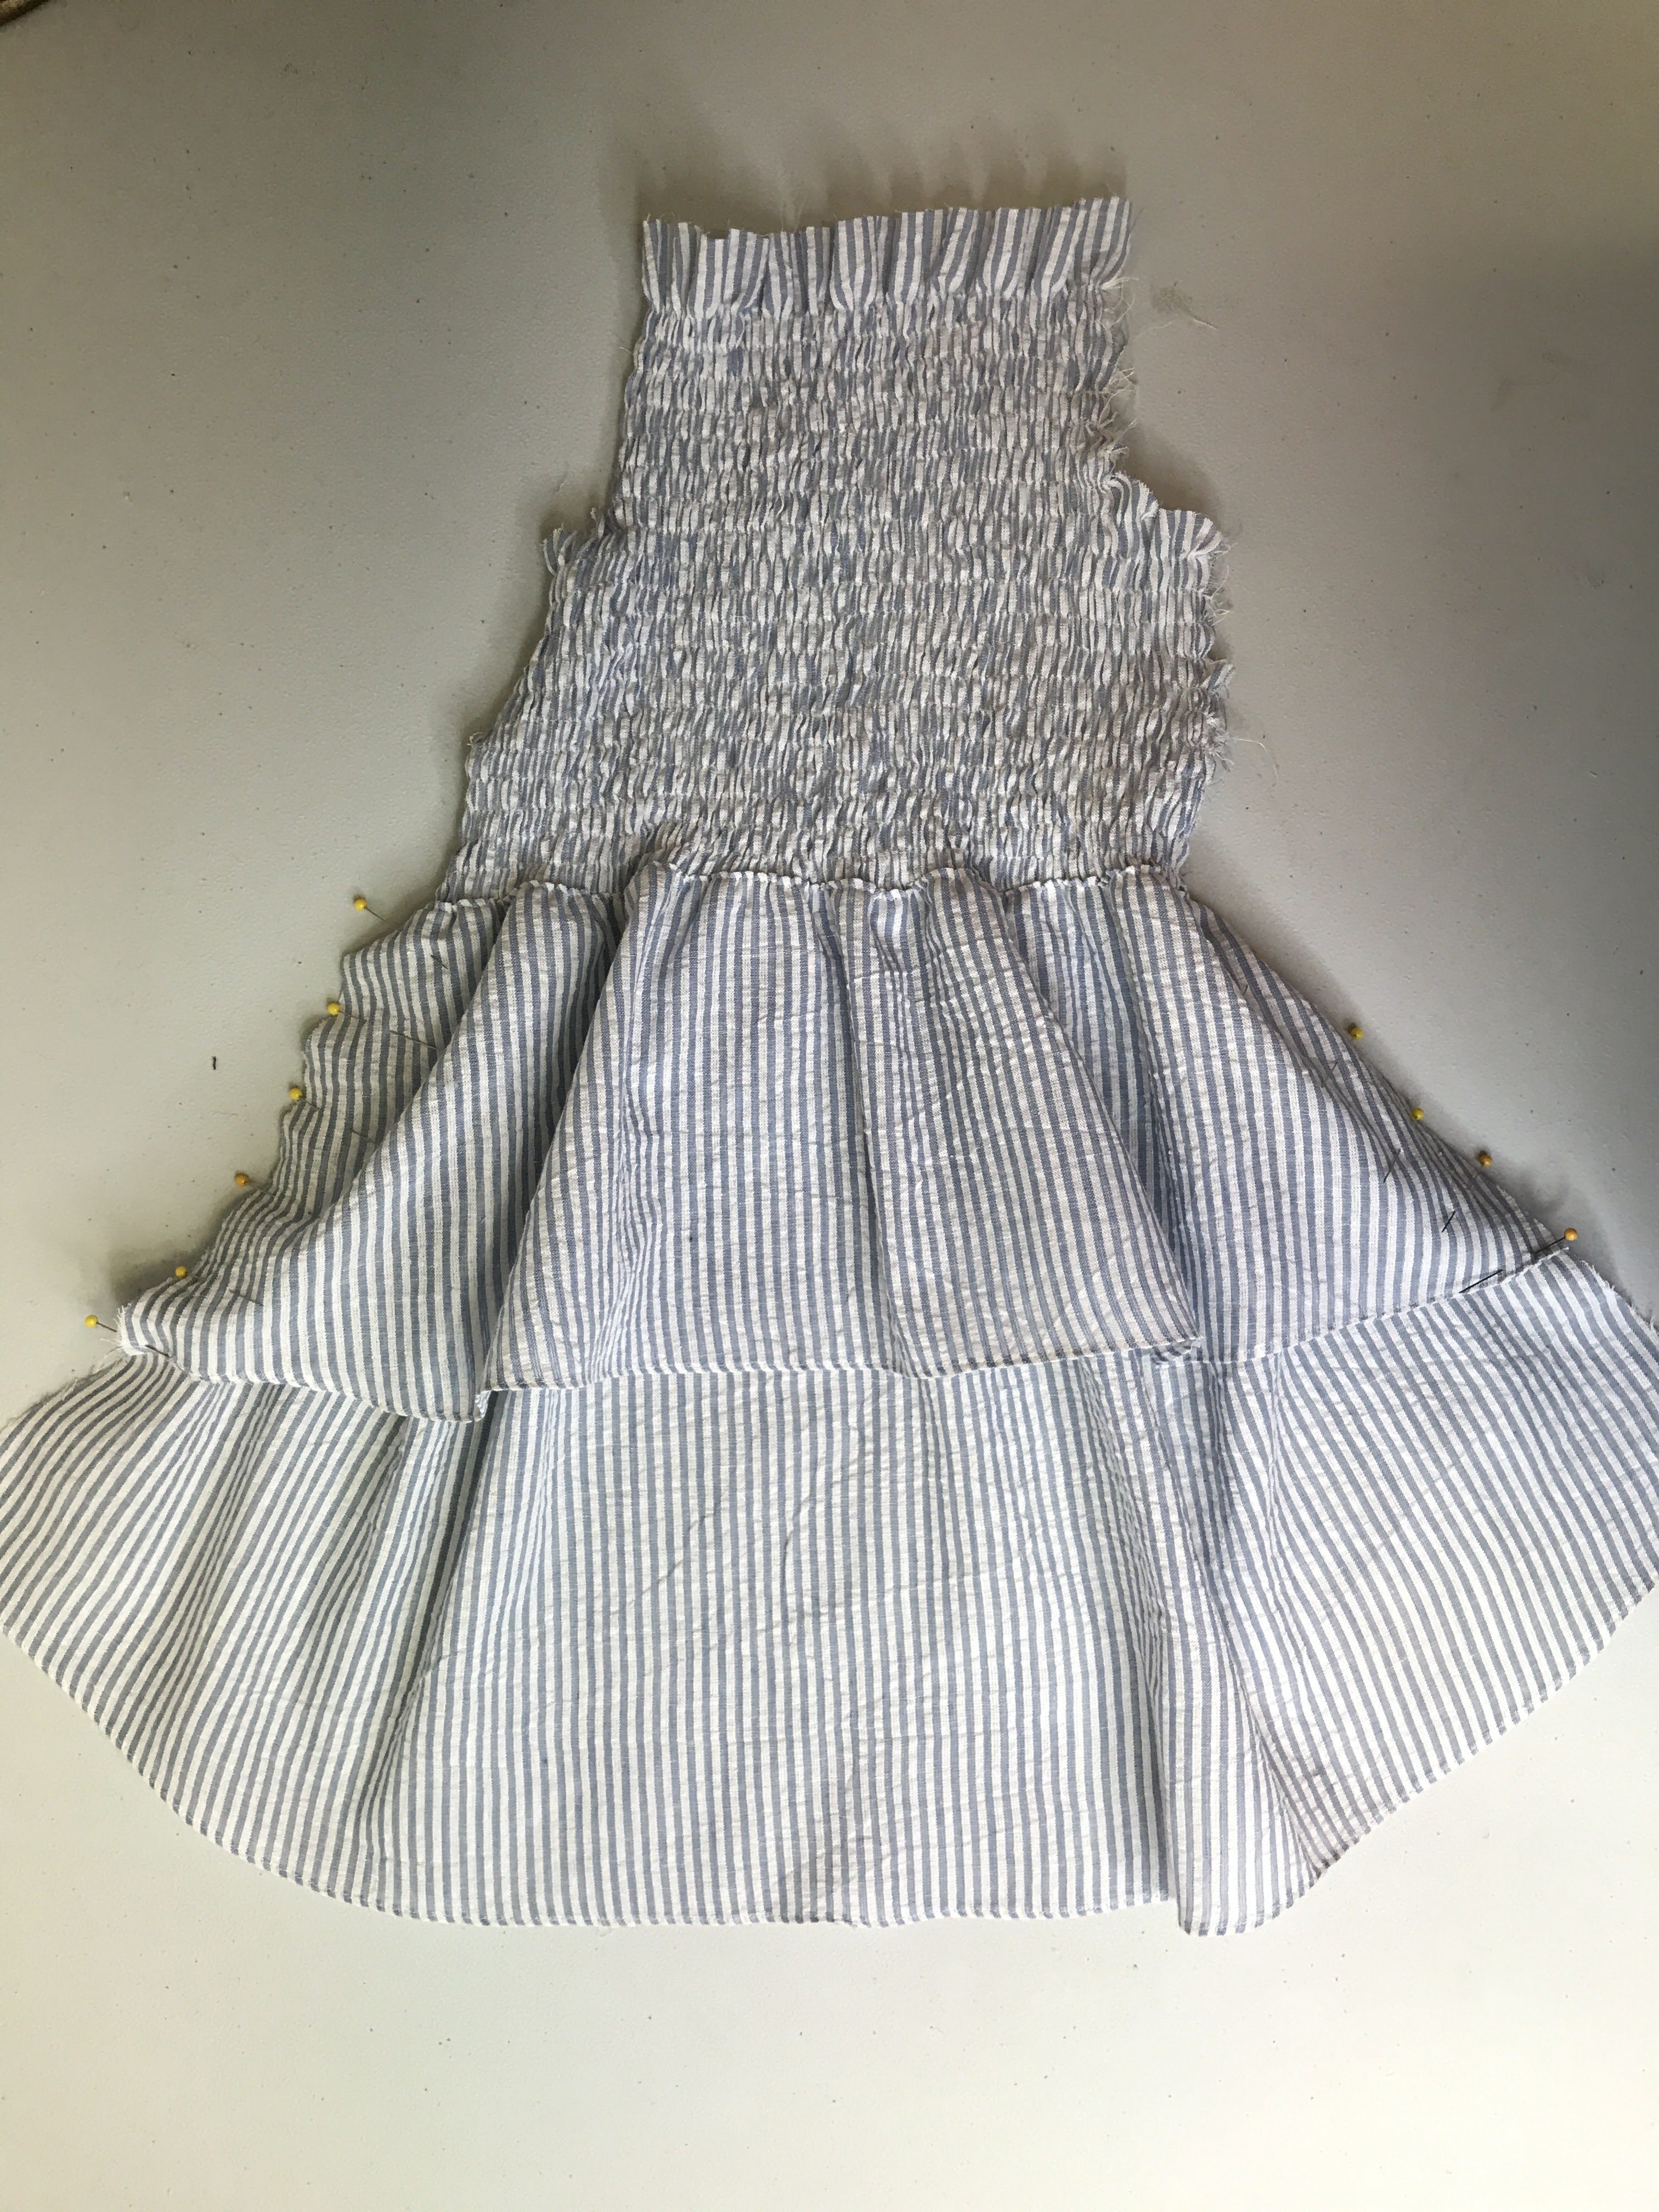
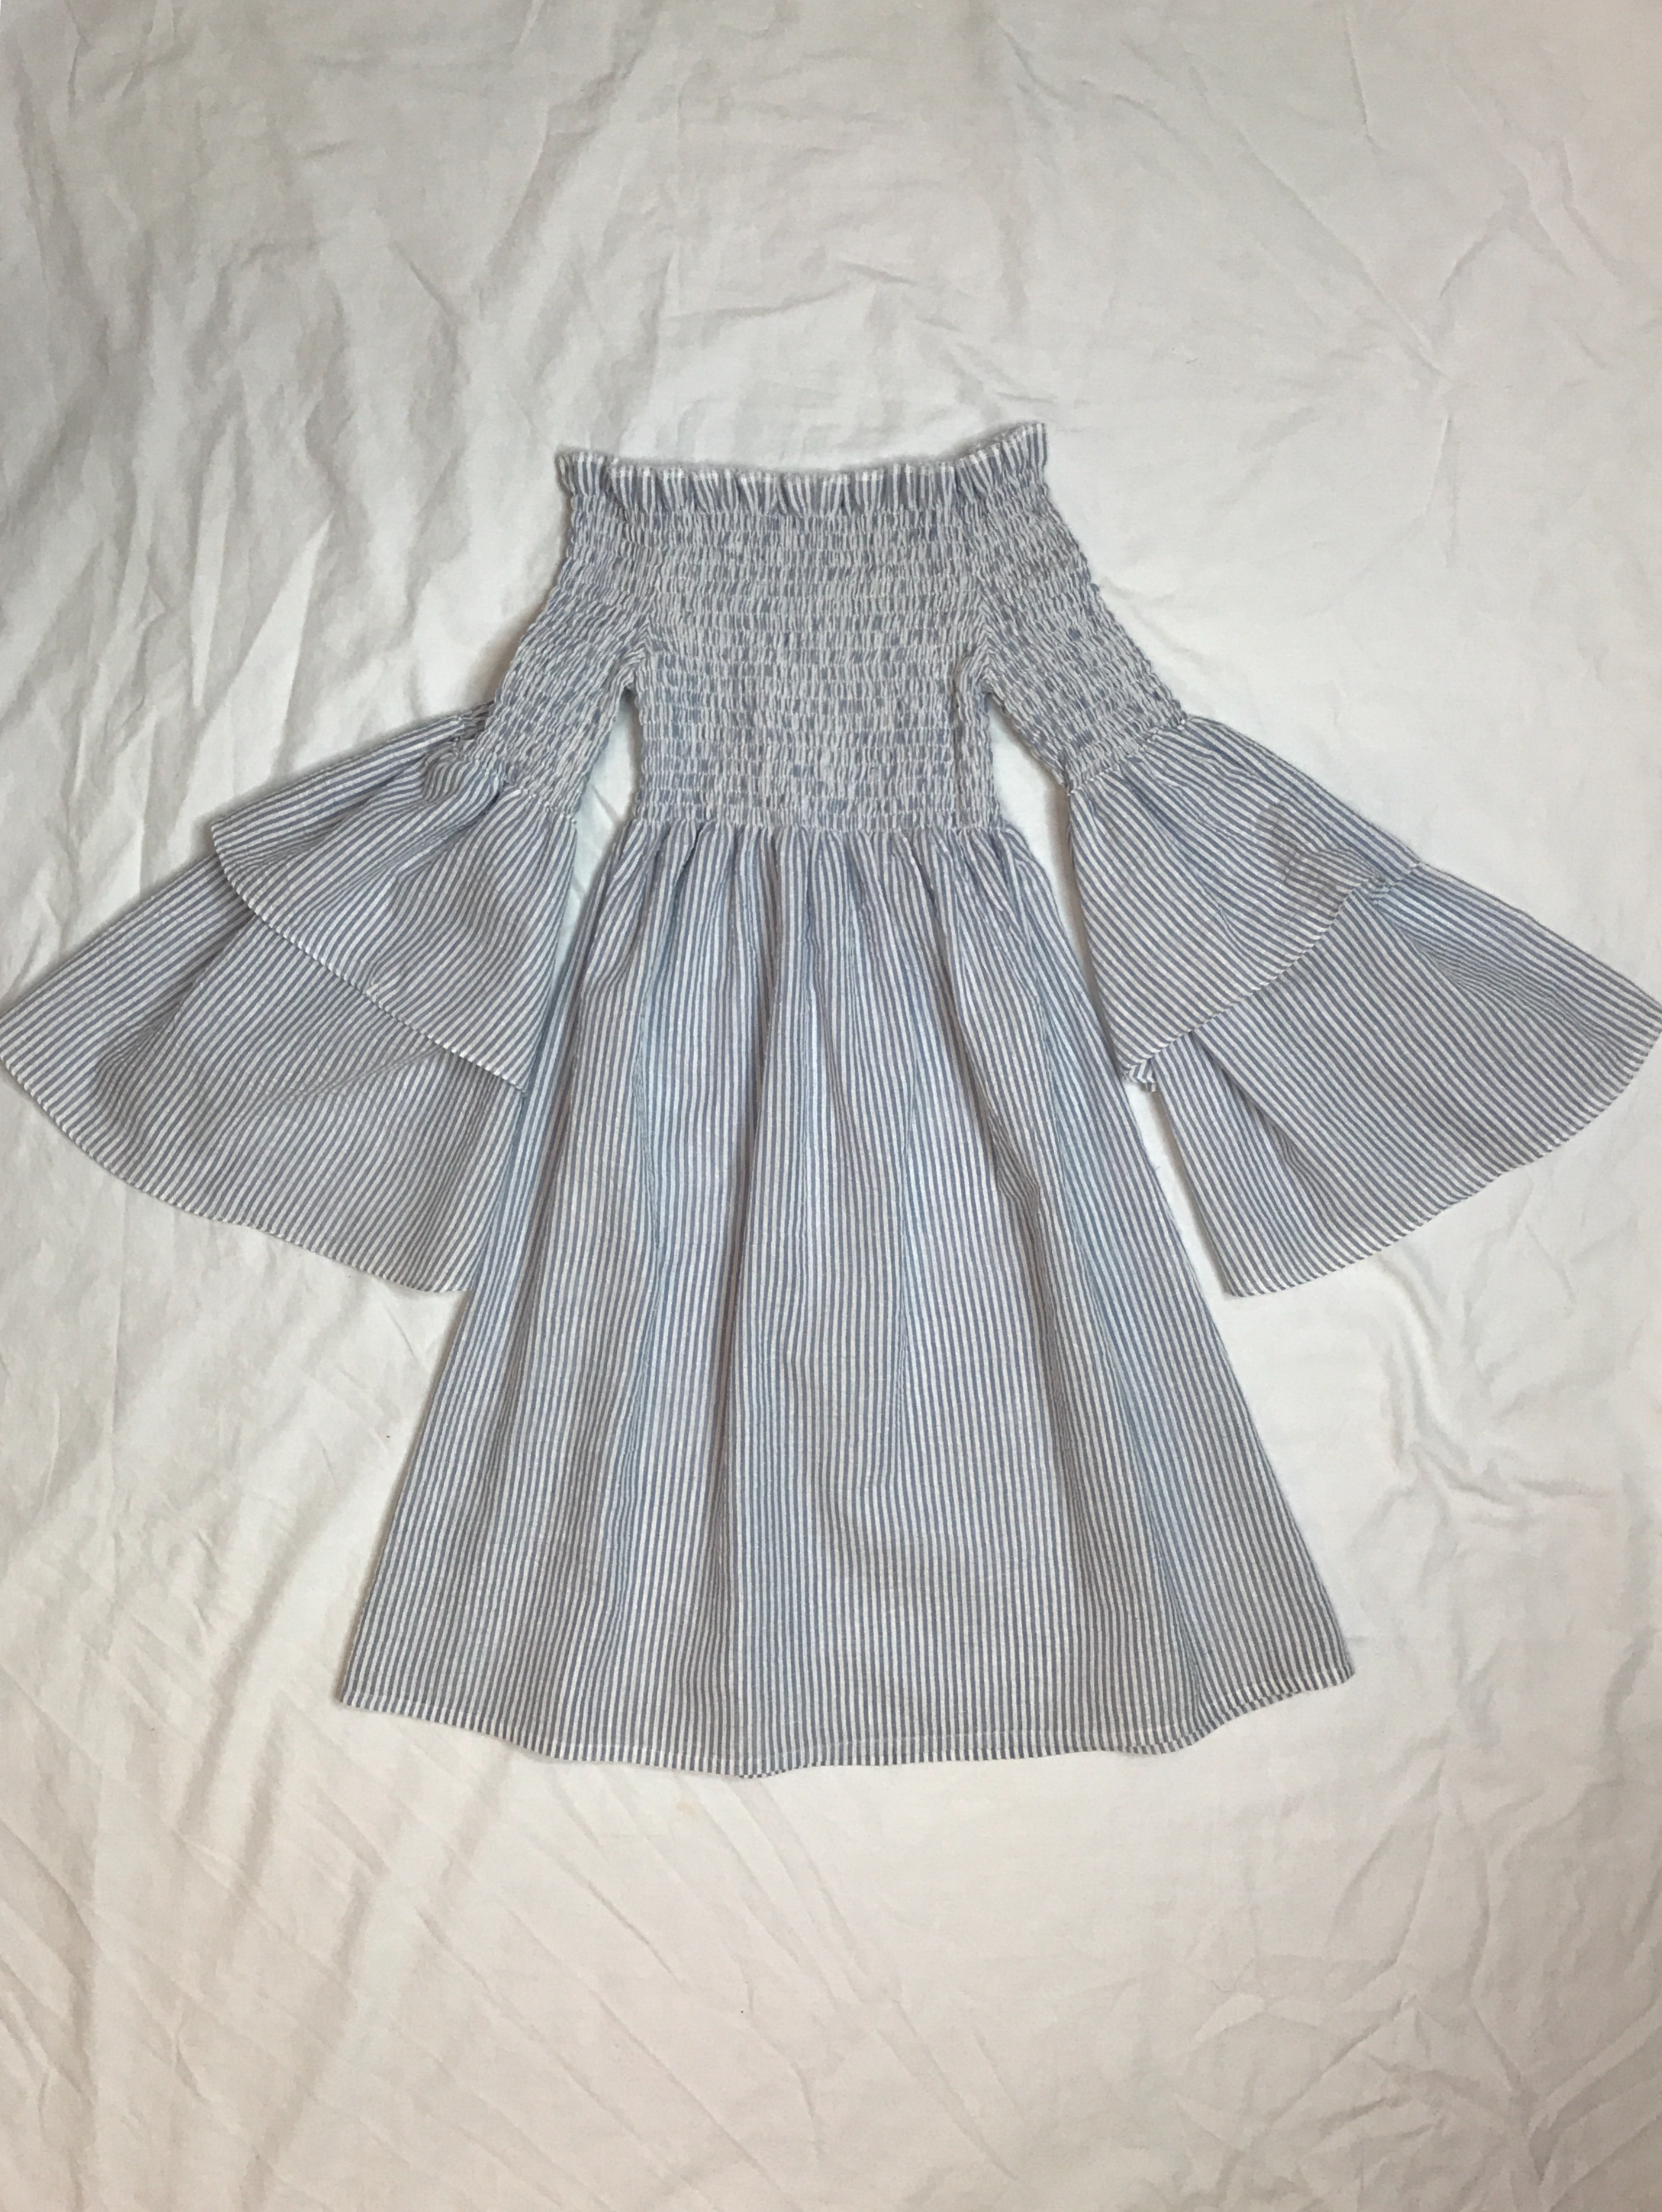
I modified the sleeve by creating a tiered bell sleeve and hemming it with the BERNINA Narrow Straight Stitch Hemmer #62.
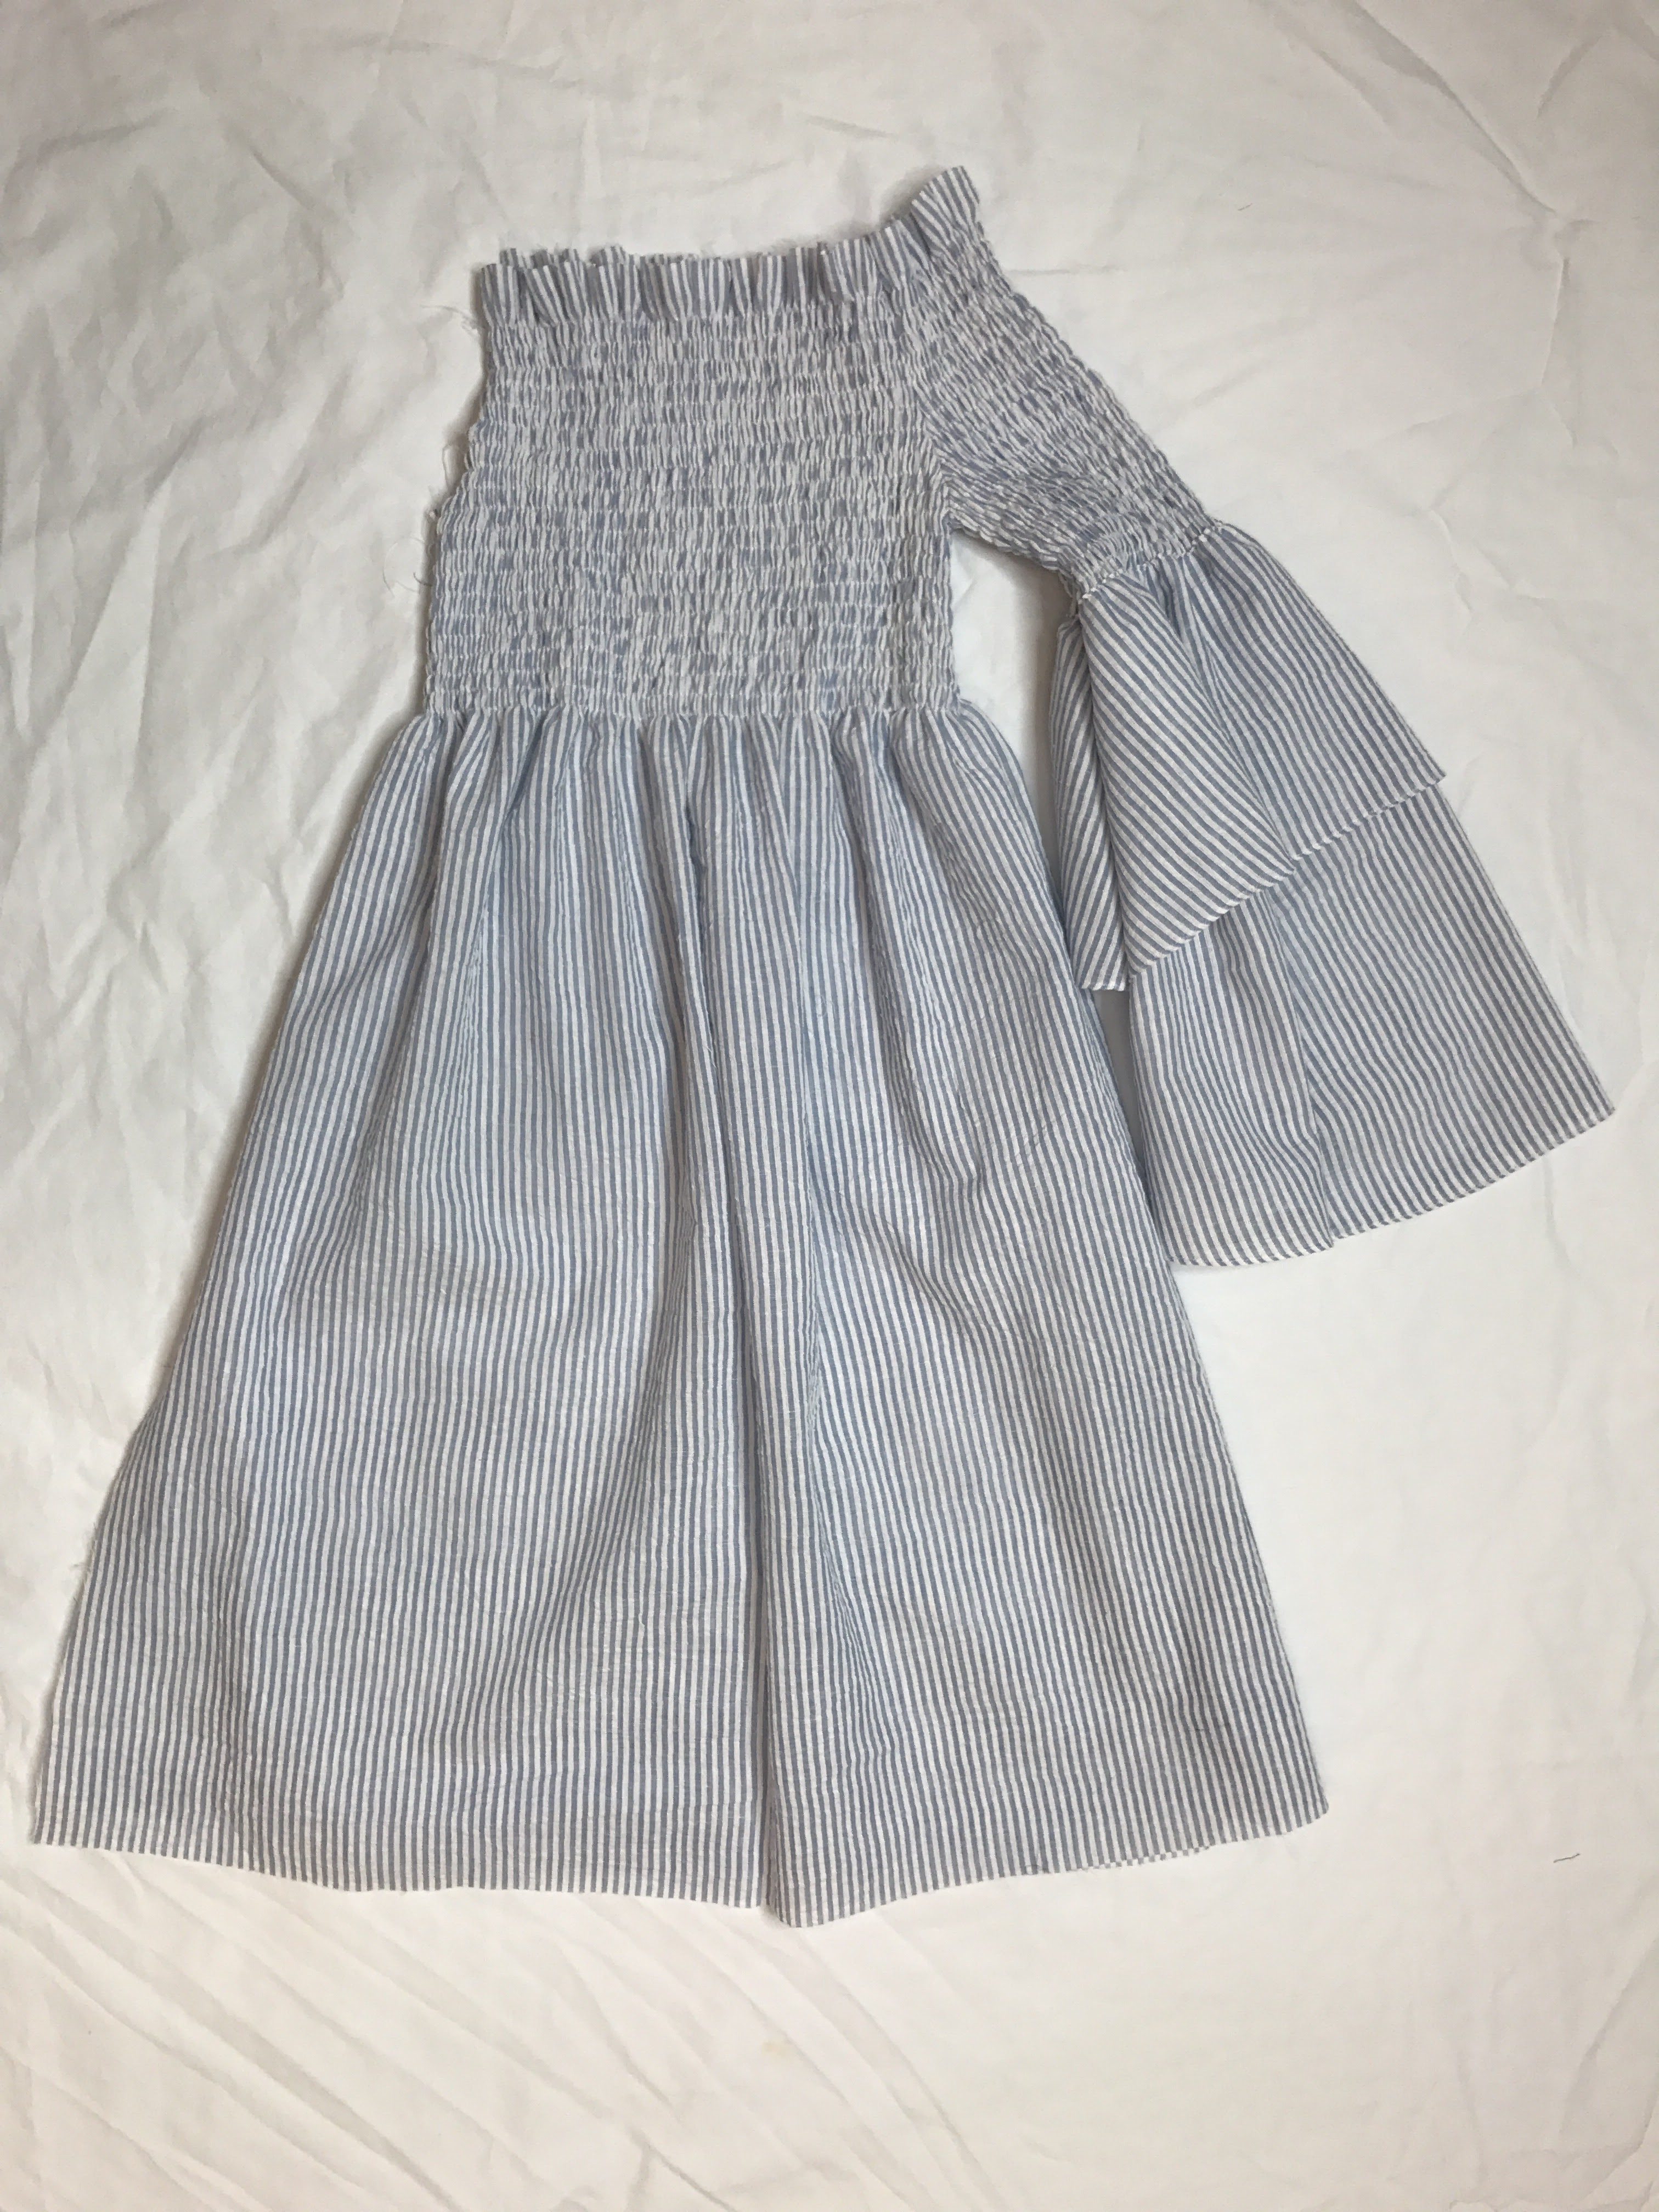
For this project, I used only two pattern pieces from McCall’s 7563 and 2 yds of cotton striped seersucker fabric.
When creating shirring, you have to keep in mind the weight of the fabric. The lighter, the better. A lightweight cotton will shrink up a lot better than a quilting cotton. And because of how shirring causes the fabric to shrink, your pattern needs to be 1.5 times your measurements.
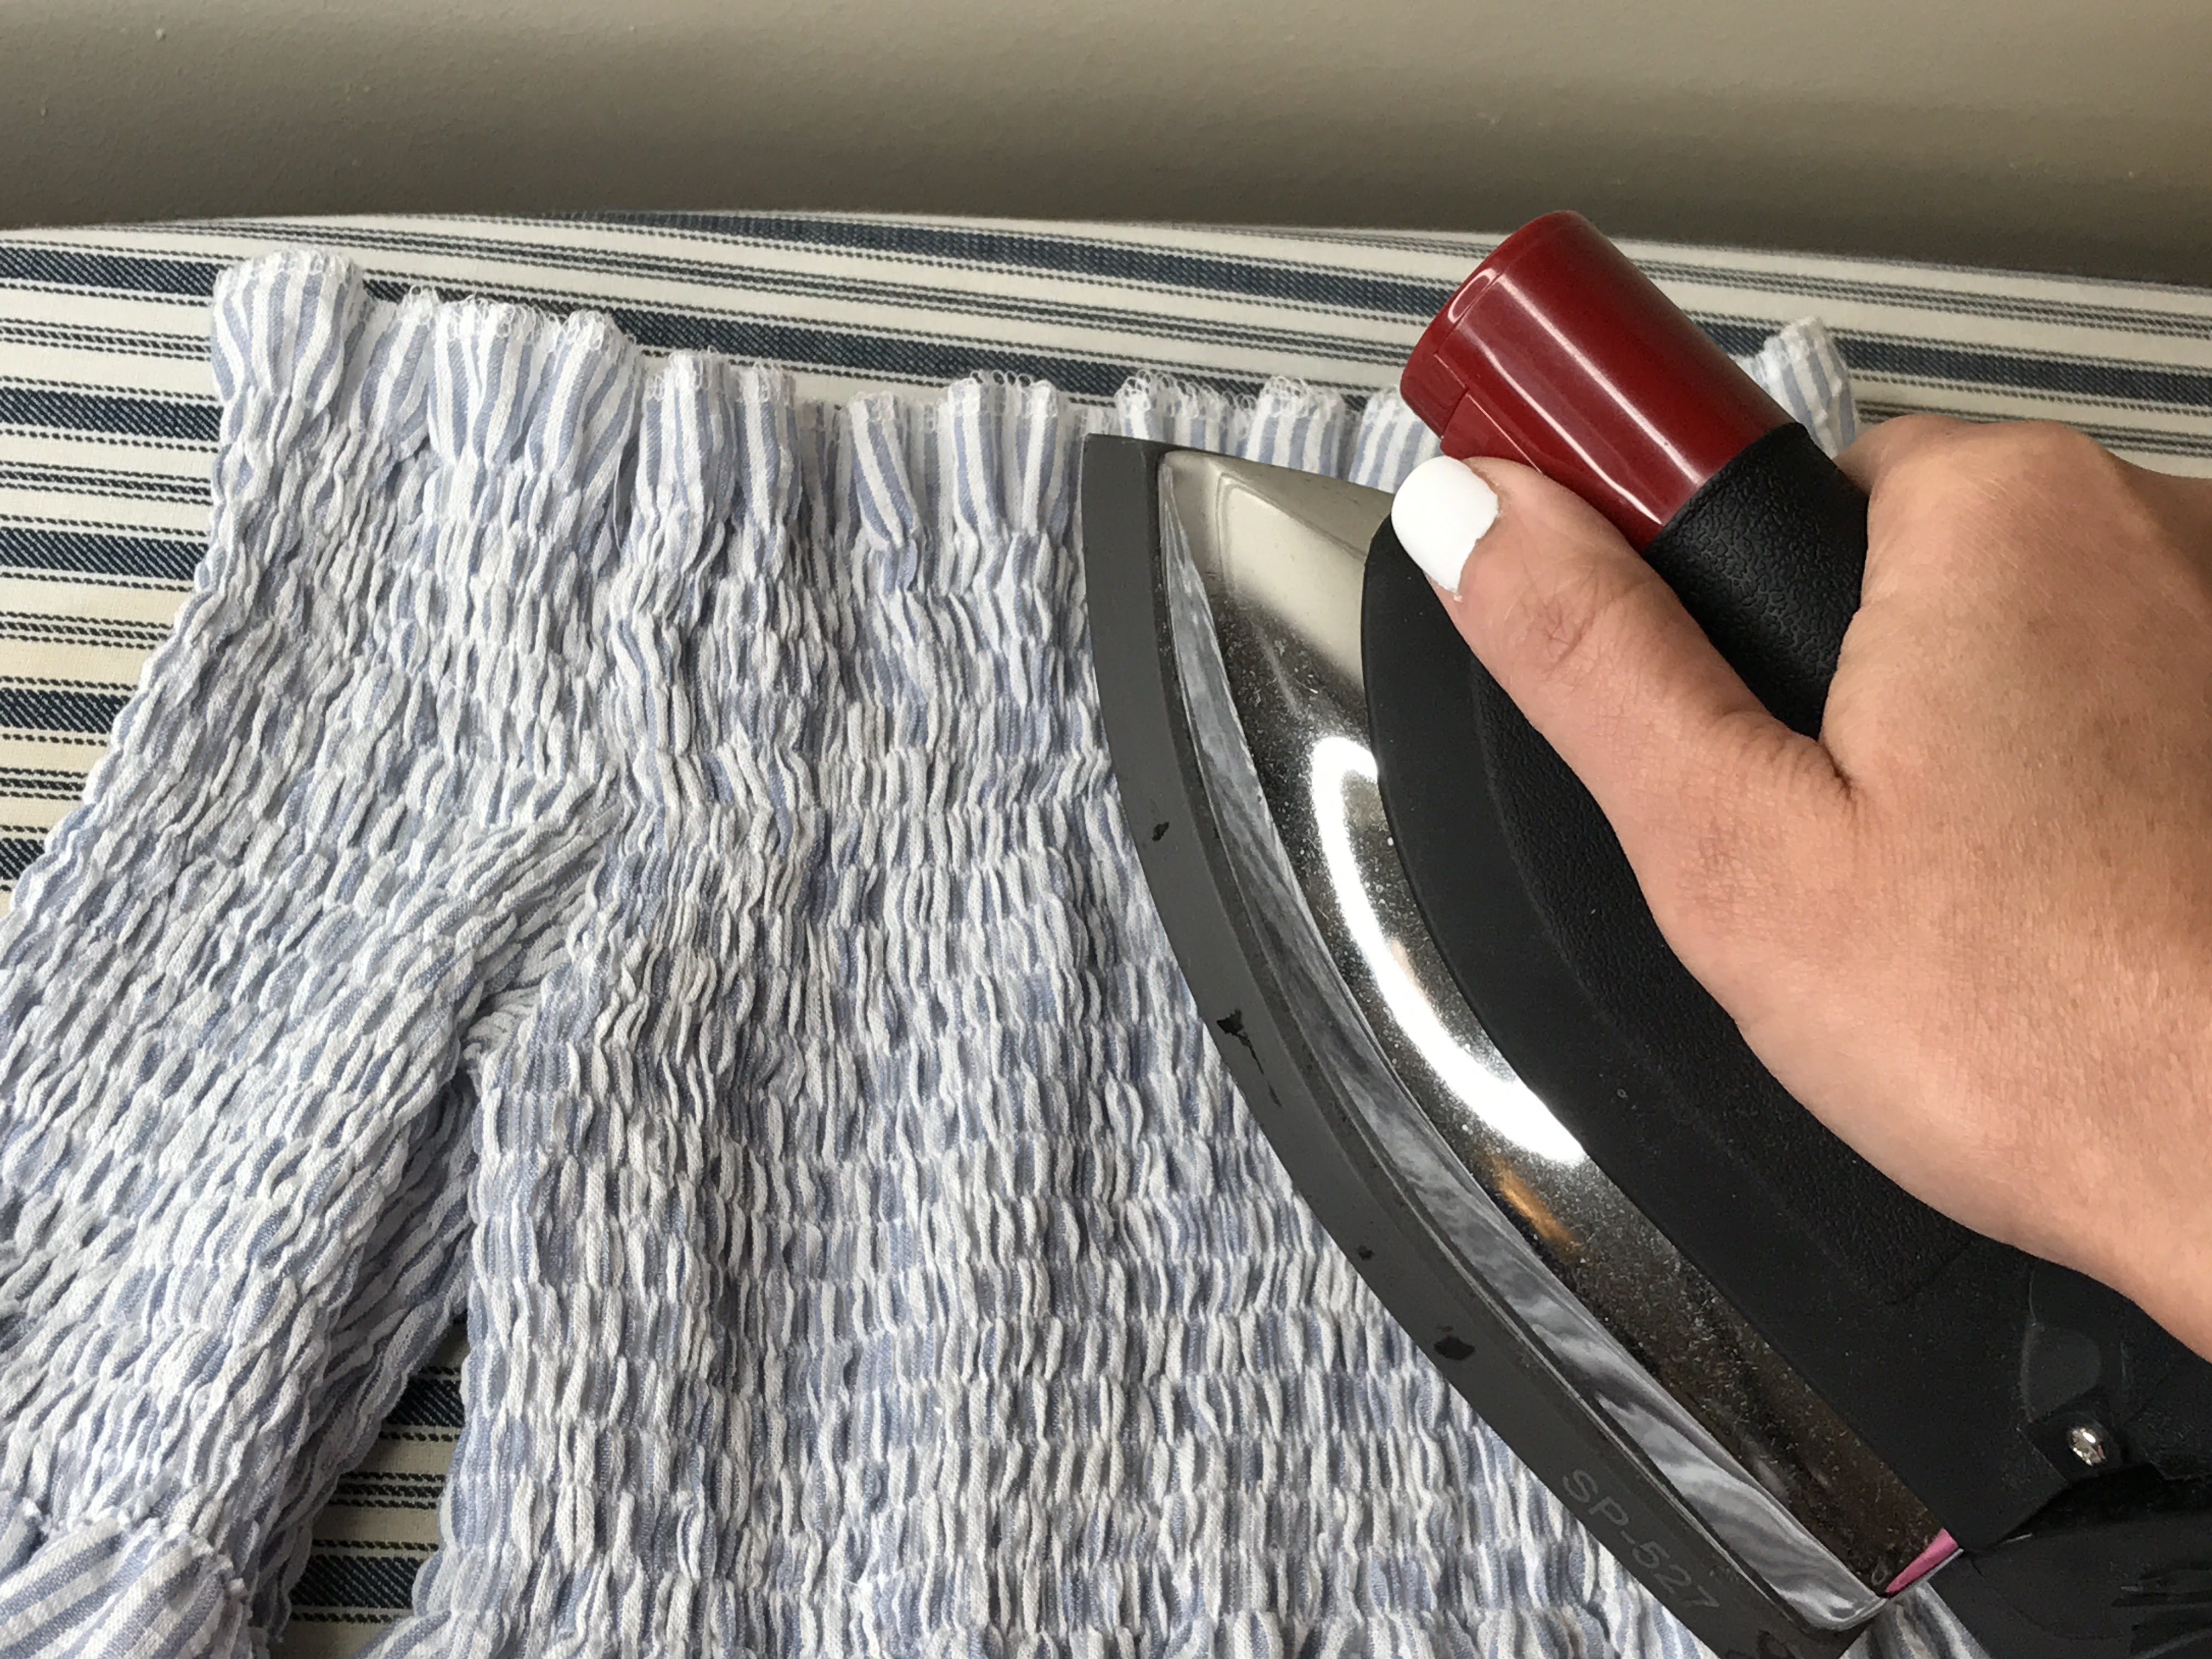
Holding a steam iron over the shirred stitches will cause them to shrink even more.
And it creates even more beautiful, gathered texture.

And my daughter loves it!


What you might also like


5 comments on “How to Create Shirring with Elastic Thread”
-
-
I don’t use elastic often enough to have a need for this. But it sounds like a great idea!
-
-
Hi, I’ve done shirring in the past on an ancient [electric – just]
Singer and it was straightforward. No special feet etc. just elastic on the bobbin and a longer stitch than usual. Current machine is 801, nothing fancy, no electronics etc. Any reason why I shouldn’t do as previously – i.e. elastic on bobbin and basic 000 foot? -
do you multiply all the measurements from the pattern by 1.5 or only the width? I am looking to sew a similar dress, but I will be doing the top from neck all shirred to waist. Just confused about the sleeve hole length, if it will shrink or not?
-
Excellent tutorial and your daughter looks amazing in her dress! So glad you’re a Bernina ambassador because your skills are top-notch and your projects are always so professionally finished. You’re definitely an asset to the Bernina family, Erica!
Leave a Reply
You must be logged in to post a comment.

A friend, who uses a B440, bought a separate bobbin case for elastic work. The tension is set differently on this bobbin to allow for the elastic thread. Would you suggest this?
Also, would this work on a B880?