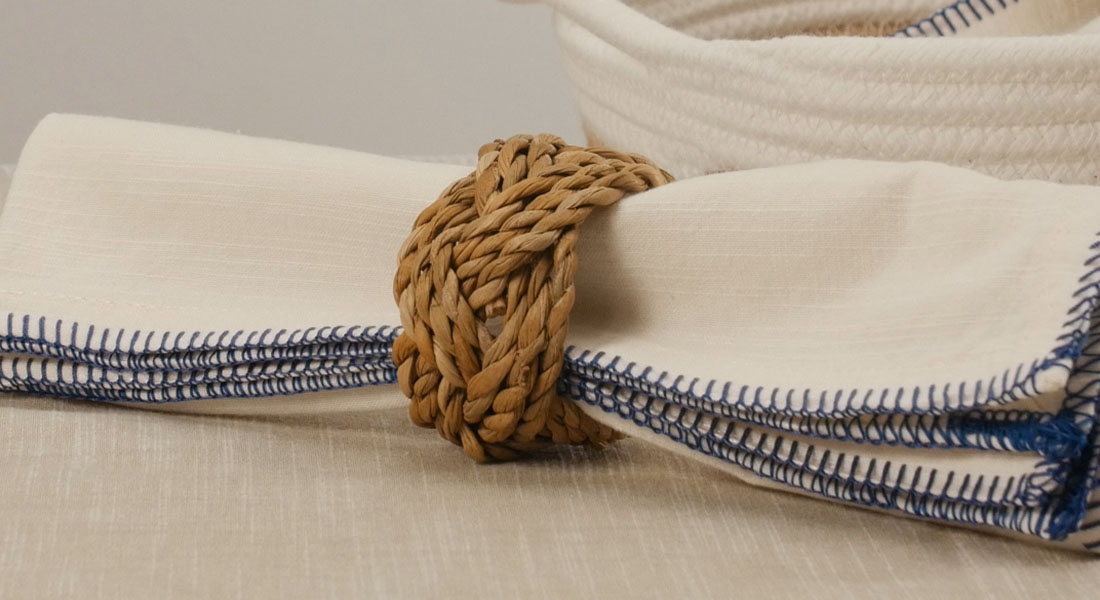
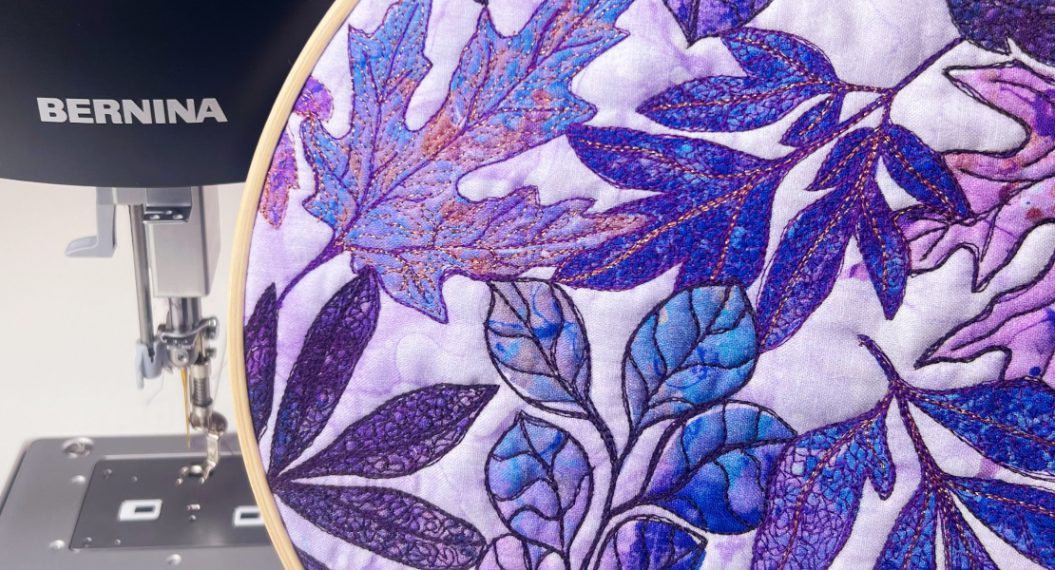
Handmade Housewarming Napkins with the BERNINA Stitch Regulator
These days, a good picture of a loved one’s house is easy to find with a simple Google search. Using either Google Maps, or if you’re lucky, a real estate listing (realtors take great pictures!) you can easily find a straight-on view of most homes to transform into a custom gift that is sure to impress. Know a newlywed or a new home owner? I’m sure that they would love to see their home commemorated on a set of linens. Using the BERNINA Stitch Regulator (BSR), this project is a snap, and can easily be completed in an afternoon.
Materials to make your own Custom Housewarming Napkins
- An image of the house
- Tracing Paper
- Permanent Marker
- Water soluble sticky-backed stabilizer (I used Sulky Sticky Fabri-Solvy)
- Blue Painters Tape or Masking Tape
- Cocktail napkins (coasters, placemats, etc. would also be appropriate) I used vintage, but any will do
- Thread
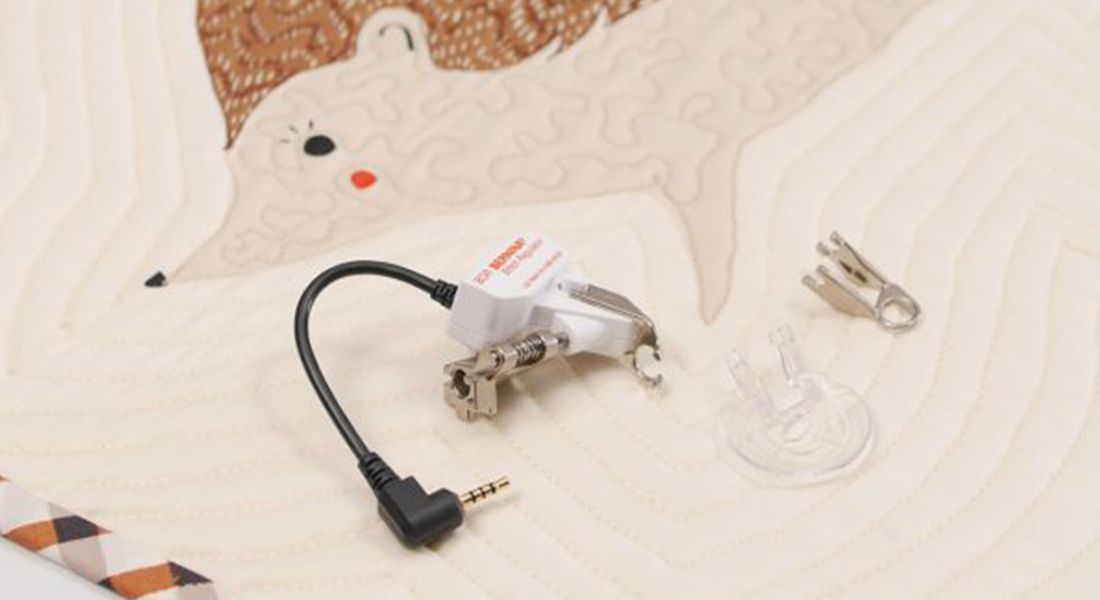
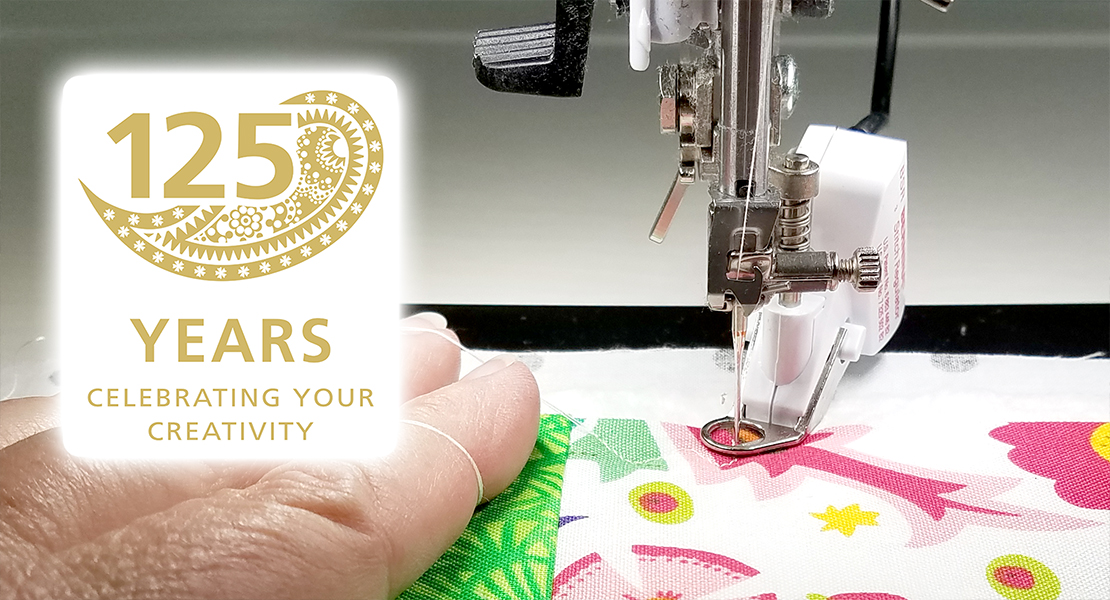
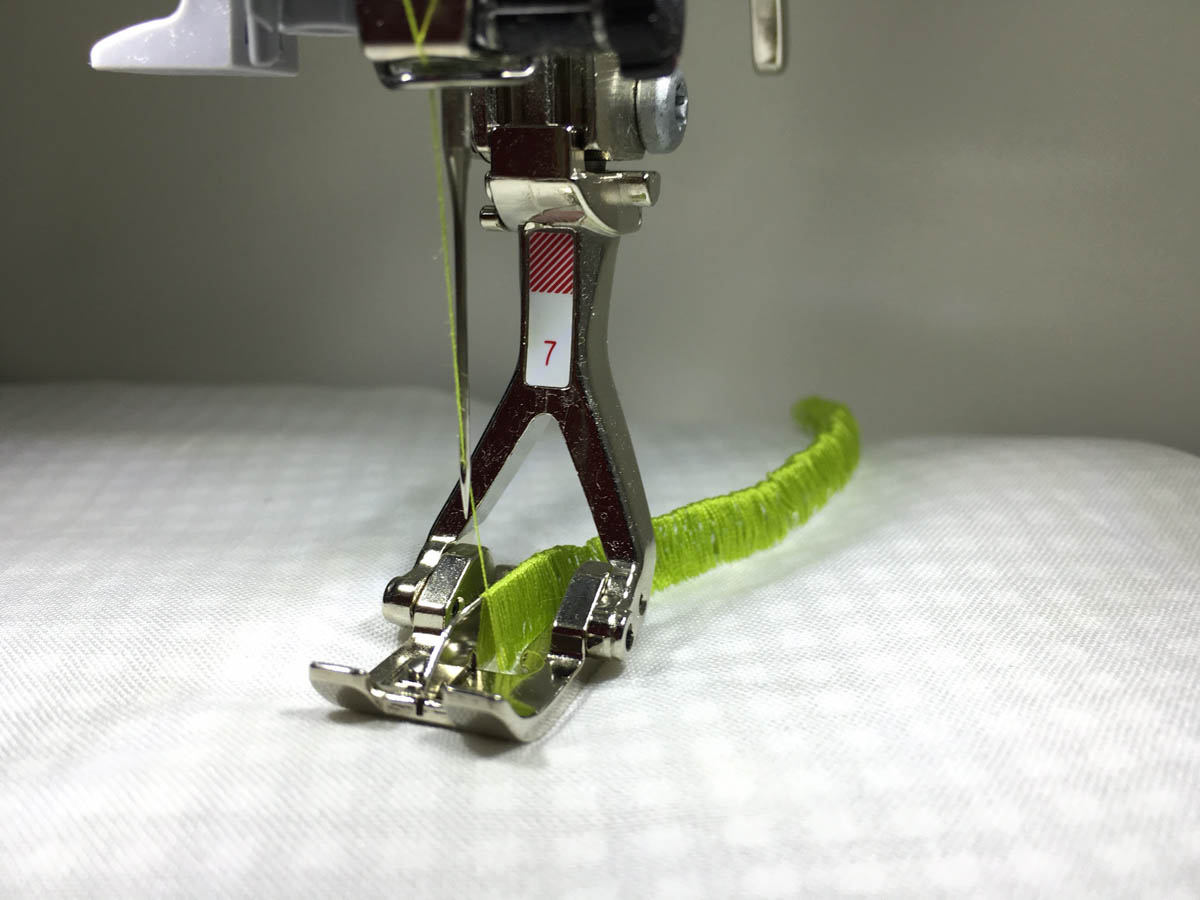
- BERNINA Stitch Regulator (or your favorite free-motion stitching foot)
How to sew Custom Housewarming Napkins
Step One:
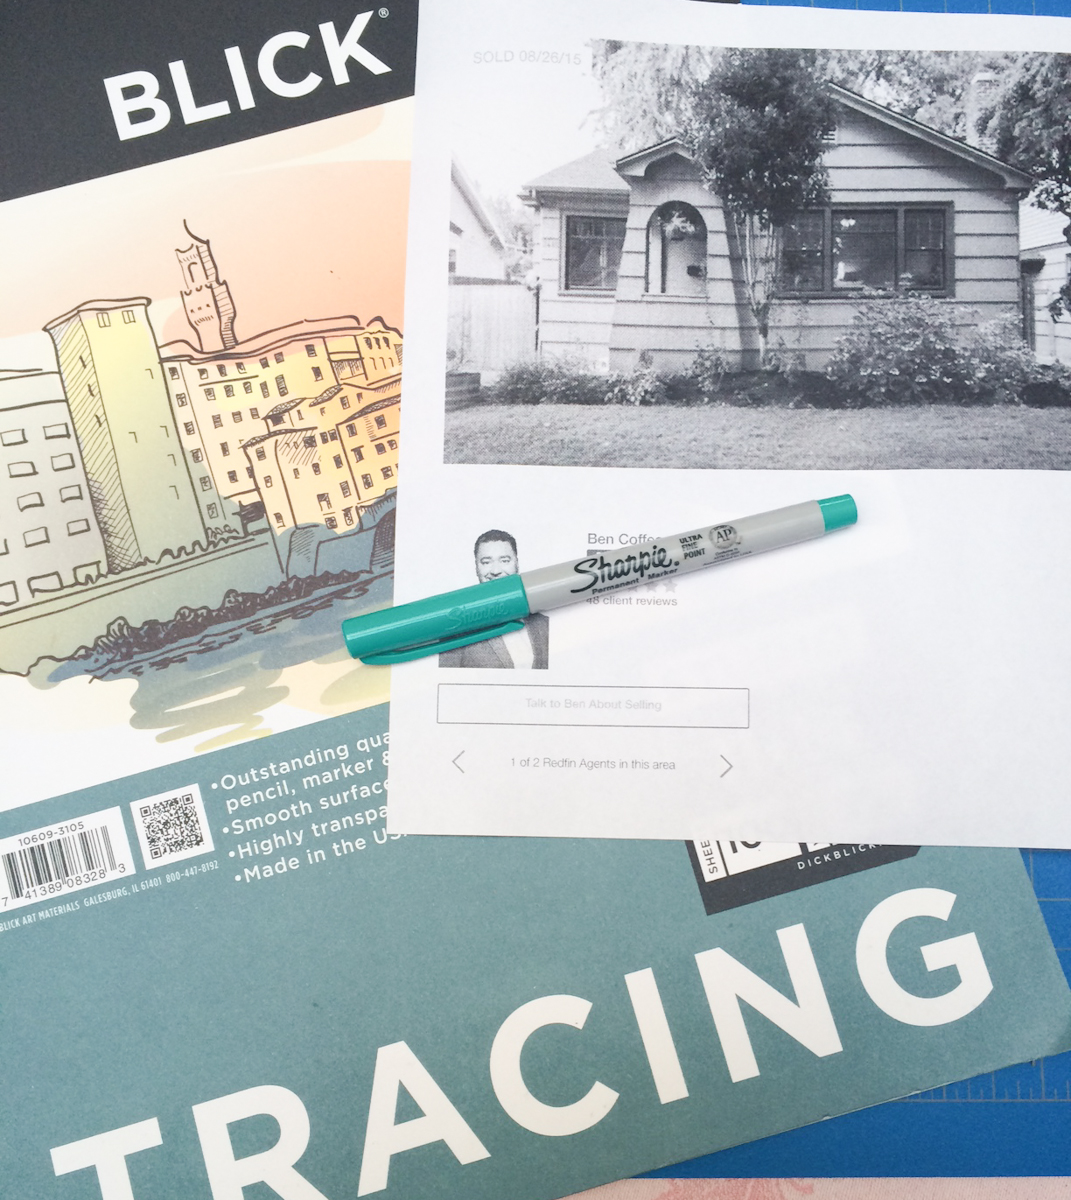
Select your image. If you don’t have a photograph, try searching Google with the address you’re looking for. If the house was recently for sale, chances are a great photograph is waiting for you on the realtor’s website, or even on Google Maps street view. I found the image I used on a realty website and printed it on my black and white printer. I happened to like the size it printed in, but if you’d like to adjust it, use photo editing software or take it to a copy shop and enlarge or shrink it.
Step Two:
Practice tracing the image onto tracing paper. Tracing paper is cheap, and a good way to play around with what details you will and will not include. Use blue painters tape to tape your image to a window and tape the paper over the top. Trace with a permanent marker. Once you’ve got a result that you like, remove the tracing paper and trace again onto the Sticky Fabri-Solvy. Be sure you are tracing onto the fabric surface (feels like interfacing) and not the shiny backside.

Step Three:
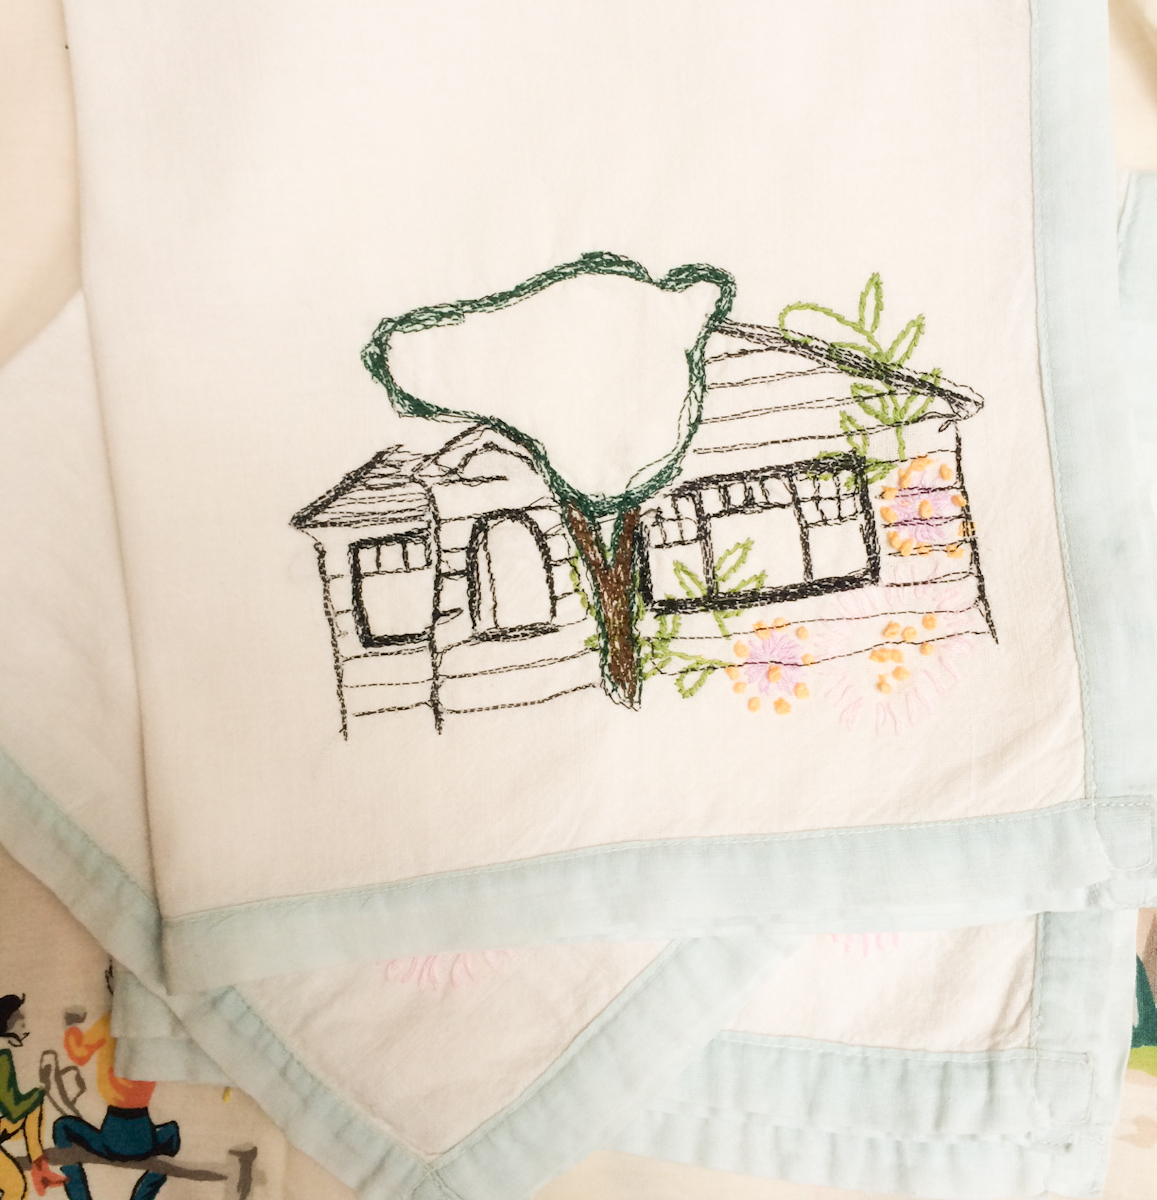
Prepare your linens. If your napkins are new, wash and dry them to prevent shrinkage. If they are vintage and need a sprucing, give them some love in a bowl of oxi-clean before washing. Press, and hold up the Fabri-Solvy to decide where you’d like to place your image. I placed mine in the corner so it will show when the napkins are folded. If, like me, you’re using vintage napkins that are already embroidered, consider using the embroidery as a design element. The pink flowers took the place of hydrangea bushes in the house I stitched. Remove the paper backing and stick the Fabri-Solvy in place. Use an additional piece of Fabri-Solvy on the back of your fabric to stabilize your napkin while stitching.
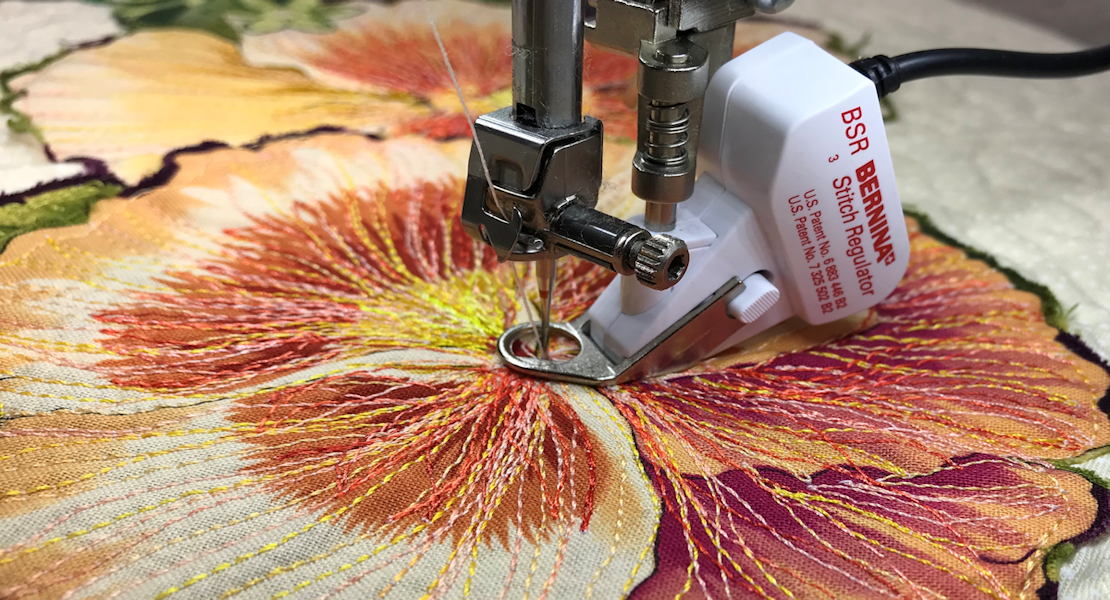
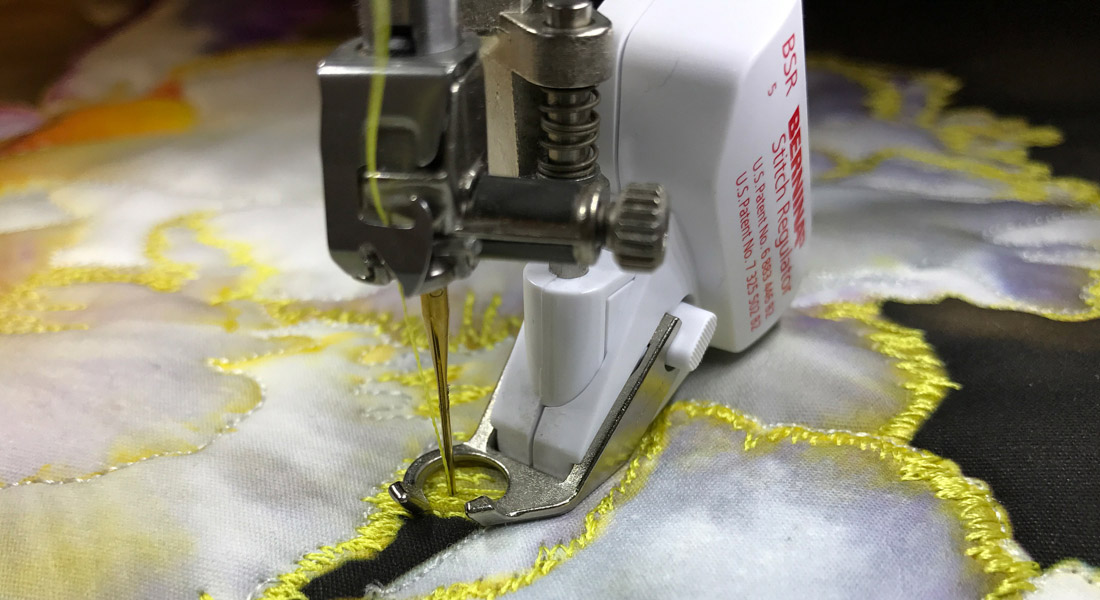
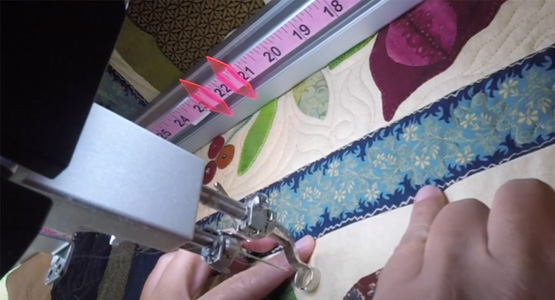
Step Four:
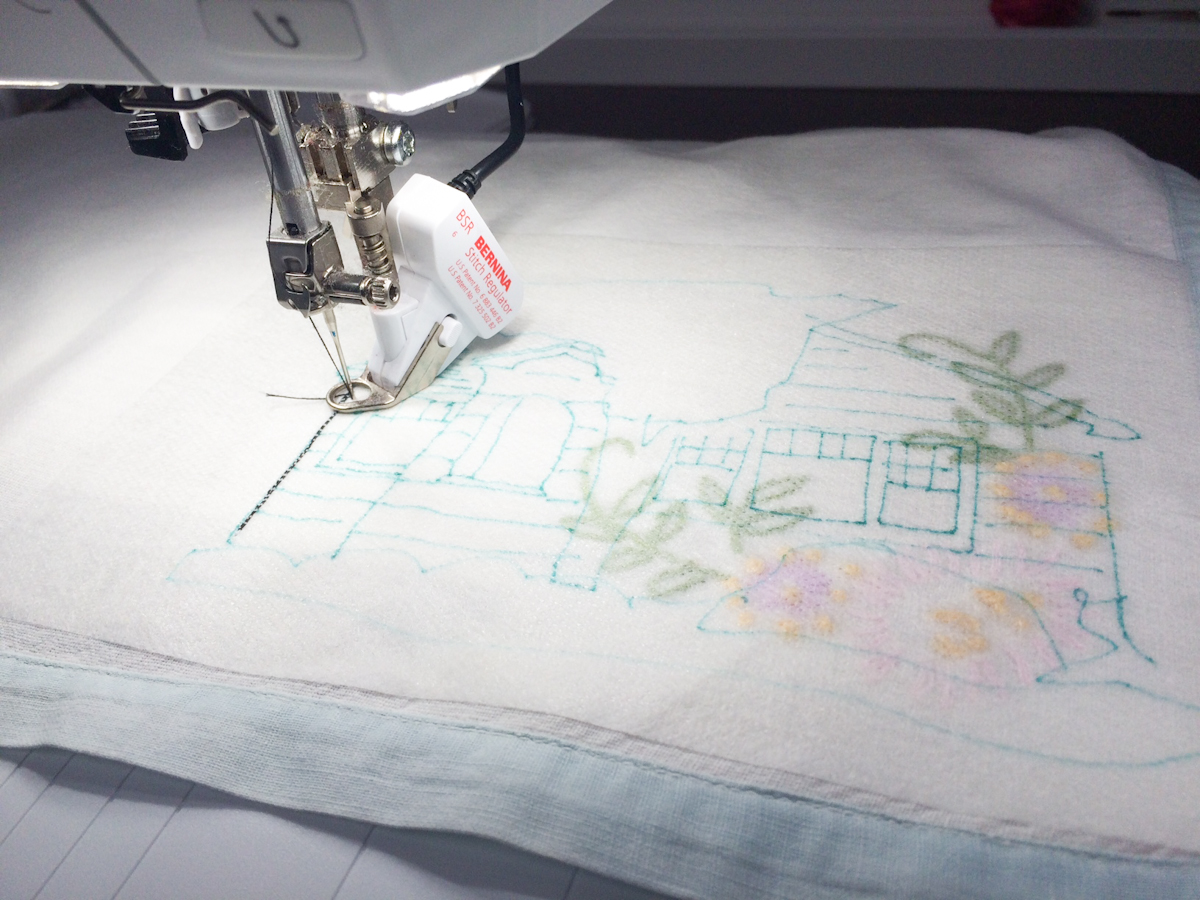
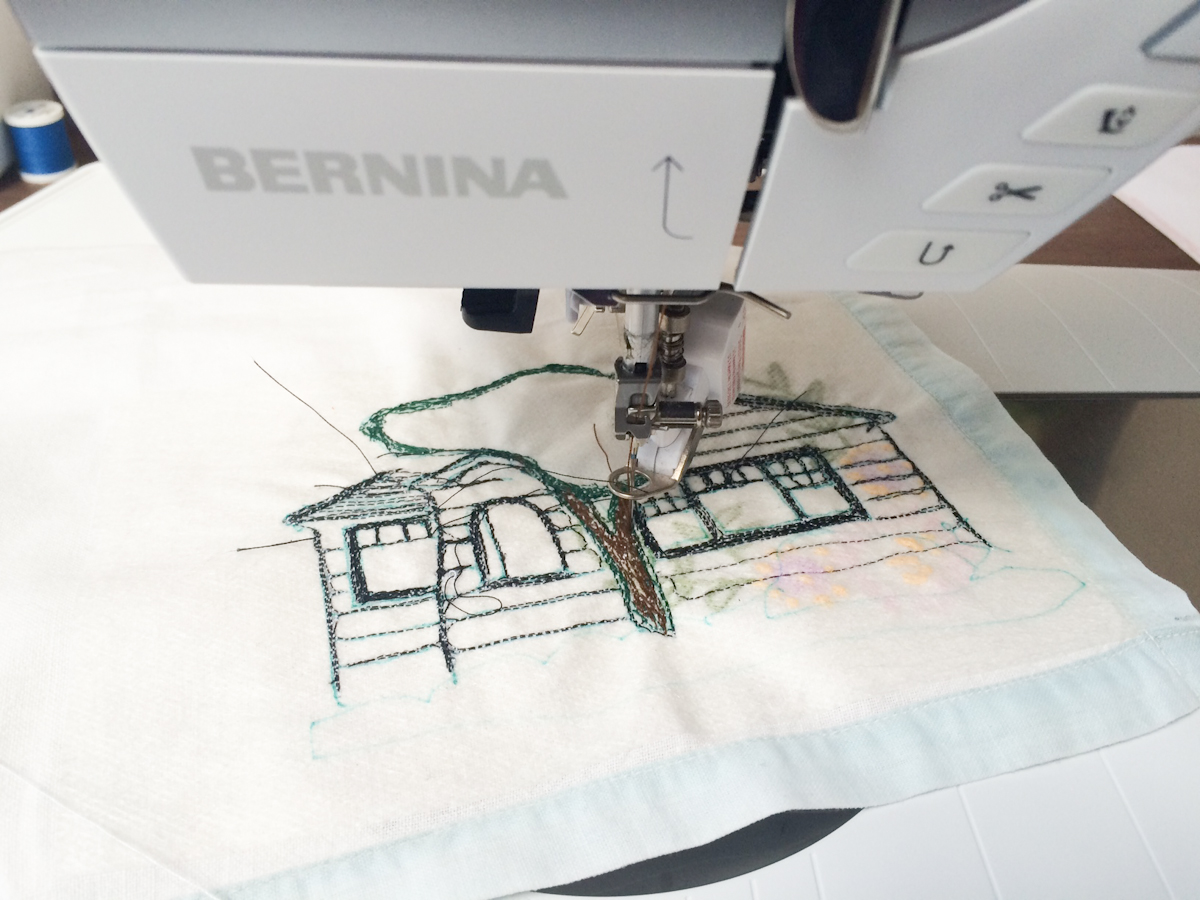
Prepare your machine. Install the BERNINA Stitch Regulator (BSR) and disengage the feed dogs. Thread your machine with your choice of colored thread. I used black for the house and green and brown for the tree out front. Use the BSR to stitch over all your drawn-on lines. You can see here that I used black thread and turquoise ink, making it easy to see what I had and hadn’t stitched yet. I recommend a contrasting pair of ink/thread to keep track of what you’re doing. Take care during this stitching to take lots of breaks. If you get to the end of a line and you’re not sure where to go next, press the thread cutter button and stop, take the fabric out of your machine and decide where to go next. There’s no rush, and your lines will be better if you stop and start a few times along the way.
Step Five:
Once you’re finished stitching, take a good look at what you’ve stitched. Be sure you are completely finished with all your stitching before moving on to step six.
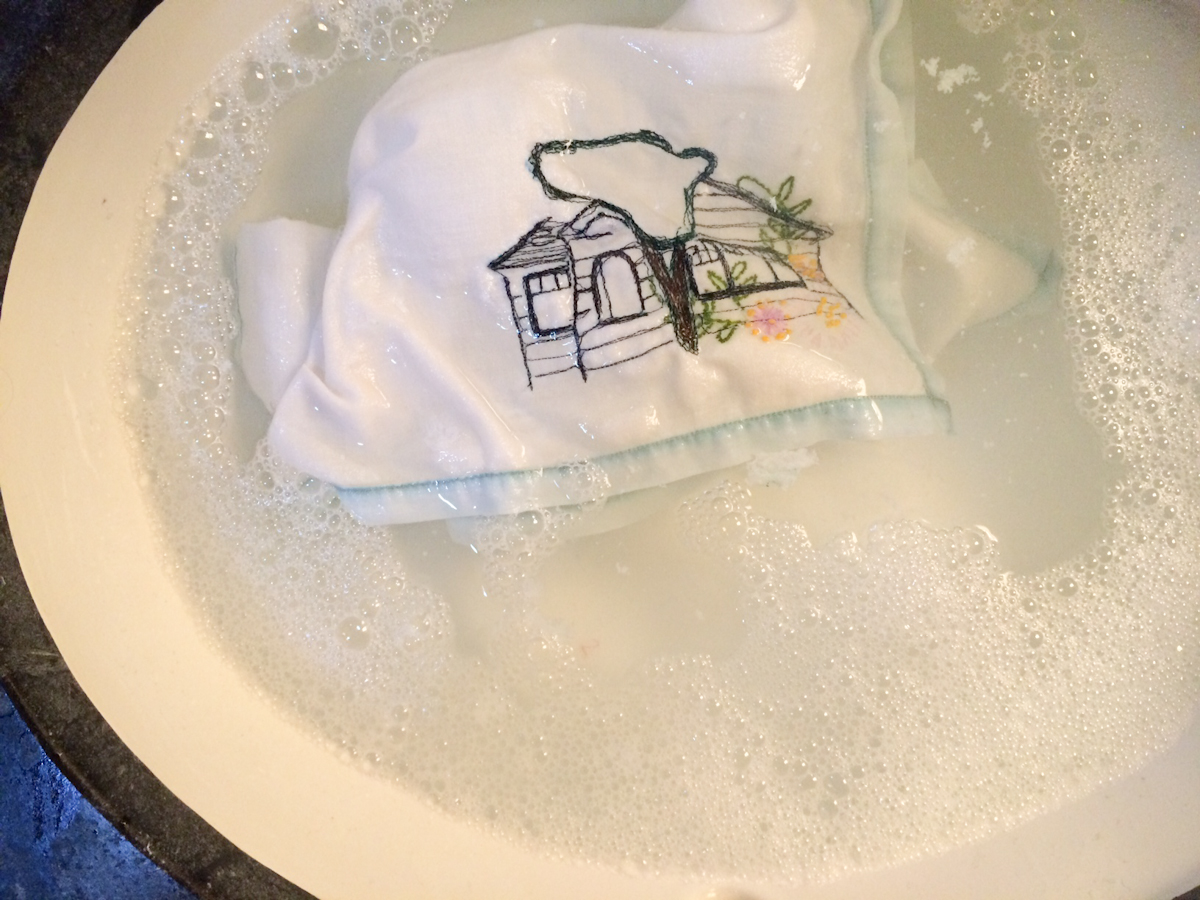
Step Six:
Rinse! Once you’re done stitching, it’s time to rinse the Fabri-Solvy out of your fabric. It’s hard to believe, but this stuff is water soluble, and will rinse away with cool water and a little soap to keep the ink from bleeding into your fabric. Fill a large bowl (or your bathroom sink) with cool water and a tablespoon or so of dish soap or delicate detergent (shampoo works in a pinch) and add your fabric. Soak for at least an hour or two or overnight, then rinse under cool water to remove all the stabilizer, which may feel like glue at first. If your fabric feels stiff when dry, you’ve got more stabilizer to remove. Repeat the rinse if necessary.
Step Seven:
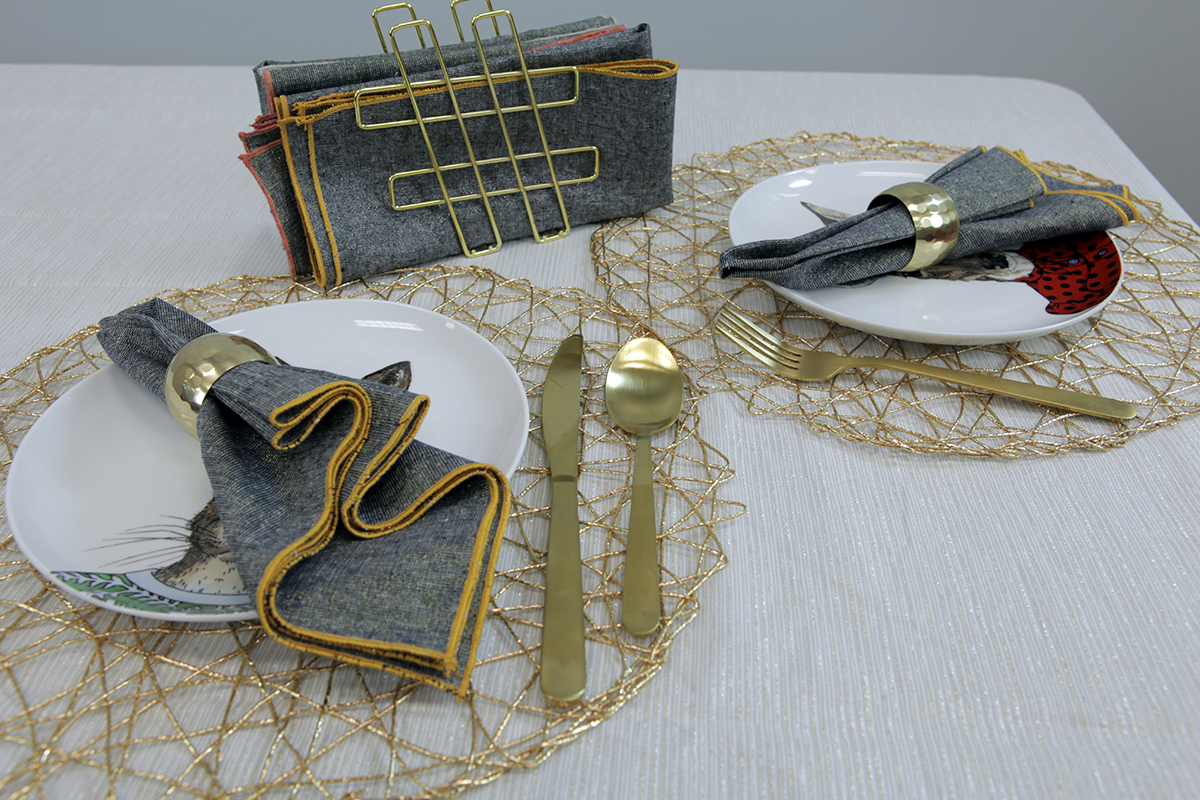
Repeat the first six steps if you’re working on a set of napkins, then press the collection and wrap up in a pretty ribbon for gifting.
Some other ideas:
Know someone who has moved around a lot? How about a full set of cocktail napkins, each featuring a different house?
Add the address or the name of the owners. I can imagine using one of the included BERNINA fonts to do this, or adding it with hand embroidery.
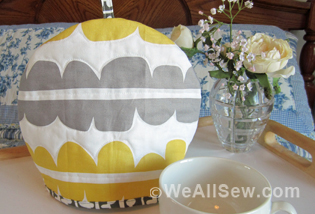
This project easily translates to lots of household items, including placemats, coasters, tea cozies and more. I’d love to hear your ideas. Please share your images and projects in the comments or on the community section on WeAllSew.
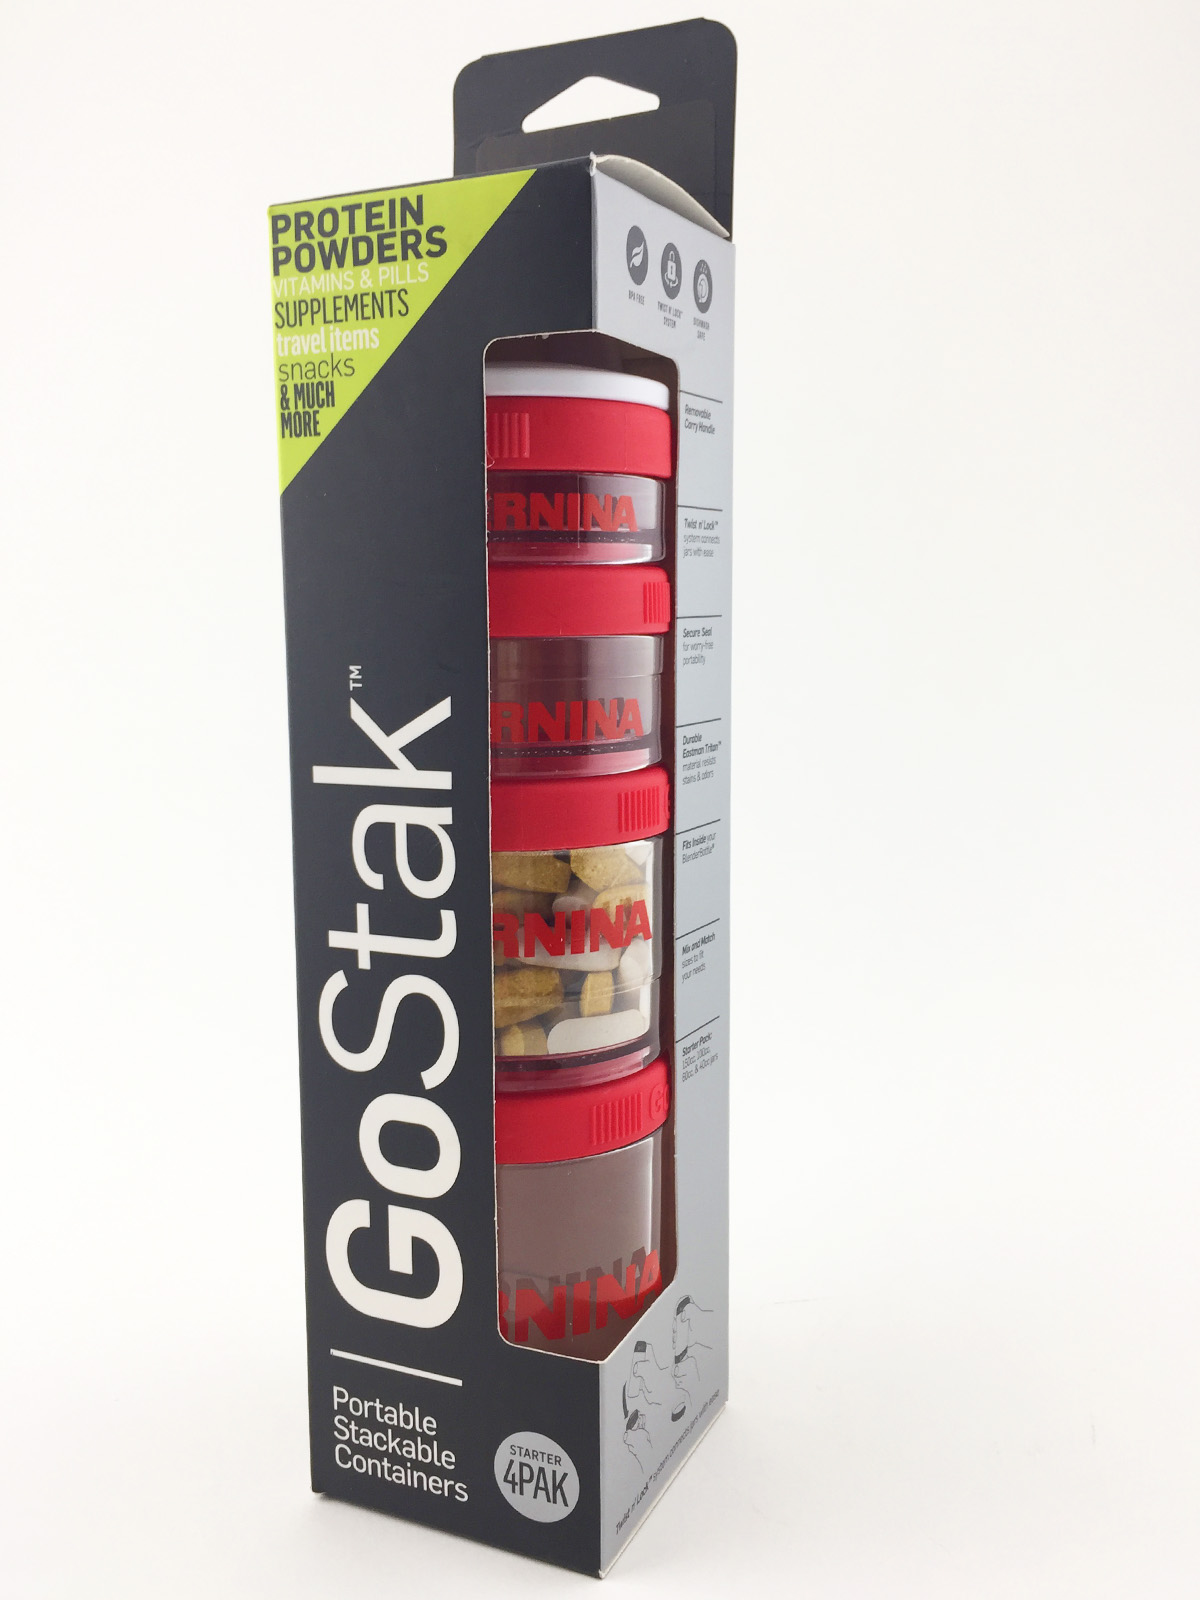
Our December 10 Gift for You
One lucky winner will receive a GoStack; portable, stackable containers to store your little sewing notions or other items to prevent them from getting lost.
All you have to do is post a comment below answering the following question:
What is your favorite holiday music?
A winner will be chosen at random on December 11, 2016 and announced the following week!
Good luck!
The contest is open for comments until December 10 at 12:00 midnight Central Time. Click here for contest rules.
Congratulations to our WeAllSew reader “crazyquilter”, the winner of the December 10 gift. Enjoy!
Used Products


What you might also like


96 comments on “Handmade Housewarming Napkins with the BERNINA Stitch Regulator”
-
-
Silent Night. Calms my spirit.
-
-
I like all Christmas music. It adds so much to the season.
-
Little Drummer Boy
-
I like Christmas music in general but it is so over done it is a bit much.
-
I love to listen to an eclectic mix of classic Christmas i.e. Bing, Elvis, Motown etc. Brings back memories…
-
My all time favorite holiday cd is Peter, Paul and Mary’s “A Holiday Celebration” – timeless!
-
My favorite holiday song is “The Little Drummer Boy”. But my favorite music is the sound of children singing Christmas carols. Nothing finer.
-
Barbra Streisand’s first Christmas album.
-
Love the primitive look of these napkins! Bernina ideas are the best
-
Lovely a plan to use on my bamboo napkins as the music plays
-
-
I love the classics & look forward to caroling every year downtown in my home town of Annapolis,Md!
-
My favorite Christmas carols are the songs that were sung by stars like Bing Crosby.
-
Jingle Bells
-
The old traditional Christmas music is my favorite. I still enjoy listening to artists like Bing Crosby, Nat King Cole, Perry Como, etc. I also love Jimmy Buffet’s Christmas music. Many country singers have great Christmas music also.
-
I love it all, just not starting the day after Thanksgiving!
-
One of my favorites is a soulful hymn, “Mary, did you know,” and always “Joy to the World”.
-
I listen to classic Christmas music this time of year. Dean Martin, Nat King Cole, Perry Como.
-
I love anything sung by the Mormon Tabernacle Choir especially Silent Night.
-
The Little Drummer Boy is my all time favorite. Thanks for the great ideas for gifts.
-
Old School…Bing,Frank,Dean…to name a few
-
Anything by Straight no Chaser
-
I like the Mannheim Steamroller’s Christmas music, esp if I am reading. I also like the classic Christmas songs to sing a long to while sewing.
-
I listen to a Christian radio station that plays 24/7 Christmas music the day after Thanksgiving thru Christmas Day, they play a great variety of traditional to modern Christmas music. I love it all!
-
I love listening to the entire Nutcracker suite music…my dh bought me a CD many years ago and I still love listening to it every holiday season!
-
Anything by Sinatra or Nat King Cole
-
My daughter loves Rudolph the red nosed reindeer song!
-
From my childhood days, the Christmas songs by Gene Autry—-“Here comes Santa Clause”, “Frosty the Snowman”, and Rudolph, the Red-nosed Reindeer”
-
My favorite Christmas songs are the ones sung by Bing Crosby. There’s such a timelessness to his music.
-
The chipmunks!
-
My favorite holiday music are Christmas carols especially Silent Night.
-
My favorite Christmas songs are catchy things like “Rockin’ Around the Christmas Tree.”
-
Feliz Navidad
-
I enjoy the classic Christmas carols and hymns with the organ.
-
Actually an album from Elton John that includes rock, traditional and blues.
-
O Holy Night!
-
I love anything by the Mormon Tabernacle choir.
-
Season’s greetings….A Jersey Boys Christmas!!!
-
Drummer Boy
-
Every Xmas song that plays in the radio this time of year!
-
Angels we have heard on high (especially the GLO-RI-A part)
-
I like Handel’s “Messiah.” Second place is “Mary, did you know?” The lyrics are outstanding!
-
All the old traditional Christmas music but especially Hallelujah. Listen to it over and over.
-
I enjoy listening to Mannheim Steamroller’s and Trans-Siberian Orchestra’s Christmas music.
-
My old favorite Christmas song is I’m Dreaming of a White Christmas.
-
My favorite hymn is Silent Night. It’s old and I love the story about how it evolved when the organ was broken!
-
I especially like Silent Night!
-
My favorite Christmas music is Bing Crosby’s “White Christmas” album. My mom had the record, and I’ve had a cassette tape and now a CD. I play it every year!
-
My favorite Holiday music are Christmas carols including those played by untraditional music groups!
-
“Felis Navidad” I don’t have an ounce of Spanish in me but that is such a happy song it makes me want to sing and dance!
-
I love Away in the Manger. The version I like best is the non-traditional version words byMartin Luther and music by Jonathan Spillman. The one most of us grew up with words by Martin Luther and music by Carl Mueller. Such a simple and true carol. Gives me goosebumps every time I hear and sing it.
-
Love all the projects! My favorite Christmas song is Silent Night, with Oh Little Town of Bethlehem’ and Have Yourself a Merry Little Christmas ‘ close sevonds
-
The Mannheim Steamroller is my favorite music for Christmas.
-
I love O Little Town of Bethlehem
-
My favorite is O Holy Night.
-
Silent Night
-
Oh Holy Night
-
My favorite holiday music is Frank Sinatra’s The Sinatra Christmas Album.
-
James Taylor sings my favorite version of Winter Wonderland.
-
The Tabernacal Choir
-
Carol of the Bells!
-
No doubt, it is Any music from the NutCracker followed by any Peanuts Christmas music!
-
My favorite Christmas album is Charlie Pride’s Christmas In My Home Town. When I hearit, it has wonderful memories from my childhood.
-
Oh, holy night
-
I love O Come All Ye Faithful.
-
Merry Christmas Darling by the Carpenters
-
We Three Kings of Orient Are is my favorite. I sang it solo in grade school. Thank you for the chance to win. Good luck all.
-
Little Drummer Boy
-
Silent Night. Traditional Christmas songs.
-
Winter wonderland by the original artist.
-
Michael Buble’s Christmas album or Carpenter’s Christmas Album
-
What a clever idea – love how you incorporated the embroidery into your design! I enjoy Christmas CDs by Amy Grant and Avalon, and an instrumental – Piano Winterlude. Thanks for the chance to play : )
-
That depends which holiday you are talking about. My favorite Christmas music is the good old fashioned hymns like “Away In a Manger”. My favorite Easter song is “Hear the Bells Ringing”. My favorite Independence Day song is “The Star Spangled Banner”.
-
this would be such a treat!
-
My favorite Christmas albums are from Nat King Cole and the Carpenters.
-
Elvis’ Blue Christmas wins. My family actually hid the CD. The usual crowd (Nat, Bing, Mahalia Jackson) with Nora Jones and Amy Grant. I hid the Burl Ives.
-
There are so many songs I love! OCome O Come Emmanuel has got to be at the top of the list!
Jenny in Florida
-
Oh, I really do love all Christmas music but I would have to say traditional Christmas hymns get to me.
-
I prefer the classic songs of Christmas like White Christmas and Silent Night. I love singing the Hallelujah Chorus!
-
My favorite music is ‘I’m dreaming of a white Christmas!’.
-
I love all the classics, but Christmas is Coming from a Charlie Brown Christmas has been a favorite of mine this year.
-
My favorite as a child was Silent Night, my favorite as an adult is Mary Did You Know. But I love them all!!!
-
My favorite holiday music is The Three Tenors – Pavarotti, Domingo and Carreras.
-
All the traditional holiday music is my favorite. Brings back lovely memories.
-
My favorite song is I Heard the Bells on Christmas Day. It always makes me hopeful for the future.
-
“I wonder as I wander” is a beautiful Carol.
-
Mannheim Steamroller Christmas Favorites are so moving.
-
Oh Holy night would be one of my favorites, but there are so many. The one I like to sing the most is The Angel Gabriel.
-
I love the Carpenters Christmas Albums
-
I love ‘Mary Did You Know?’ It is such a wonderful truth for this season.
-
My favourite Christmas song is Carol of the Bells. Thanks!
-
White Christmas is my favorite Christmas Song. Thanks!
-
This year I am into Trans-Siberian Orchestra music.
-
I favor “White Christmas” even though we don’t get it here in the desert.
-
Anything by Mannheim Steamroller gets the Christmas Spirit going in my home!
-
I love Manheim steamroller. Have all his albums.
Leave a Reply
You must be logged in to post a comment.

Oh Holy Night is my favorite.