Customize Your Embroidery
Have you ever wanted to tweak an embroidery design without the hassle and expense of software packages? One of my favorite features on the new BERNINA 790 PLUS and 880 PLUS (as well as upgrades!) will help you do just that! The new group and ungroup functions will help you edit, adjust, and customize existing embroidery designs so you can stitch them out exactly how you want them. I’ve used them to make small changes to an existing Alison Glass design for a pillow.
Materials for an Embroidered Pillow
- Fat quarter of background fabric
- OESD Ultra Clean & Tear (tear away stabilizer)
- 505 Spray Adhesive (or your favorite spray baste)
- Coordinating thread
- Alison Glass’s Seventy-Six embroidery collection
- BERNINA Embroidery foot #26
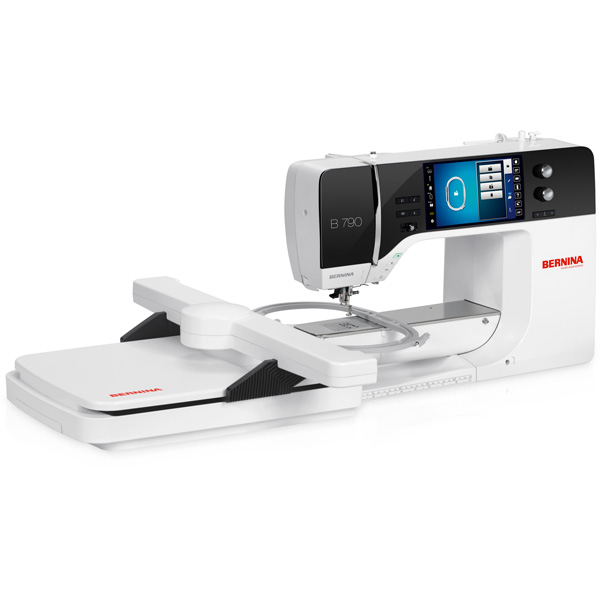
- BERNINA 790 PLUS (or BERNINA 790 with the BERNINA Upgrade Pack)
Instructions to Embroider the Pillow
Step 1: Load the design
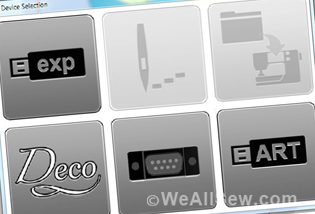
Save your embroidery design to a USB drive in the preferred format. Locate the drive on your machine and open up the design.
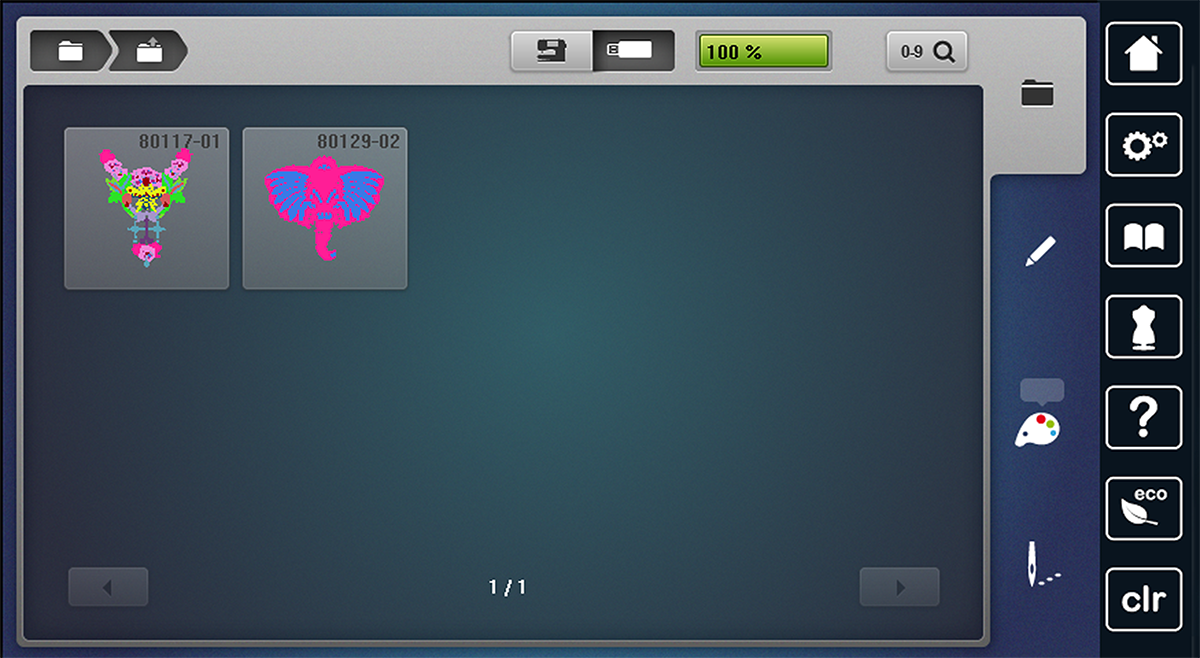
Fun fact: BERNINA machines historically have only been able to run .exp files. While this is still the preferred format, the B 790 Plus, the B 880 Plus, and upgraded machines will now be able to read a wide variety of formats!
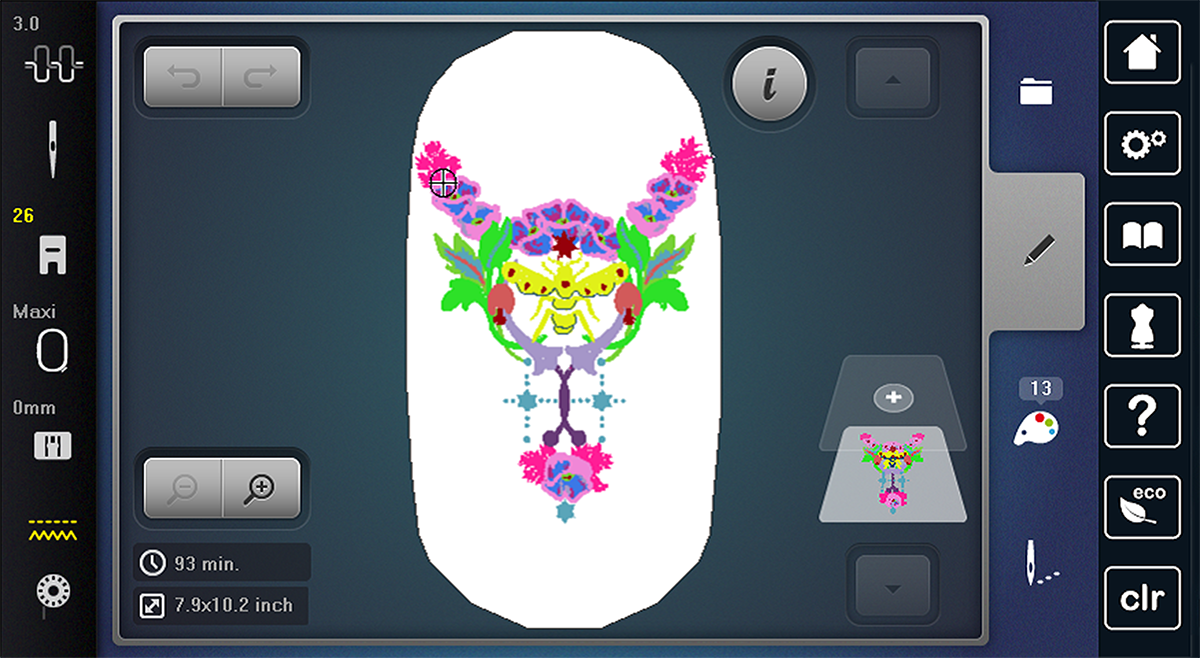
Step 2: Ungroup
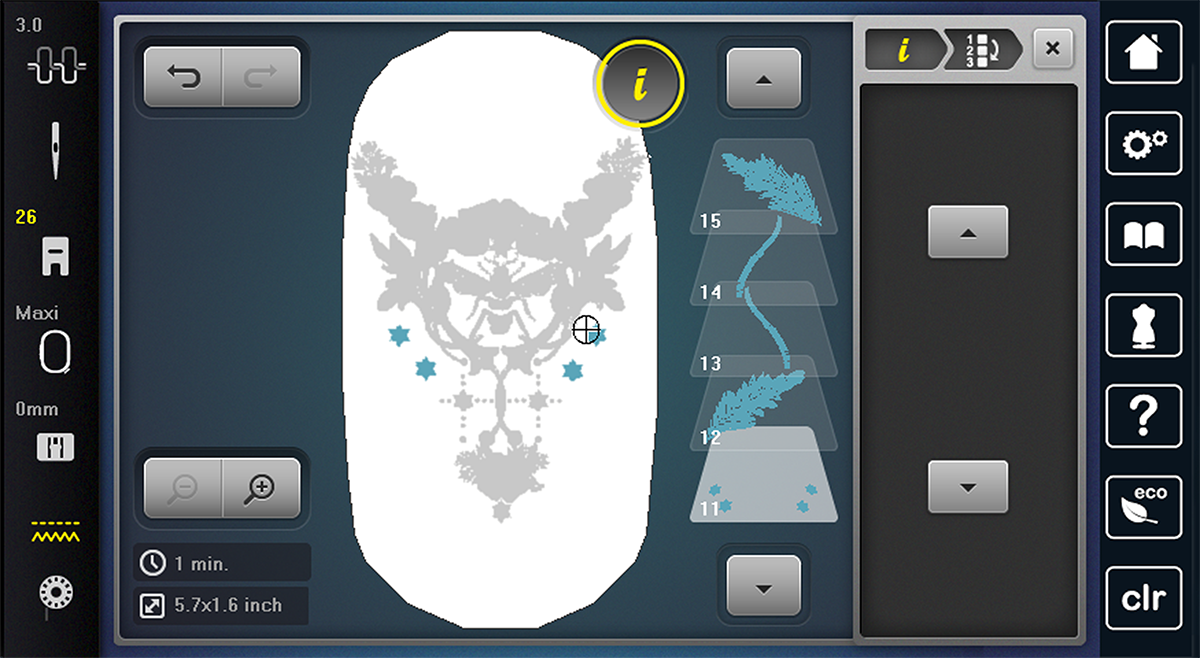
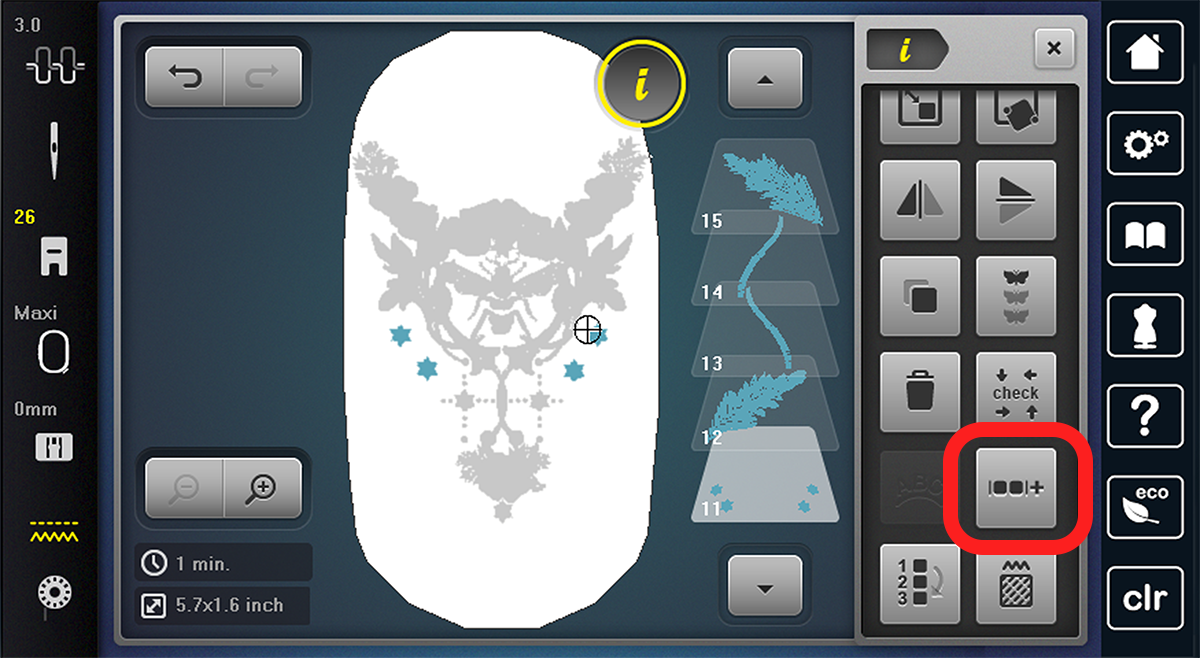
Select the Info icon, scroll down to the new “Group/Ungroup” function, and select it.
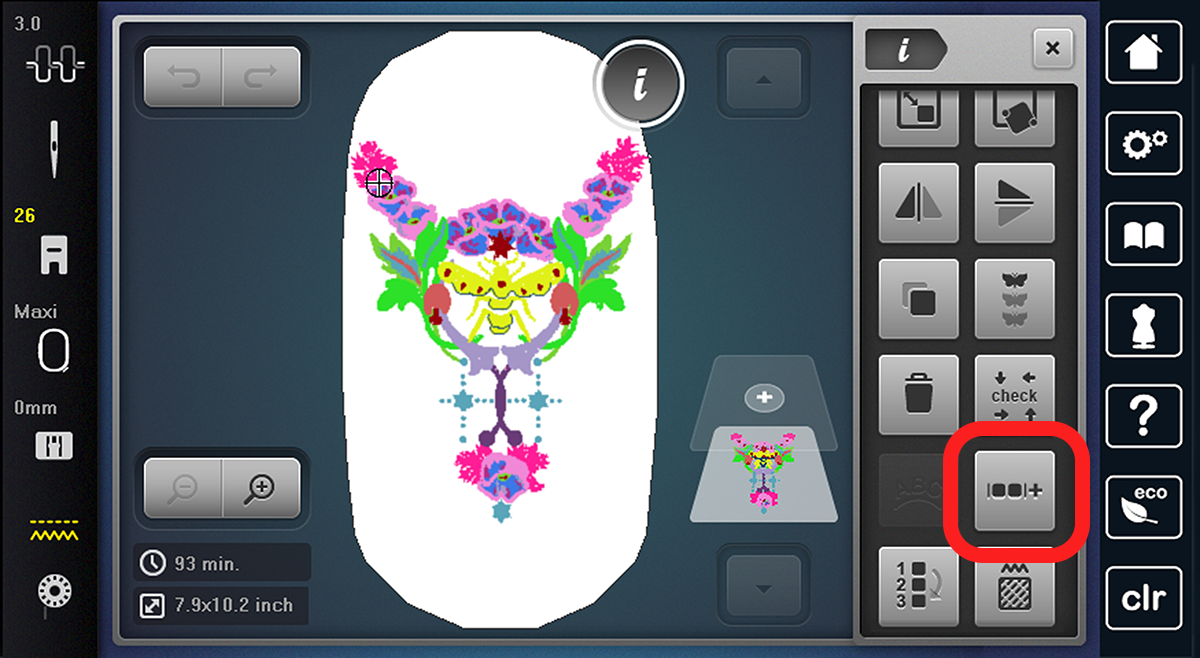
Select the Ungroup button. Note: since the design opens up already “flattened”, ungrouping is the only option available here.
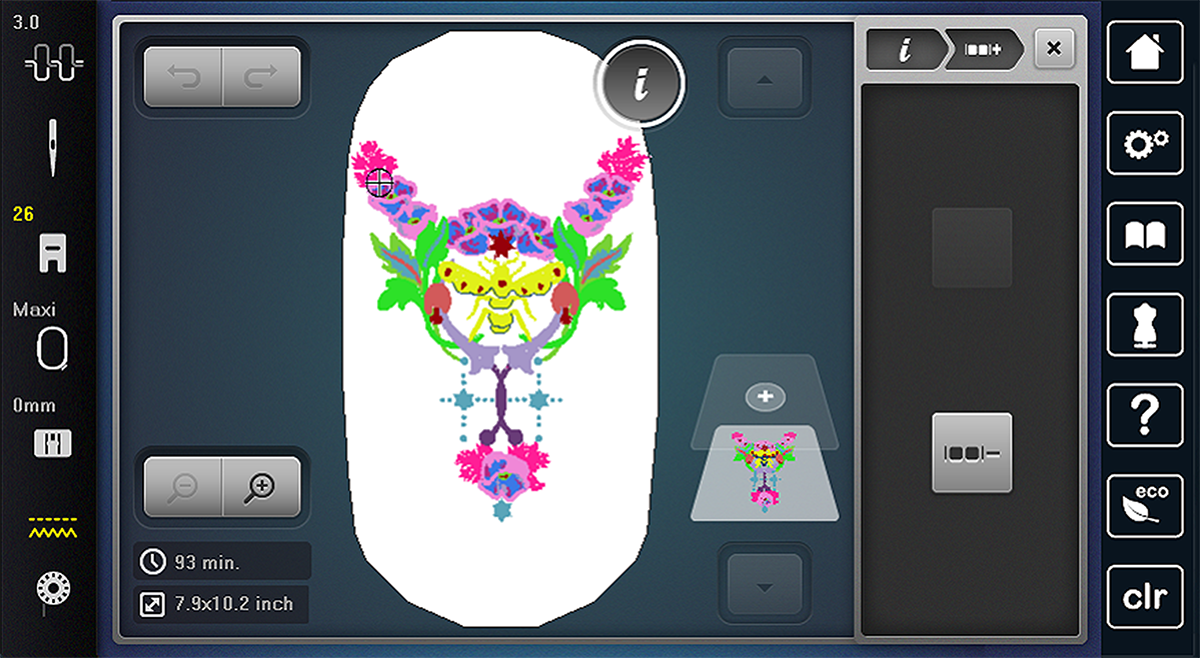
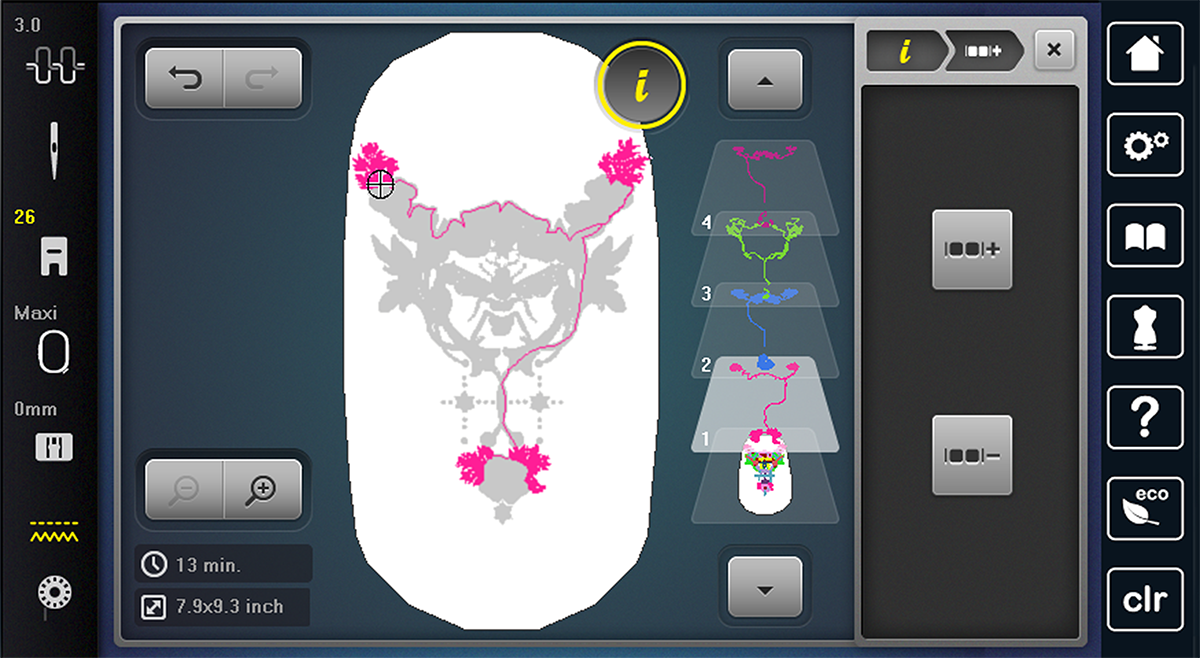
You’ll see your design split into separate layers by color.
Step 3: Isolate
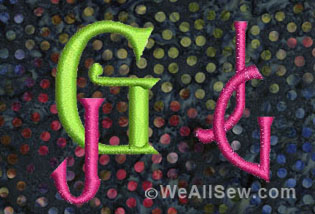
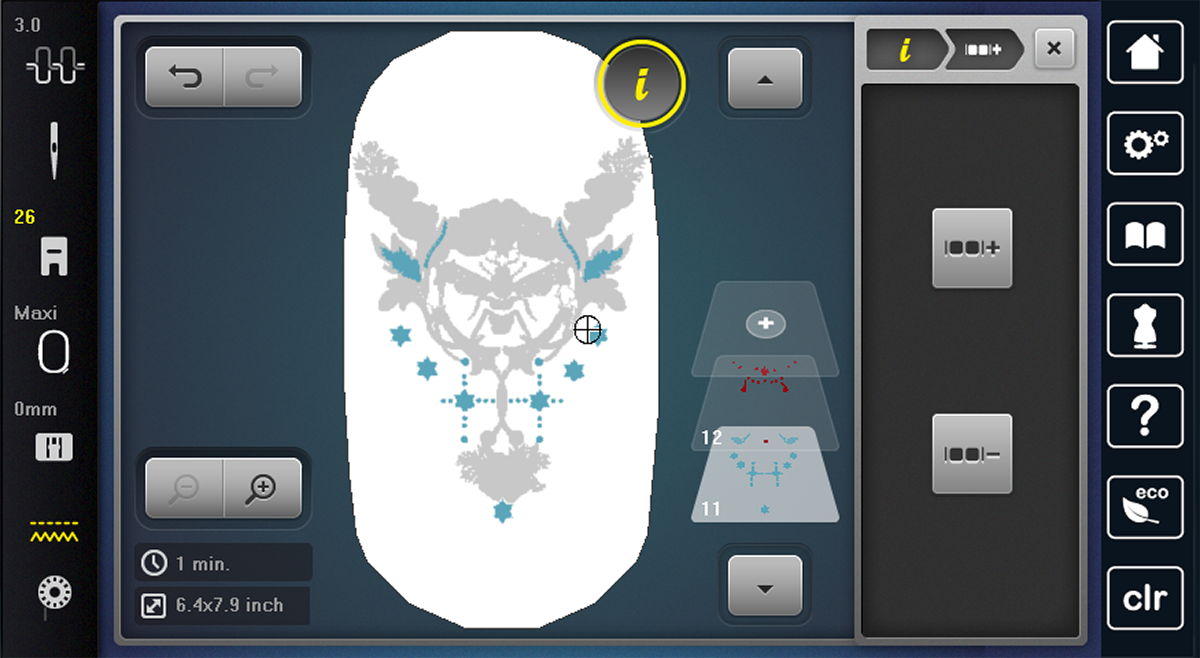
Locate the layer that contains the design element you want to change. For our pillow, I want to add more of these little six-point stars so I need to head up to layer 11. Ungroup this layer again to break out each of the elements included in the layer.
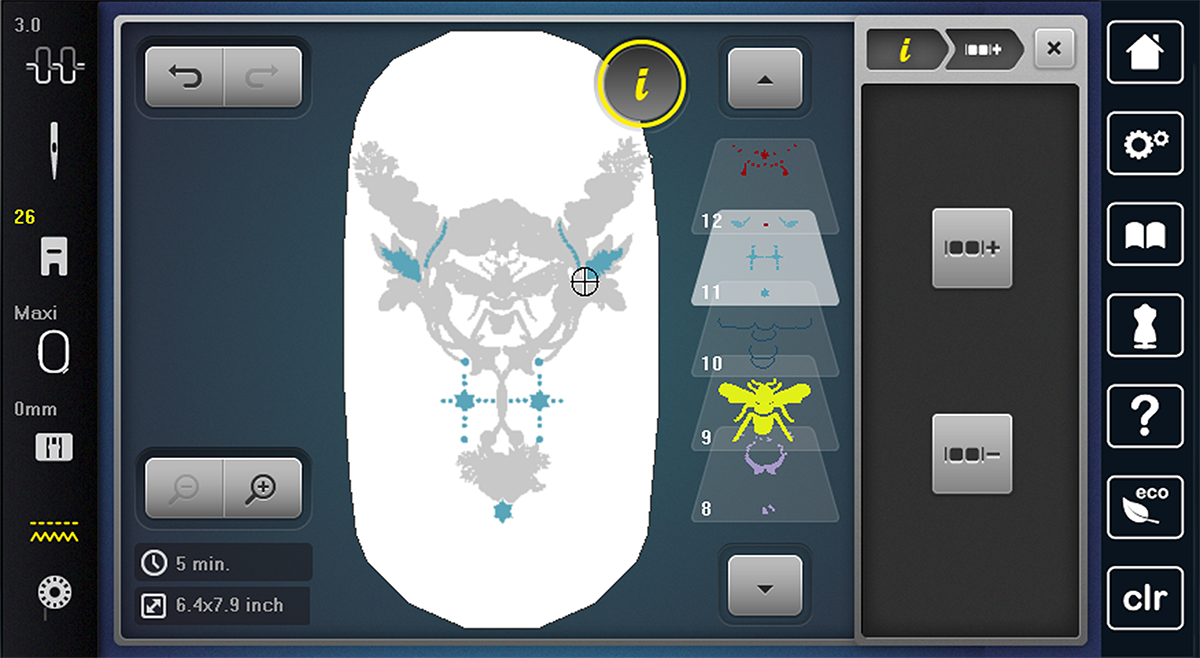
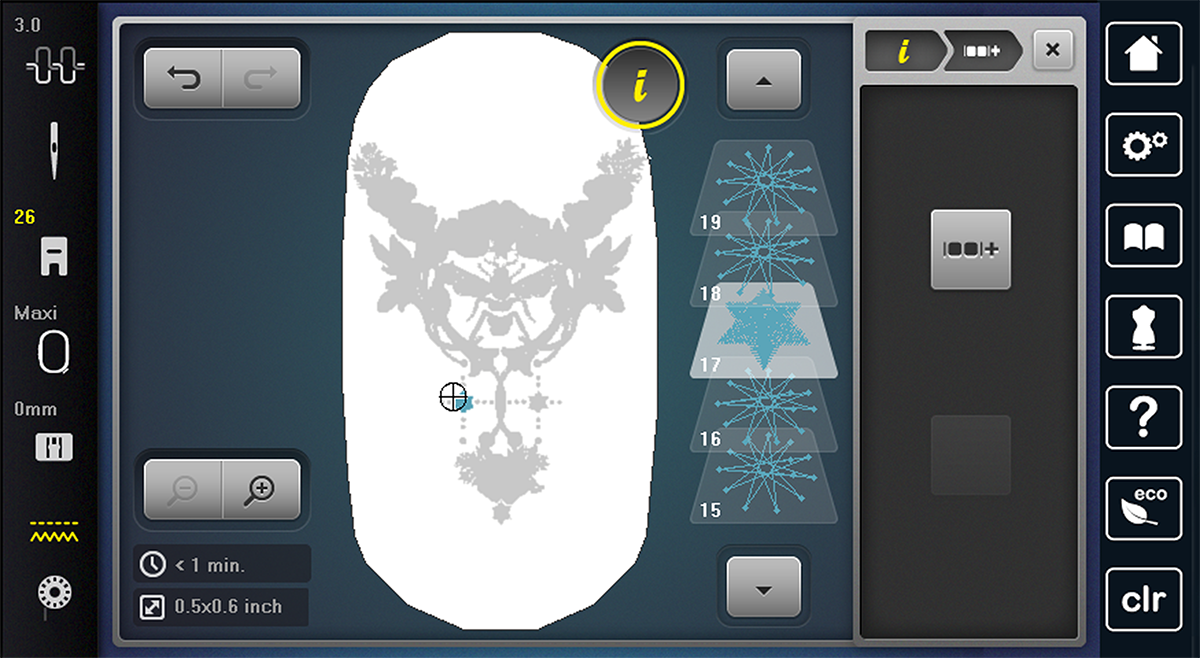
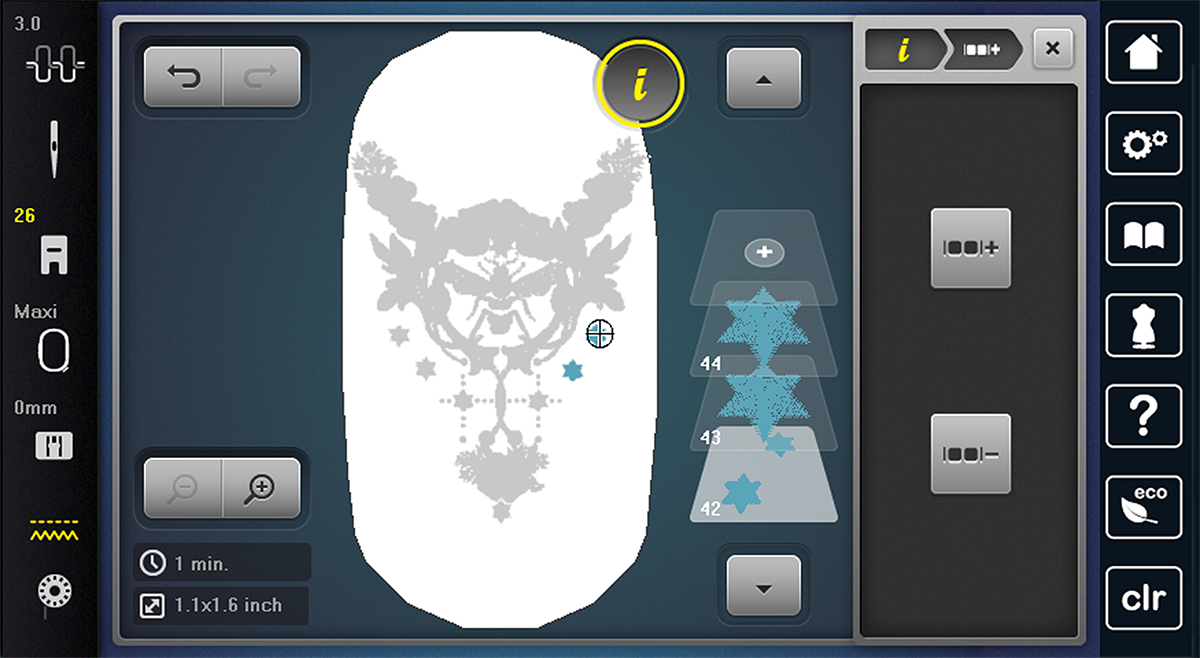
The star I want to duplicate is here at layer 17. Select this layer.
Step 4: Duplicate
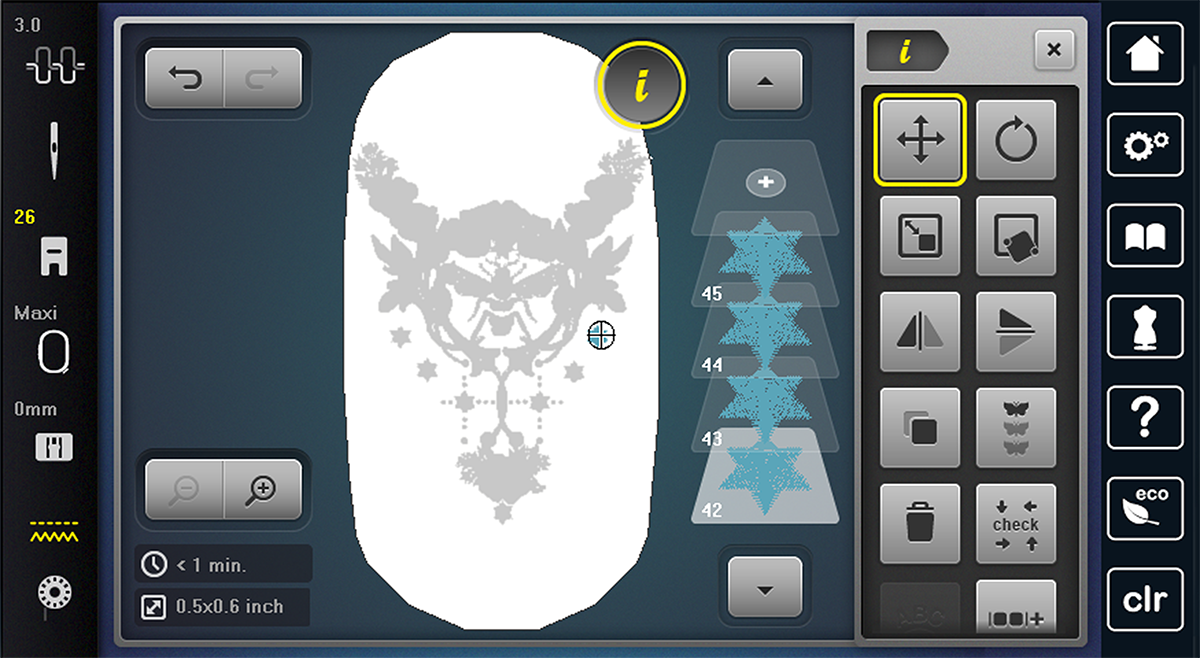
I want to add four of these six-point stars to my design. To do this, go back to the main Info screen and hit the Duplicate button four times.


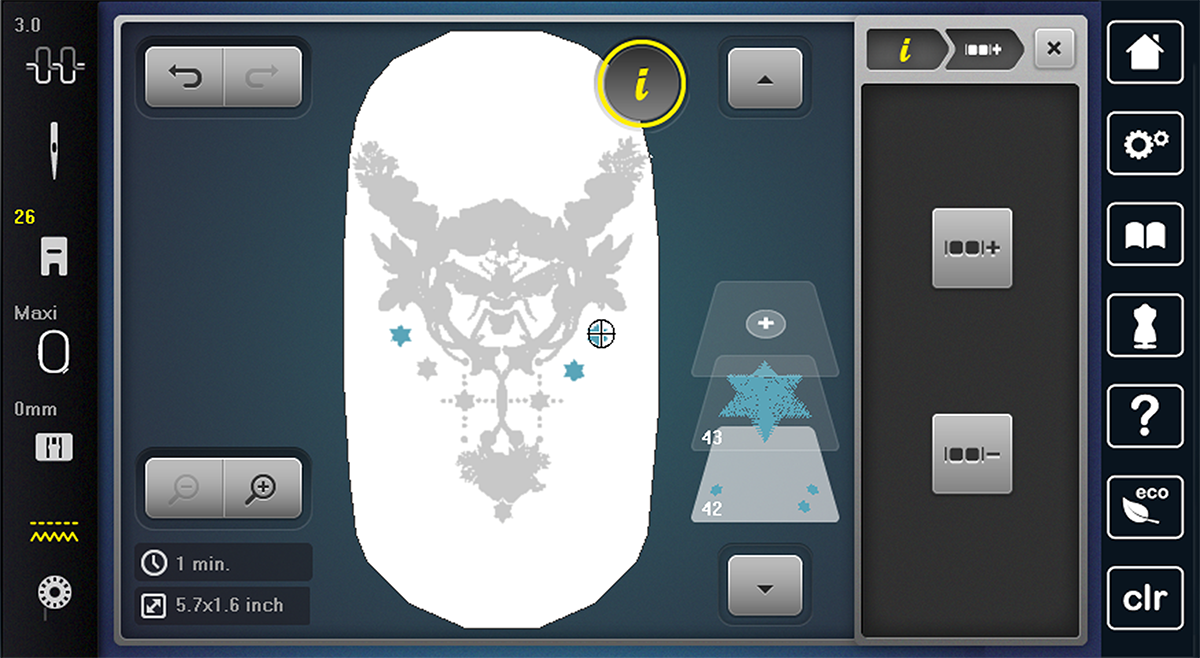
Step 5: Reposition
Select each of these stars individually and drag them into the spot you’d like them in the design.
Step 6: Regroup
For ease of stitching out, regroup these newly added motifs back to how they were originally layered in the file. To do this, head back to the Info screen, and select the Group/Ungroup button again.
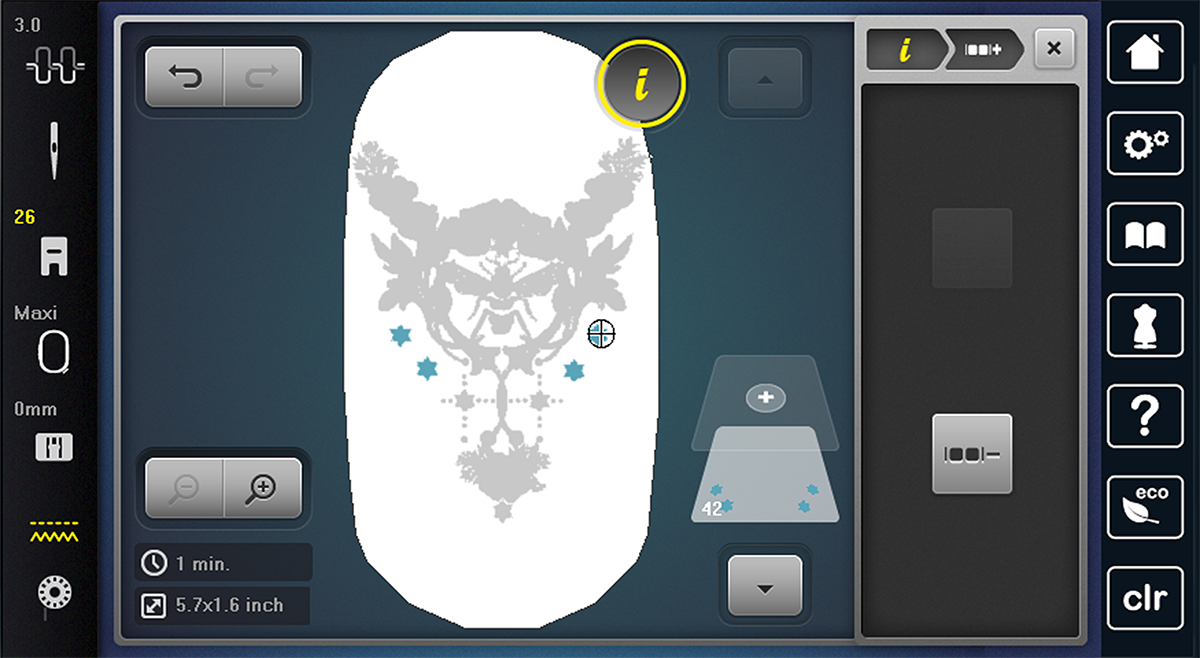
The Group button will group your layers working from the bottom up. Select the lowest layer of these new motifs and continue clicking the Group button until they are all in one group.
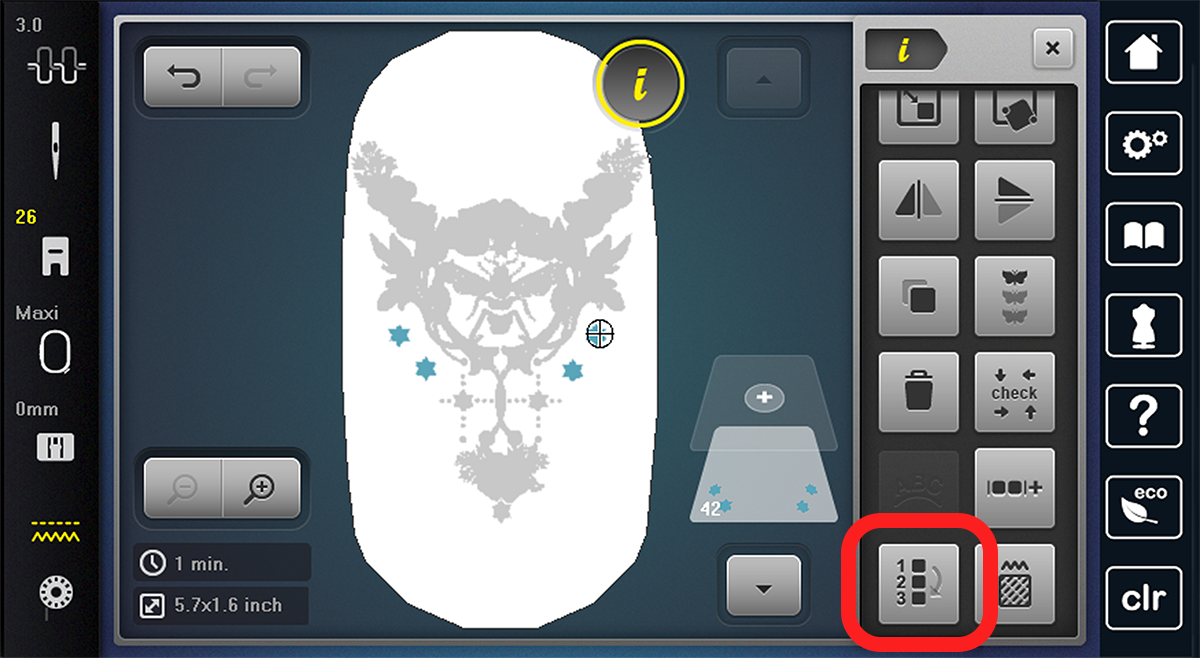
Step 7: Rearrange
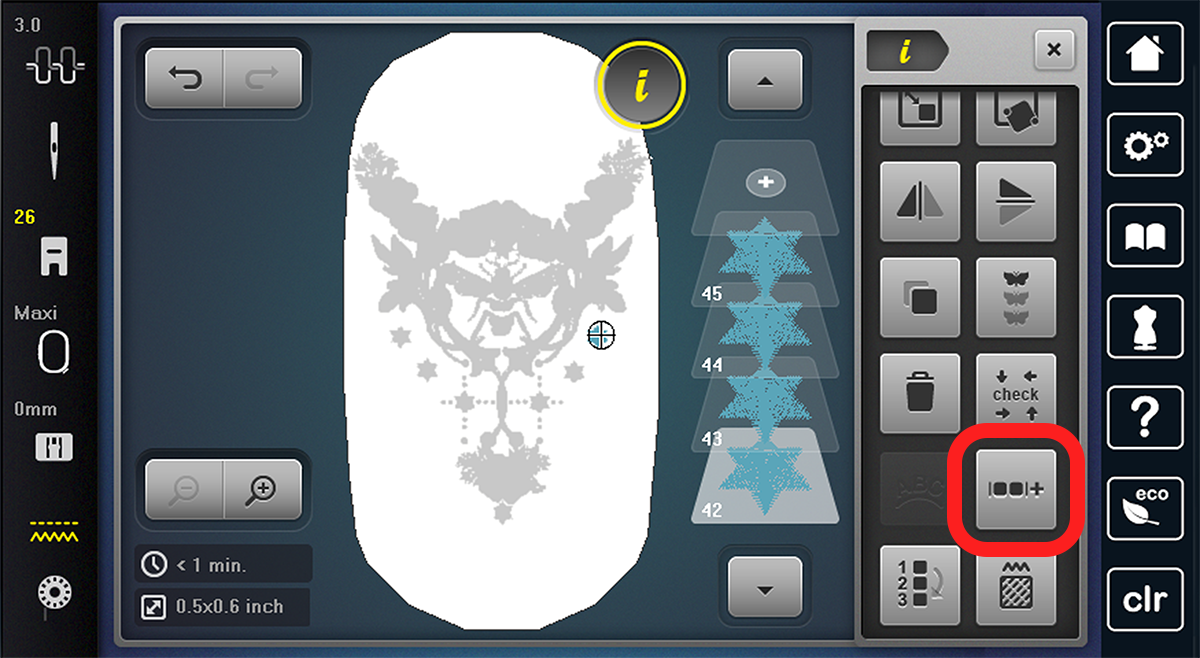
Now that these new motifs are in their own group, we want to join them back up with the other objects that are the same color in this embroidery file. Head back to the main Info screen and select the Rearrange icon.
Click the down arrow to move this layer down until you reach the other elements of the same color. To keep regrouping simple, I’m going to put this new layer at the bottom of the blue layers.
Step 8: Regroup
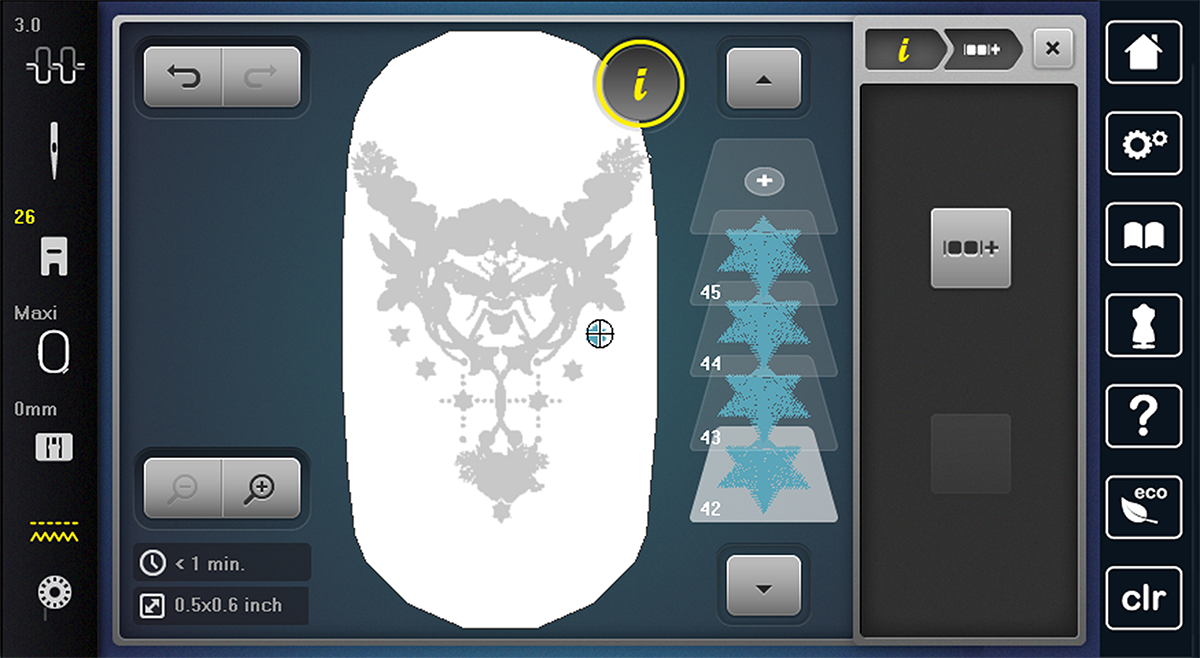
Now we’ll group all the blue layers back together. Again, heading back to the Info screen, select the Group/Ungroup icon.
Still with this layer 11 selected, continue to click the Group button until all the blues are in one layer together. Don’t worry if you go too far—you can always hit the Undo button!
Move down to the bottom layer of the file and repeat this process to regroup the entire design back together.
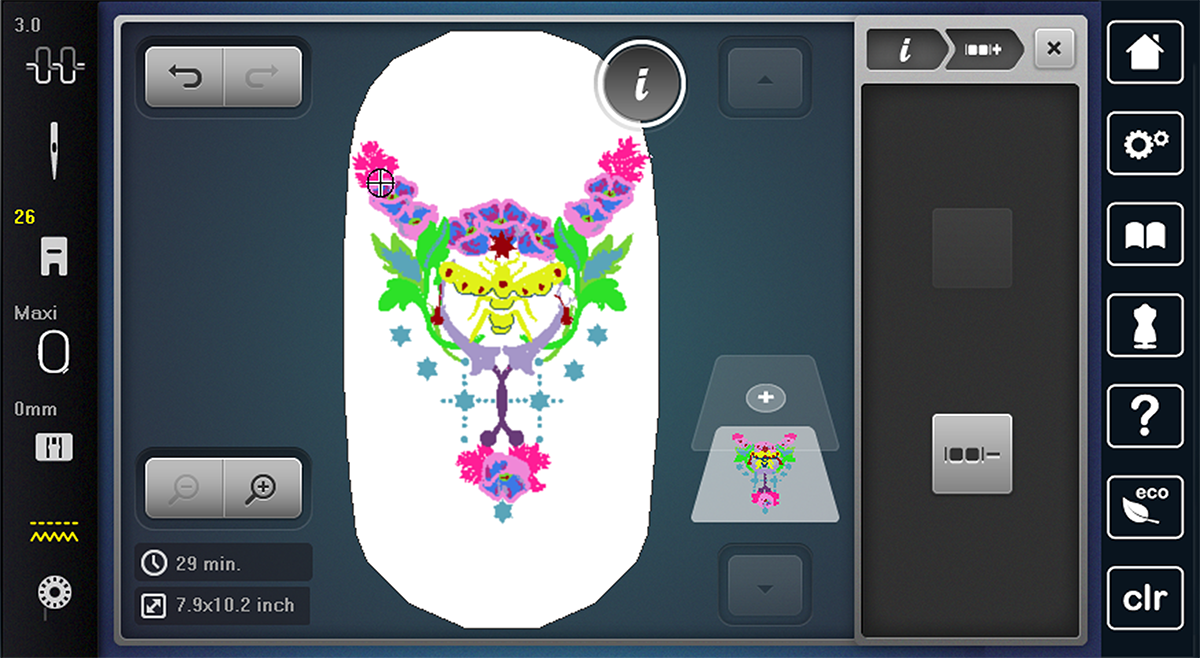
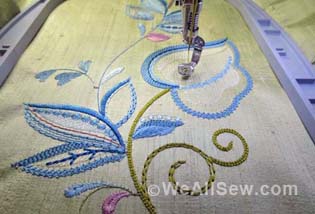
Step 9: Stitch it out
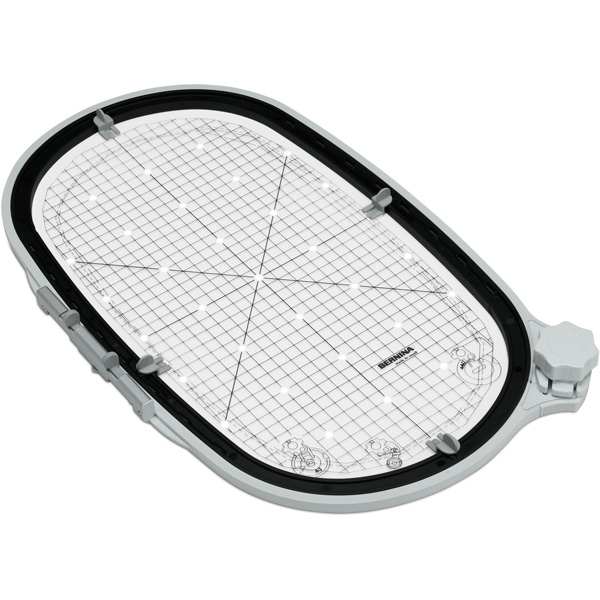
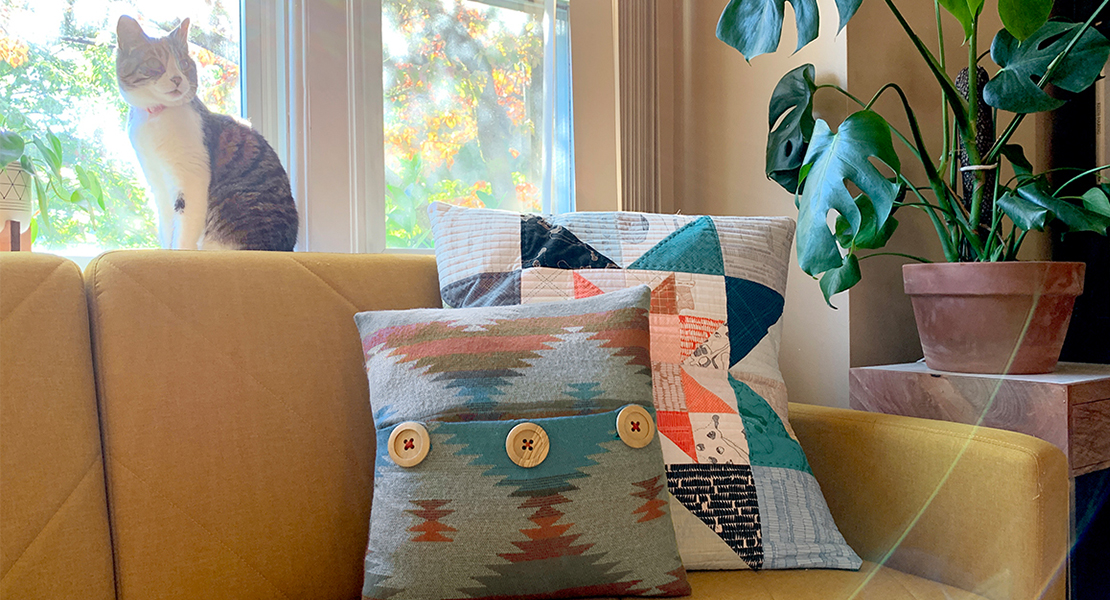
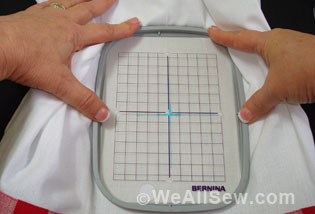
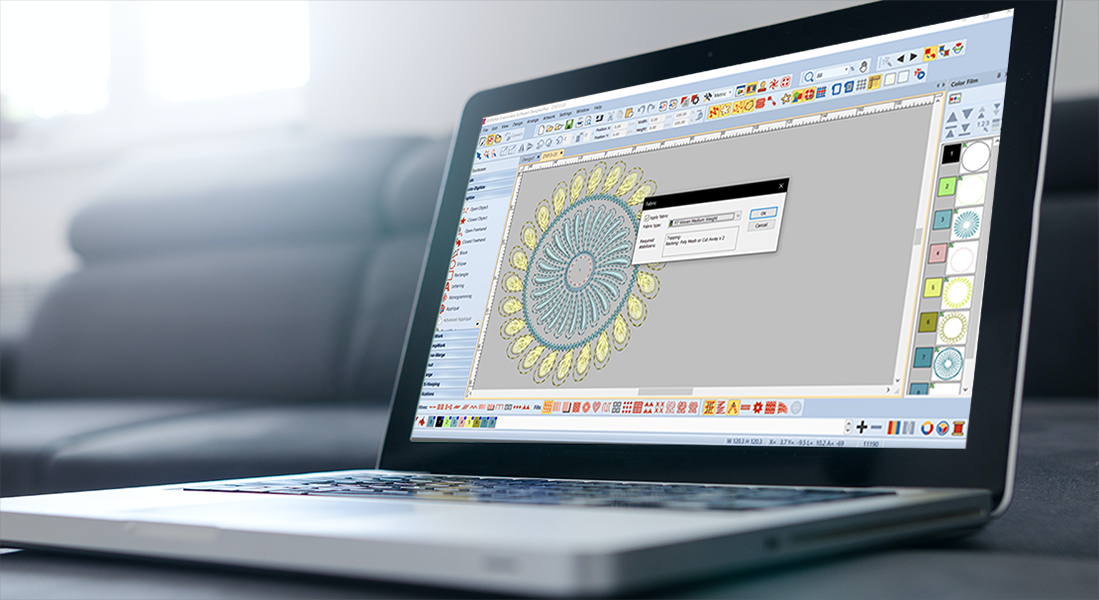
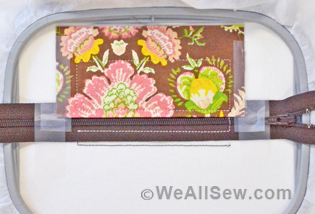
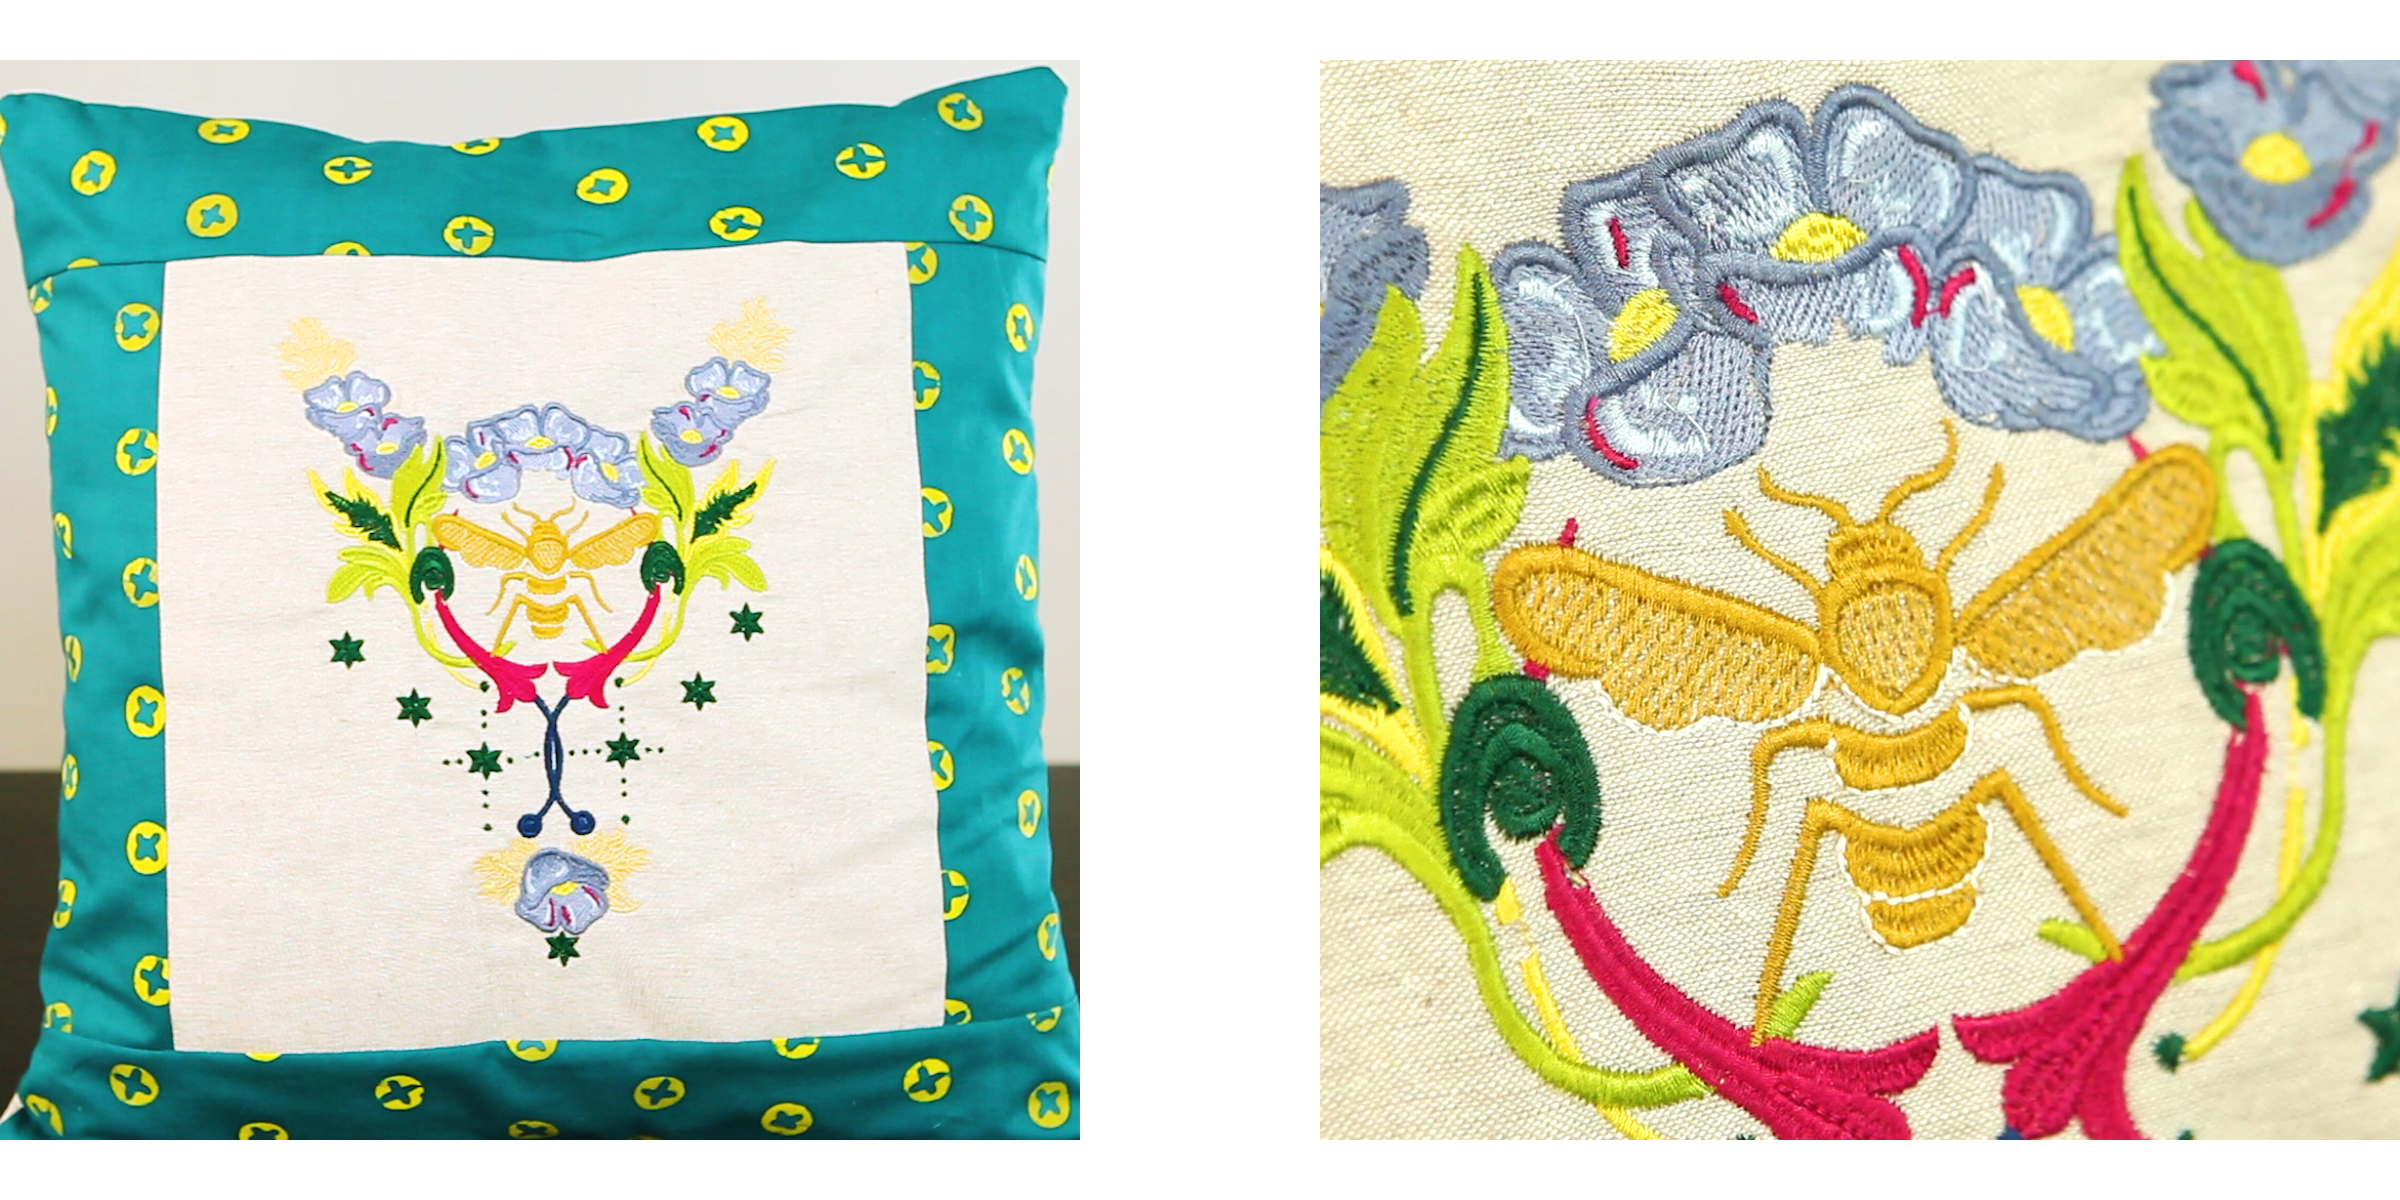
Use spray adhesive to apply Ultra Clean & Tear stabilizer to the back of your fabric, hoop it up, and stitch it out on the machine. I’ve finished my design into a simple throw pillow but tote bags, wall hangings, and even quilt blocks are always possibilities!