Denim Needle Punch Tutorial
I’ve been playing with the BERNINA Punch Tool and needed some out-of-the-box inspiration. While cruising the internet I came upon a video showing denim needle punch. This project was different, though. No other fabric or yarn was added for the punching…the threads were just punched from the back side of the denim to the front side. The fibers on the back side of the denim were pushed to the front creating a distressed look on the front.
I knew I could do that! I tried creating some free-form circles and that did NOT go well. But then I spied my BERNINA Circular Attachment. Light bulb moment – PERFECT circles! Let me show you how fun and easy it is to add this unique texture to your denim using the BERNINA Punch Tool #45 and the Circular Embroidery Attachment #83.
Materials for Denim Needle Punch
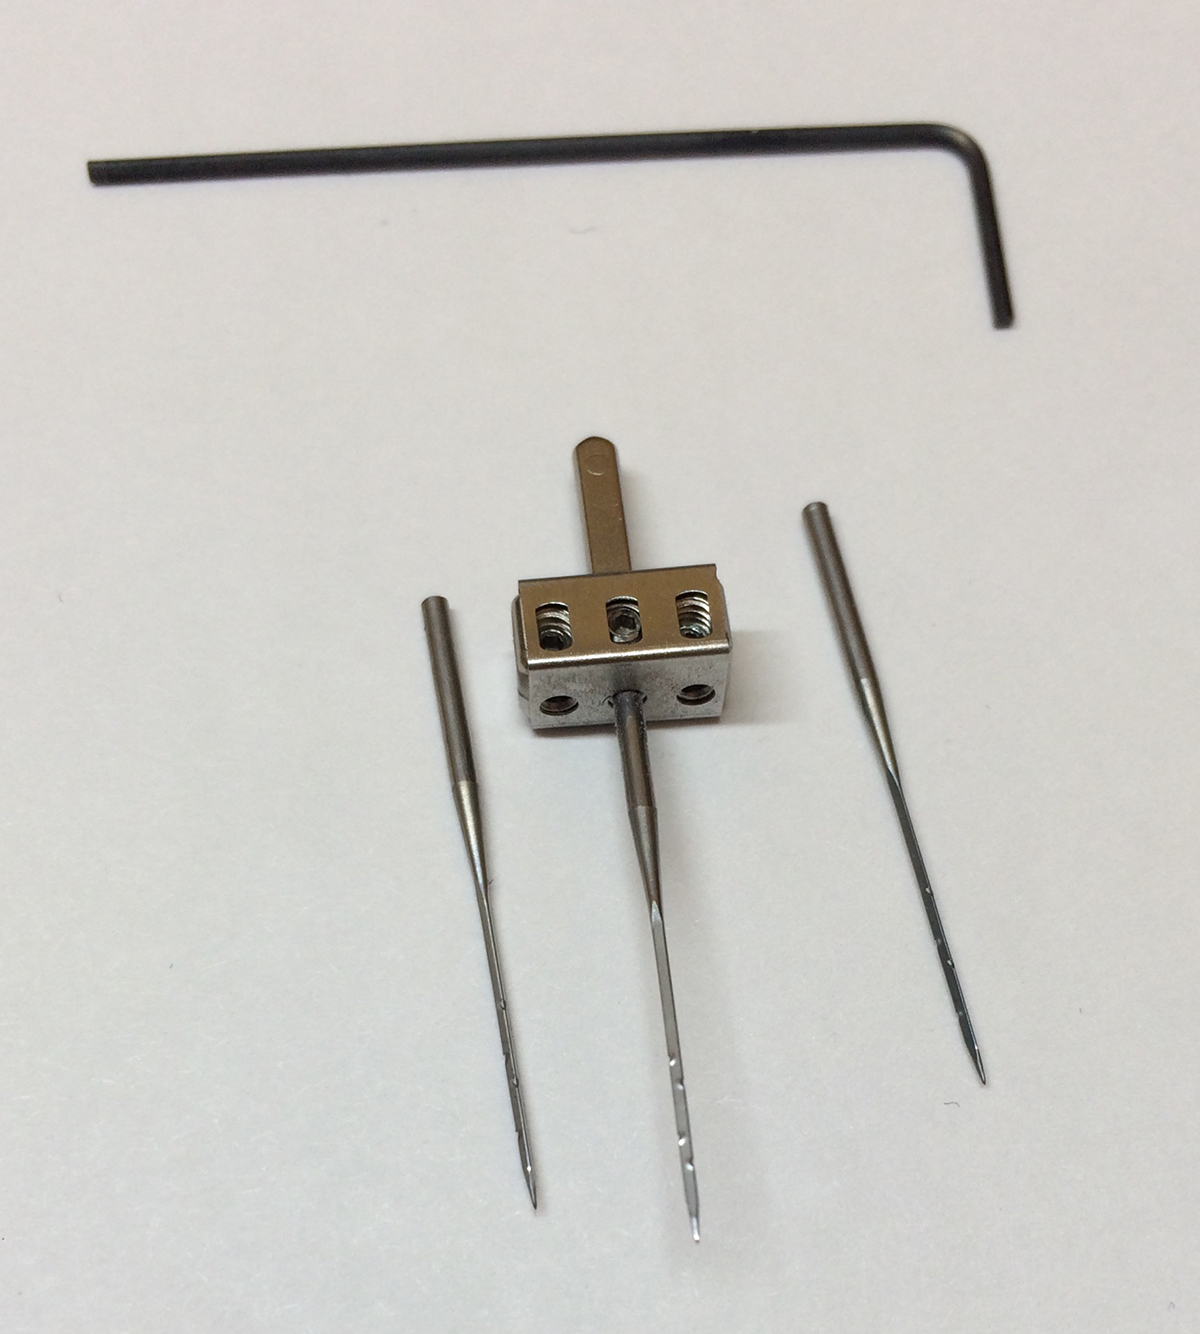
- Needle Punch Set #45
- Needle Punch Stitch Plate (specific to your machine)
- Circular Embroidery Attachment #83
- BERNINA 880 PLUS or other BERNINA Sewing Machine
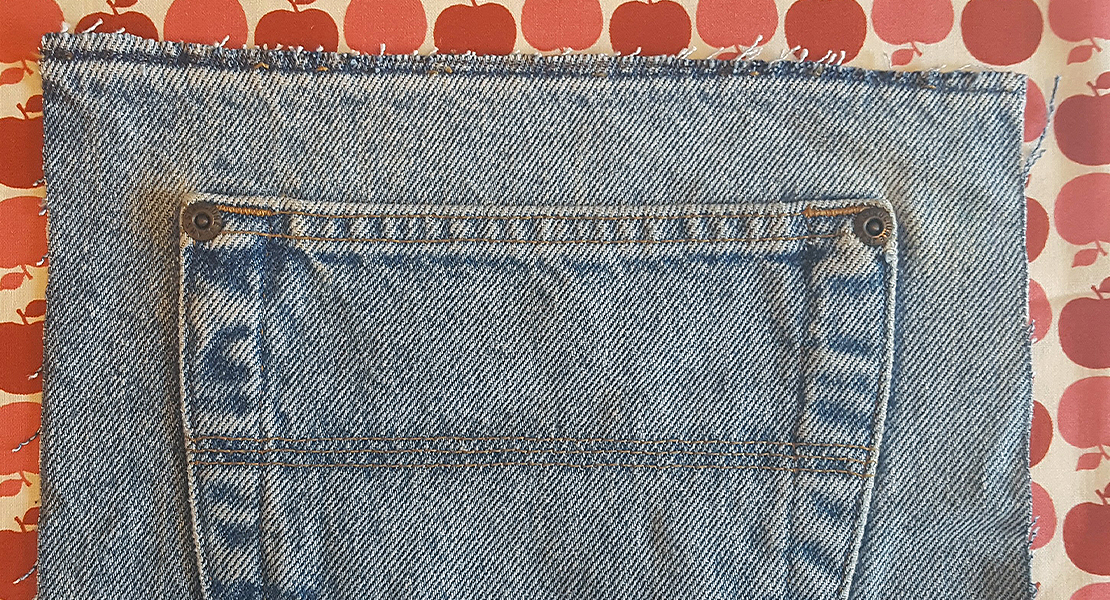
- Denim fabric (choose a denim material that is darker on one side)
Time to play:
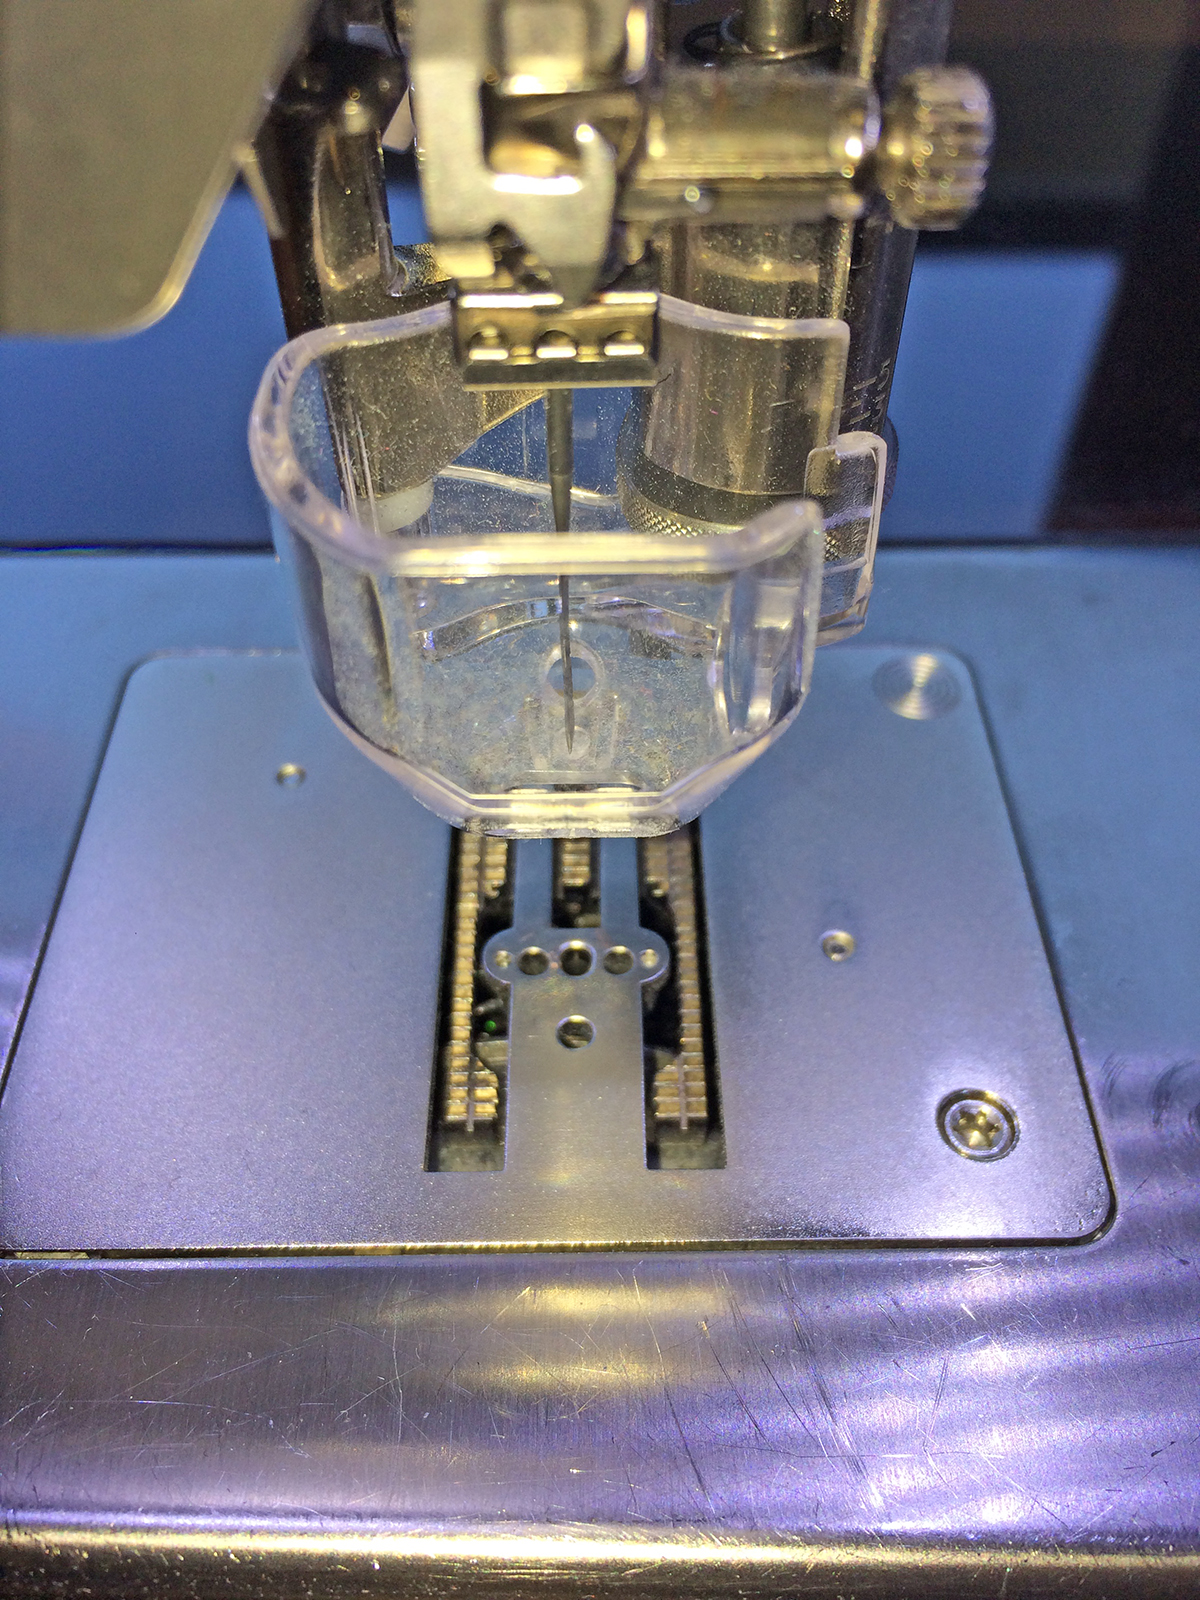
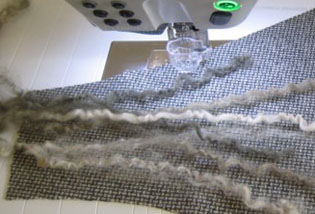
1. There are two different sizes of punch needles for Needle Punch Set #45. I did well with the long needle, but try either one. Remove the far left and far right needles, leaving only the center one in place. Be sure to tighten the little screws so they do not vibrate out.
2. Set up your BERNINA machine for needle punch. Use the security features to select the proper needle, foot and stitch plate. Lower the feed dog. On my B 880 PLUS, the feed dogs are automatically lowered when I select the #45 foot or the Punch Needle Plate.
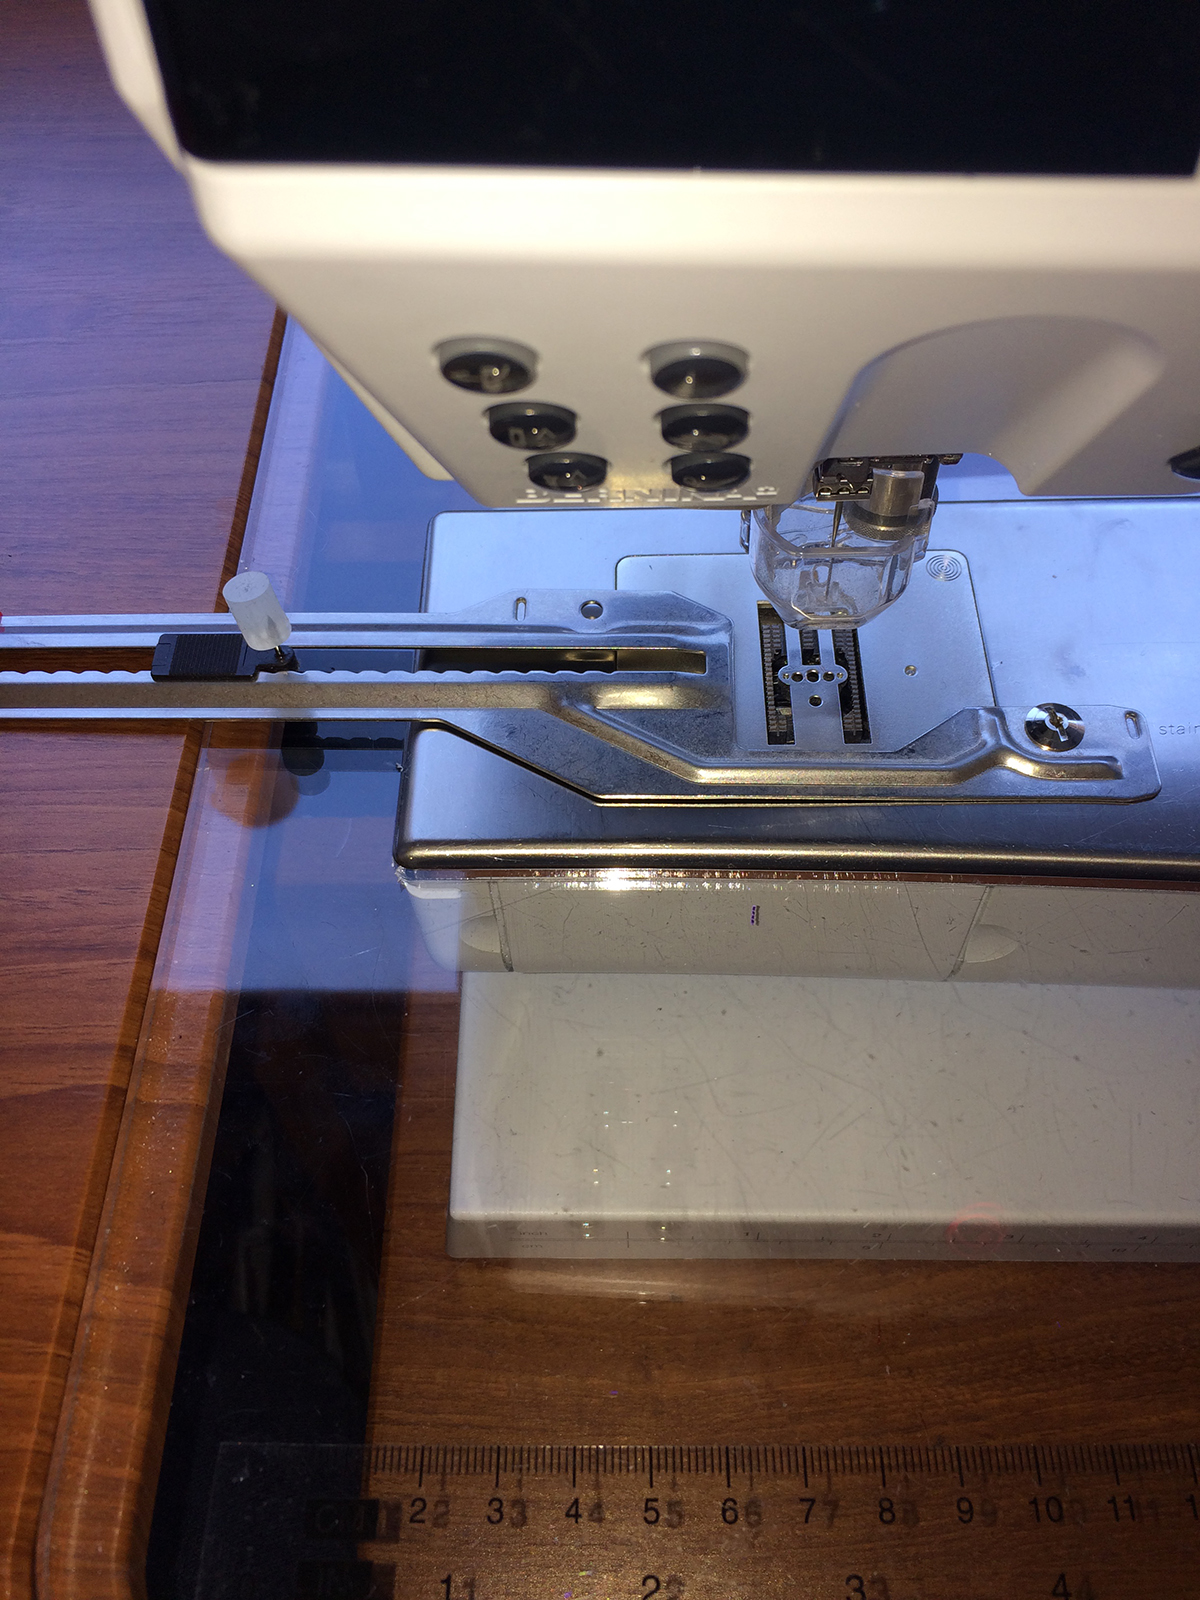
3. Now attach the Circular Embroidery Attachment #83 to your machine. You want to have the slider on the left side of the needle.
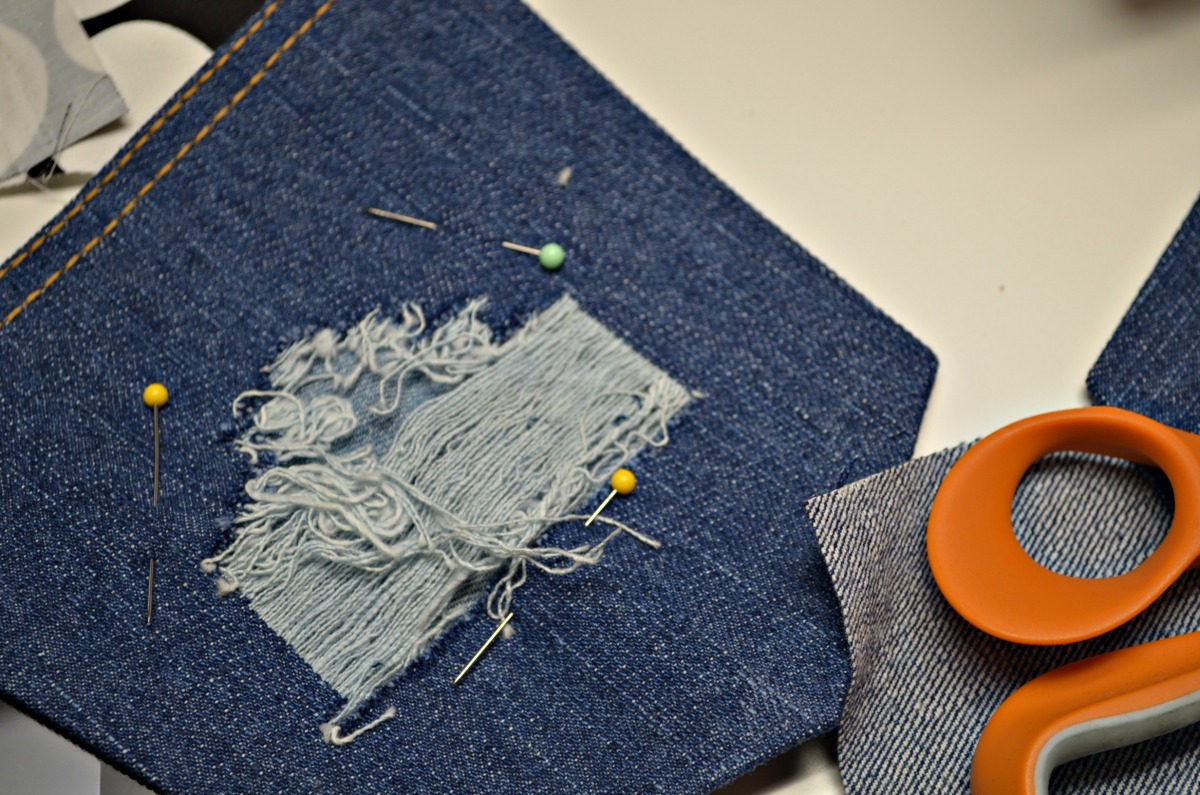
4. Press the denim and cut some squares to try out different techniques.
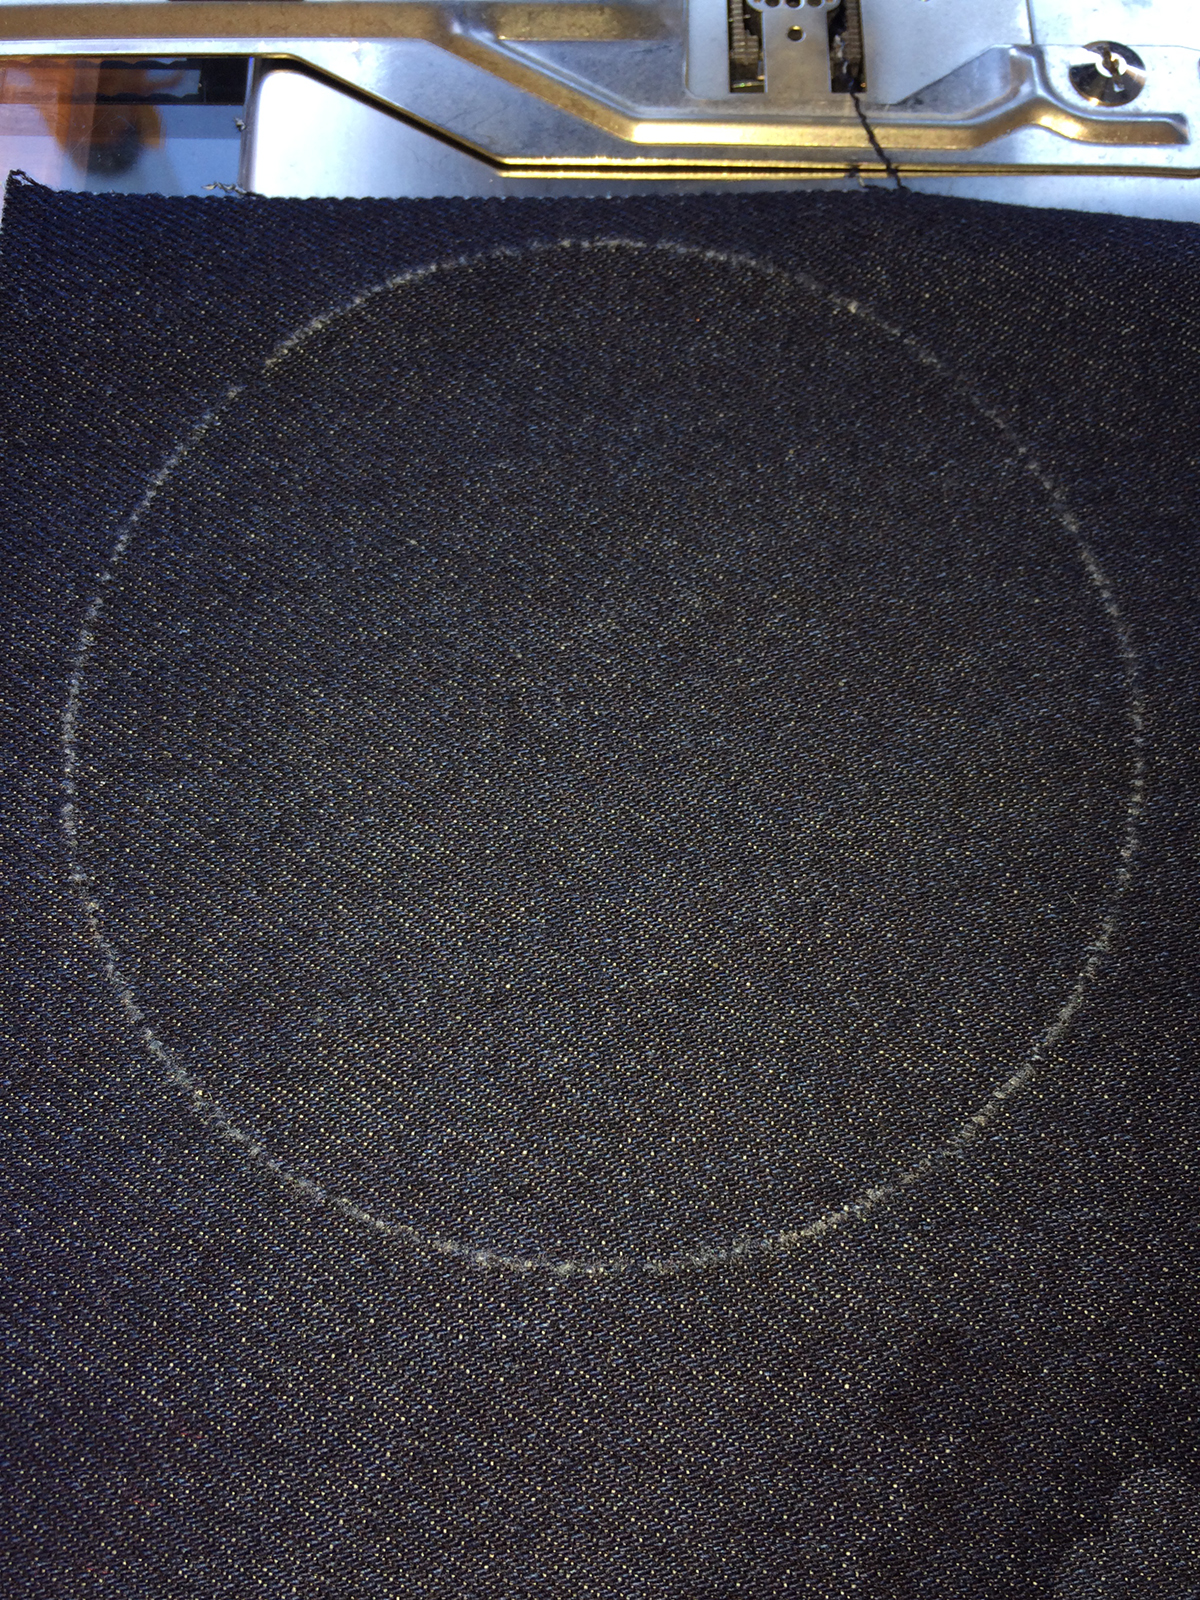
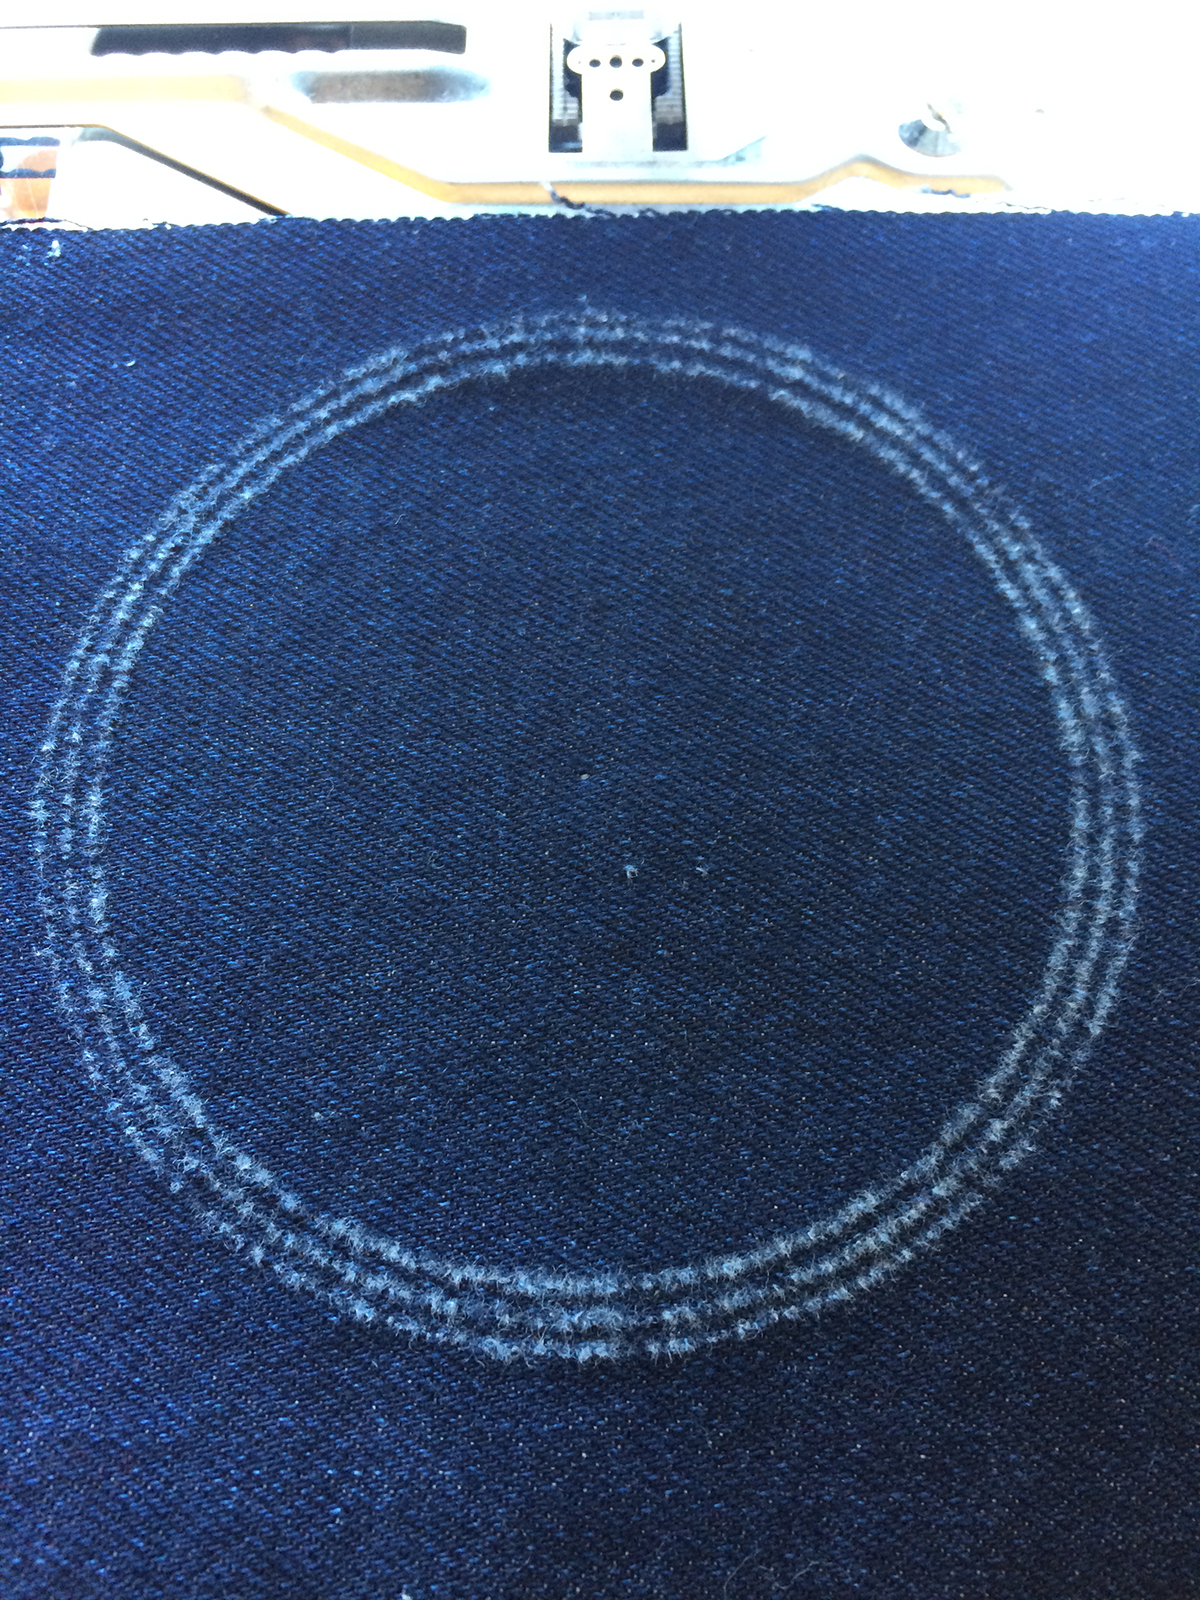
5. Place your denim on the Circular Embroidery Attachment with WRONG side up. Set the slider to the size circle you want, and go! Because the feed dog is down, you will need to manually guide the fabric around. I used the Start/Stop button instead of the Foot Control and guided the fabric around at a moderate speed. My Slide Speed Control was at about ¾ speed. I also went around twice. Experiment here…maybe you want it punched more. If so, then go around again!

6. Remove the fabric from the machine and take a peek at the front. Don’t you love it?
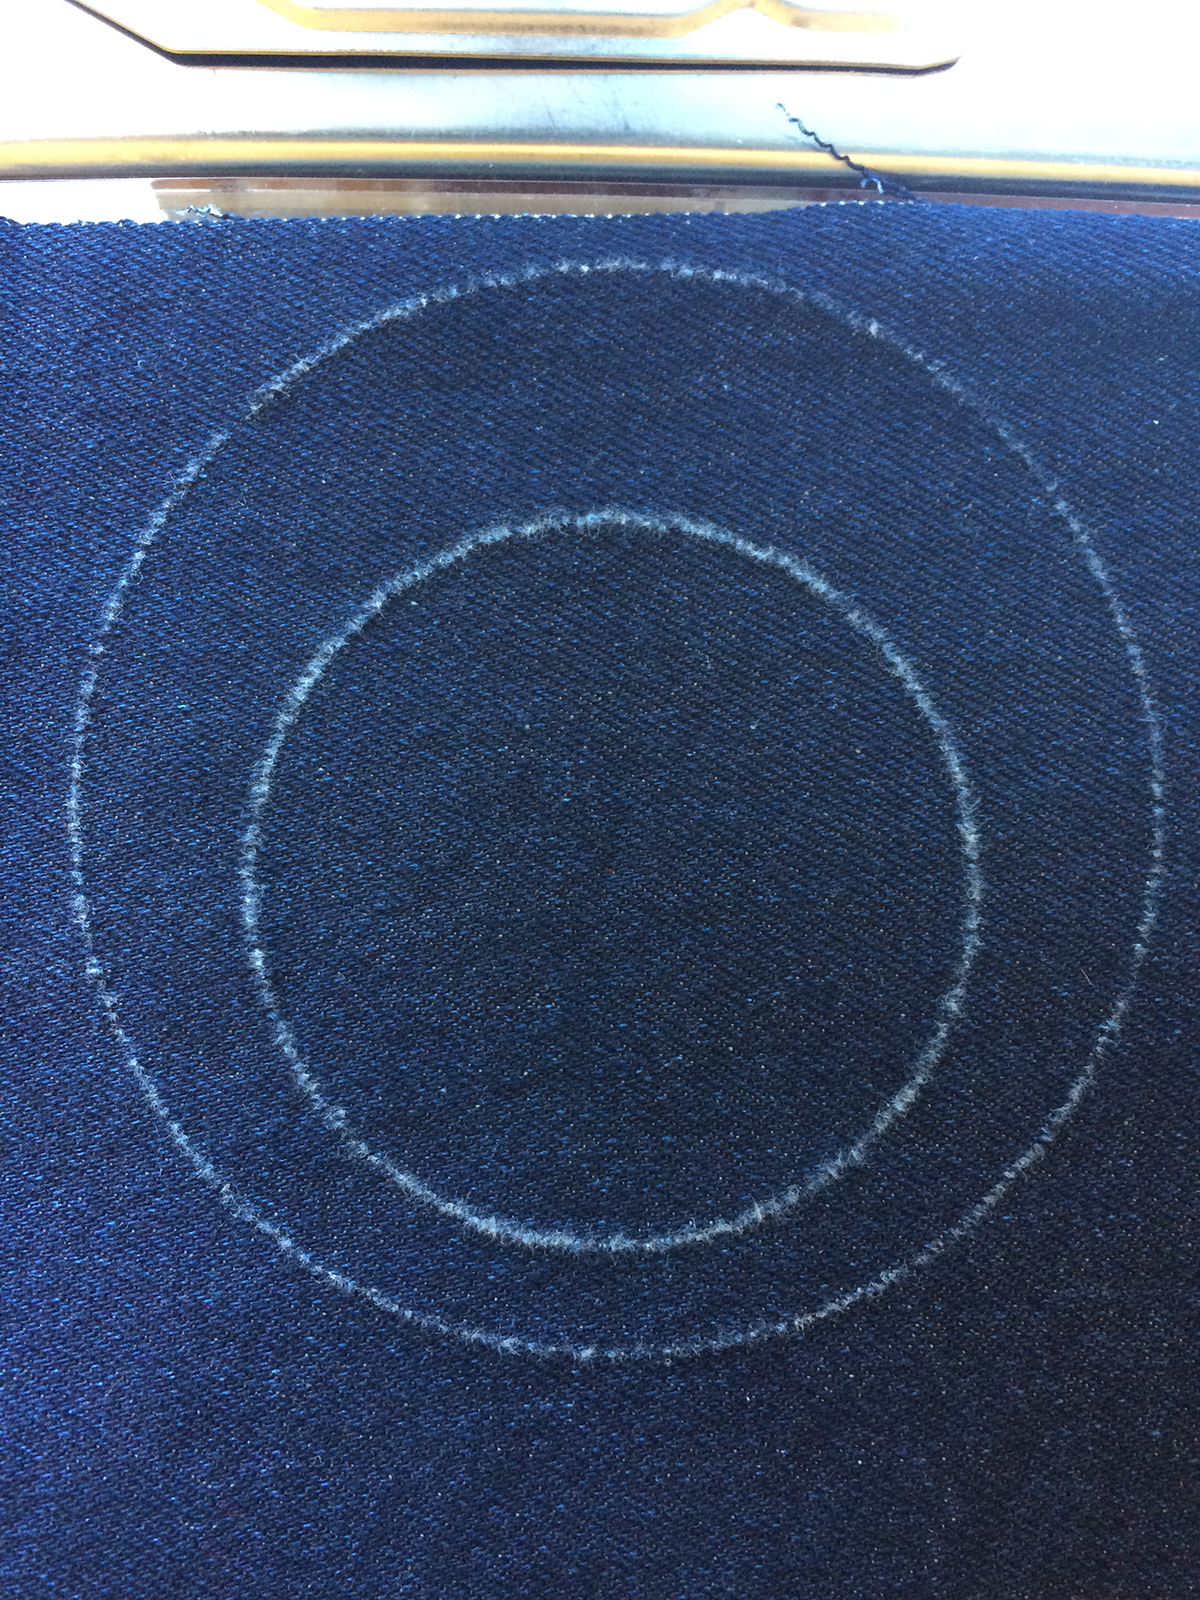
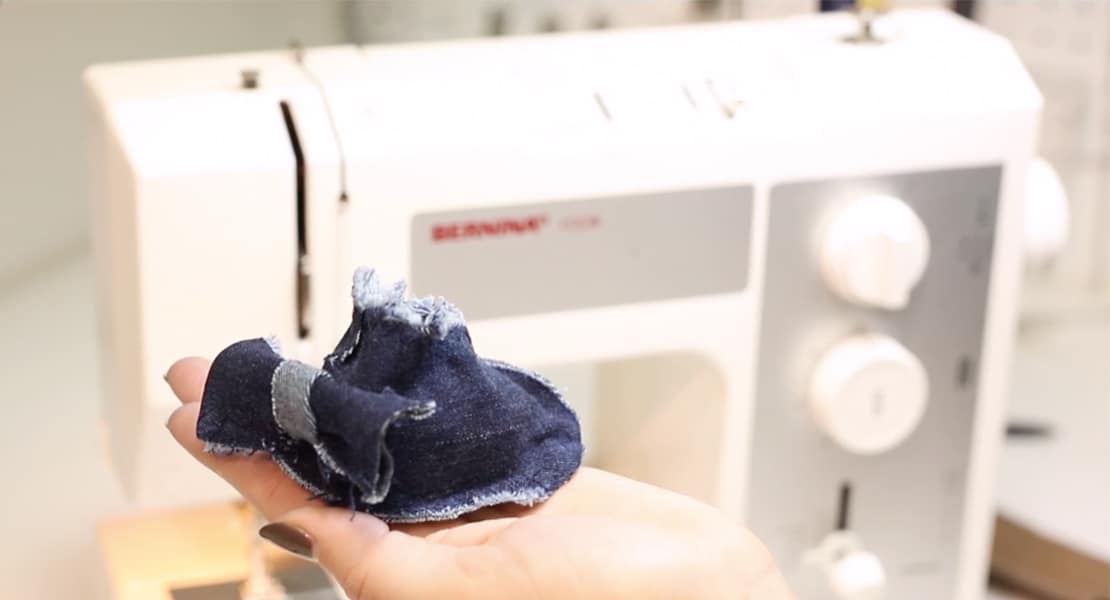
7. Now get a bigger piece of denim and punch all sorts of circles of different sizes.
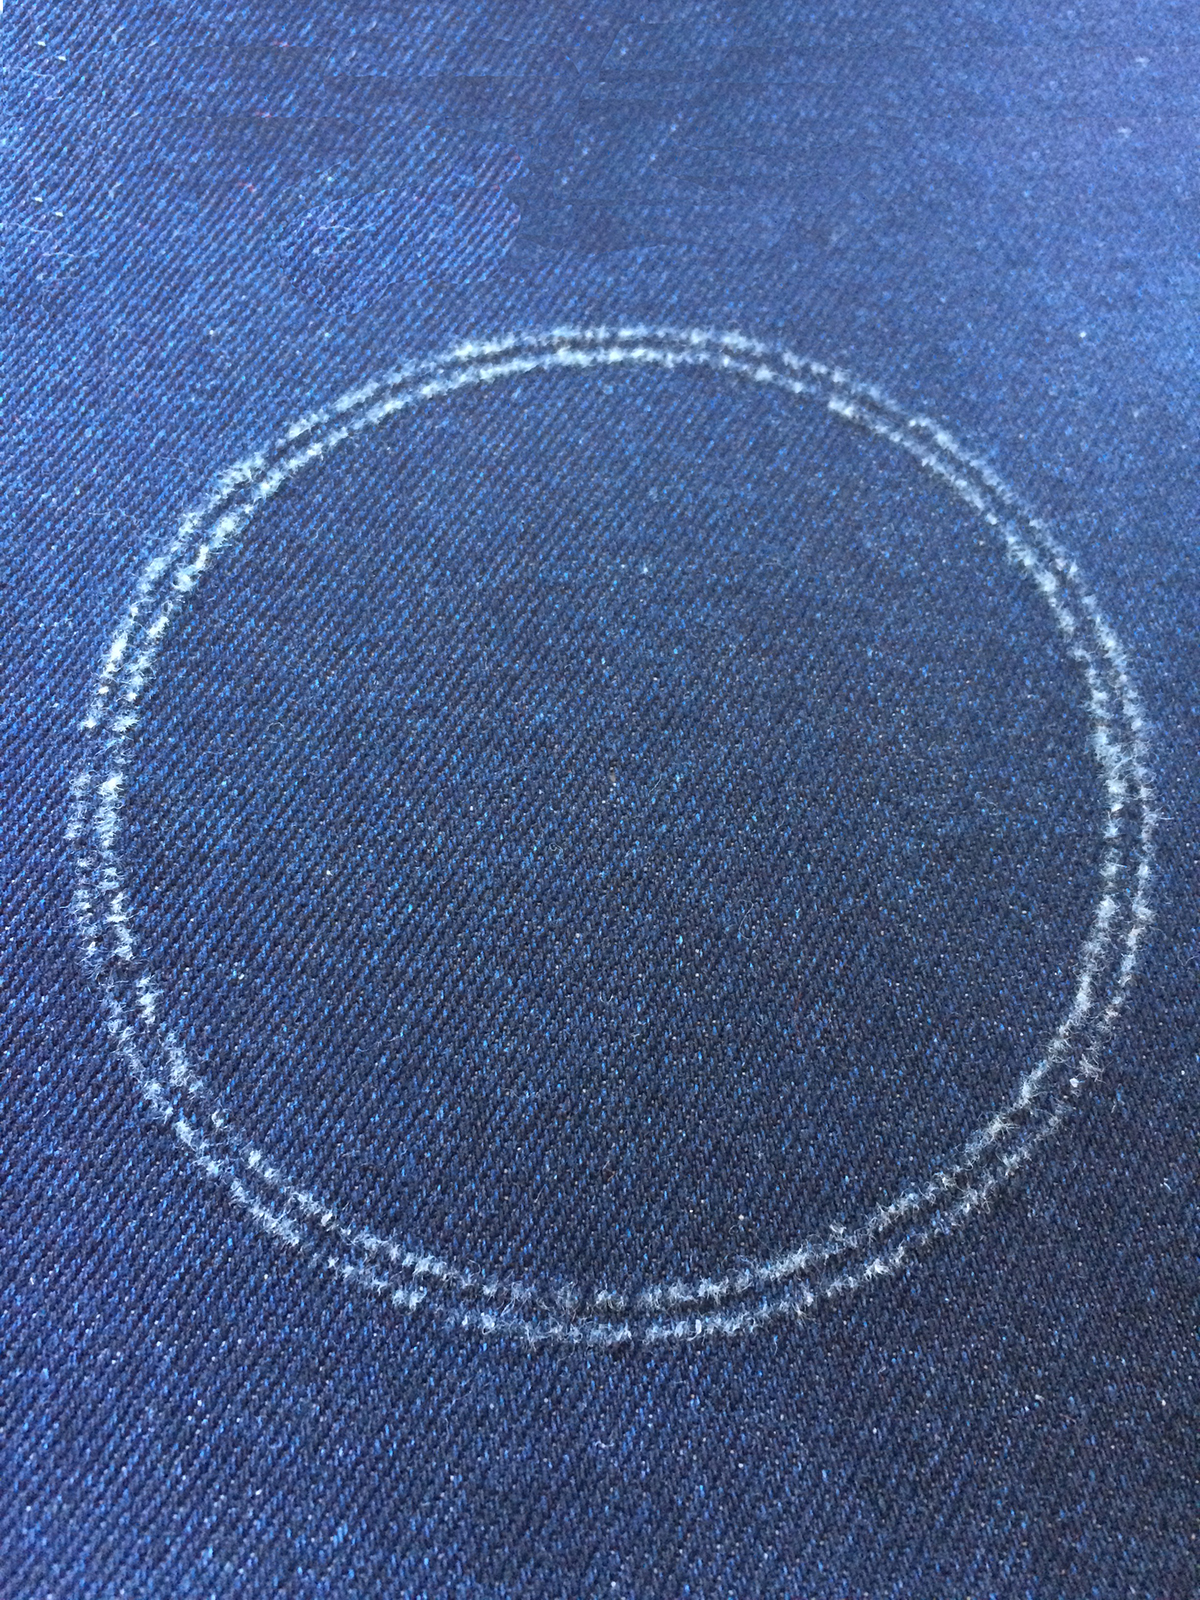
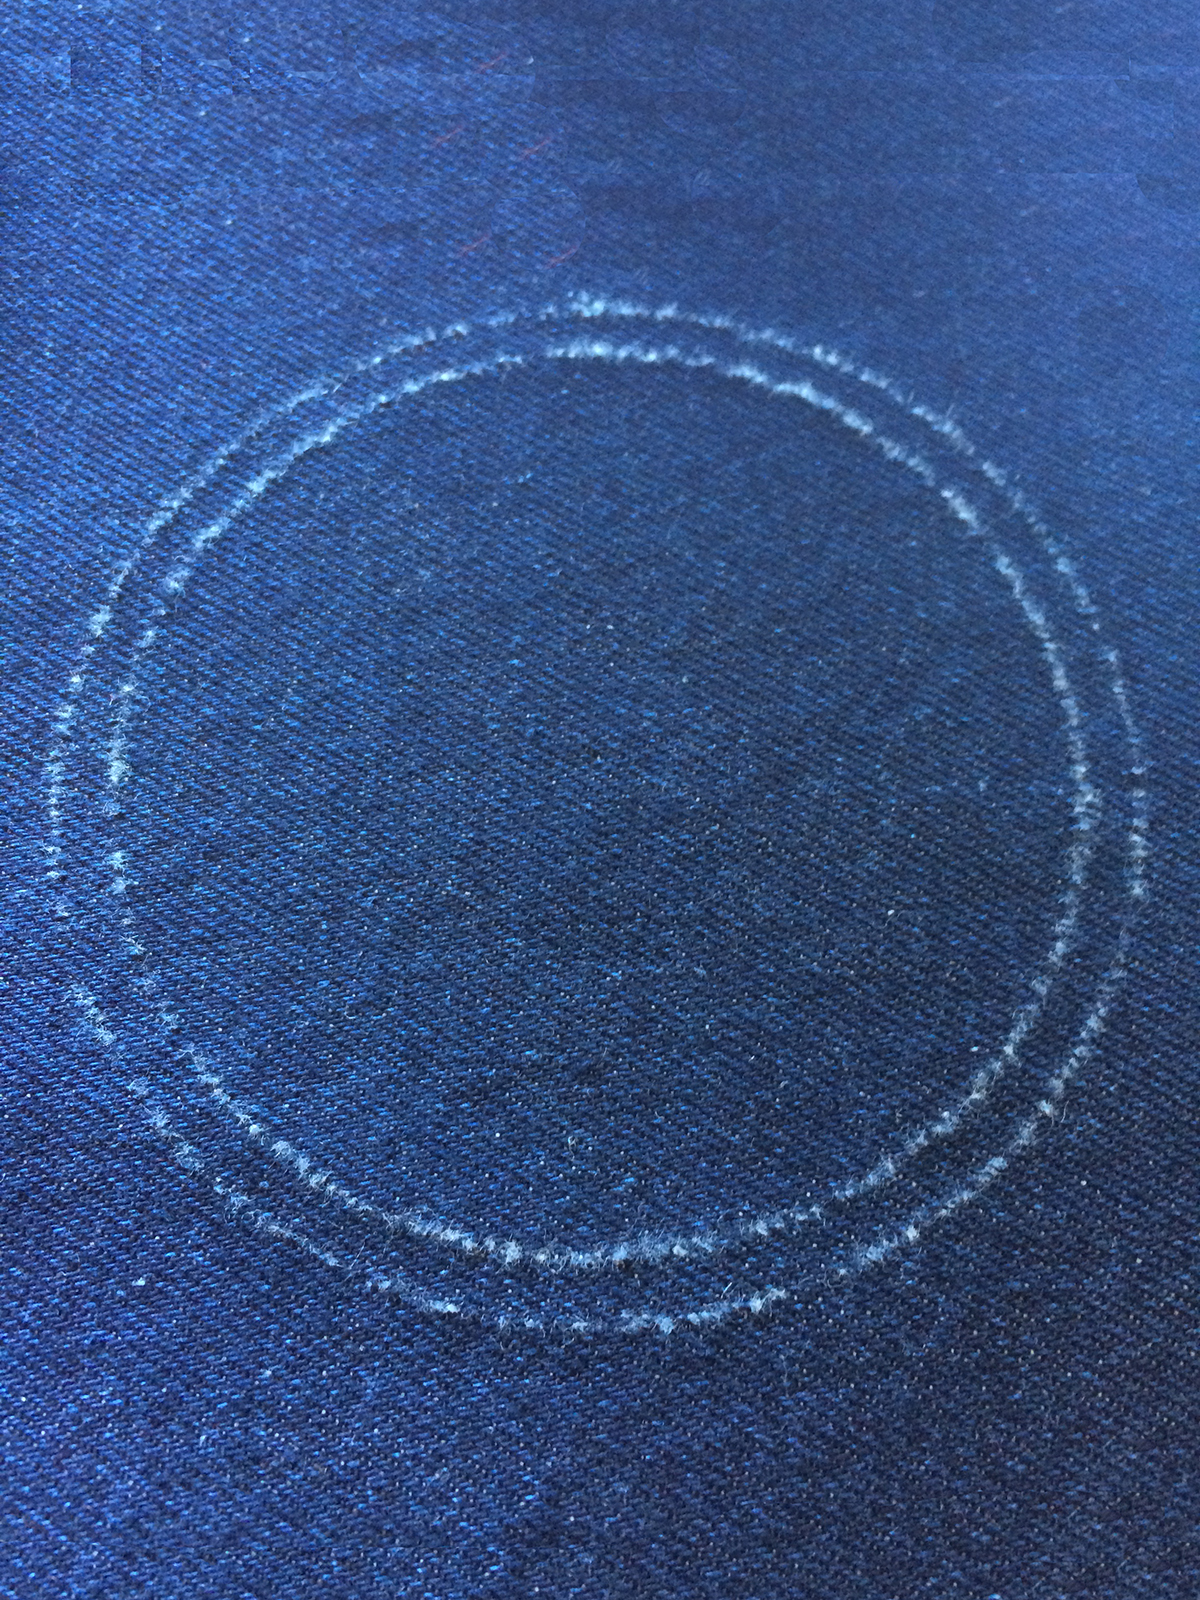
8. Try punching just one time around, or SEVERAL times around!
9. Try punching with the center and the right needle.
10. Or maybe the right and the left needle!
11. Or even with ALL THREE NEEDLES!
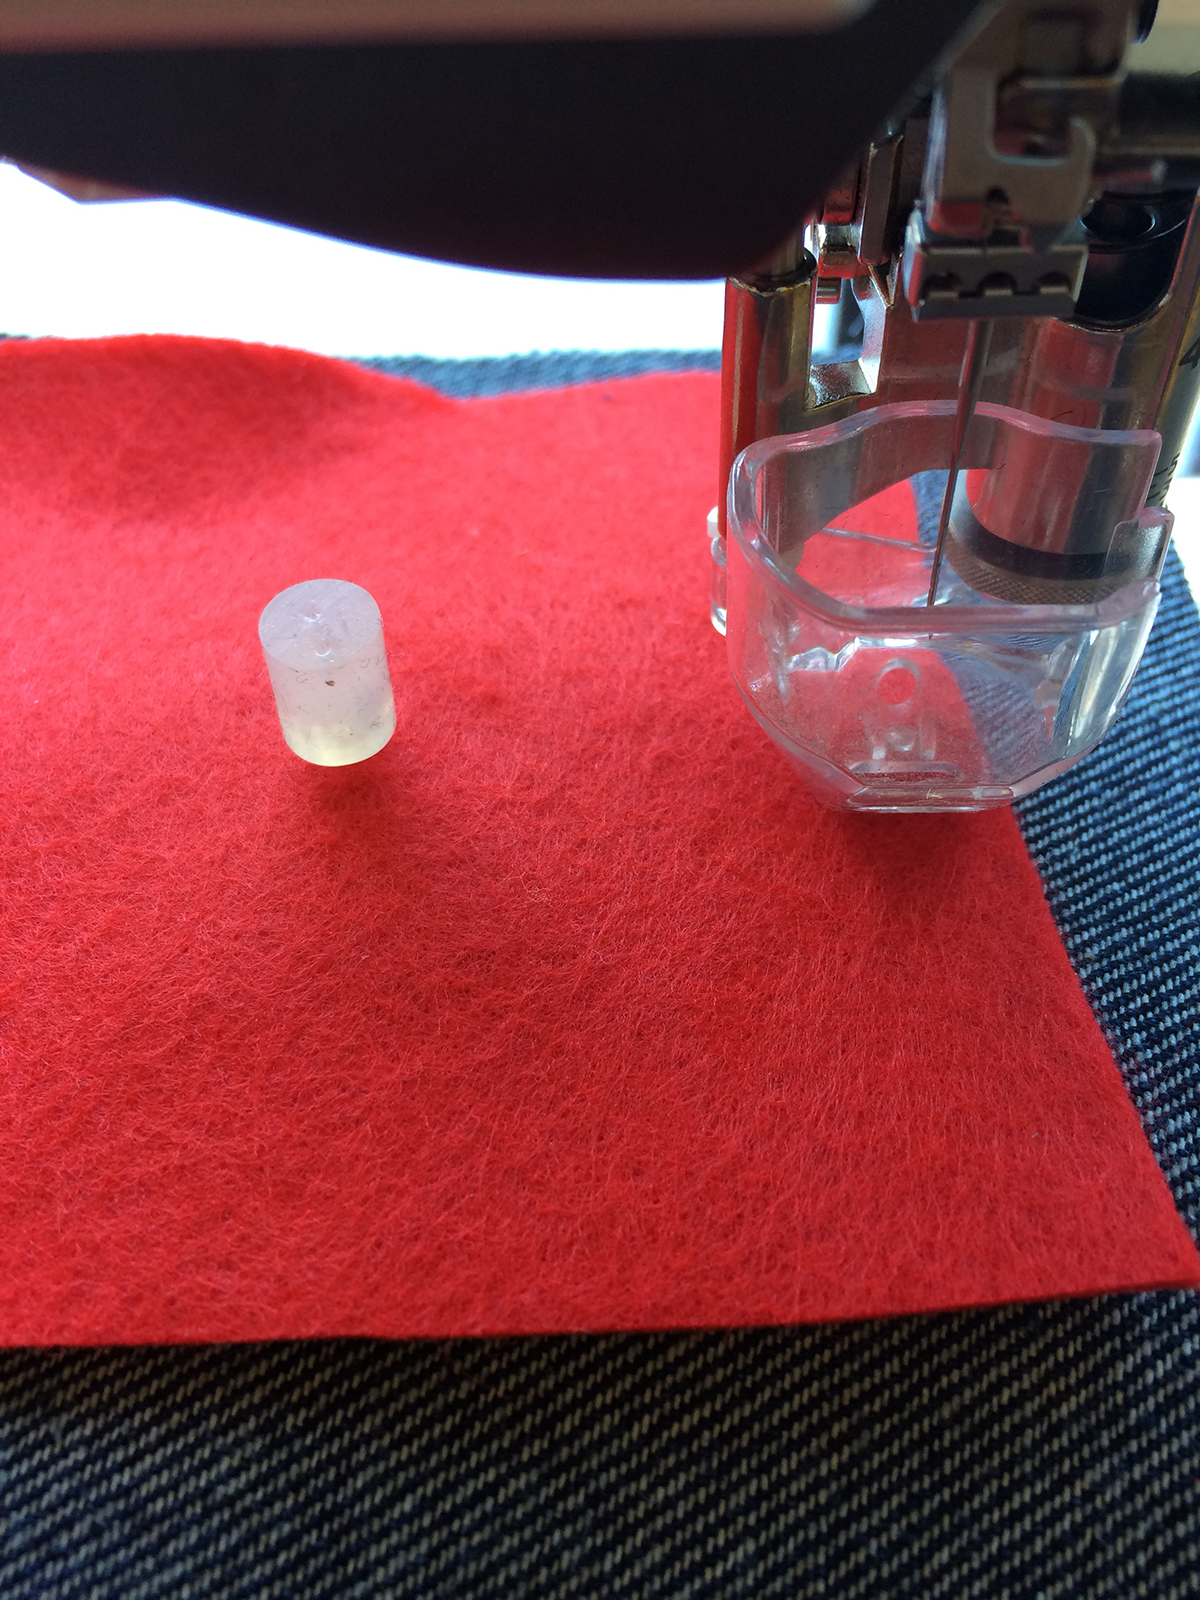
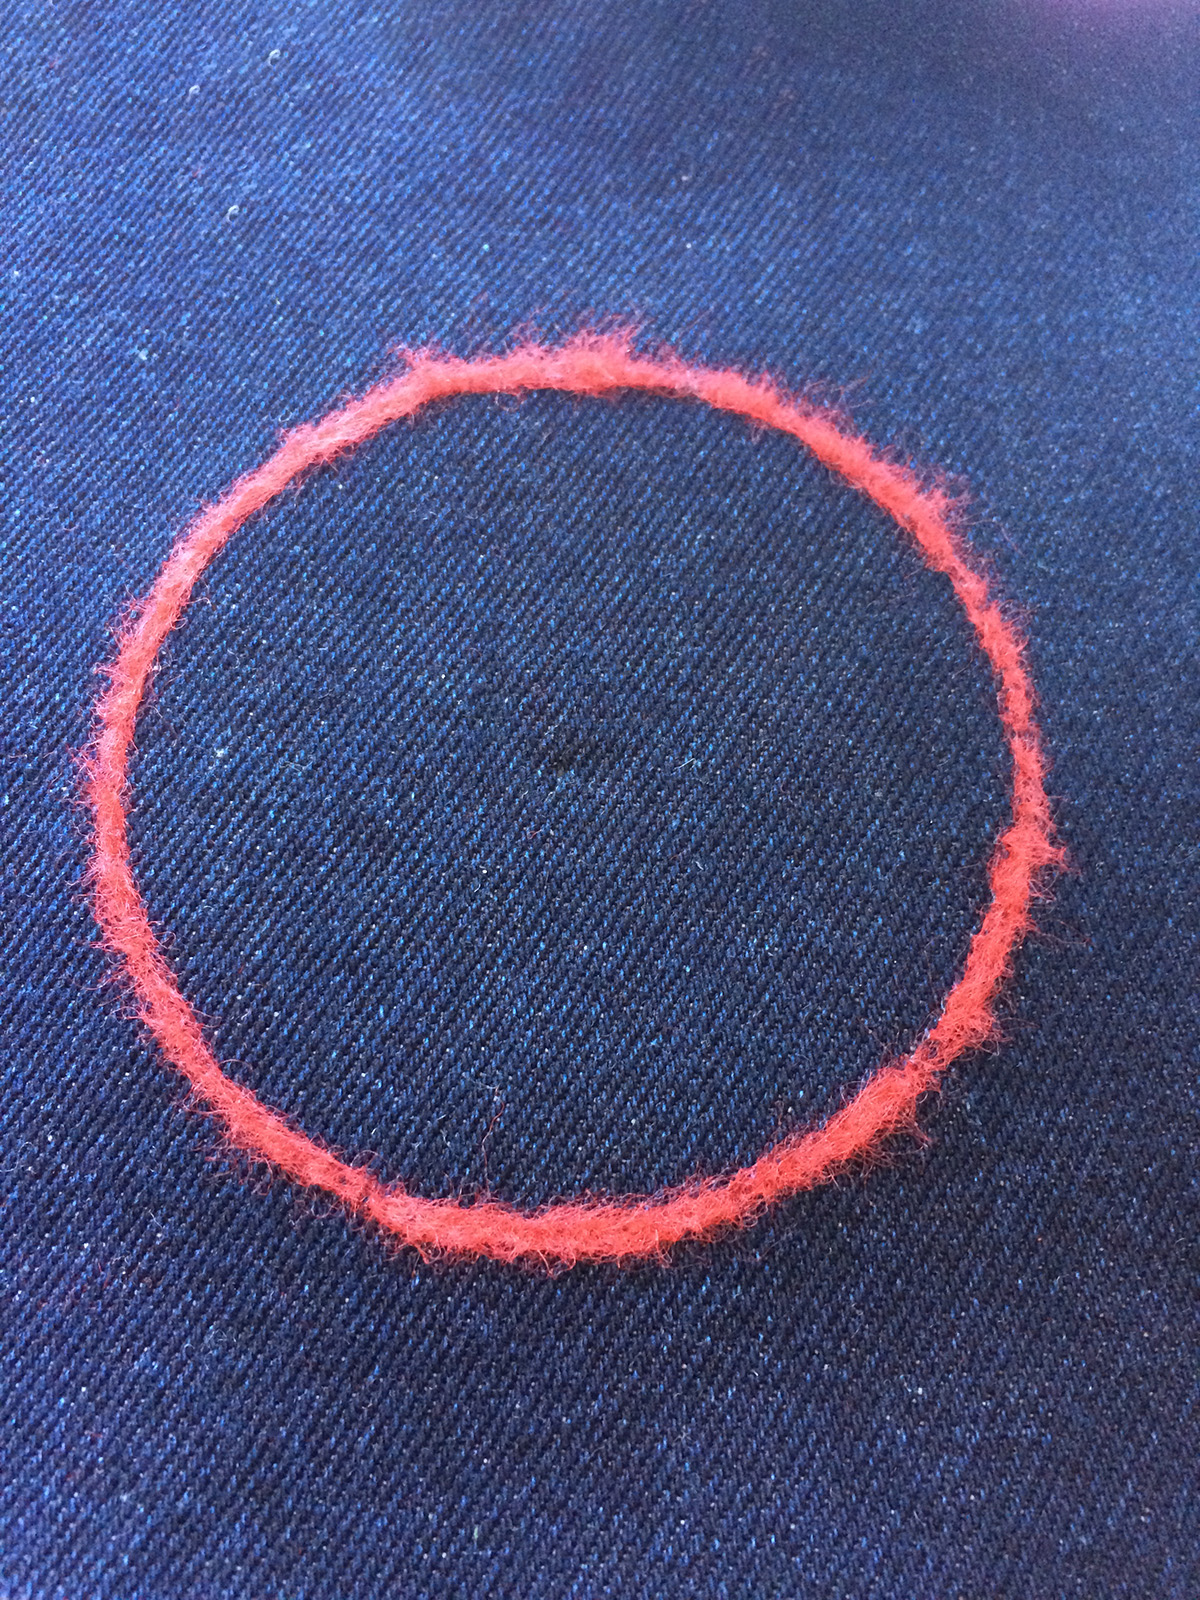
12. Then experiment with placing felt on the back and punching with that to the front!
There are so many possibilities! Now all you have to do is decide what you want to make with your unique fabric.
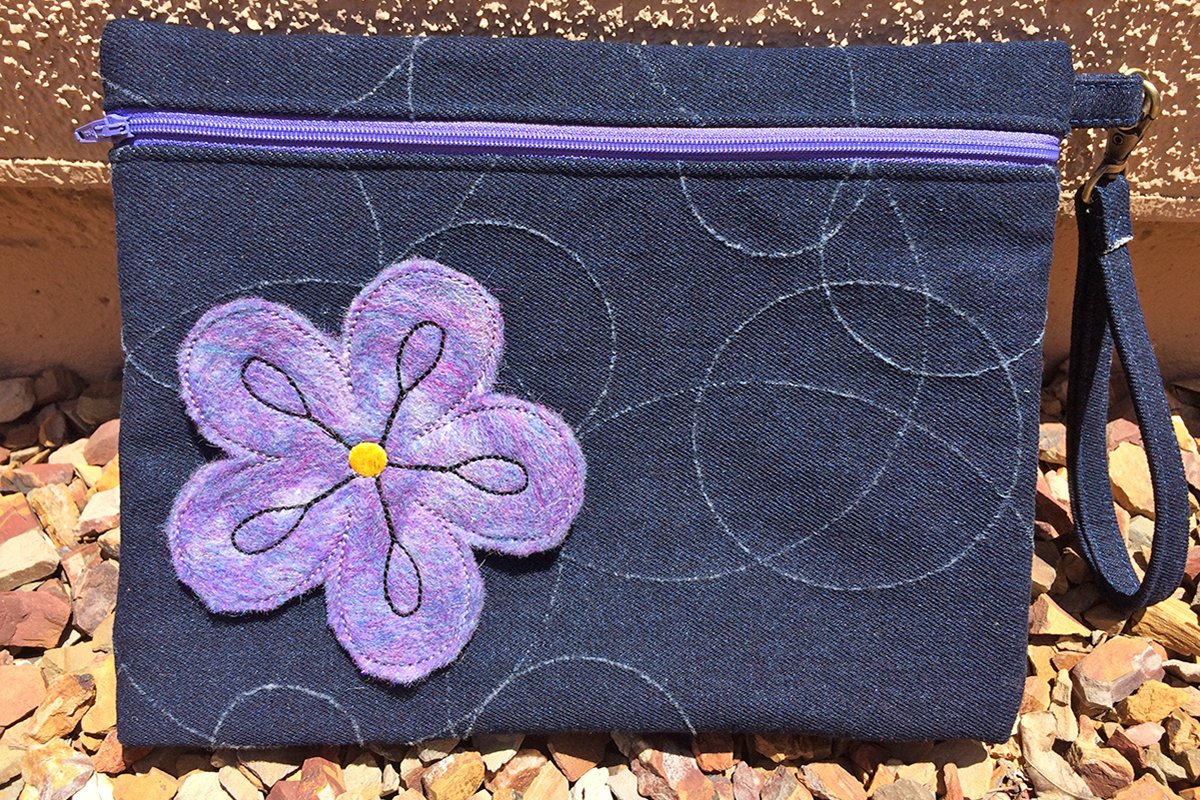
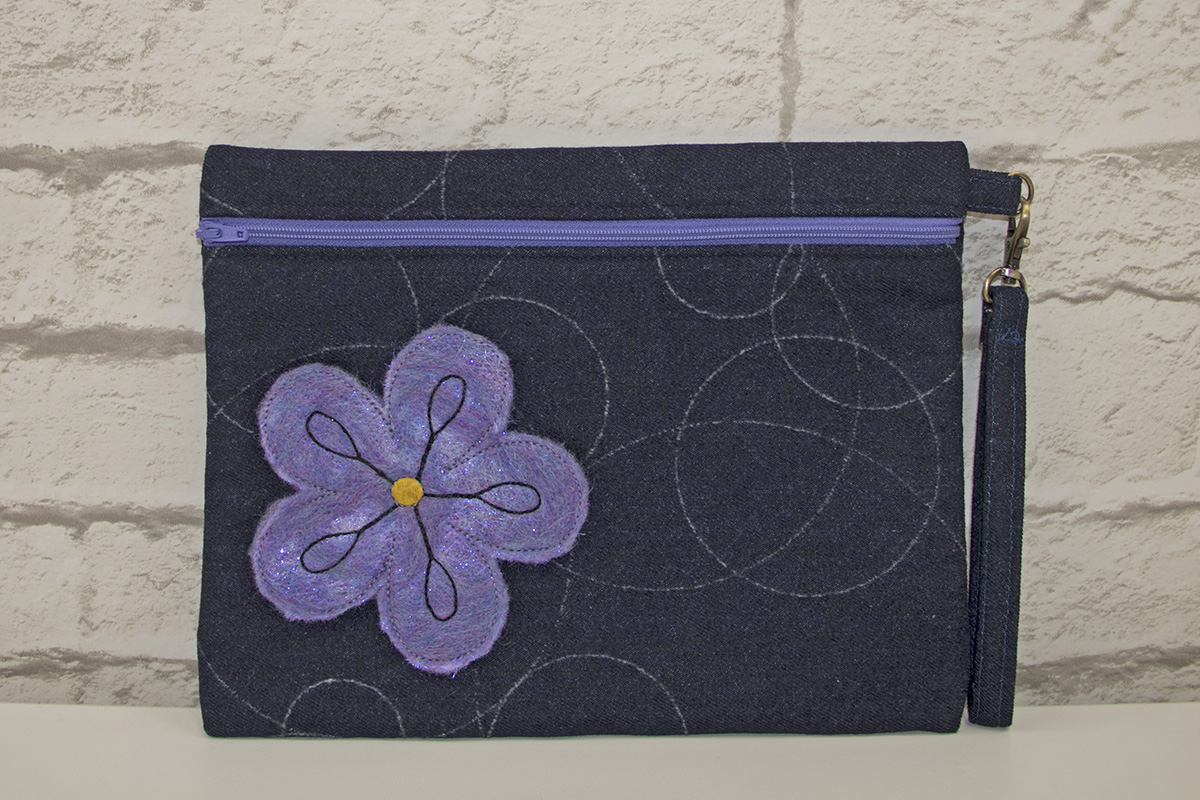
I made a zipped bag with my finished fabric. What will you do with yours? I hope you have fun playing and experimenting!


I just came across the needle punch and circular attachment while looking for a missing foot. This looks like fun. I have lots of denim saved for those someday projects.Thank you for sharing.