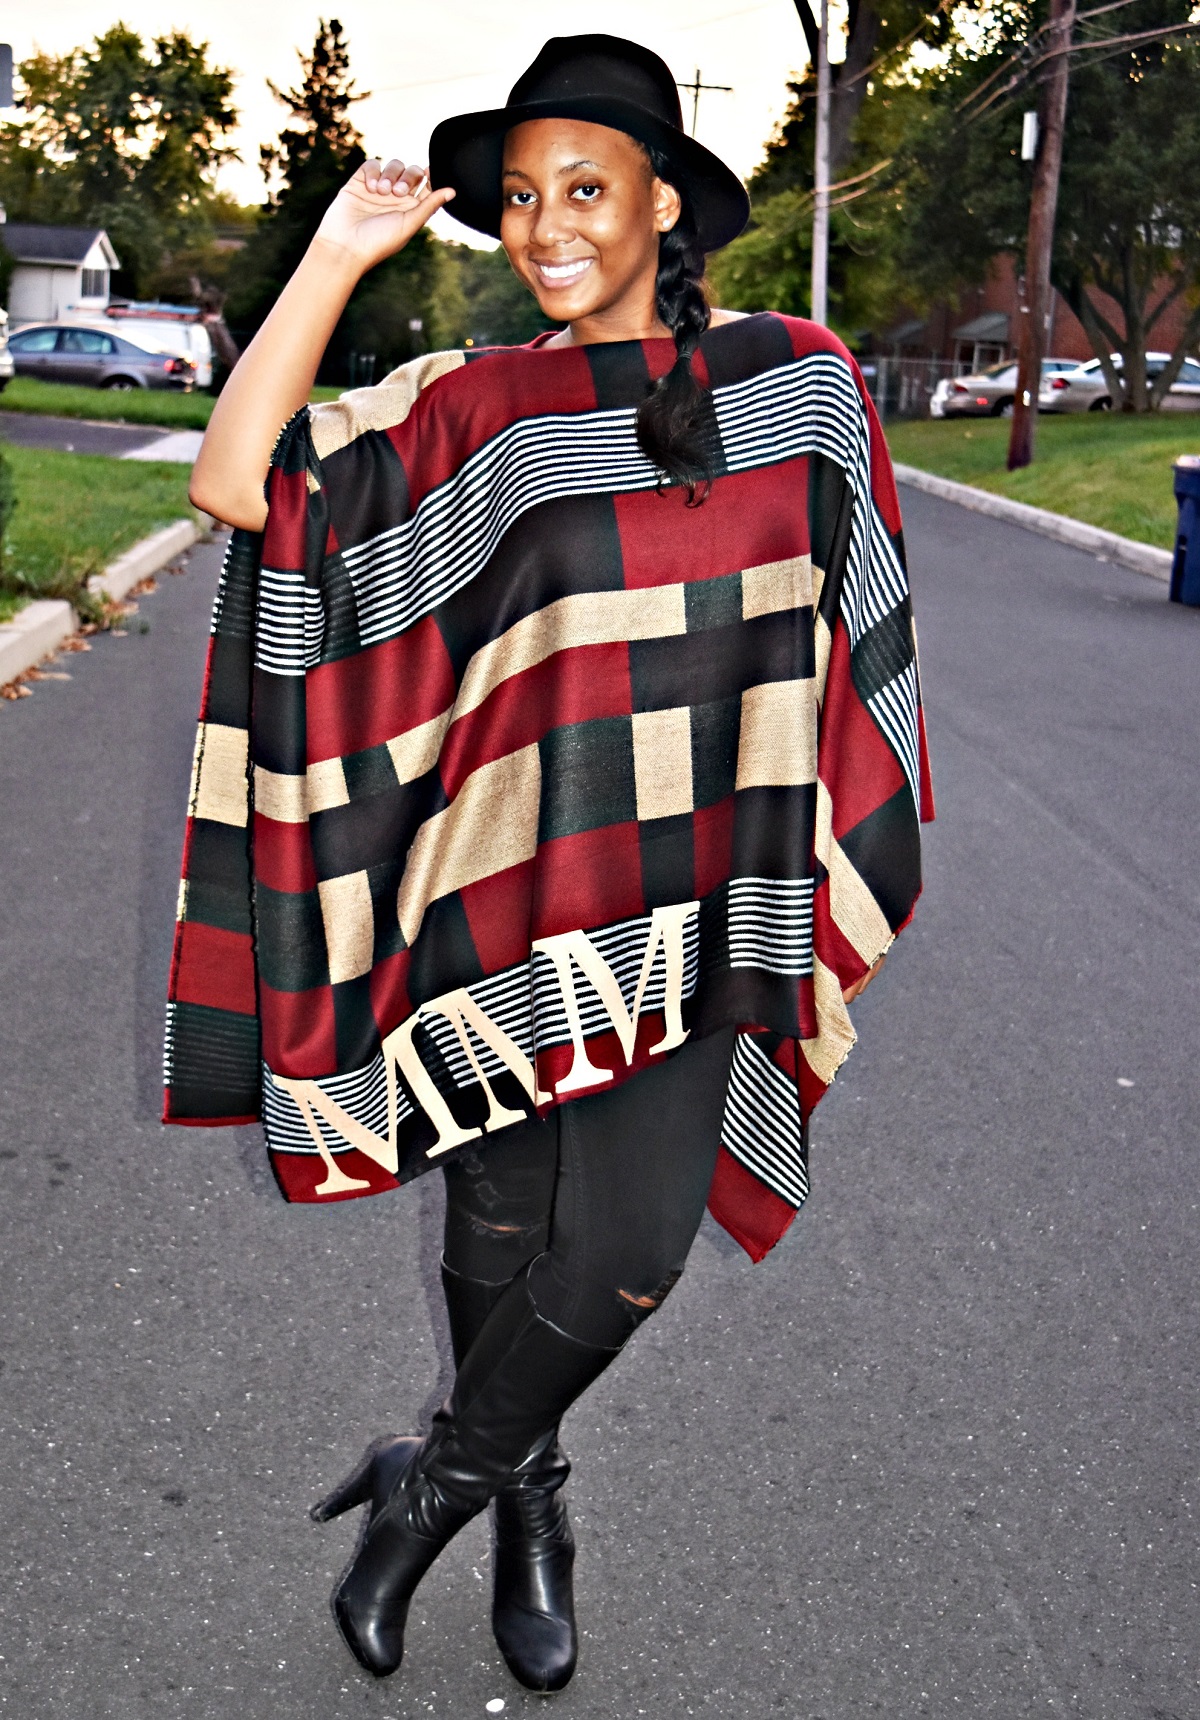
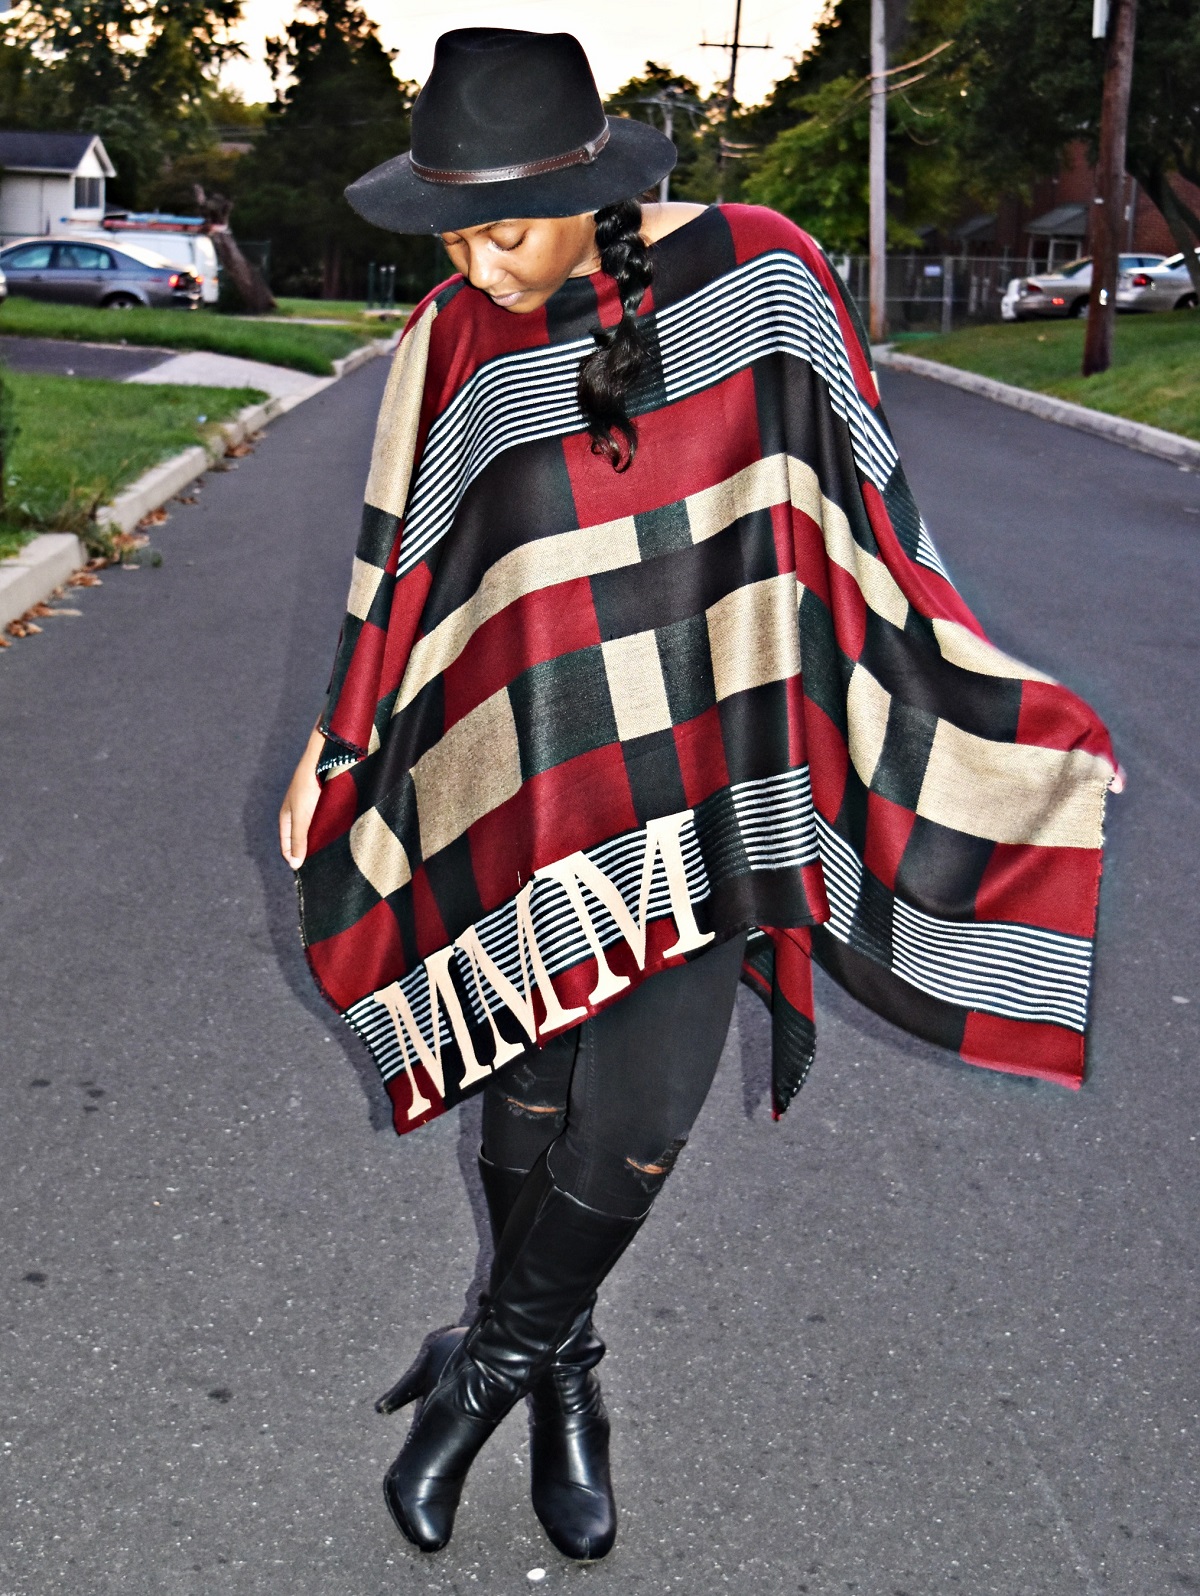
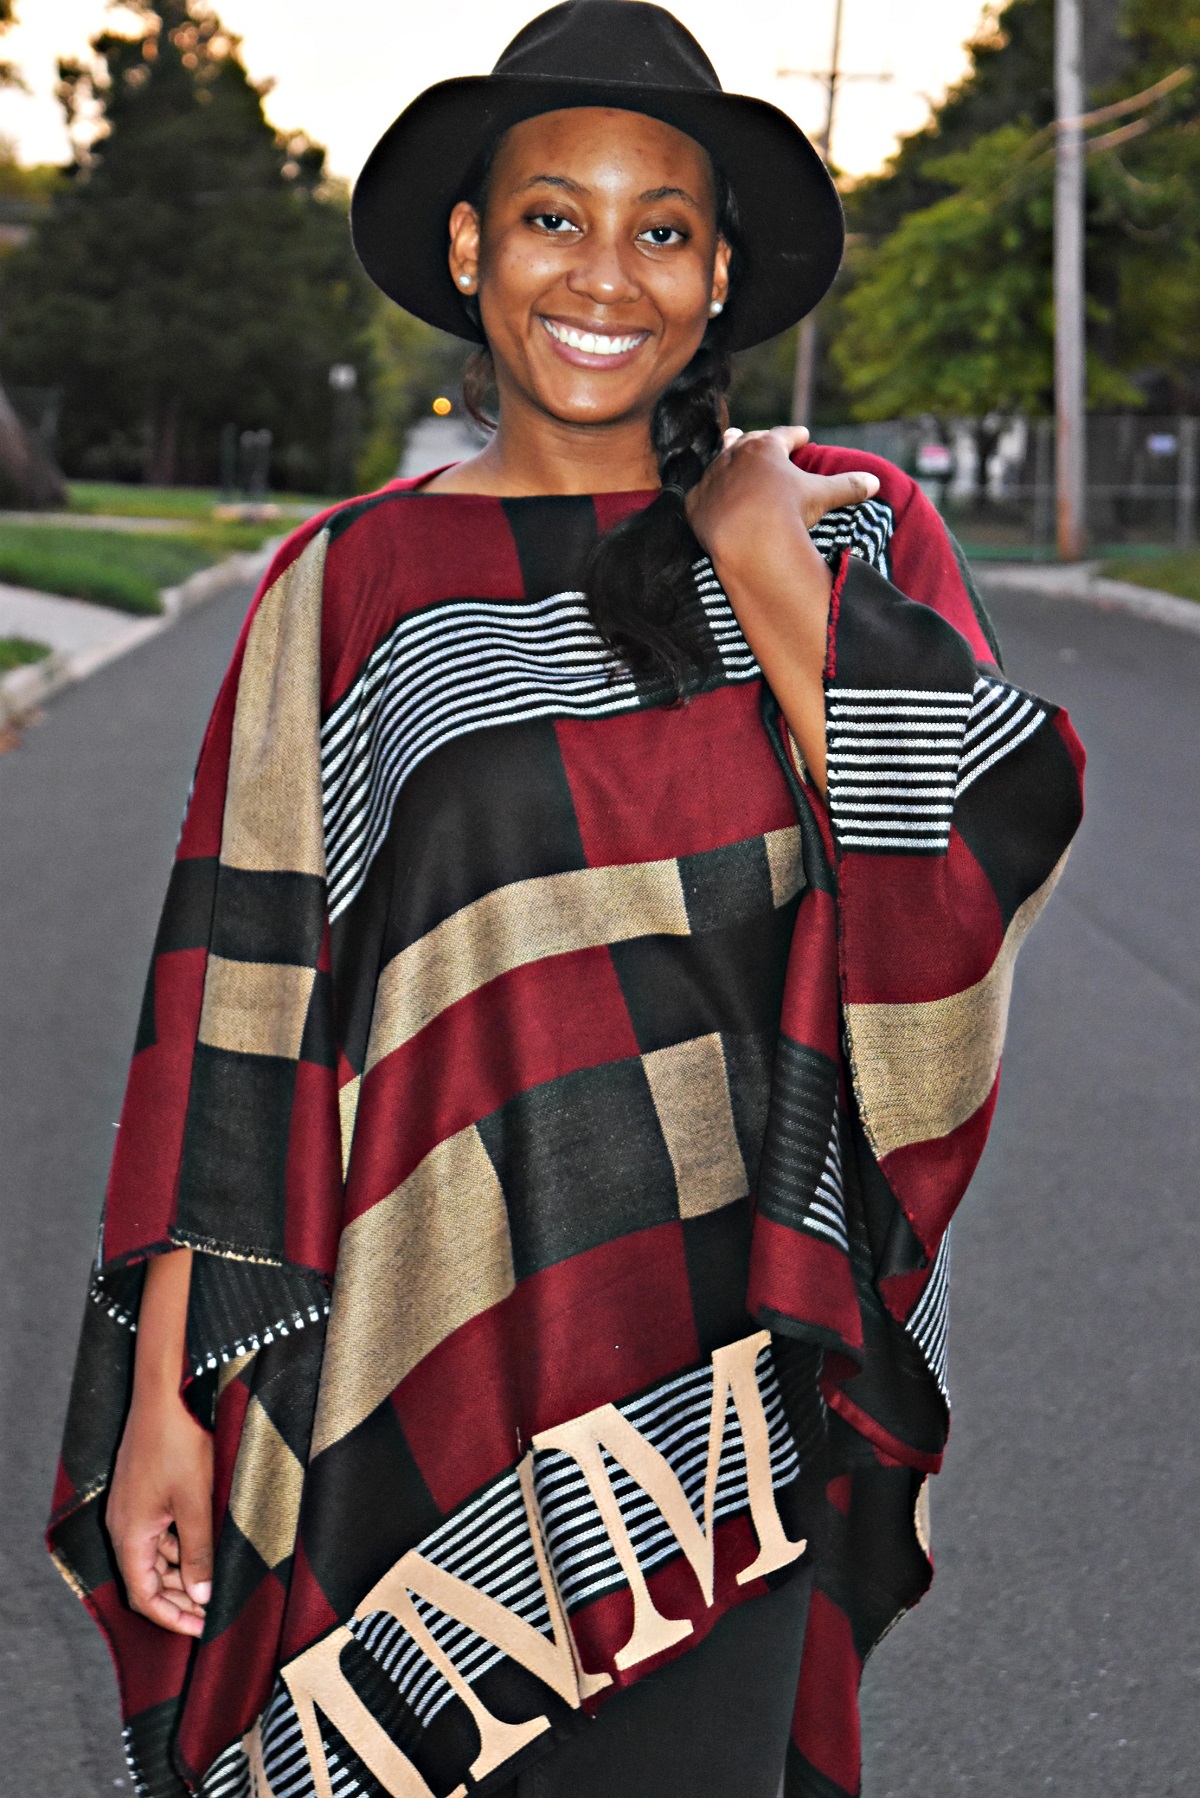
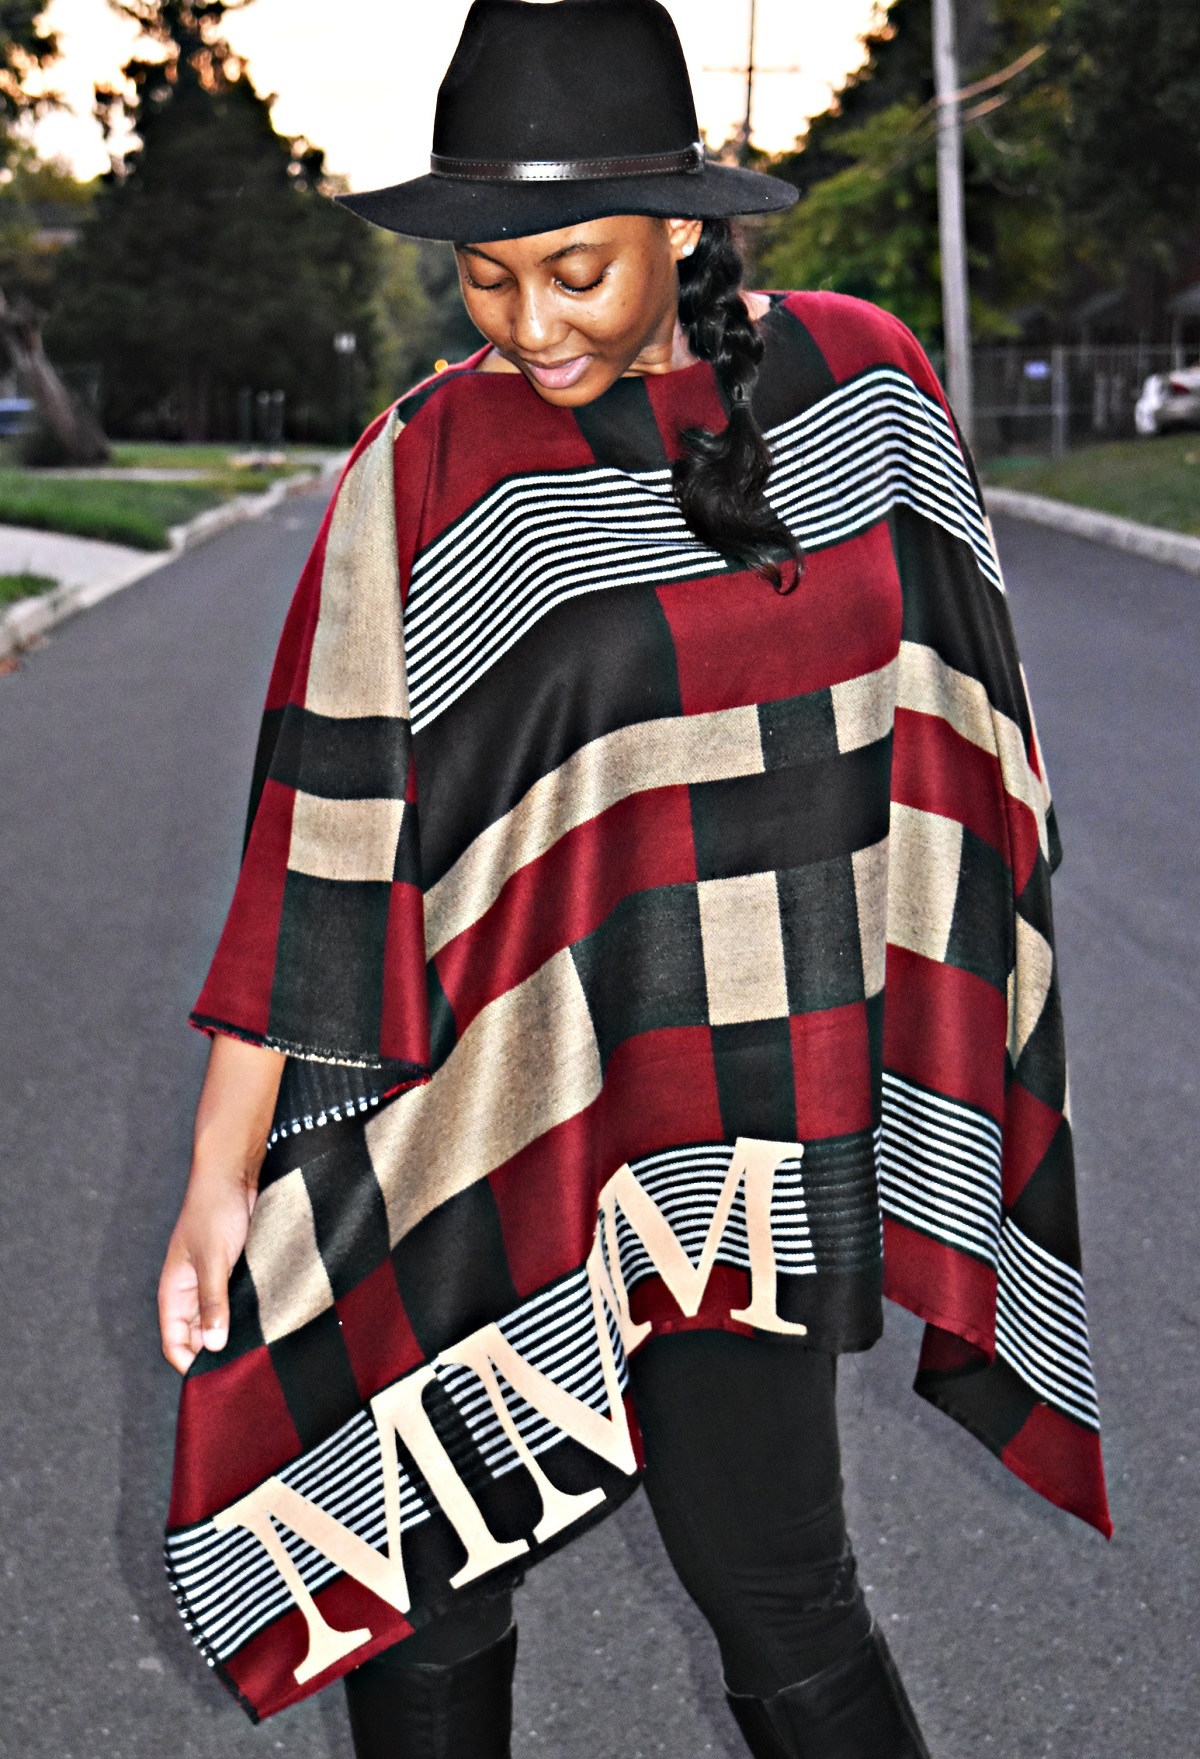
DIY Burberry Inspired Monogrammed Poncho
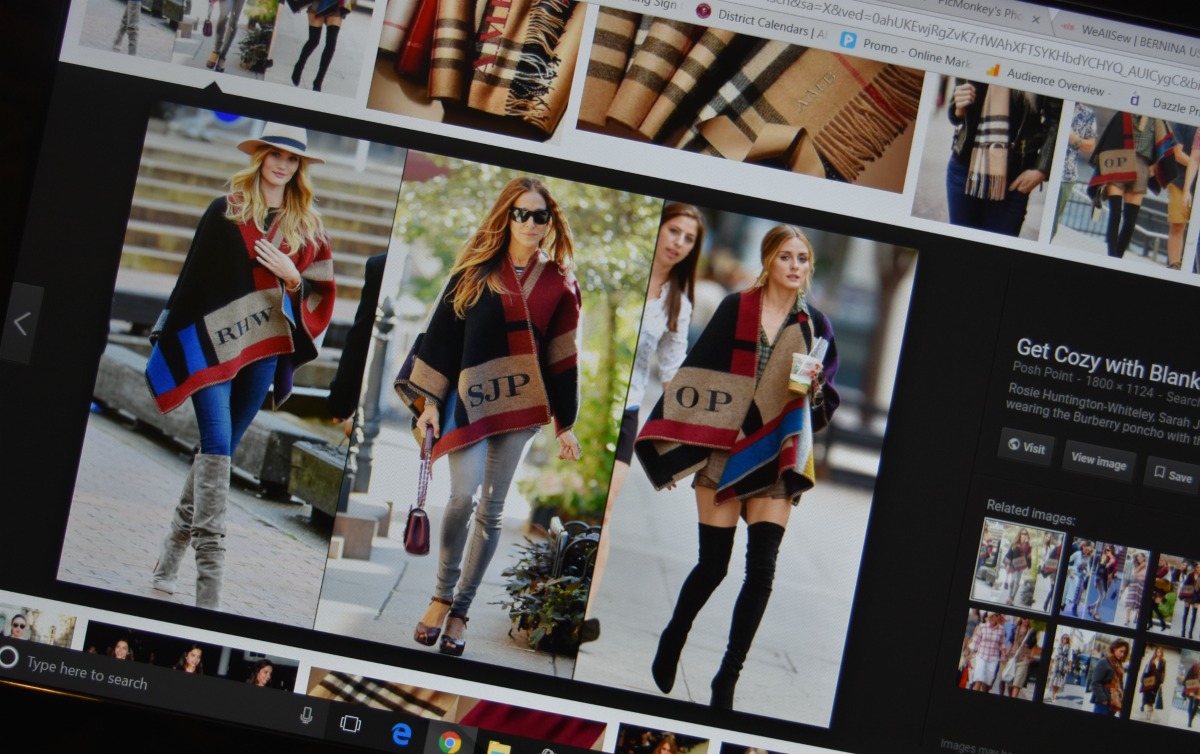

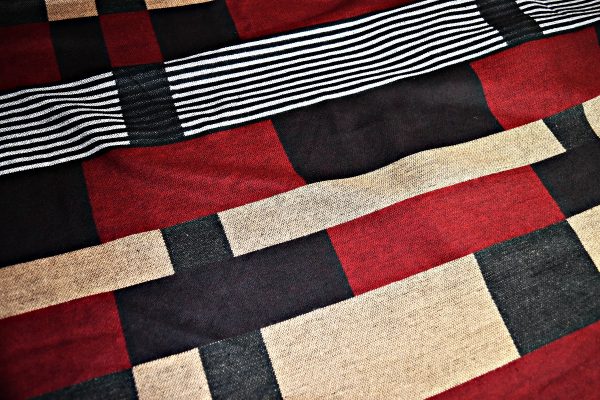
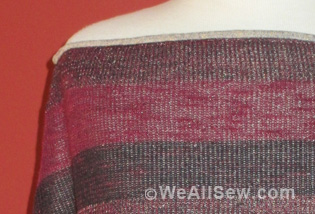
This story starts out with a Poncho that was impressive from the moment I saw this in the Burberry Fashion show back in 2014. There were celebrity sightings all over the streets in this poncho. This is my DIY version of that exclusive monogrammed poncho, minus the not-so-budget friendly price-tag that goes along with the brand. Fall and winter fabrics are hitting the stores in full force right now and when I ran into this print at my local fabric store, I knew it would work well for this project. The fabric is a polyester, rayon blend and I used a wool felt for the lettering.
Supplies to Make a Monogrammed Poncho
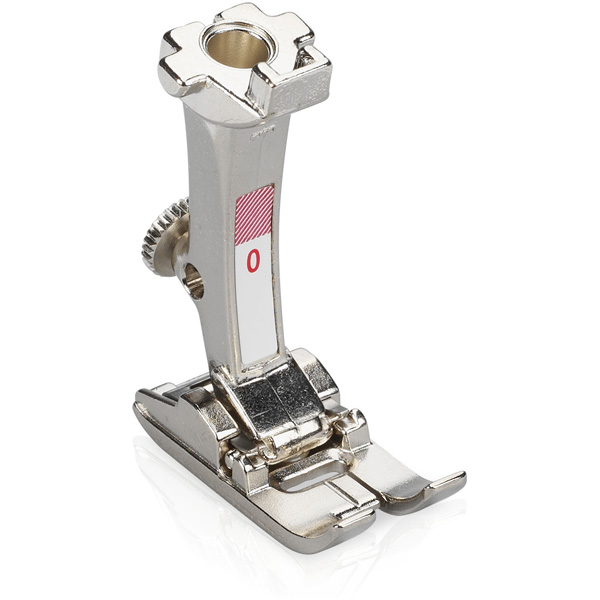
- Sewing machine: I used my BERNINA 350PE
- Zig-Zag foot #0
- Iron
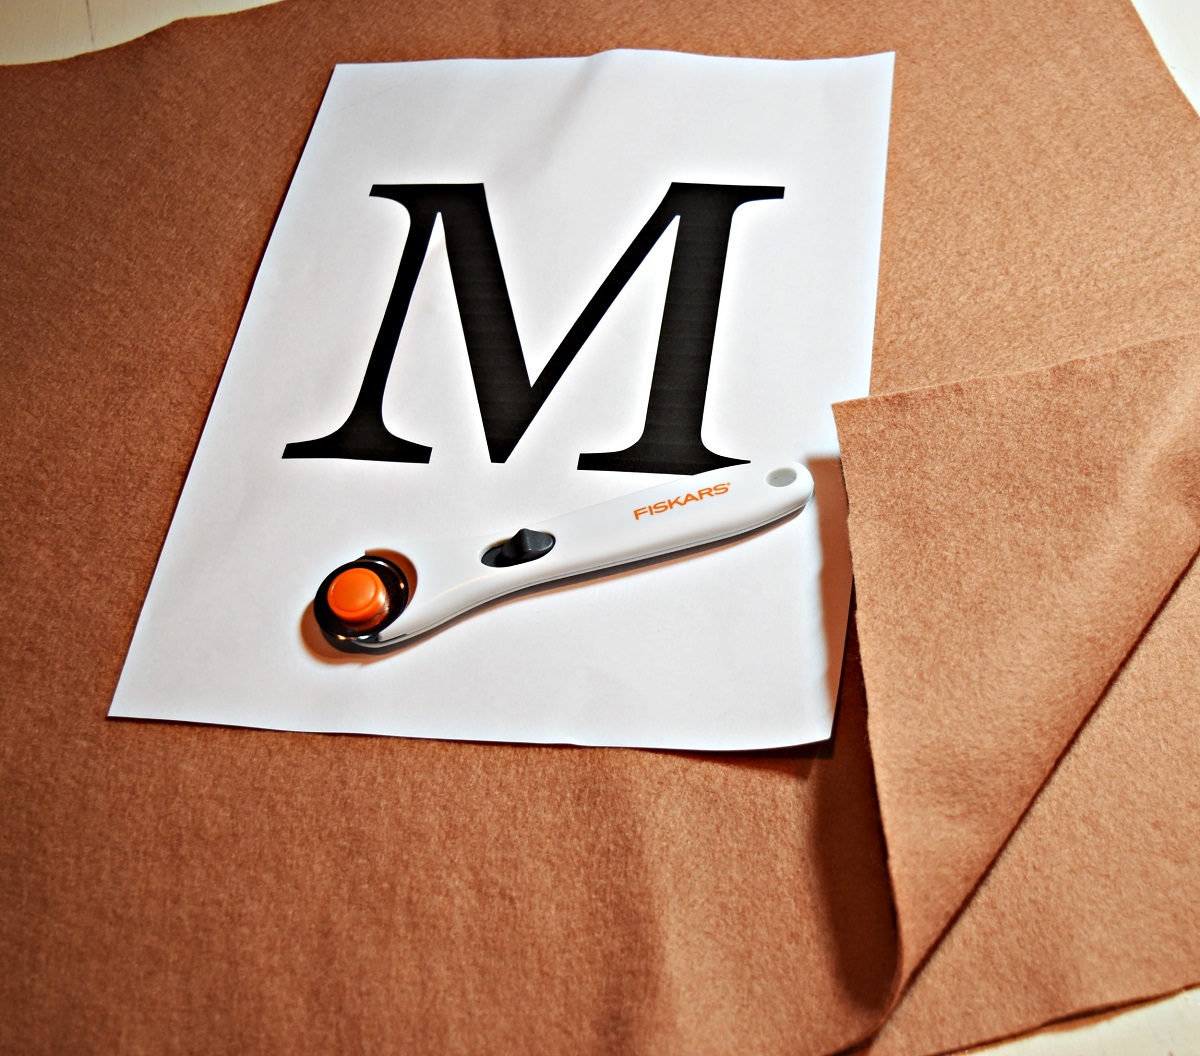
- rotary cutter
- 2 yards of Fashion fabric
- Matching thread for fashion fabric
- 1/2 yard wool felt for lettering
- Matching thread for lettering
- Stencil for monogram letters
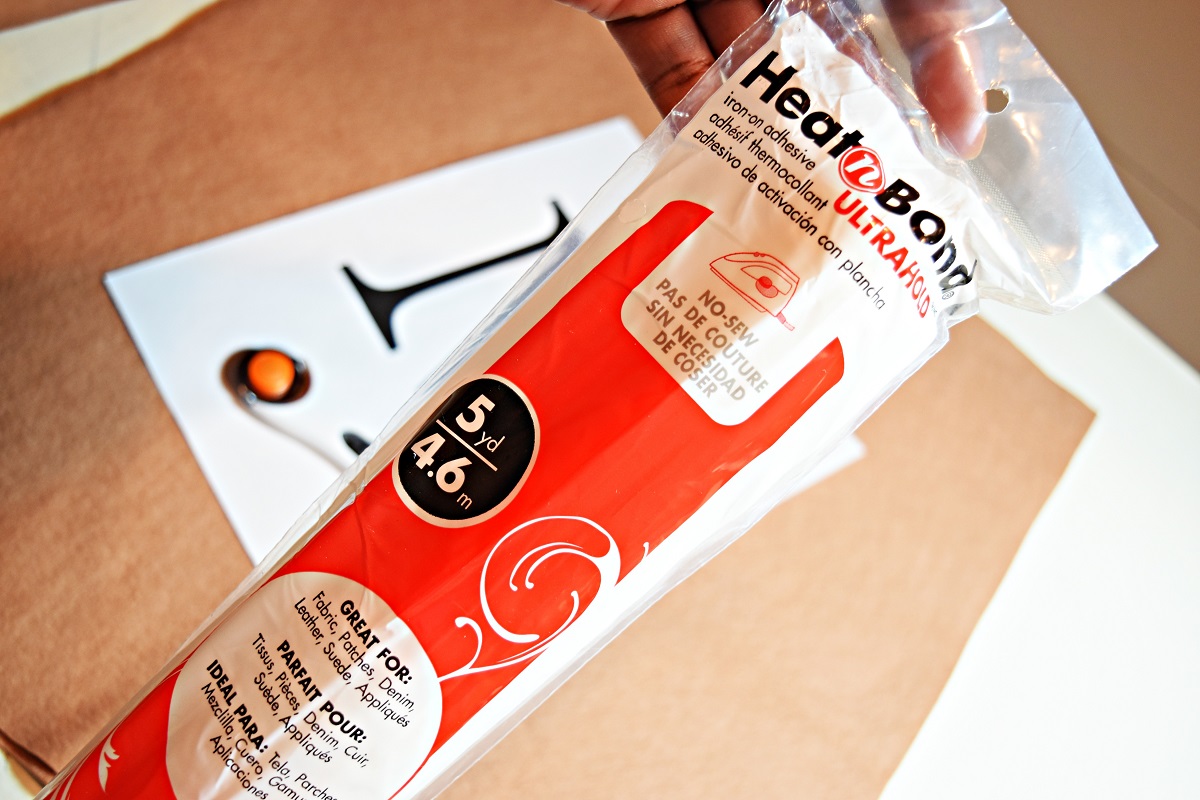
- 1/2 yard of heat-bond iron-on adhesive sheets
- Bias tape for collar and hem (Optional: I double rolled my fabric for my collar and hem)
Step 1. Fold the fabric in half once and then in half one more time to cut the hole for the collar. (The same way you would fold your fabric for a circle skirt) The shape and size of the neckline is up to you. Make sure you don’t cut the neckline to large, it will fall off your shoulder.
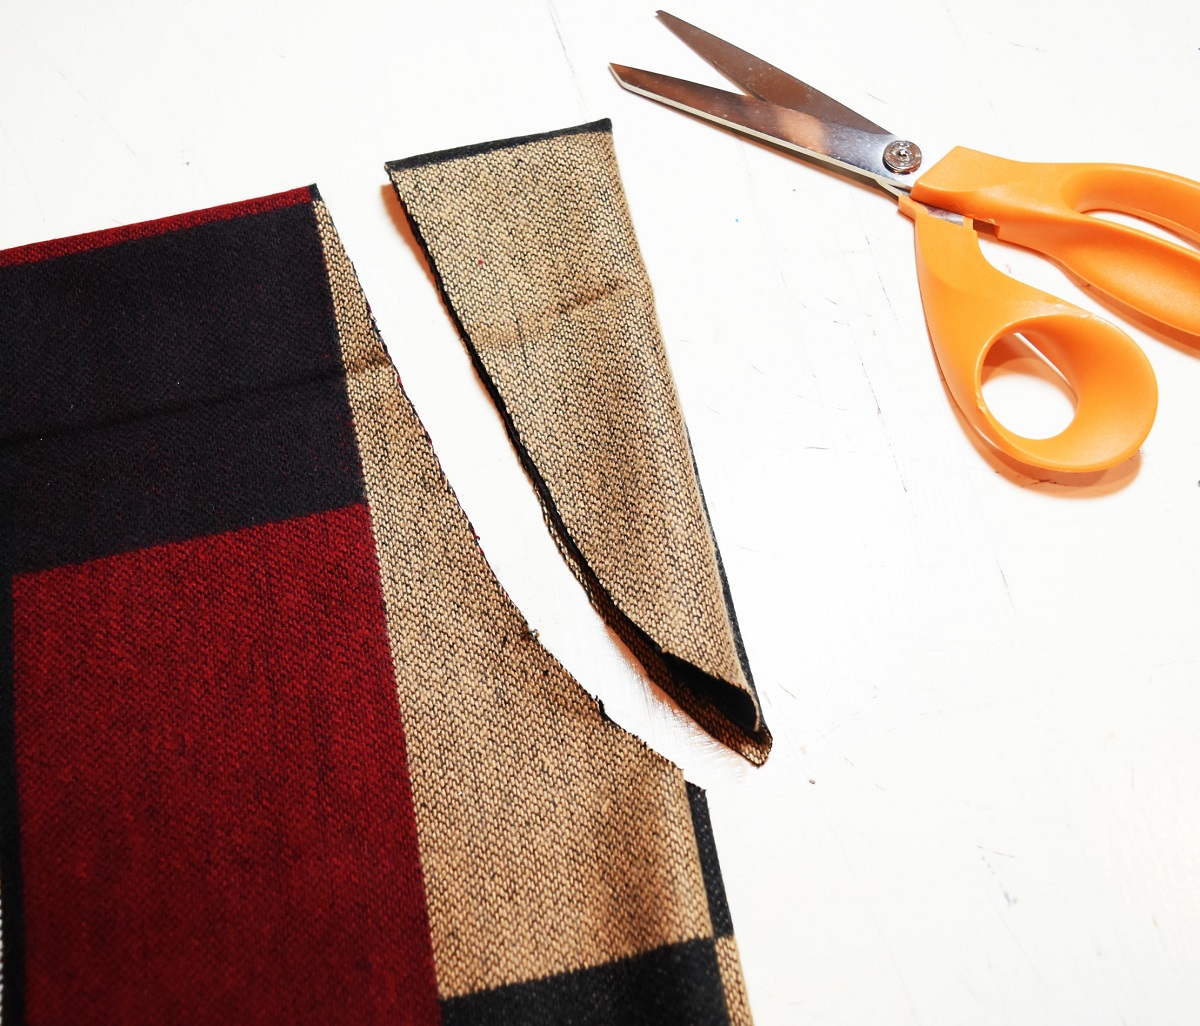
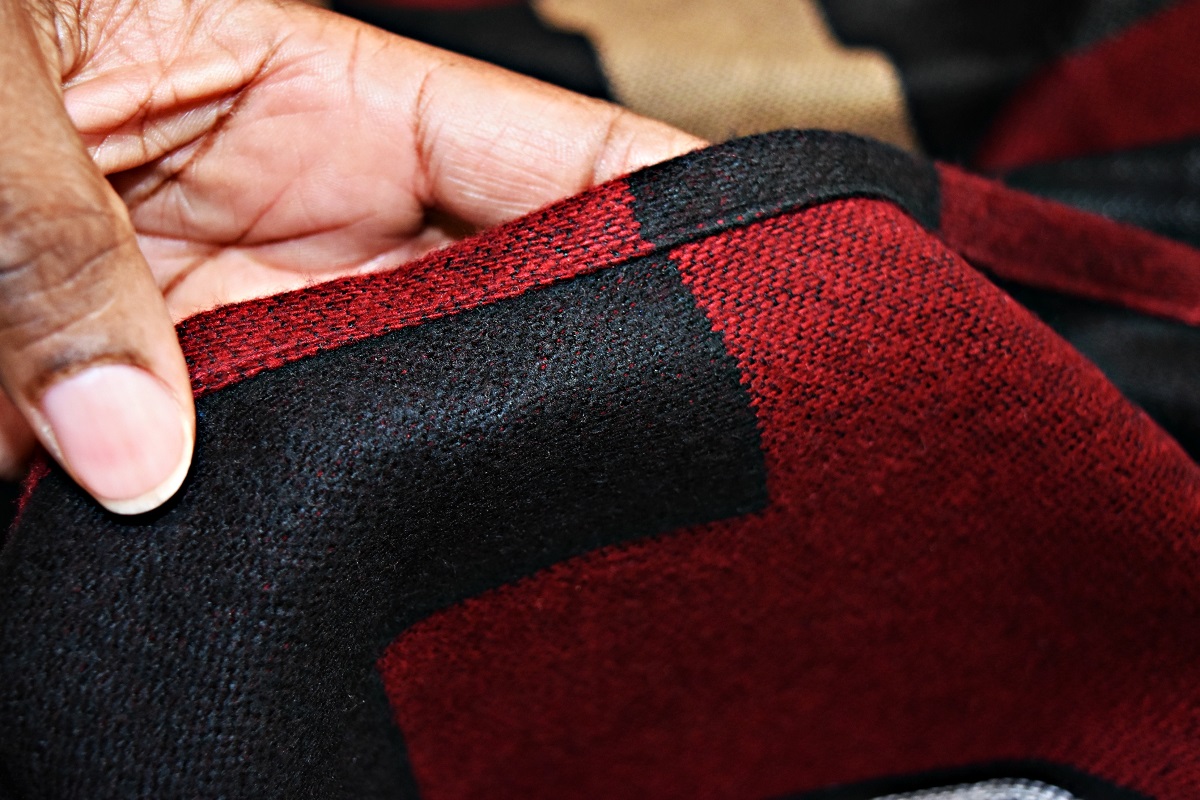
Step 2. It is time to hem the collar and the bottom. I double rolled the fabric and hemmed both areas. This is where you can finish these areas with the bias tape if you want, or you can make a facing for the collar as well. Remember you do not hem the sides because the selvage edges will be your sleeves.
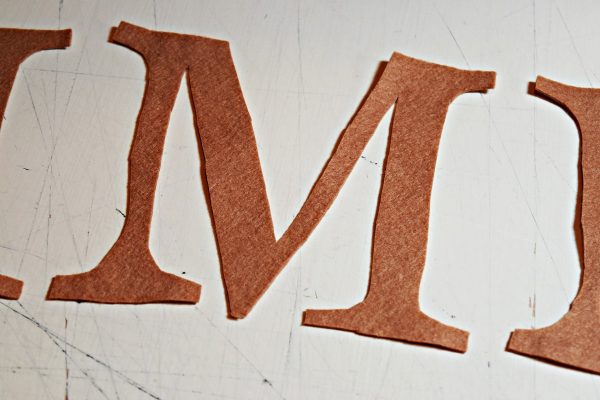
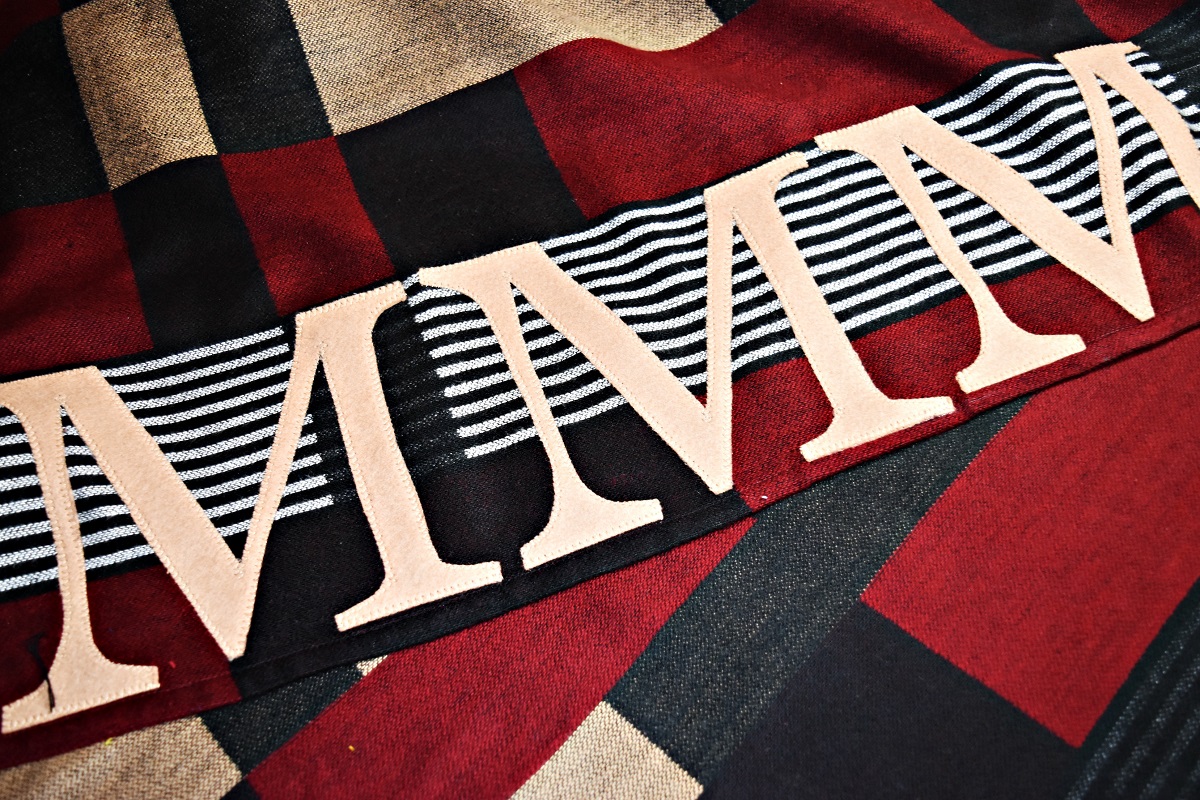
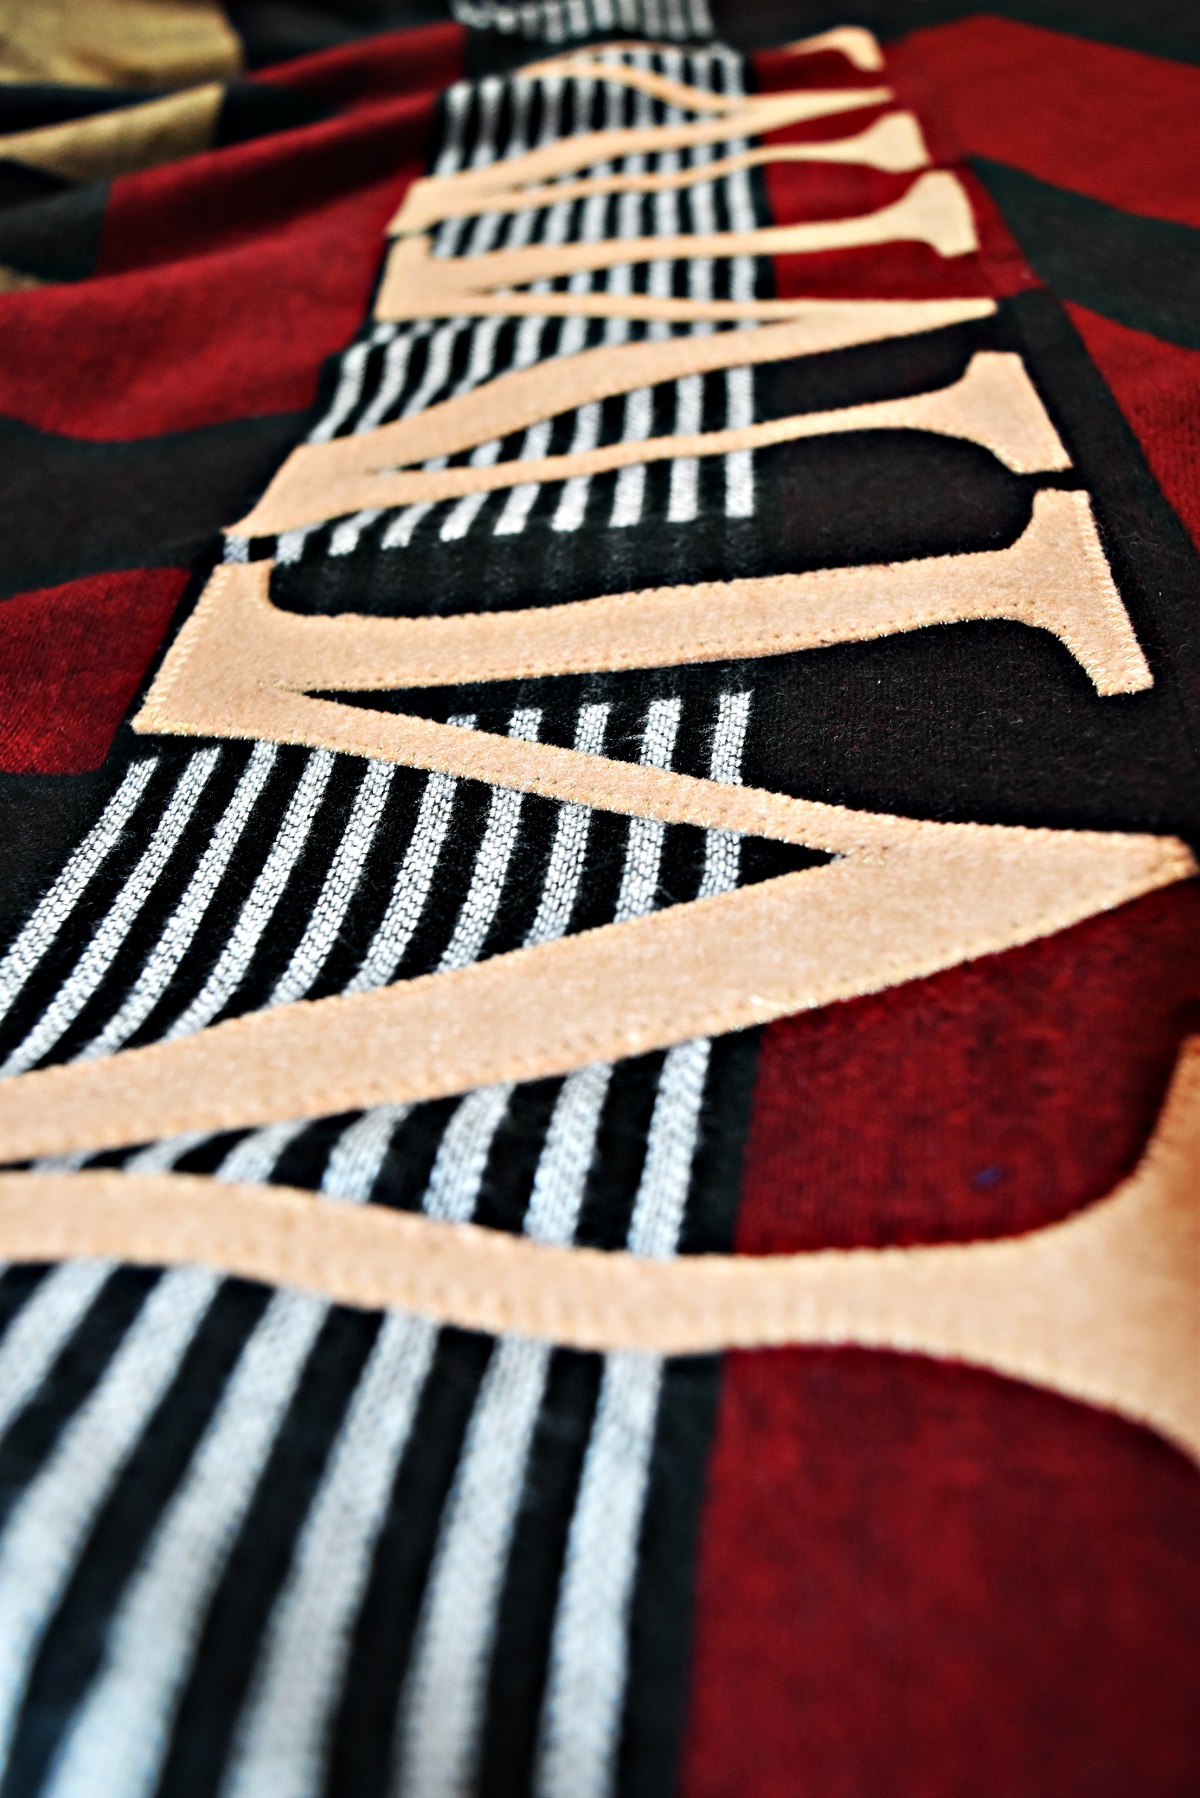
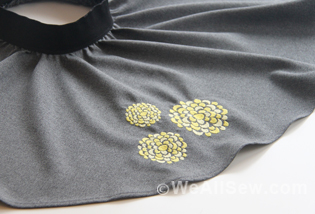
Step 3. You must decide how big you want your monogram on the poncho. Bigger is better! I blew my Georgia font up to 600 for my letters. Use your template to cut out your letters. If you cut them one at a time the rotary cutter is perfect for the job.
Step 4. After cutting out your letters you need to follow the instructions on your adhesive and apply it to the back of your letters. Make sure you don’t apply it to the front of your letter or you will have to cut out more letters. (Also notice my letters are a little wonky, That was because I tried to cut out all three letters at once with my rotary.) But no fear, I was able to trim them up quite nicely when I added the adhesive paper to my letters.
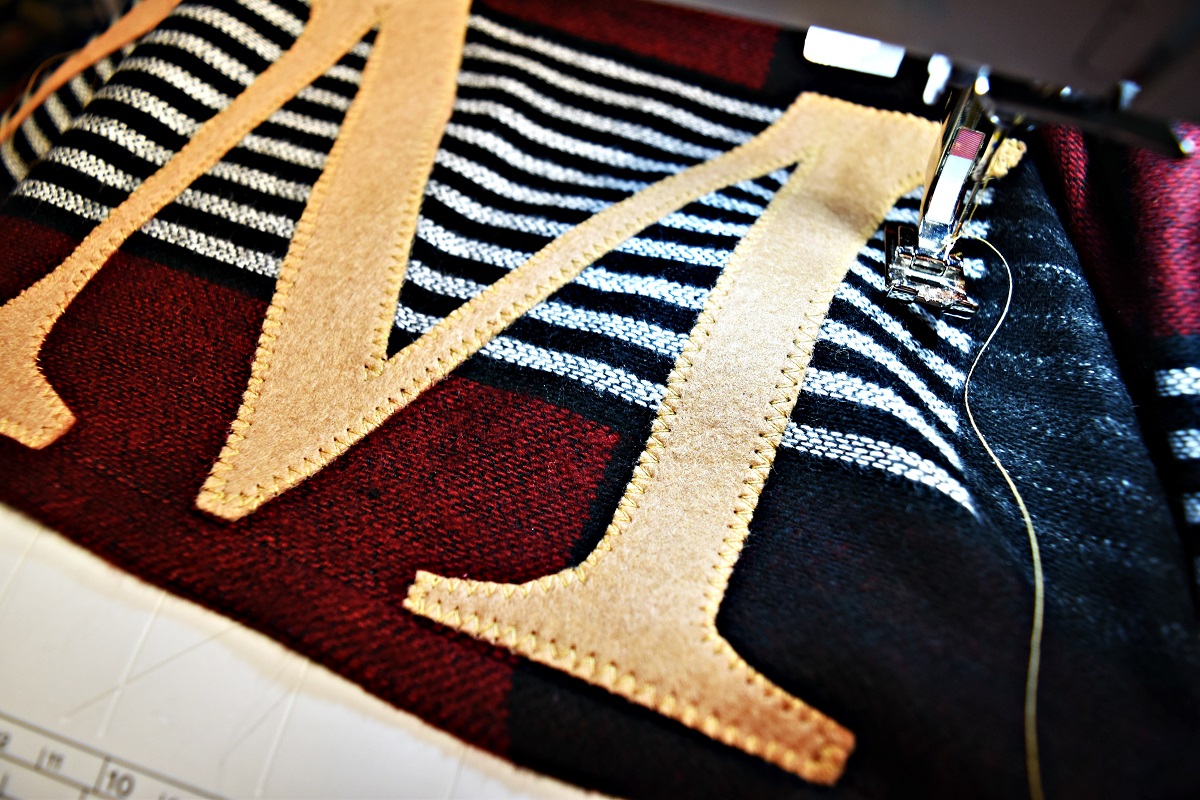
Step 5. Once you have applied the adhesive to the back of the letters, place them on your poncho. Placement is up to you, I placed mine in the bottom right corner. Line them up as straight as possible. Iron them in place and now it’s time to zig-zag stitch them to the poncho fabric. Make sure your lettering is on good and do not pull as you are sewing, it will distort your letters..
Finished! This was so easy, I am wondering why I had not made one before now and those big monograms are such a WOW factor! This poncho is chic and ready for fall. My daughter Mori loves the look and it looks great on her. But guess what? We both have the same exact initials so this poncho will be serving us both! Two for one.
I hope you are inspired to make your own personalized poncho because it’s just to easy not to! Make sure you stop by and visit us over at www.thatblackchic.com. My new sewing magazine titled “Sewn” will published in November! I’m excited for this new Sewing, Fashion & DIY magazine to be released to the public. Stop by we will be listing updates soon. -Michelle
Used Products

What you might also like


5 comments on “DIY Burberry Inspired Monogrammed Poncho”
-
-
Thanks JoJo, I was just mad I hadn’t done it sooner!
-
-
Where did you find that divine fabric?!!
-
I came across this in Joann’s! I was like this is perfect..or a close as I was going to get to Burberry!
-
You are absolutely right! I love it.
-
-
Leave a Reply
You must be logged in to post a comment.

Love, love, love this! Beautiful job! I’ll have to make one!