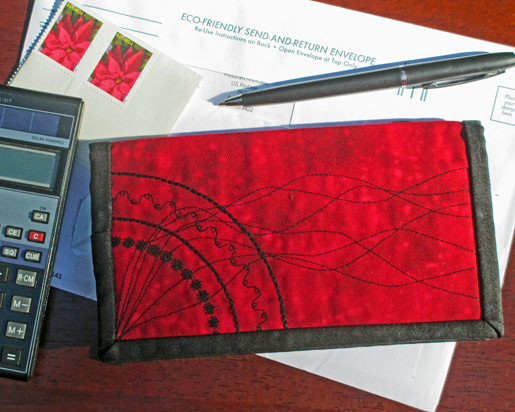
DIY Embellished Checkbook Cover Featuring Circular Embroidery Attachment #83
Here’s a simple – but creative and relaxing – project from Kathie Alyce of Waterfall Quilts. Make several and keep them handy for birthday and holiday gifts. Just be sure the recipient has checks to keep inside! (I’ll admit to being old-school and having checkbooks for both of my bank accounts; I don’t usually carry a checkbook with me, but a cover like this would look wonderful on my desk! – Jo)
Yes, some of us still use checkbooks! I’ve designed a delightful, fast and fun little embellishment project to encourage play with the wonderful decorative stitches and circular embroidery attachment. So gather your supplies and jump in – you’ll make this in an afternoon!
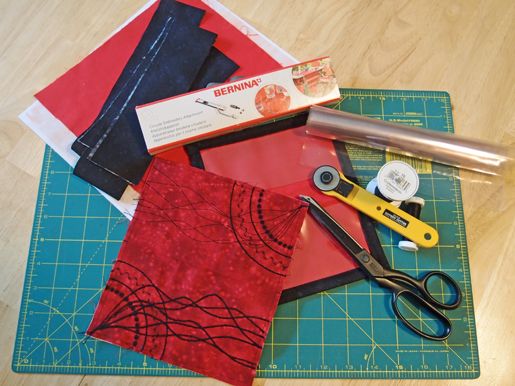
Supplies
- One rectangle of outer fabric, 6-3/4″ x 7-3/4″
- One rectangle of inner fabric, 6-3/4″ x 7-3/4″
- One rectangle of tear-away or cut-away stabilizer, 6-3/4″ x 7-3/4″
- Two rectangles of clear vinyl, each 3-1/4″ x 7-1/2″
- Coordinating thread for construction
- Contrasting thread for embellishment
- Fabric strips for binding, SIZE
- Quilt- or fabric-basting spray
- Rotary cutter, mat, and ruler
- Scissors
- Circular embroidery set (BERNINA Circular Embroidery Attachment #83)
 Step 1) Prepare the embellished fabric rectangle.
Place the stabilizer on the reverse side of the cover, securing it with basting spray. I leave the stabilizer in place; there’s no need to tear it out later.
Mark 1/4″ from all four sides; this is the area that will be covered by the binding later.
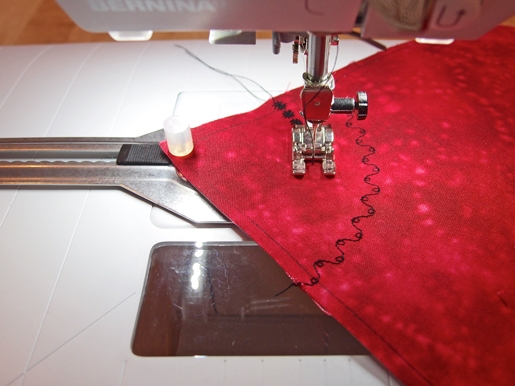
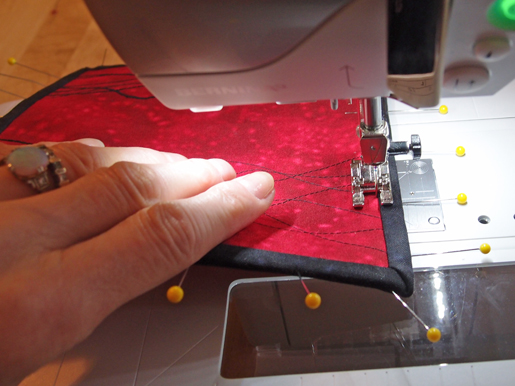
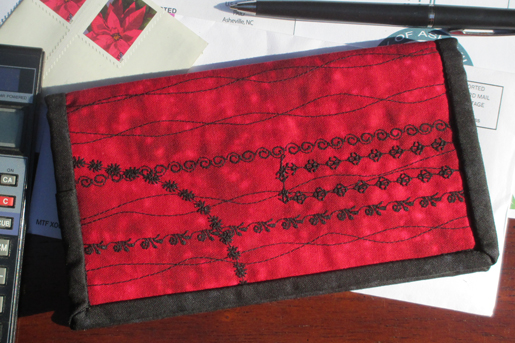
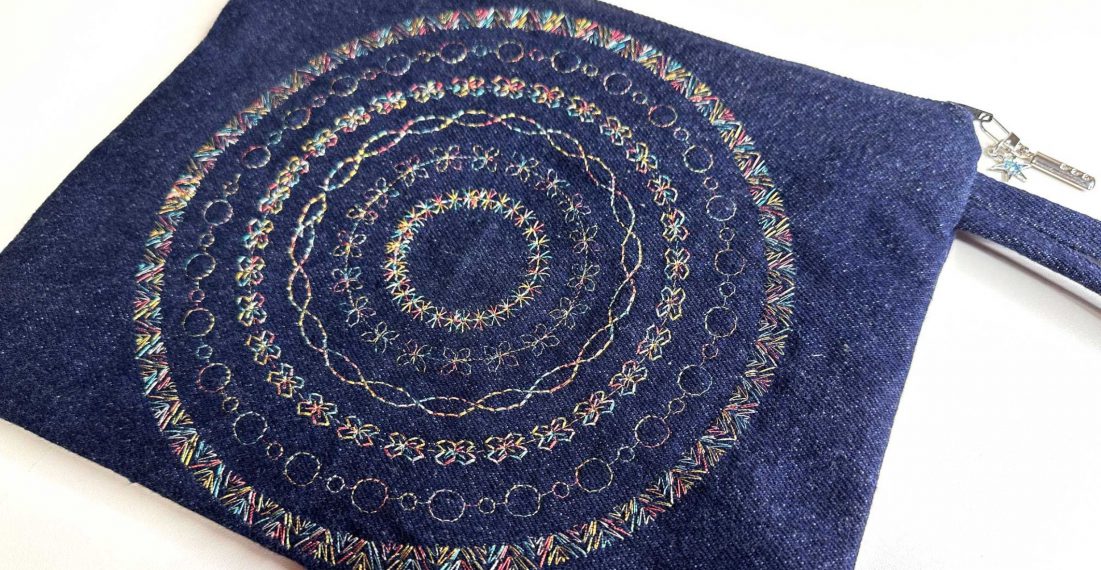
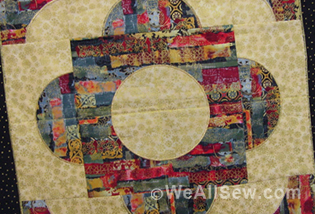
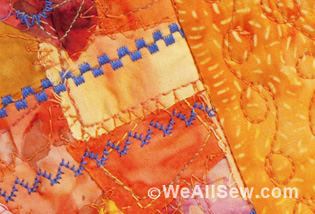
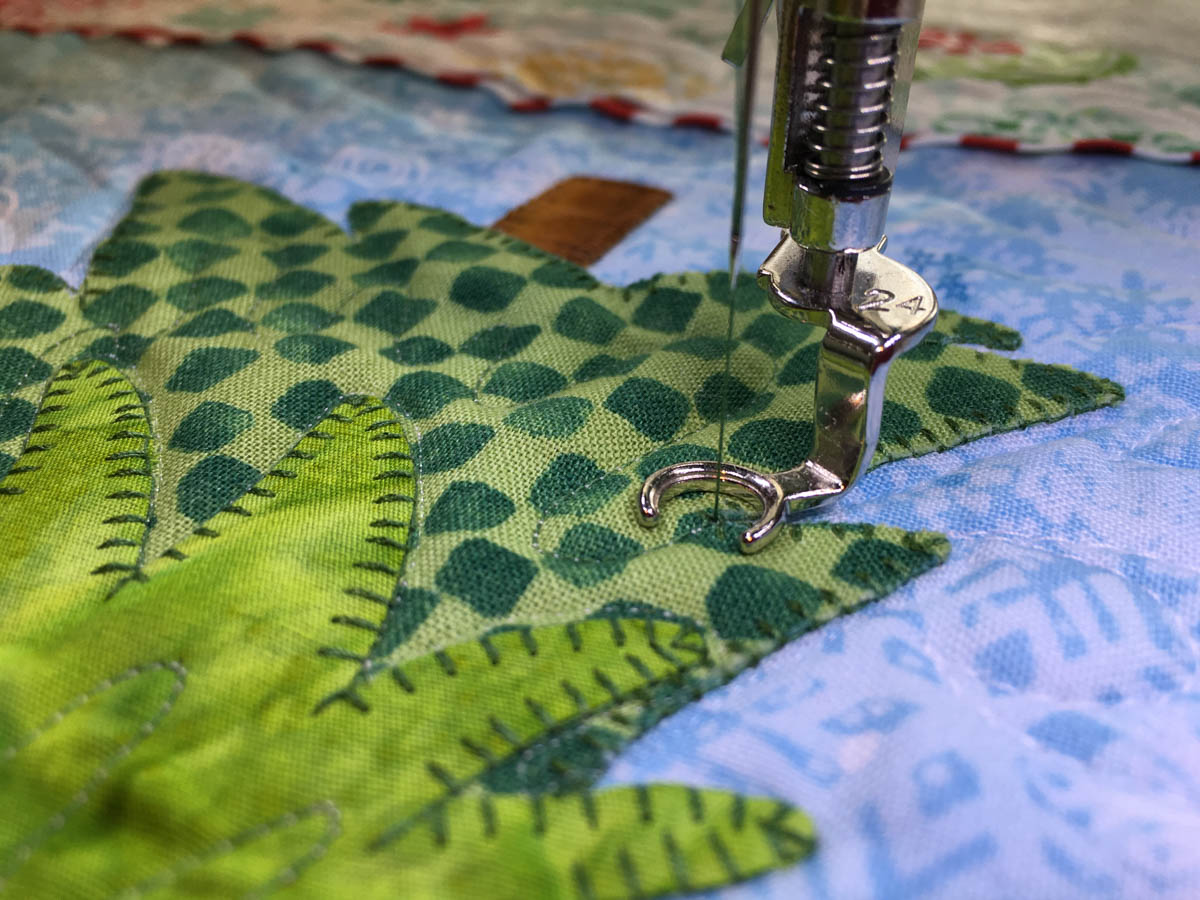
Using the decorative stitches on your sewing machine, randomly decorate your checkbook cover. Sew straight lines, curves, intertwining lines, etc. I focused on one thread color, but you could certainly use several. It’s all up to you!
Some of the stitches I used:
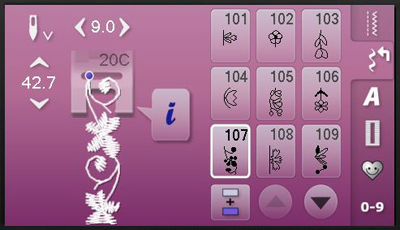
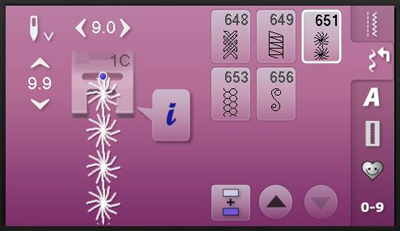
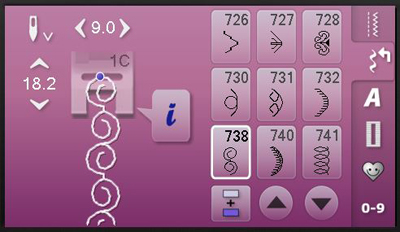
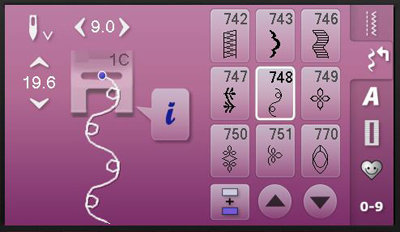
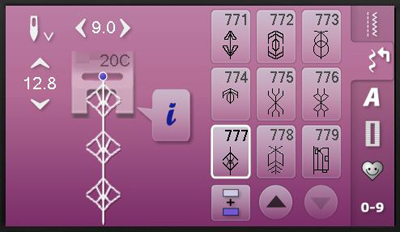
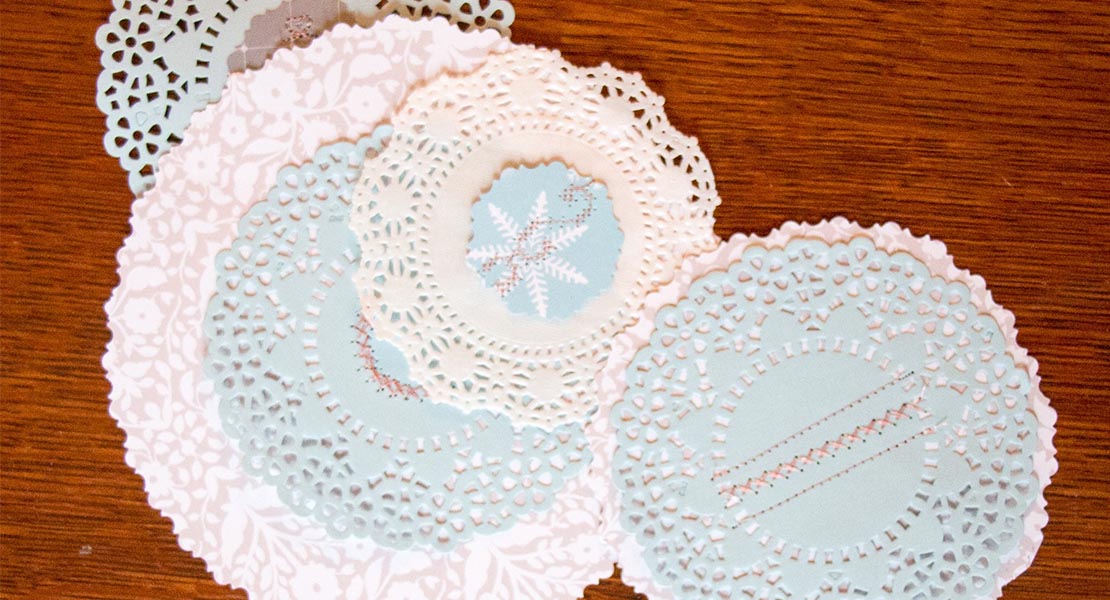
I used Circular Embroidery Attachment #83 on my BERNINA sewing machine, and really like my quarter-circles in various stitch choices.
Step 2) Complete the inside of the cover.
When finished embellishing the front, place the lining fabric underneath and secure it in place with a spritz of basting spray.
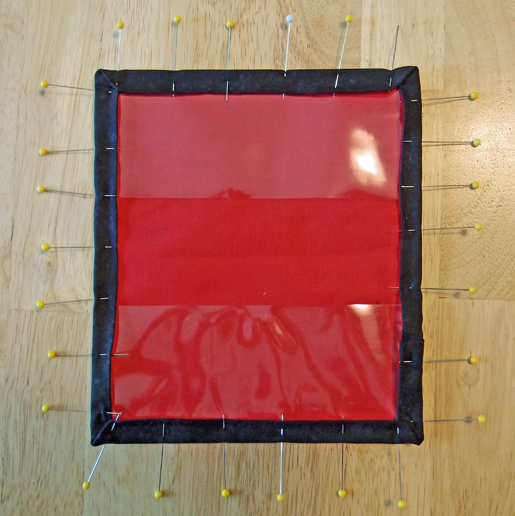
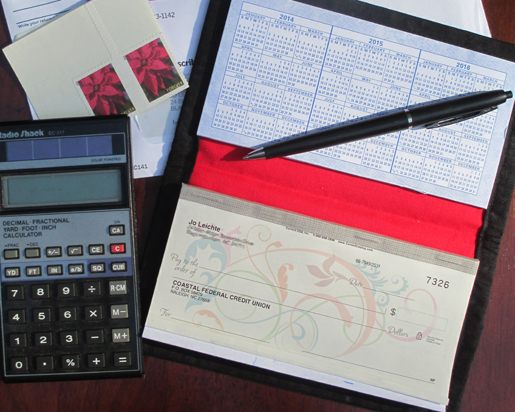
Place one 3-1/4″ x 7-1/2″ clear vinyl strip at the upper edge of the cover and one at the lower edge, overlapping the cover 2-3/4″. Pin in place, taking care to place pins inside the seam allowance where the holes will not show once the cover is finished.
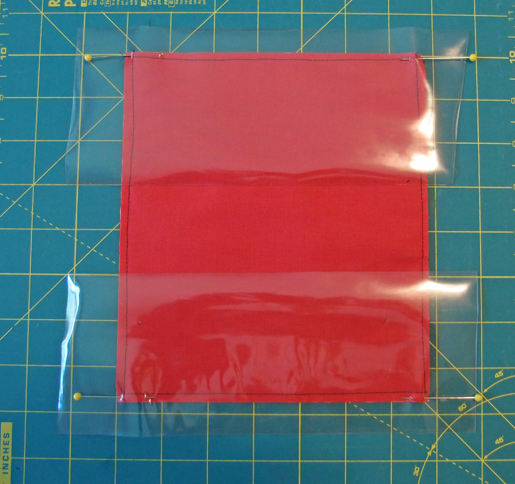
Staystitch all around the cover. I stitch with the vinyl side down, fabric on top. When finished, trim off the excess vinyl. Using oversized vinyl pieces and trimming to size is easier and more accurate than cutting to size and keeping the edges even.
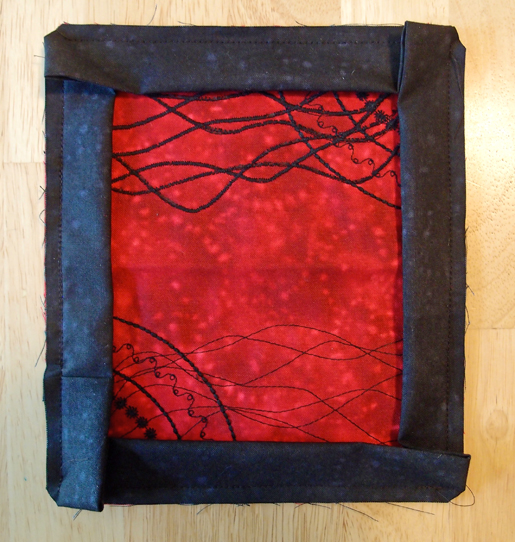
Step 3) Bind the edges of the cover.
Bind the edges of the checkbook cover using your favorite binding technique. I used a double-fold binding, stitching folded 2″ strips to the front with a 1/4″-wide seam allowance and mitering the corners, then folding them to the inside and stitching in the ditch from the front. Be sure to trim the corners to reduce bulk before wrapping the binding to the back.
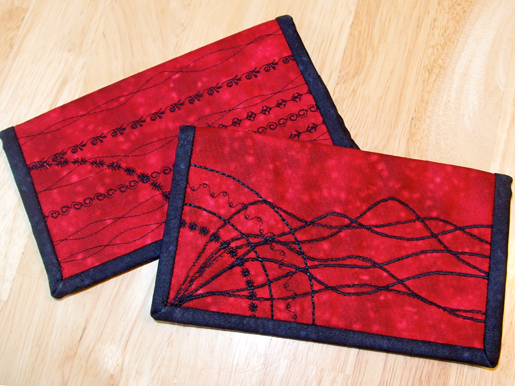
That’s it – you’re finished! No handwork, no fussy pockets to sew. Enjoy!
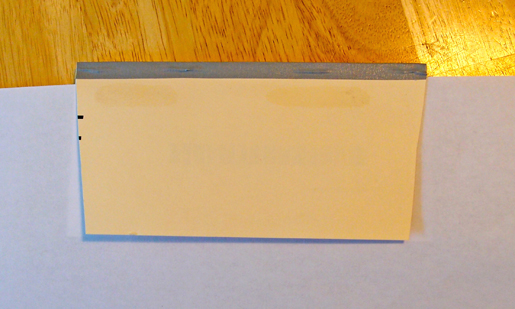
Tip: If you find it hard to snug your checks and register into the vinyl pockets, just trim the corners off the cardboard backs and they will slide right in! I trimmed about 1/4″ off the lower edge of each side, tapering to nothing at the top.
Visit Kathie at her website, www.waterfallquilts.com.


One comment on “DIY Embellished Checkbook Cover Featuring Circular Embroidery Attachment #83”