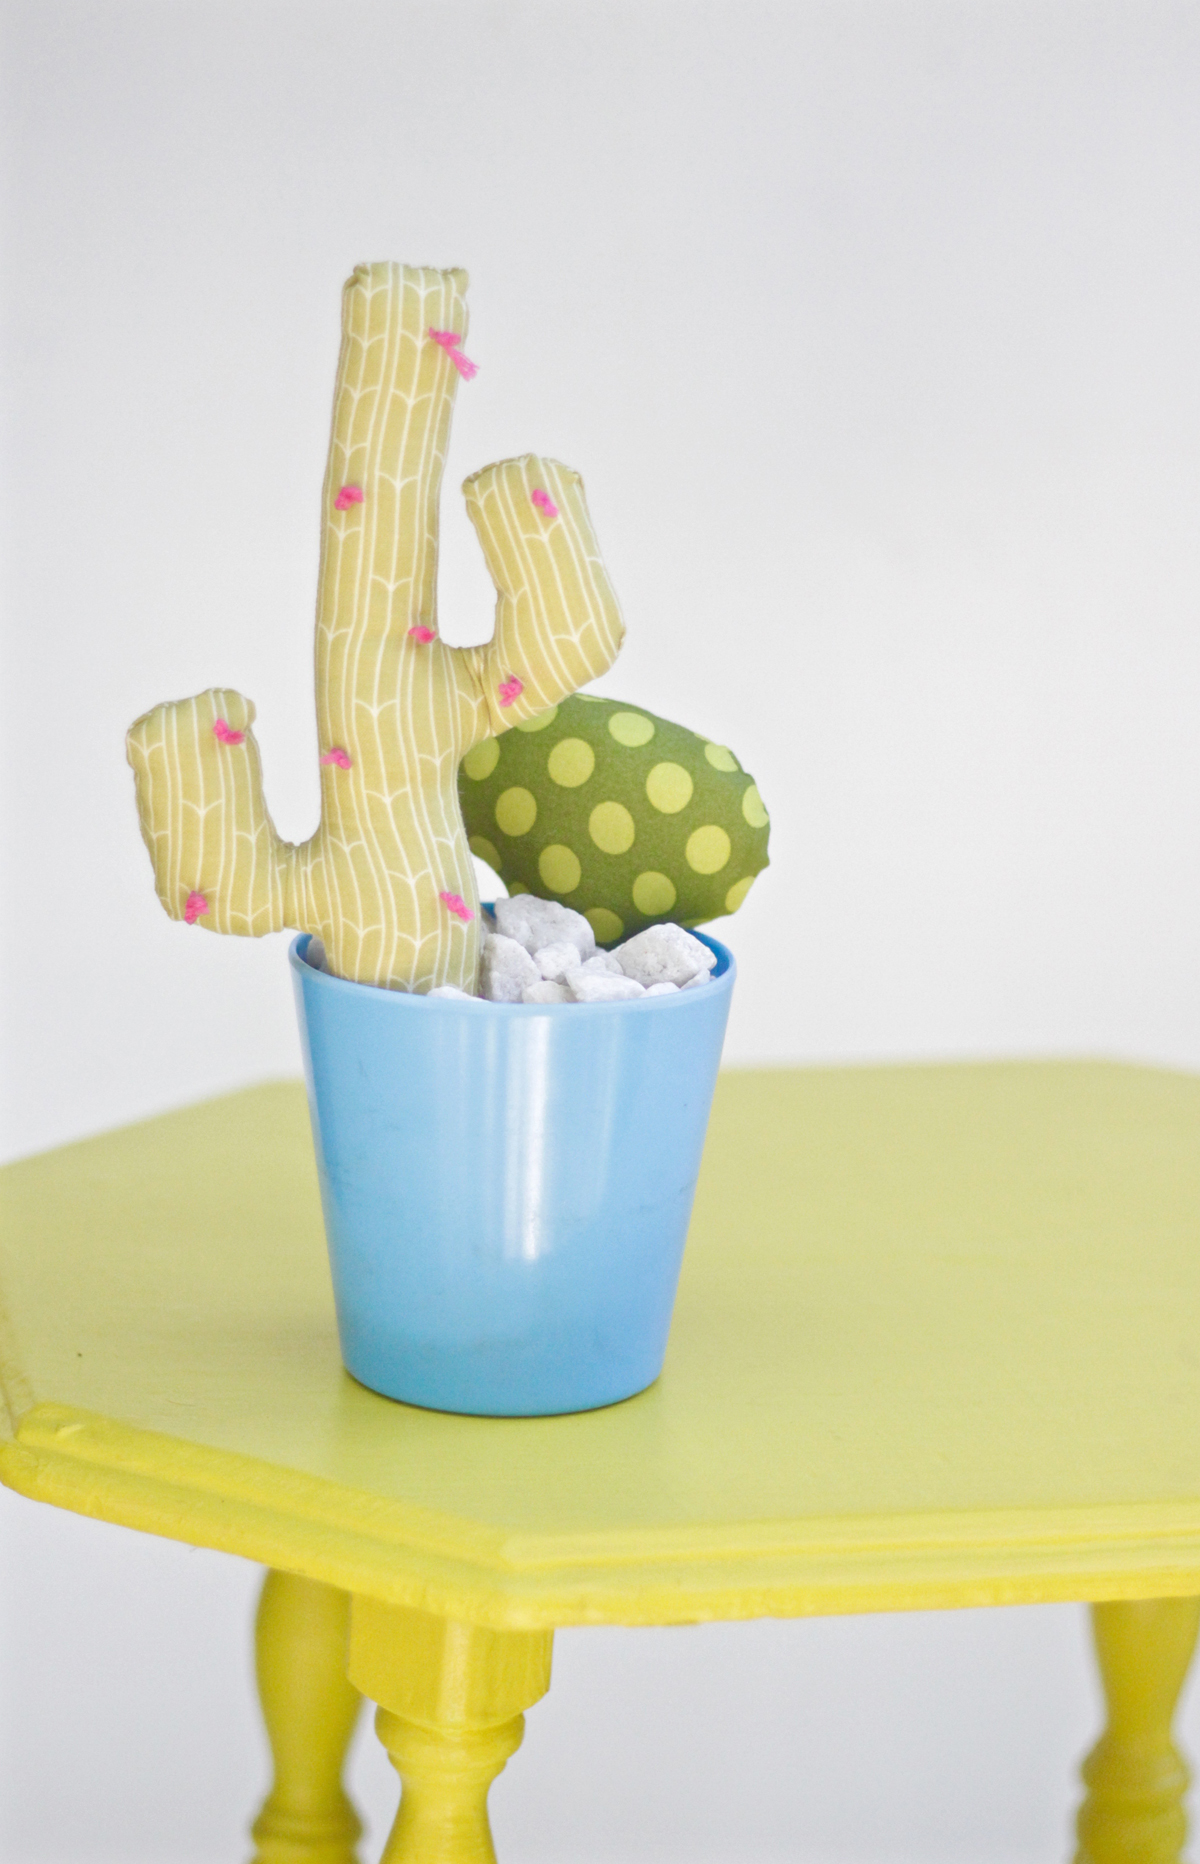
DIY Potted Plush Succulents
During the first two years that I lived in my house I don’t think I stepped foot in my backyard more than a handful of times. It was a real shame considering the fact that my house is fairly small (800 square feet) and property is nearly 10 times that size which meant that there was a whole lot of wasted space behind my house. To be honest I was a little scared of my backyard. There were no lights, overgrown bushes and trees and the ground was covered in dry leaves that the few times I ventured out there would ominously crunch under my feet like a scene from a scary movie.
Our backyard transformation started when our rad landlord offered to pour us a patio. Then my husband began to tackle the behemoth of prickly bushes that grabbed at your ankles, several inches of fallen leaves covering the dirt and what seemed like miles of tangled ivy branches that tried to trip you as you walked. Slowly but surely with the addition of nearly a hundred potted plants ranging from small succulents perched on tables to citrus trees to wild tropical plants as well as a few string of patio lights our backyard had become the place we spend the most time in.
Every once in a while when my husband drags me to the nursery I’ll pick out a plant to add to the family of thriving greenery lining our patio. I promise my husband I’ll water it and I really do try (at least for the first few weeks). Then my predisposition to plant murder (Ie: a busy schedule and the fact that in the little free time I do have I’d rather do just about anything aside from standing in one place watering a plant) kicks in and within a month any plant I’ve bought has died.
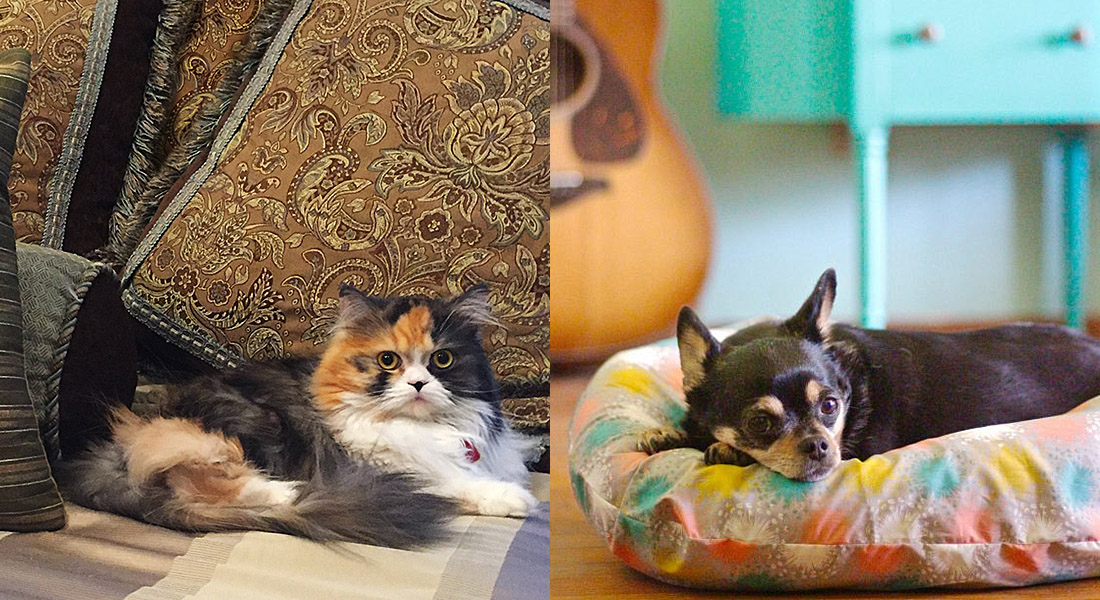
I really wanted a plant for my studio (which I wrote about in my dog bed tutorial post) but after having been alive for nearly four decades I know myself pretty well and I know better than to add “water the plant” to my already lengthy to-do list. So, I made a plant that never has to be watered! Aside from how quick and easy this DIY project is, it’s also a sure-fire way to add a little greenery into your life without having to worry about taking care of it.
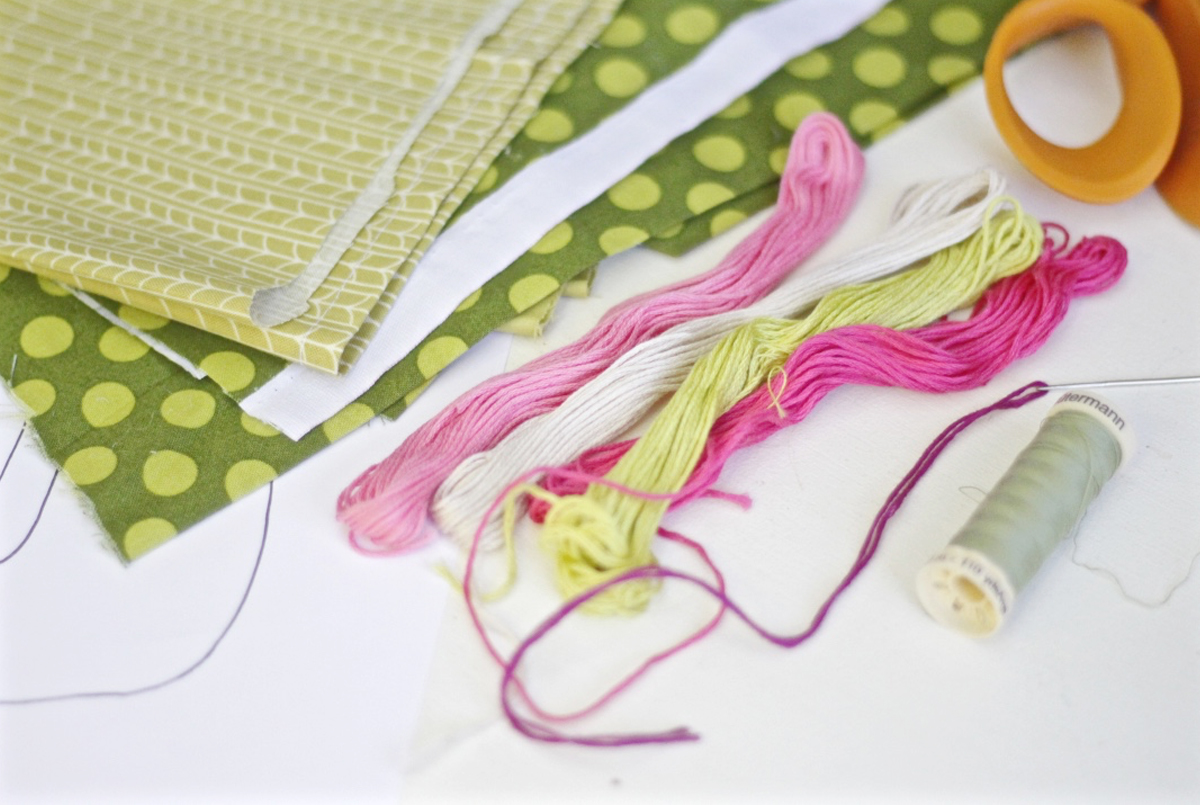
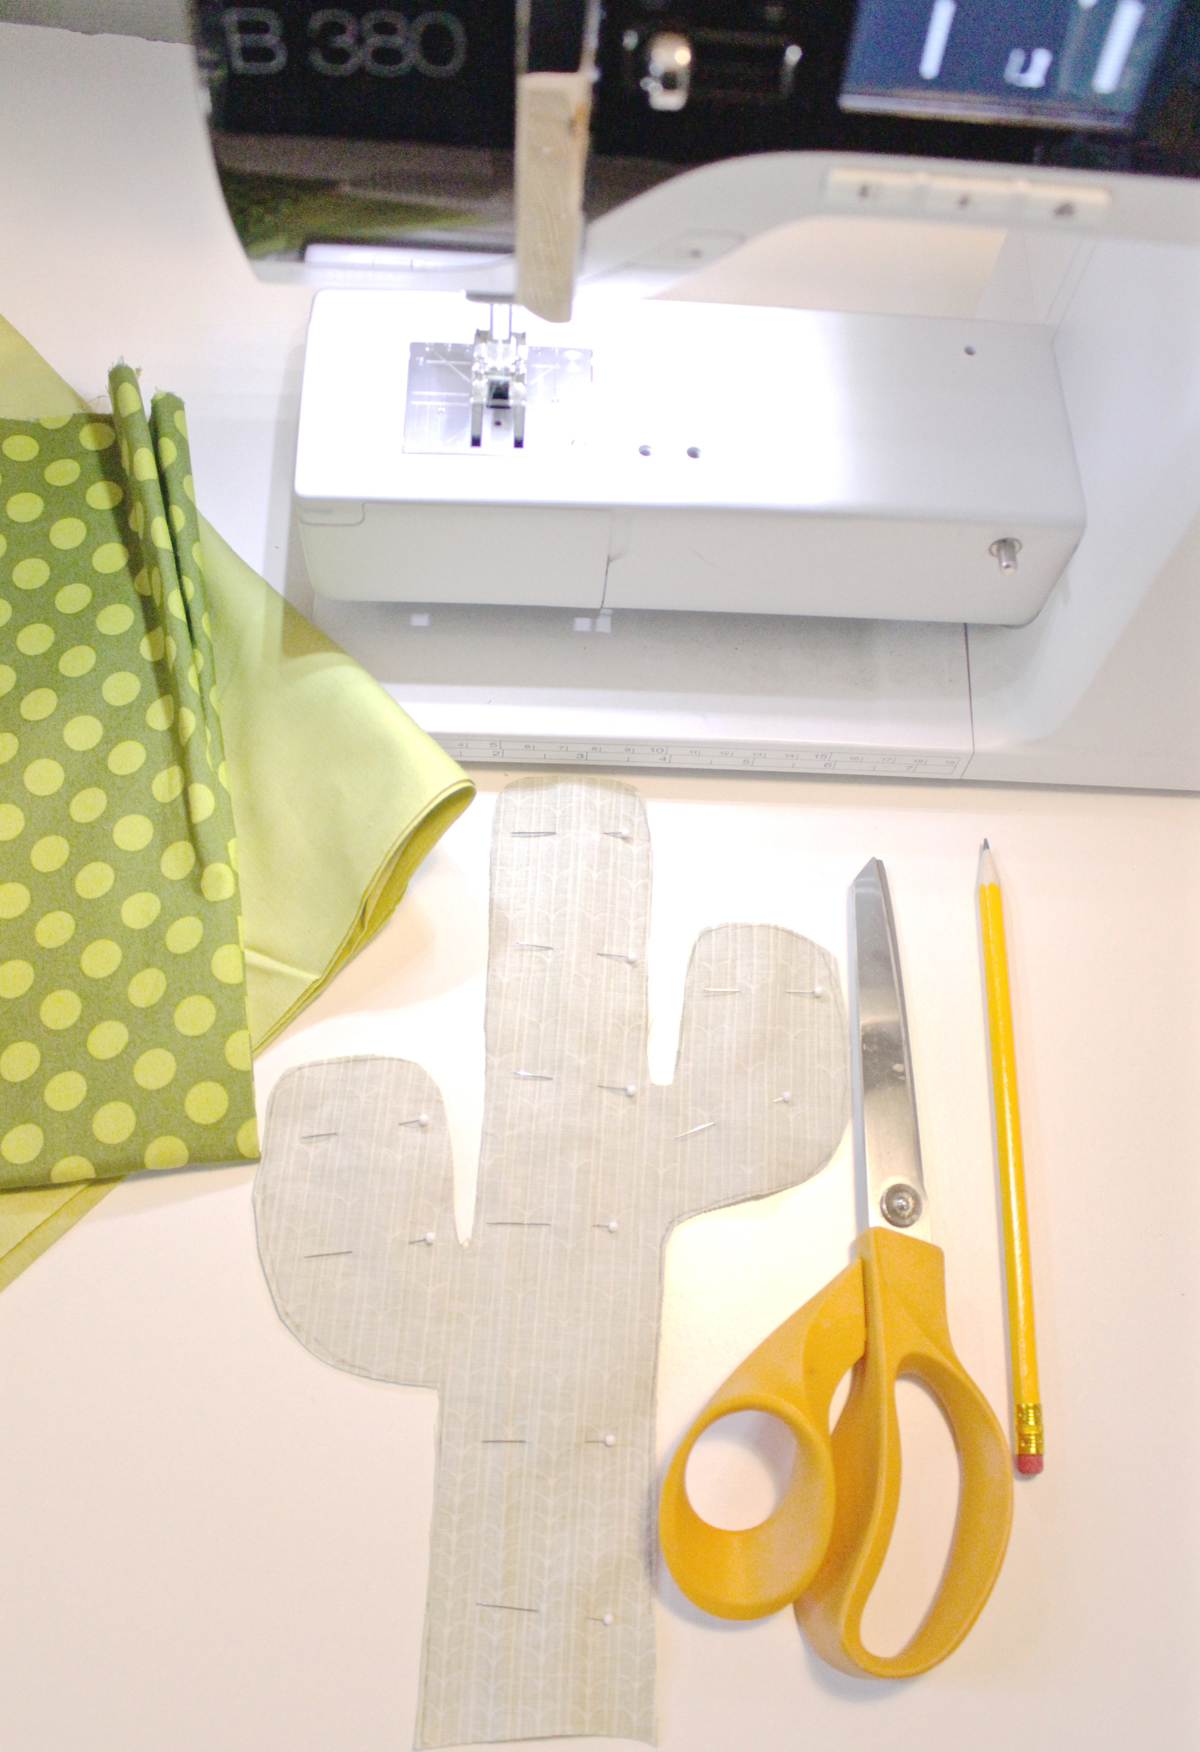
Materials to make DIY potted plush succulents:
- Sewing machine (I used my BERNINA 380)
- Scissors
- Fabric (the size depends on the size and quantity of your succulents but if you use my template you’ll need):
- one piece: 11 inches x 8 inches
- one piece: 5 inches x 8 inches
- Embroidery thread
- Embroidery needle
- Thread
- Stuffing
- Plush succulent template

Instructions to make DIY potted plush succulents:
1. Choose the shape for your succulents and draw them out on a piece of paper or download and print my template.
2. Cut the patterns for your succulents.

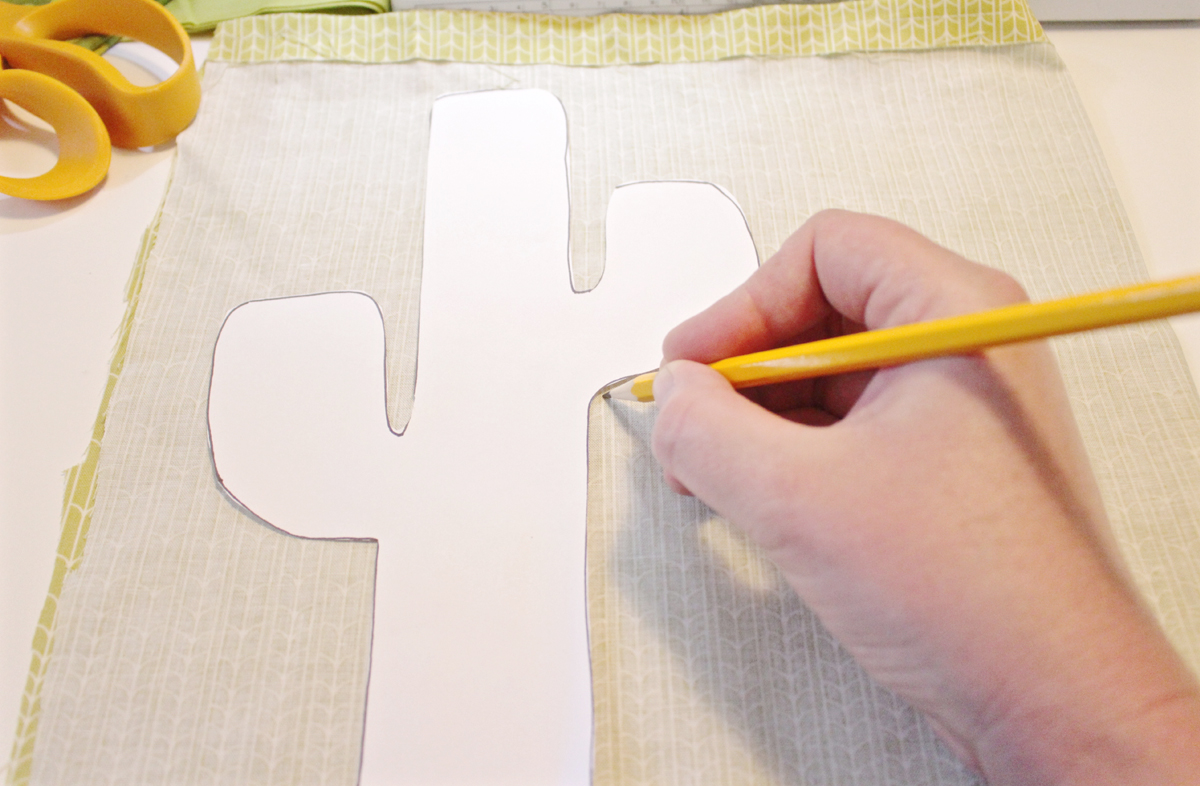
3. Fold your fabric in half (with the right/printed sides of the fabric facing in) and place the template on top of your fabric then trace around the edges.
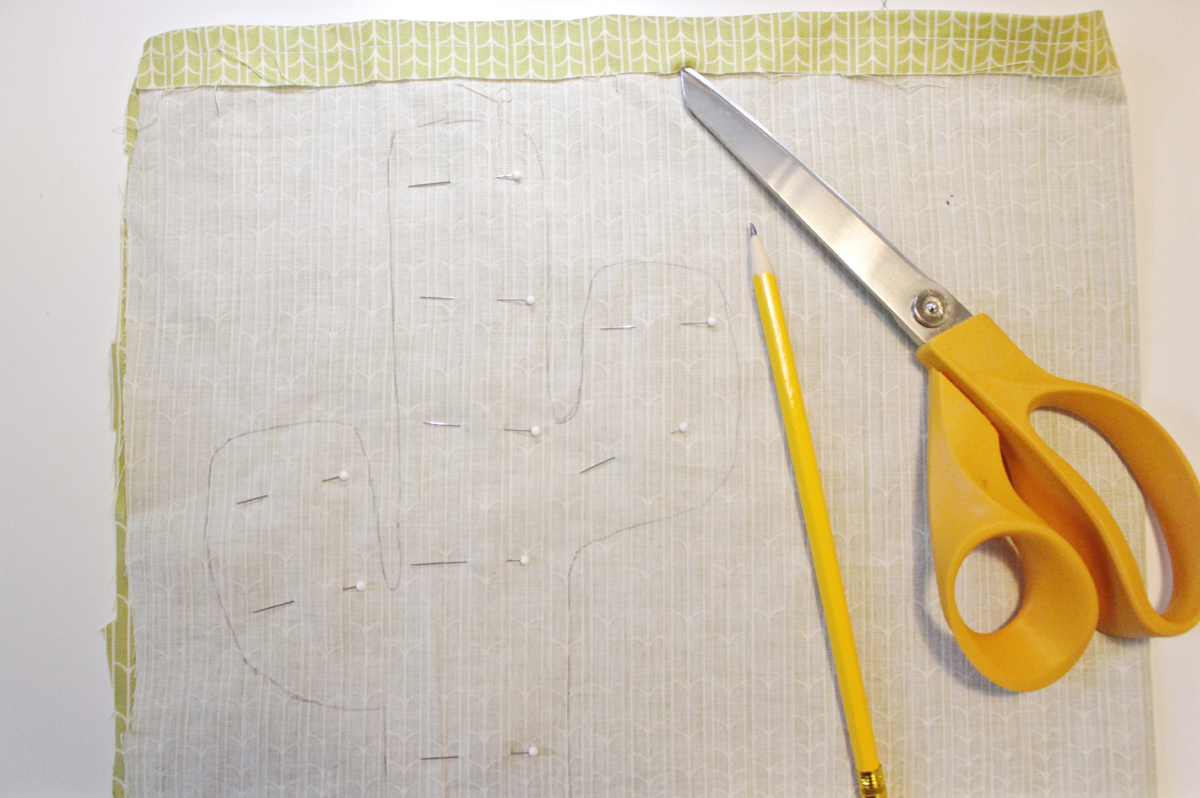
4. Pin your fabric pieces together and then cut the succulent out.
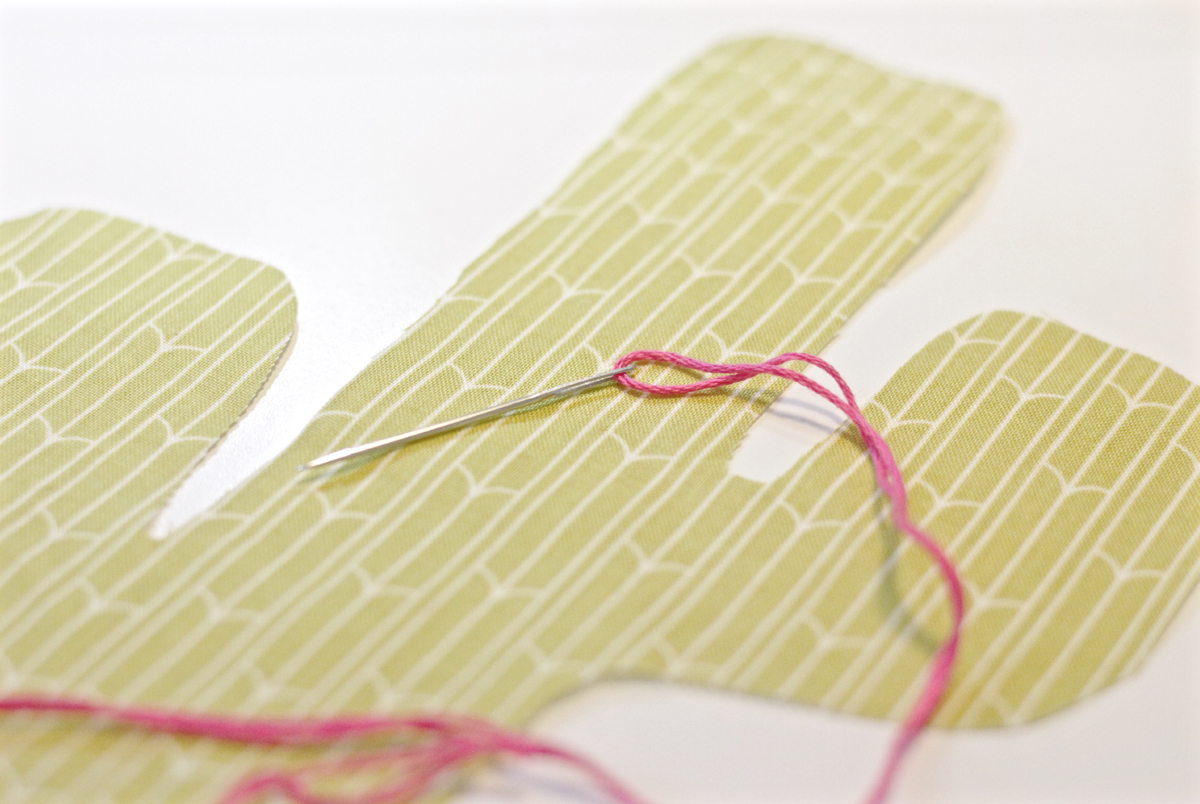
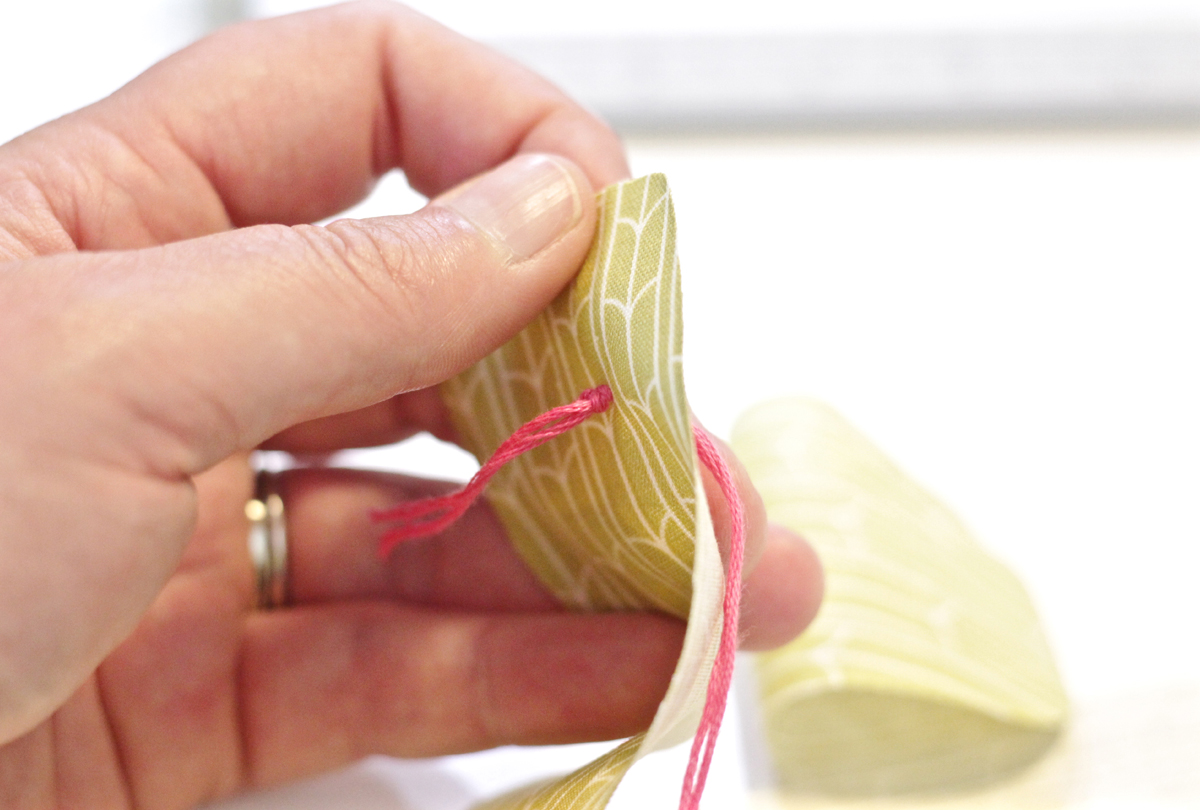
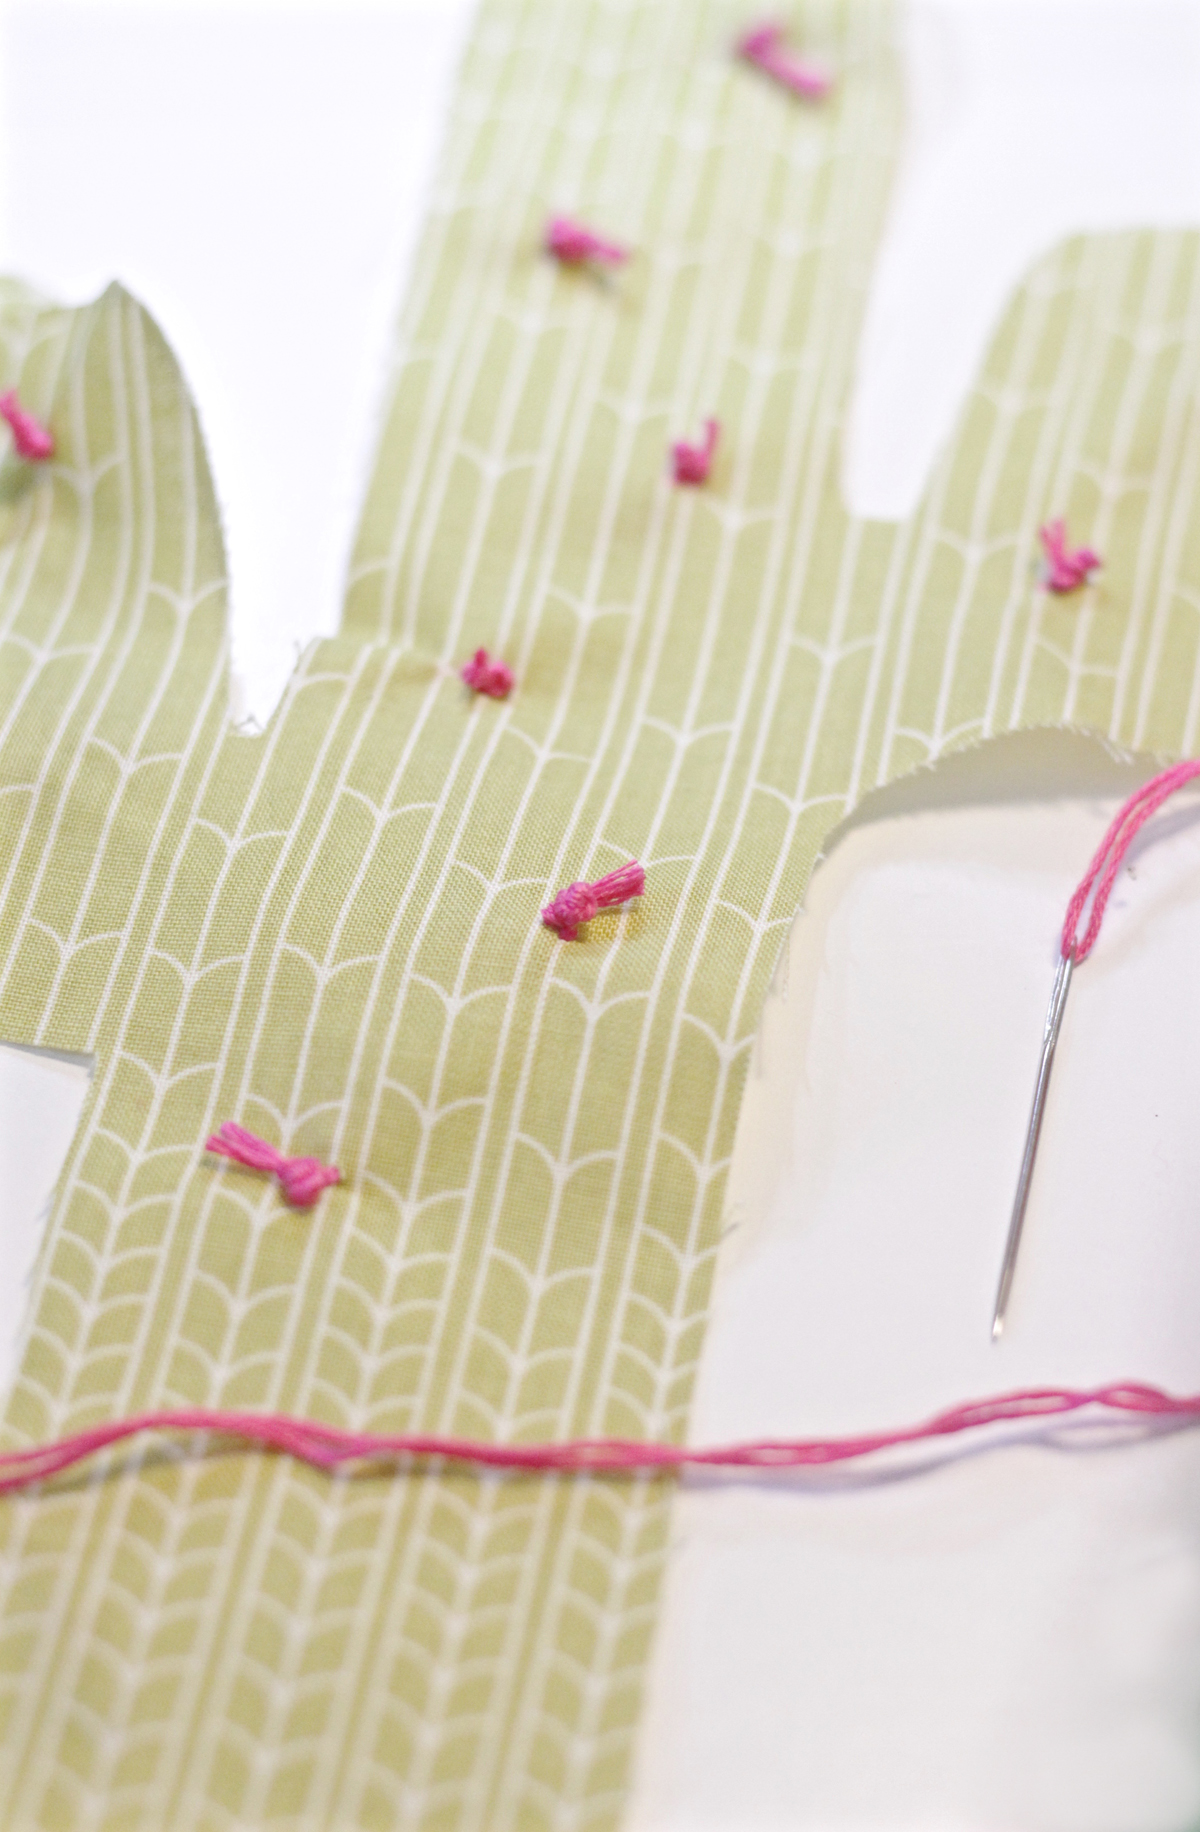
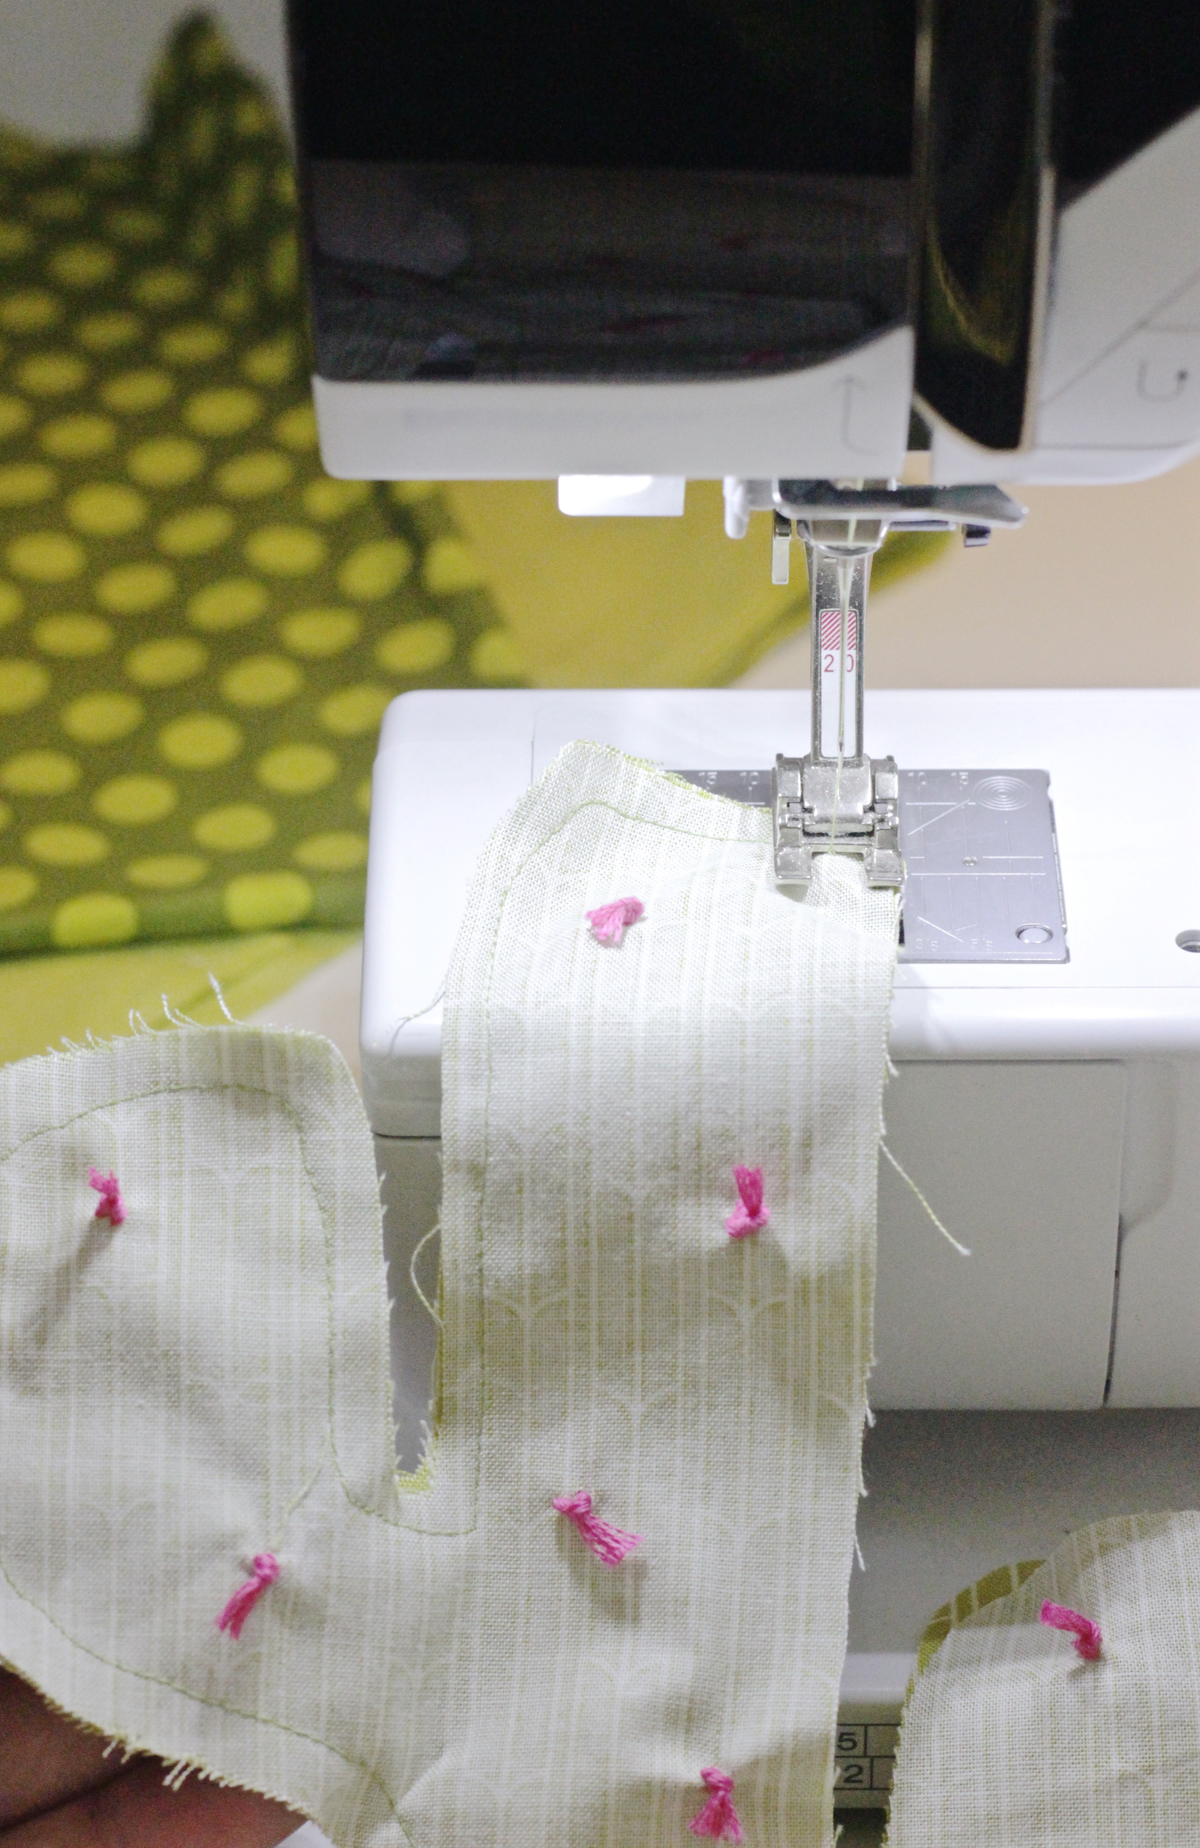
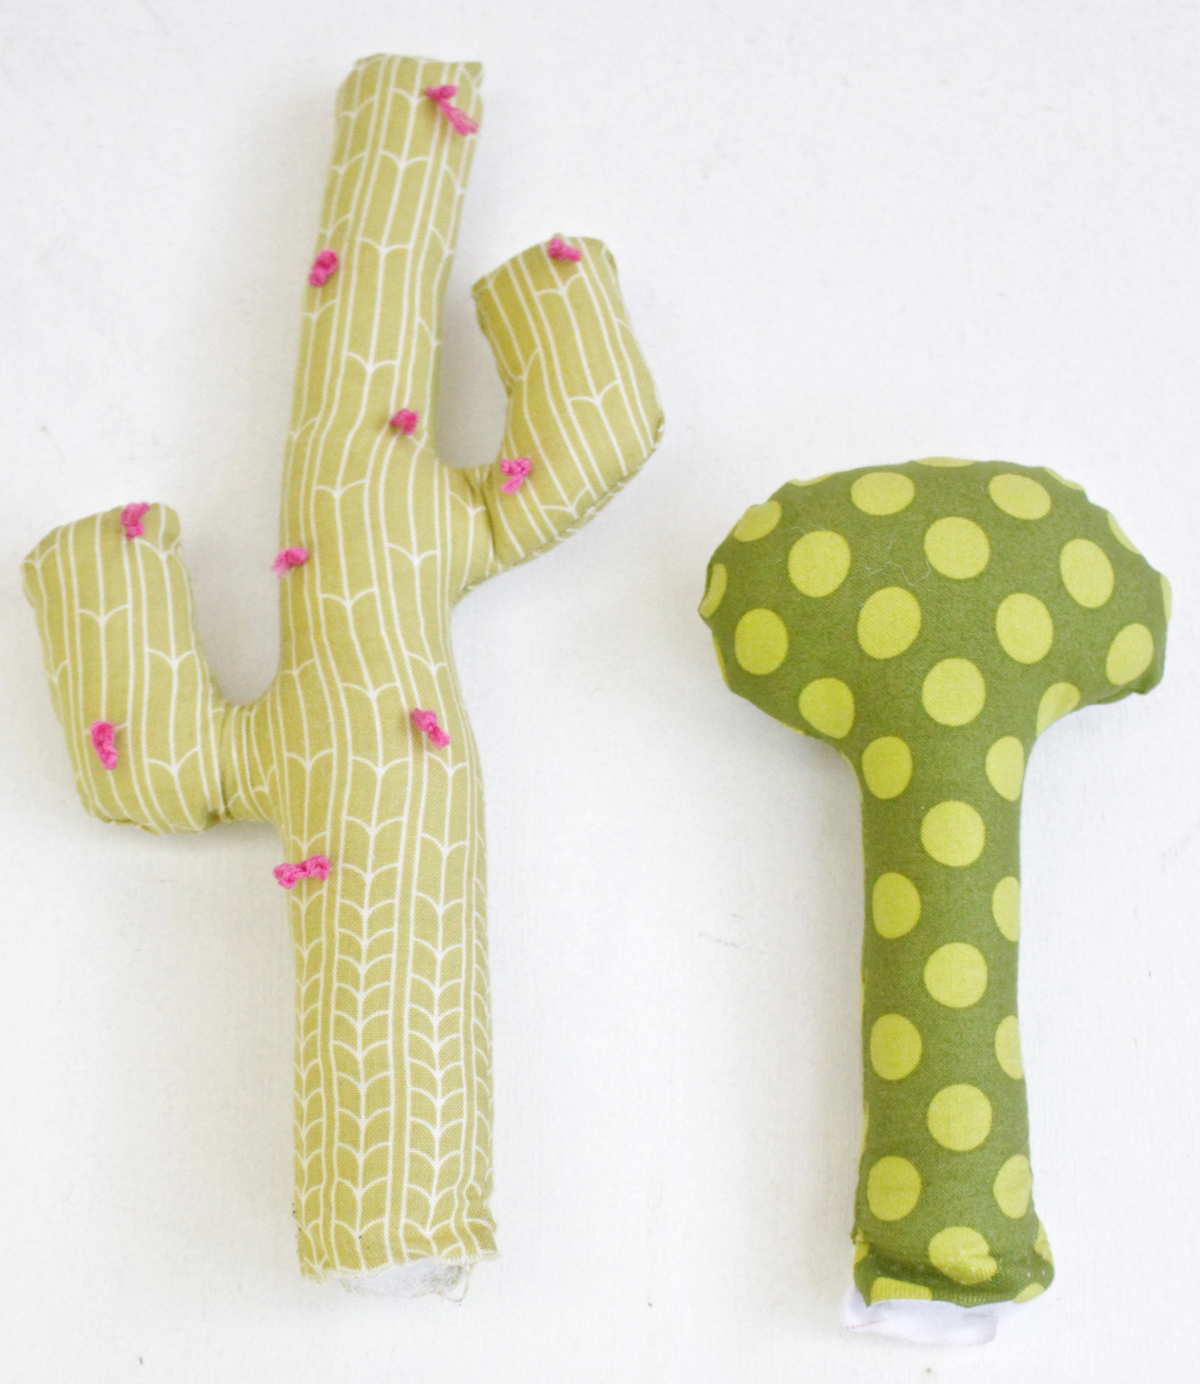
5. Remove the pins and use embroidery thread to make little knotted (flowers) in a random pattern on the front of your succulent. To create your ‘flowers’: Knot the end of the embroidery thread four to five times then pull it through the fabric and tie off the end on the back with a few knots. Repeat in a random pattern making sure not to get to close to the edges since you’ll be sewing around them. Trim the tips of the ‘flowers’ (the tails of the embroidery thread on the front side of the fabric) to your desired length.
6. Place the right/printed sides of your succulent together and sew around the edges. I used the edge of my presser foot to measure my seam allowance (meaning that the edge of my fabric was at the edge of the presser foot). Start at the bottom and go all the way around stopping on the opposite bottom side of where you started so that there’s an opening at the bottom.
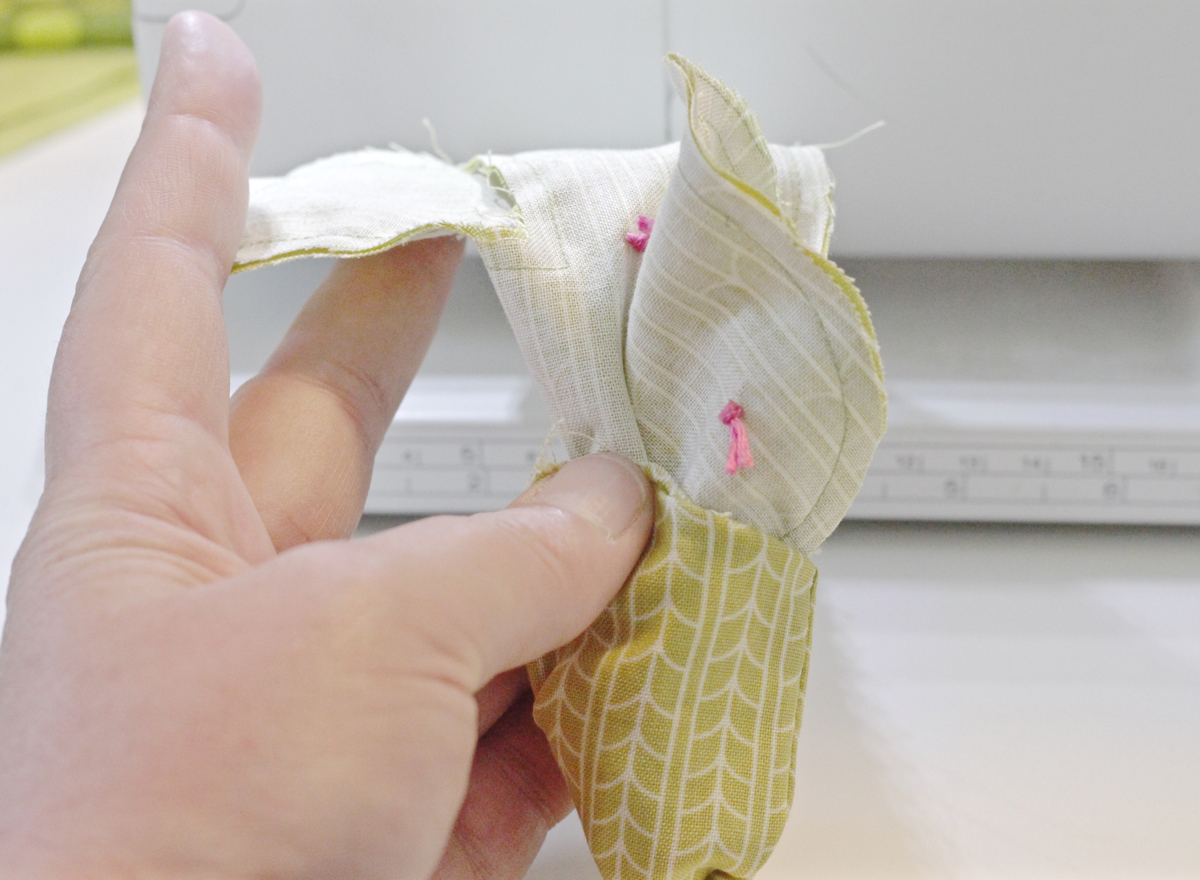
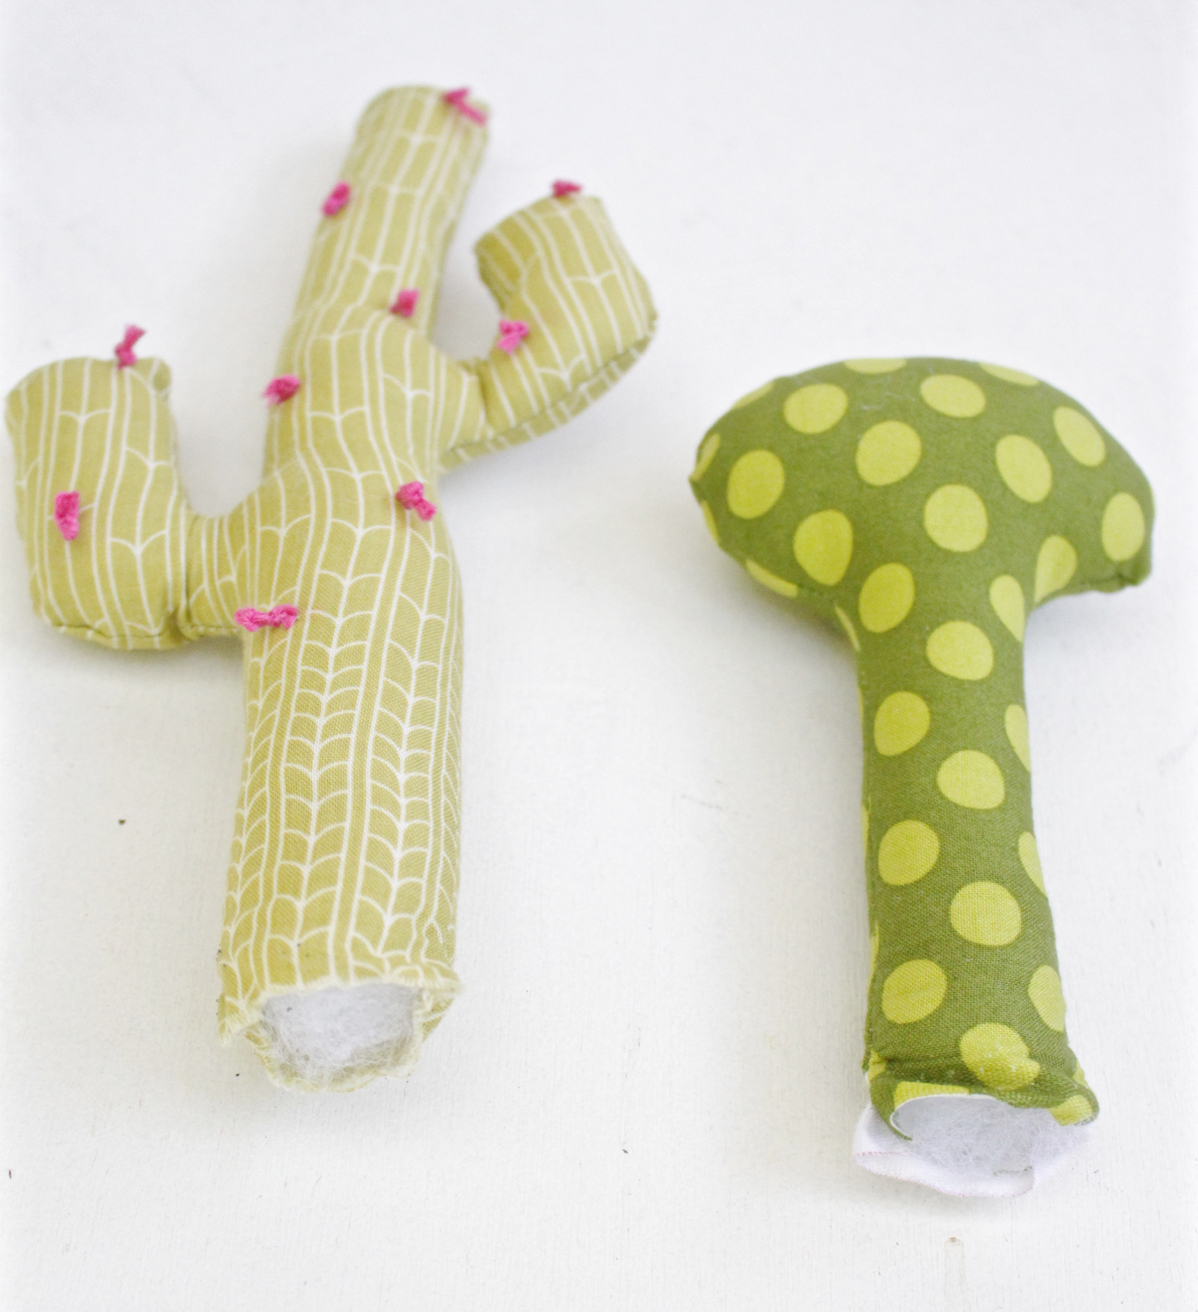
7. Turn your succulent right way out by folding the bottom over the top and then pushing the rest of the fabric through.
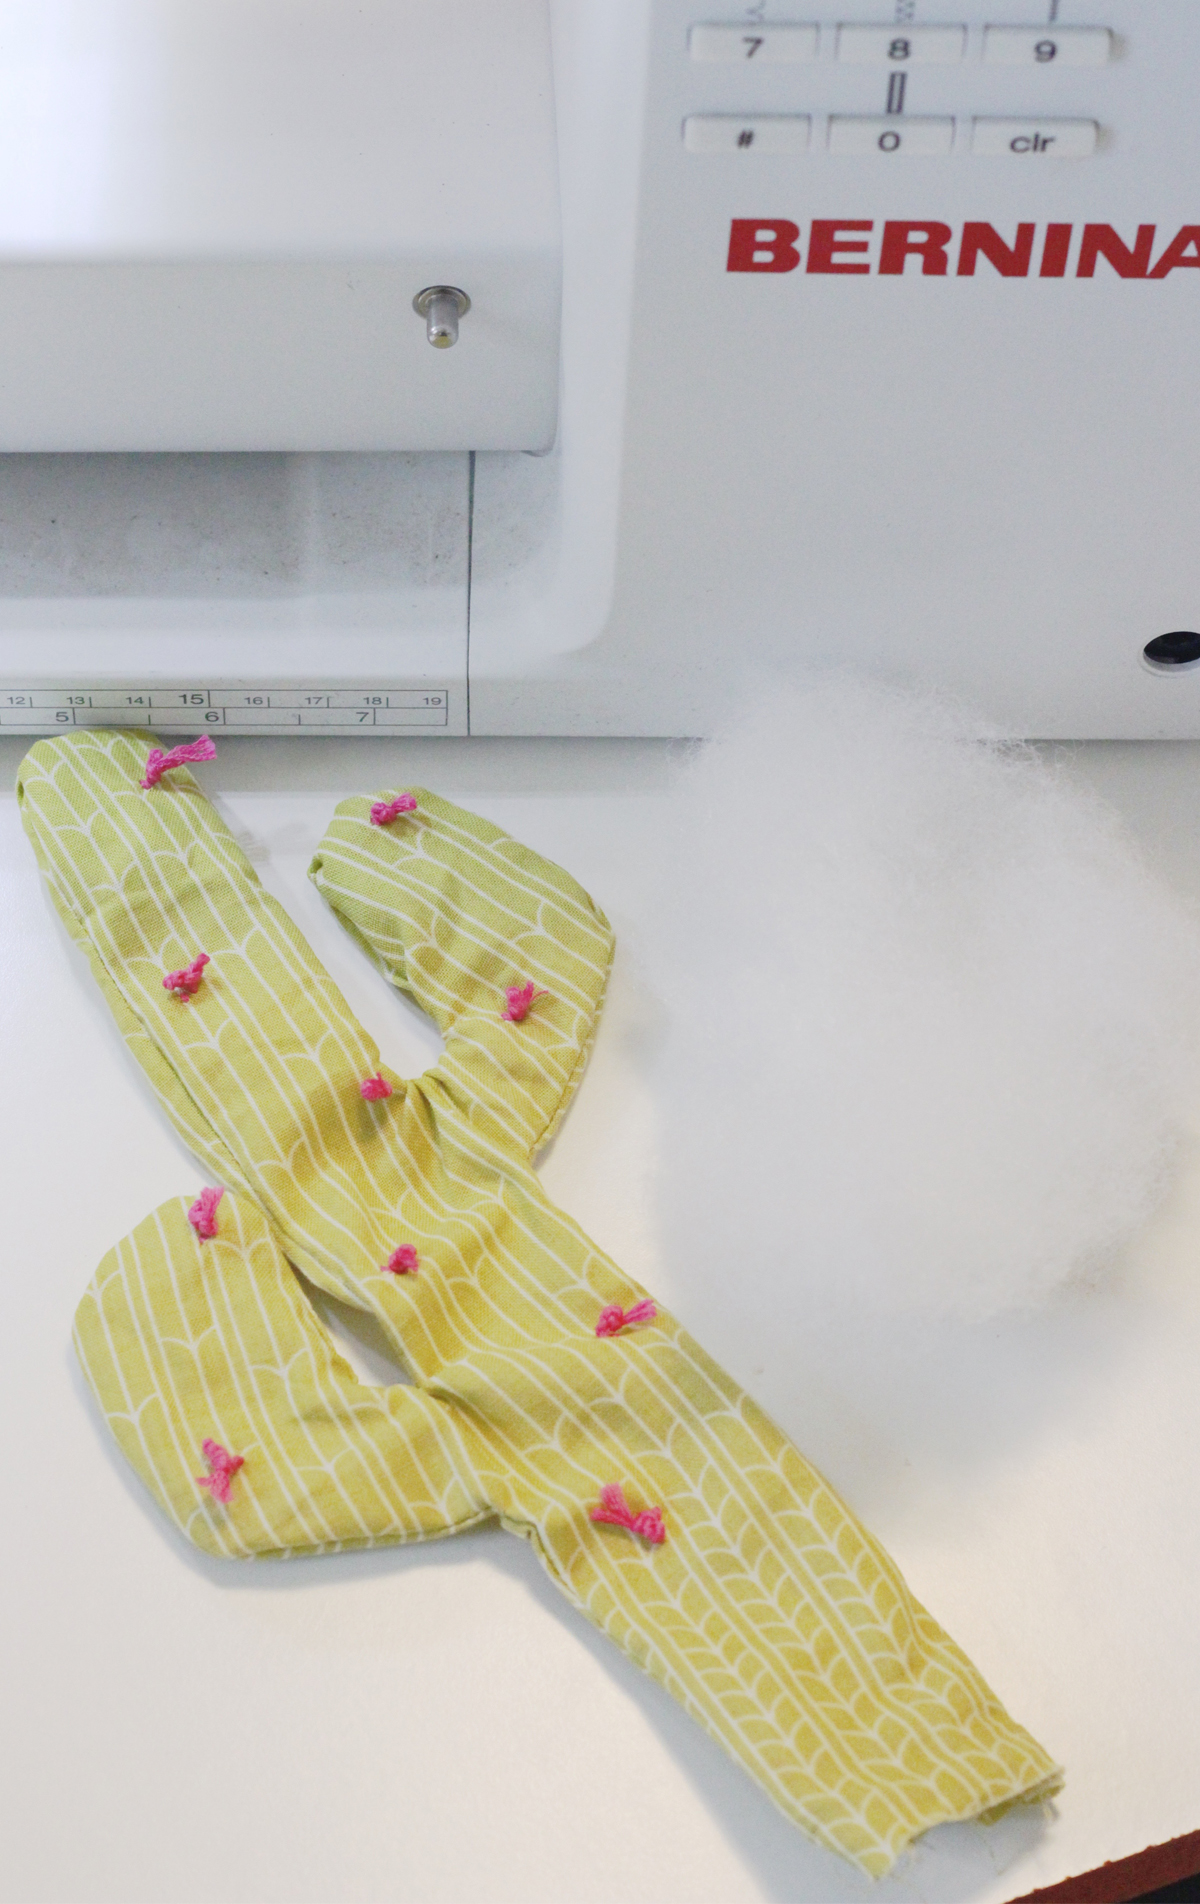
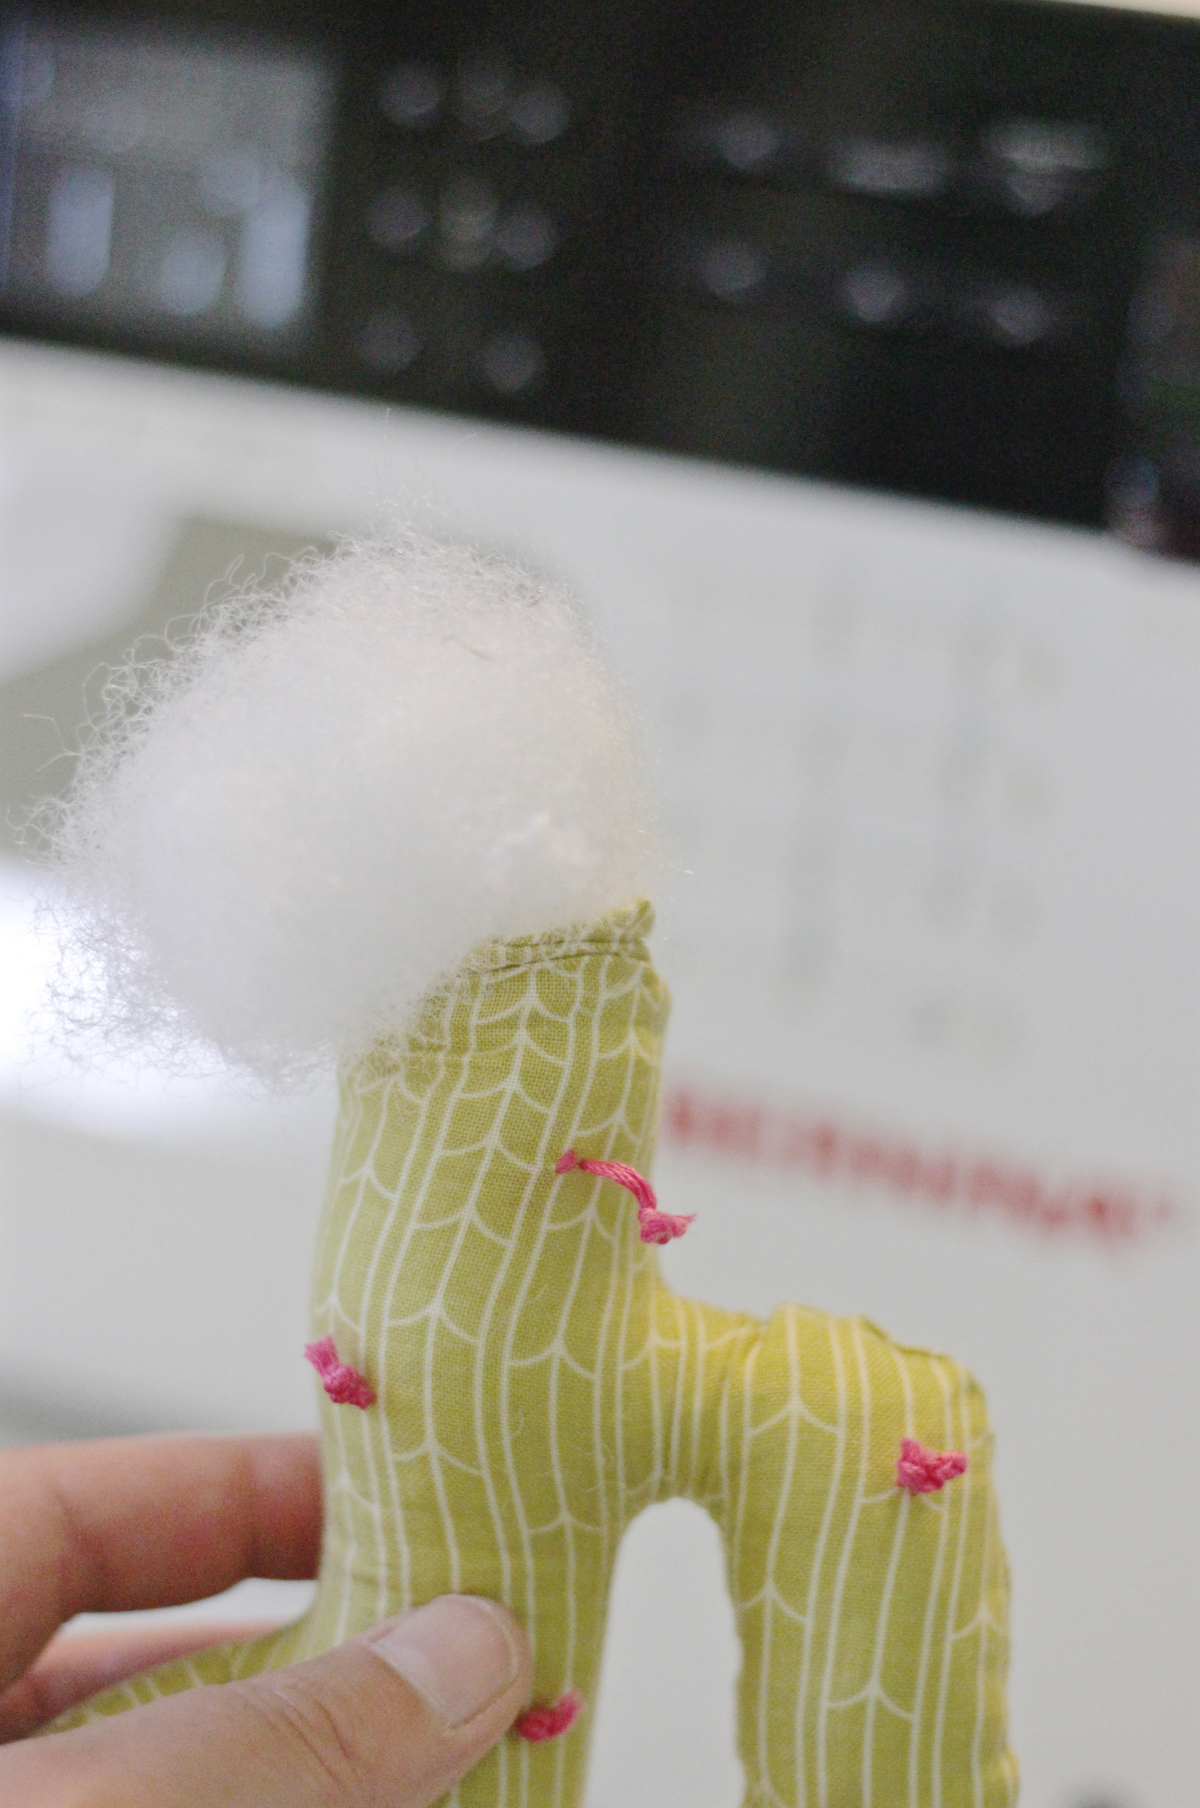
8. Stuff the succulent. Using a pencil will help you get it into the deep/narrow sections. Push the stuffing to the parts of the succulent furthest from the opening and keep filling until it’s completely stuffed.
9. Repeat all the steps using different templates to create multiple succulents.
*I didn’t sew up the opening of my succulents since they will be buried in the rocks.
10. Position your succulents in a pot with rocks.


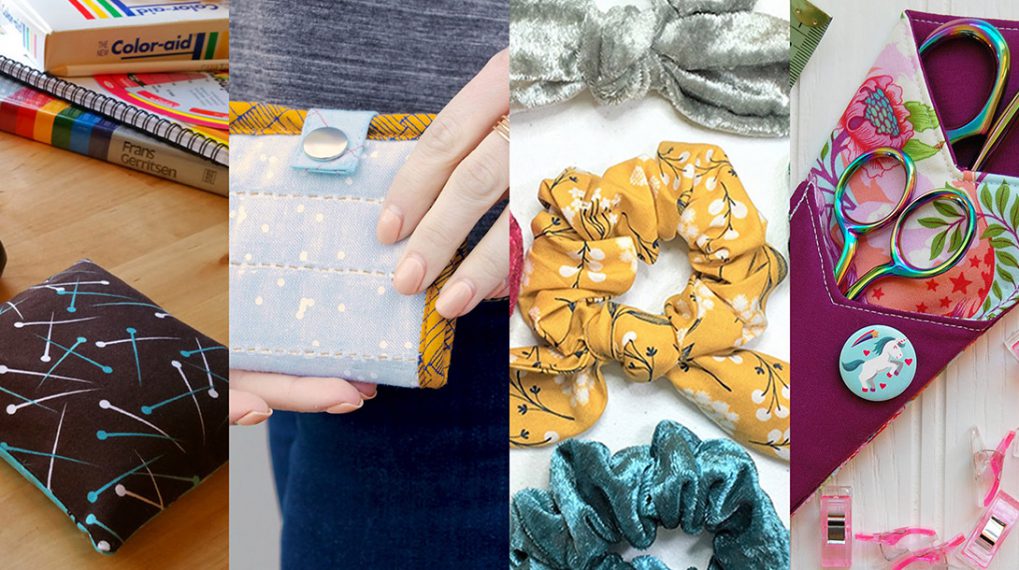
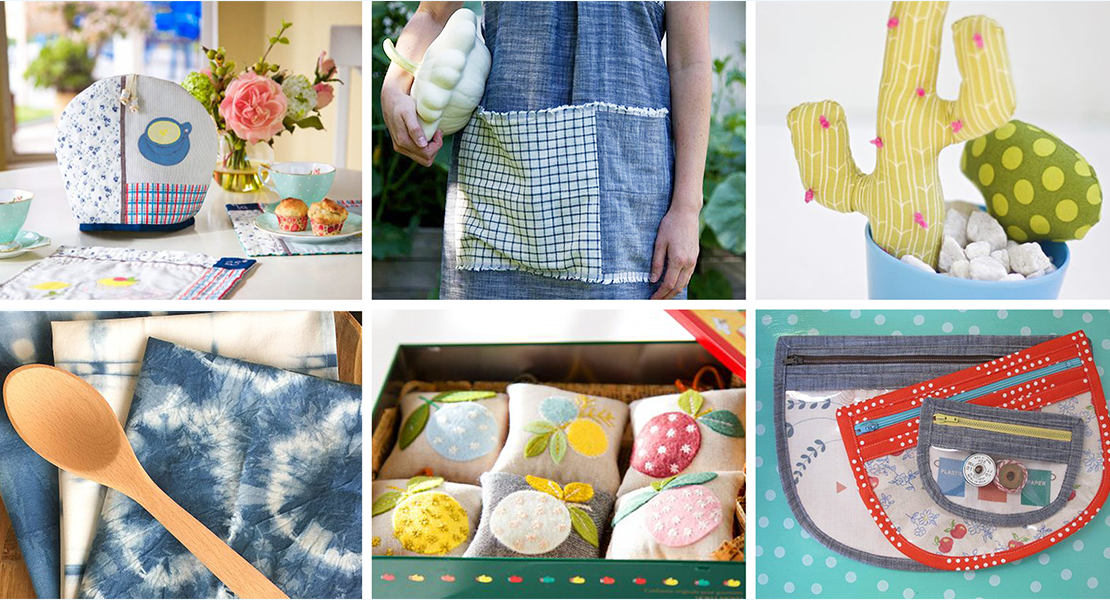
What you might also like


3 comments on “DIY Potted Plush Succulents”
-
-
This is the type of succulent I like. We have a winter home in Arizona and I had all of the cactus removed from our front yard because it was way too close to our driveway and walkway and the kind of cactus we had was very dangerous. I’m in the process of re-doing the front yard with lots of pots filled with artificial flowers made from soda cans colored with alcohol ink and this is another great idea to fill one of my flea market pots. Thanks for giving us the template.
-
Consider clipping curves or grading seams to avoid the gathering that shows on the first right-side-out picture of the cactus. (In the later pictures it looks like this has been done).
I would also sew the bottom shut so that the stuffing stays in place, even though the bottom will be hidden.
Leave a Reply
You must be logged in to post a comment.

This looks like MY type of plant! I’m going to have to try it. Thanks.