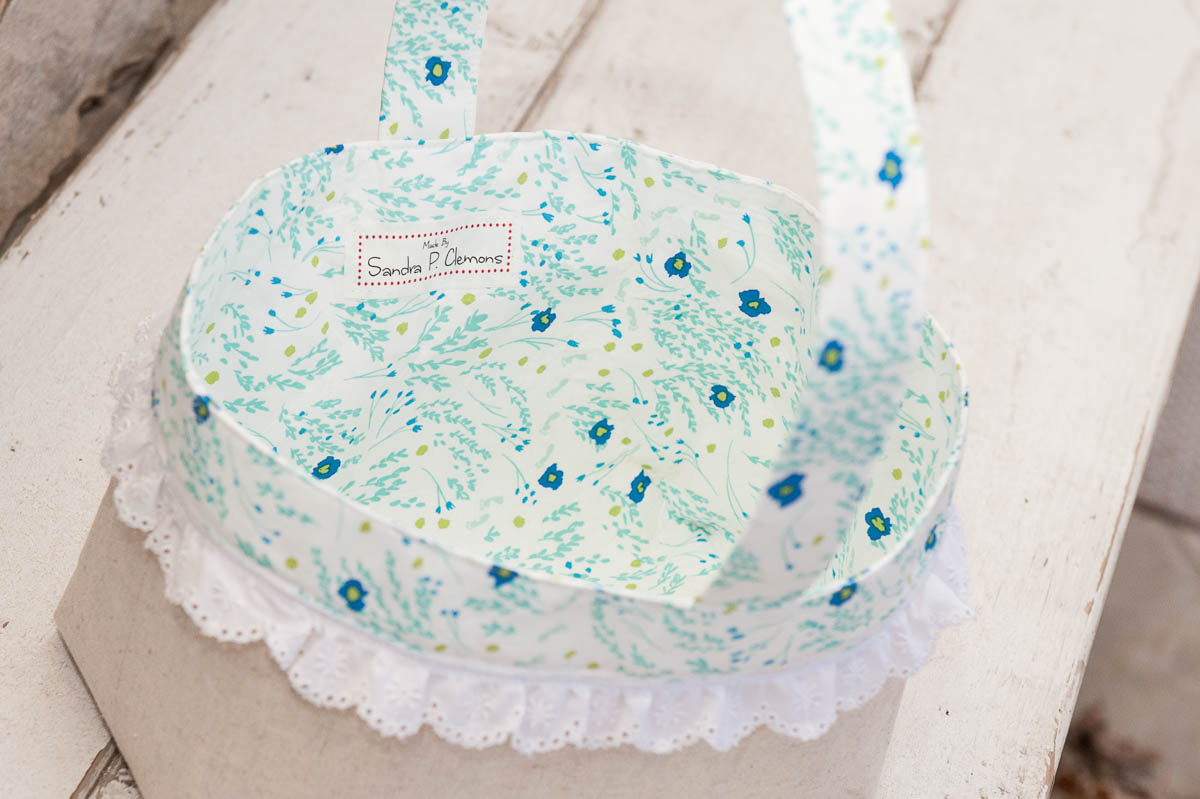
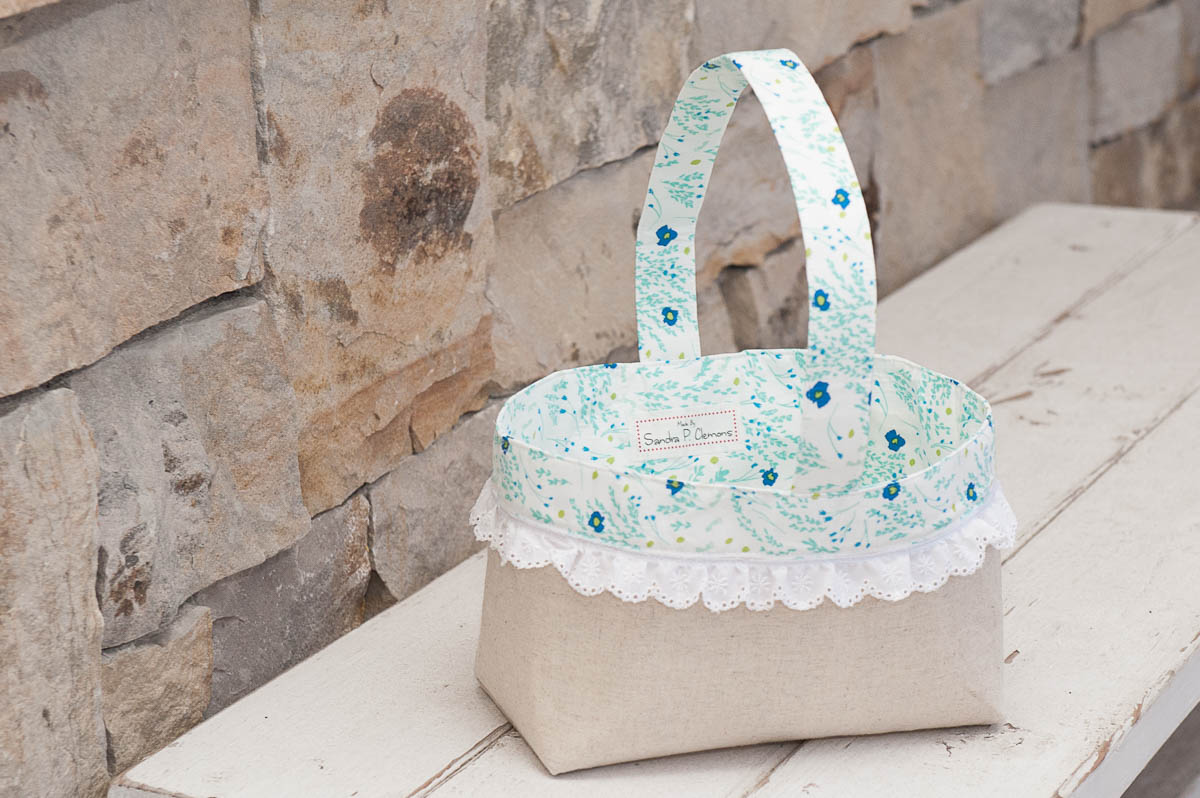
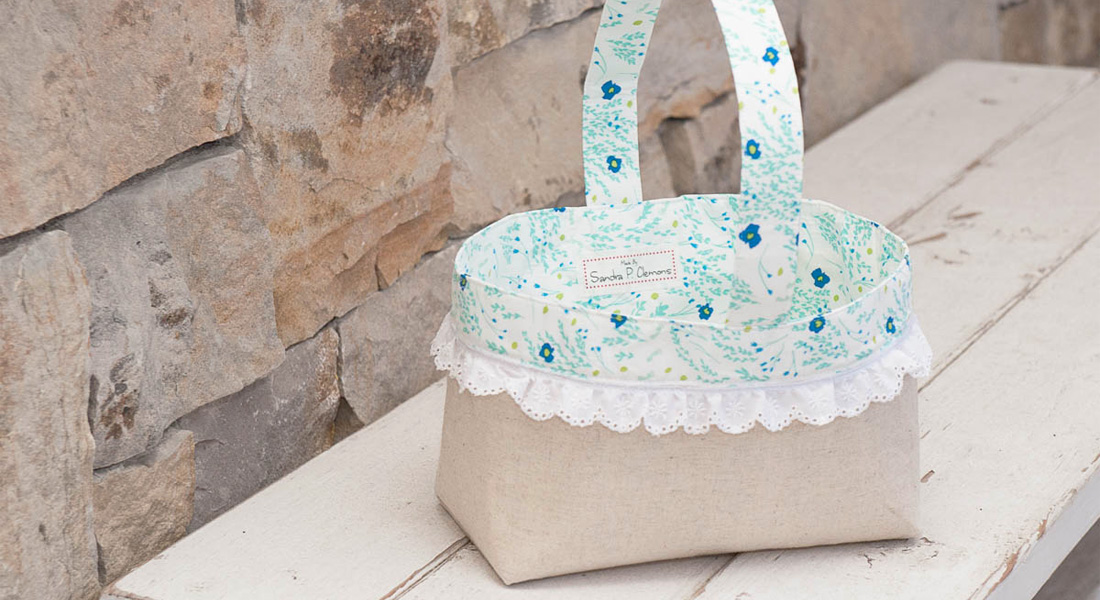
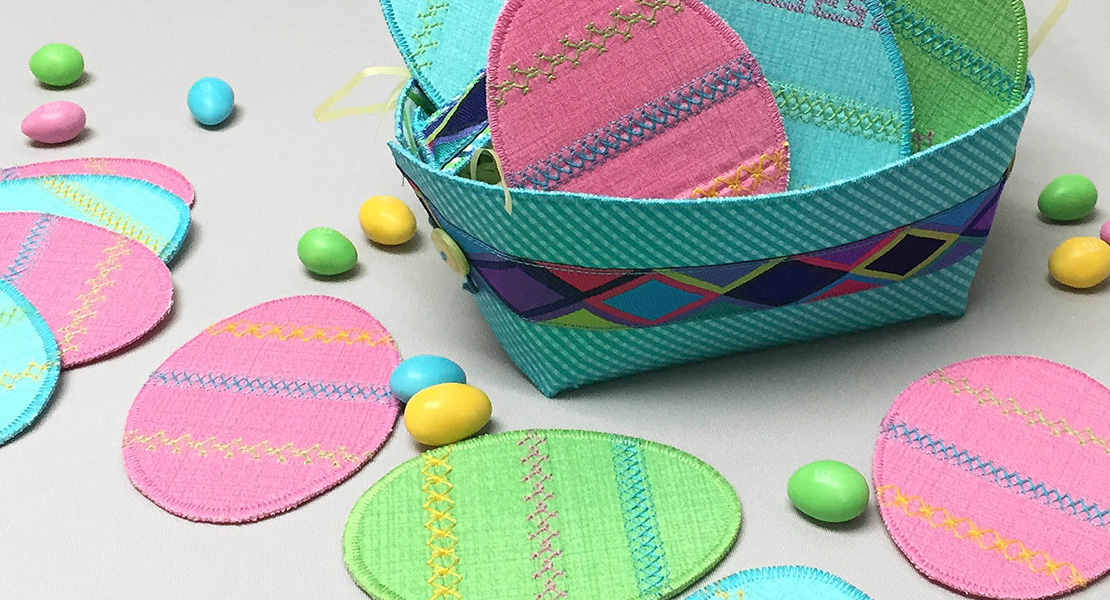
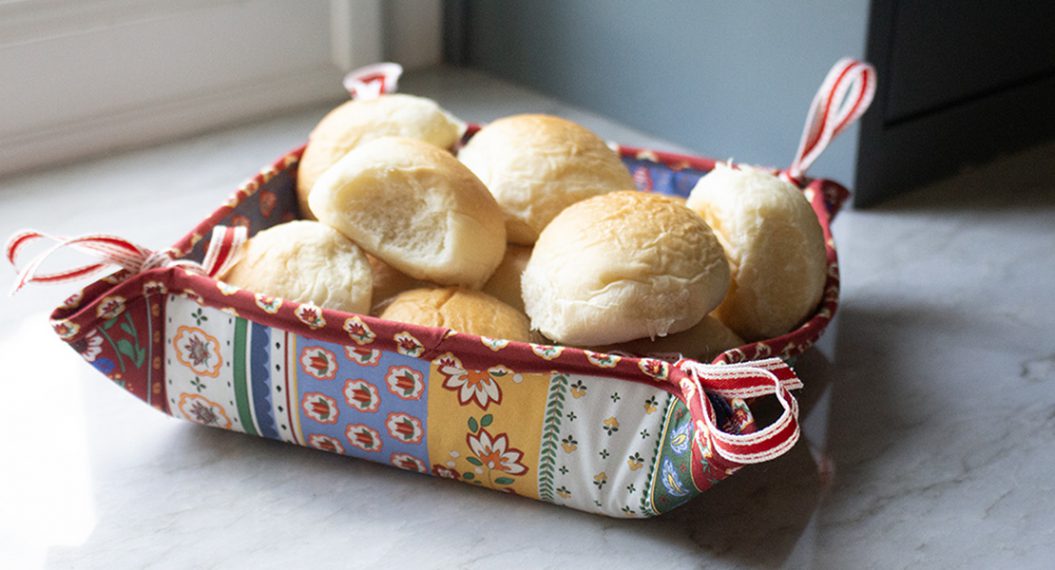
Easter Fabric Basket

Hi. I’m Sandra Clemons. I’m new to WeAllSew and excited to be here. I’ve started my business in April of 2014 as a quilt designer. Since, my quilts have been published in over a dozen magazines, such as McCall’s, Quiltmaker, American Patchwork, and Modern Quilts Unlimited.
Today, let’s make an Easter Basket. I’ve been meaning to make an Easter basket for my daughter. She is 4 years old and this is the first year she understands and anticipates the Easter bunny and Easter egg hunts. There are no excuses for mommy. This year must be the year to make her very own basket.
Materials to Make an Easter Fabric Basket
- Exterior fabric–1 Fat Quarter
- Handle and Interior Fabric–2/3 yard
- Heavyweight fusible interfacing–2/3 yard
- Basic Quilting and Sewing Supplies
- Trim–1 yard (choose lace, rickrack, ribbon, etc.)
Cutting Instructions:
Exterior Fabric–Cut one pieces 15″ x 15″
Interior Fabric–Cut one pieces 15″ x 18″, two pieces 2″ x 15″, and one piece 5″ x 18″
Interfacing–Cut two pieces 14 1/2″ x 17 1/2″ and one piece 5″ x 18″
Sew with 1/4″ seam allowance.
Make the Handle
- Iron on fusible interfacing on the wrong side of the handle.
- Fold the strip of fabric in half lengthwise with wrong sides together and press along the fold to make a crease. Each half is 2 1/2″.
- Open up the strip. Press each end in to the fold, wrong sides together, to the center crease made in previous step. It should fold 1 1/4″.
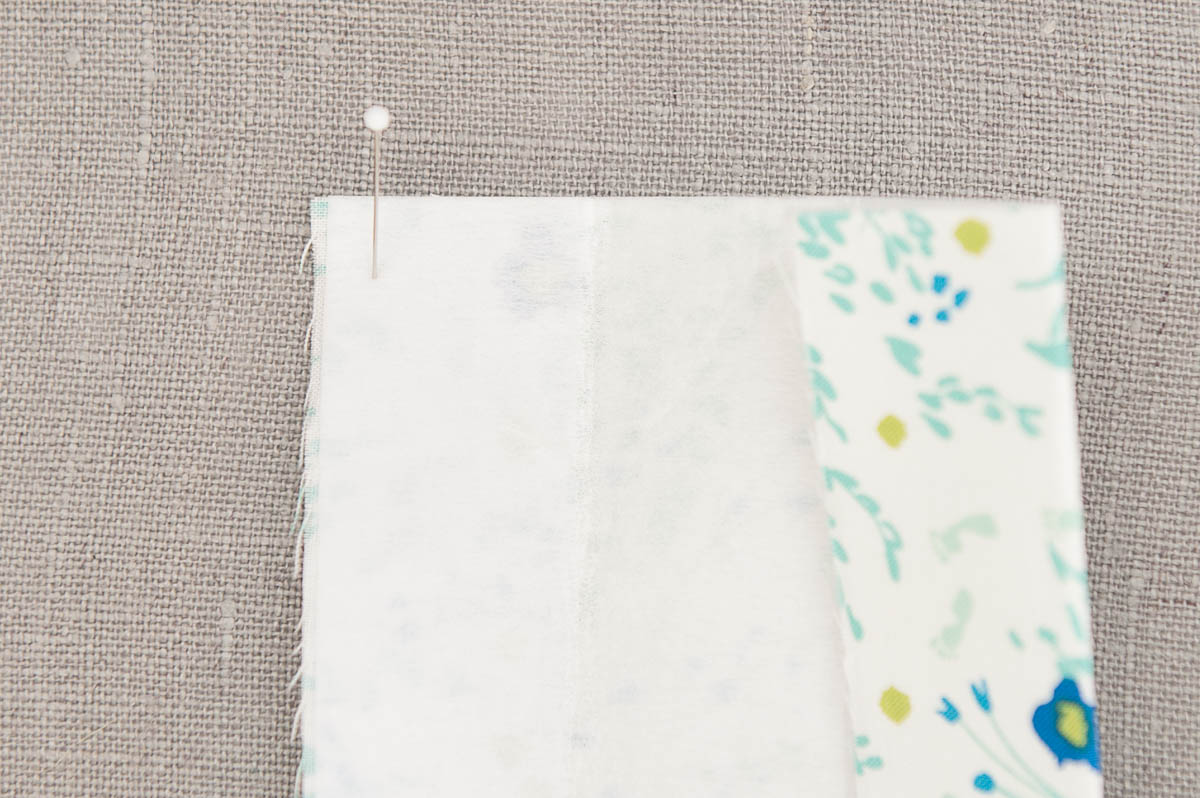
- Refold the strip with the ends tucked in. The handle’s width is 1 1/4″.
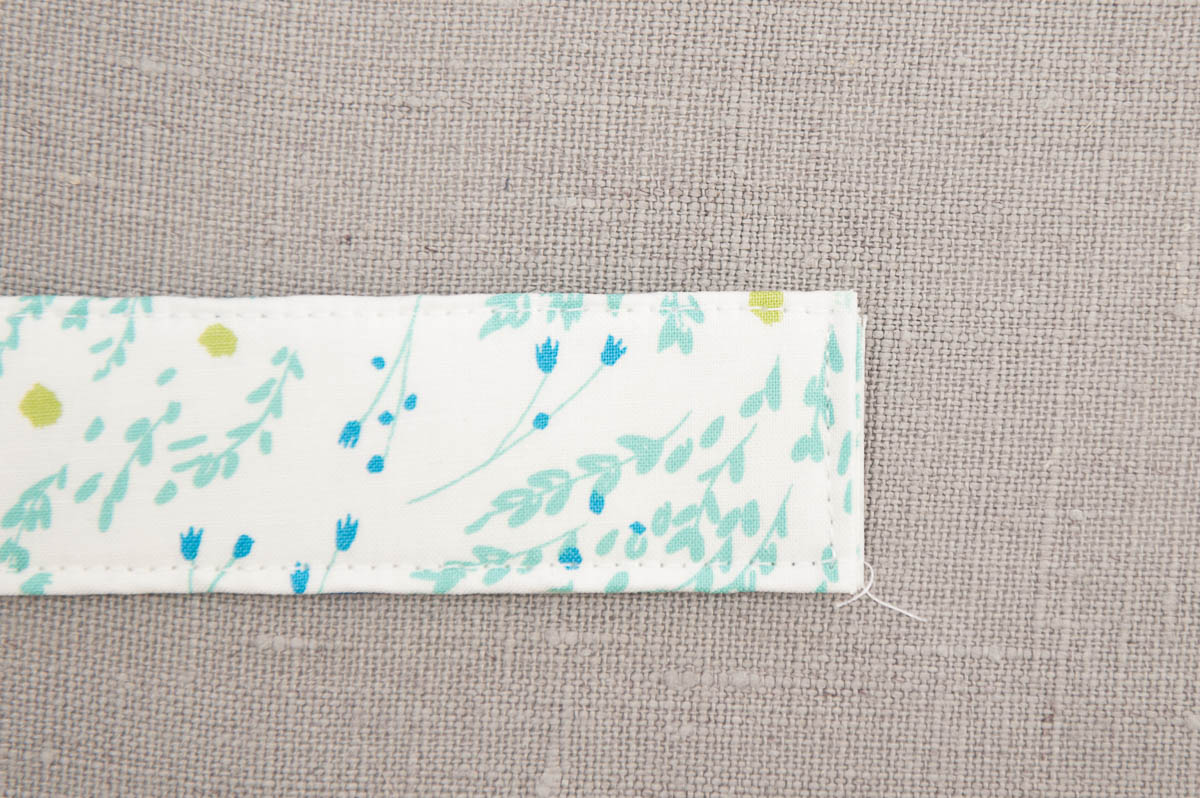
- Edgestitch the length of the handle on both sides.
Assemble Basket
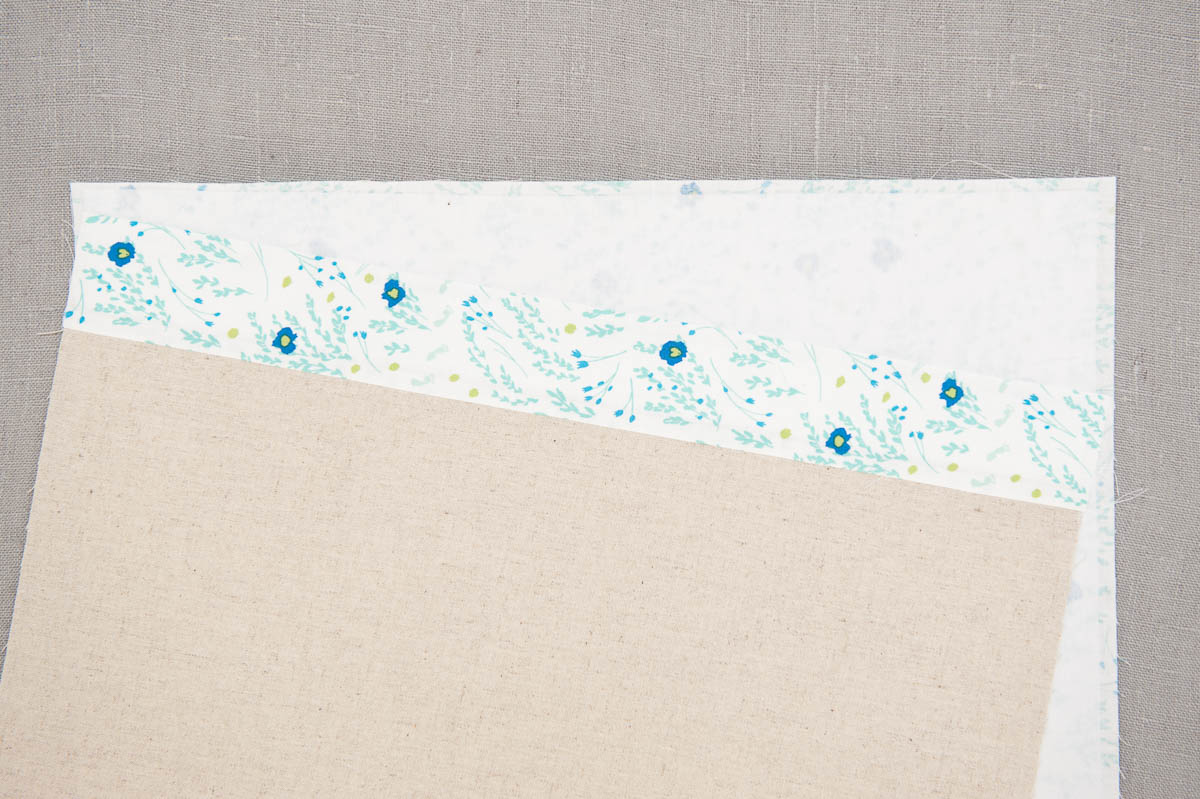
- Stitch the interior 2 strips to one side of the exterior fabric. Make 2. Press the seam allowance towards the interior fabric.
- Center and iron interfacing to the wrong sides of the two exterior and two interior units. Approximately 1/4″ around the perimeter of the units will not have interfacing. This is to reduce the seam bulk.
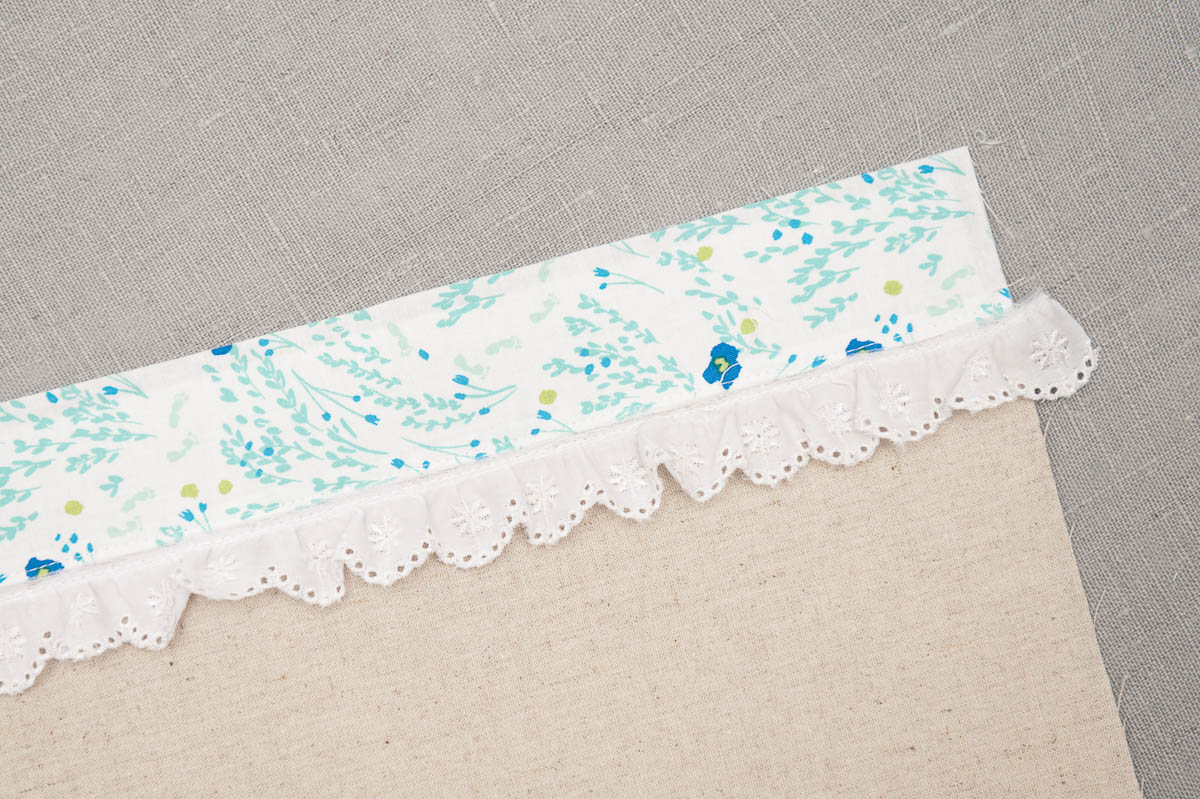
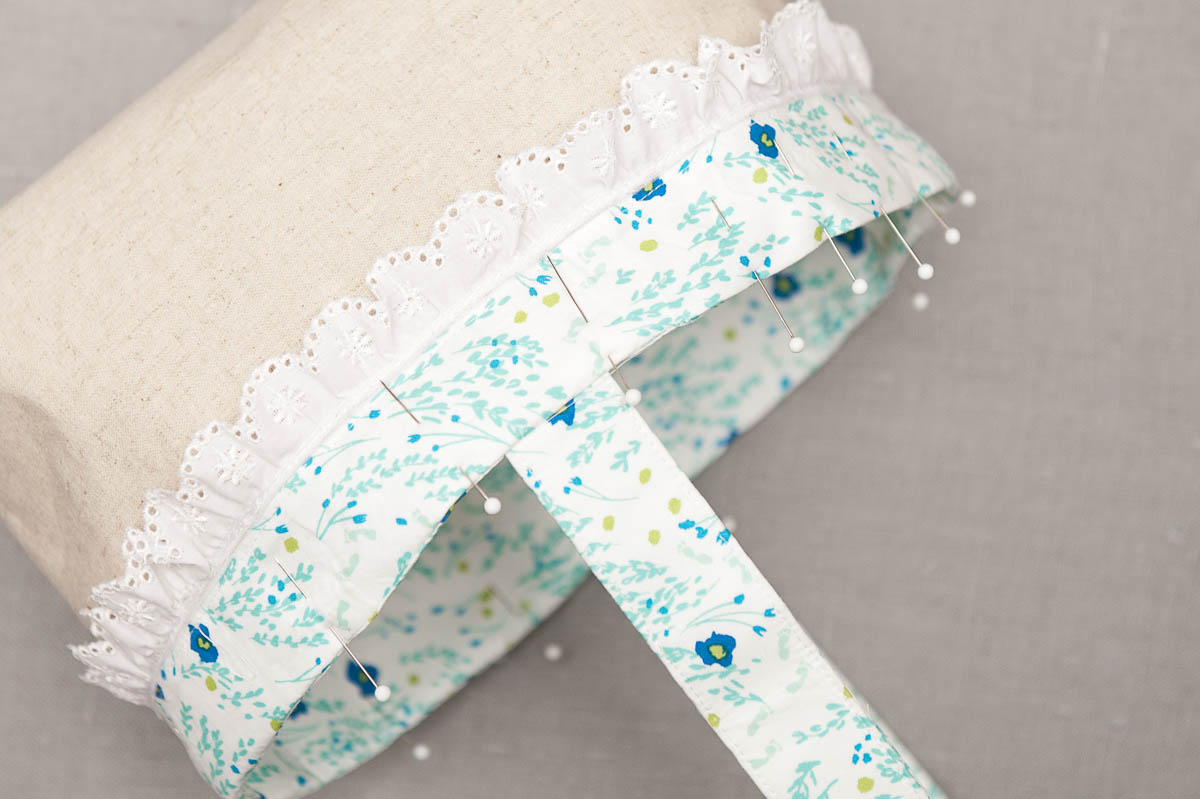
- Top stitch over the seam bulk on both exterior units and then add trim. Here I used a ruffle lace. Top stitch the lace along the seam line to secure it in place.
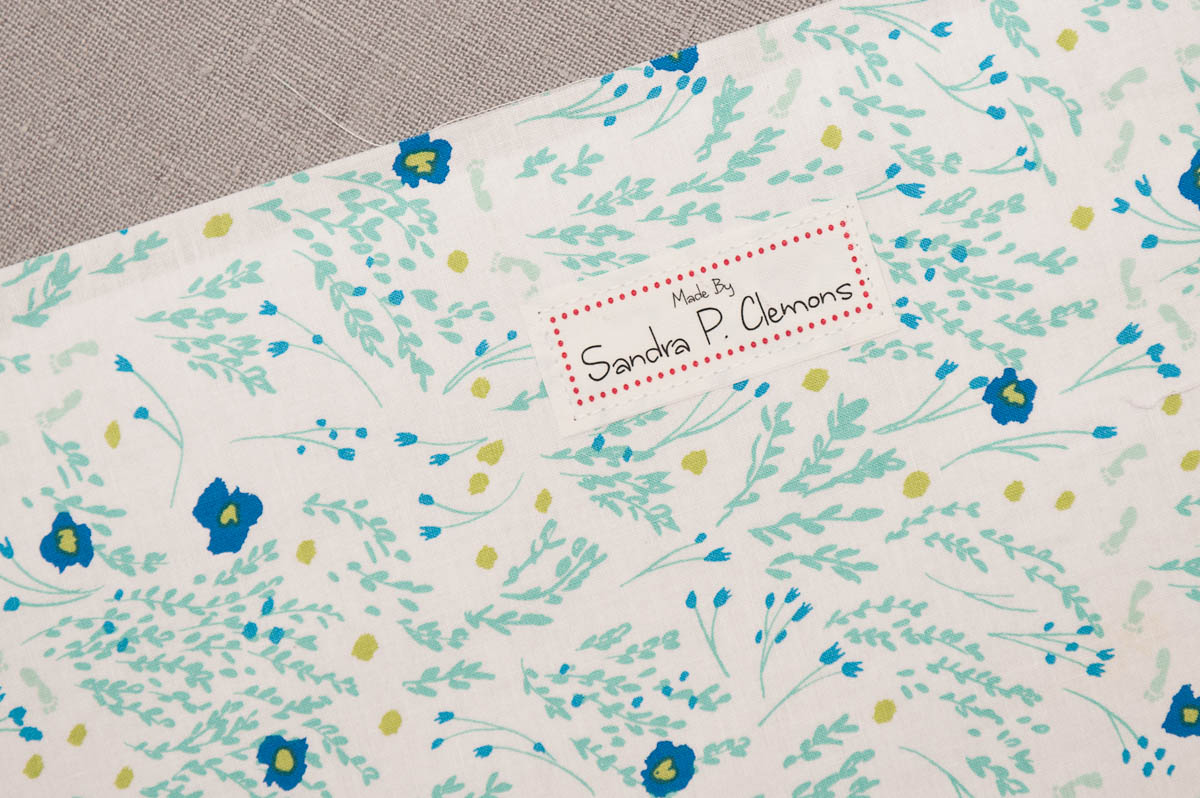
- Optional: Take one interior unit to place your label inside. Top stitch it into place. I centered my label 7 1/2″ along the 15″ length of the fabric and 1 1/2″ down from the fabric’s raw edge. Pay special attention this side of the fabric is the top of the basket.
- Fold the exterior fabric in half with right sides on the inside to make a folded rectangle measuring 15″ x 9″. Stitch the 9″ ends with a 1/4″ seam allowance. This would be a good time to trim away the lace. The folded side is the bottom of the basket.

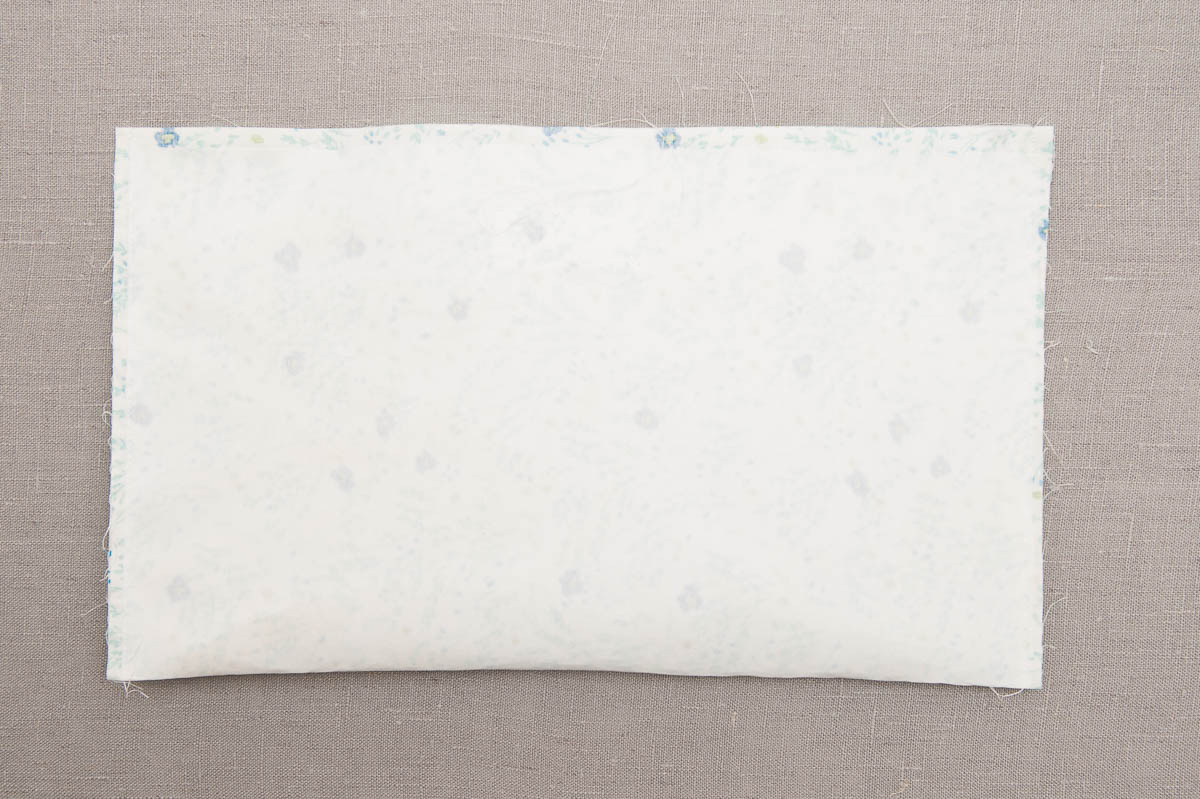
- Fold the interior fabric in half with right sides on the inside to make a folded rectangle. Stitch the 9″ end with a 1/4″ seam allowance. The opening is the top of the basket. Make sure your label is facing right sides up.
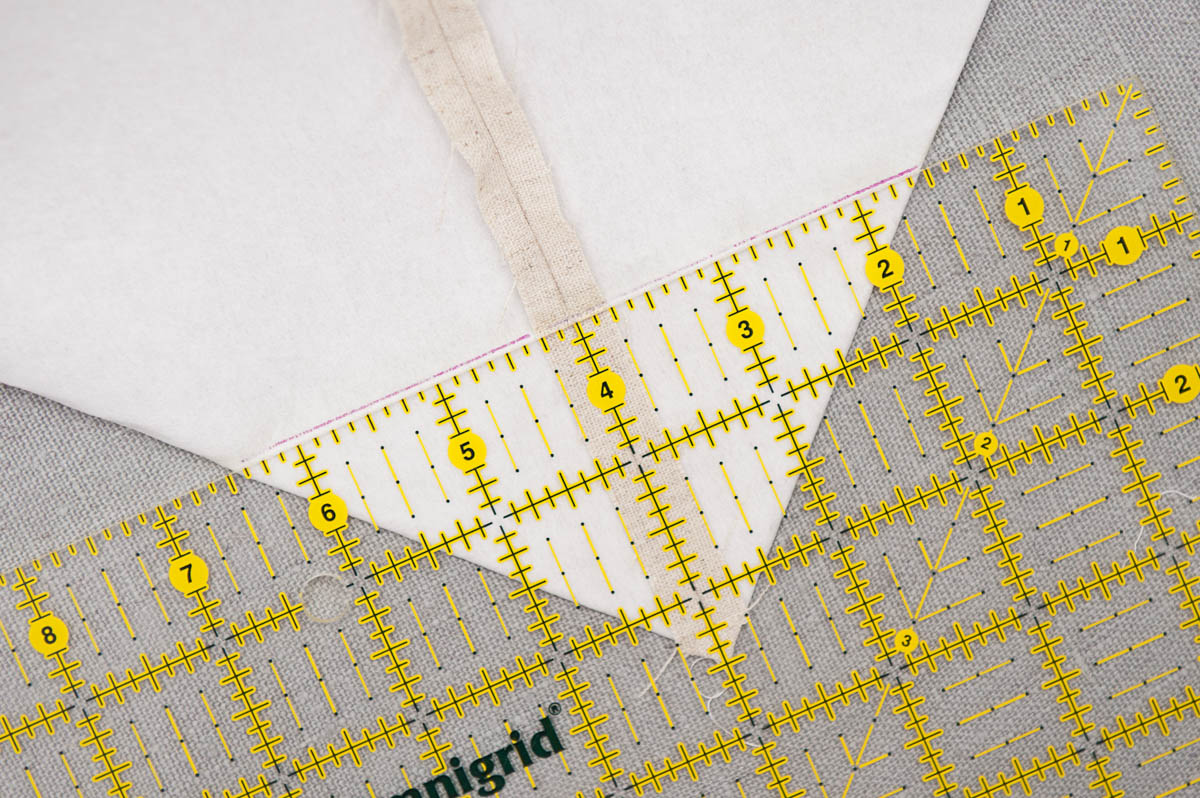
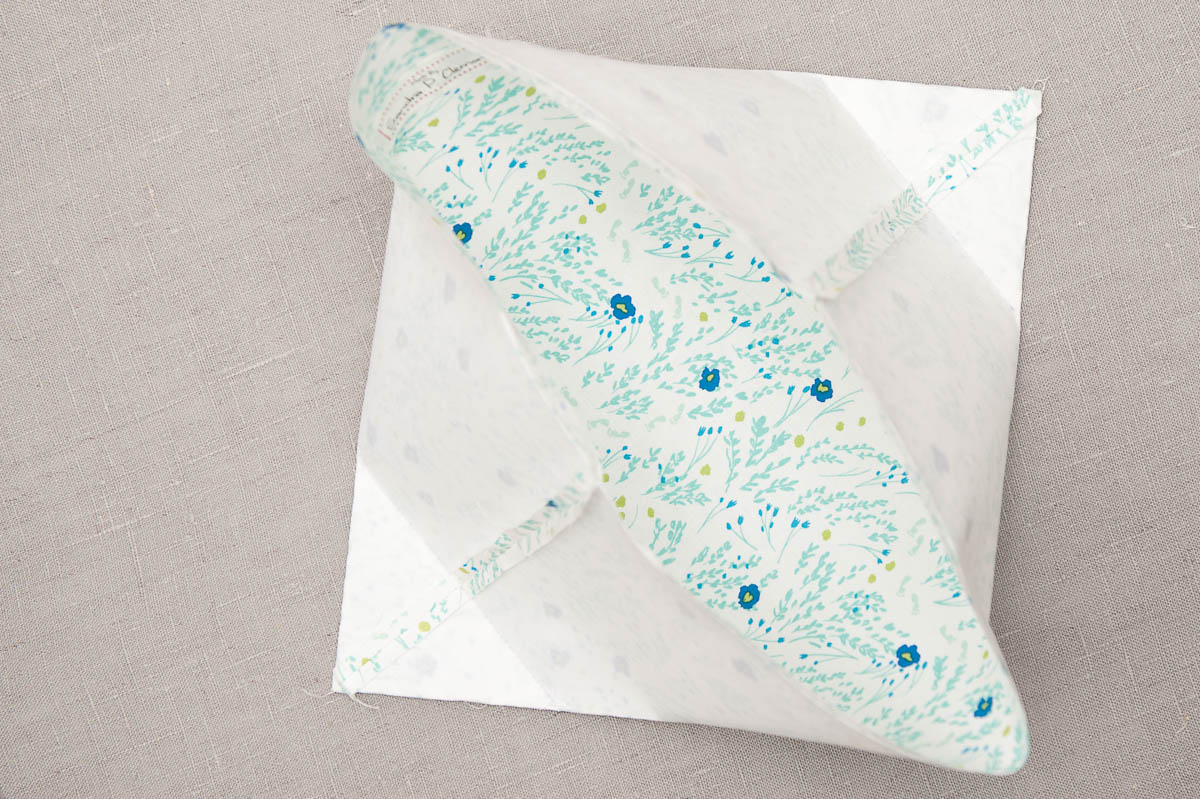
- To make the basket stand on its own, find the center of the basket bottom by making a crease. Pick a side seam and match it to the bottom crease to form a triangle. Use your finger to pop out the point. Press the seam open. Repeat for all four corners of the exterior and interior units.
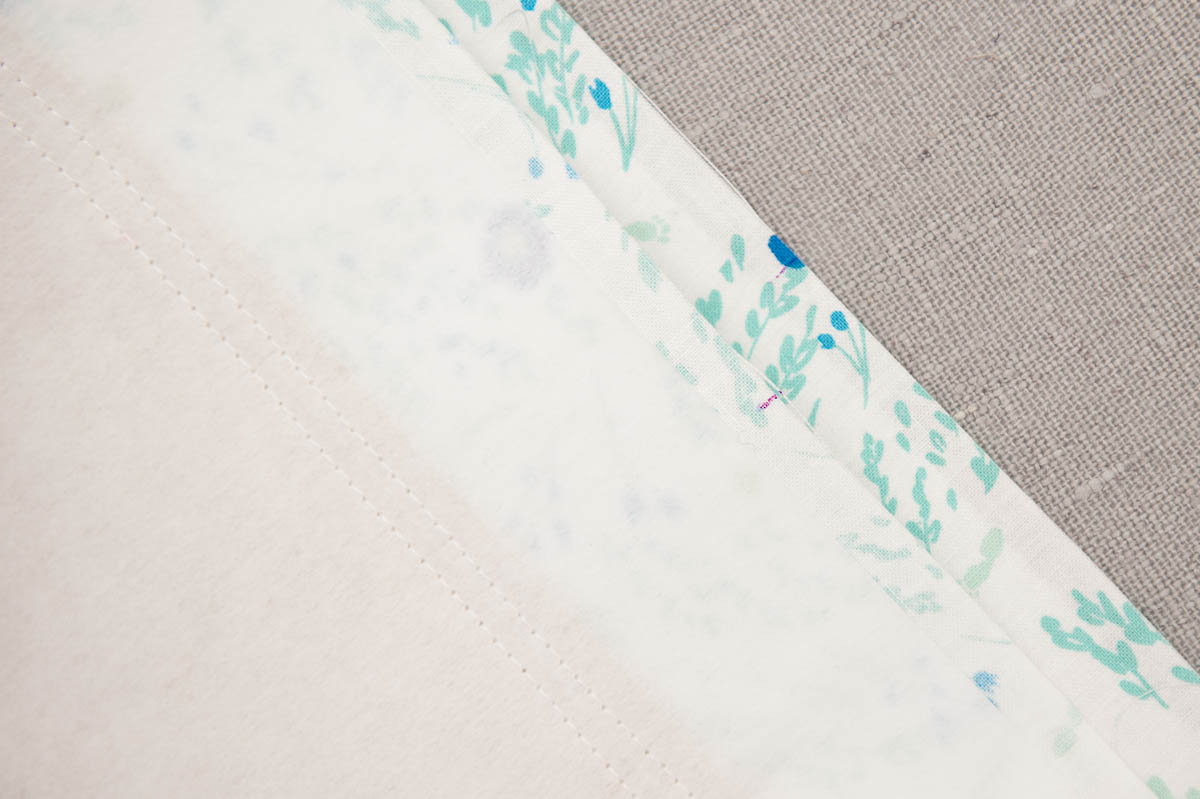
- Pick a corner and measure 2 1/2″ from the point with a ruler. Align the ruler along the seam and draw a line. Repeat for all four corners.
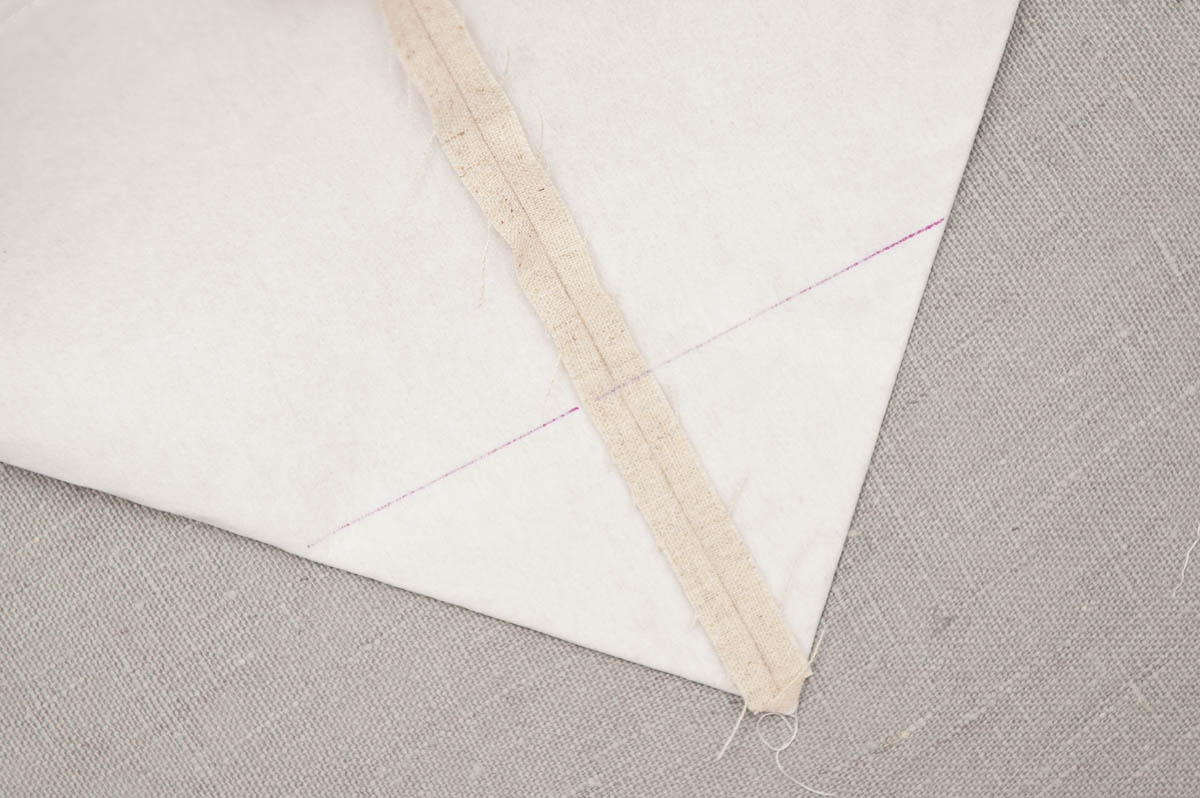
- Stitch all four corners on the line drawn to box the basket. Make sure to backstitch the beginning and end of the stitch. Fold the seam allowance (shaped as a triangle) under the basket.
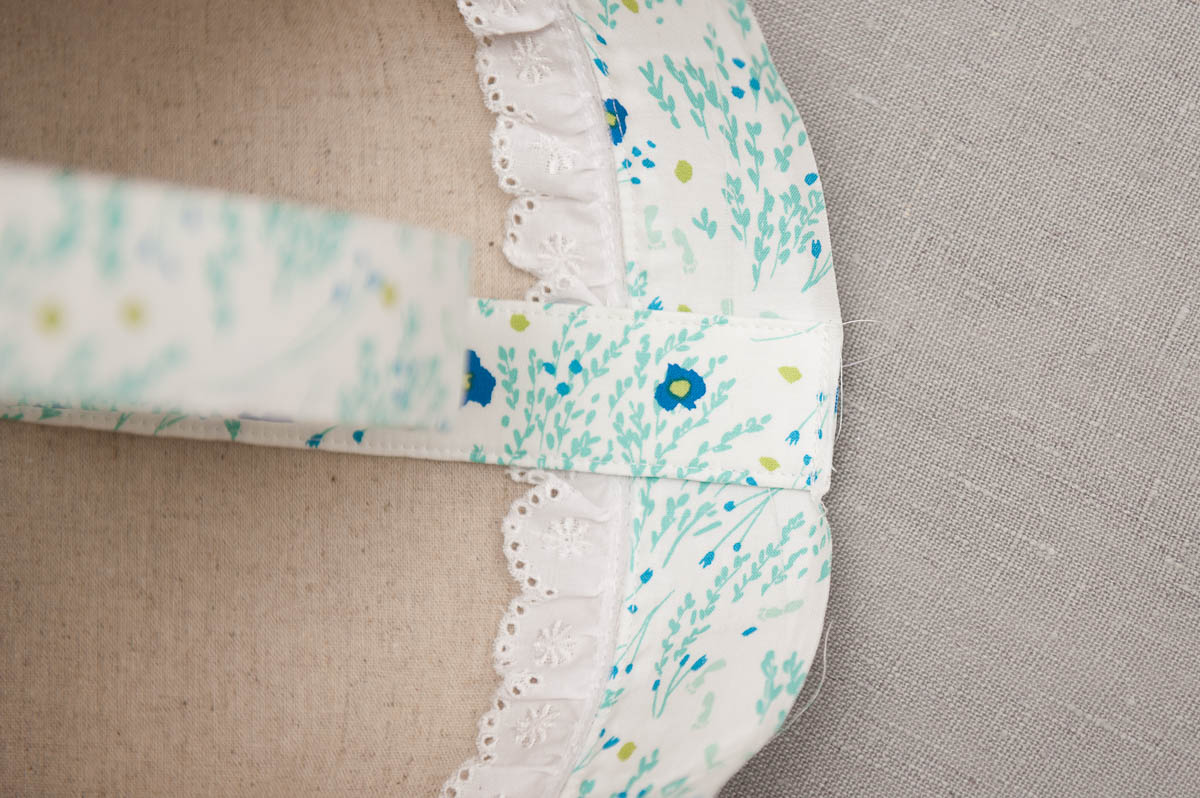
- Feel free to trim the handle to your desired length. I kept mine at 18″. I liked the ability hold the basket over my shoulder. Mark the center of both exterior and interior units on both sides.
- Place the handle at the center mark of the exterior unit. Edge stitch it to secure it in place. Repeat for the other side of the handle.

- Turn the exterior unit right sides out and place it inside of the interior unit, which is wrong sides out.
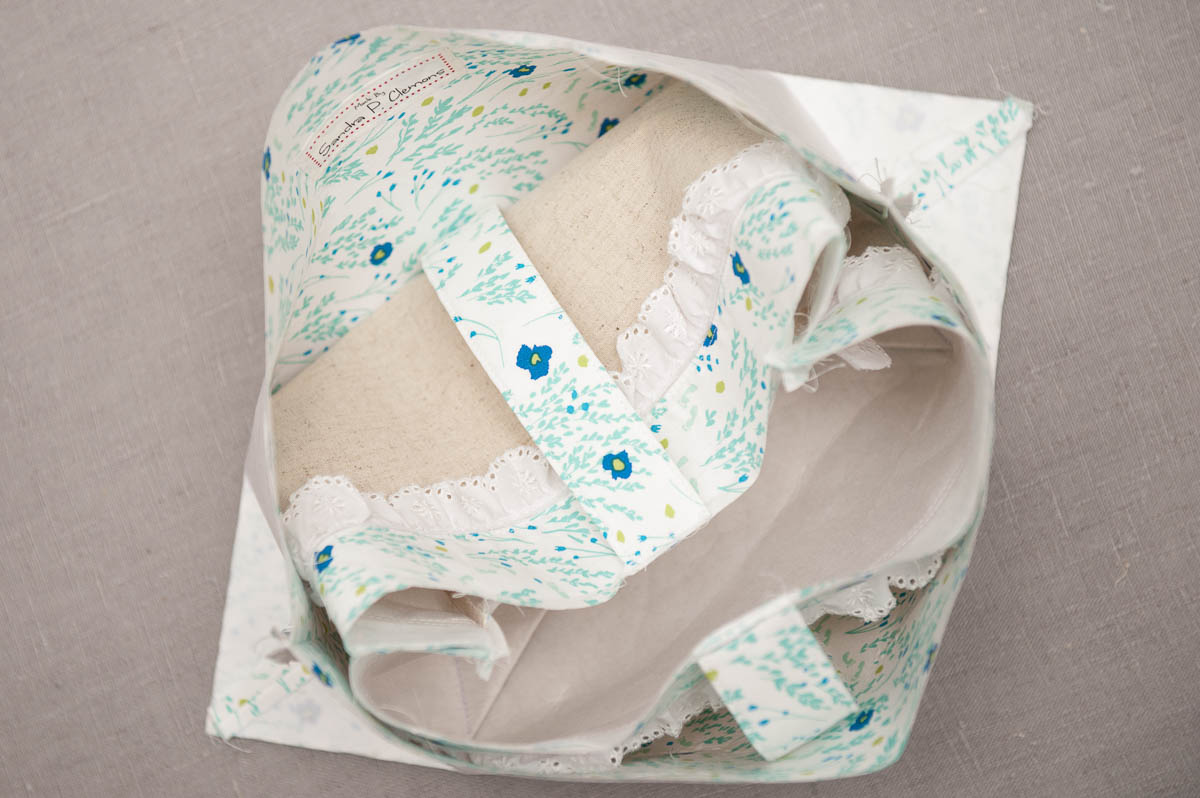
- Pin together the exterior and interior units. Pin the side seams first. Align the center marks and pin. Then fill in the gap with more pins.
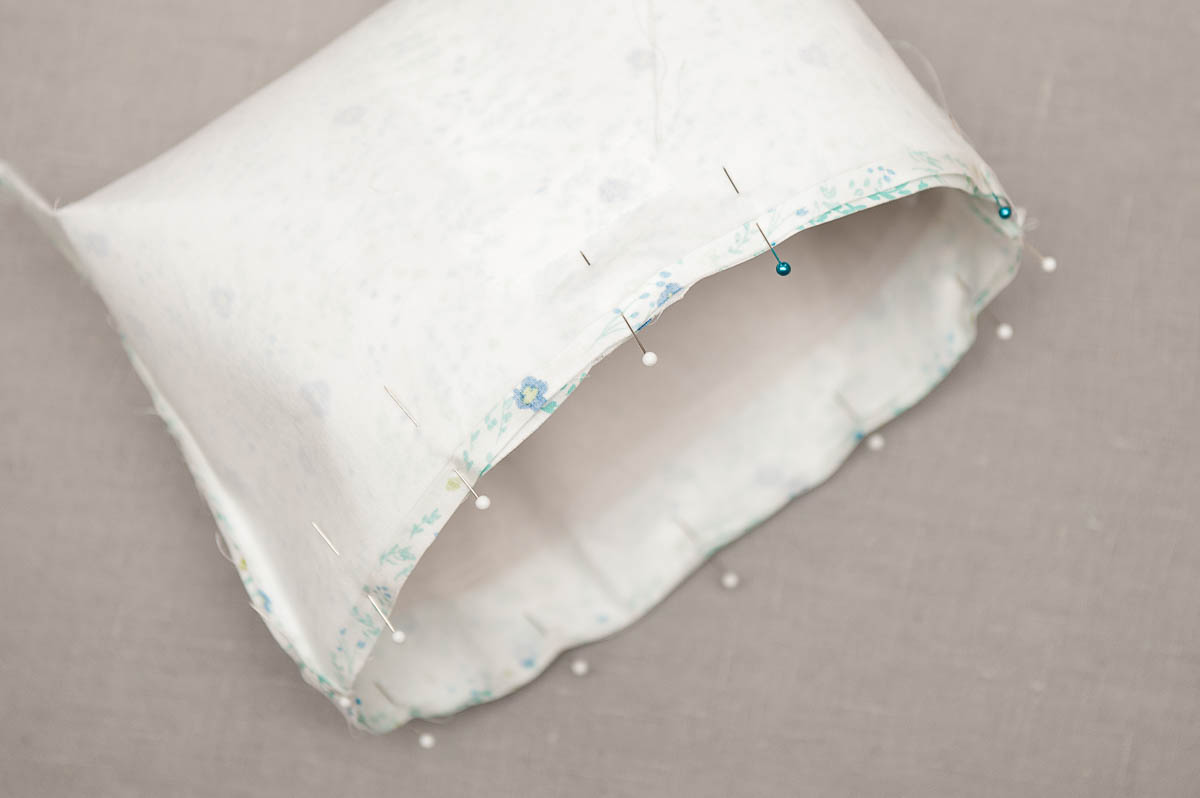
- Stitch around the top of the basket with a 1/4″ seam allowance. Back stitch over the handle and side seams to give those areas extra strength. Leave about a 3″ opening between one of the side seams and handle.
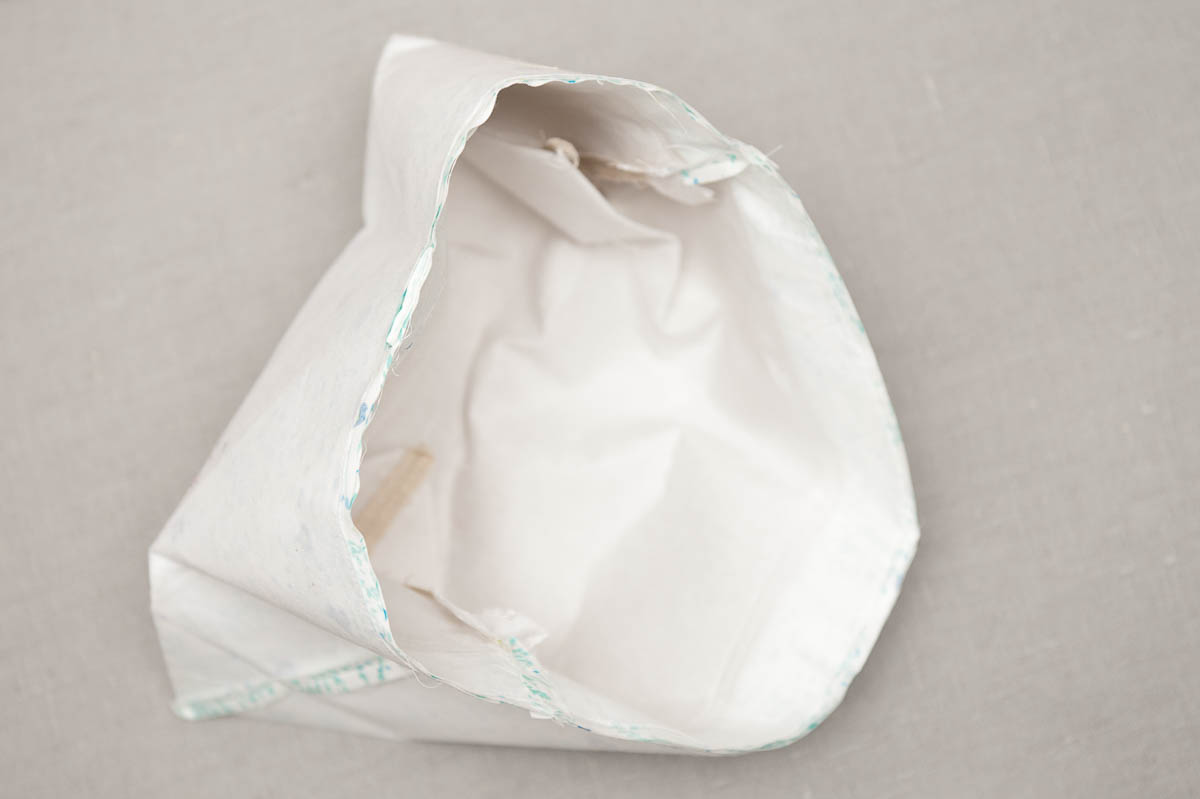
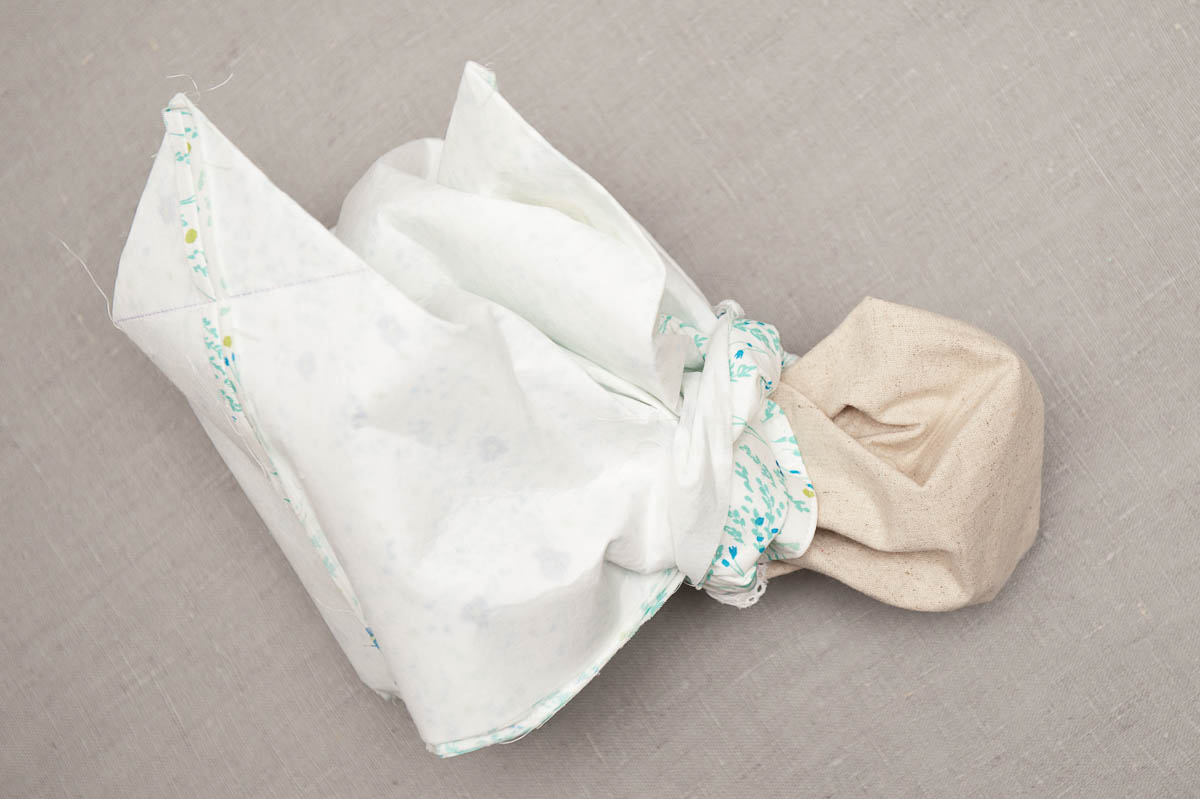
- Turn the basket right sides out by inserting your handle through the opening and grabbing the end. Pull it through the opening.
- Work the boxed corners and seam along the top perimeter of the basket with your finger. Make sure to fold the boxed corner to the base of the basket.
- Pin the opening closed by folding 1/4″ seam allowance inside the hole. Continue to pin around the basket to make the seam is completely pushed out.
- Edge stitch the top of the basket to close the hole.
Now that you have all the ingredients to make your very own Easter basket, it’s your turn to make it blossom.
Enjoy!
Sandra
In February 2016, my first book Scrap Patchwork was released.
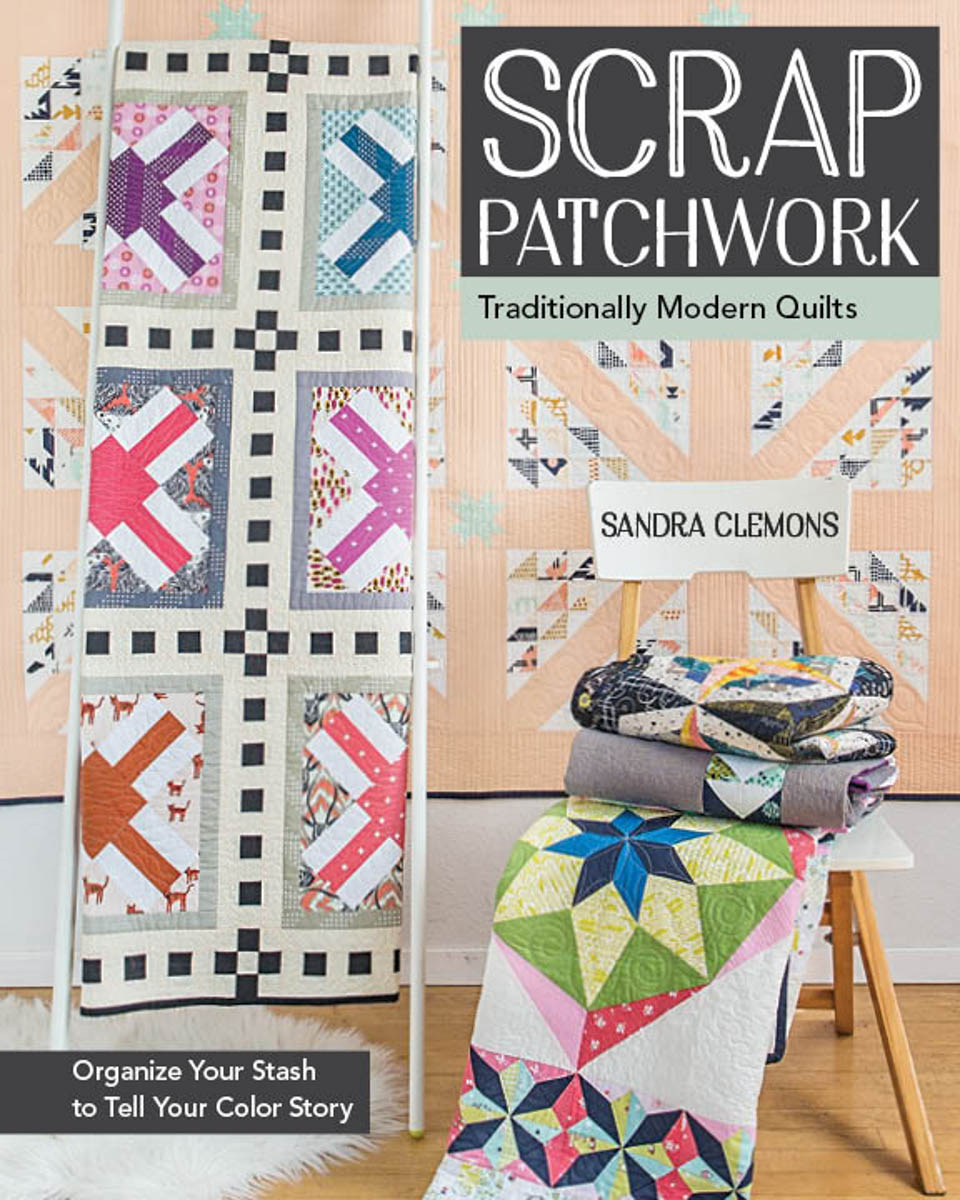
It’s a DIY book on making organized scrappy quilts. I talk about color and organizing your stash. You’ve gotta check it out. You can also expect to see more of me this fall when my first fabric collection comes out with Michael Miller Fabrics. You’re going to love it. To learn more about me and my work, check out my blog. There I’m publishing a weekly block every Wednesday. Like me on Facebook, Instagram, and/or follow my blog to keep up with the latest postings.
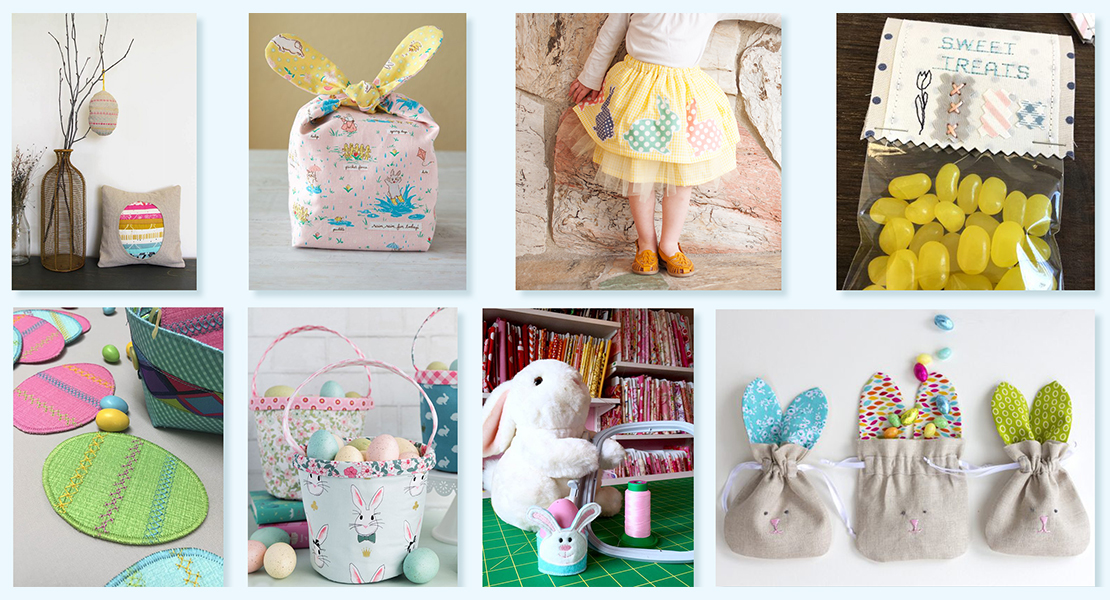
What you might also like


4 comments on “Easter Fabric Basket”
-
-
What are the dimensions of the Easter Basket?
Can the basket be doubled in size or a percentage of the size?
Thank you, jane
-
I am confused by the instructions. Stitch the interior 2 strips to one side of the exterior fabric. Make 2. Press the seam allowance towards the interior fabric.
Center and iron interfacing to the wrong sides of the two exterior and two interior units.
Cutting instructions were for one piece of exterior fabric?
Please help -
I have some of the same issues understanding the instructions. I also am not sure I understand your method of dealing with the boxed corners because they are normally trimmed off. So did you trim or keep the boxed corners?
Please reply.
Leave a Reply
You must be logged in to post a comment.

Cute little basket!!