Easy Name Embroidering on Towels
Getting Your Feet Wet, an easy start to embroidering on towels by Kari Carr of New Leaf Stitches.
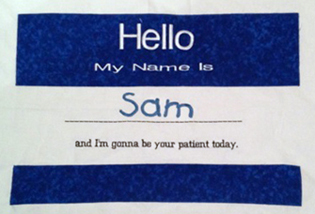
Did you know that there is actually an etiquette to follow with regard to embroidering towels? Which corner to put it in, how far above the hem, etc. If you are new to machine embroidery or just want a quick, useful project this just might be what you’re looking for.
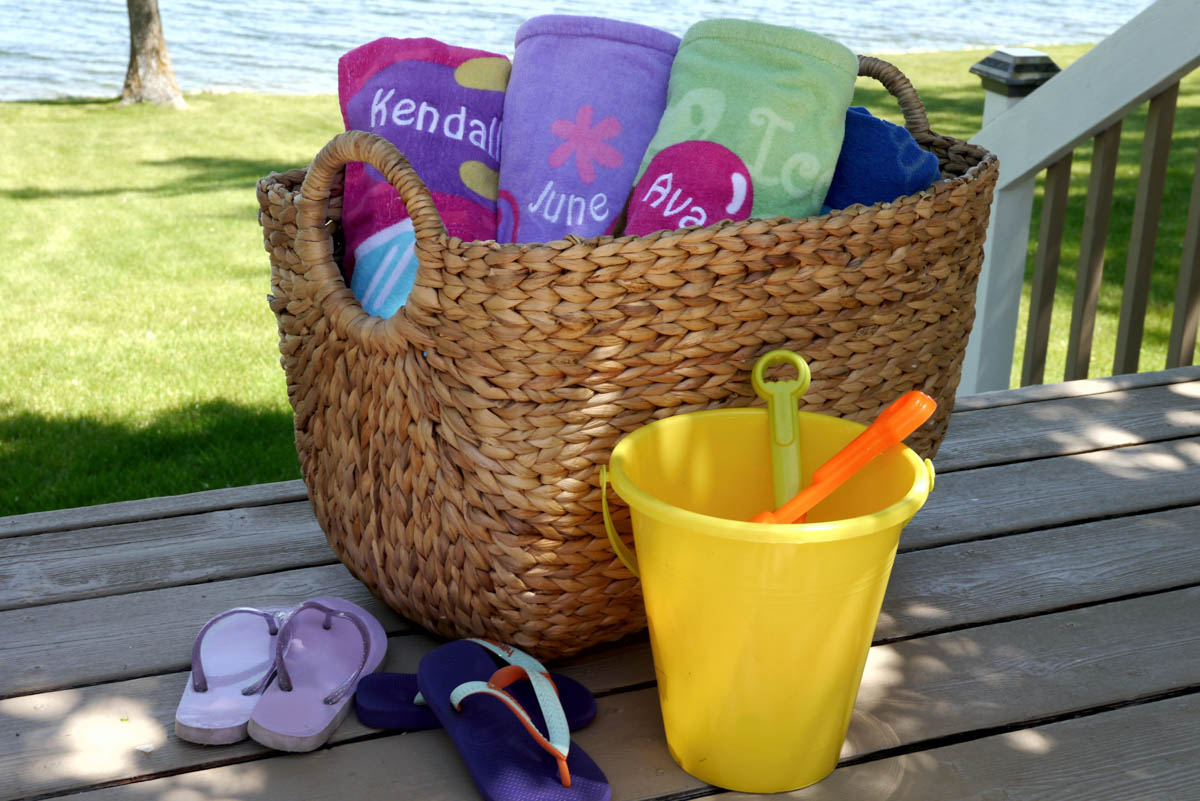
I’m so fortunate to live on a beautiful lake in Minnesota. Lake living means a lot of company in the summer months and I especially enjoy when our grand-daughters visit. But after a day of them in and out of the water, dripping wet and full of sand, there’s always a pile of wet towels around. Really, I’m not complaining about the wetness of the towels, nor even the sandiness. What I’ve come to realize is these little ones just grab and wipe with the nearest towel they find. And when I mean wipe, I mean they’re wiping wet hair, drippy noses and maybe even the dog. So when it comes time for adults to use a towel, well, the options sometimes aren’t very appealing.
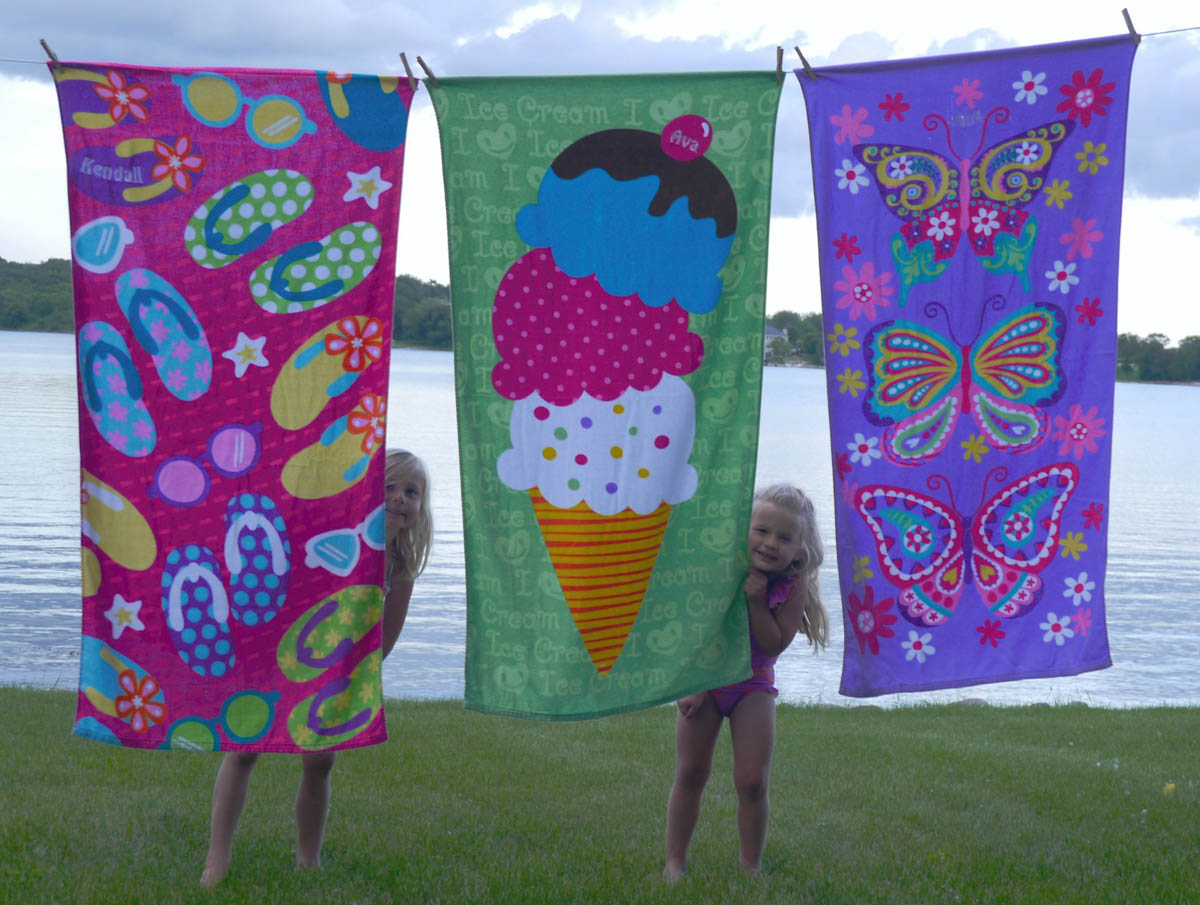
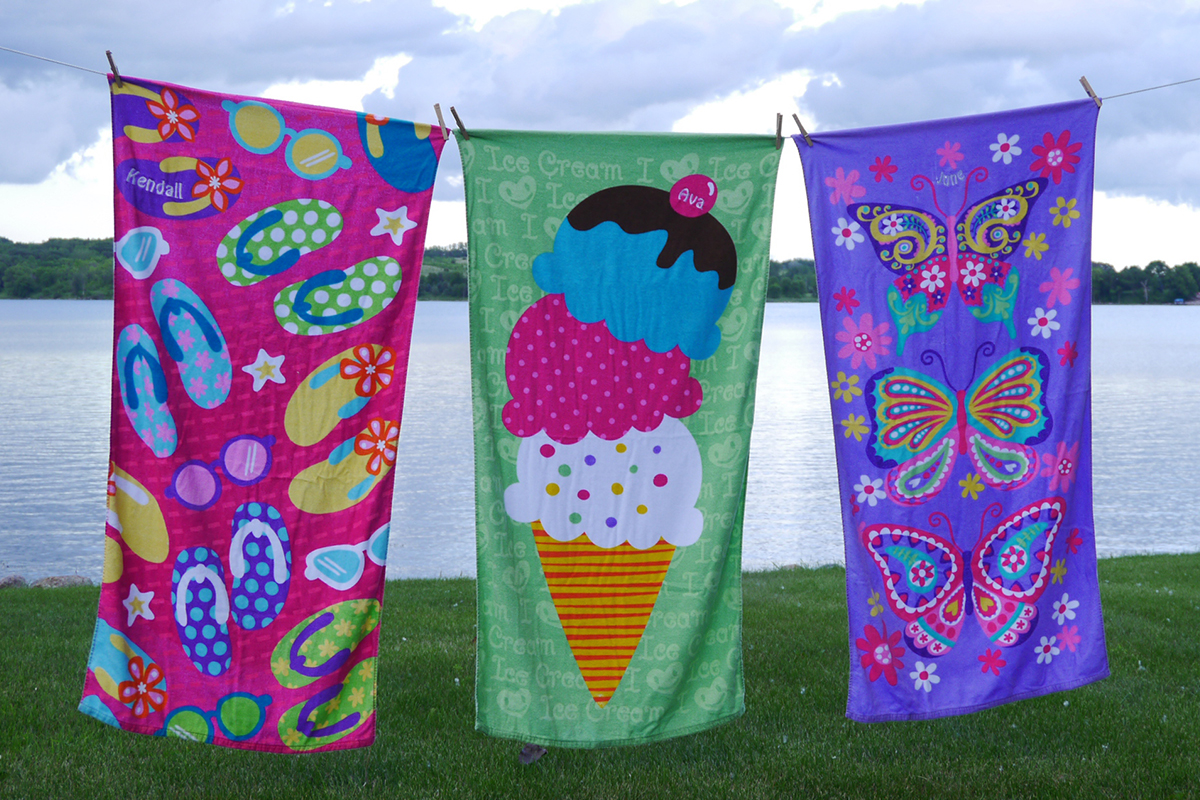
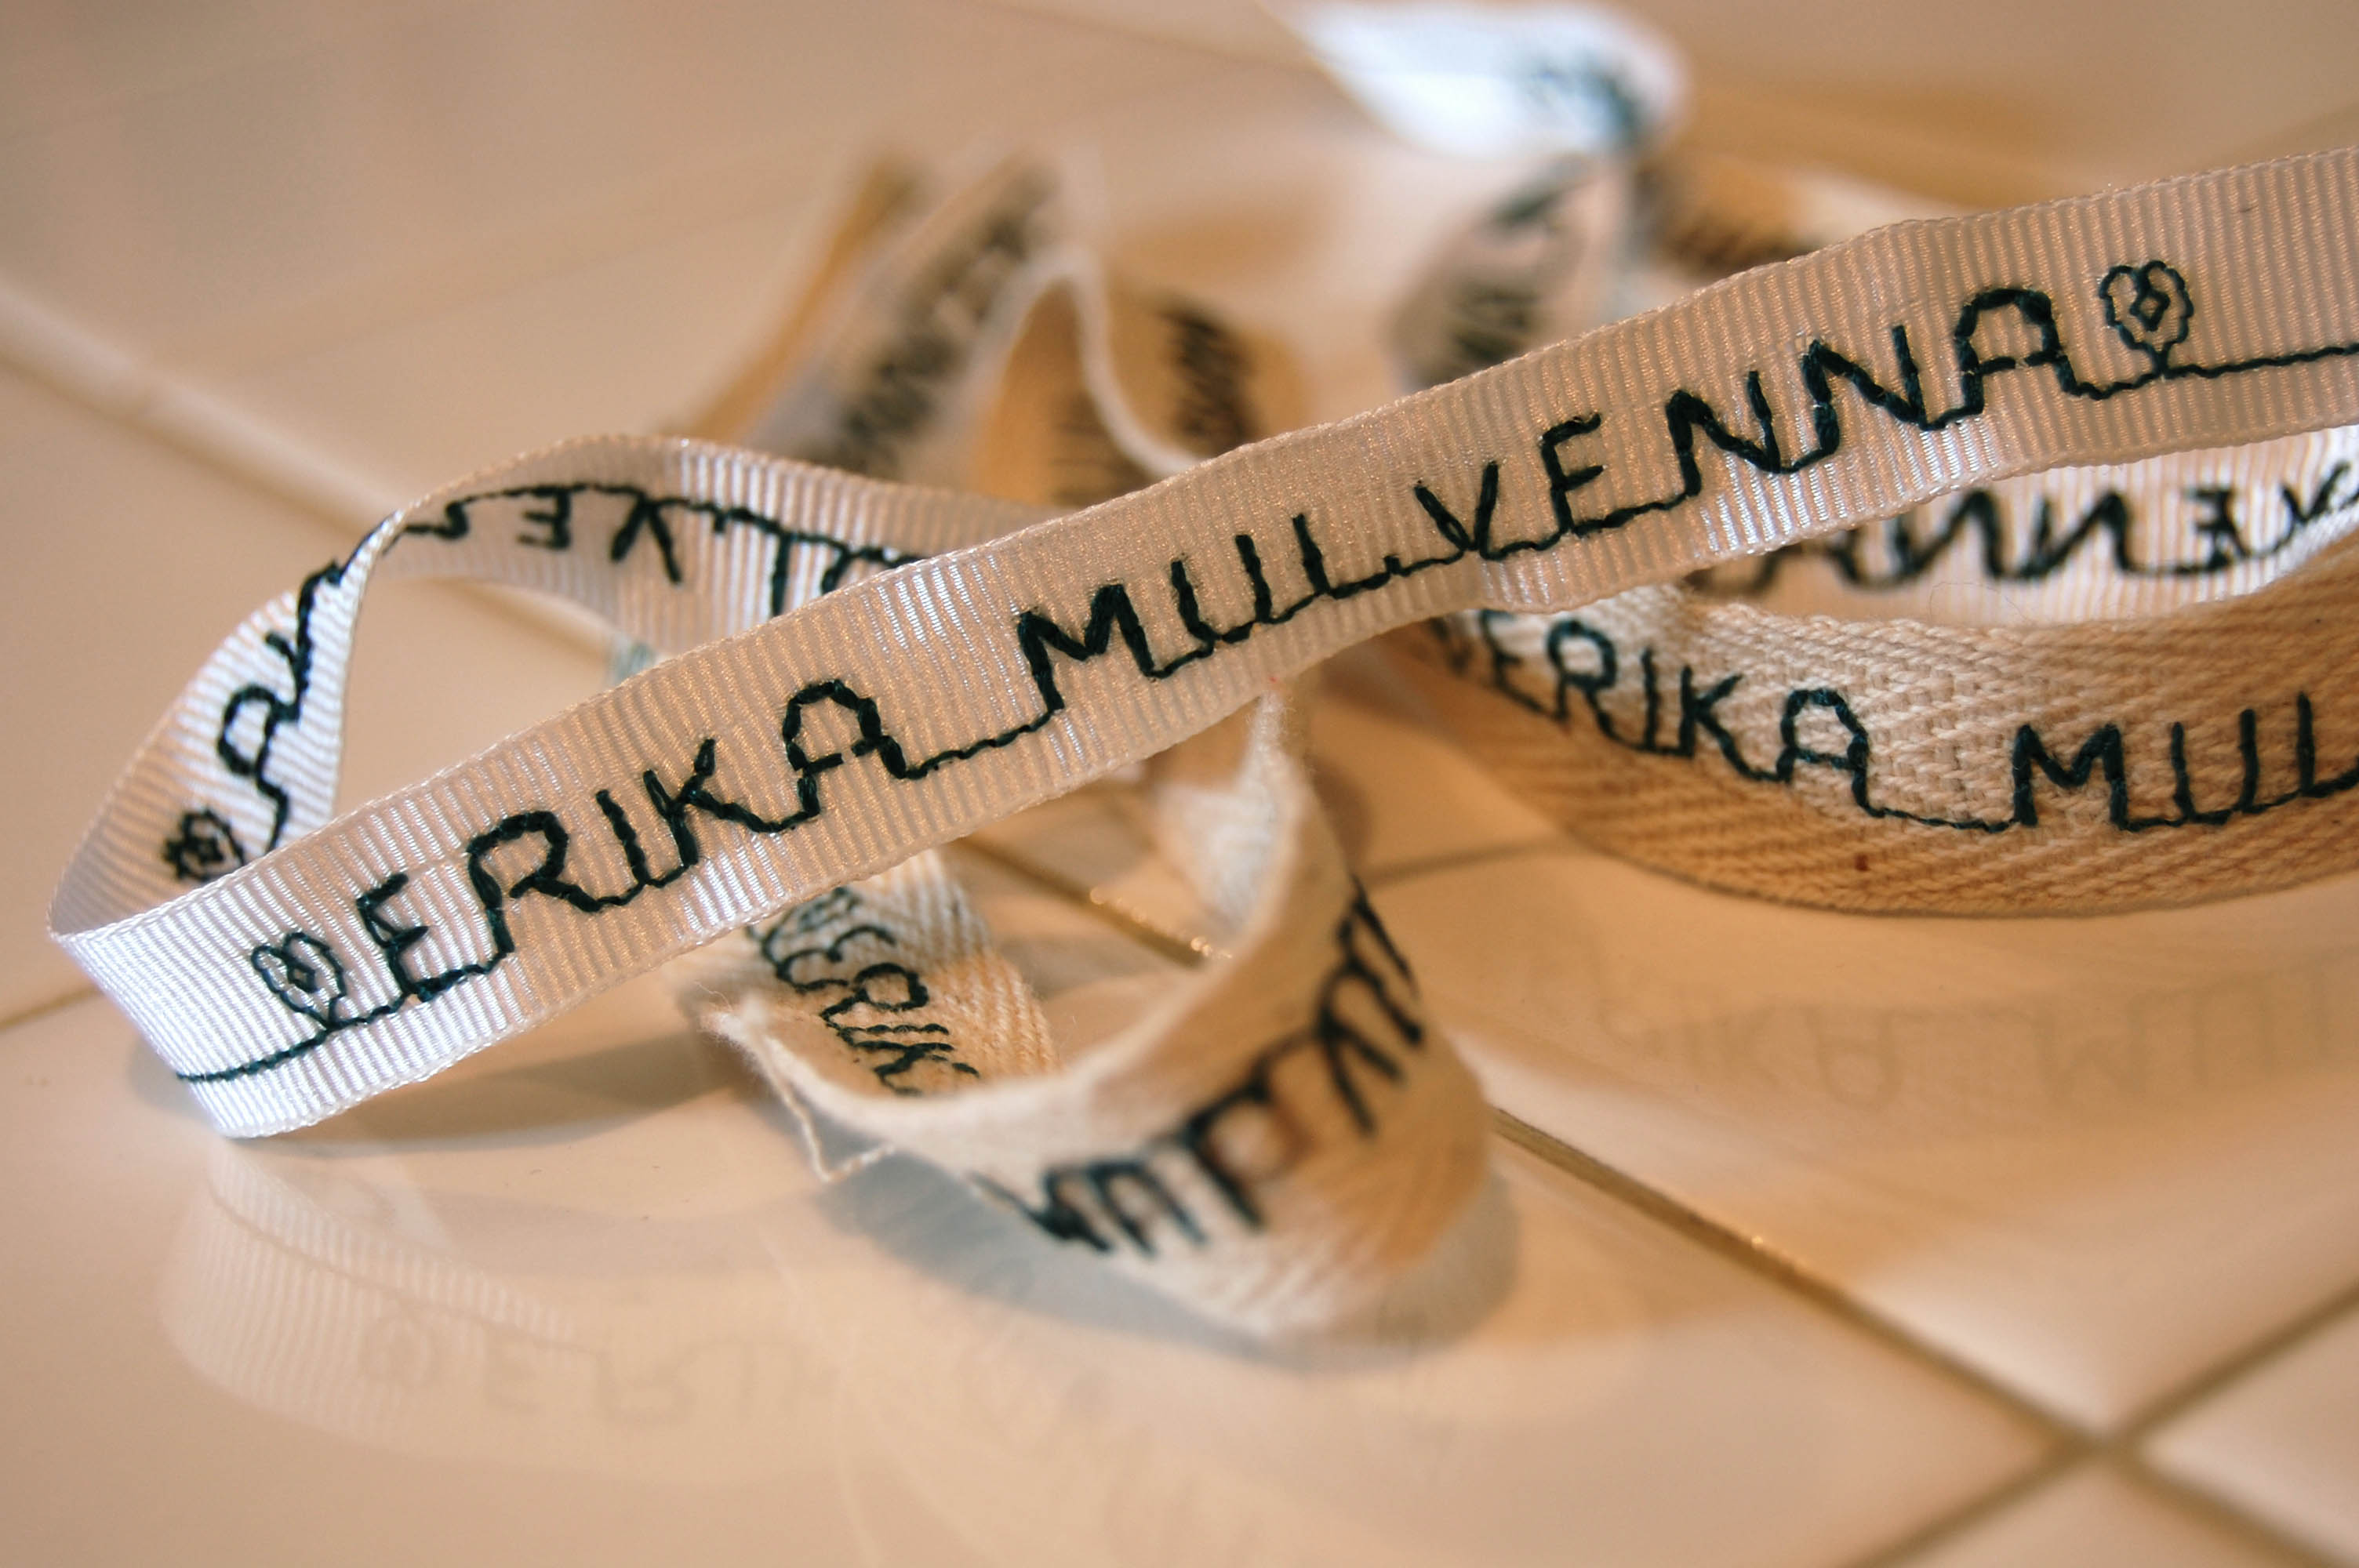
This year I’ve vowed to rectify this little annoyance. I purchased each of them their own beach towel. I know, nothing special or unique about that. But now that the older ones are learning to read or recognize their names, I decided to embroider their names on the towels. My hope is that they will think they’re so special that those are the only ones they will use. (I may have to report back at the end of the summer to see if this theory worked).
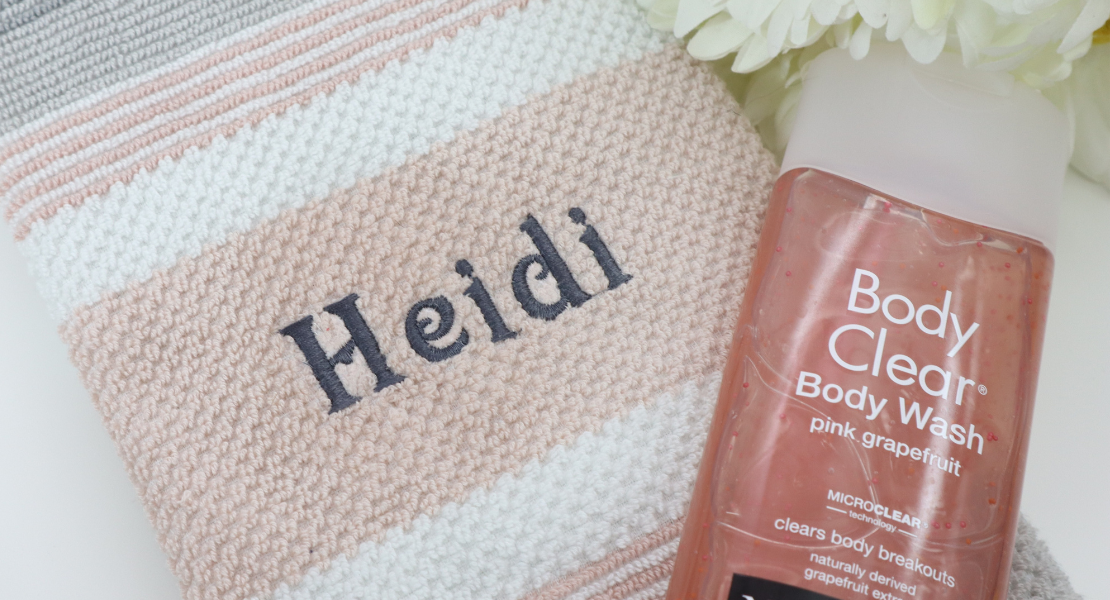
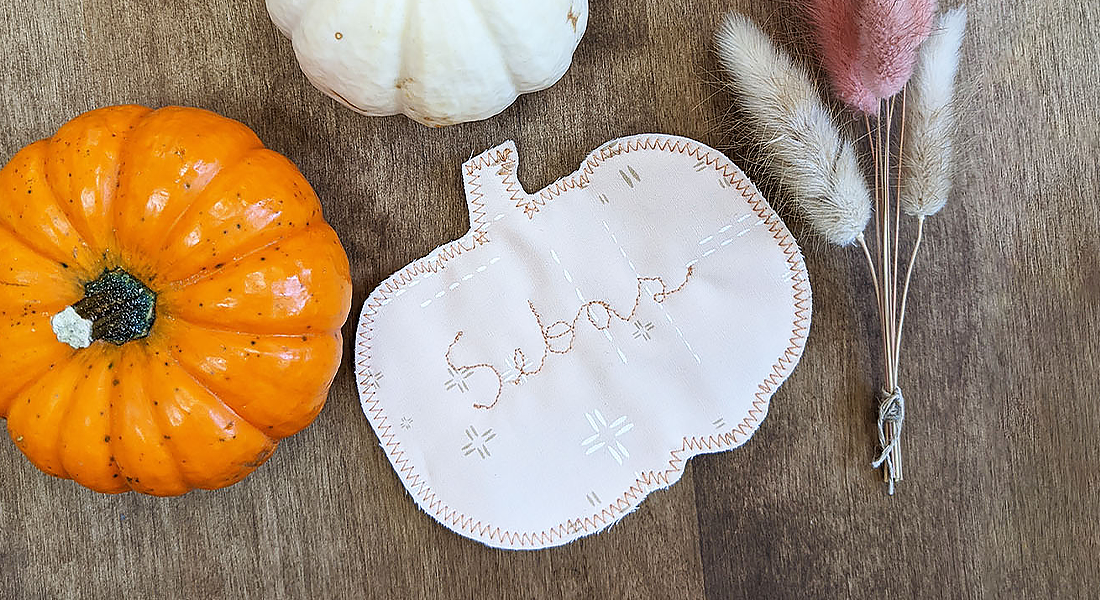
Truthfully, I didn’t want to spend much time with the etiquette part of these. For crying out loud, they’re just beach towels for preschoolers! It was actually fun and freeing to pick a place on the towel to add their name. And the best part, as long as the name fits in the space, it worked. Not much fussing allowed on this project!
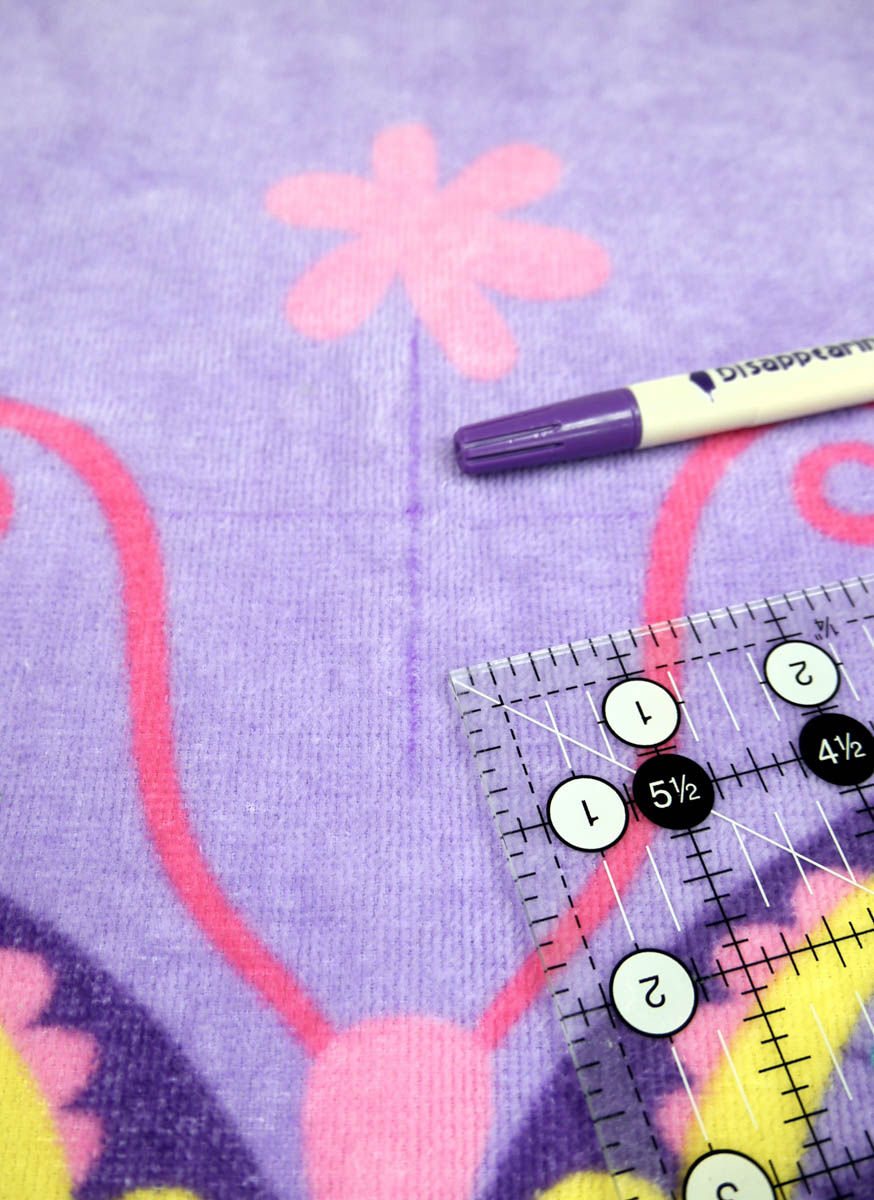
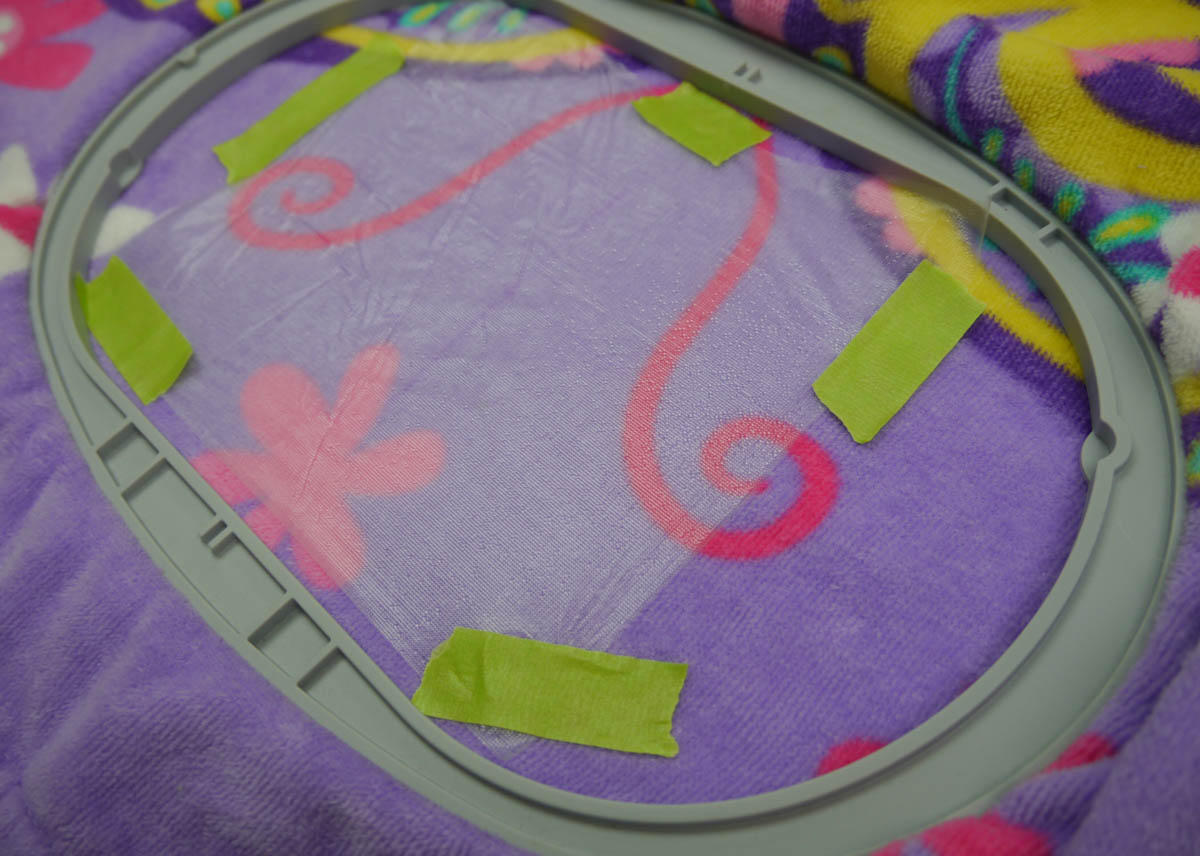
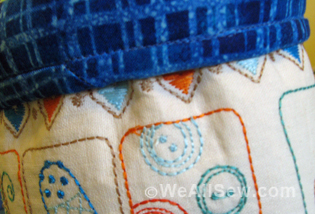
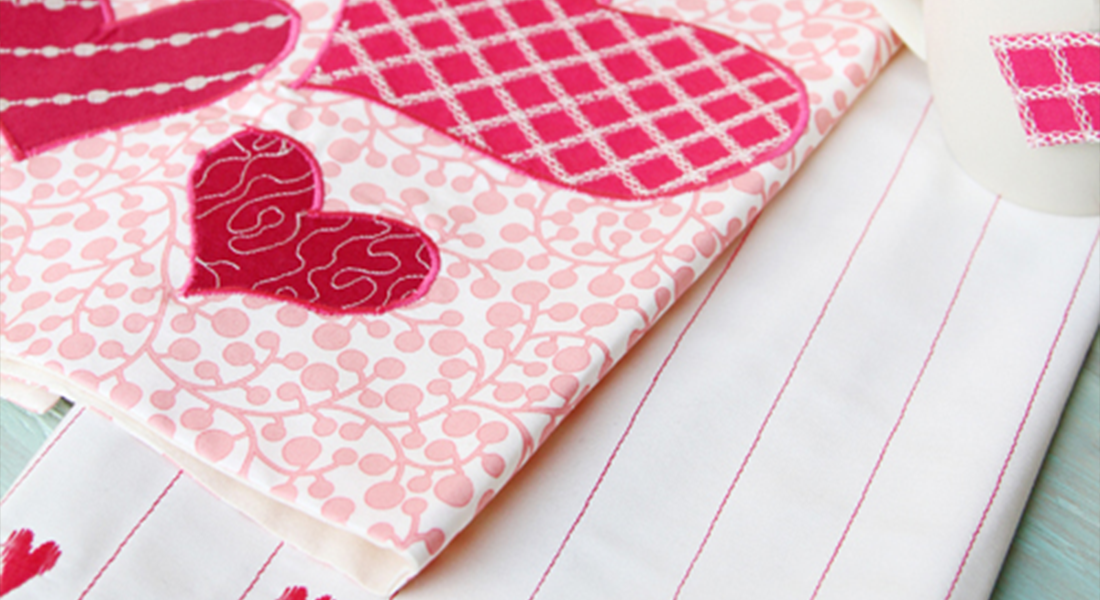
Pick a cute spot on the towel that is large enough for the name. One thing I kept in mind was placing it far enough away from the edge so that I didn’t have to worry about hooping. Mark the center placement lines.
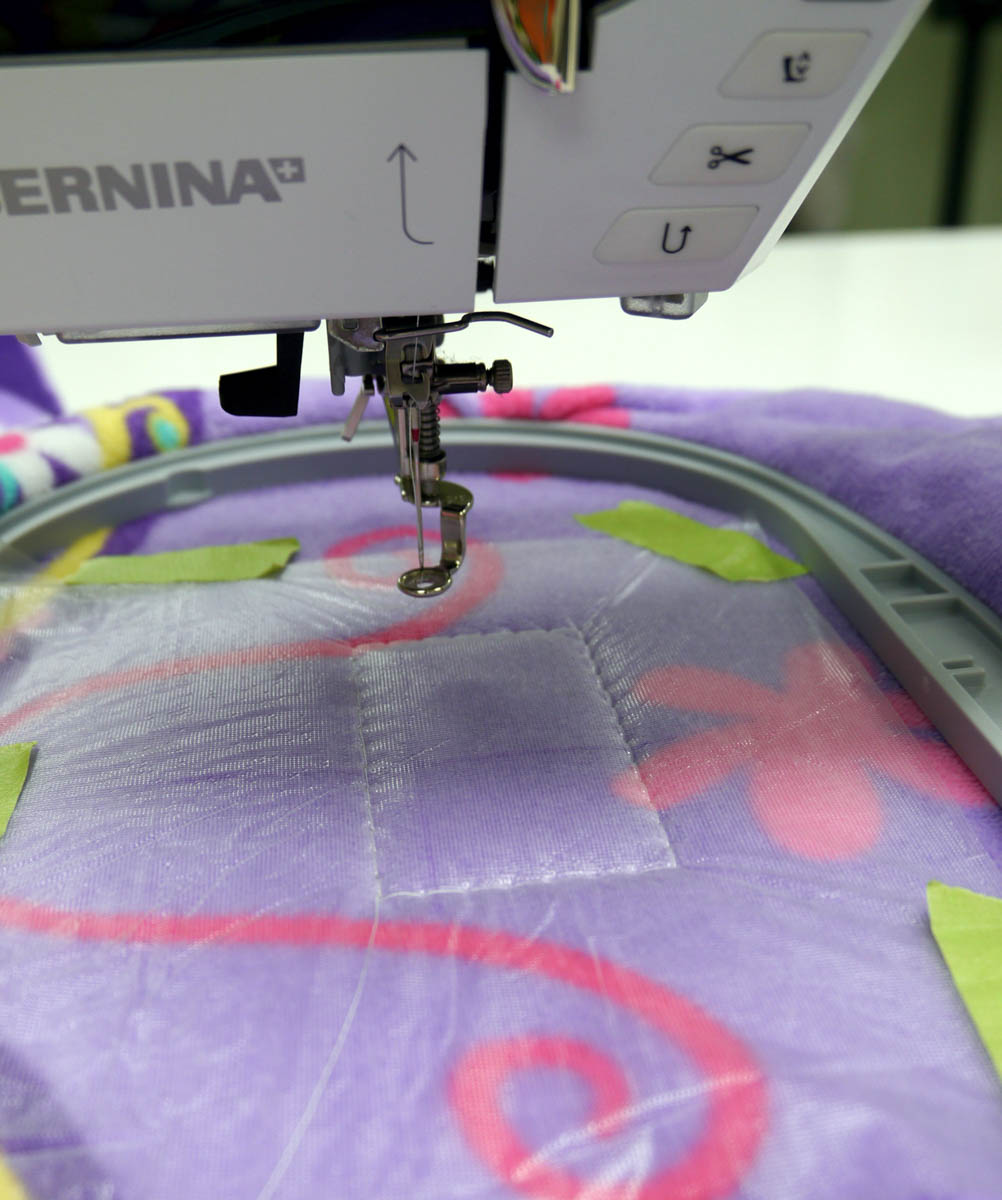
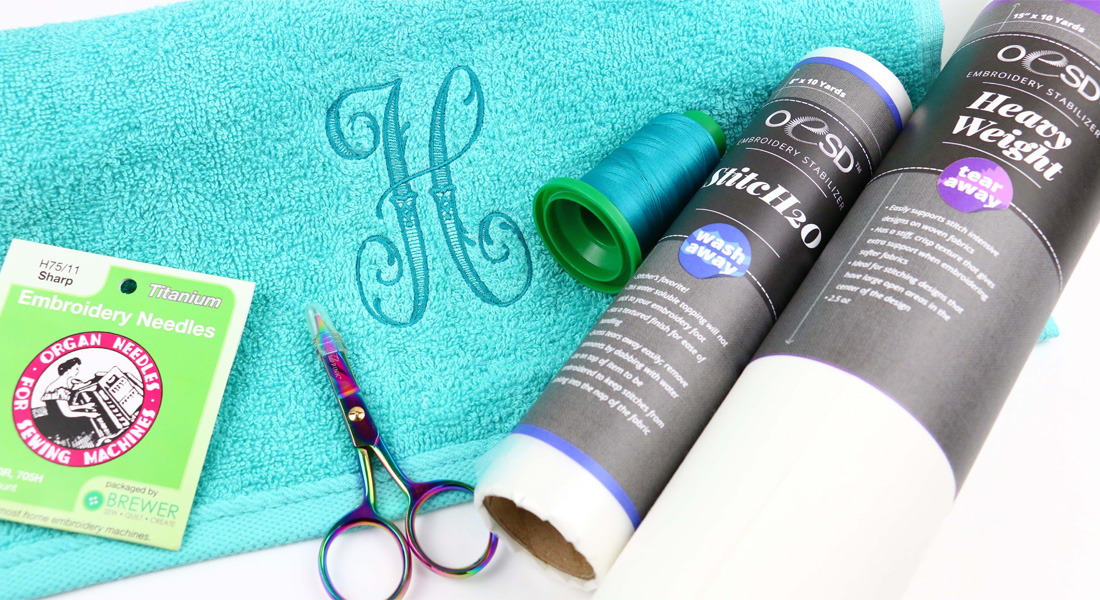
Place a tear-away stabilizer on the back of the towel, hoop and align the placement lines.
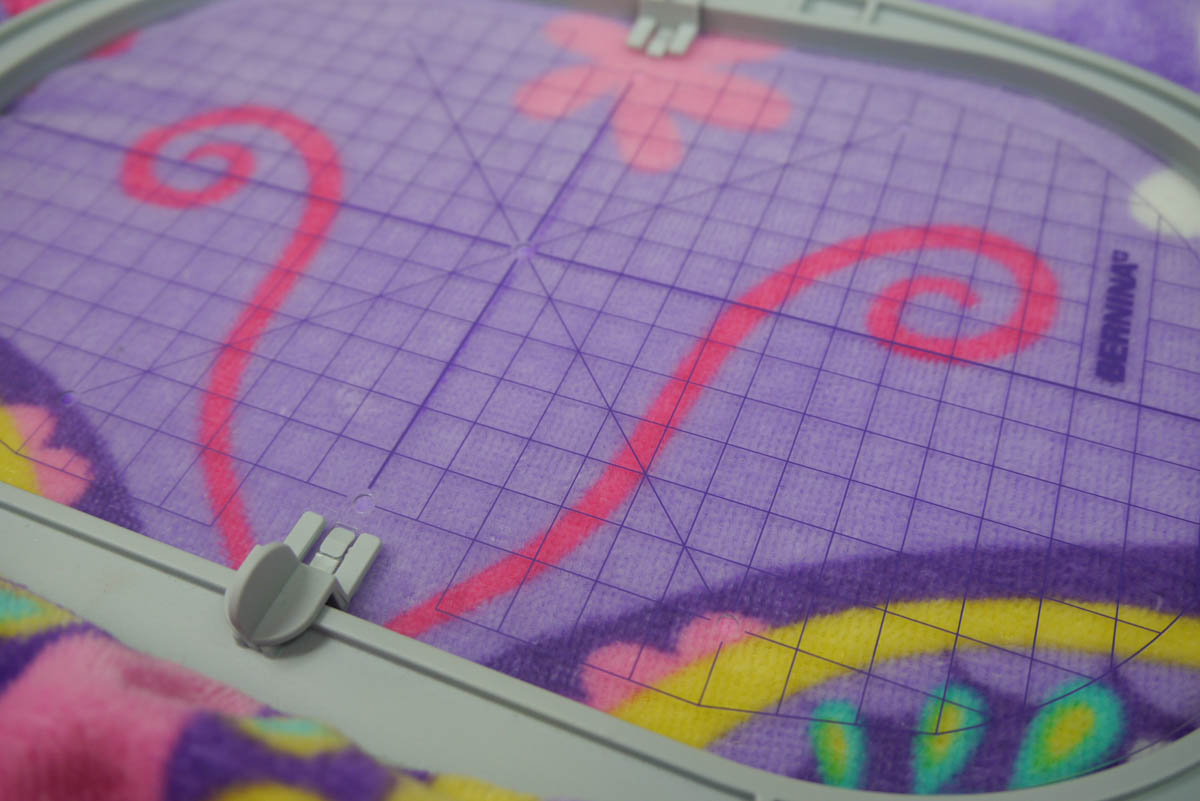
To reduce the loops of the towel from getting caught in the embroidery, place a light-weight water-soluble stabilizer on the top. It’s okay to tape this into place.
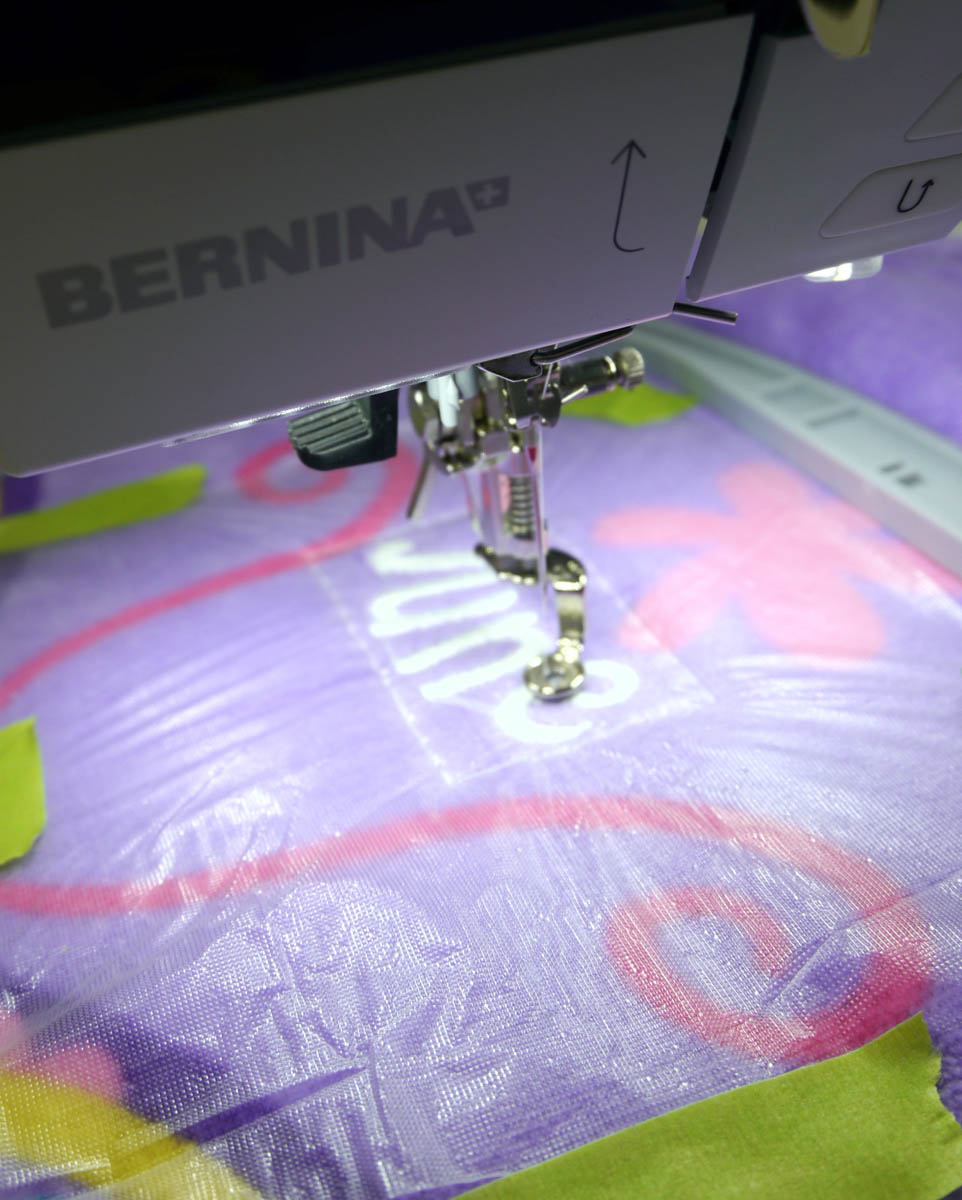
I used fonts that are on my BERNINA 780. It’s fun to play around with how you want the name to look (all capital letters, arched, stretched, etc). Just don’t forget that you may have to rotate the name so that it stitches the way you intend it to.
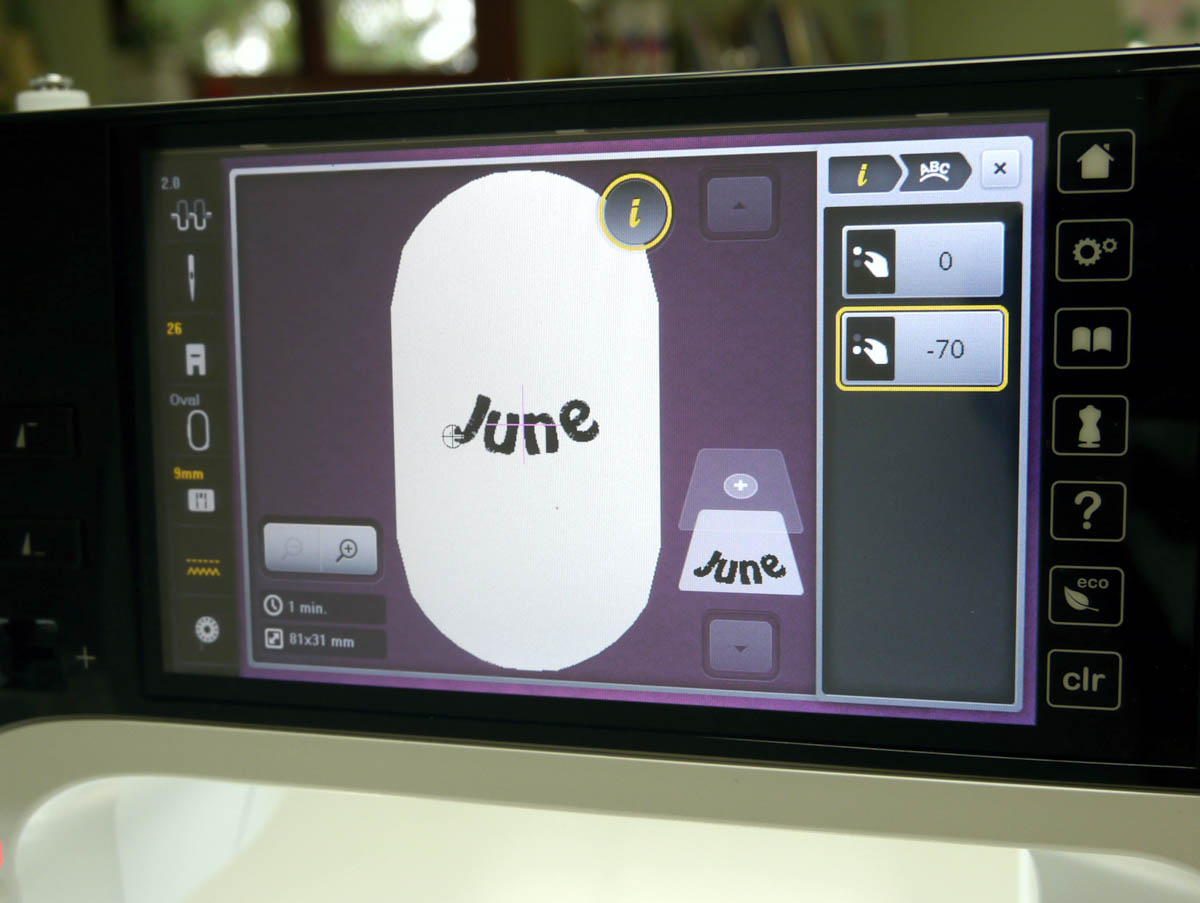
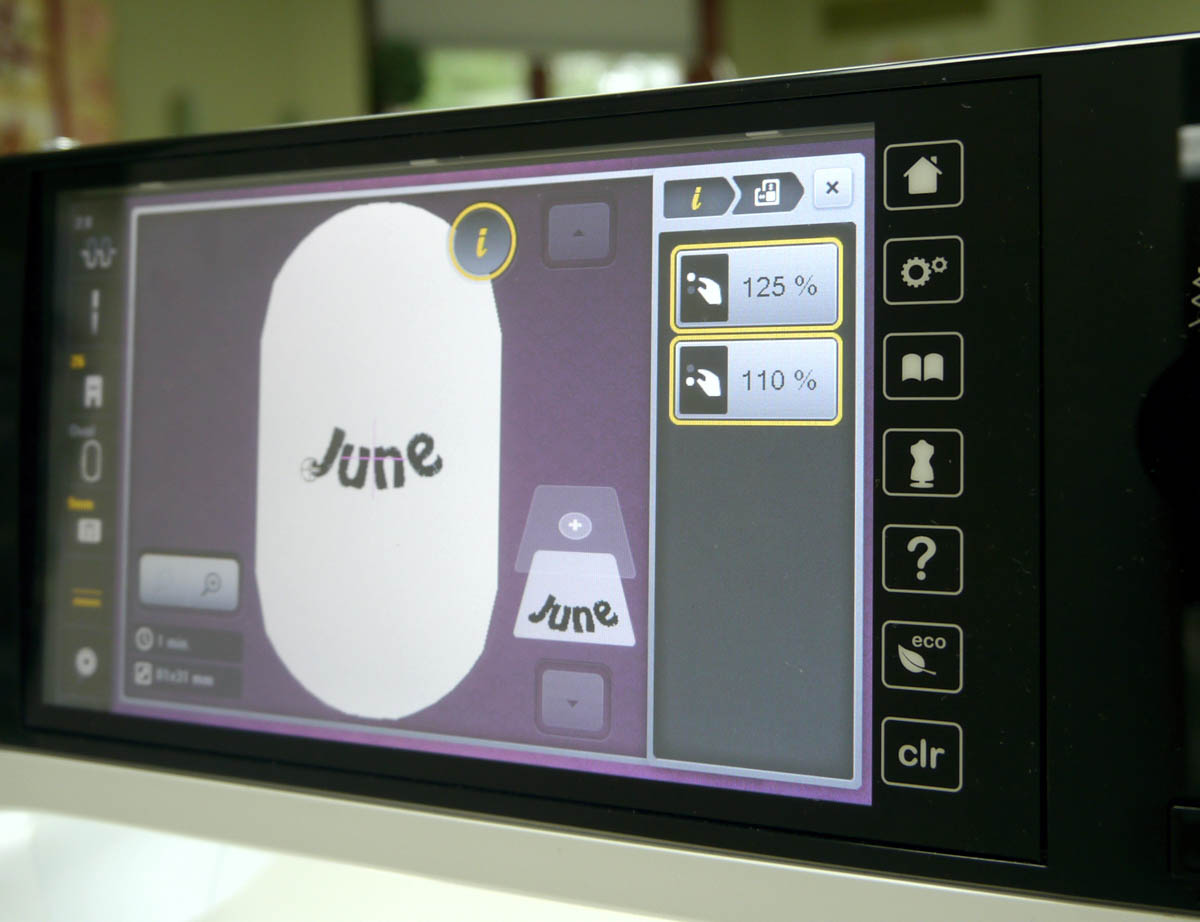
Hint: If you increase the letter size, be sure to also increase the stitch density.
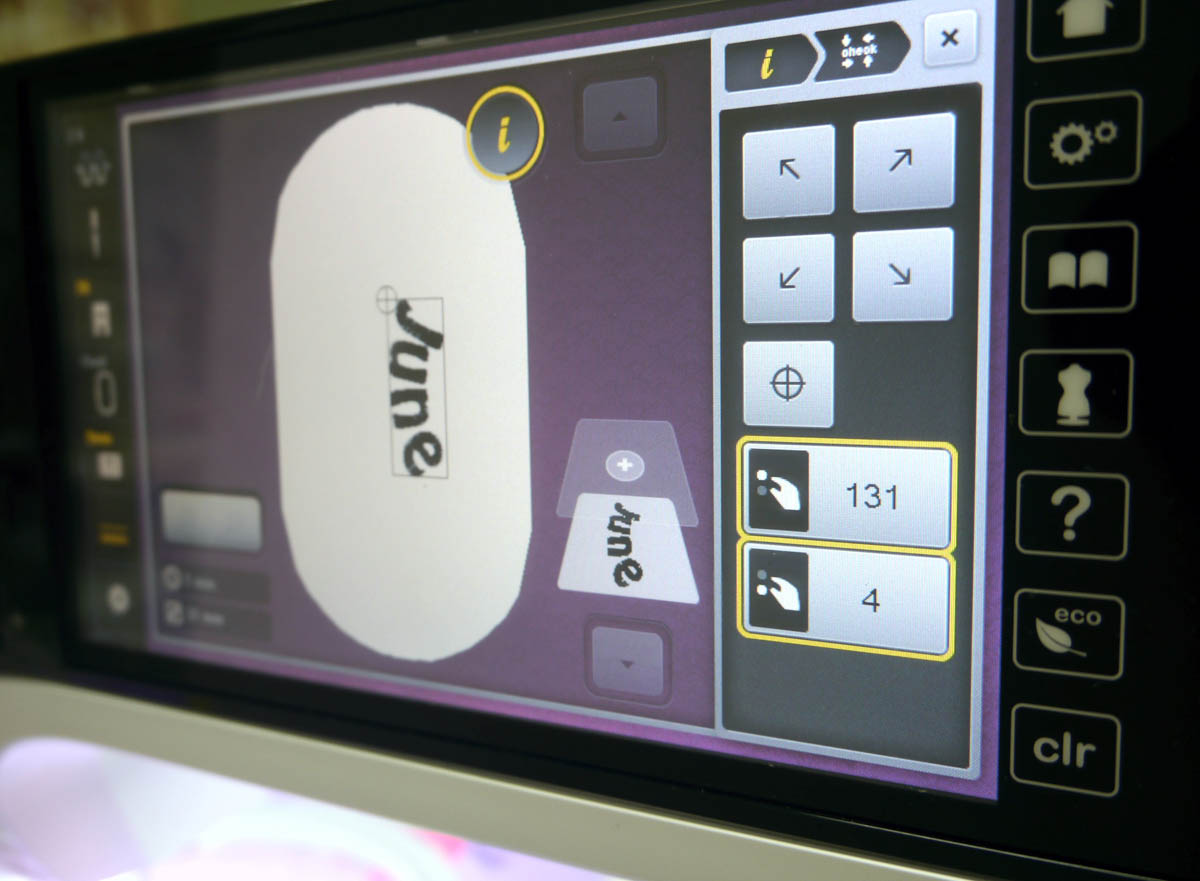
Use the placement lines and positioning dials to align the design to fit where you intend it to stitch.
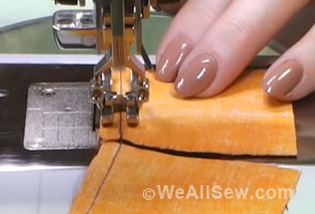
I found it best to stitch a basting box around the area to hold the stabilizer in place. This also gives you a better feel for the placement and size of the stitched name.
Stitch.
One of the reasons why this is a great beginner project is that you don’t have to worry about if the name isn’t perfectly straight because you aren’t stitching next to a hem or braid. Just choose a spot that a little quirkiness and whimsy looks perfectly normal! See, getting your feet wet with embroidering on towels is easy!
For more detailed information, please watch the video tutorial by Kay Hickman, Tips for Successful Embroidery on Towels.
Used Products


What you might also like


10 comments on “Easy Name Embroidering on Towels”
-
-
Like
-
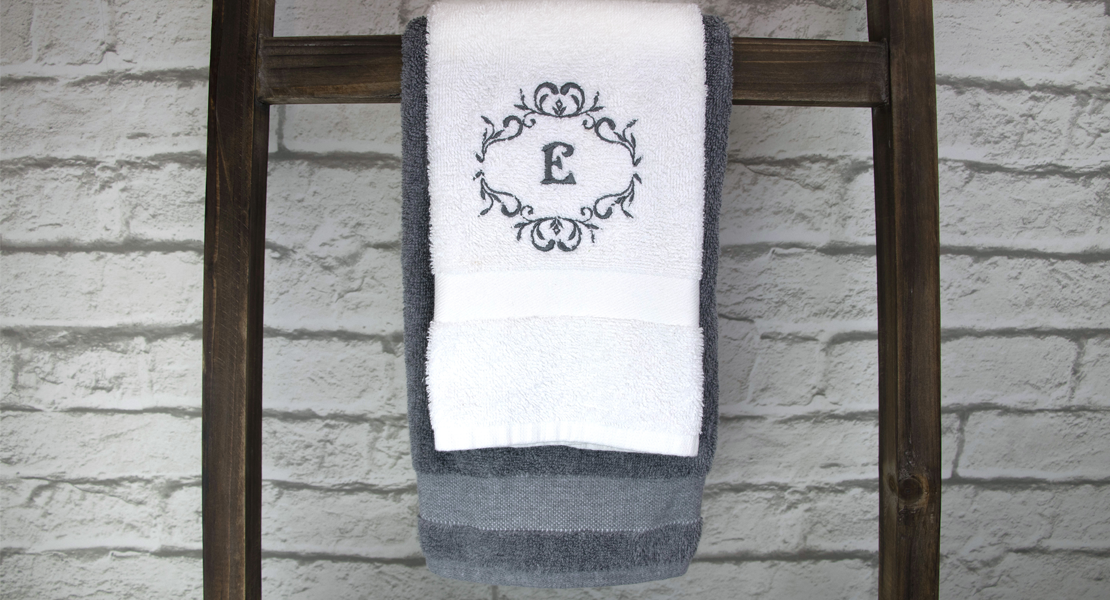
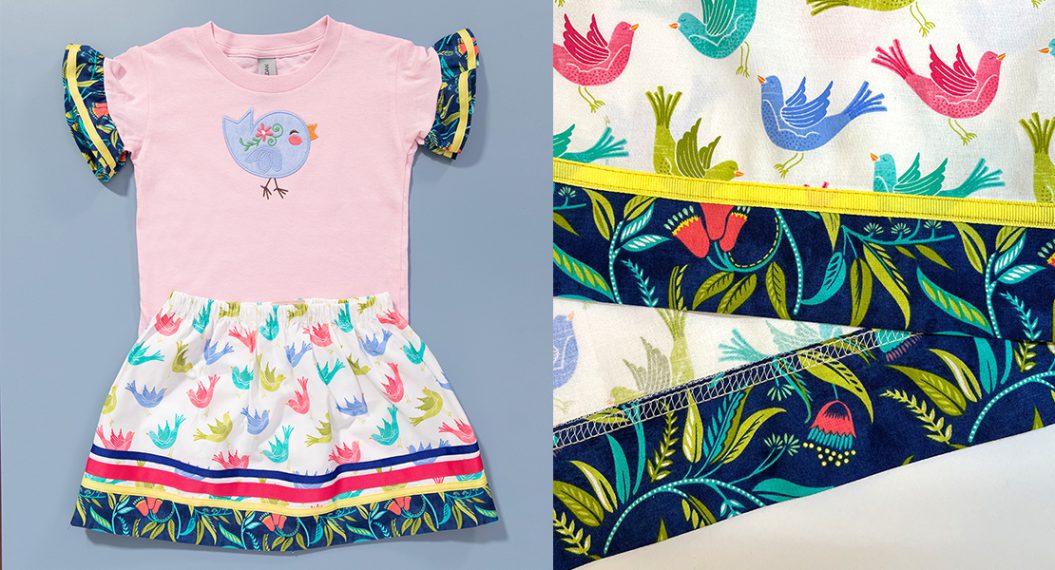
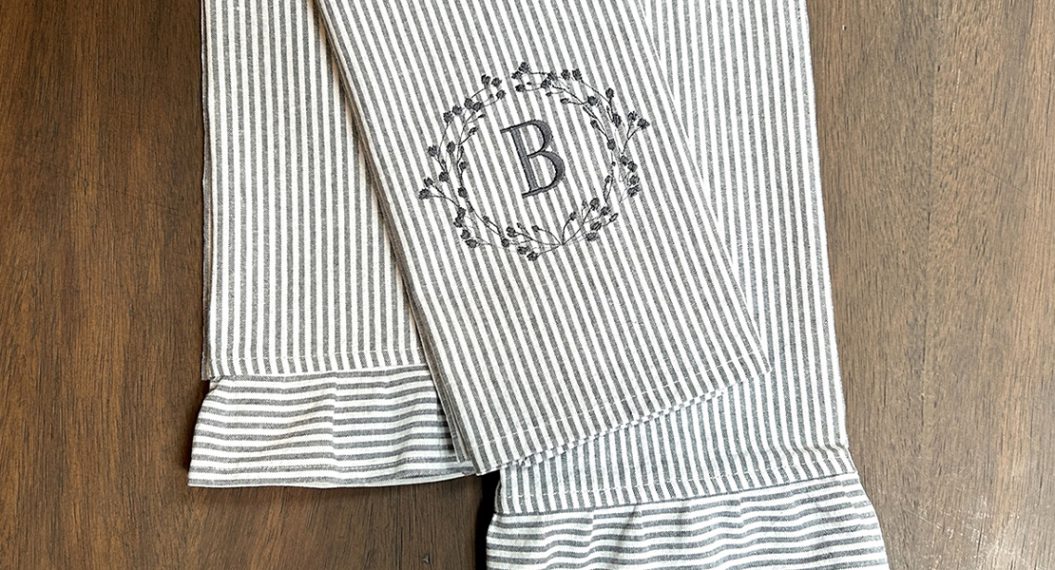
Another option might be just initials or a monogram. It would be fun to embroider fun, colorful designs that represent each child on solid towels, too!
-
I don’t get this. You won’t put the child’s name on the towel so a predator can’t read it. But then you’ll go to the beach and bellow the kid’s name (Allison, get back here! Emily! Ten more minutes!)
-
-
Love it! I have a 780 also. Please tell me how to increase the density of the stitch when I enlarge it.
-
I have an 830 so show us how to increase stitch density????
-
Although I don’t have an 830, I would think it would be similar to my reply to Lesas. There would be more information in your owners manual, under the Embroidery section. I hope you have fun with this project!
-
-
Hi Lesas- I’m glad you like this quick little project. On your screen, start by touching the “i” icon. Then the icon “altering the stitch type/stitch density”. It’s the one that looks like a zigzag stitch over a square. Use the plus or minus icons on the screen or the dials to adjust how close you want the stitching to be. Happy stitching!
-
-
how do you make a basting box around your name? I had had the basting threads for the hoops but when I had my 830 repaired they disappeared along with everything I had saved. So I guess I could / should ask how to get those back also.
-
To sew a basting box around the motif you’d like to embroider, first start by choosing the needle icon. There will be a variety of new buttons that come up, but choose the one that has dashed lines just inside the hoop (it will be highlighted when it is chosen). When you’re ready to stitch, you will see a line around your motif that is the basting box. I’m so sorry you lost your saved work! It might be worth a call to your dealer to see if they have any advice for you. Happy stitching!!
-
Leave a Reply
You must be logged in to post a comment.

Towels at home with name OK beach towels no. YOu do not want a predictor to know the child’s name