Easy Quilt Facing
Every project requires you to assess what finishing techniques is best for that quilt. Single fold or double fold binding, bias or straight of grain, but what about visible or invisible? Quilt facing is an opportunity to finish your project with a clean, nearly invisible edge.
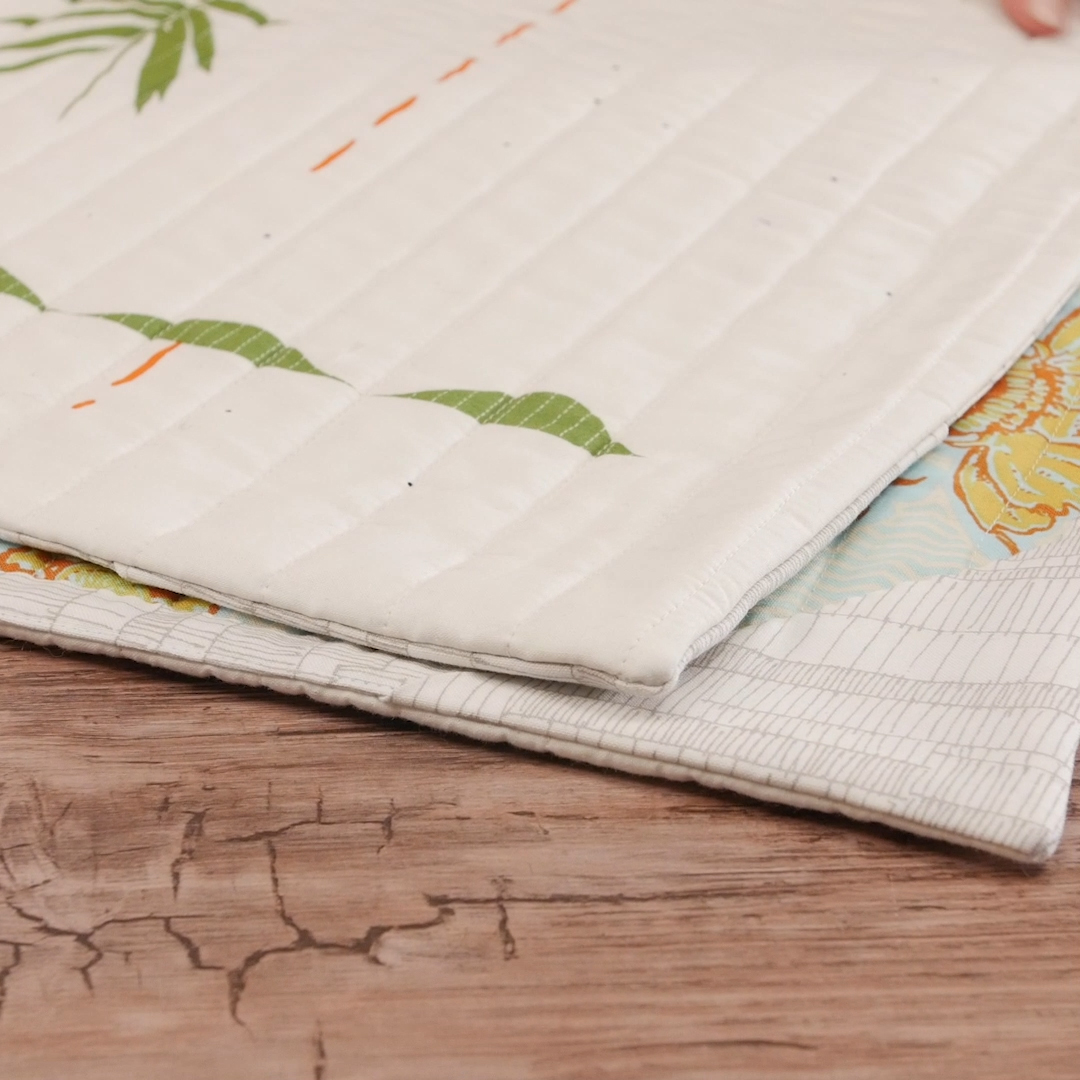
Sometimes, you want to be able to bind your quilt without seeing anything at all on the front side. For this, I present to you a quilt facing. As an alternative to binding, facing creates an elegant, seamless-looking finish on the front side of the quilt that’s very popular for art quilts or wall hangings.
While this technique is certainly beautiful in its simplicity, it also has another benefit: there’s no need to stress over mitering corners on this technique. If you’re someone who can never seem to get those corners quite right, then I welcome you to give this a try. It’s a fantastic finish for both beginners and the most experienced sewists out there!
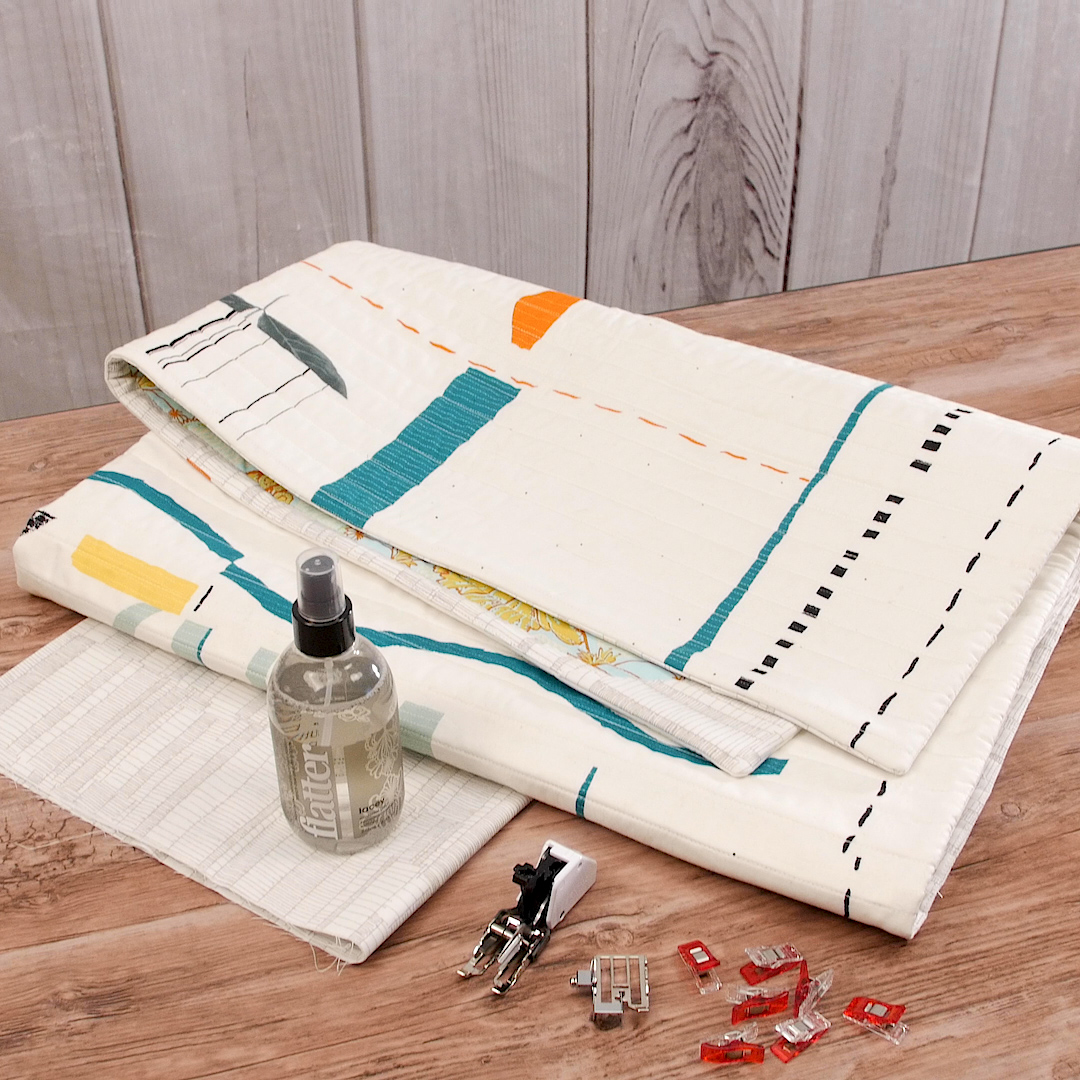
Supplies to Create an Easy Quilt Facing
- Quilted and trimmed quilt
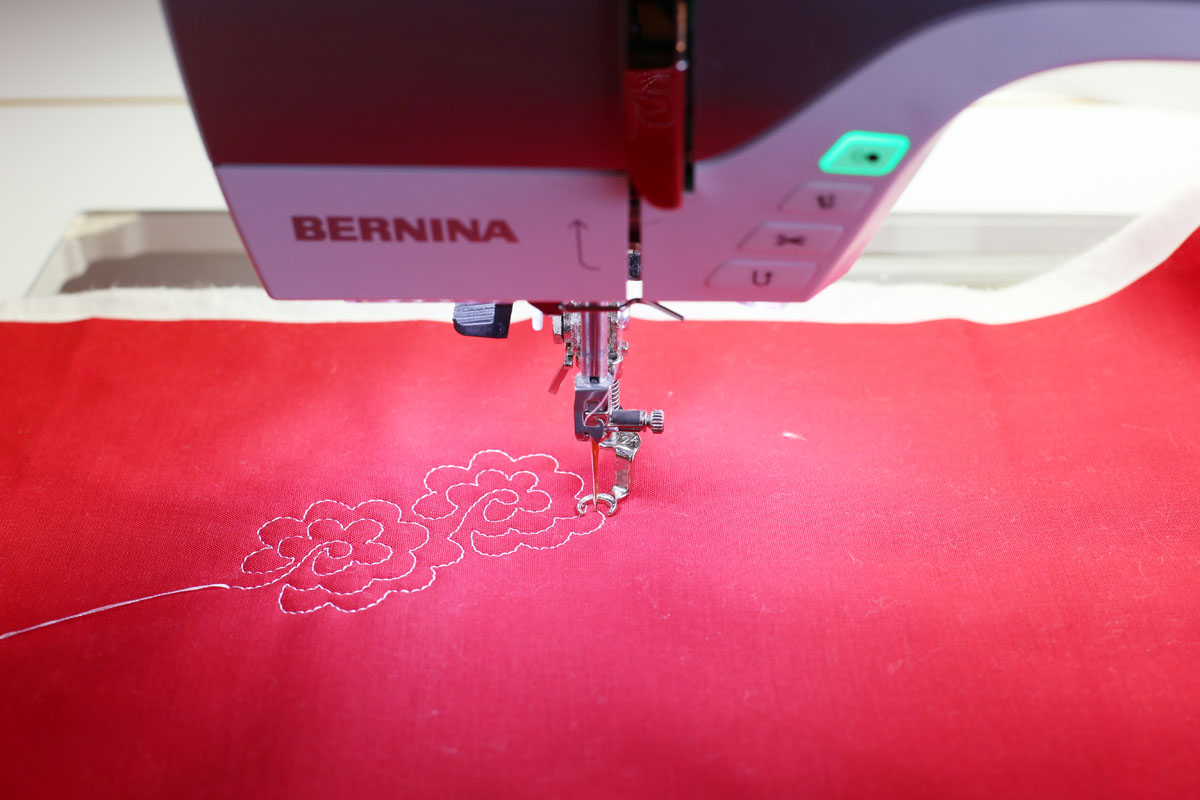
- I’m using a simple whole cloth quilt for my wall hanging, quilted on the Q 24. Check out this tutorial by one of our longarm specialists, Denise Jones, on how to easily do straight line quilting using Q-matic Longarm Quilting Automation System.
- Quilting weight cotton fabric for binding
- Matching thread
- Pins
- Rotary cutter
- Quilting ruler
- Cutting mat
- Iron
- Pressing mat
- Fabric scissors
- Hand sewing needles
- Walking Foot #50
- Standard sole
- Edgestitching sole
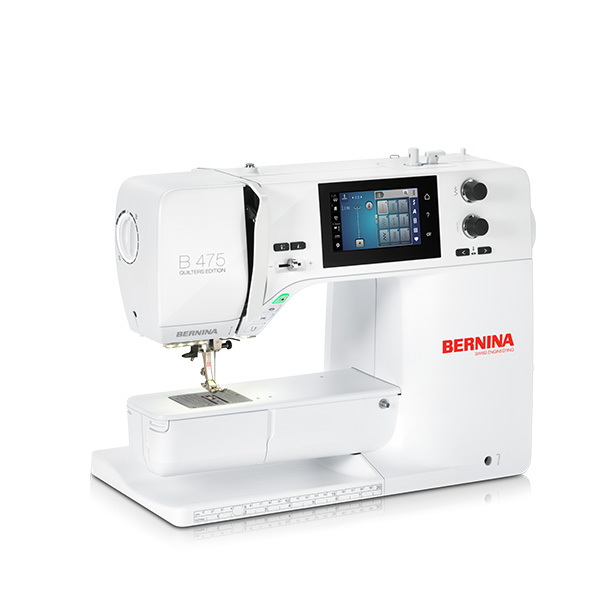
- BERNINA 475 QE
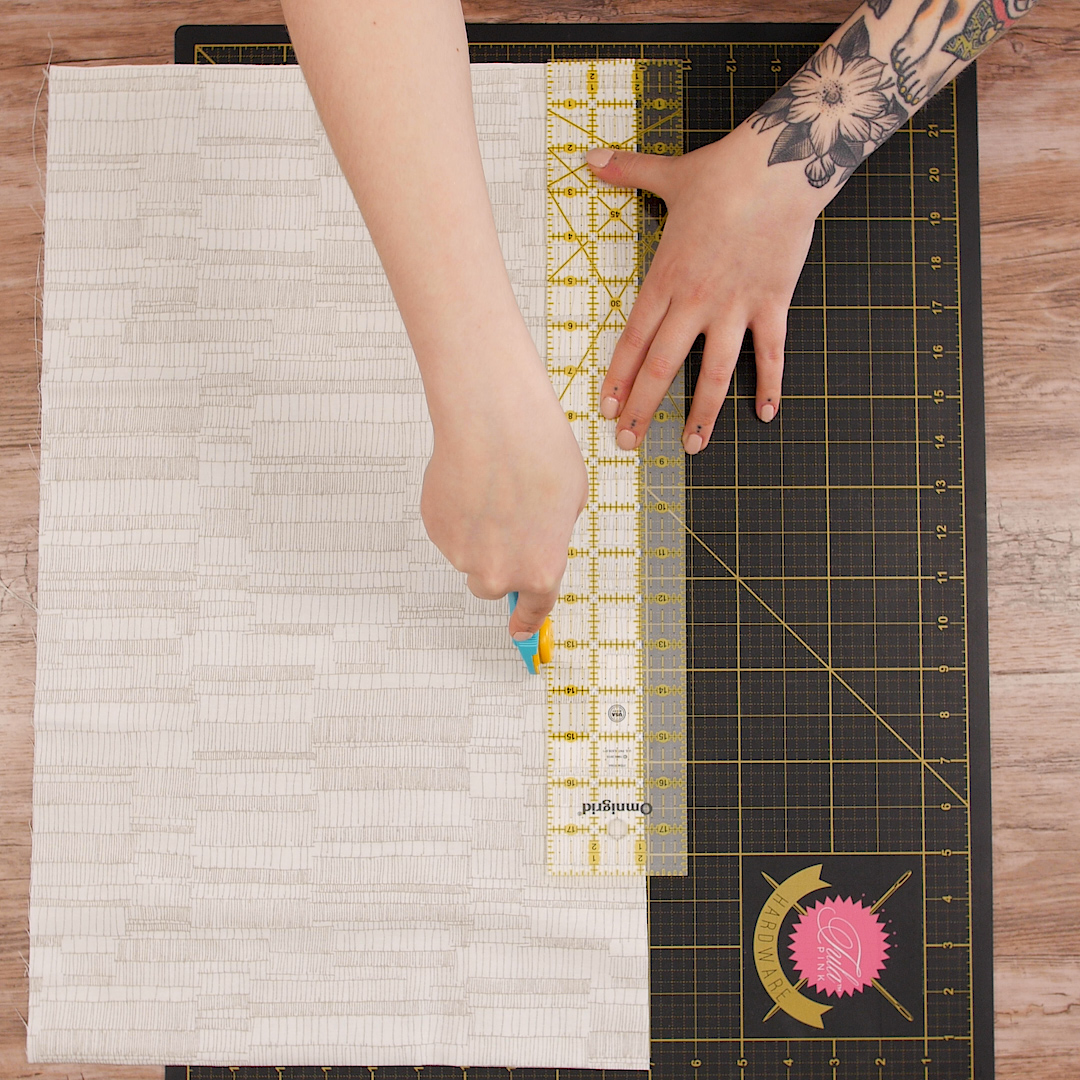
Step 1. Cut fabric for quilt facing
Start by calculating how much binding you will need. Measure each side of your quilt and add up those lengths—that’s the total required length. Let’s say we’re binding a 40” x 30” wall hanging:
40 + 30 + 40 + 30 = 140 inches of binding
Since we can’t cut 140 inches of continuous length of binding, we next need to figure out how many strips will need to be pieced together, end to end, to create this length. Assume we have 40” of usable width of standard quilting cotton fabric:
140 ÷ 40 = 3.5
The answer here is the number of strips we need to cut from our binding fabric. We’ll be using 2” wide strips for this technique and since I can’t cut half of a strip, I will be cutting four strips from my binding fabric.
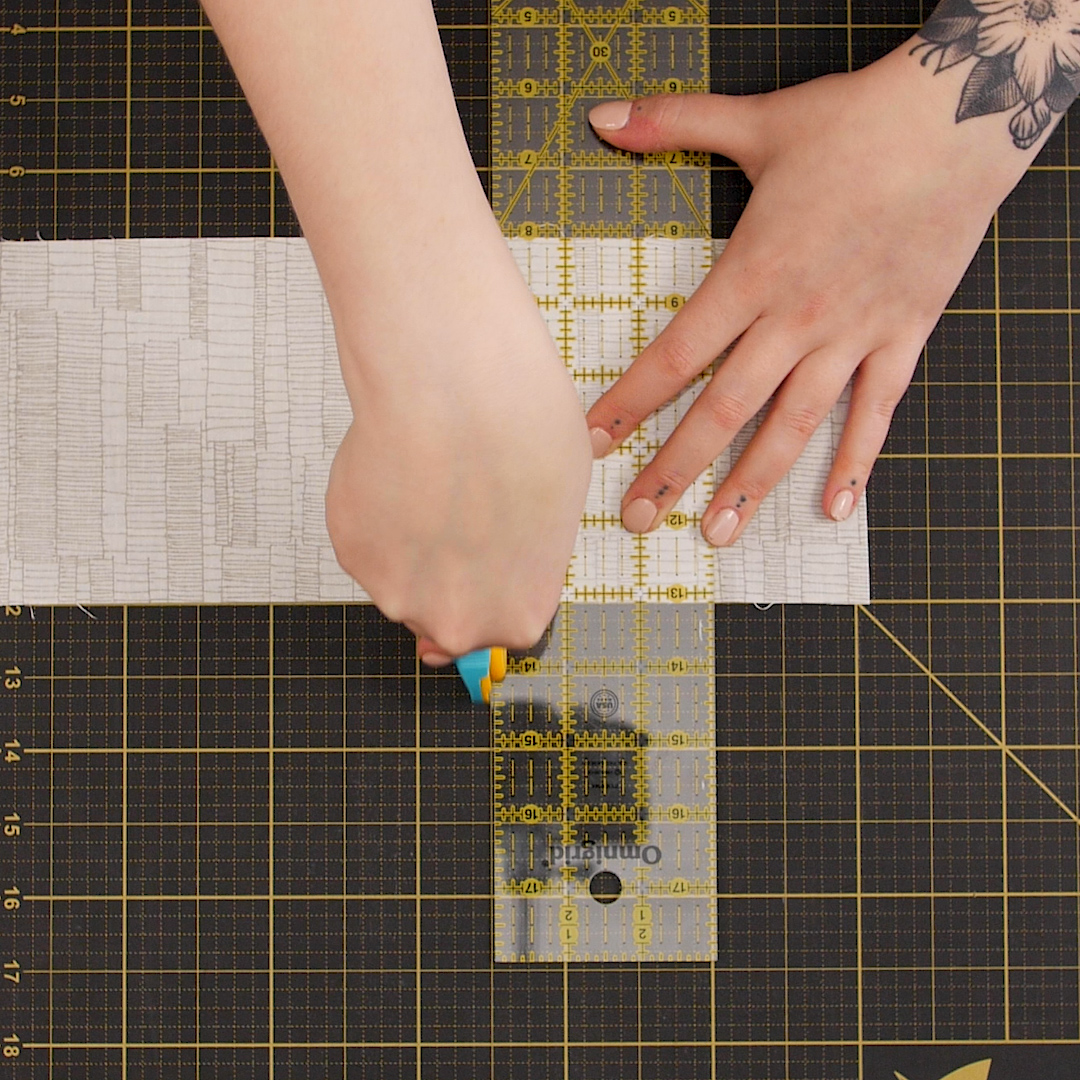
Unlike a traditional binding with mitered corners, there is a second element we need to cut from our binding fabric—our corner pieces. Cut four squares at 5” each.
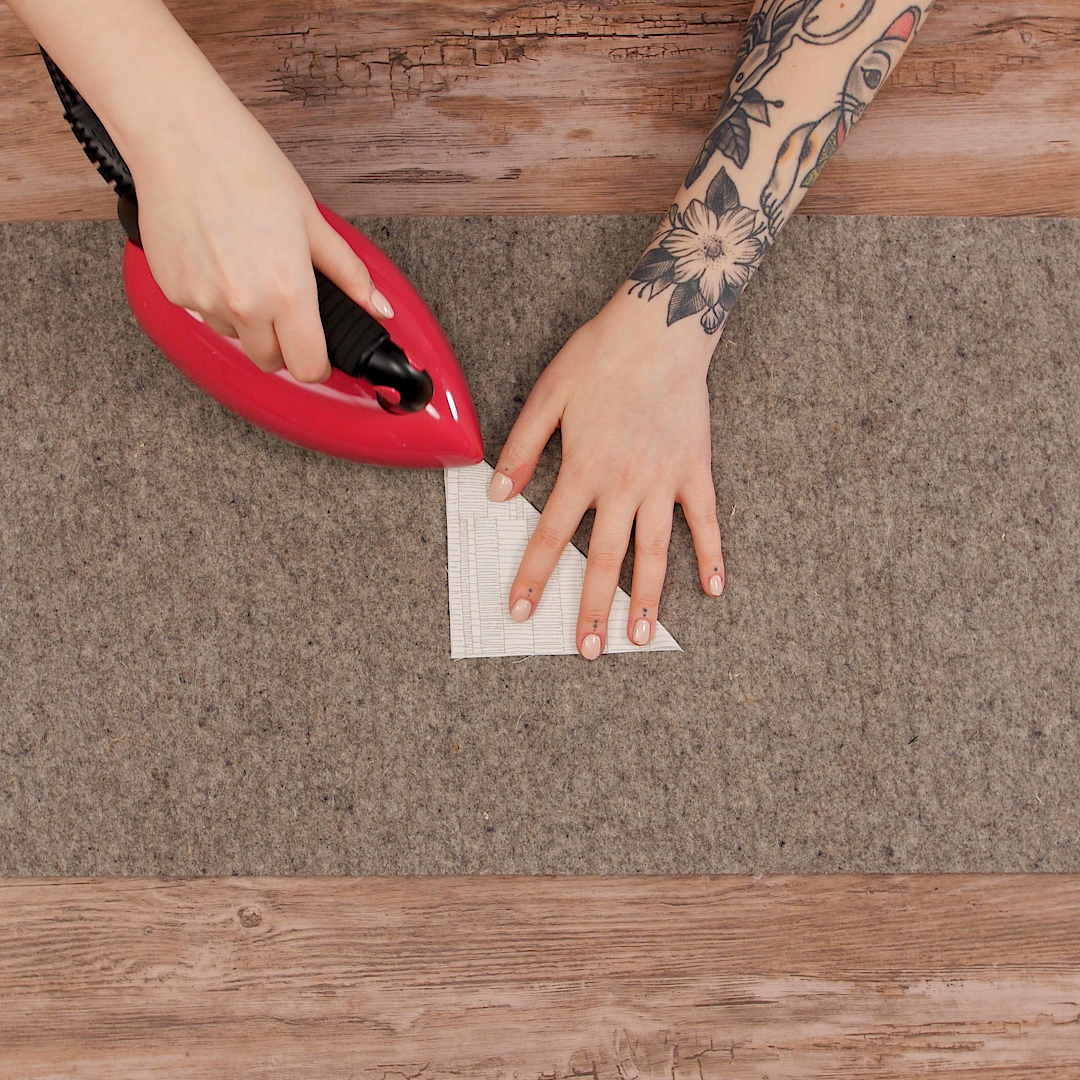
Step 2. Press facing
Fold the binding strips in half lengthwise with wrong sides together and press.
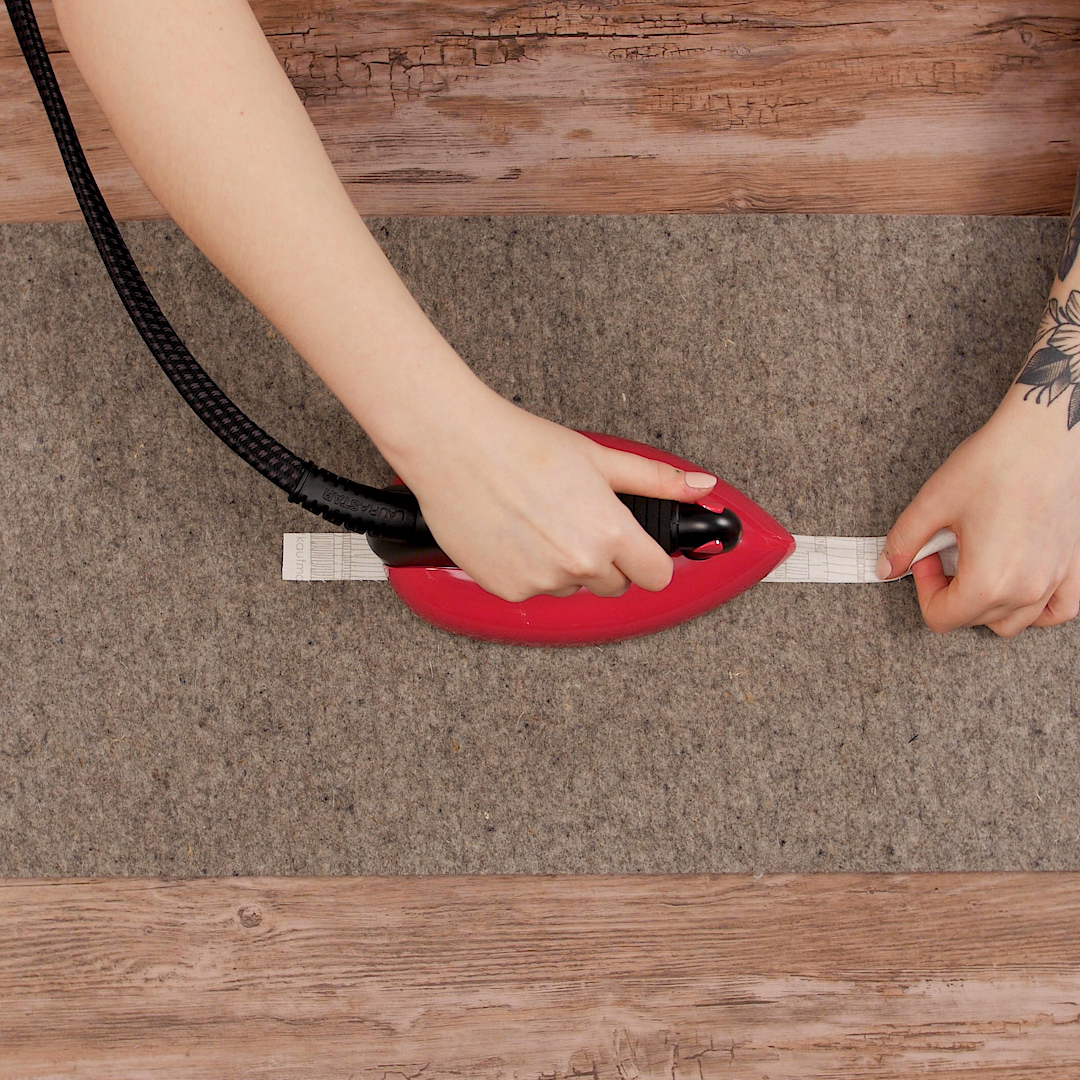
Fold the corner squares in half diagonally with wrong sides together and press those as well.
Step 3. Pin to quilt
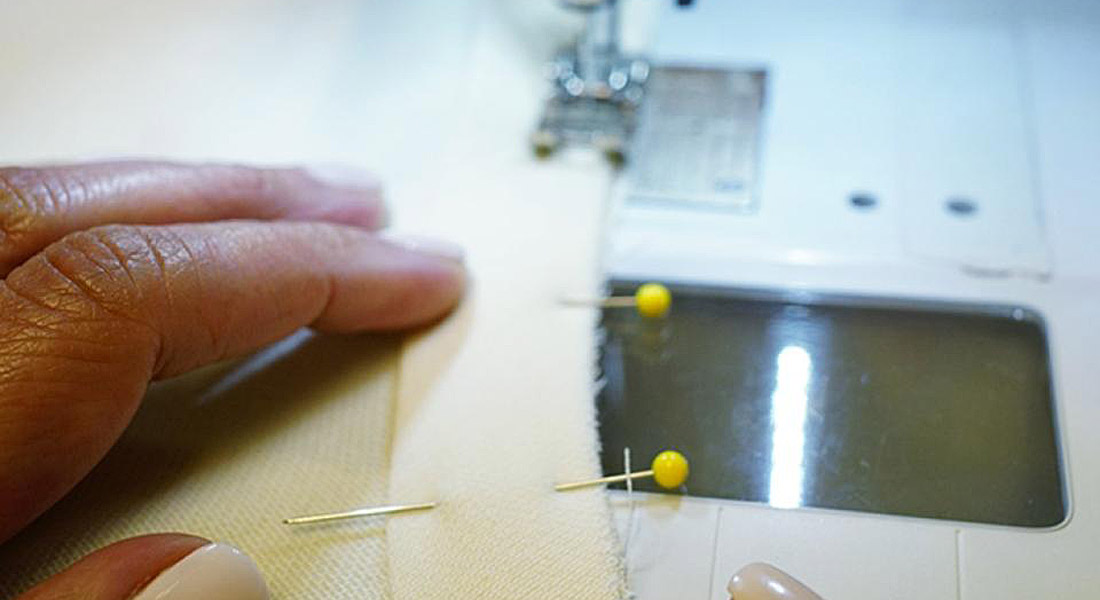
Begin by pinning the corner squares (now pressed into triangles) to the right side of the quilt by aligning the raw edges to each corner of the quilt.
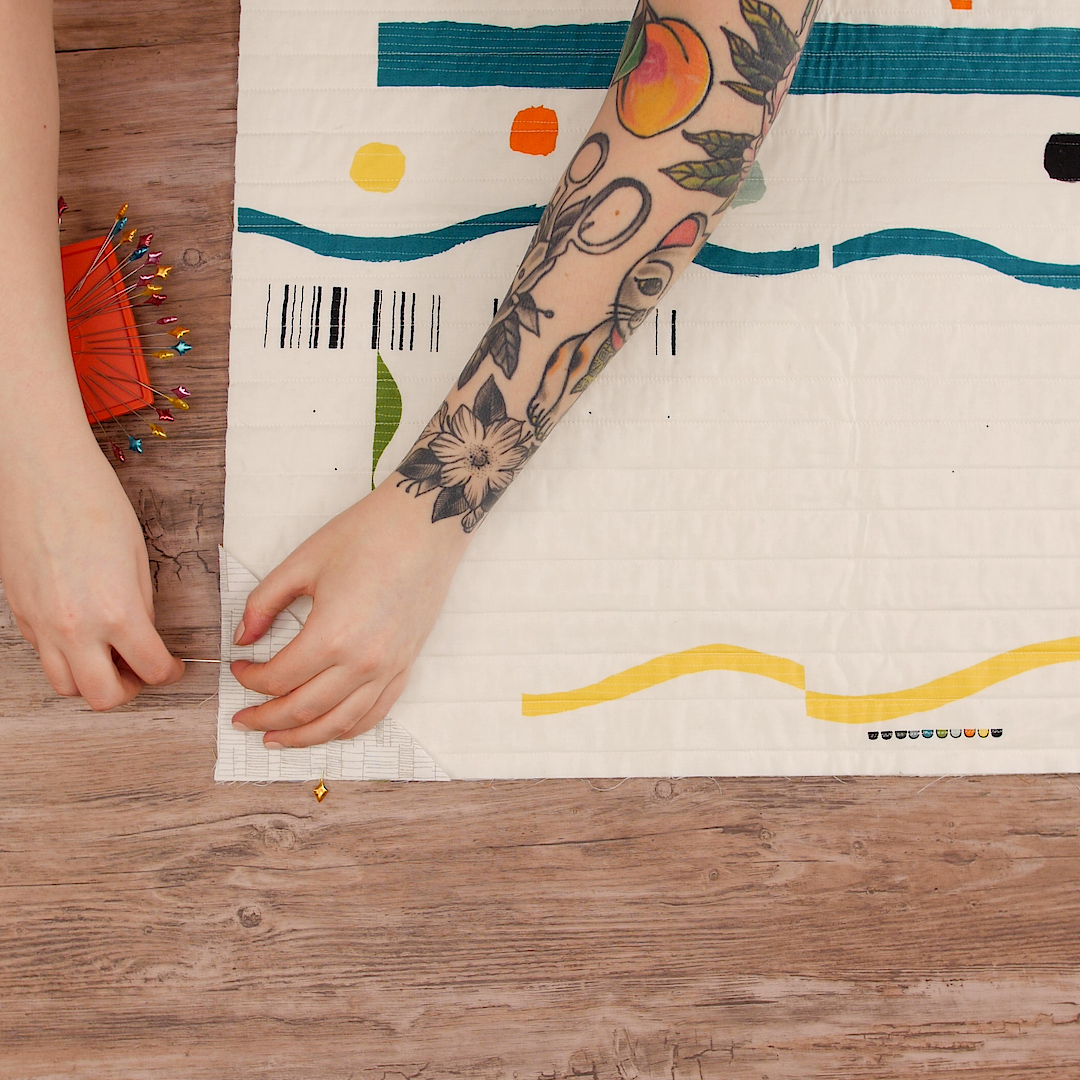
Next we’ll pin the rest of the binding. Take your continuous strip of pressed binding and place the end on top of one of your corner squares, overlapping the strip and the corner piece by at least 1.5” and aligning raw edges together. Pin all the way down this first side of the quilt.

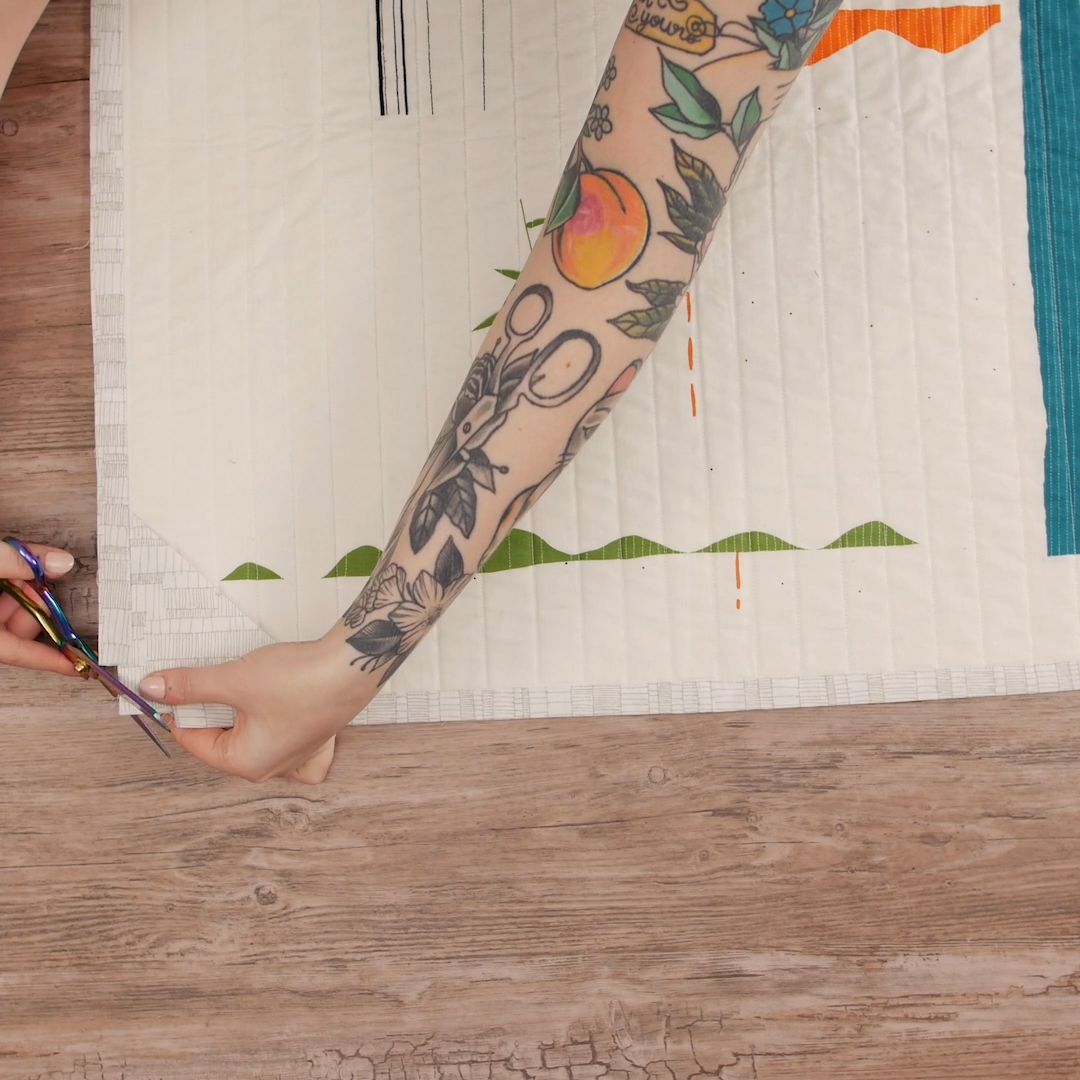
When you reach the next corner, again make sure that the strip of binding overlaps the next corner pieceby at least 1.5” and cut the strip of binding with fabric scissors. Repeat this process along the remaining three sides of the quilt.
Step 4. Attach facing
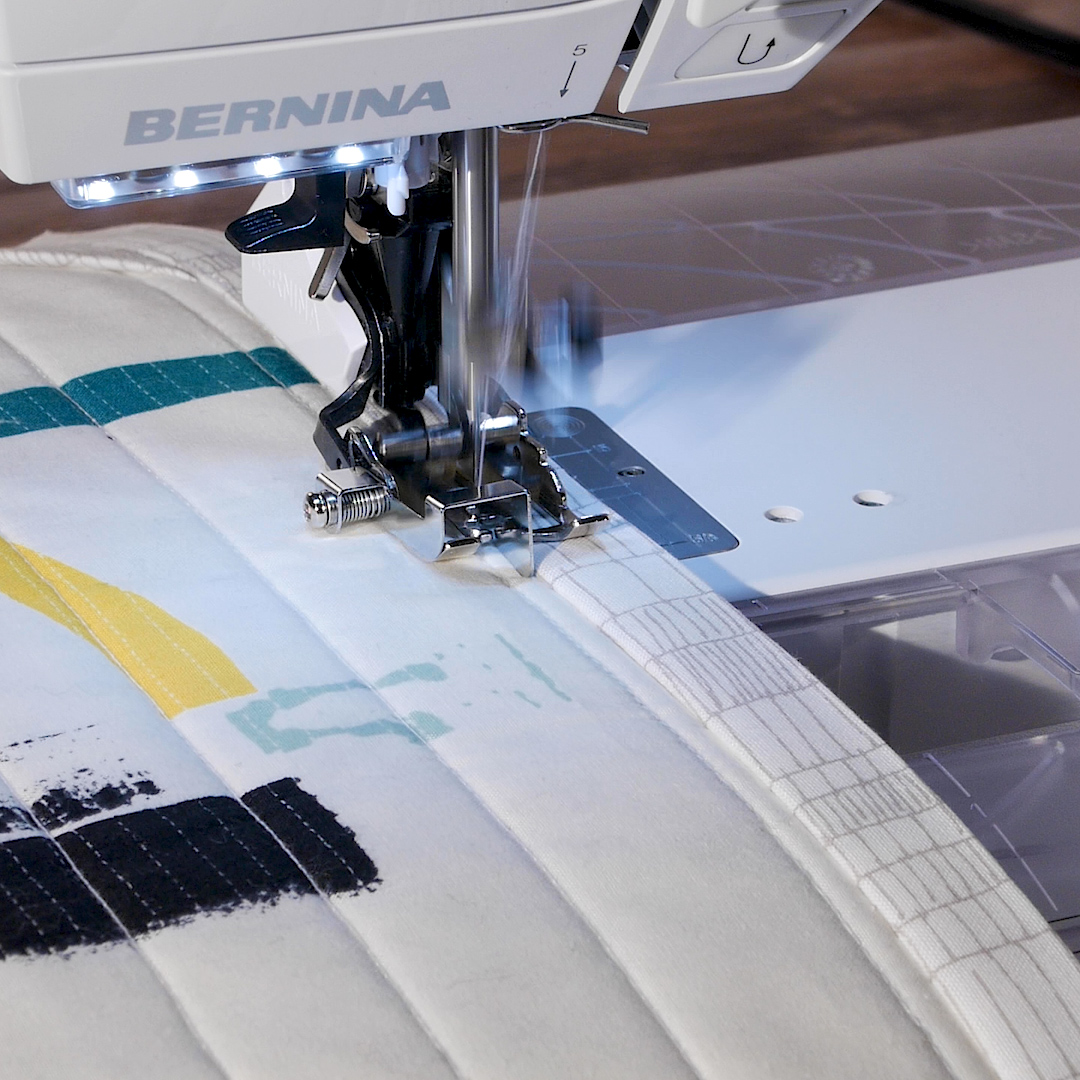
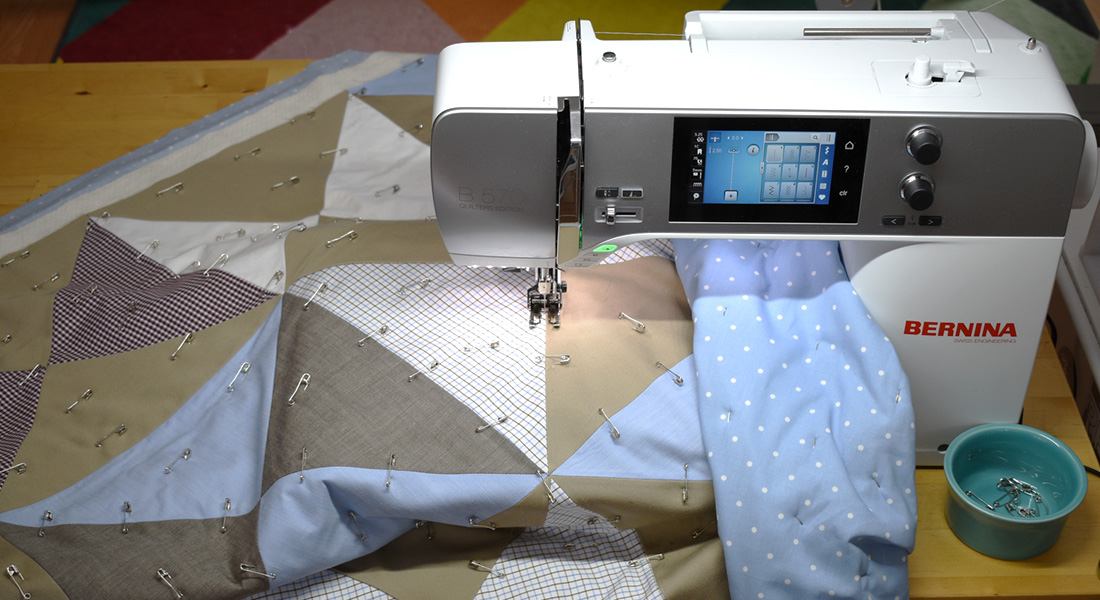
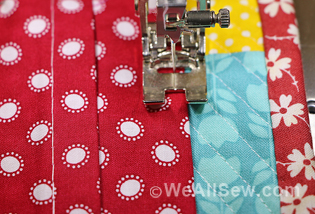
Attach Walking Foot #50 to the machine, using the standard sole for this presser foot. Place the quilt under the presser foot and attach the binding with a 1/4″ seam allowance. Be sure to secure your seam at the beginning and end with a couple back stitches.
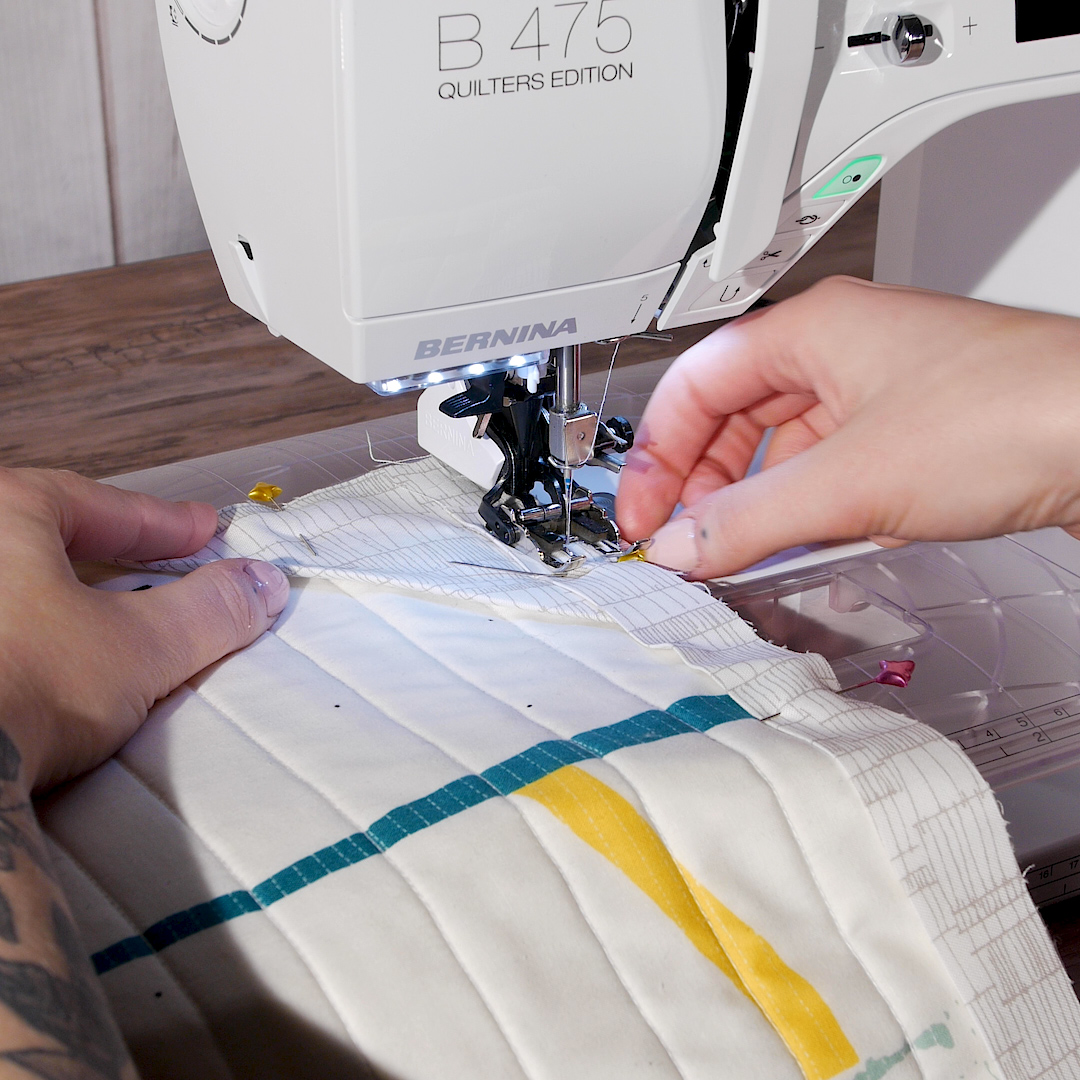
When you reach a corner, simply stop with the needle down, raise the foot using the Free Hand System (click HERE to read a blog post about the BERNINA Free Hand System), and turn the quilt to pivot around the corner. This is one of the best parts about this technique—no starting and stopping to miter corners!
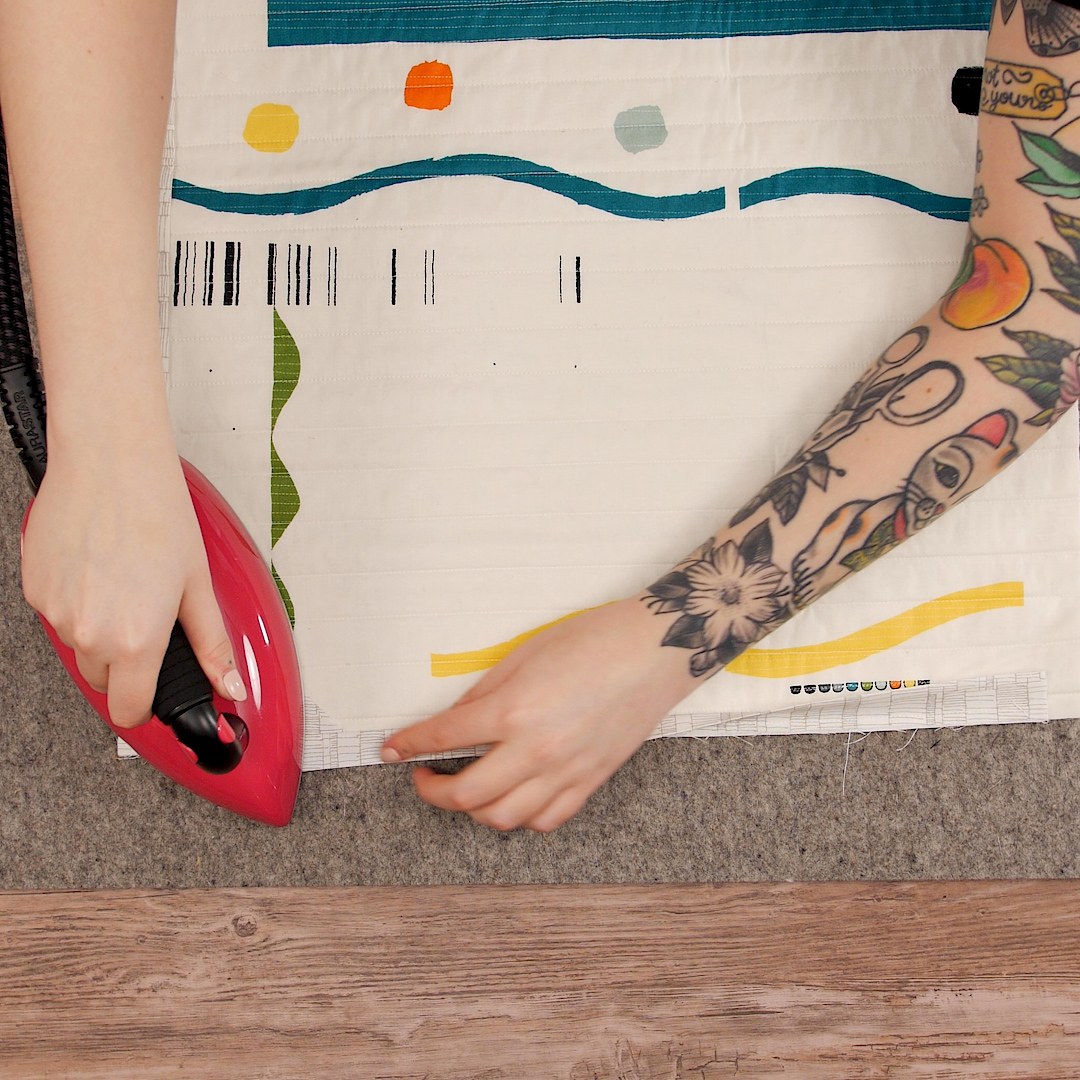
When the binding is attached all the way around the quilt, use a hot iron to press the binding strips toward the seam allowance.
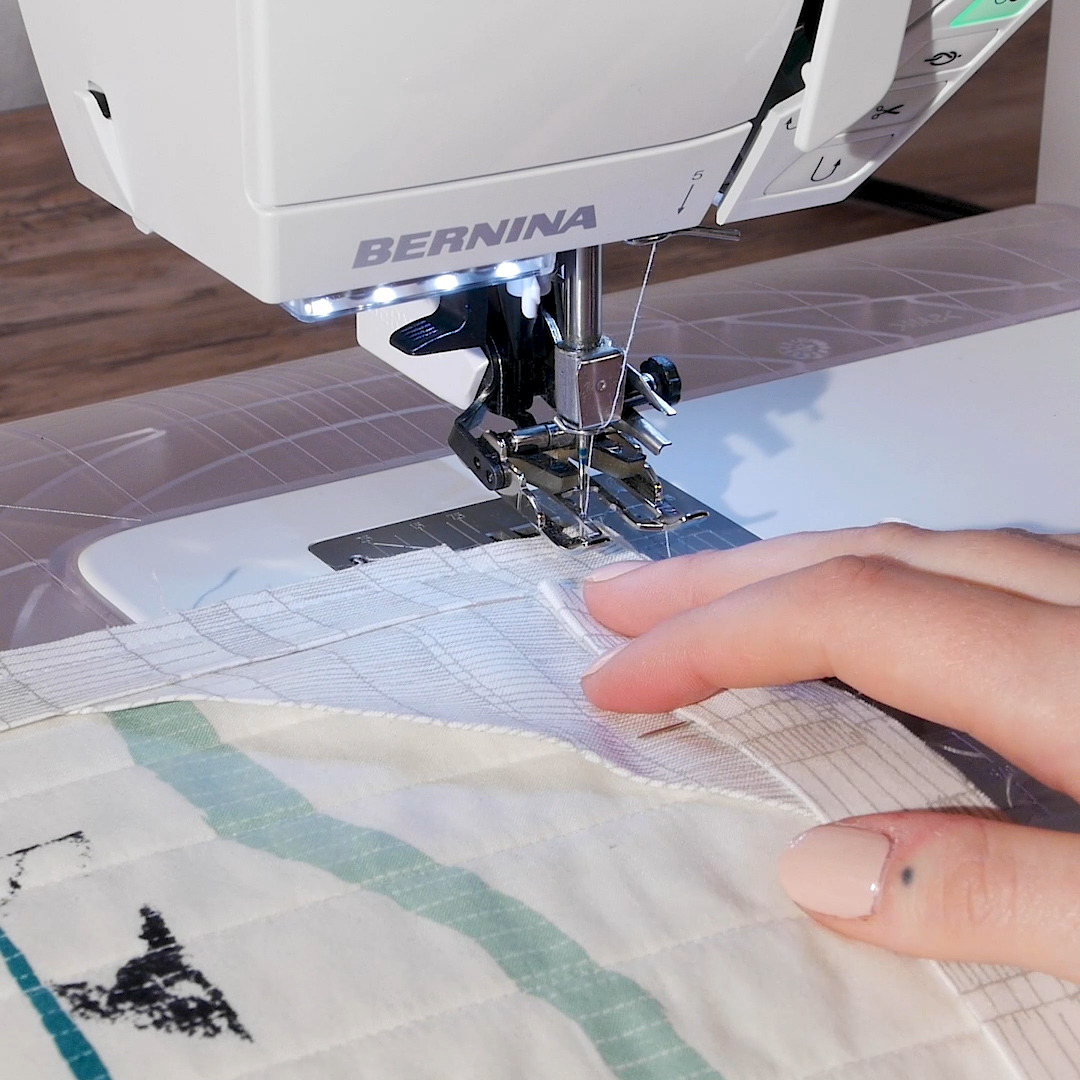
Step 5. Understitch
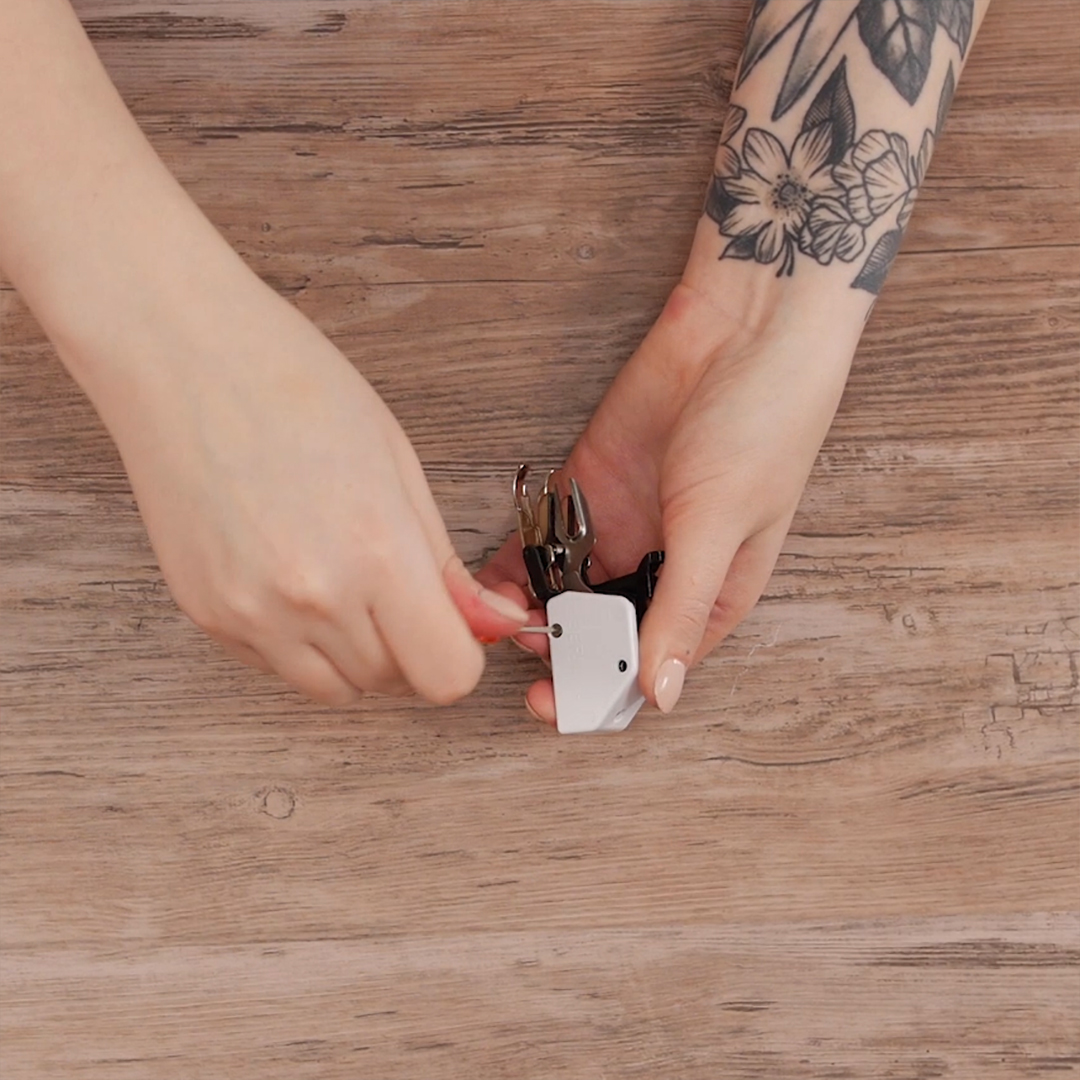
Before the next round of stitching, we need to change the sole on our walking foot. This is most easily done by removing the foot from the machine first. Use the small screwdriver that comes with the walking foot to loosen the small screw on the right side of the foot. The sole of the presser foot will separate from the main component of the foot when the screw is loosened enough.
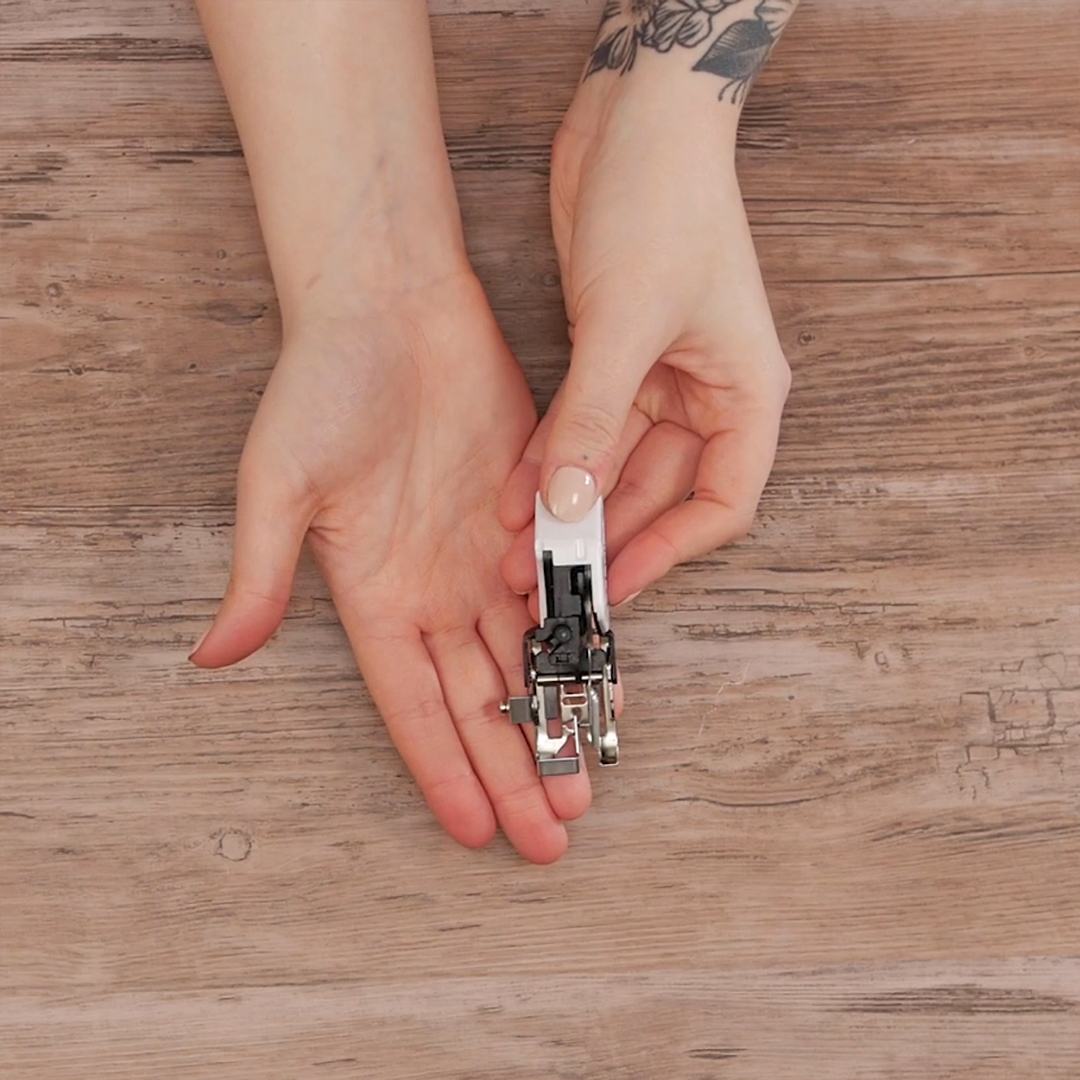
Align the edgestitching sole with the appropriate holes on the walking foot and tighten the screw to secure it in place. With this sole in place, reattach the walking foot to your machine.
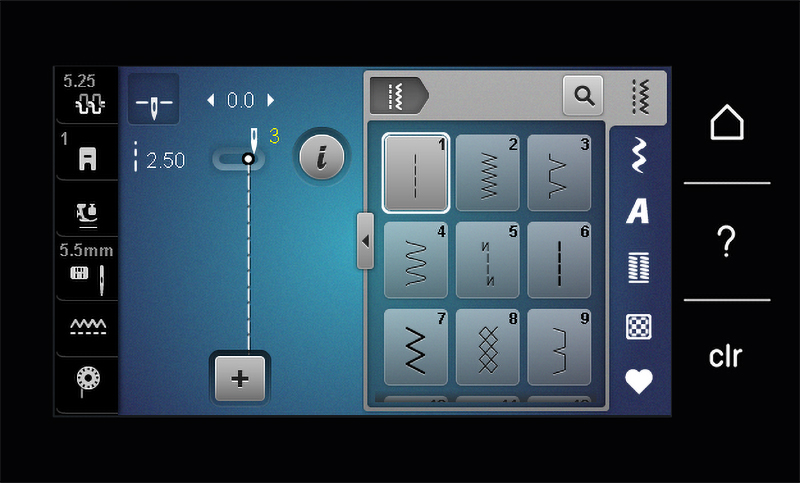
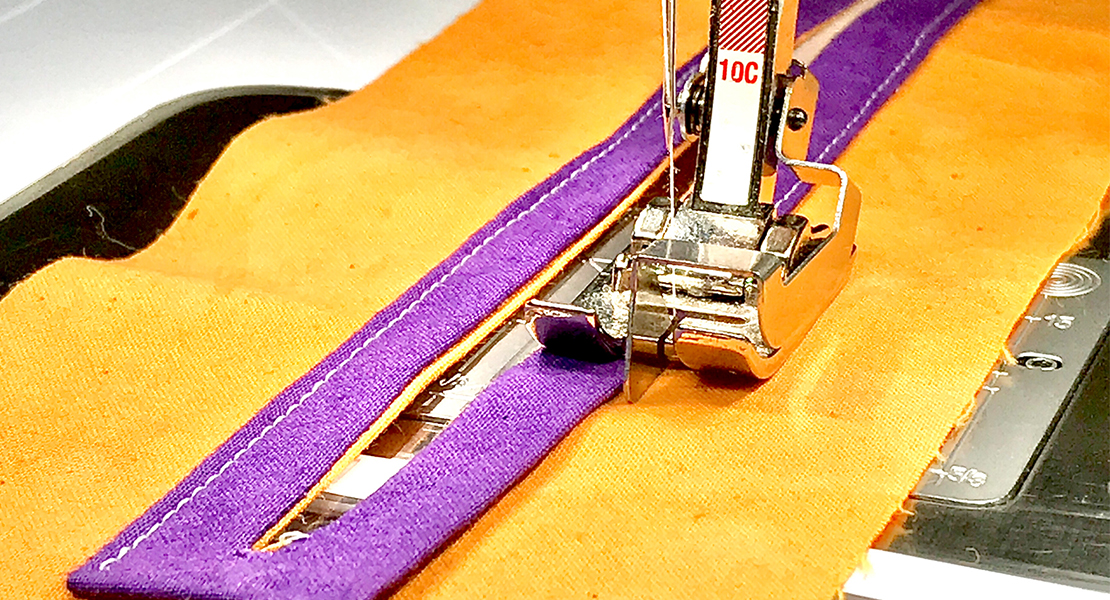
Next we’ll understitch our binding. This means we will stitch the binding to seam allowance. This will help our binding lay flatter and prevent the binding from shifting toward the front side of the quilt. To do this, move the needle position to the right to position 3.
Now place the quilt and binding under the presser foot, starting at the top end of one of the binding strips and nesting the center guide of the edgestitching sole against the seam of the binding.
Begin the seam with two or three backstitches then sew all the way down the strip of binding, securing the seam at the end of the strip as well. Cut your threads and repeat the process on the remaining three sides.
Step 6. Clip, turn, and pin
Clip the seam allowances at the corners of your quilt. This will reduce bulk and help create clean, sharp corners.
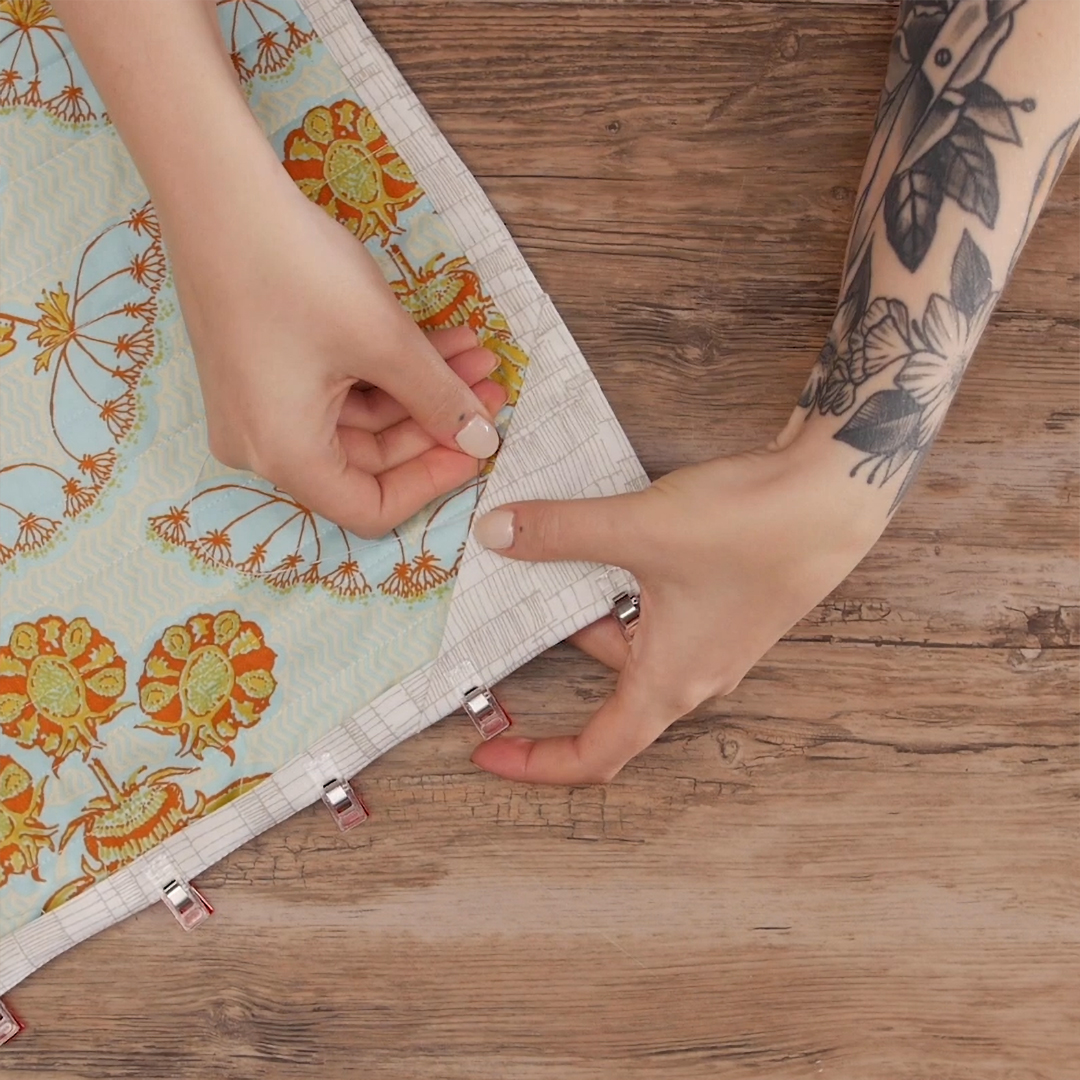
Now turn the corner pieces out so that they lay on the back side of the quilt and the ends of the binding strips are hidden. Use a point turner, like the OESD Expert Point & Press Tool, to press the corners all the way out.

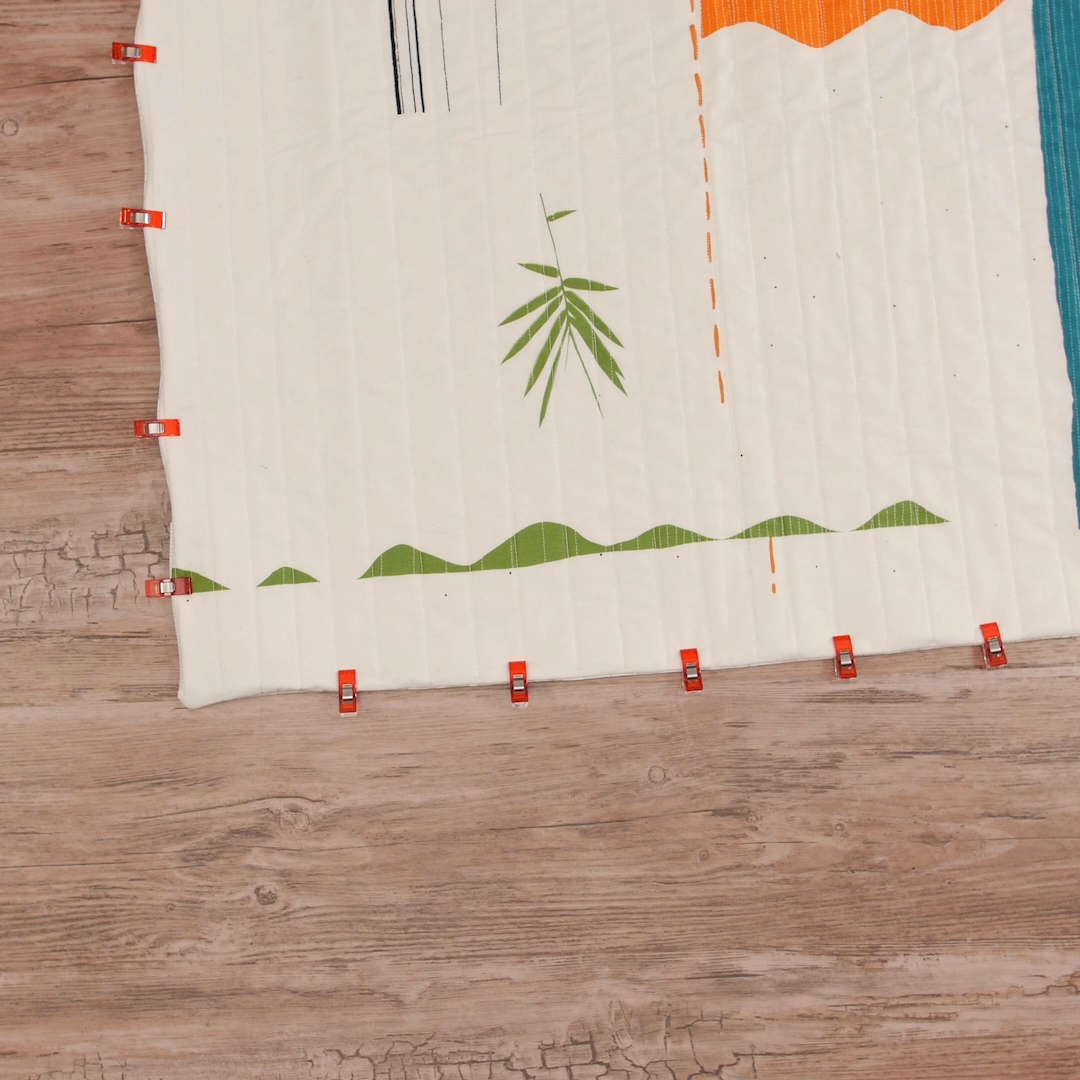
Press the binding smoothly on the back side of the quilt and pin it down all the way around. You can also use Wonder Clips by Clover for this as they work nicely to secure the bulky layers of a quilt and its binding.
Step 7. Stitch it down
Finally, hand stitch the binding to the back side of the quilt all the way around.
Now you have a beautiful, invisibly bound quilt to use or hang in your home!
Used Products

What you might also like

20 comments on “Easy Quilt Facing”
-
-
I had the same question.
-
There are no wrong sides at this point. The binding strip was folded and pressed in half lengthwise, with wrong sides together, so both sides of the strip being used are right sides at this point. When you are folding it over to the back of the quilt, you are also folding to a right side of fabric (the backing).
-
Thank you for teaching me something new. I never heard of this. I will give it a try.
-
-
As the last step involves hand stitching… this method will never find a way onto my quilts. Otherwise interesting method.
-
In step #2 it does say “fold binding strips wrong sides together”.
-
Is the photo with handstitching a blooper?. I see the one side binding beneath the corner triangle, the other side the side binding is on top of the corner triangle. Other than that, this is a great technique for the bag of tricks!
-
That is the Print on the fabric, not the other binding strip.
-
-
I thought it was interesting and wanted to give it a try, HOWEVER…..white background, white binding and white thread…really? I couldn’t differentiate it well enough to make sure I understood it. Please, use contrasting colors!!! Just makes things a little easier
-
Not Sure what you are looking at. The binding is a beige print, and the backing is a floral.
-
I feel the same way. Is there any binding showing on the right side of the quilt??
-
There’s no binding showing on the front so it has the invisible binding effect.
-
-
-
I like the double fold only because it’s the one I was taught in class but I will try the others.
-
Thank you for this tutorial. I can’t wait to use it!
-
This is brilliant! Thank you–can’t wait to try it–so much easier than mitered corners and so neat looking! Well done!
-
It’s not clear what the “Edge Stitching” plate does….when I face my art quilts I don’t want to see stitching. Need a clearer view of this technique for others. Thanks!
-
What does this mean: “Next we’ll understitch our binding. This means we will stitch the binding to seam allowance.” I’m sorry, but it makes no sense to me, unless this seam will be visible from the back side of the quilt??
-
I totally get it…thanks.
-
Awesome tutorial! The 10 foot is one of my absolute favorites, why have I never used that option on my walking foot? Silly me, I have to try this!
-
Good tutorial. I can’t wait to try it. Thanks.
Leave a Reply
You must be logged in to post a comment.

Where you get to the ironing you say “fold….with right sides together.” Unless you’ve turned this inside out somehow shouldn’t it “wrong sides together?”