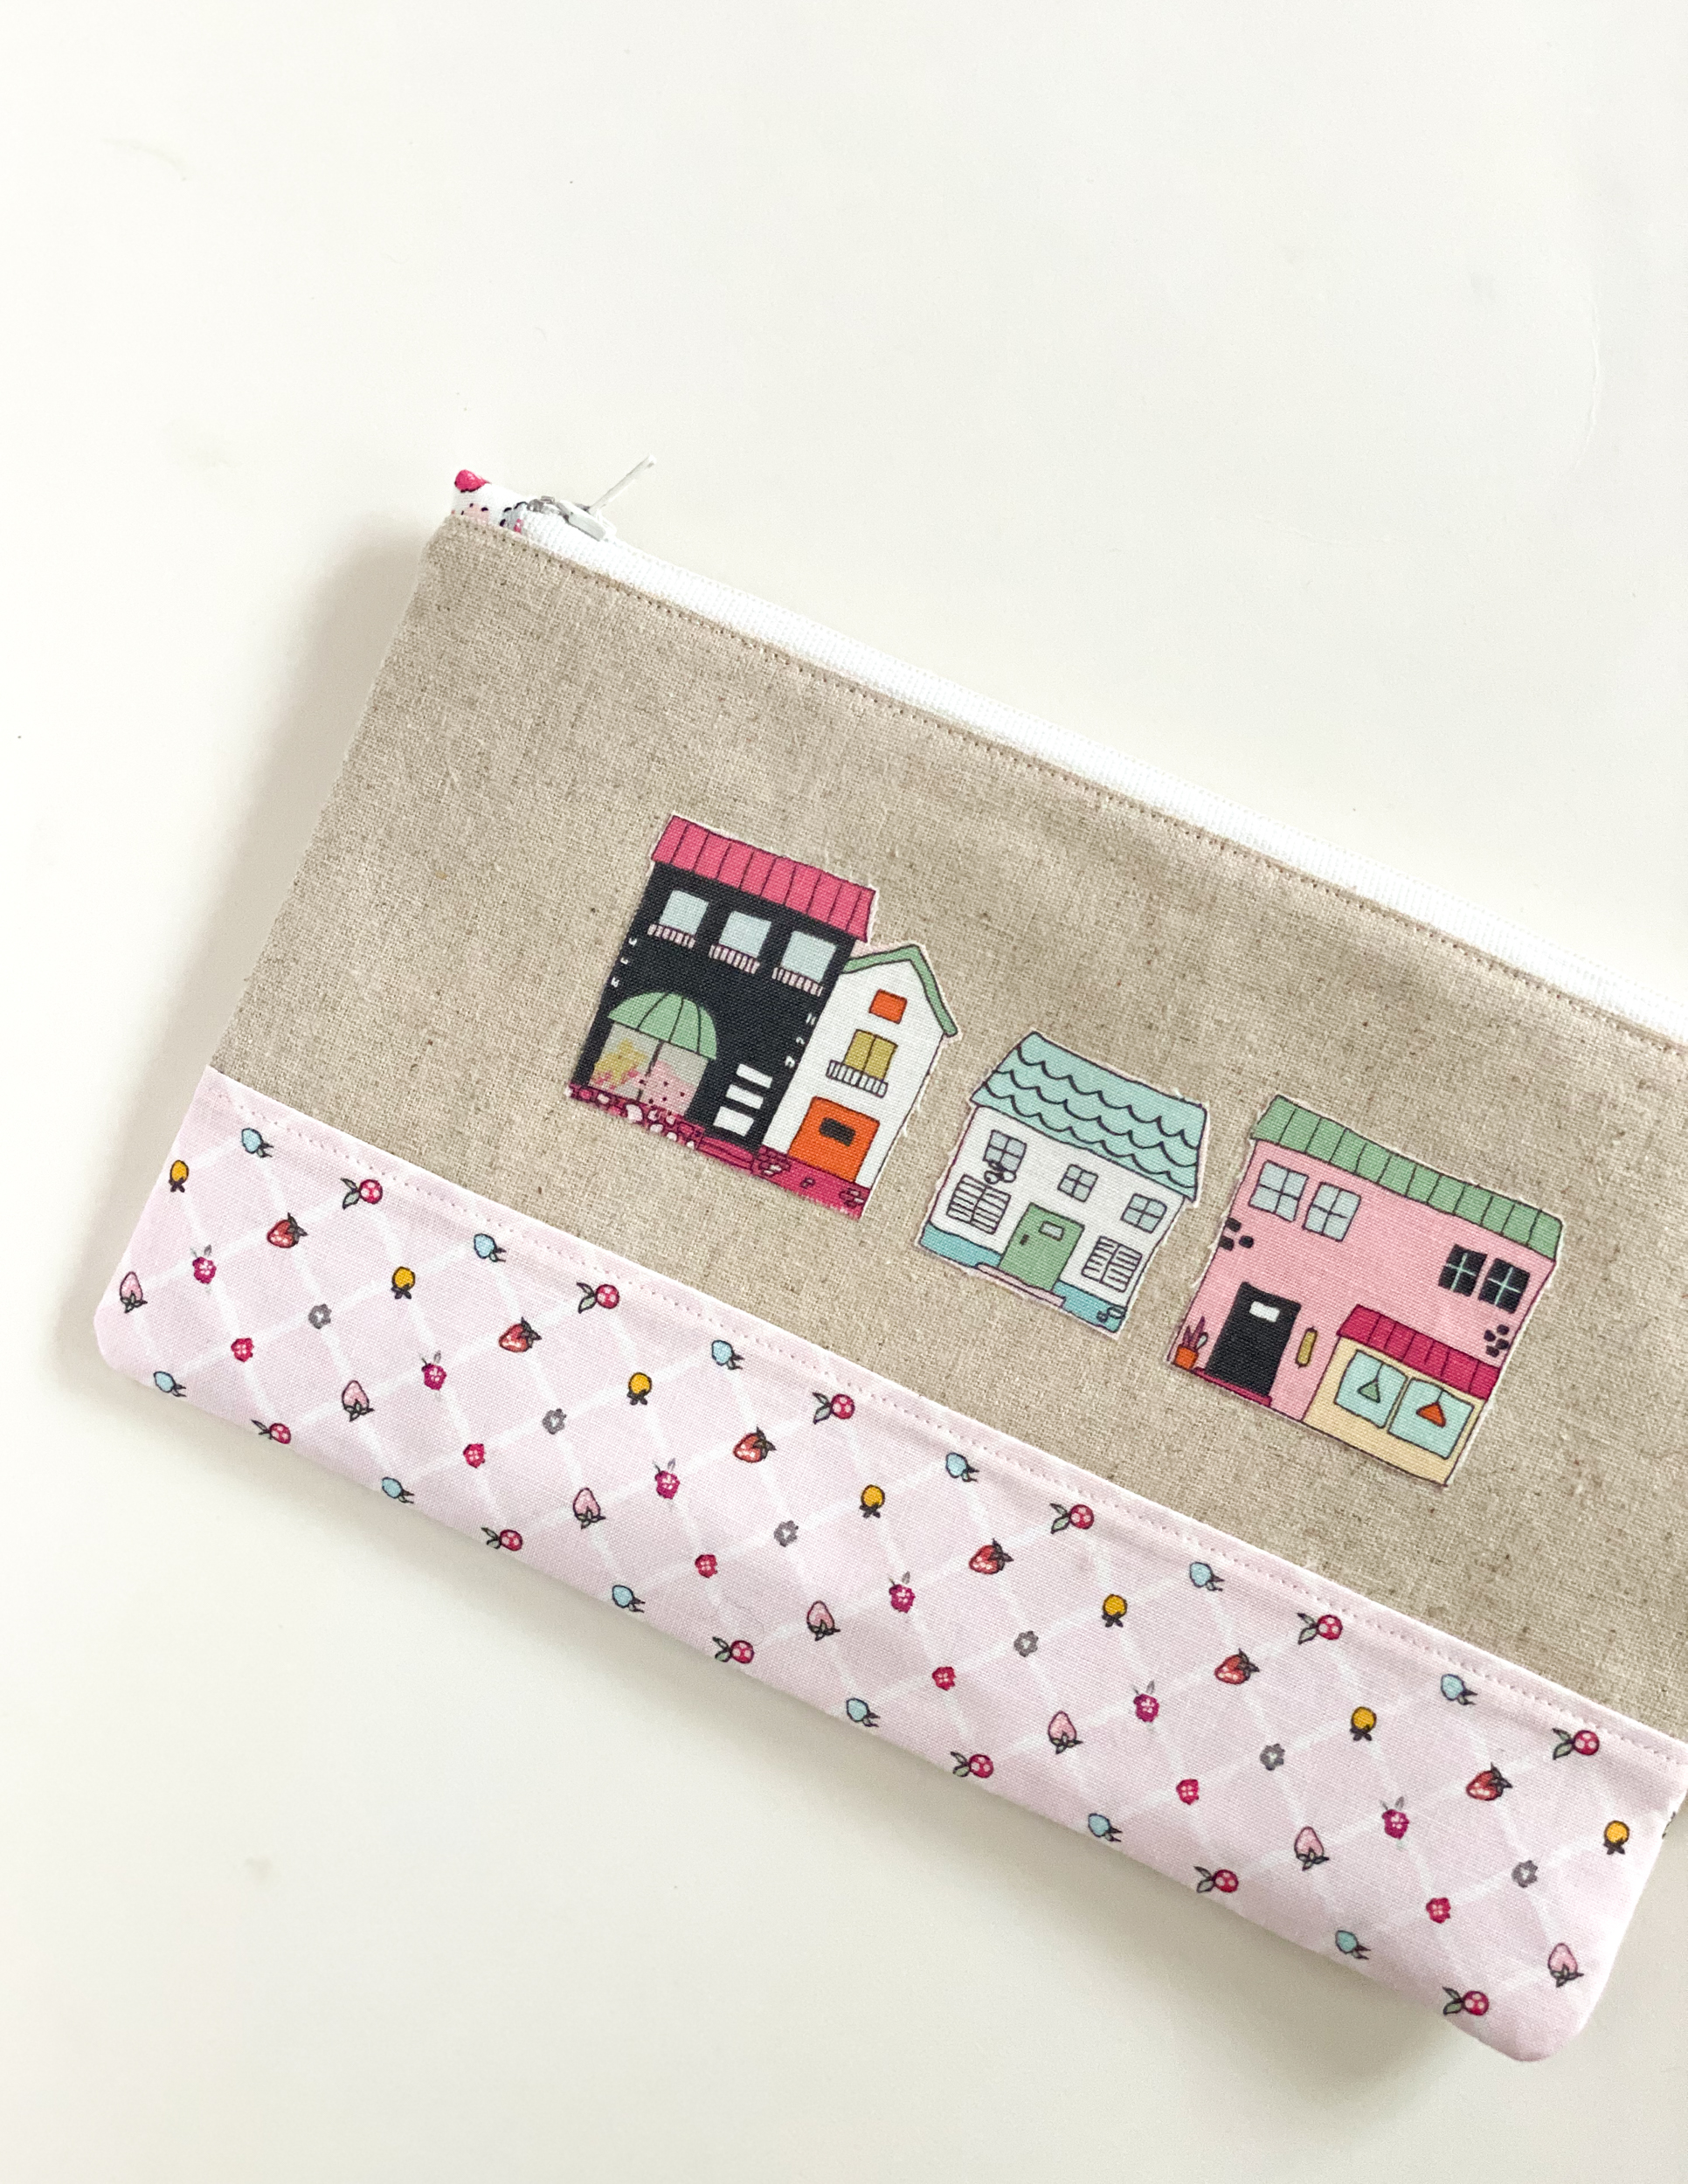
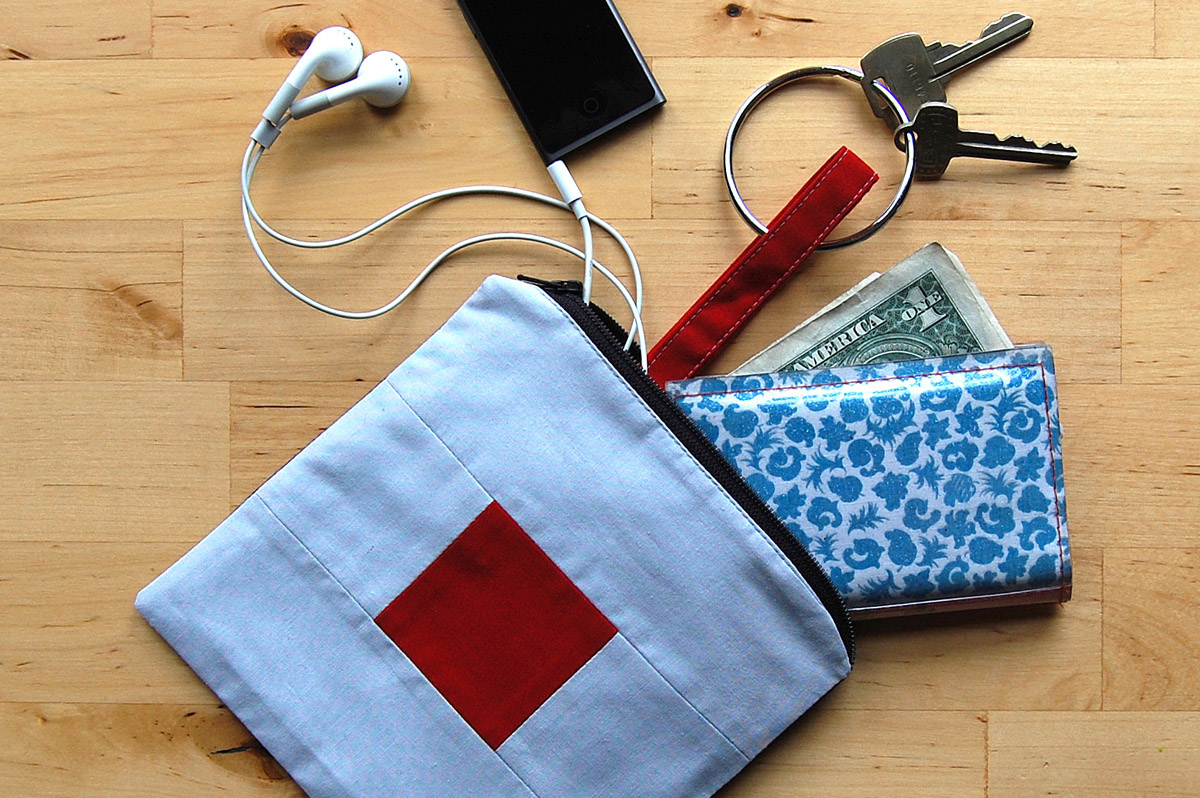
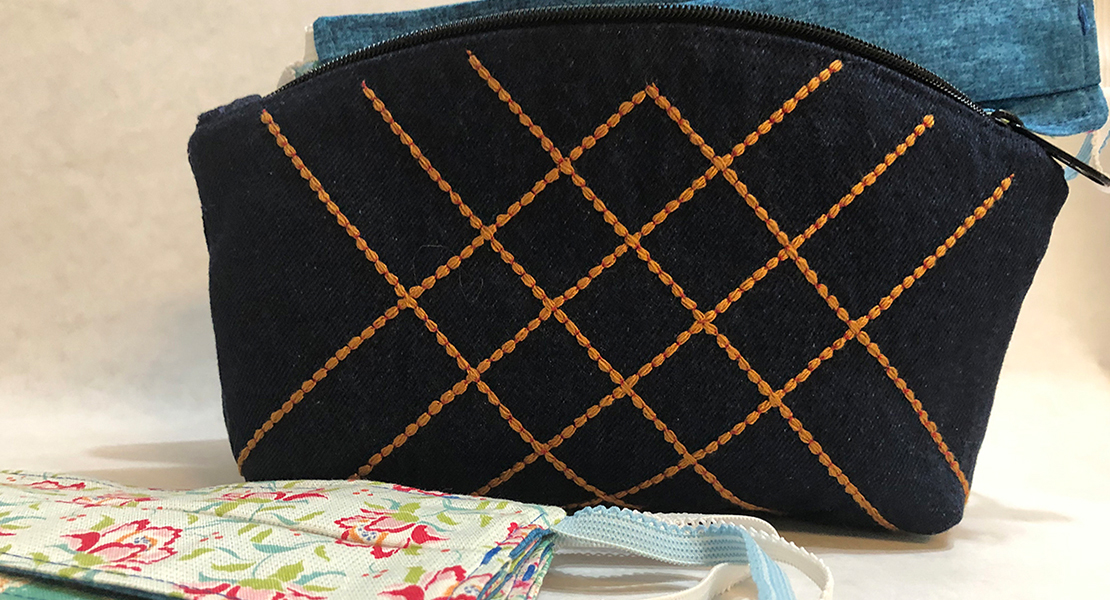
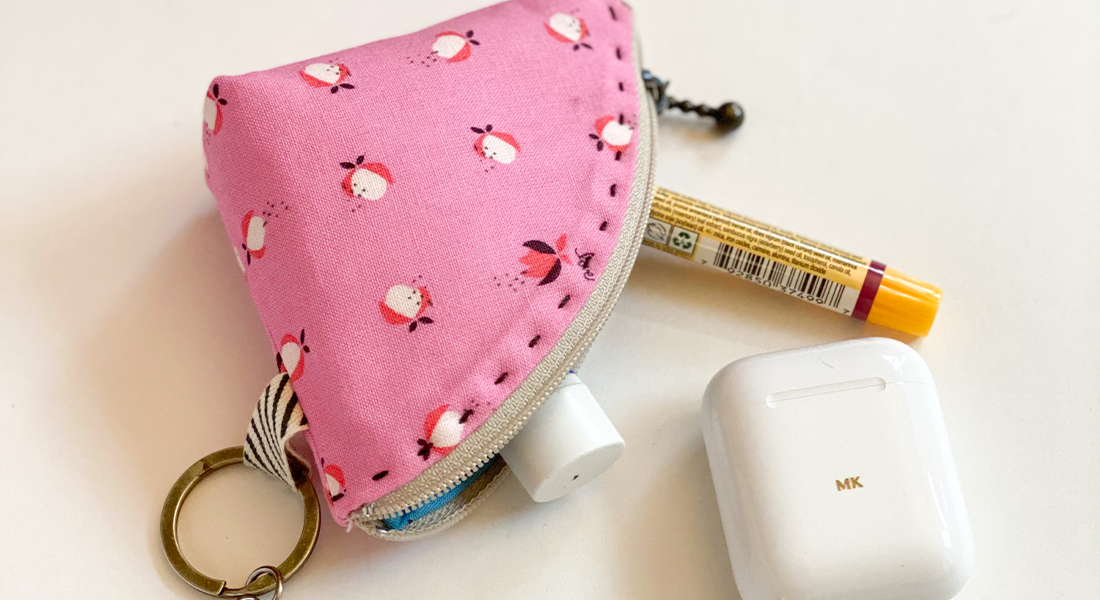
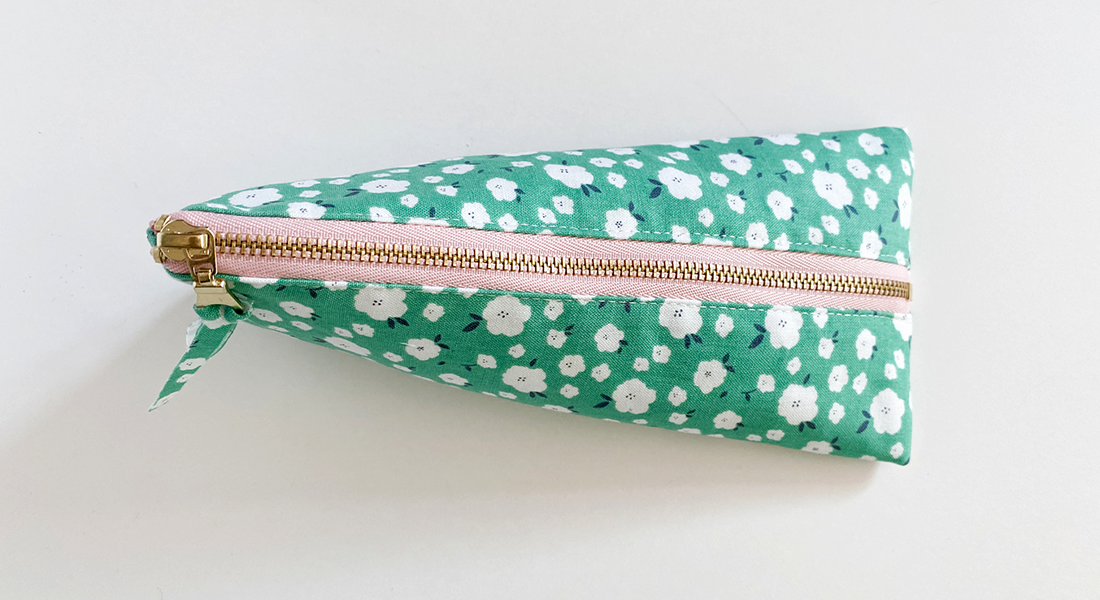
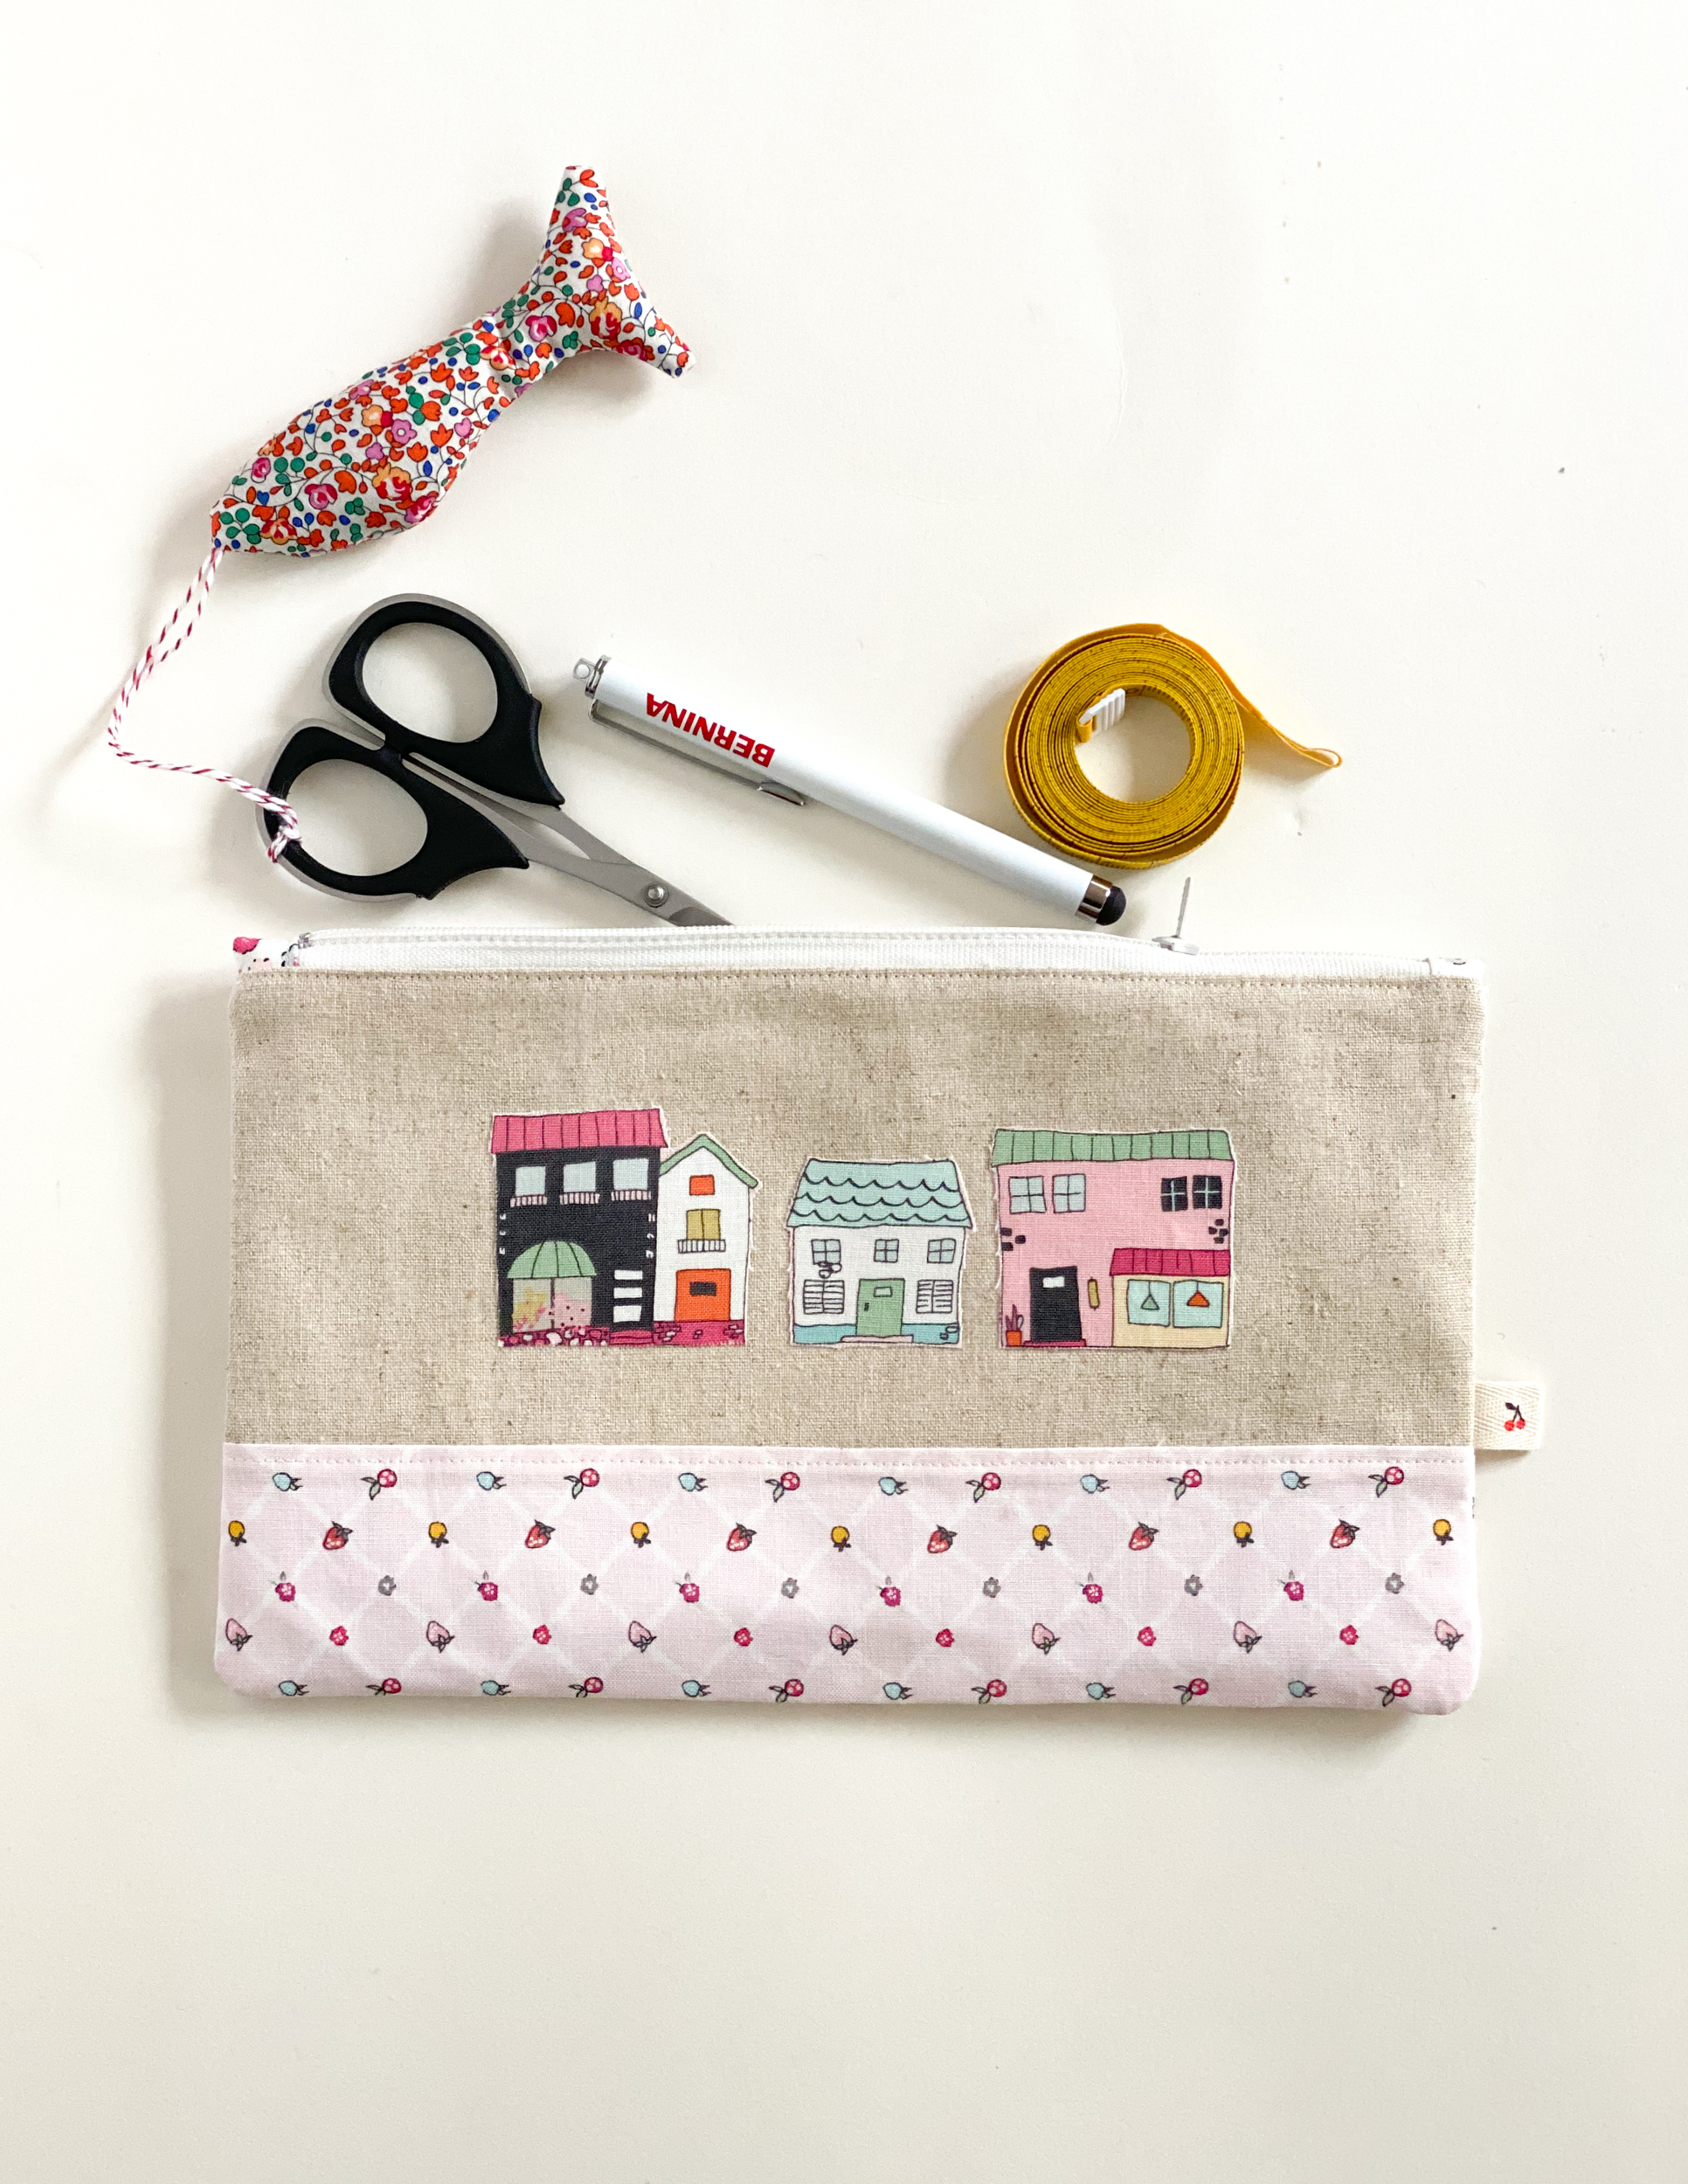
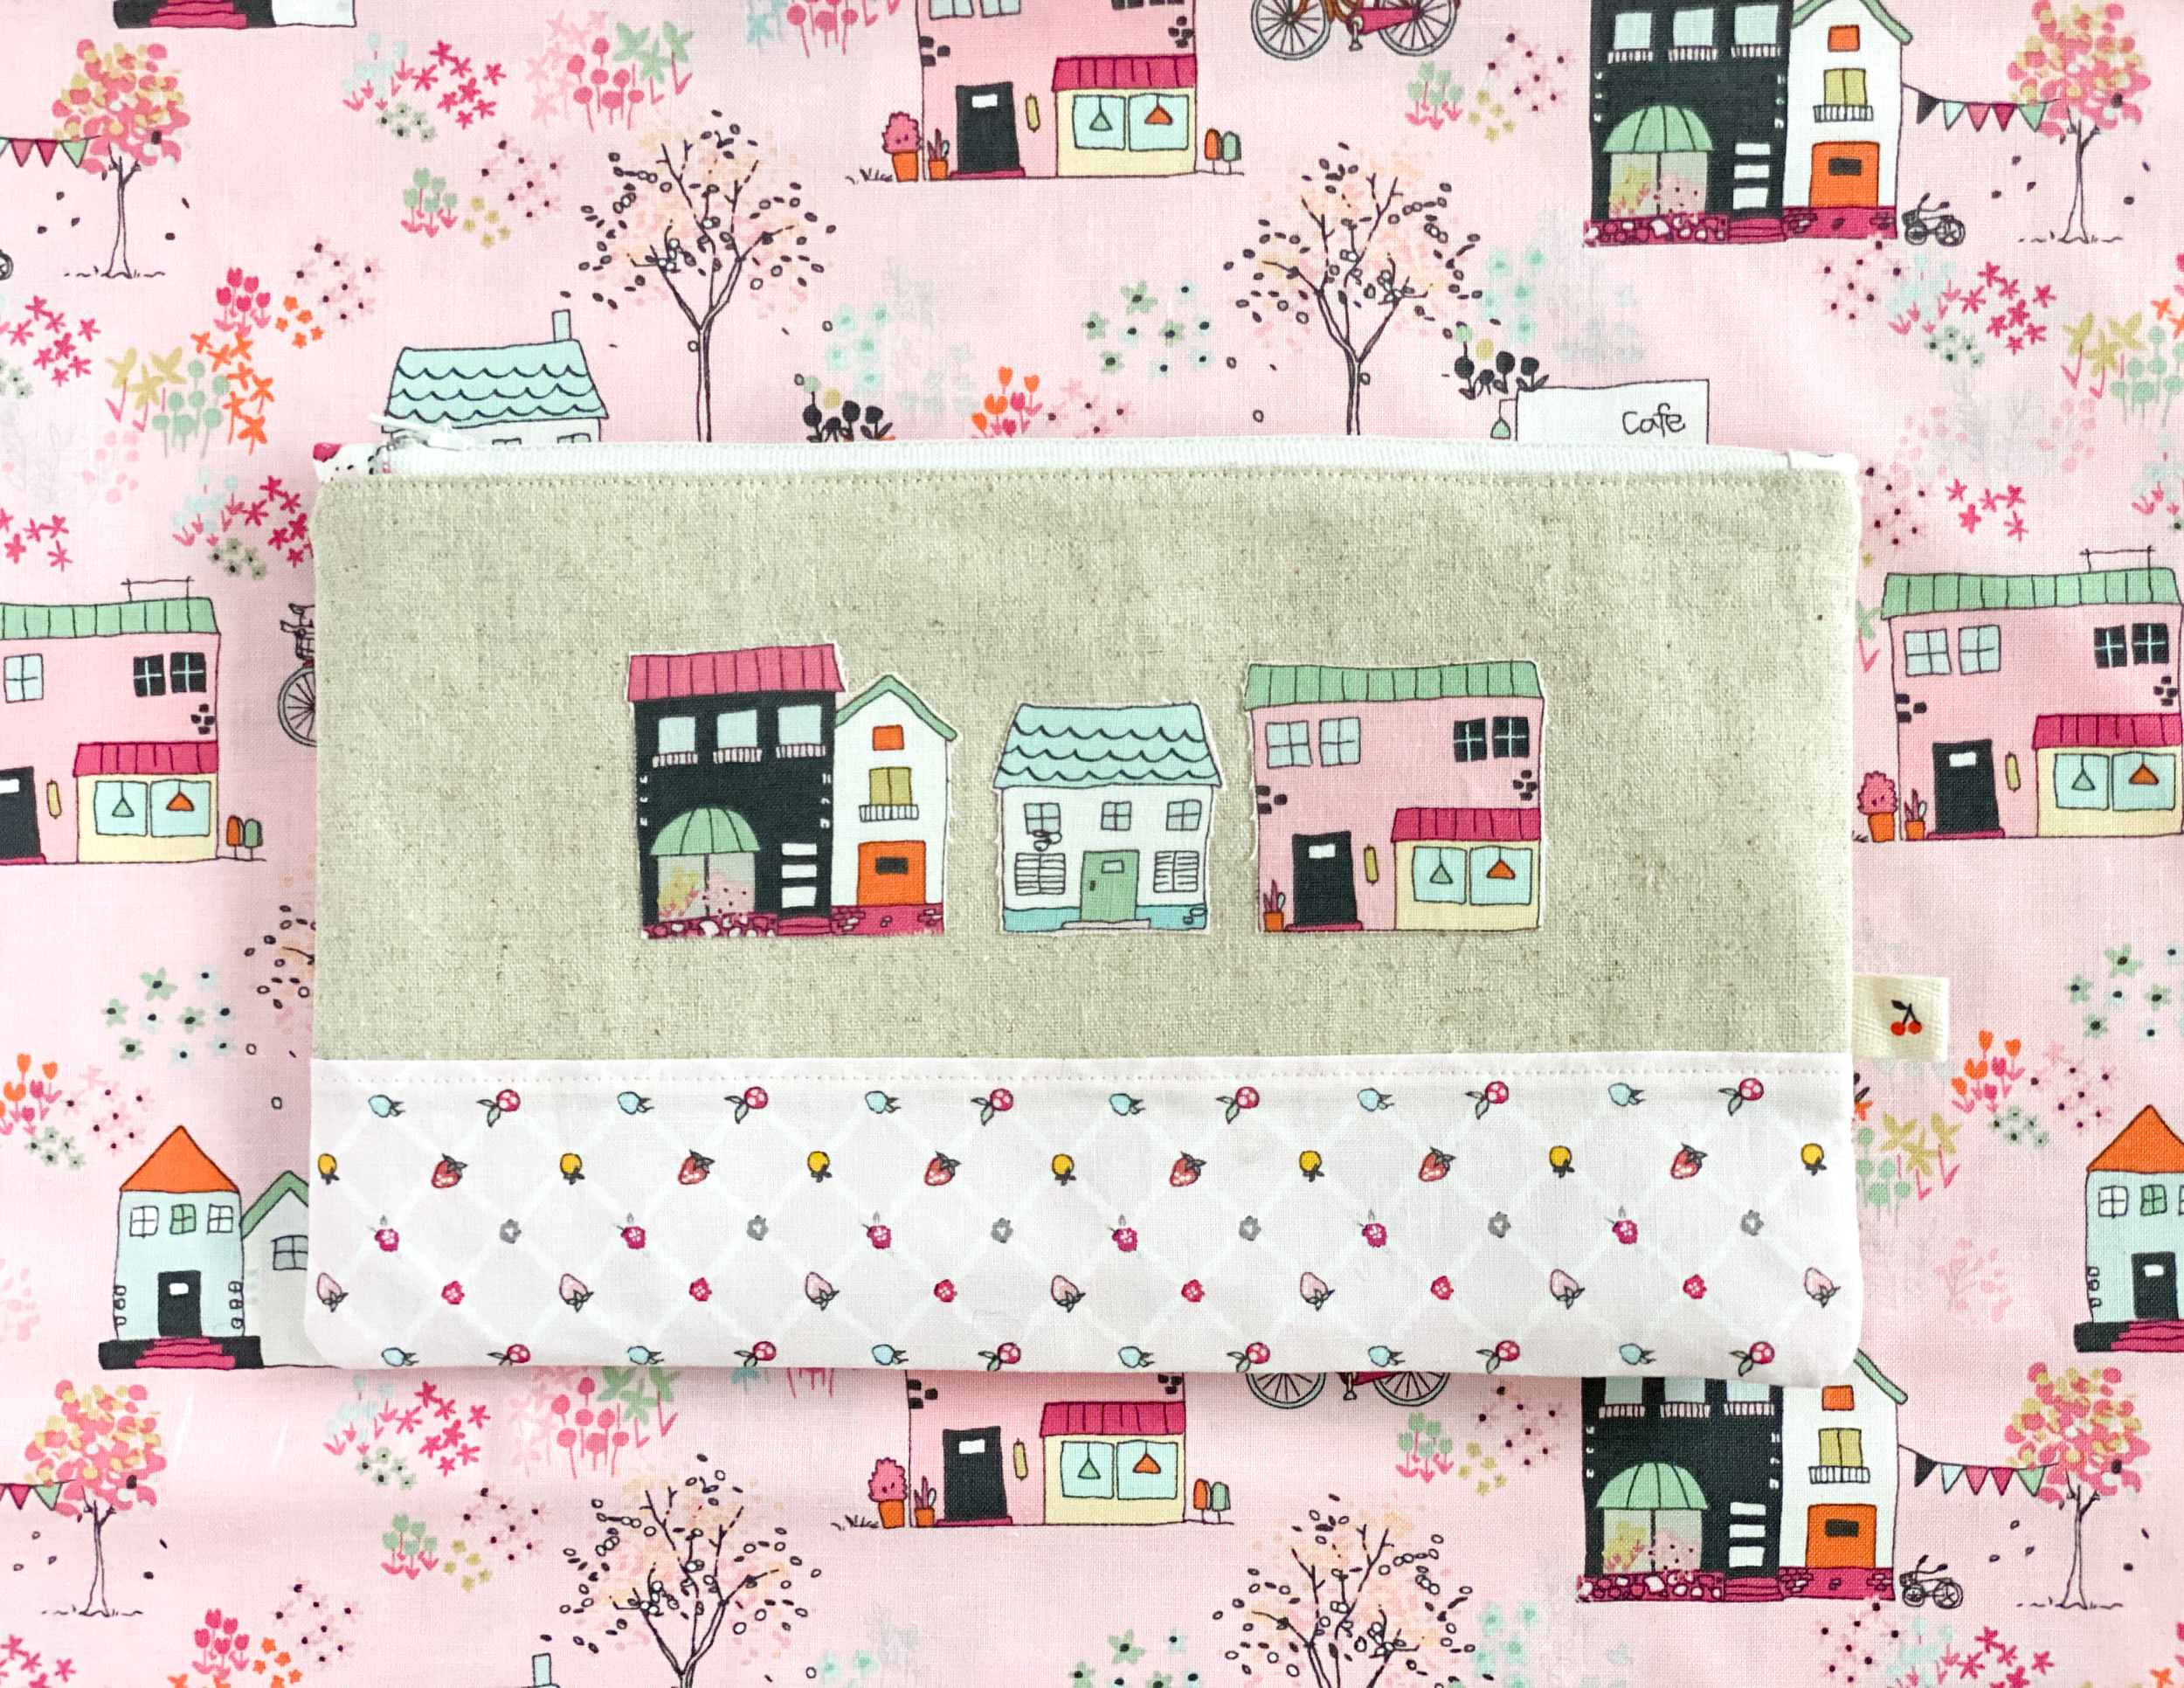
Embellished Zipper Pouch
Hello WeAllSew readers,
It’s Minki Kim, and you can find me at Instagram @zeriano and MinkiKim.com. I also design fabric for Riley Blake Designs and I have my own line of sewing patterns.
I am excited to share this easy to make zipper Pouch today. It is perfect for travel, storage at home, as a gift or for any reason. Easy to follow sewing instructions will have you finish this little handy bag in one afternoon! Who wouldn’t love a handy little bag? They’re fun to make and handy to have around. Stuff this little makeup bag full of cosmetics or any other little trinkets that you need to tote.
This pouch would make a perfect gift too for any occasion!

Materials to Sew Cosmetic Zipper Pouch
Finished size: 9 1/4” wide x 5 1/2” height
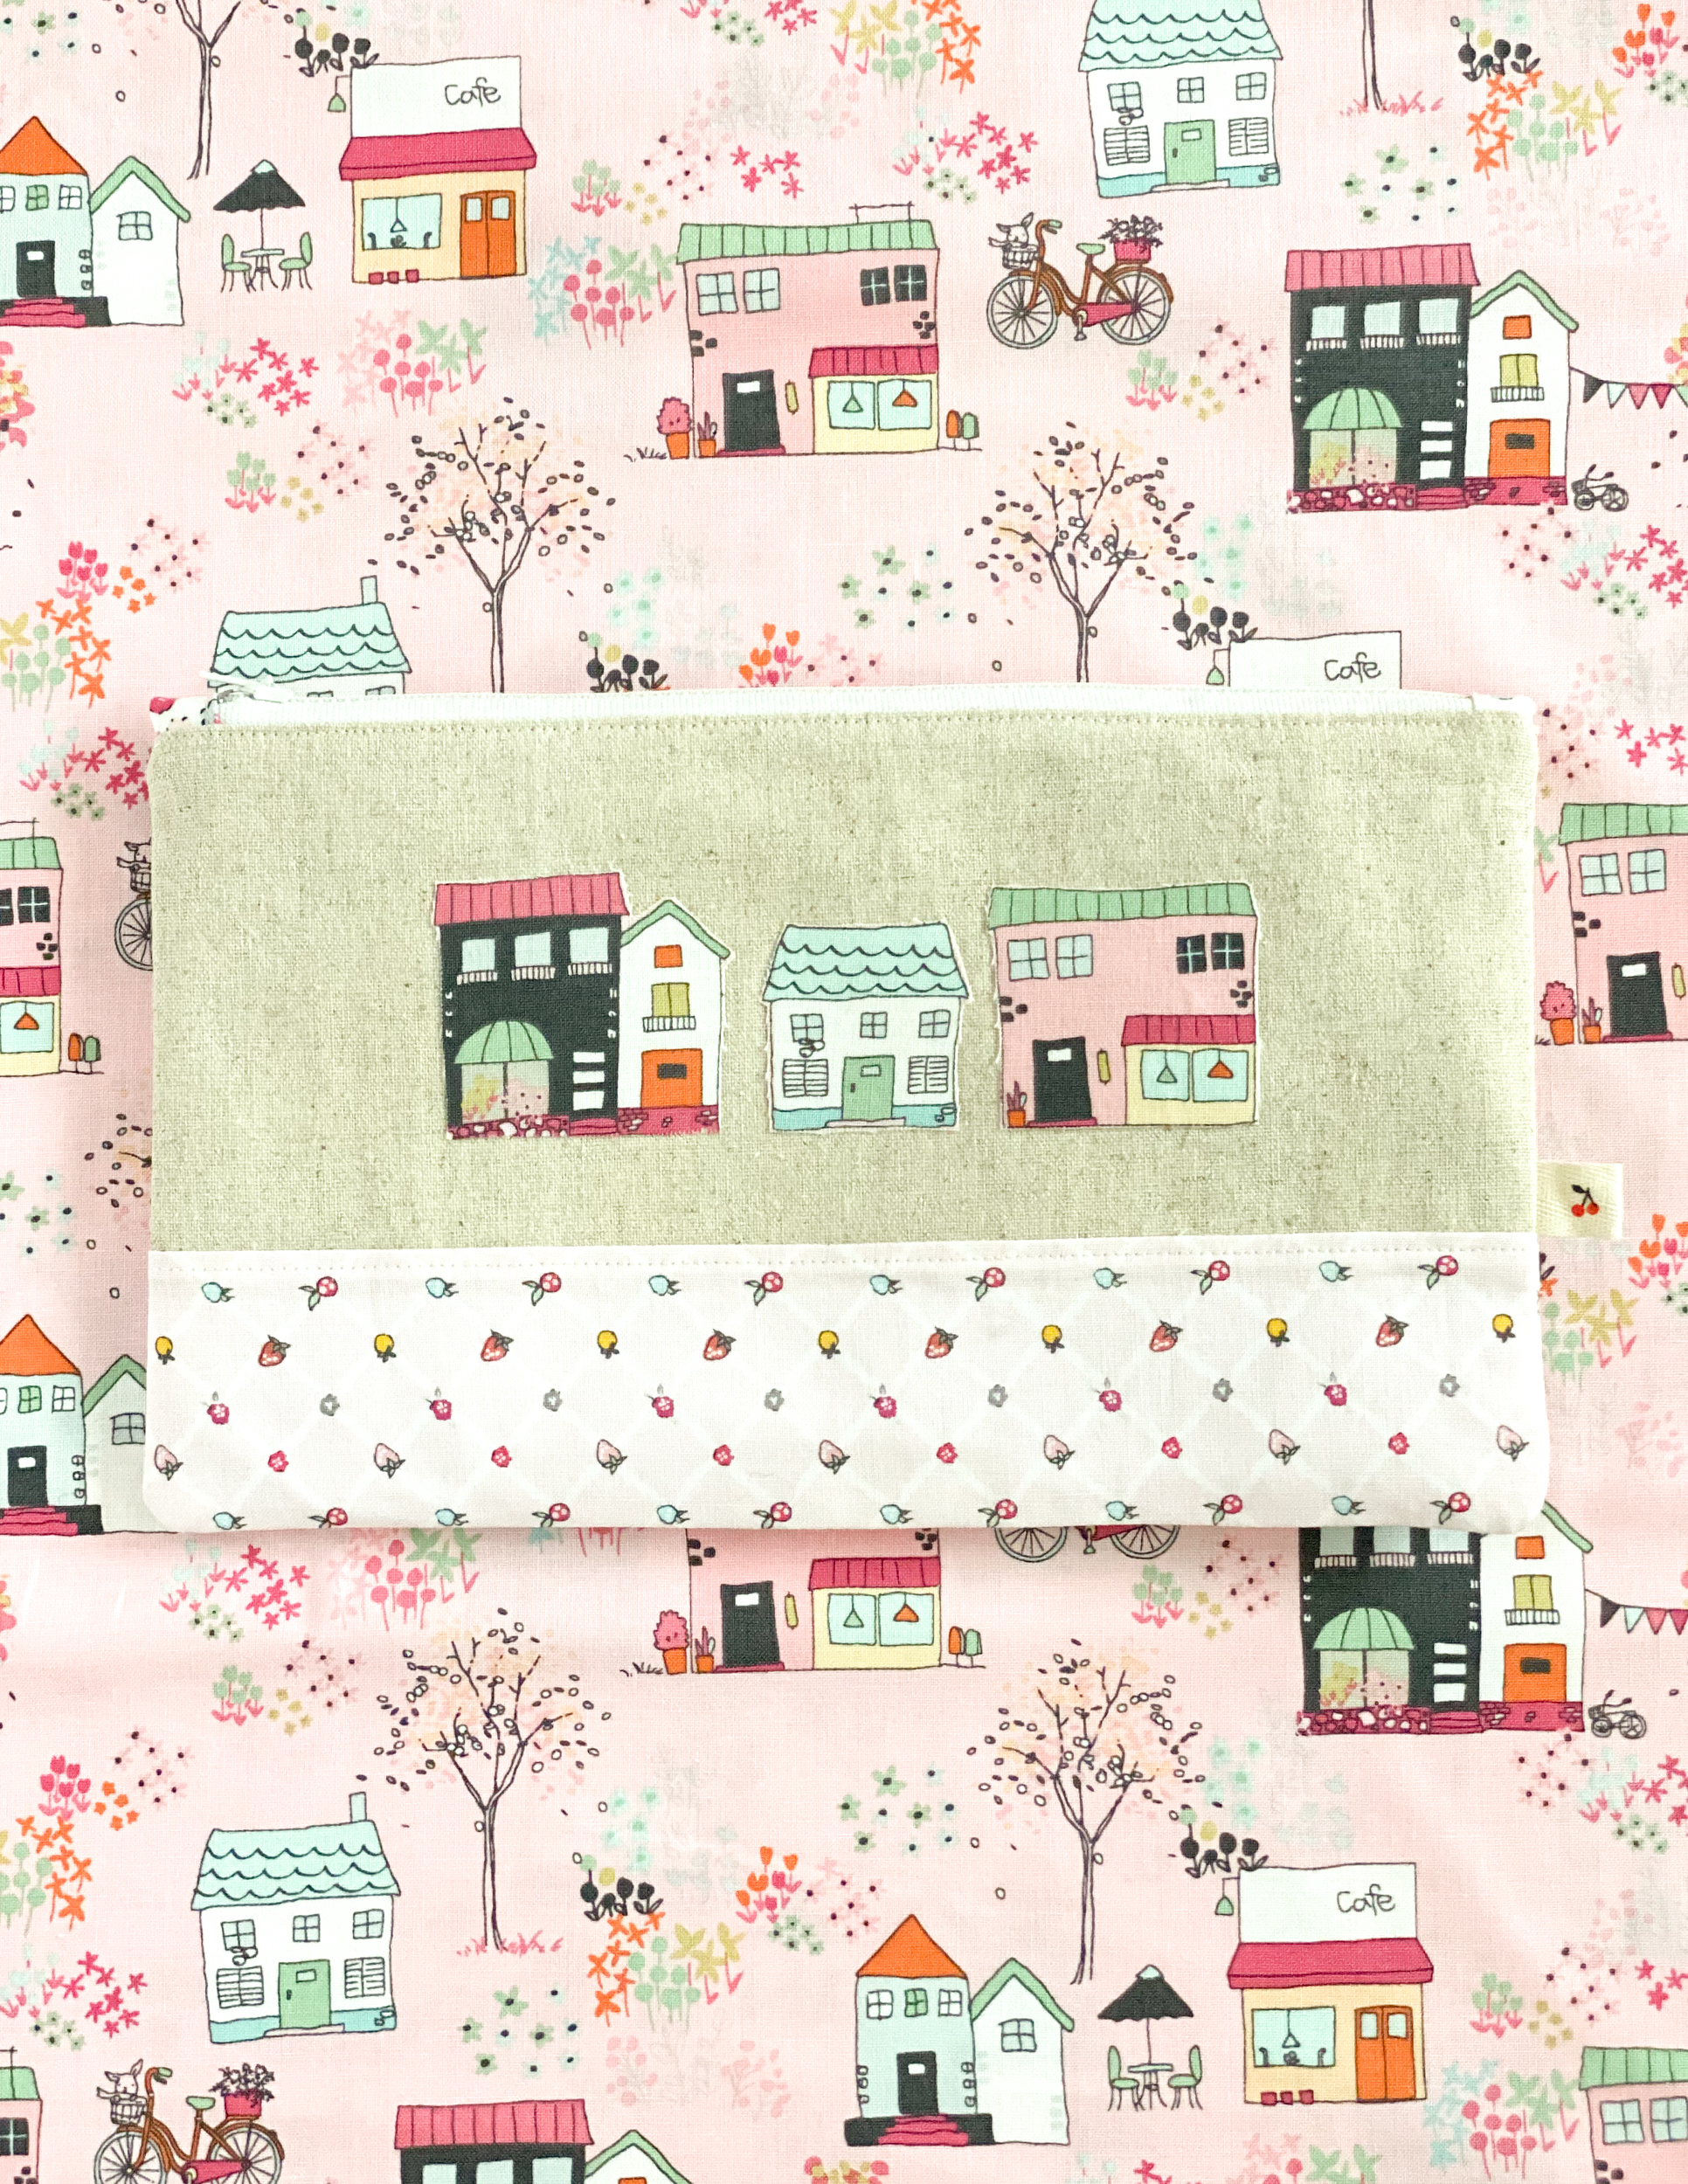
*fabric used: my Moments collection for Riley Blake Designs
- 1 Fat eighth linen for exterior
- 1 Fat eighth cotton print for the exterior
- Fabric scraps for embellishment and zipper tabs
- 1 Fat quarter cotton print for the lining
- 1 Fat quarter fusible interfacing
- scraps of fusible webbing such as Lite Steam A Seam 2
- 1 zipper – 9”
- 1 cotton ribbon – 1/2” x 2”
Cutting
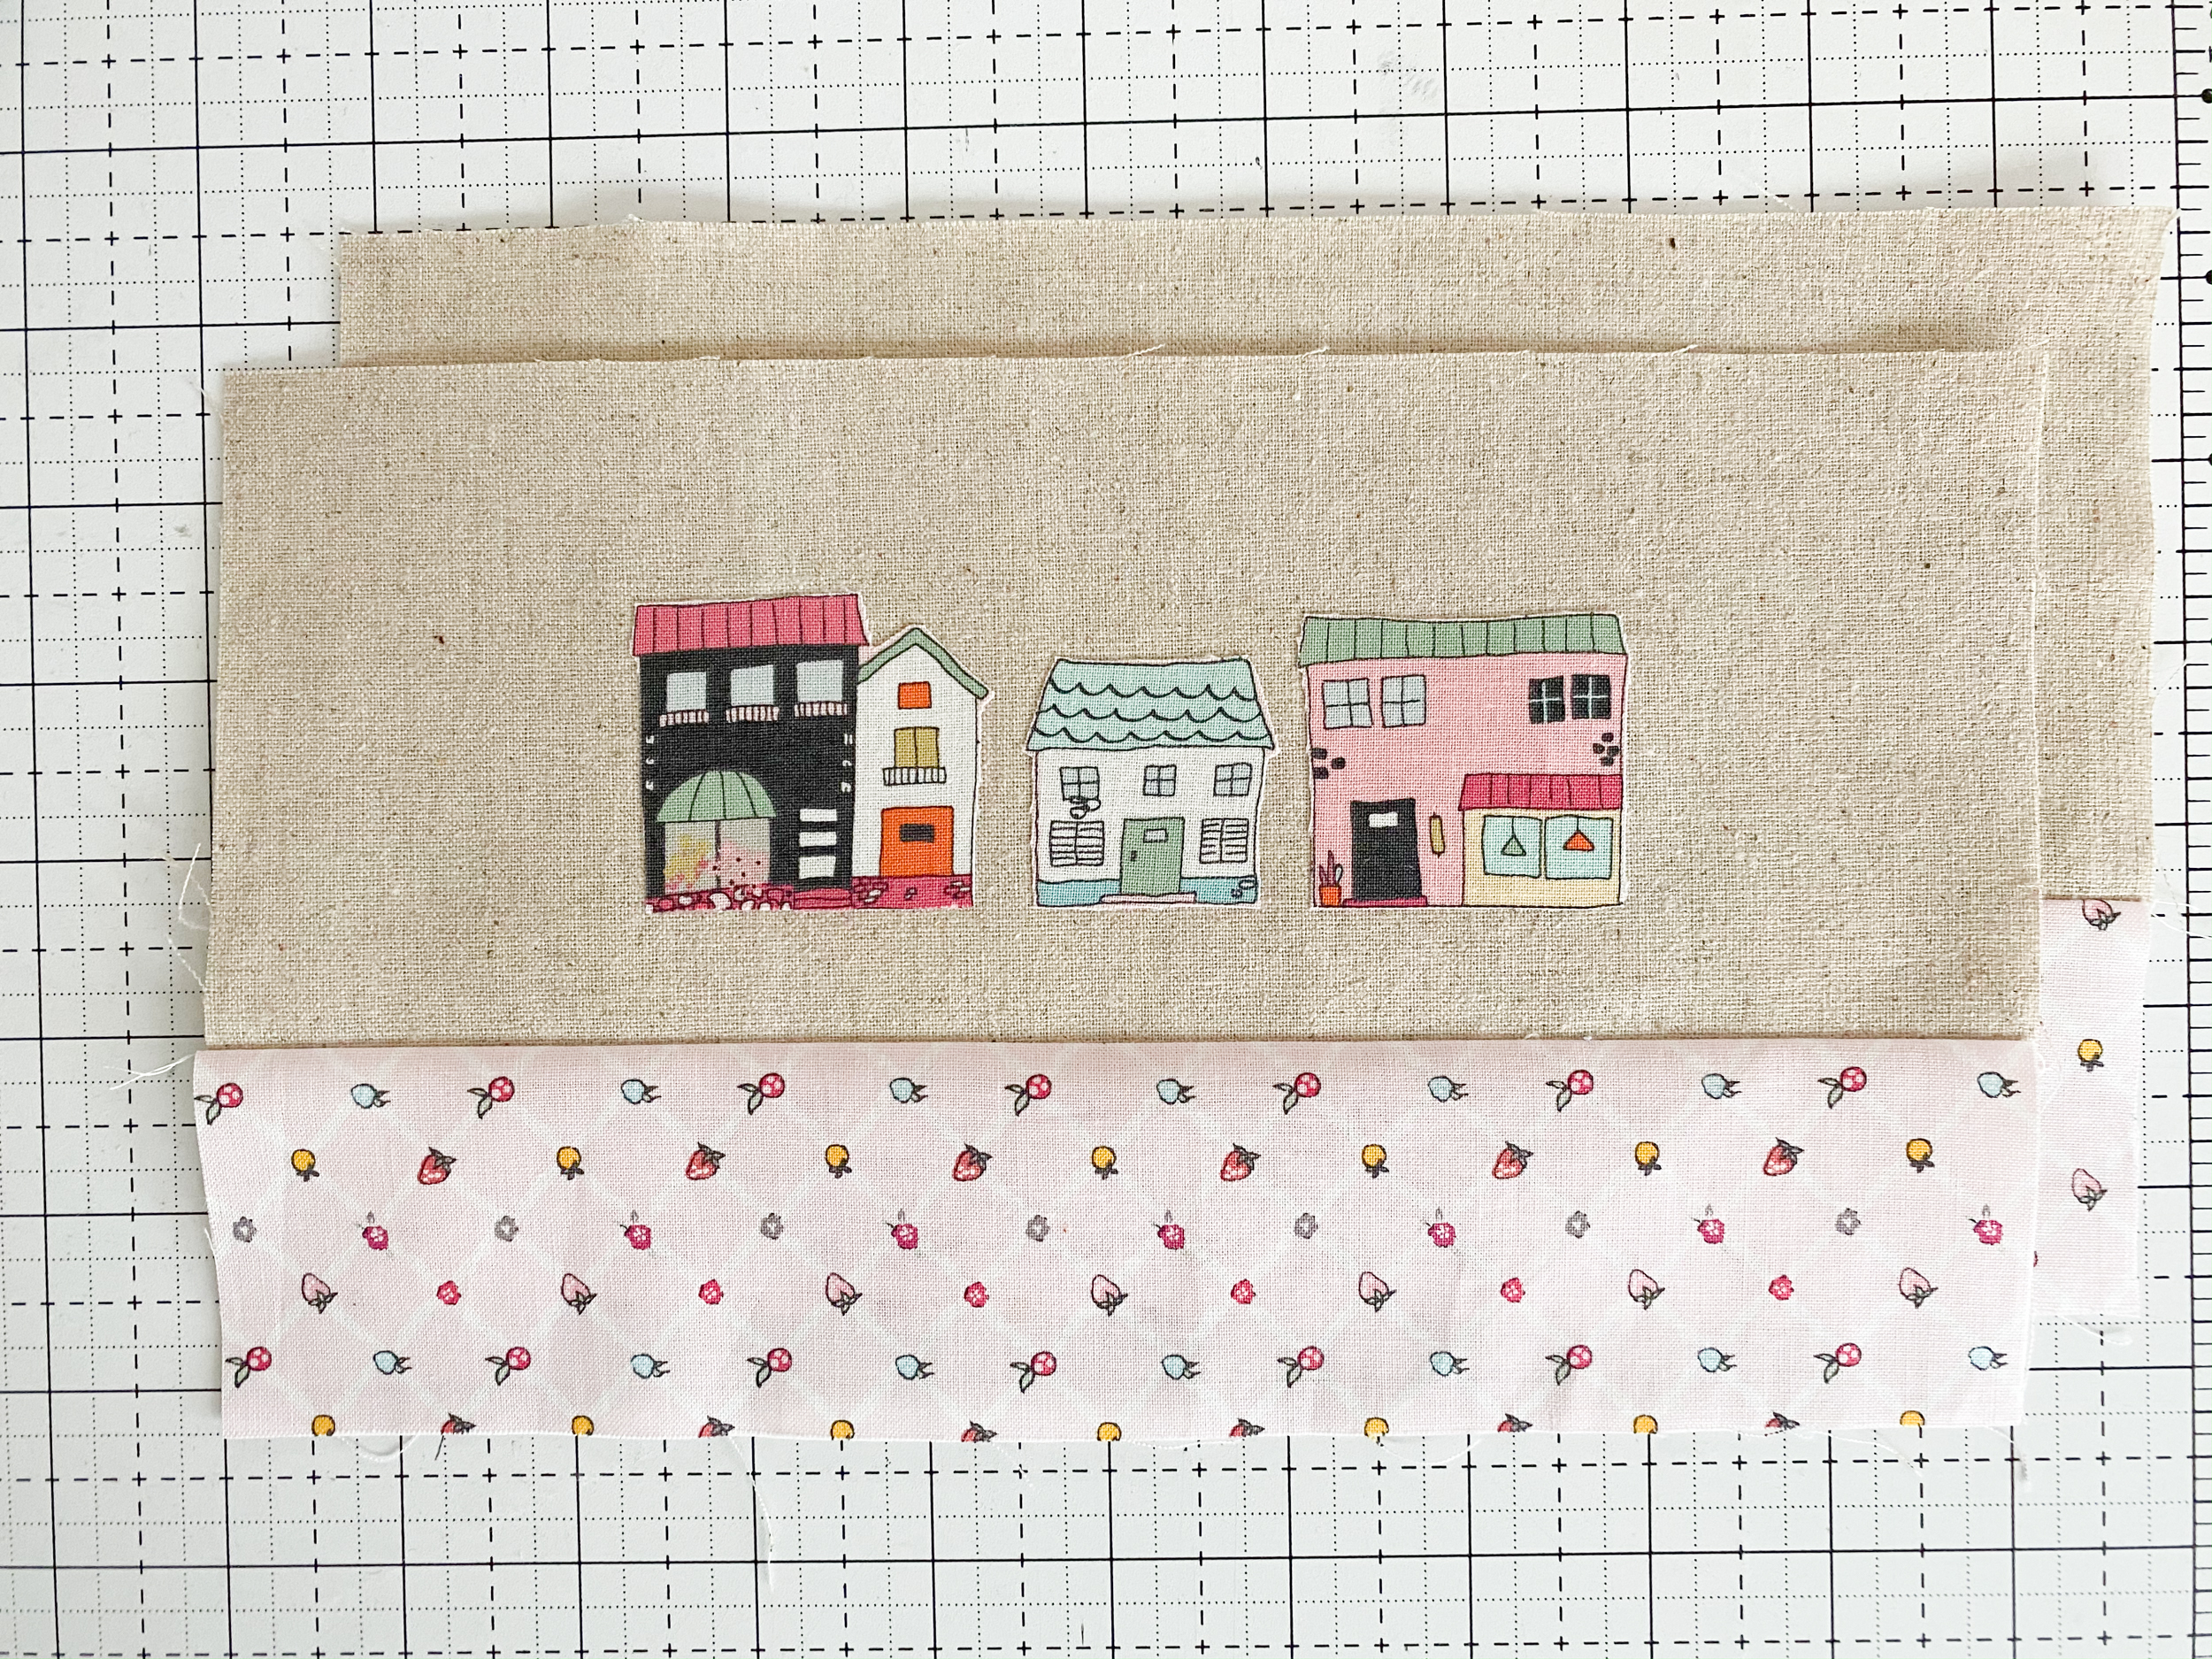
- from linen, cut: two (2) 10” x 4”
- from the exterior, cut: two (2) 10” x 2 1/2”
- from the lining, cut: two (2) 10” x 6”
- from fabric scrap: two (2) 2” x 2” for zipper tab
- from fusible interfacing, cut: two (2) 9 1/2” x 5 1/2”
Note: All seam allowances are 1/4″ unless otherwise noted.
Instructions
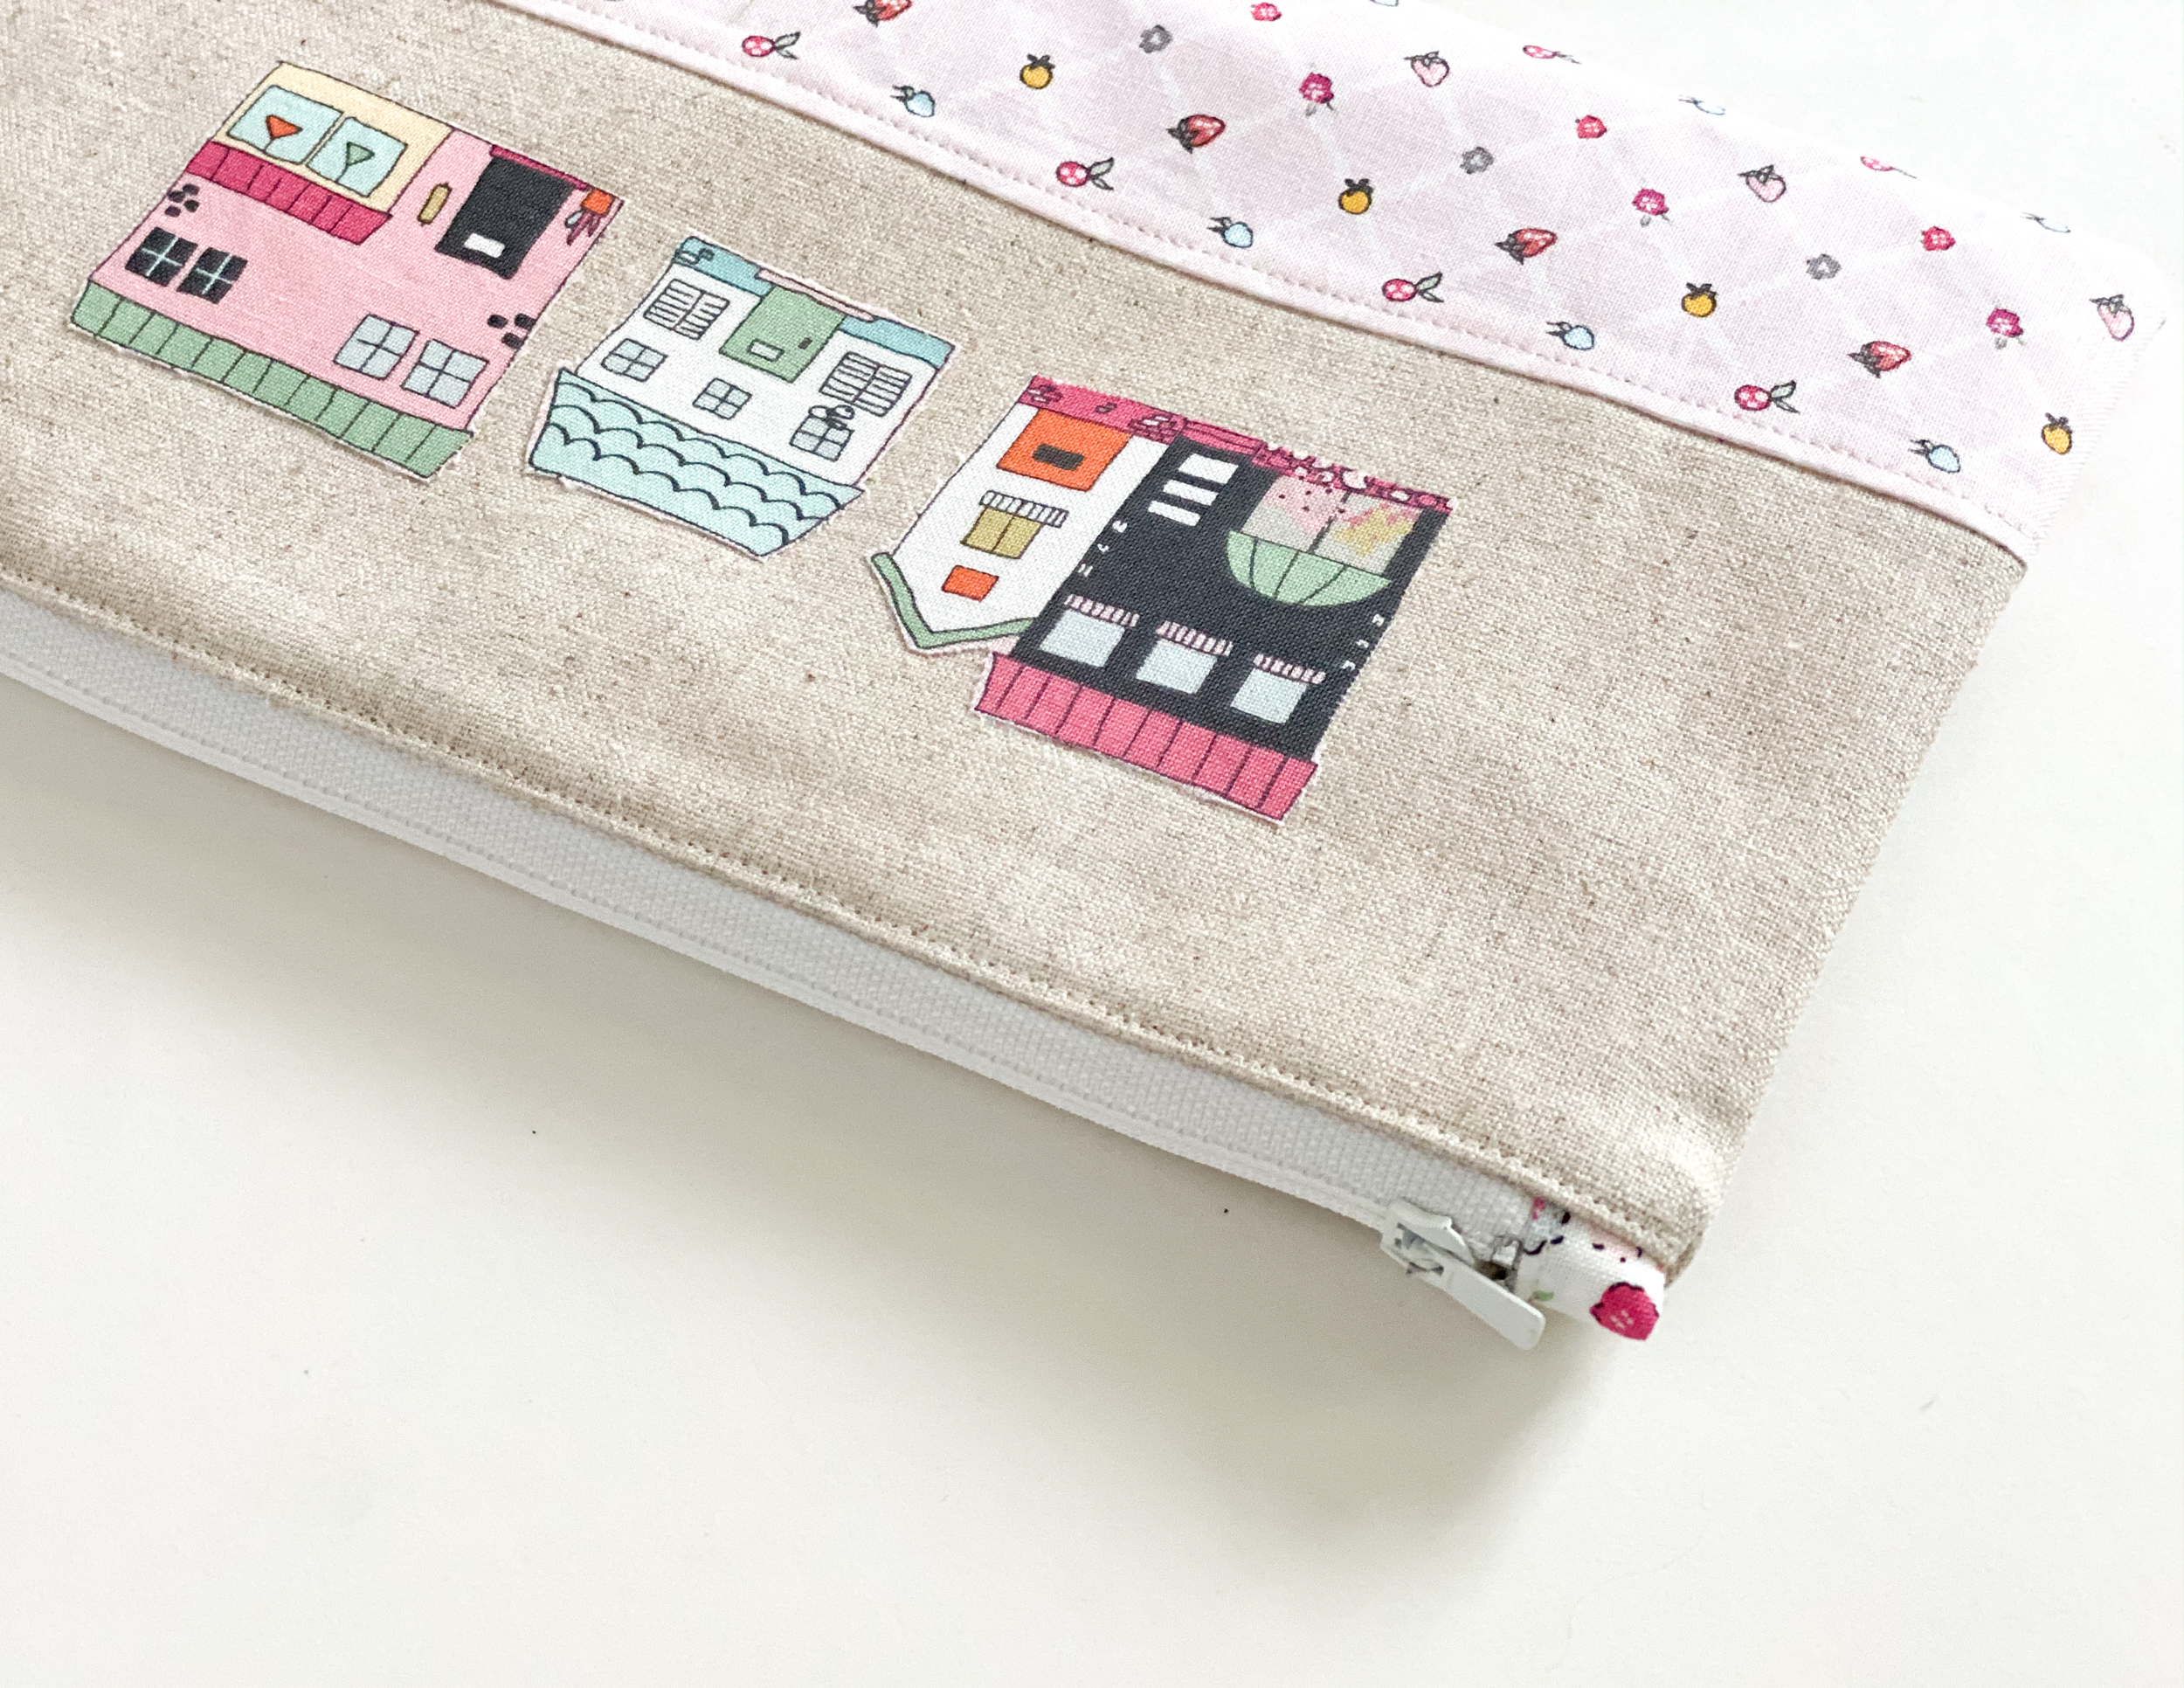
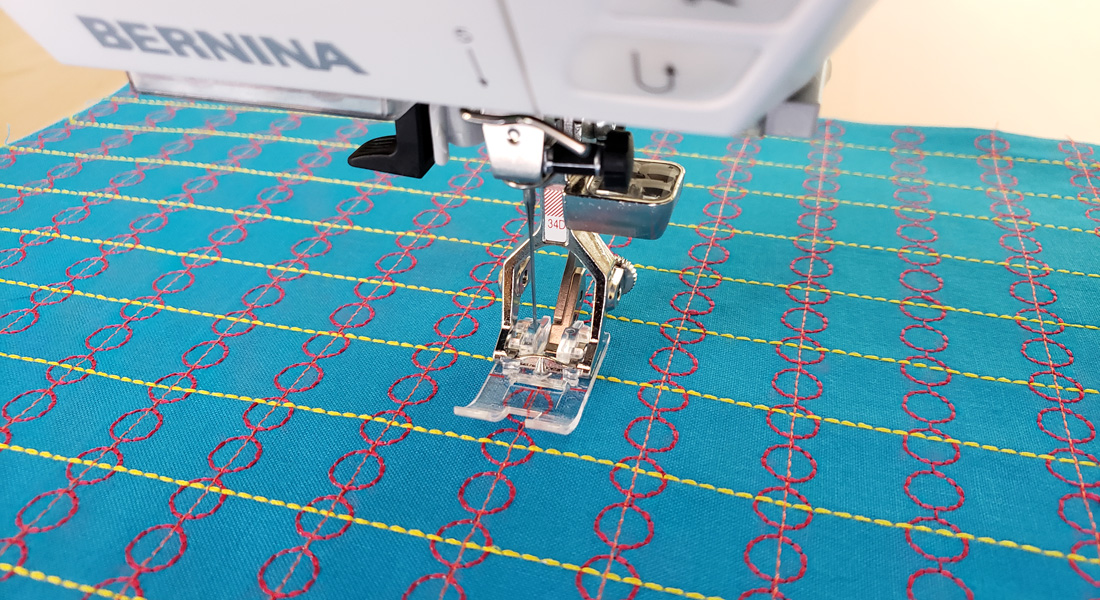
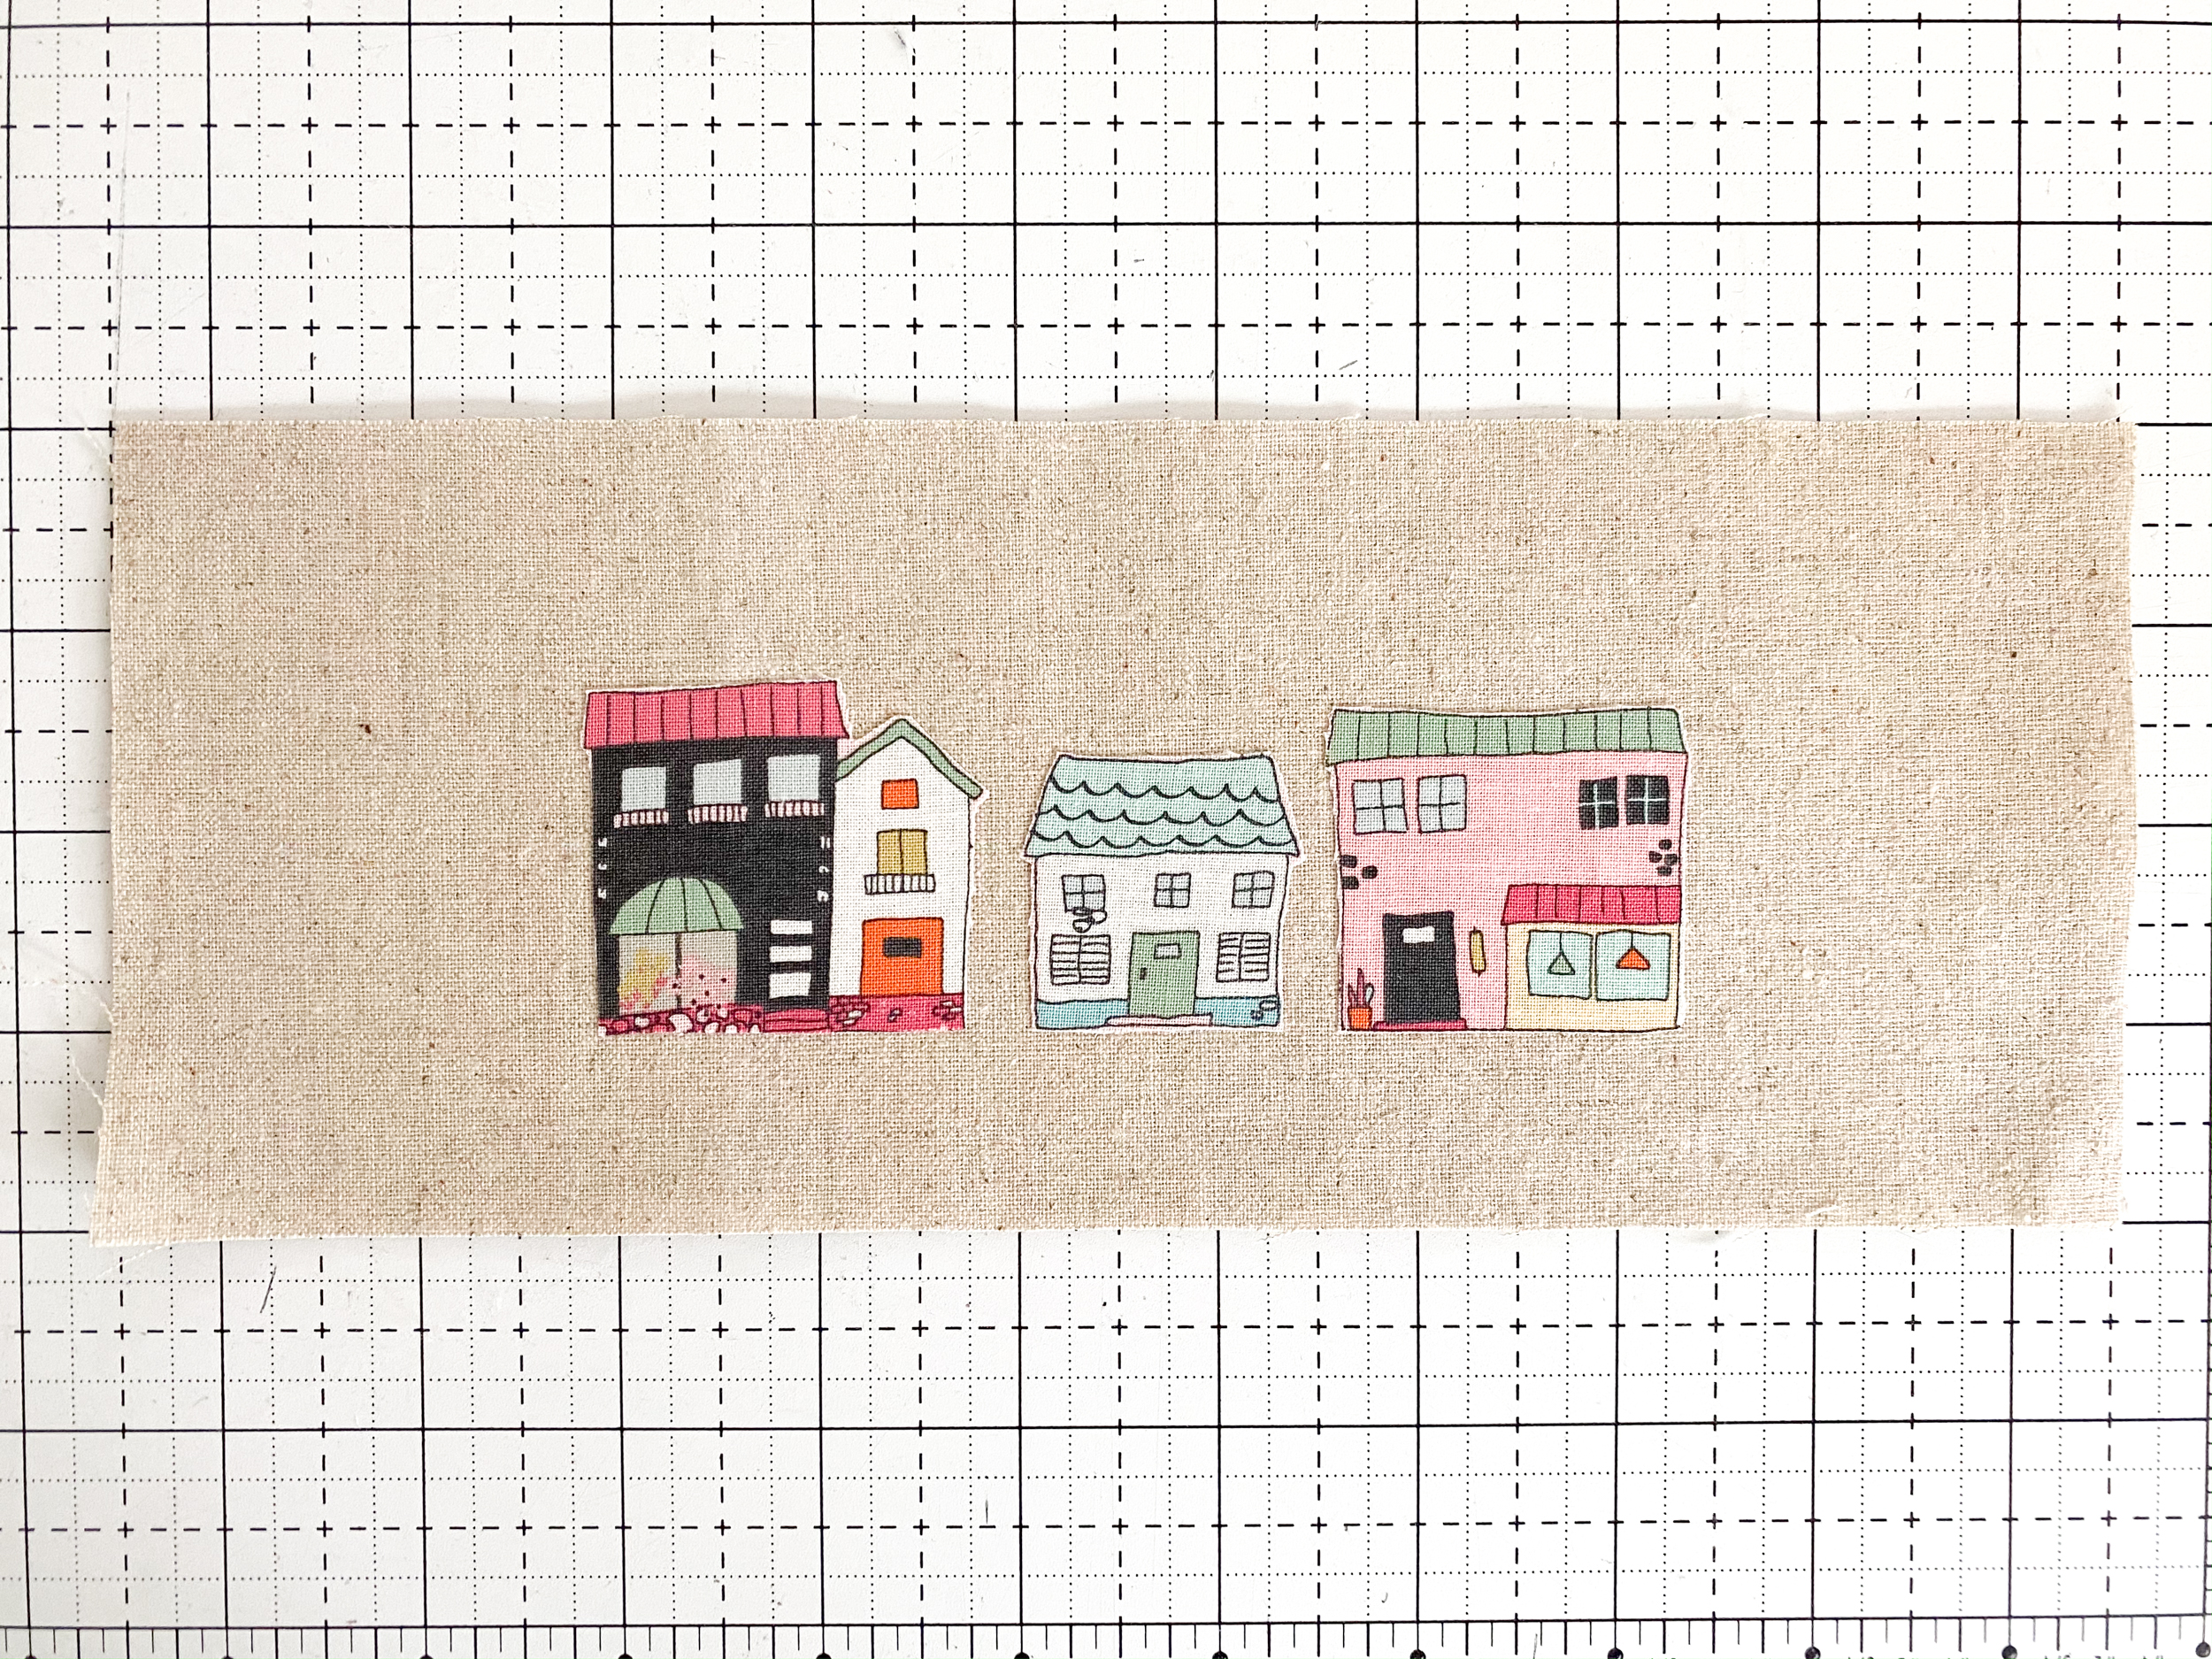
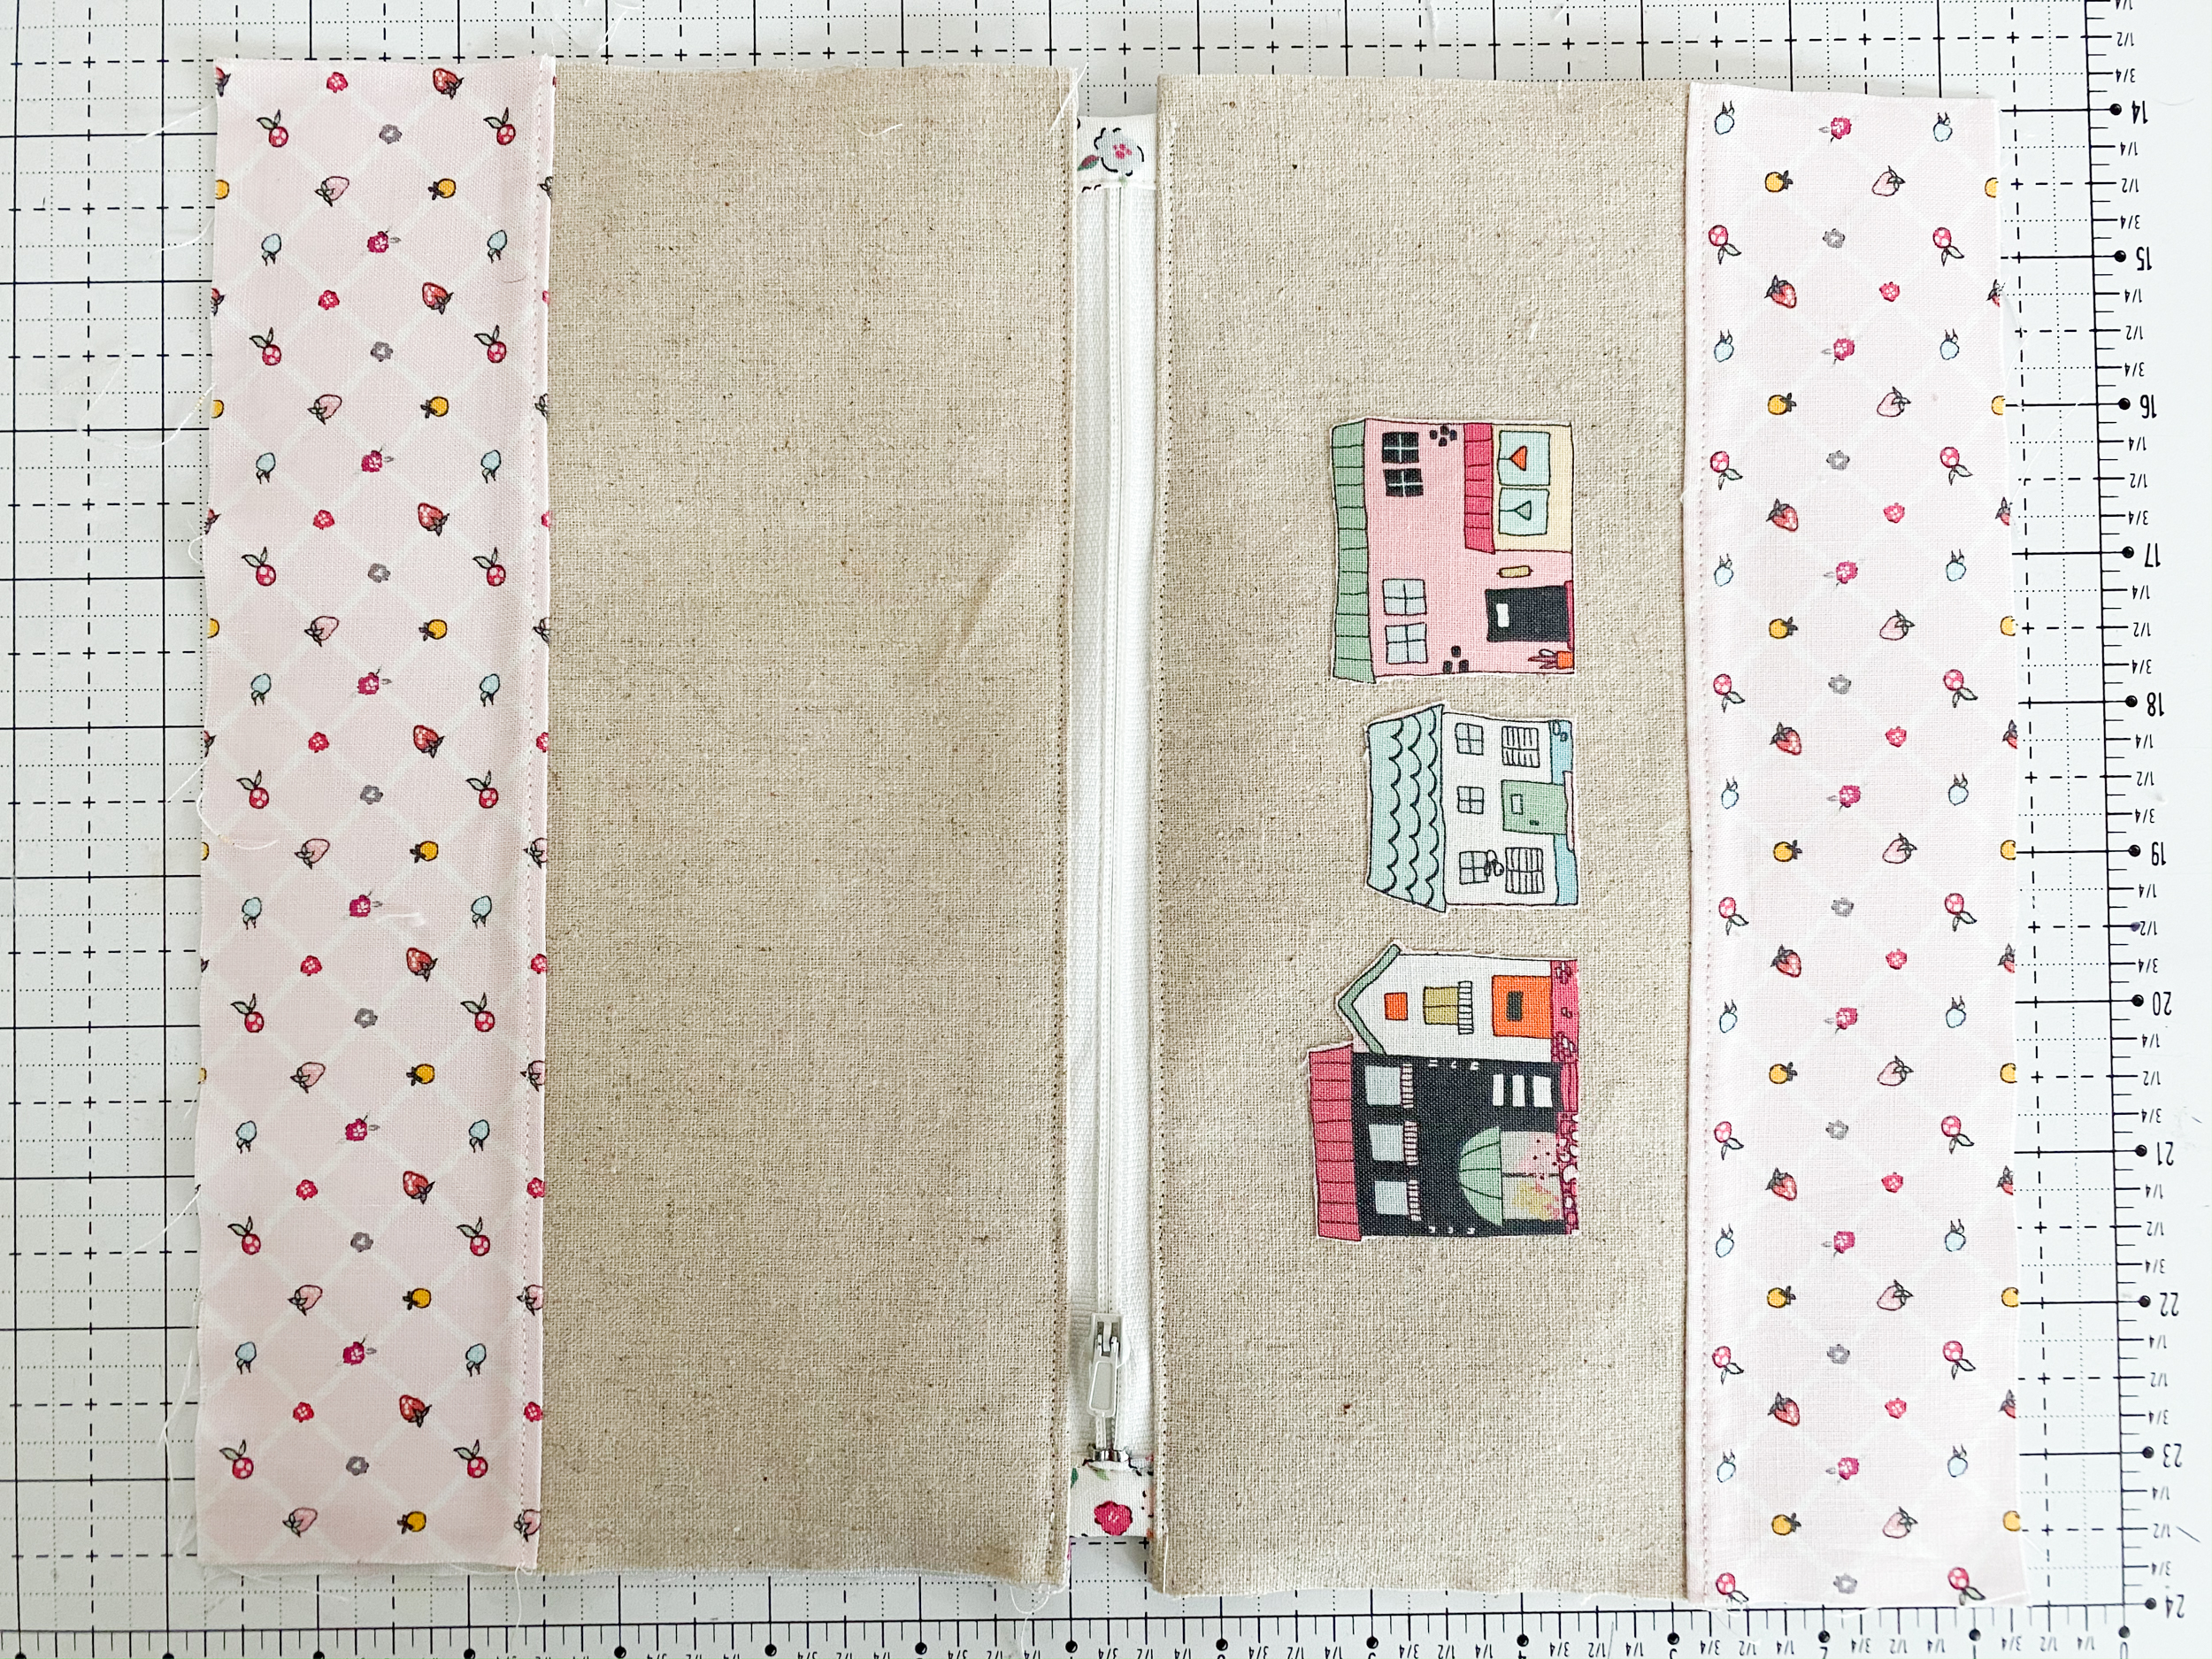
1. Cut out the design and fuse on the linen using fusible webbing.
2. Sew the exterior print strip to the linen matching the long raw edges. Press seams to the print strip side. Fuse the interfacing on the wrong side of the pouch exterior. Repeat for the other side of the pouch.
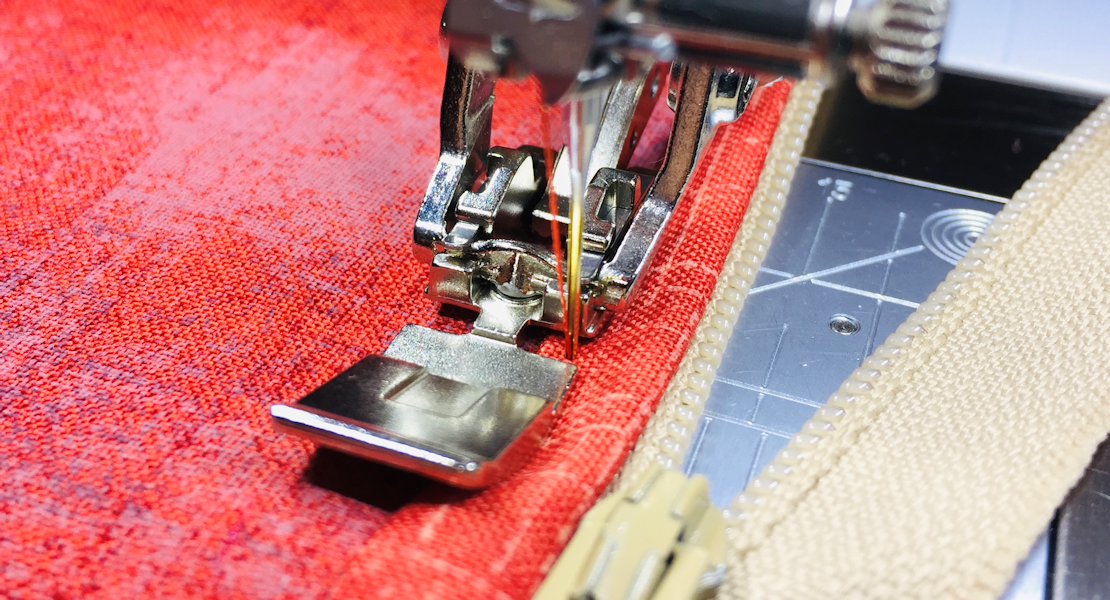
3. Wrap the 2” by 2” squares over the zipper ends, tucking the raw edges under to the zipper. Topstitch. Repeat for the other end of the zipper. Make sure the zipper length is 9 1/2”.

4. Place the zipper on top of the exterior, right sides together. You will be able to see the wrong side of the zipper. With the wrong side up, lay pouch lining on the zipper, matching the top edges. Sew through the layer. Press well and topstitch along zipper seam.
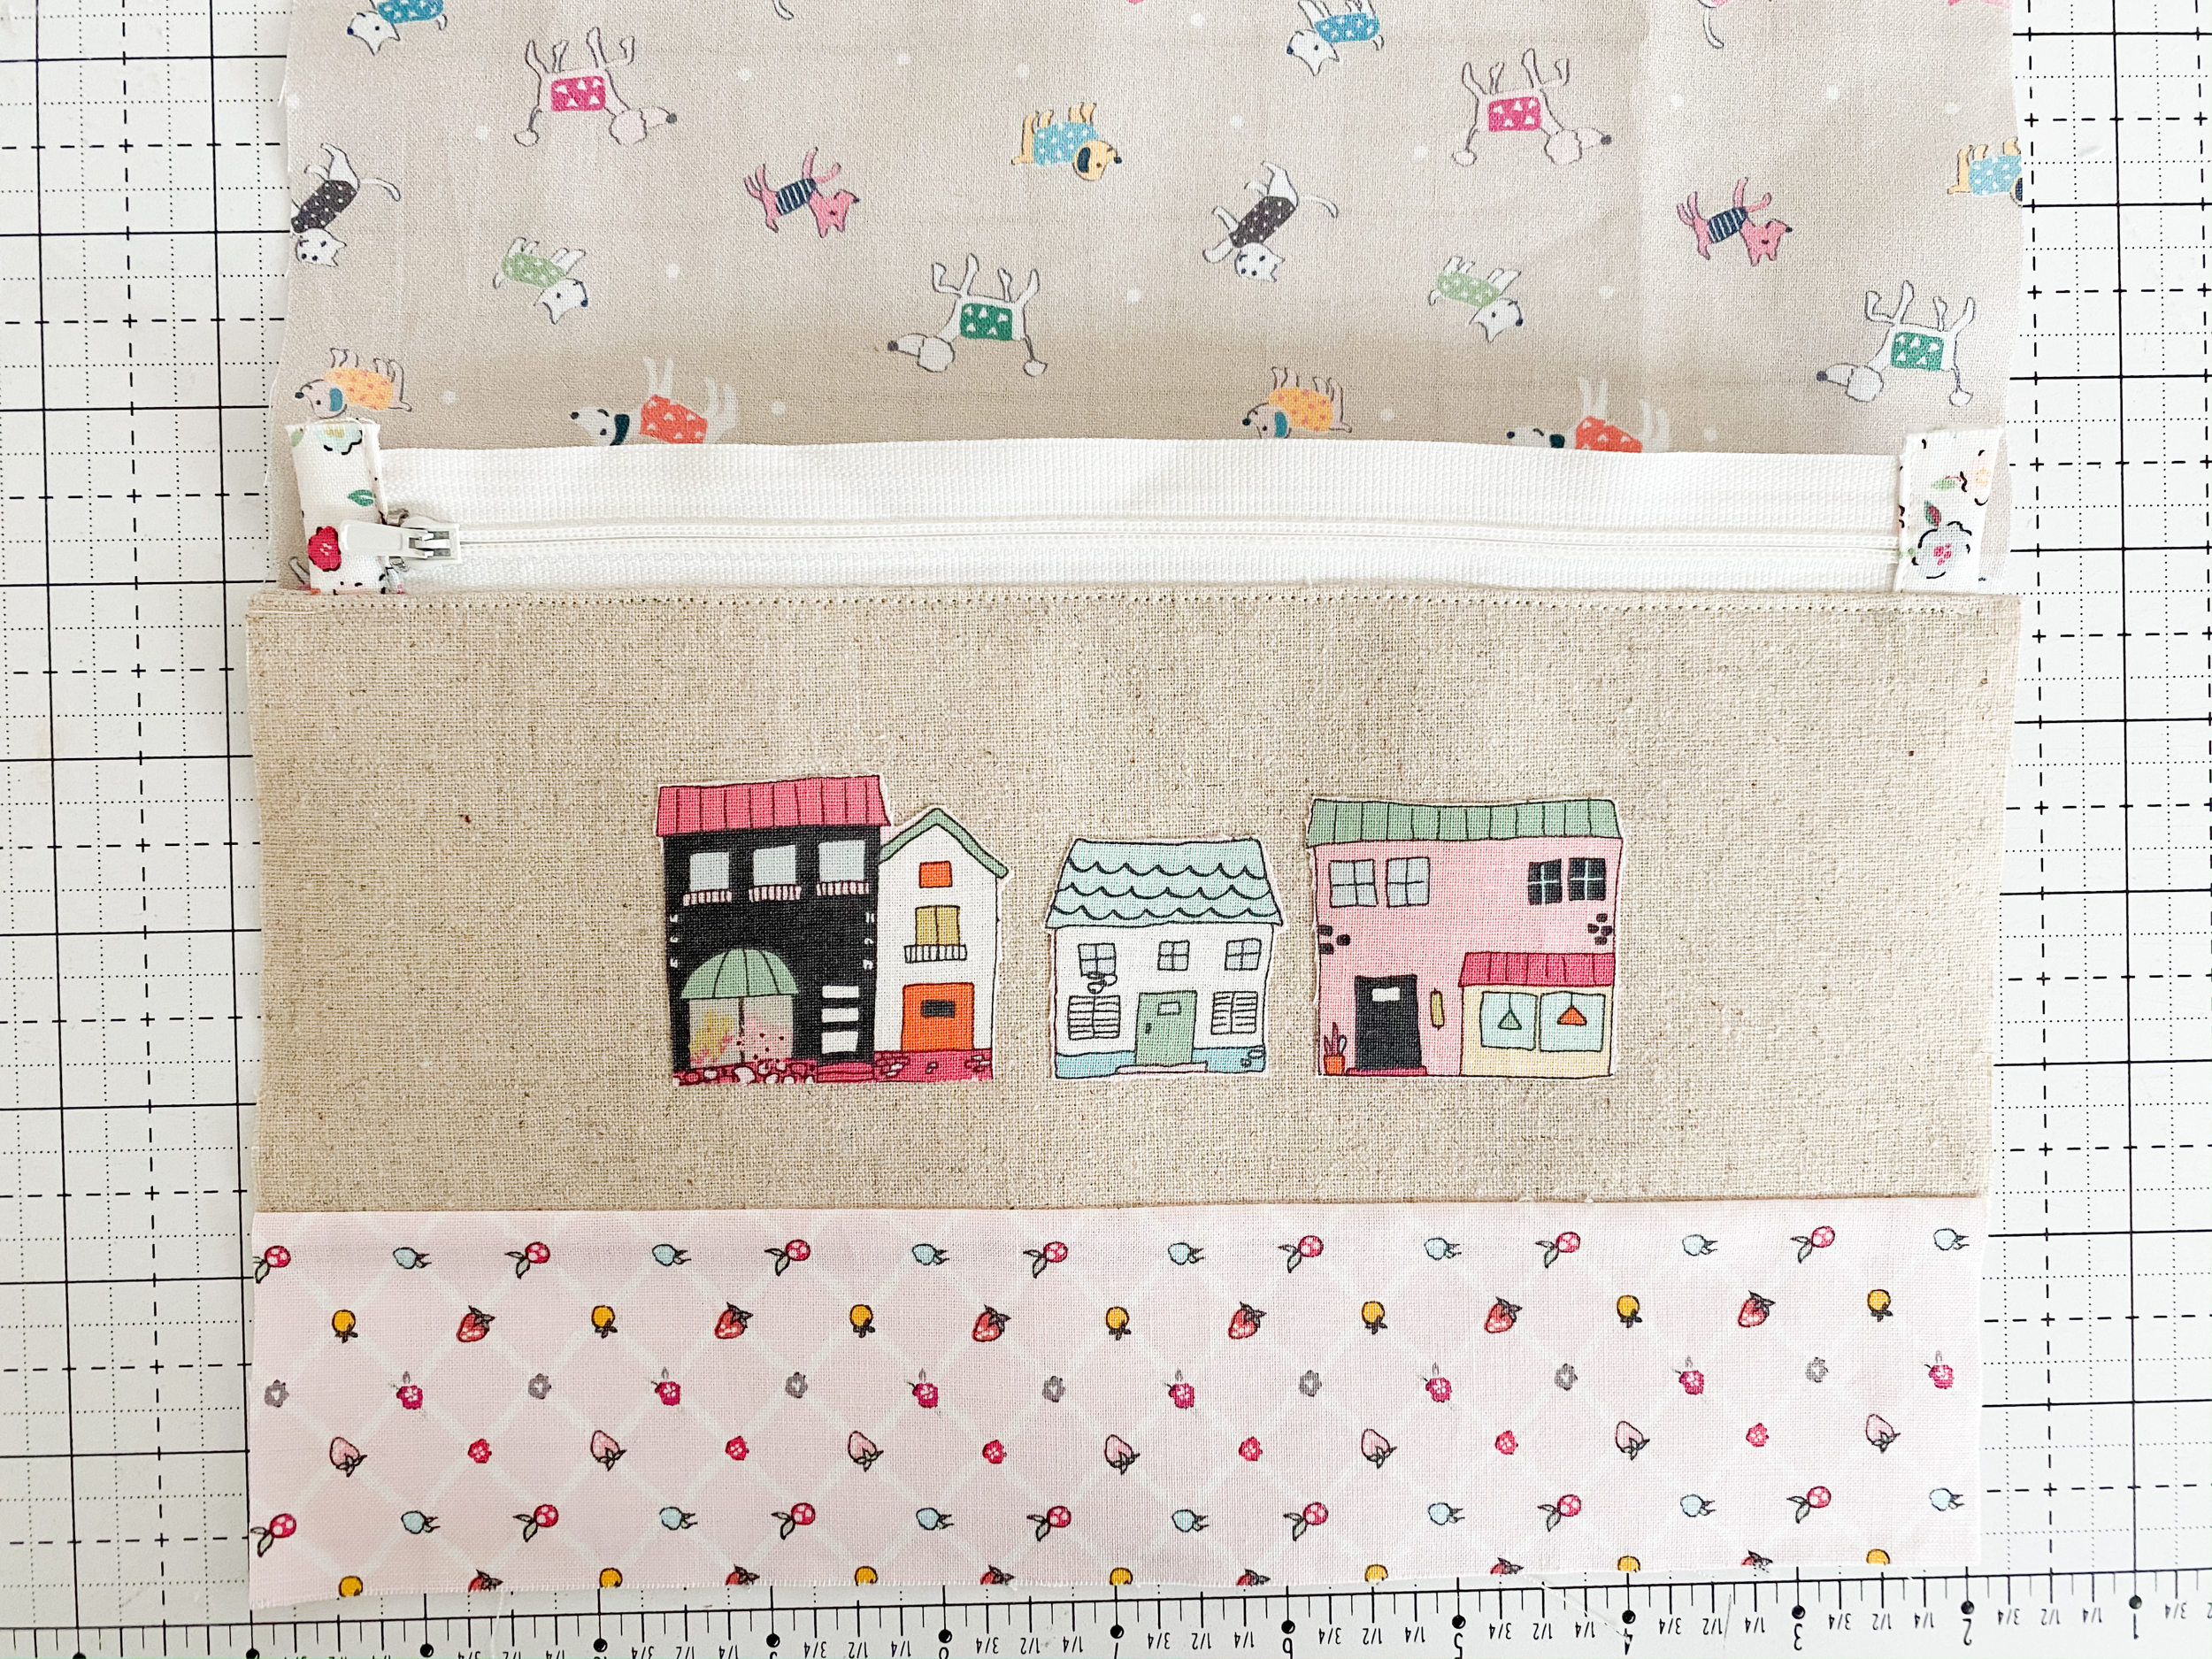
5. Repeat the steps to attach the zipper for the other side of the pouch.
6. Lay flat the pouch as shown. Fold the cotton ribbon in half and slide in one side of the pouch exterior. Sew the sides, matching raw edges. Use 3/8” – 1/2” seam when sewing the lining sides for the tight fit.
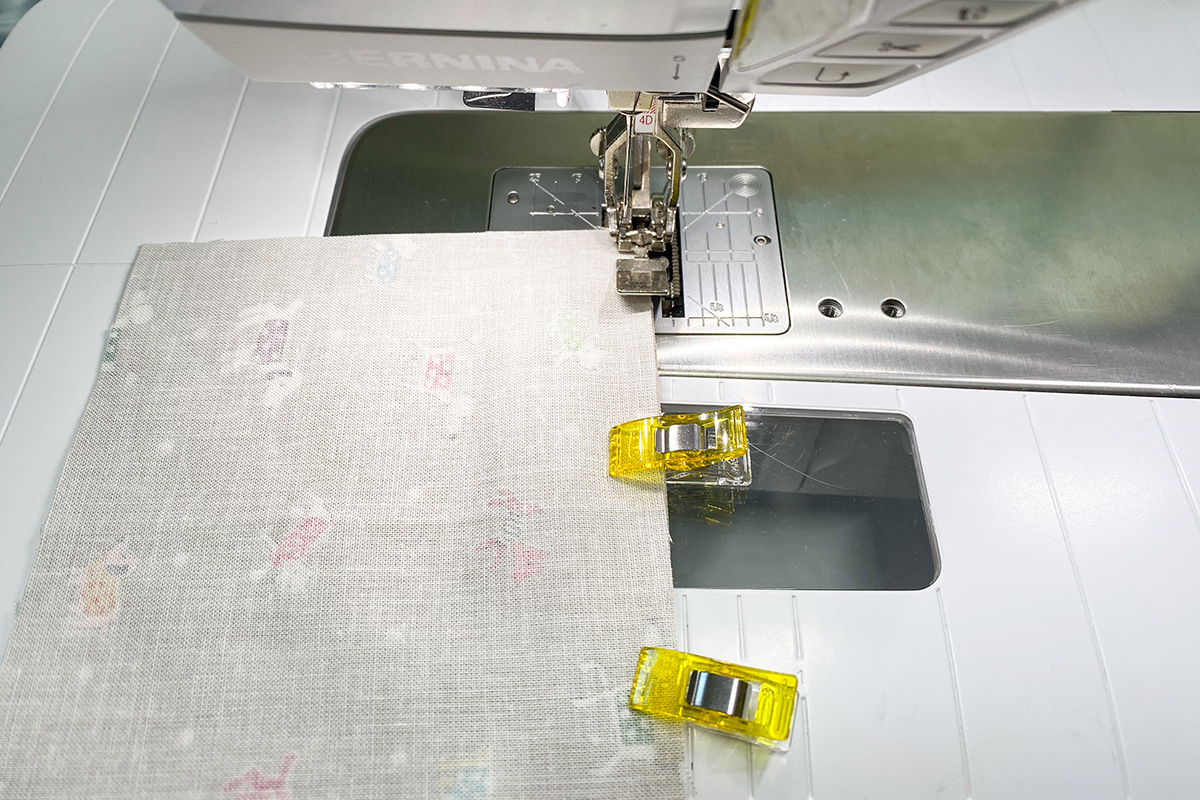
Make sure to leave the zipper half open.
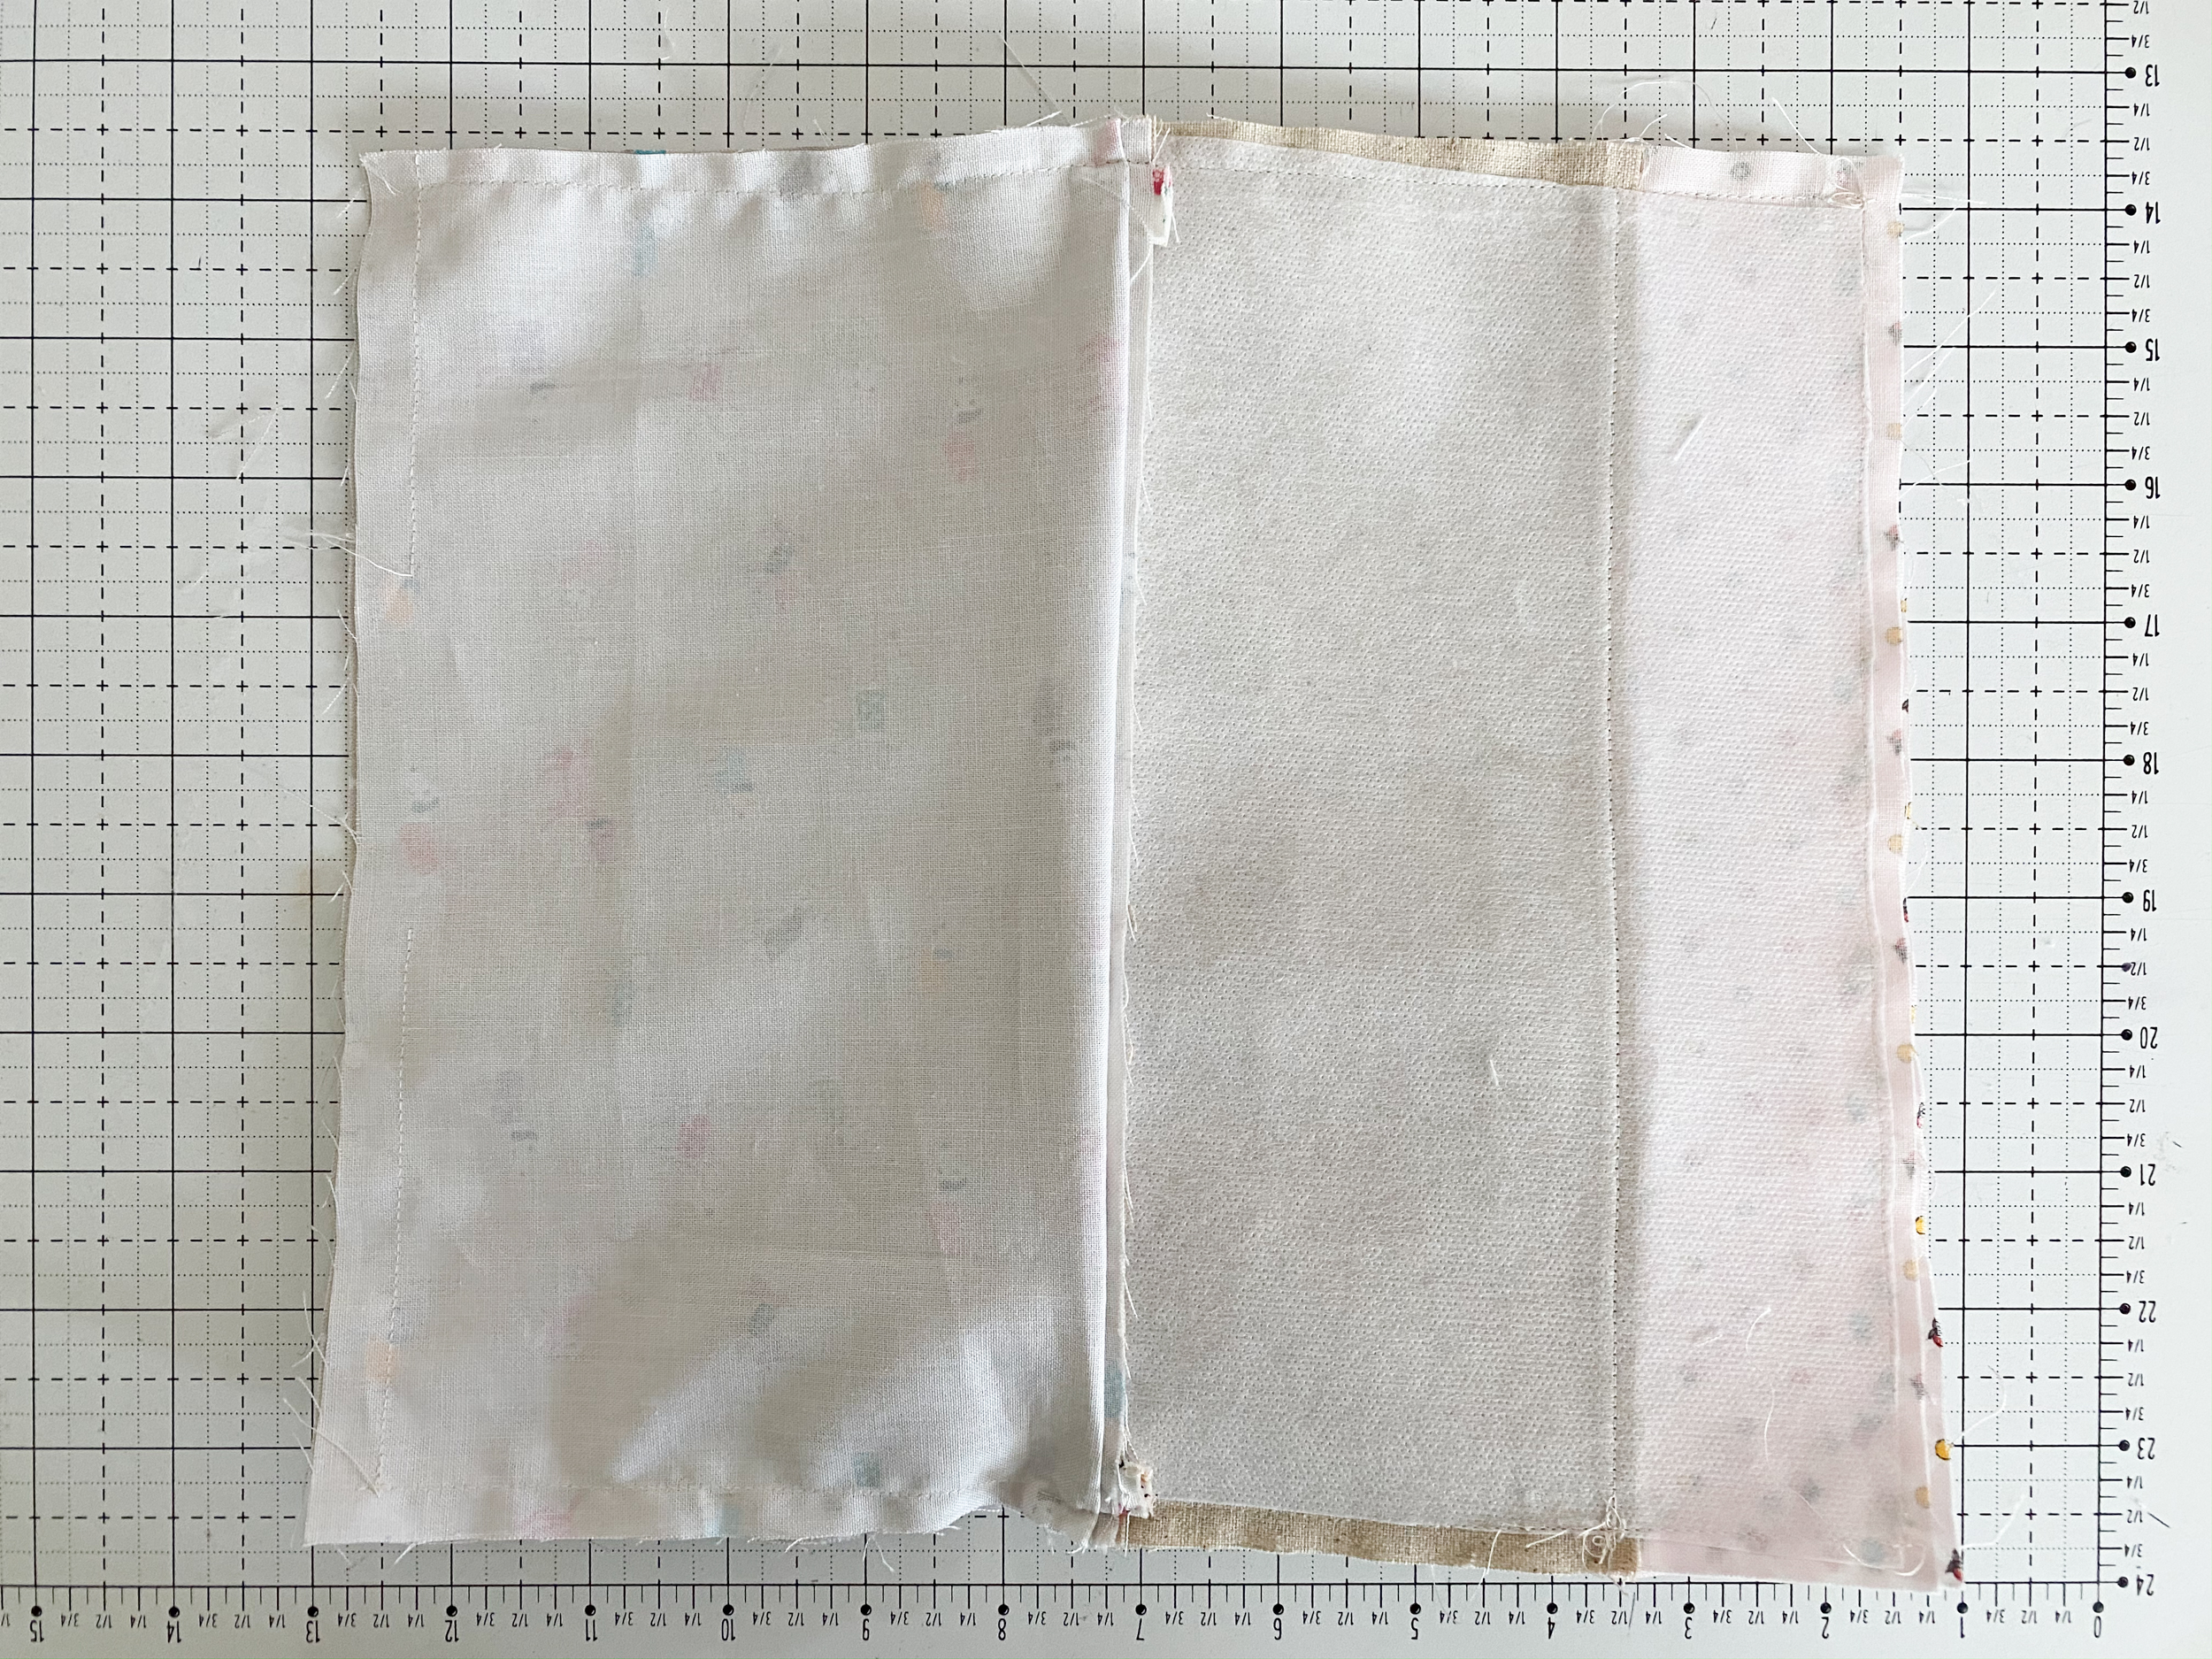
7. Turn right side out through the opening and machine topstitch the gap closed. Then tuck the inner pouch into the outer and press everything nice and neat and you are DONE!