Embroider-Along Part 8: Embroidery on Sheer Fabrics
Welcome back to my Embroider-Along: Part 8. Hi, my name is Sue O’Very, BERNINA Ambassador and machine embroidery expert. During this series we have talked about the four basics for machine embroidery. I’ve even shown you how to embroider on various materials such as knit, woven and napped fabrics. Today we dive into sheer materials and a step-by-step tutorial on how to embroider on handkerchiefs.

What is Sheer material?
Sheer material is a nice general term for anything you can see through or is opaque. When it comes to stabilizers and materials for sheer, the materials are very different. The type of stabilizer though is very much the same. Sheer materials can be tricky. If you use too much stabilizer the material will become stiff, and if you use too little the material will pucker.
Stabilizers for Sheer materials
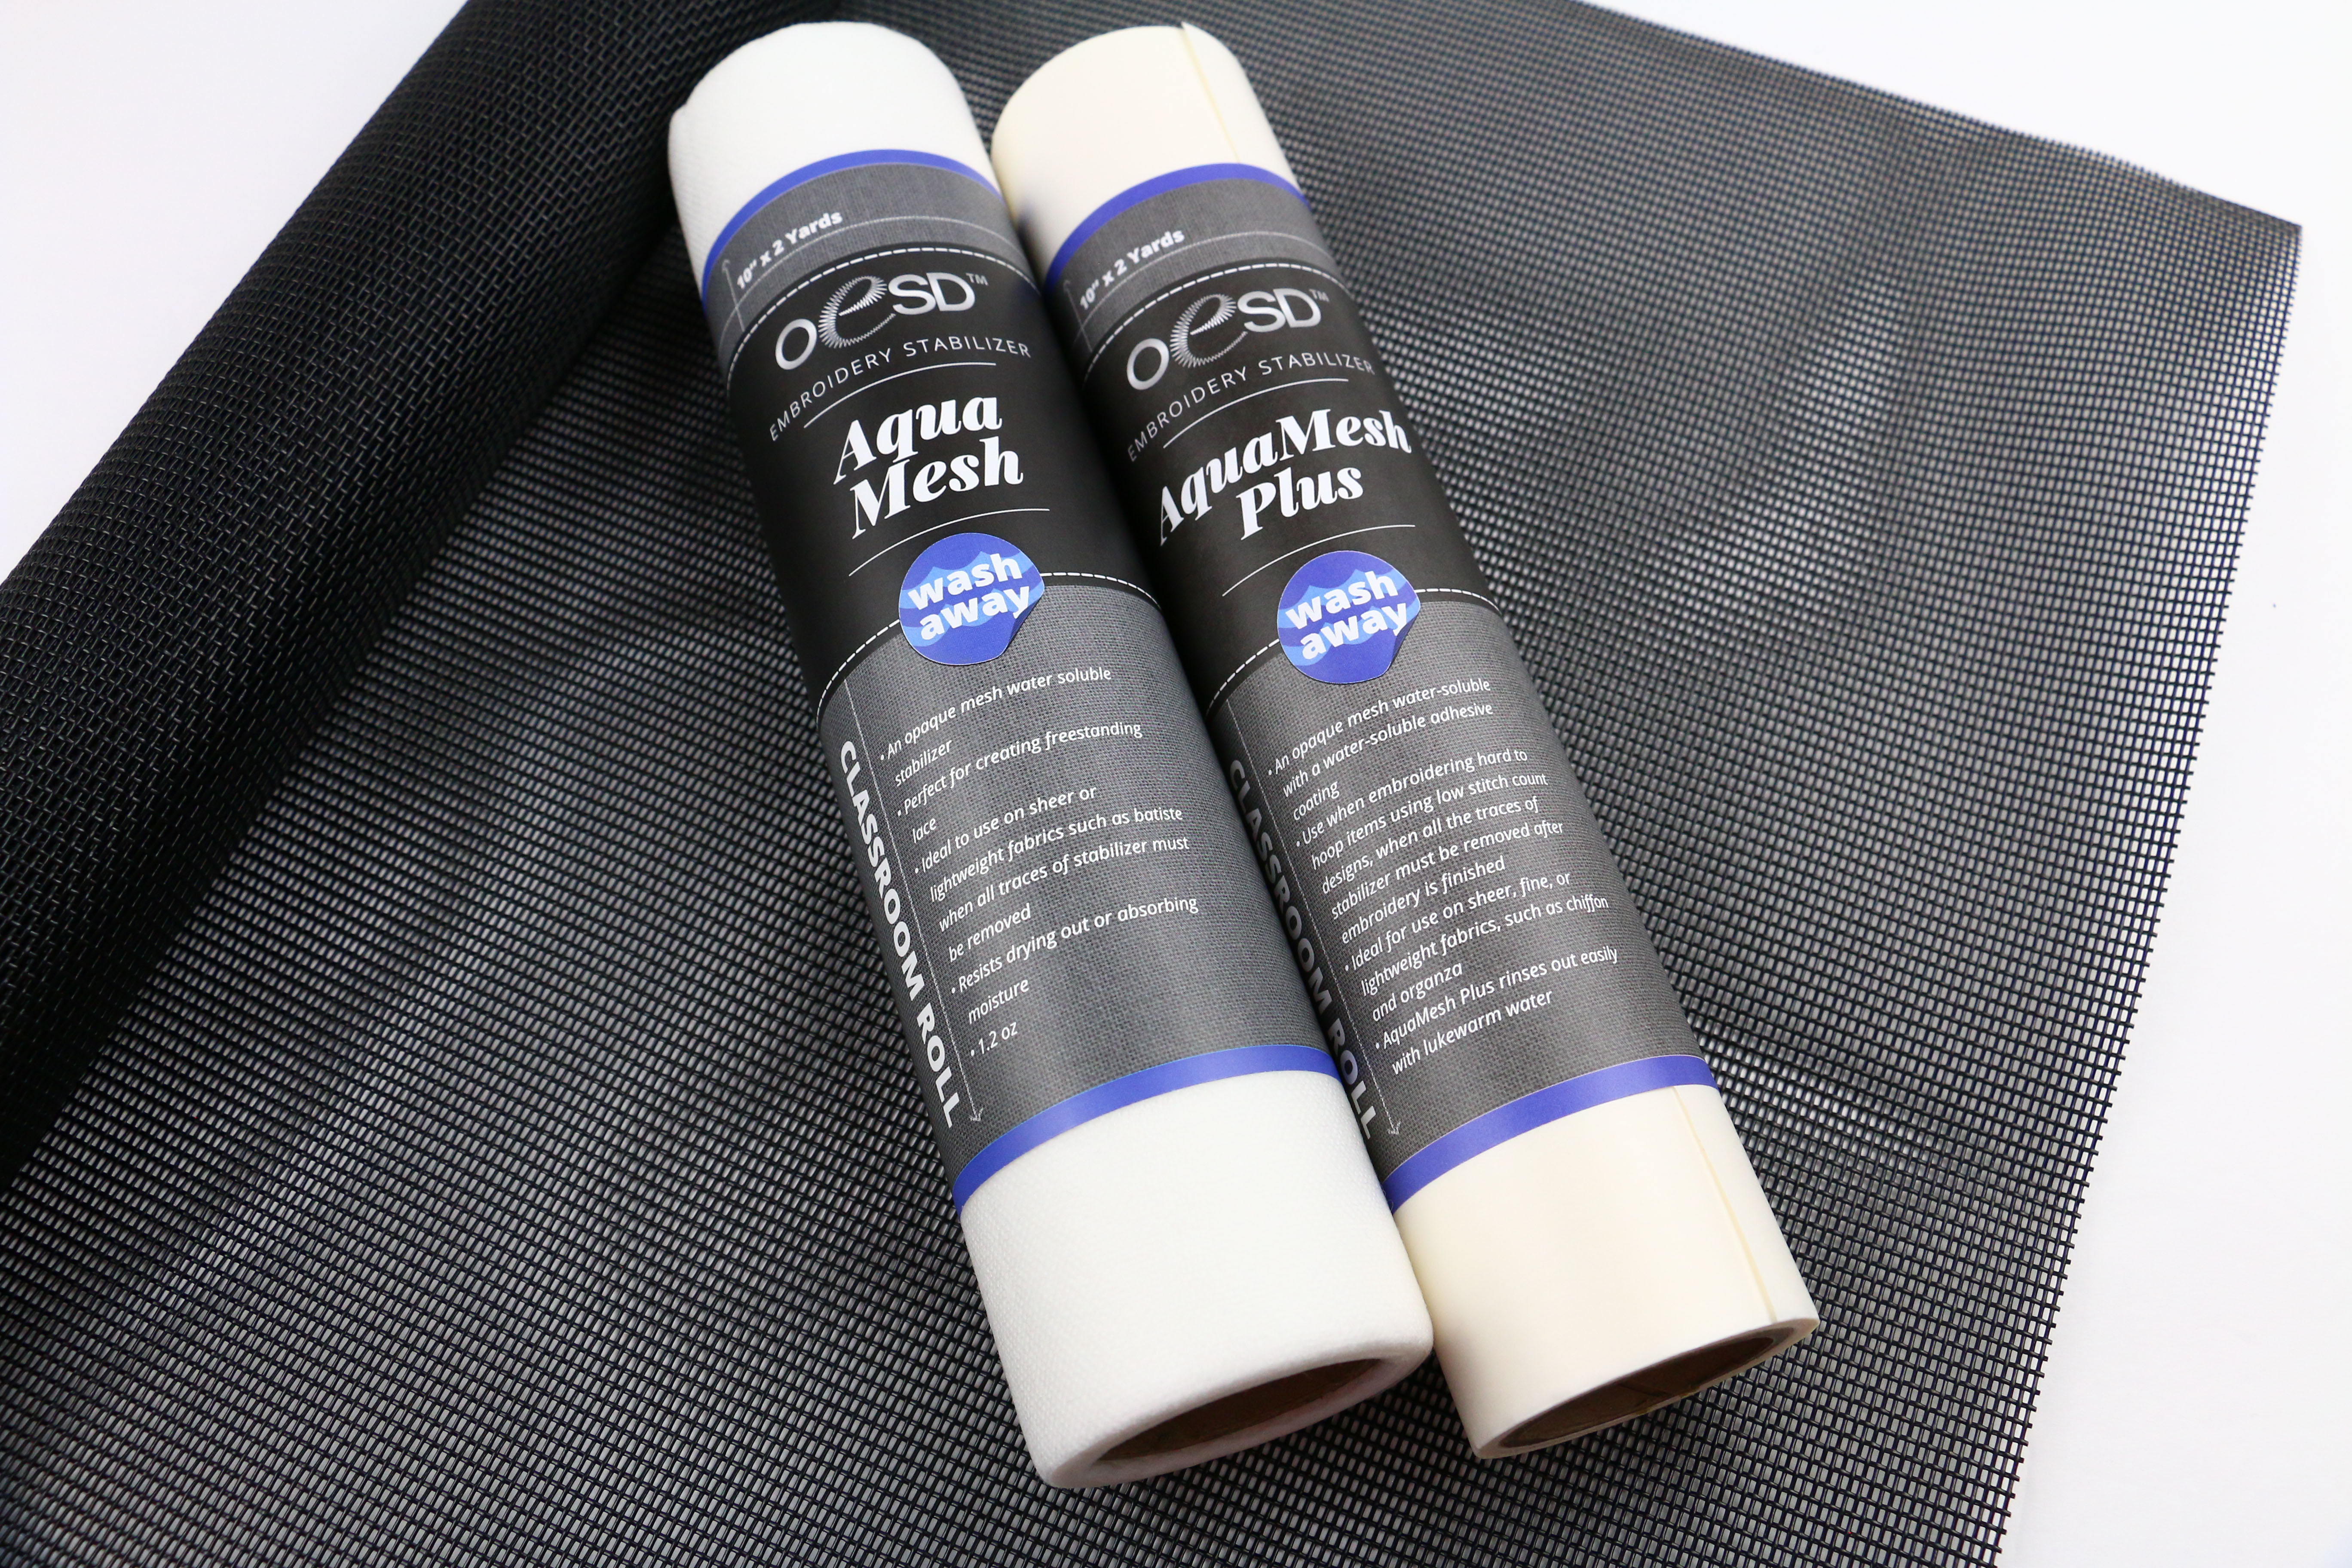
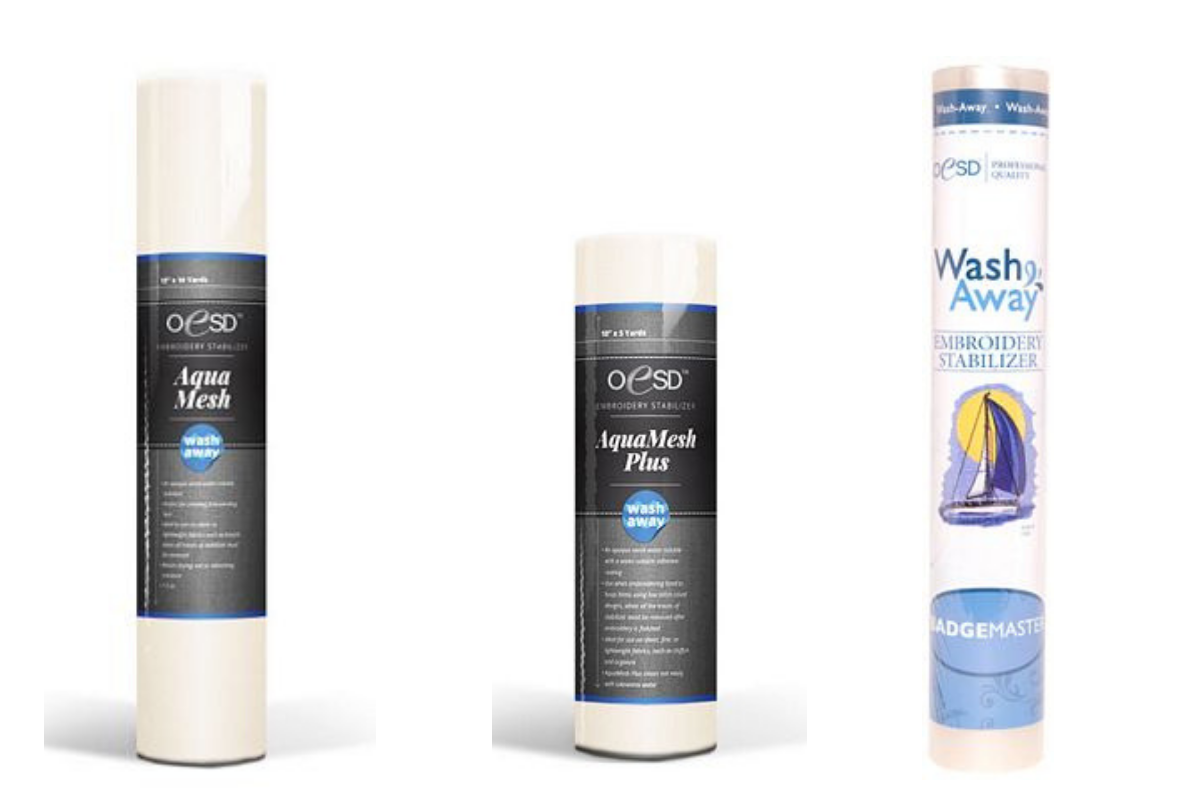
When it comes to sheer fabrics the stabilizer solution is easy, Wash Away! There are a few different types of Wash Away and below I will cover the best types based on the material.
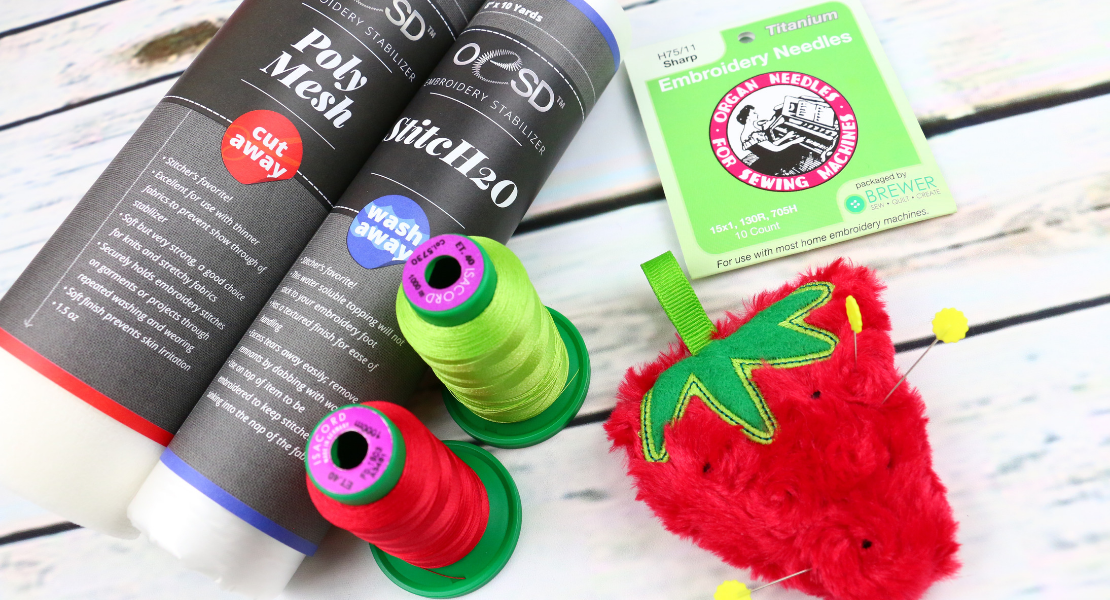
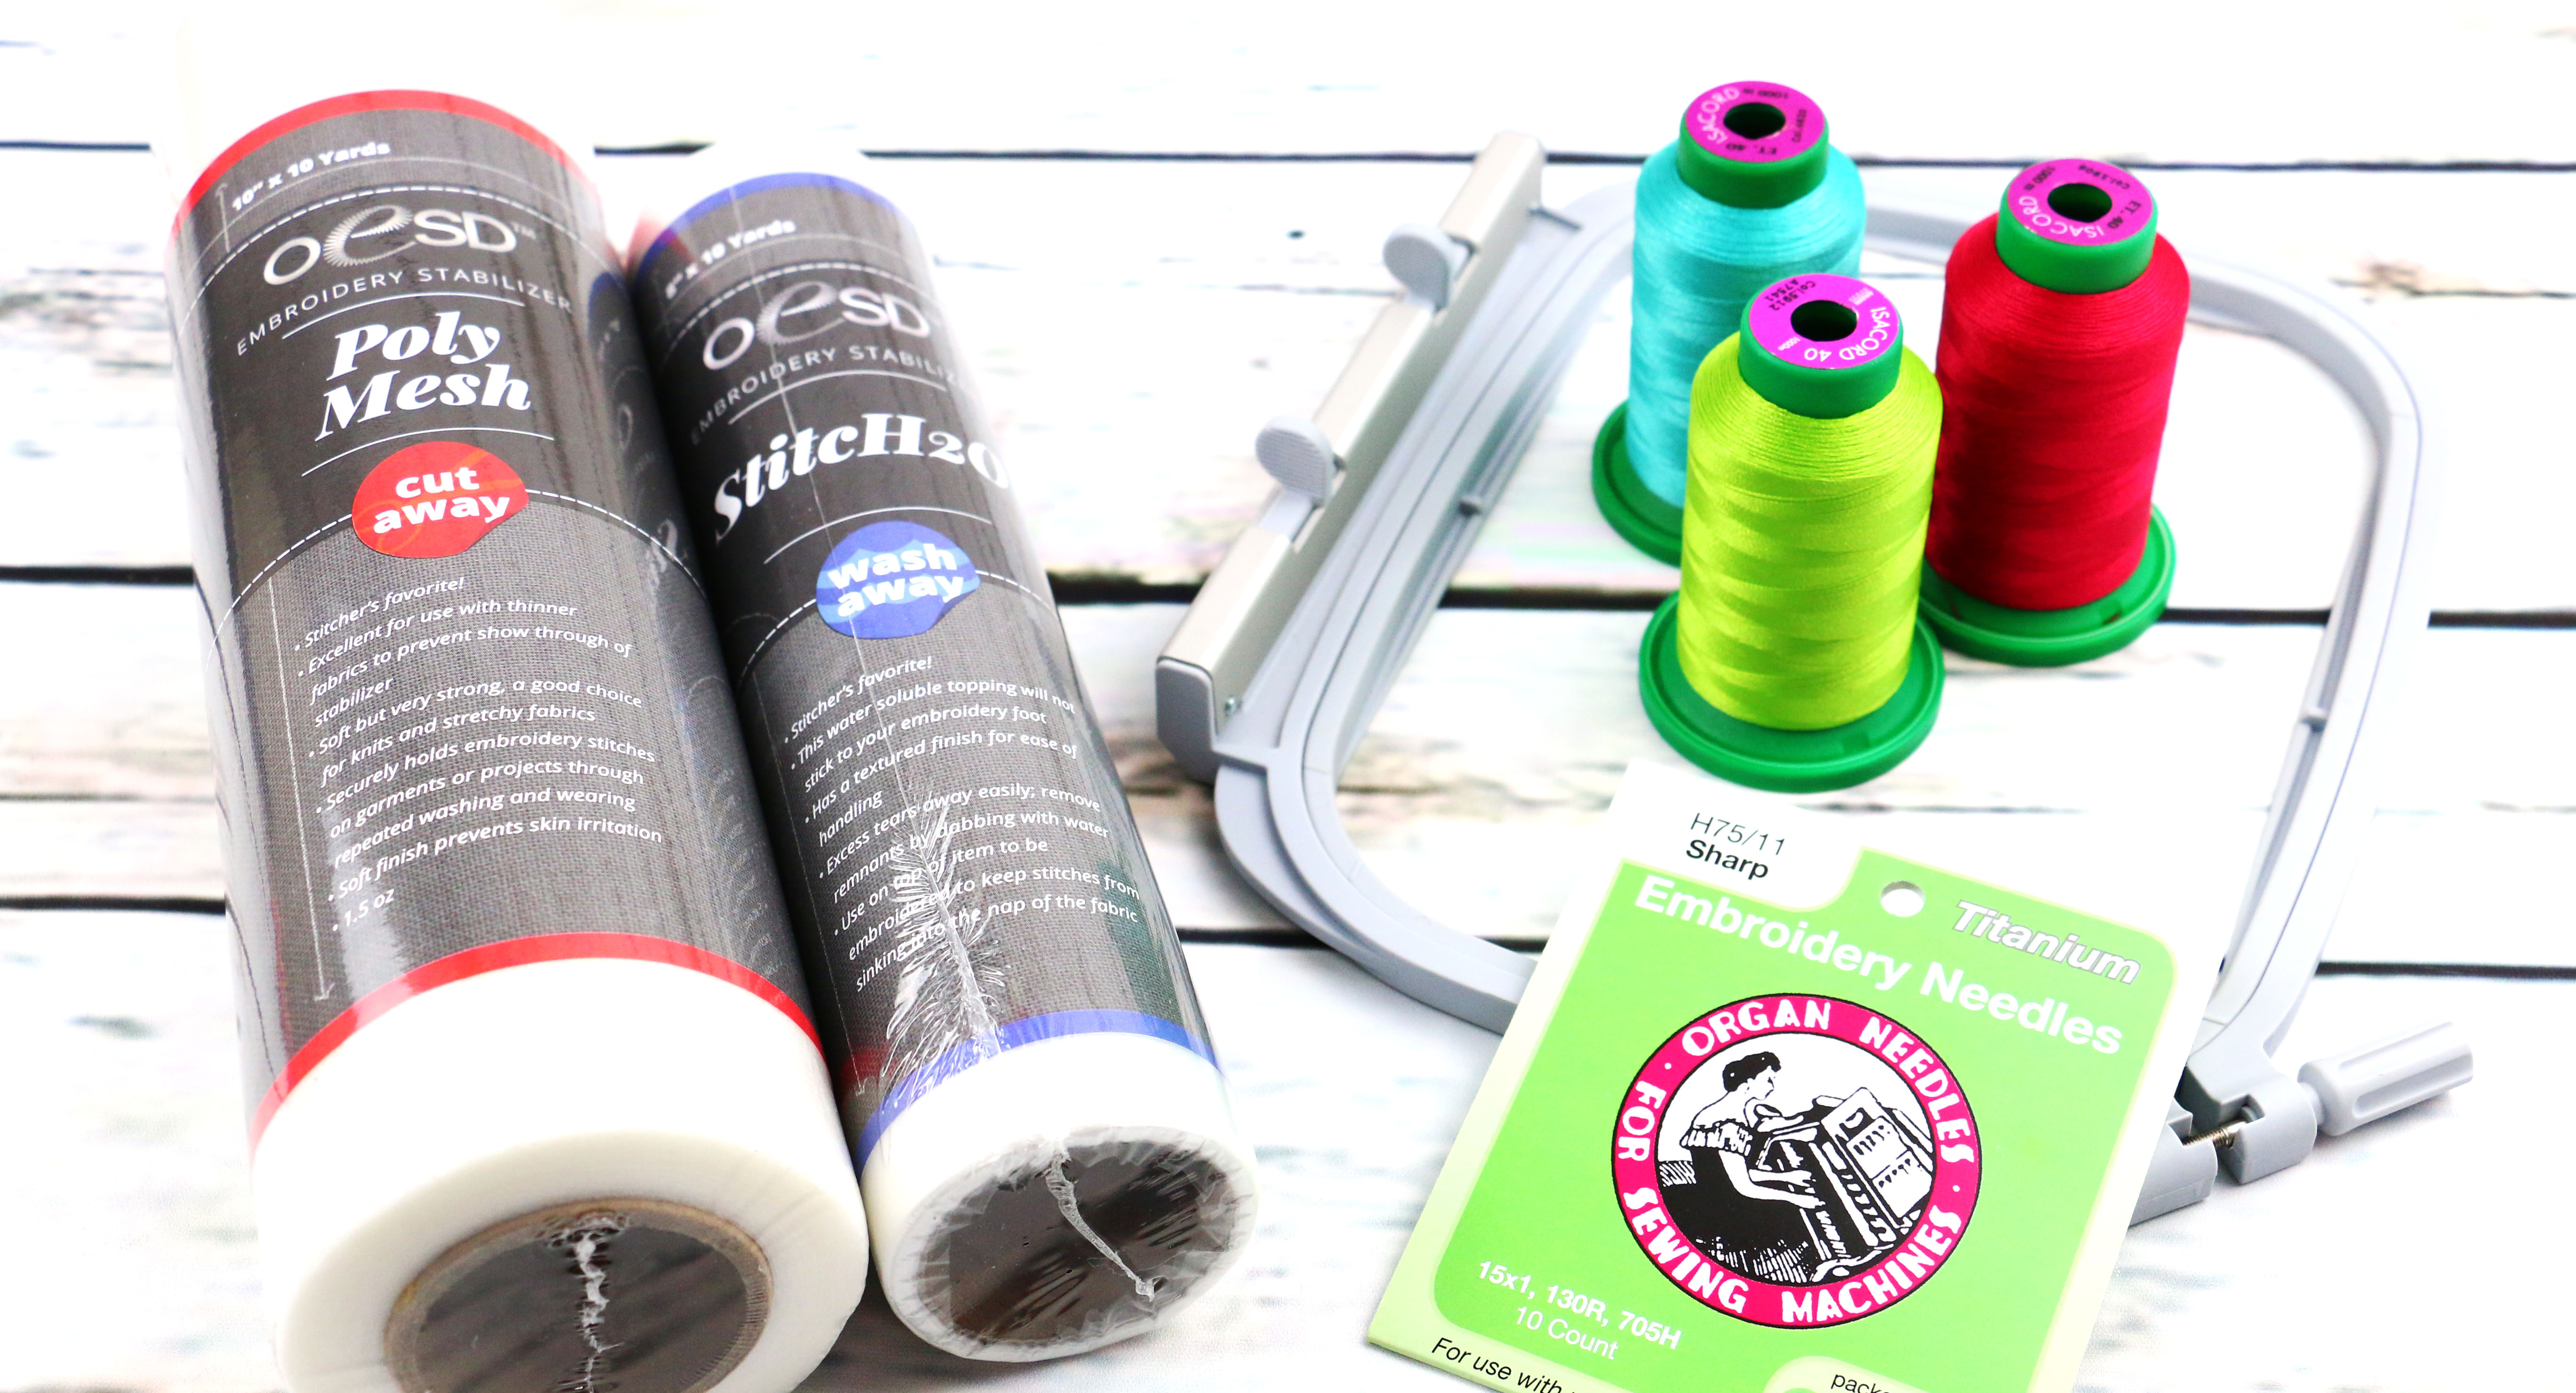
- Aquamesh – Mesh style wash away, resembles the texture and feel of a paper towel (good for FSL – Free Standing lace)
- Aquamesh Plus Wash Away – Mesh style with sticky adhesive
- Badgemaster – Opaque and thick wash away (good for FSL – Free Standing lace)
Thread and Needles for Sheer materials
In Part 3 I talked about the thickness of needles and thread. The most important two things to keep in mind:
- The larger the Thread number the thinner the thread
- The larger the Needle the thicker the needle
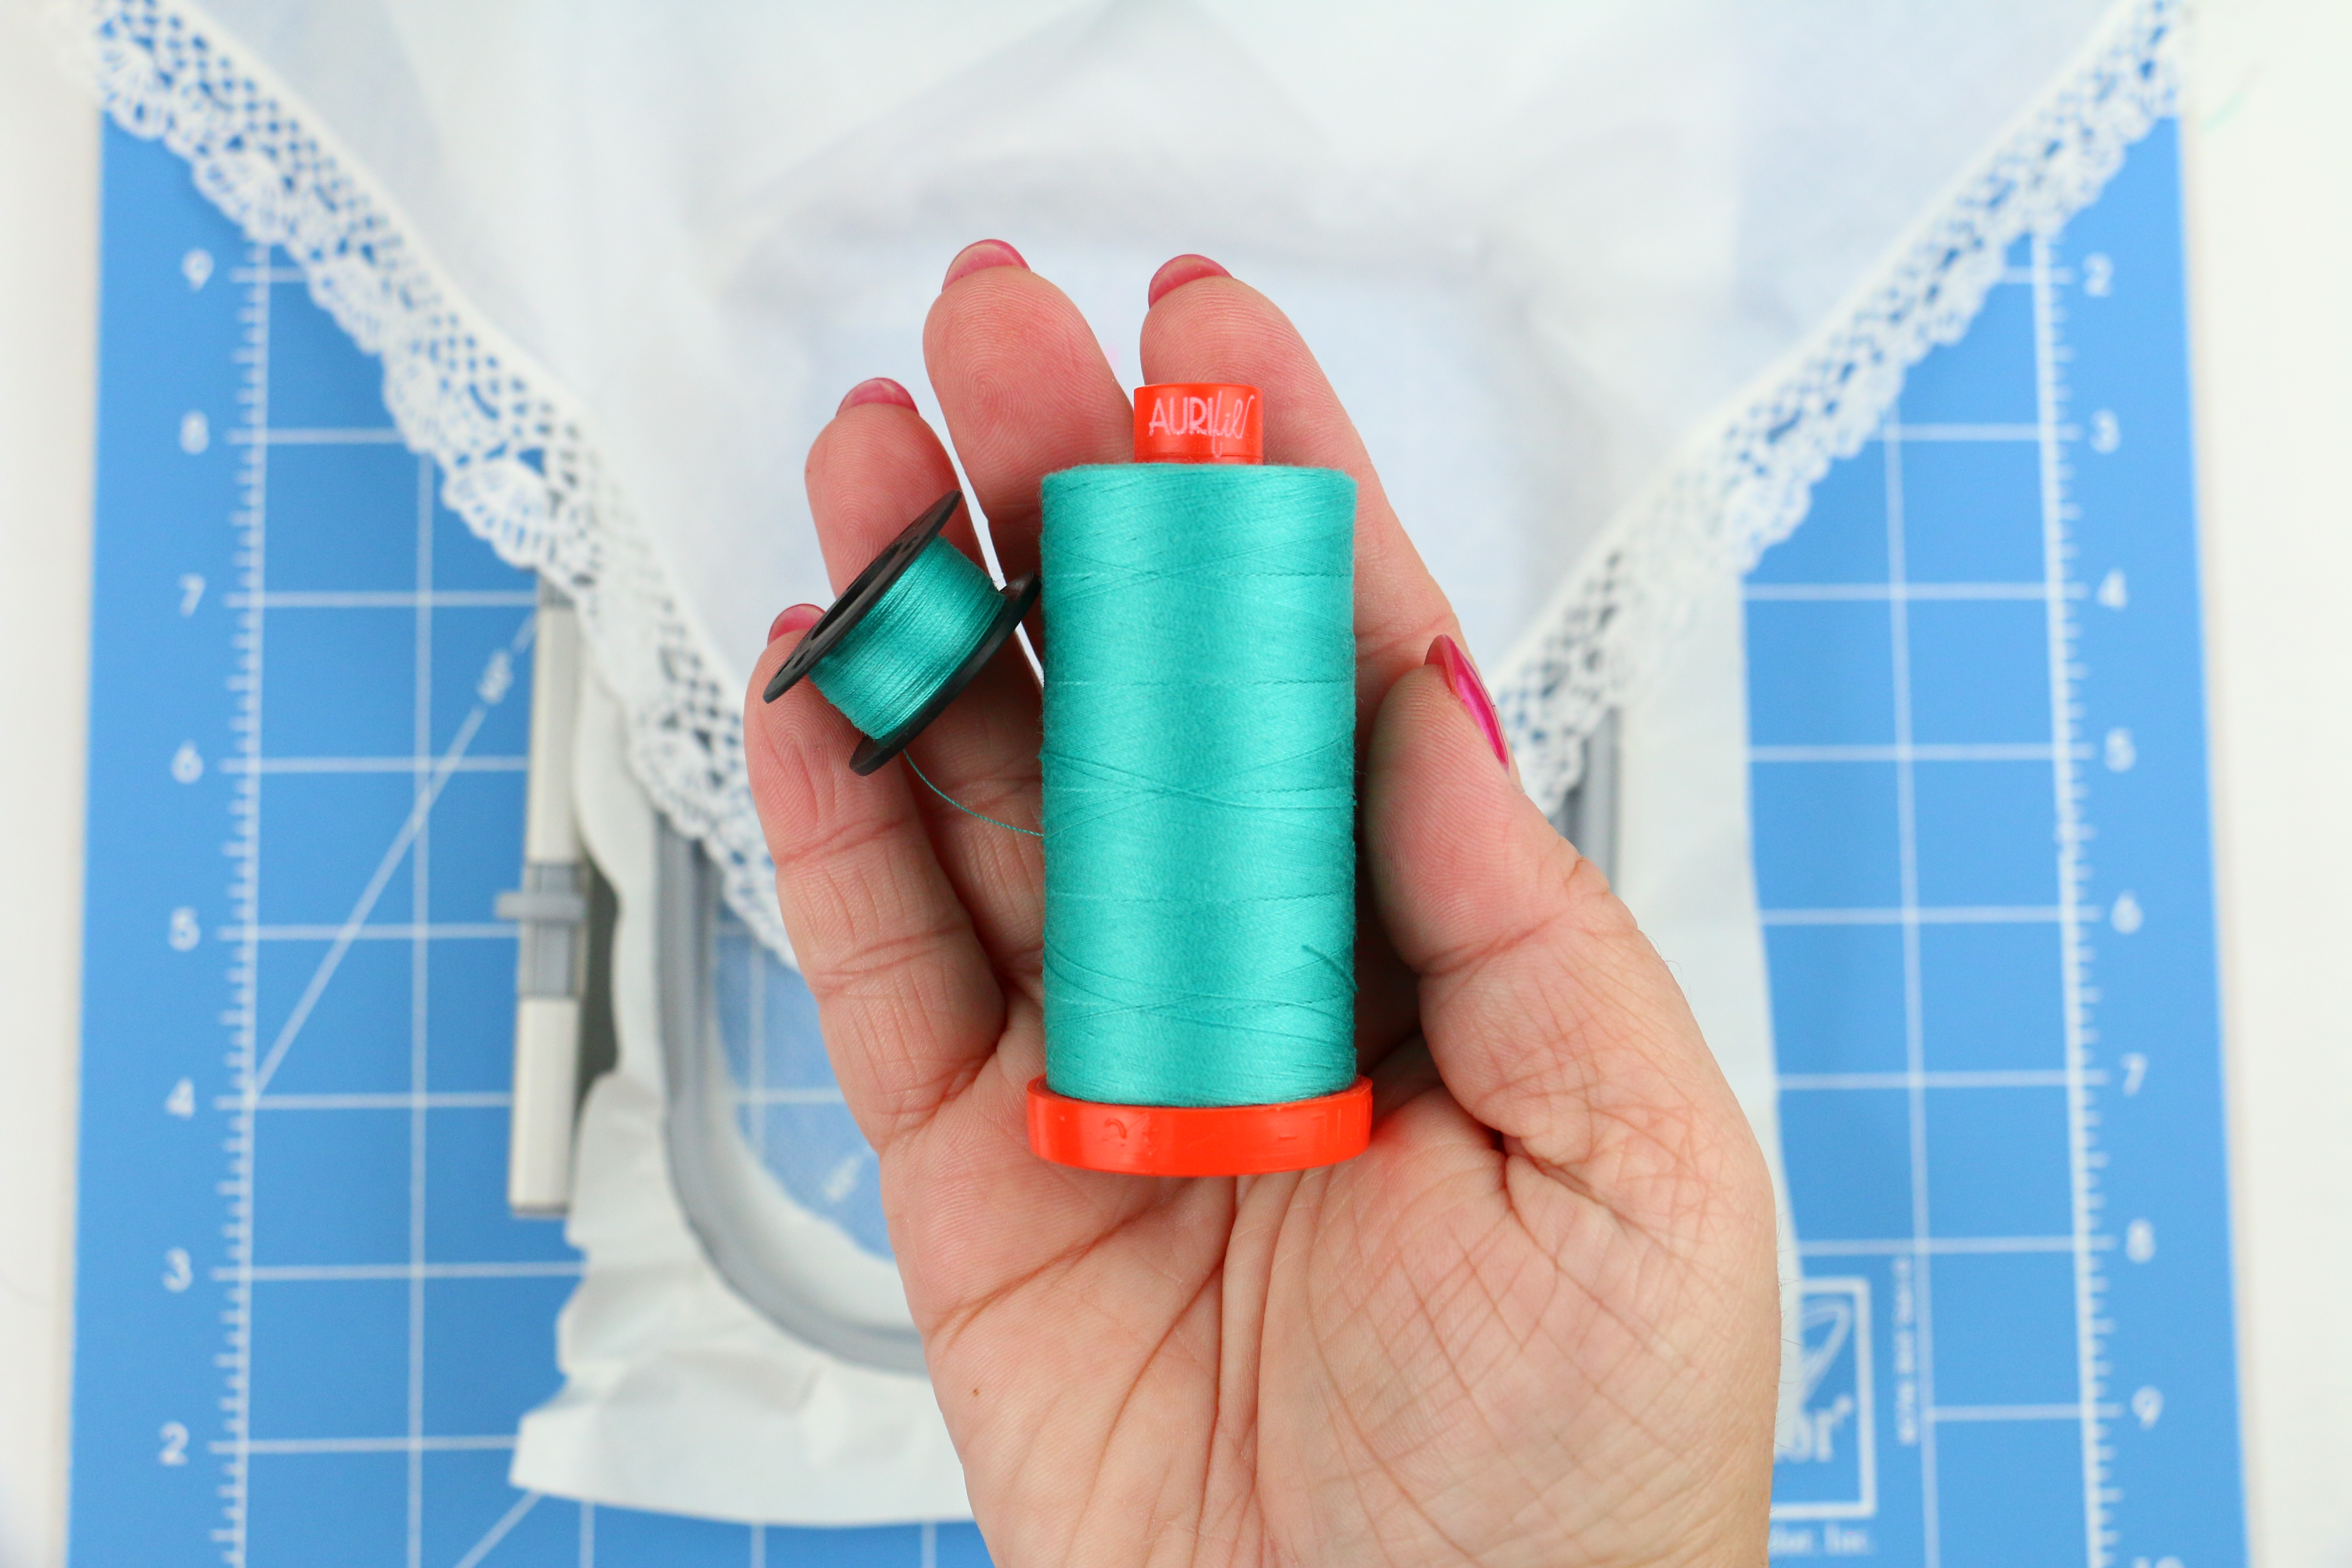
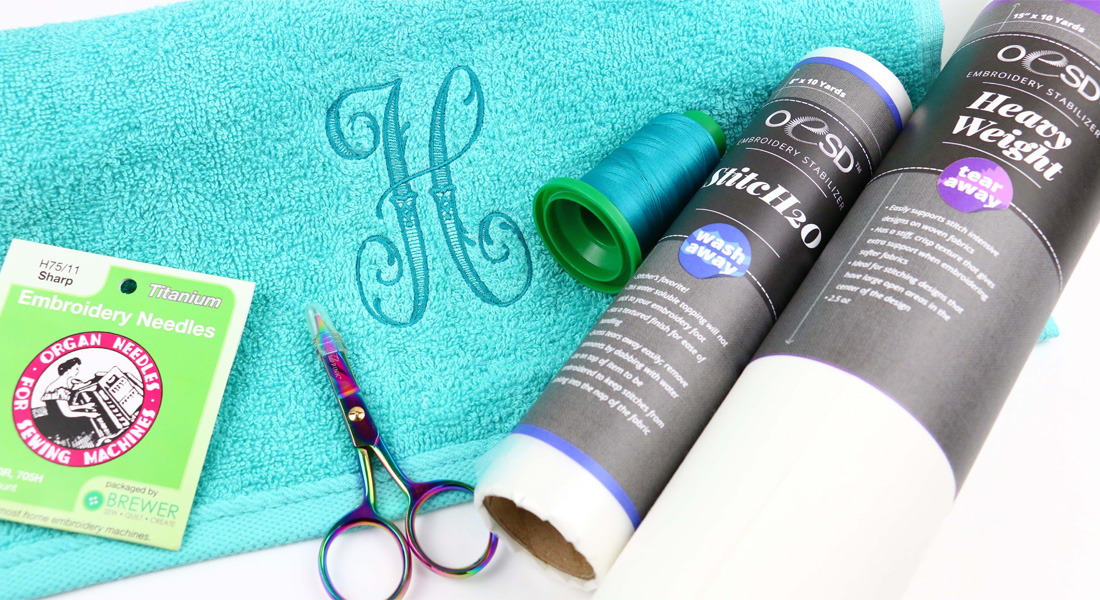
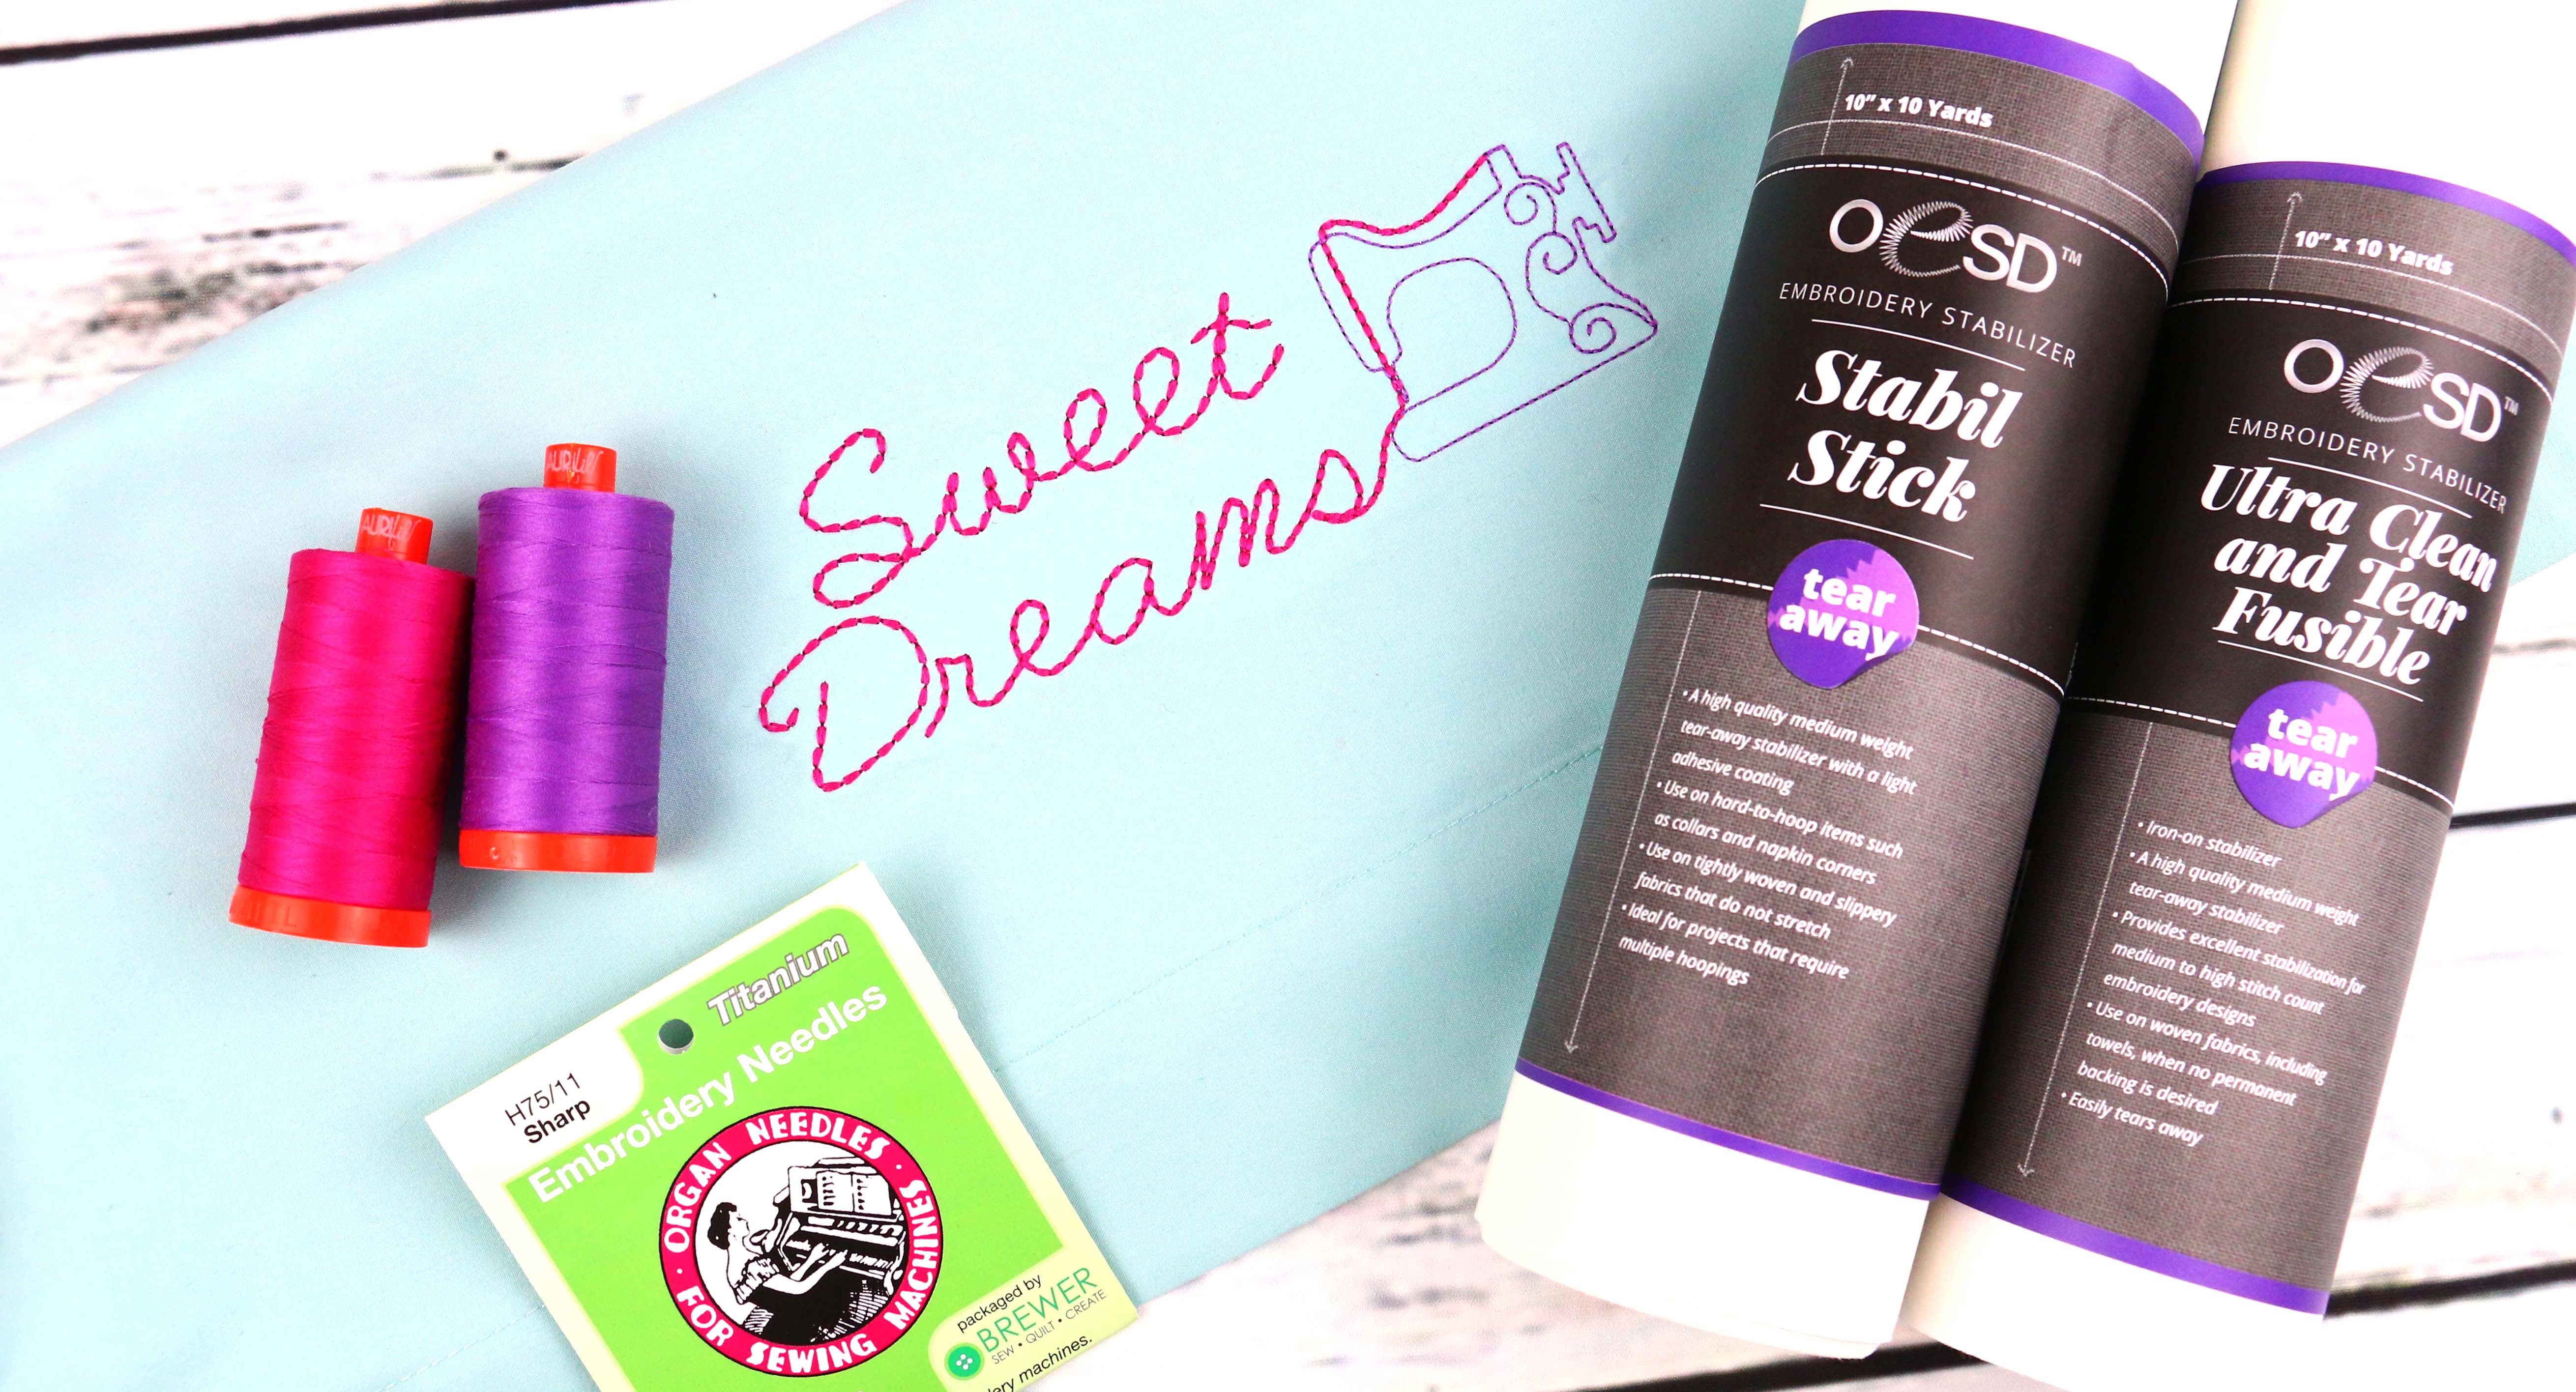
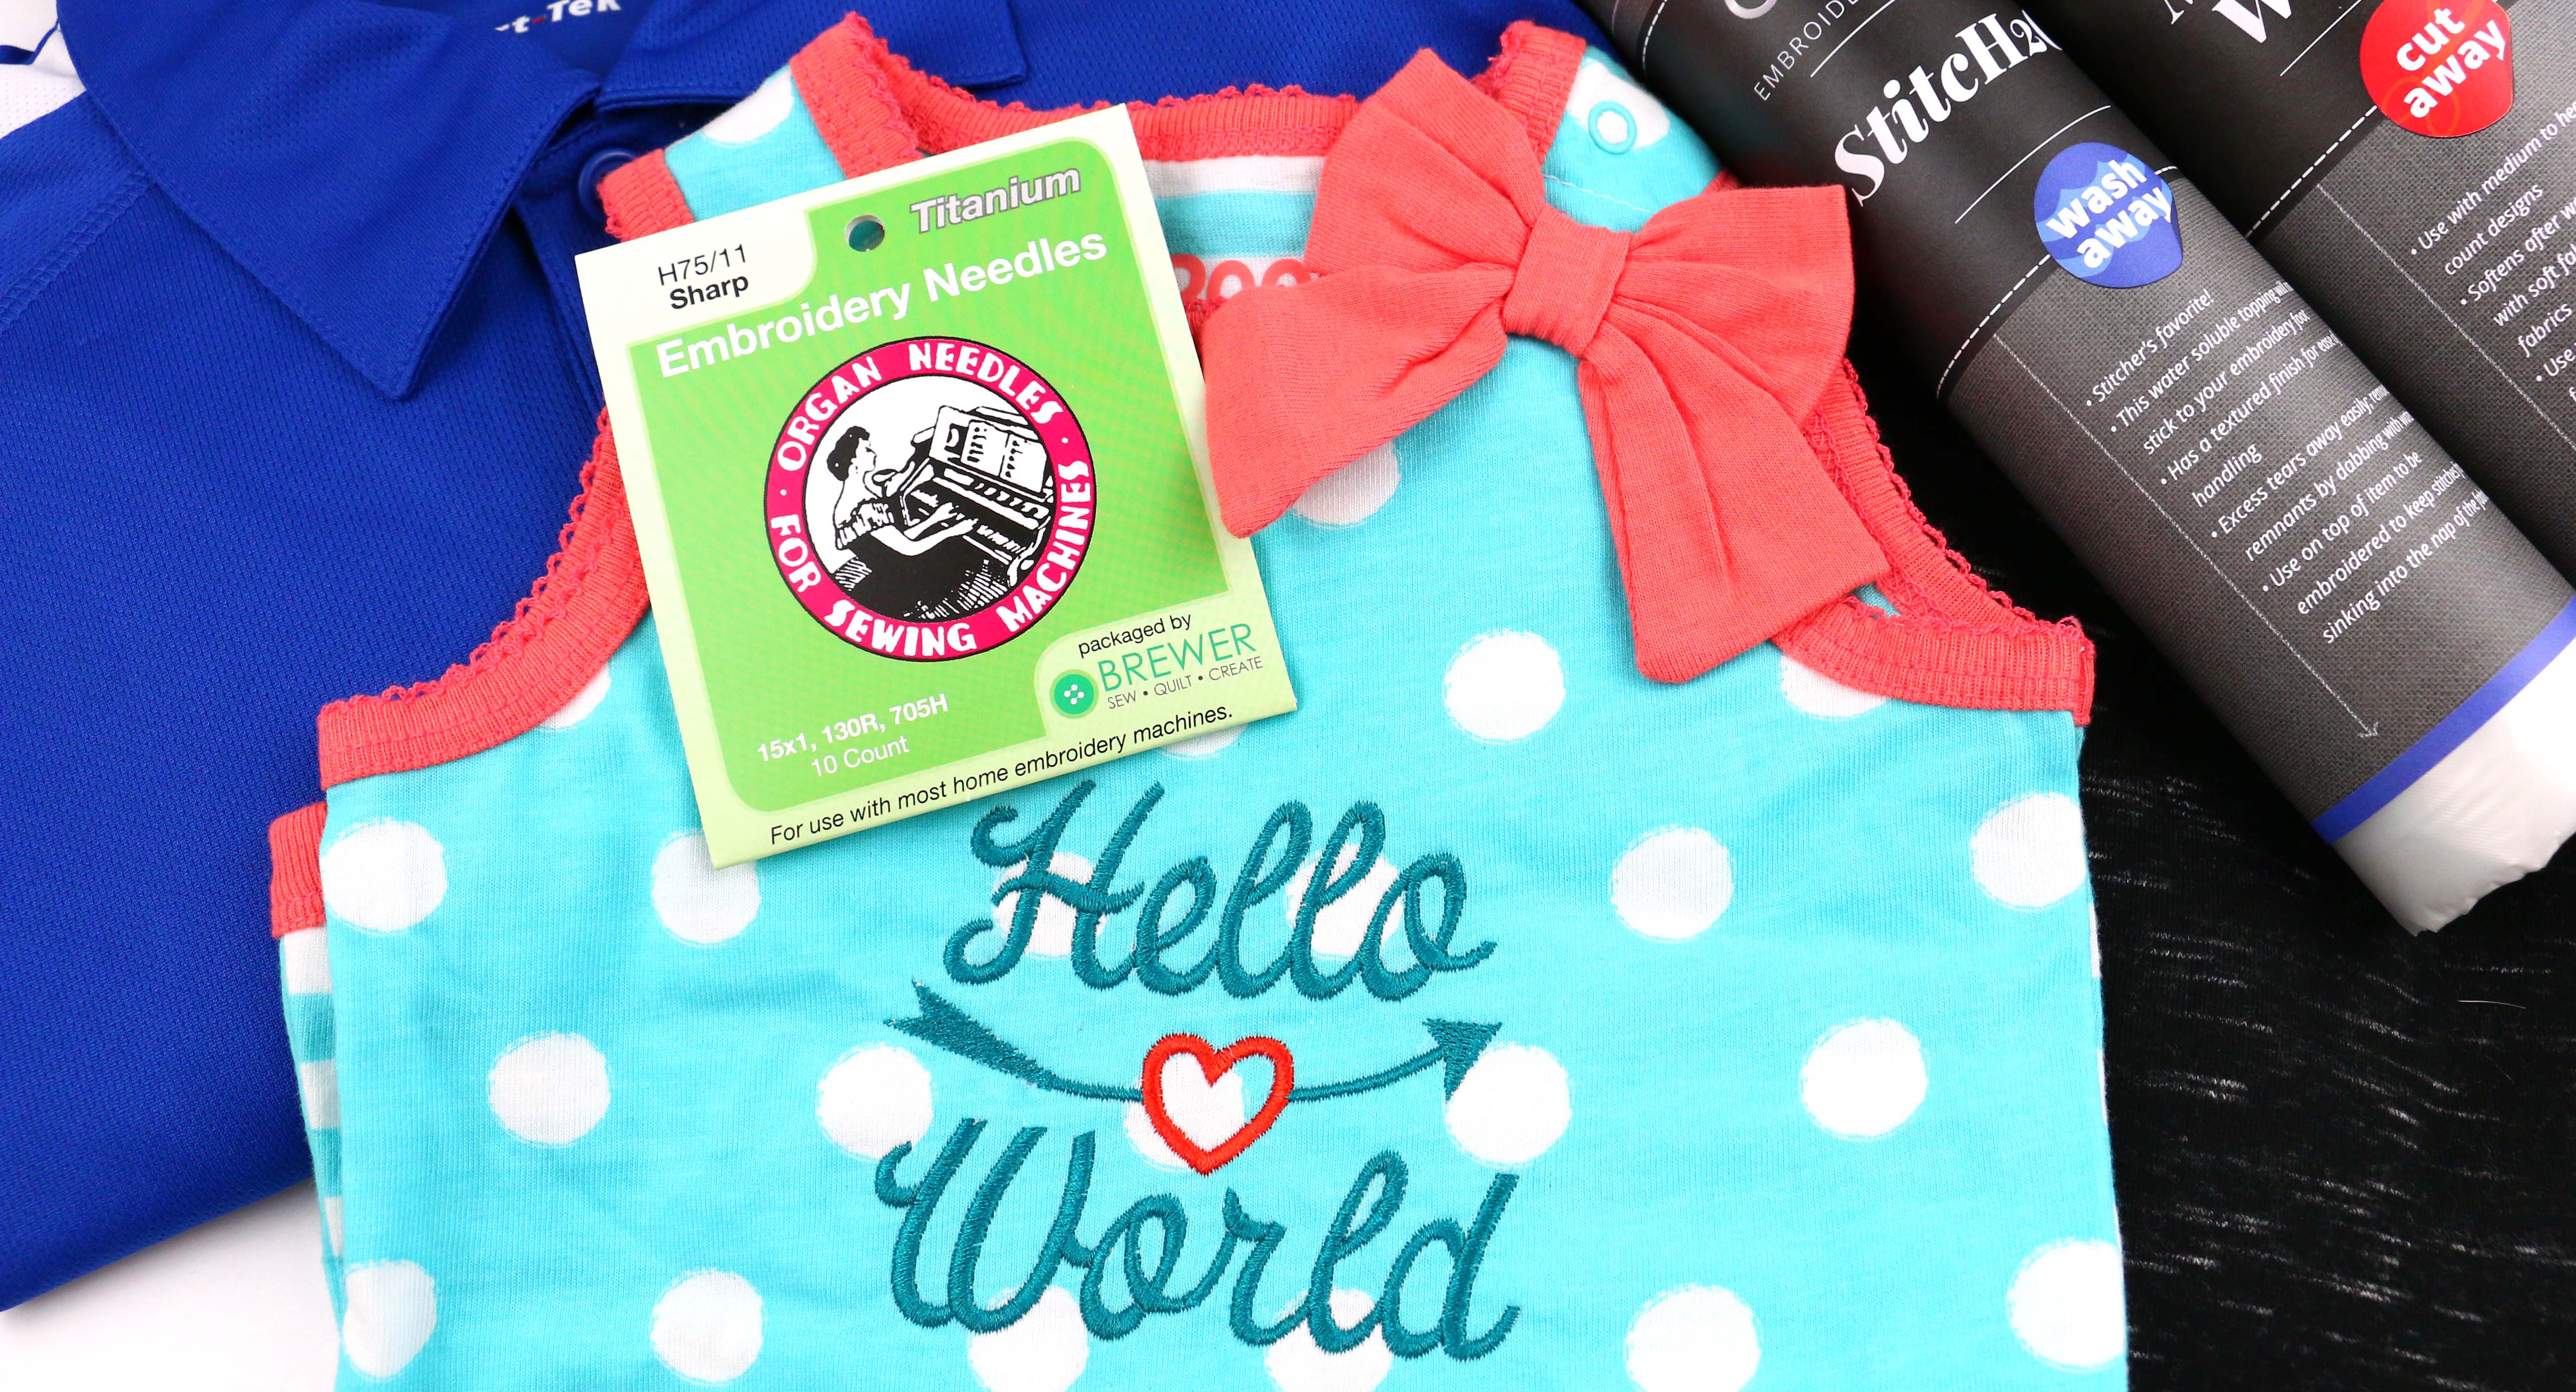
The above two important things to remember really come in handy with sheer materials. Just because a material is sheer or see through doesn’t mean you want a light thin thread. I would suggest when working on lightweight sheer materials like handkerchiefs consider using a thinner thread such as Aurifil 50 weight Cotton (see image below). When working on a heavyweight sheer material such as Pet Screen use a 40 weight thread. For all sheer materials use the 75/11.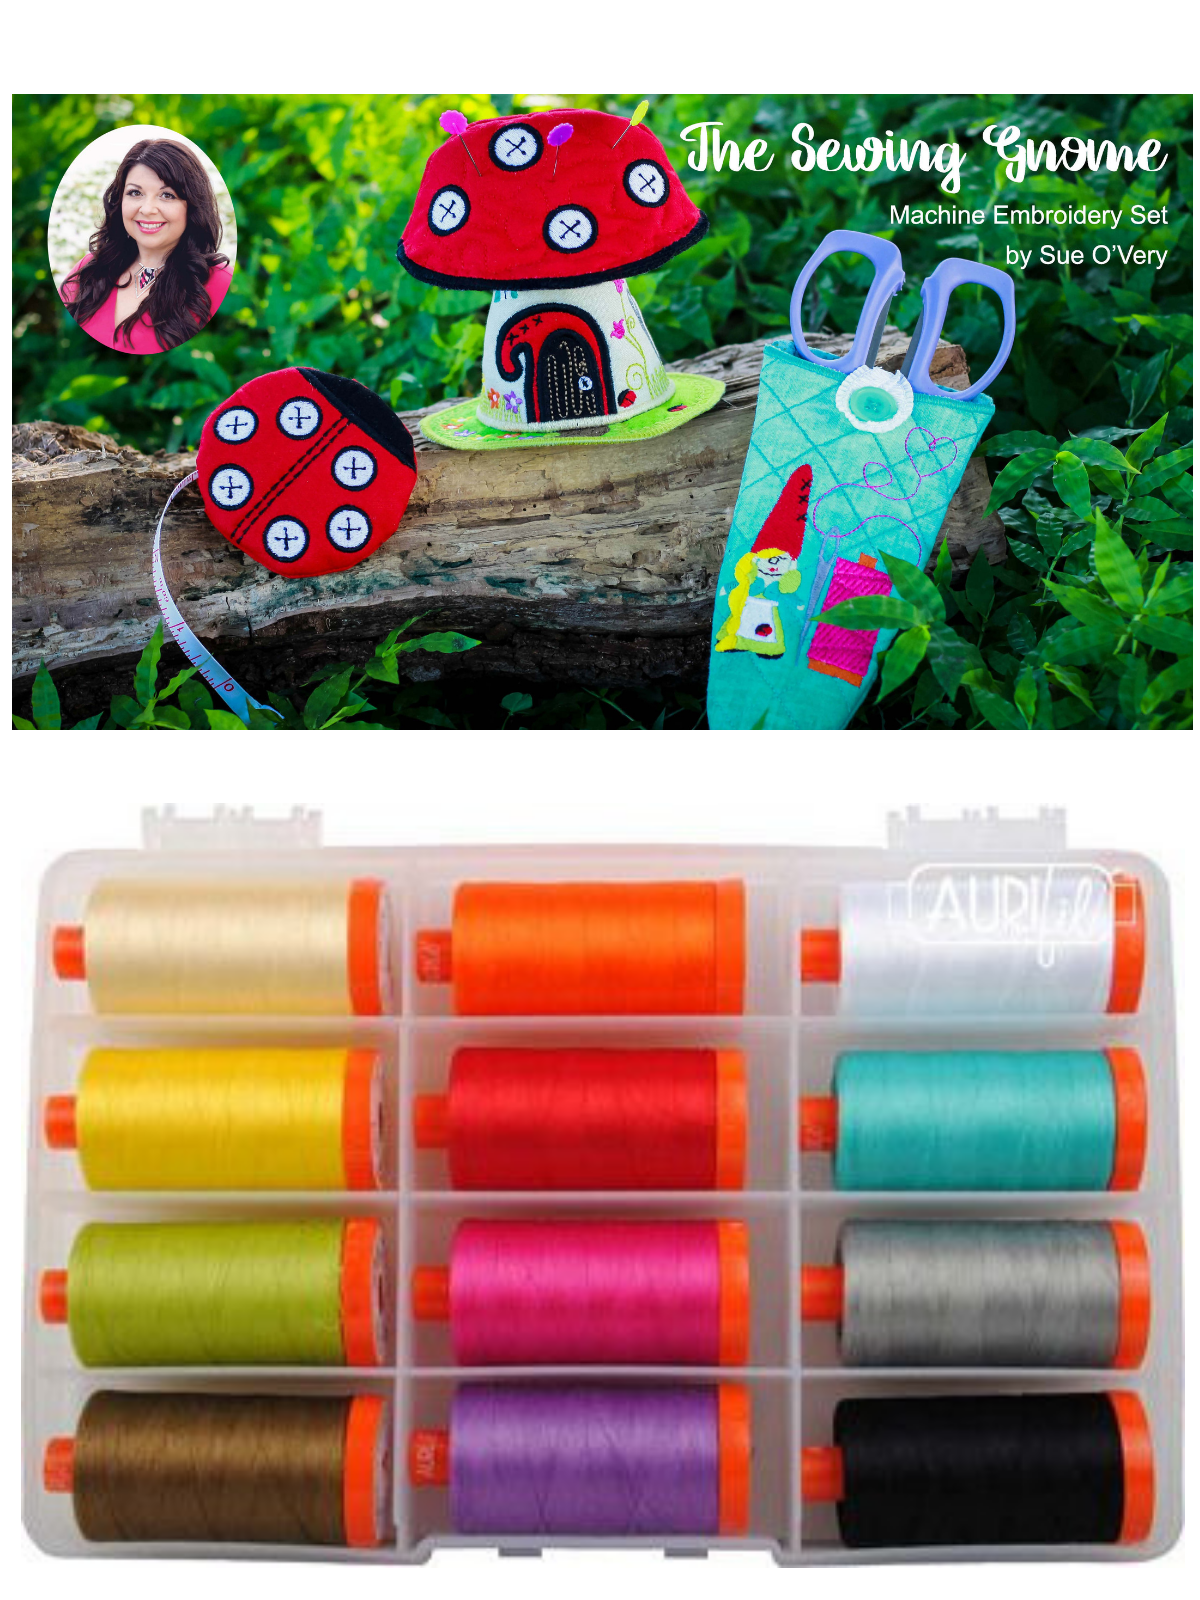
How to hoop Sheer materials?
Part 4 on my Embroider-Along was all about hooping! There are two ways of hooping; hoop the material and stabilizer together or hoop the stabilizer and float the material on top. When it comes to embroidering on sheer materials either method will work. It really will depend on the material itself. For example, a handkerchief could easily be hoop with a wash away but it might not fit into the hoop. Organza tends to be very shifty and hooping is most often required. Pet Screen is really thick but can be hooped along with the stabilizer. When floating the sheer material on top of the stabilizer it is important to keep the materials in place, reference the adhesive portion of Part 4 for various adhesive suggestions.
Type of designs for Sheer materials
When the sheer material is also lightweight it is a good idea to use lightweight, open, airy designs. Think about running stitches, thin satin stitches or very light weight fill stitches. Avoid thick, dense, heavy designs. For Pet Screen however try avoiding the thin running stitch designs because the stitches will most likely get lost in the weave. Also avoid thick dense designs. Find a design with light to medium weight fill stitches.
Stabilizer Guide for Sheer materials
Below is a basic guide for sheer materials and the suggested stabilizers:
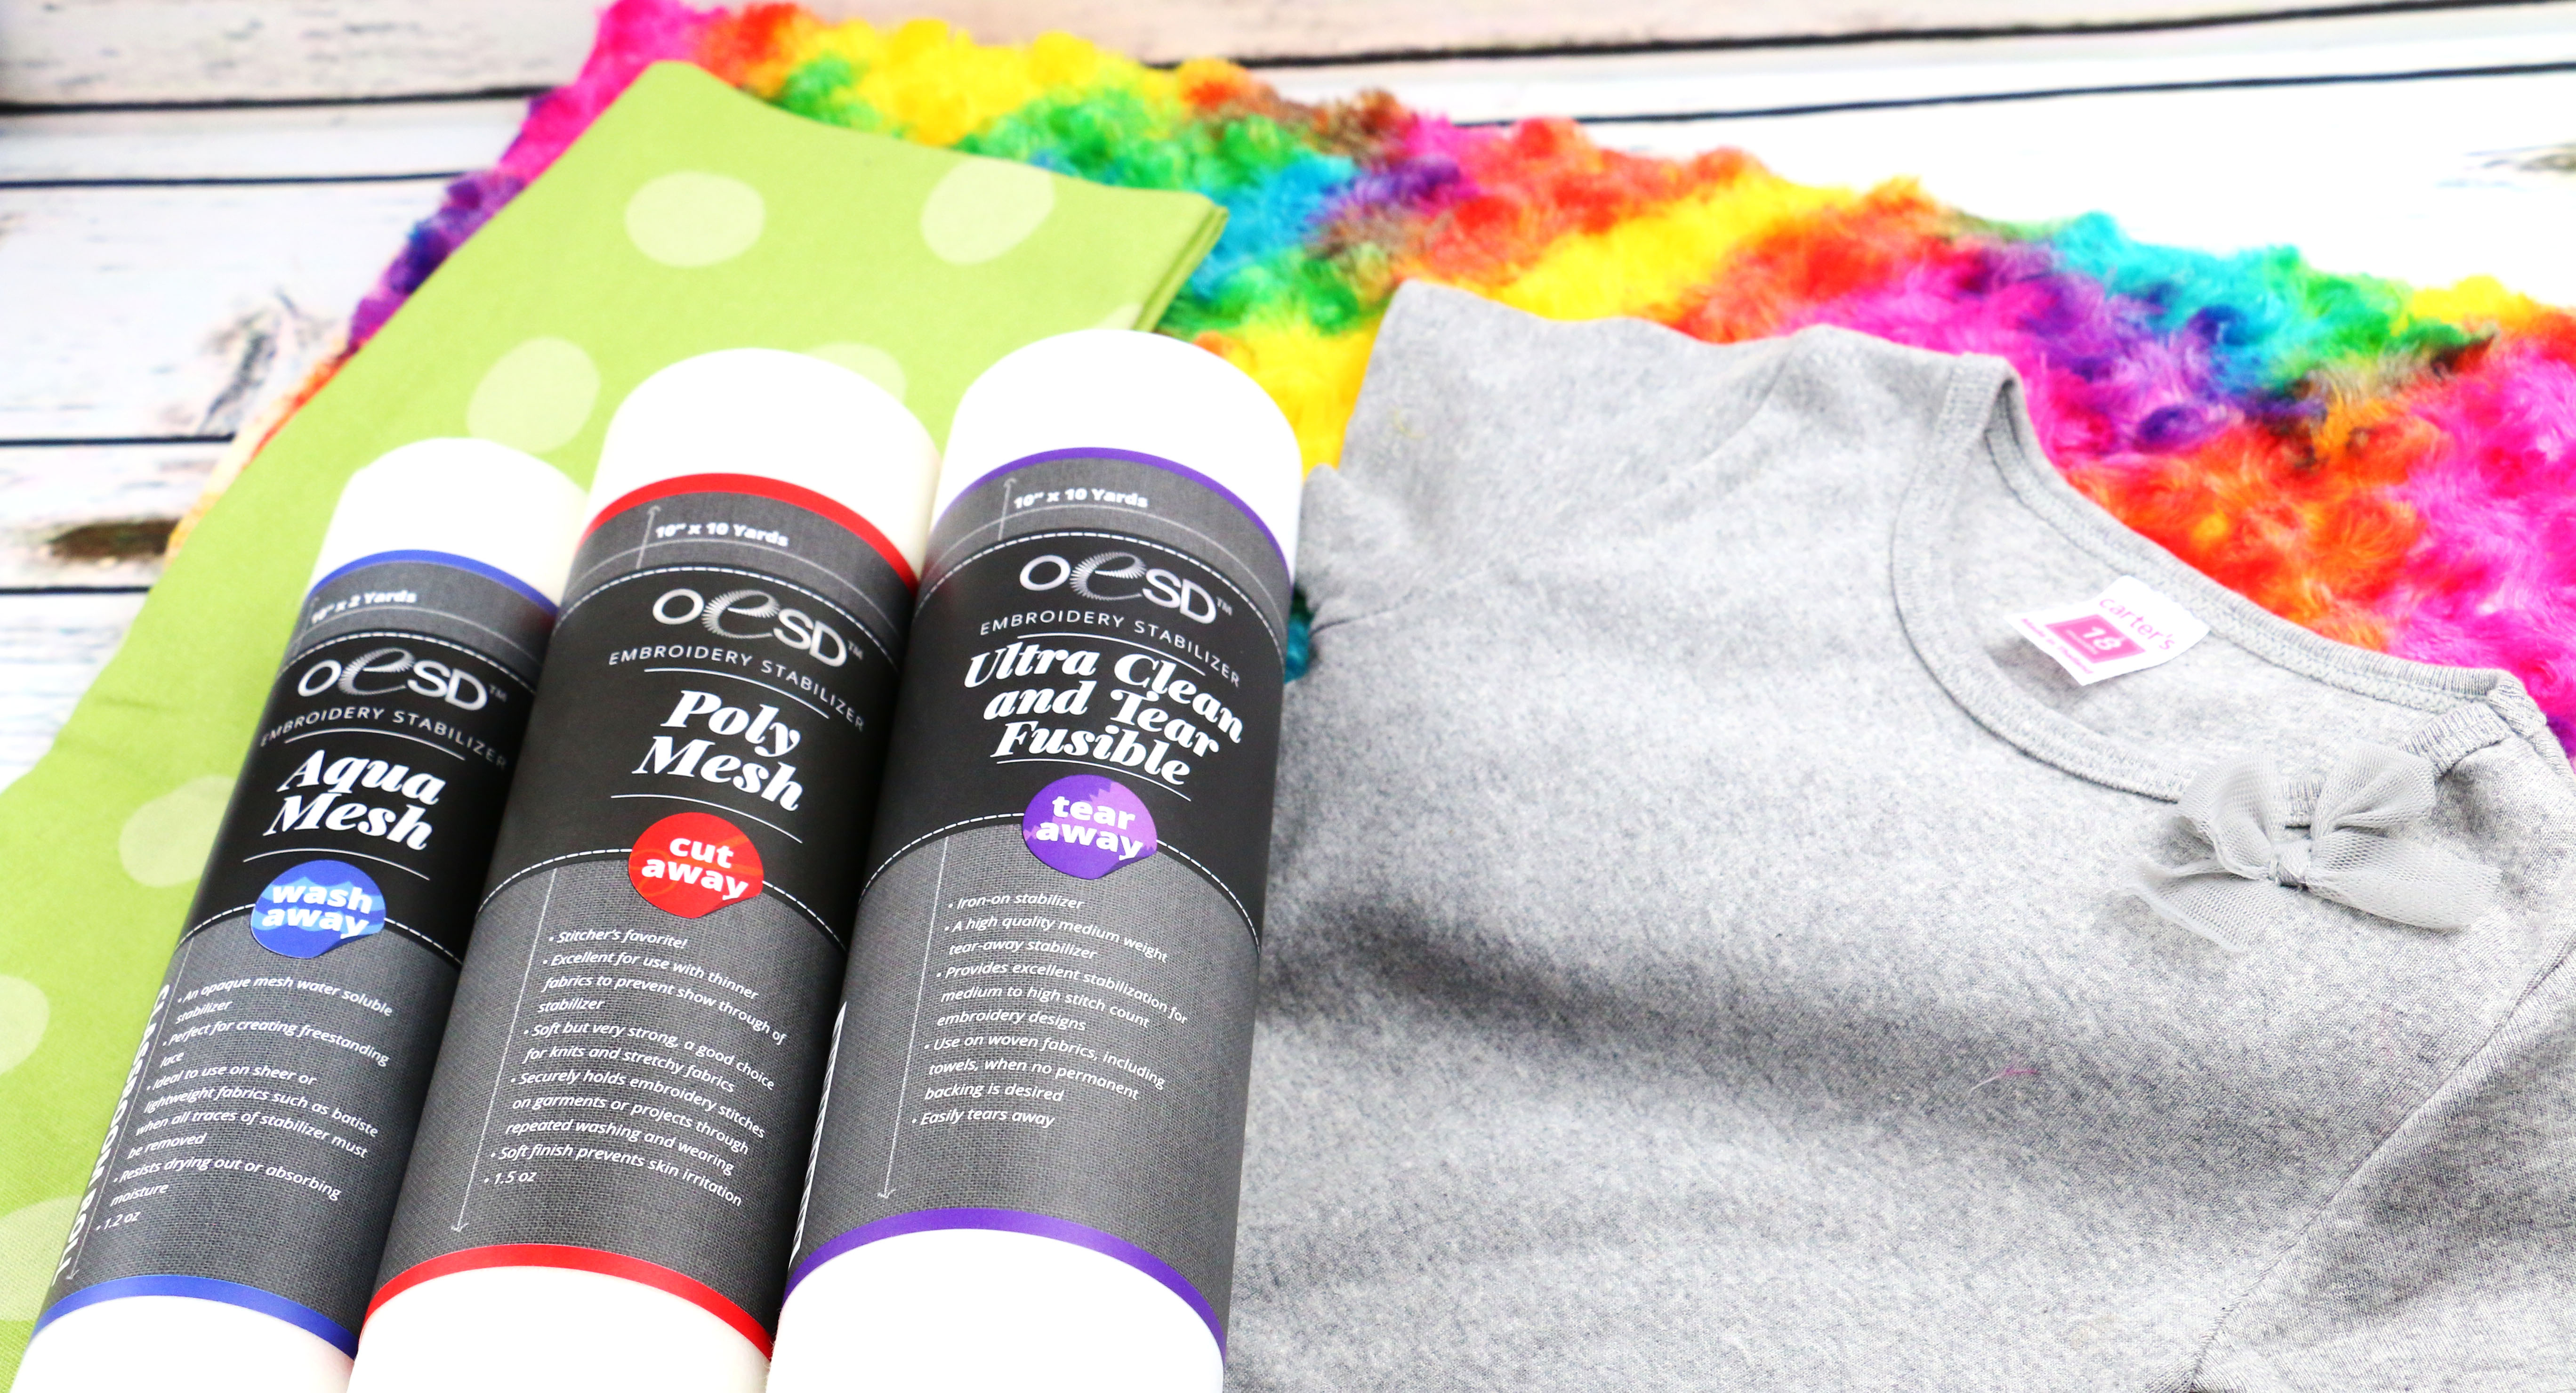
- Batiste: Hoop with Aquamesh
- Chiffon/Organza: Try one of two things:
- Use the Aquamesh Plus Wash Away by peeling away the paper backing and discard. Place the sticky side of the Aquamesh Plus directly onto the wrong side of the material. Hoop the combo of Wash Away and material together.
- Hoop Aquamesh Plus Wash Away and place the material on top
- Handkerchiefs: hoop Aquamesh Plus Wash Away and place the handkerchief on top
- Pet Screen: Hoop Badgemaster with the material
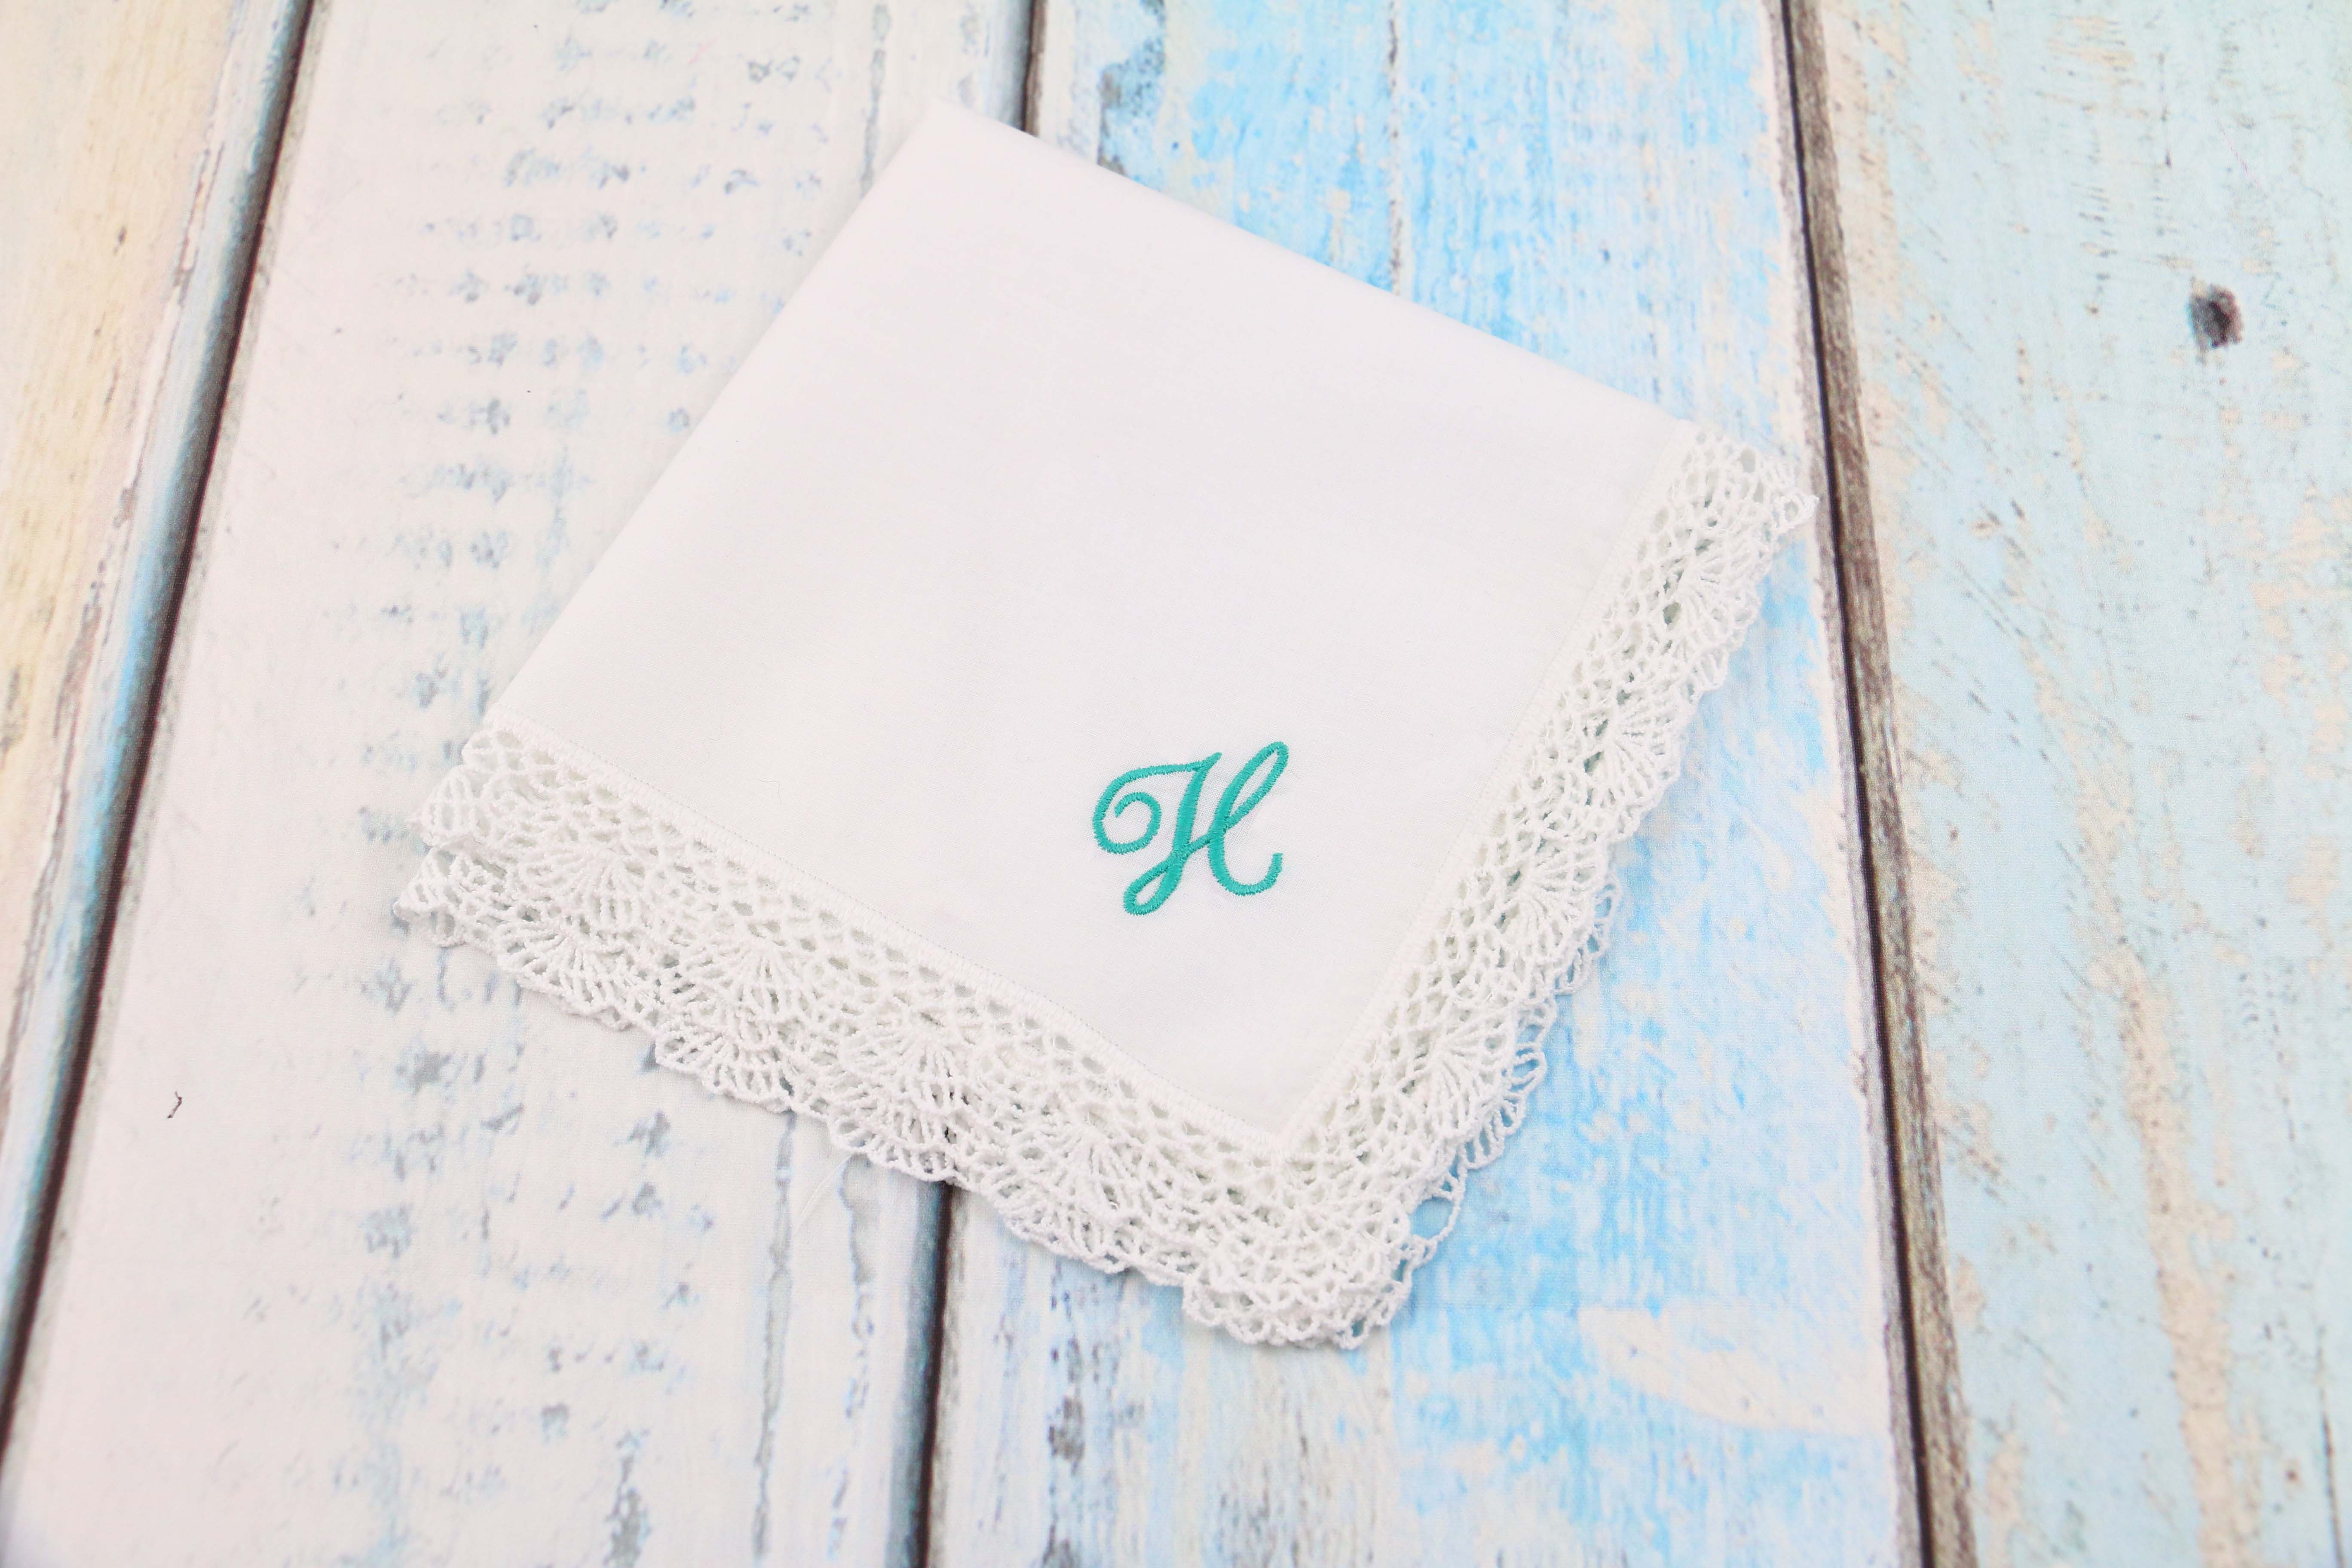
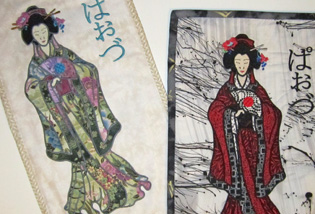
Embroidering on a Handkerchief
Handkerchiefs have had a wonderful come back in recent years. The delicate and elegant vintage appeal has caught the attention of a new generation. Ask your local shop if they have any in stock to try this project.
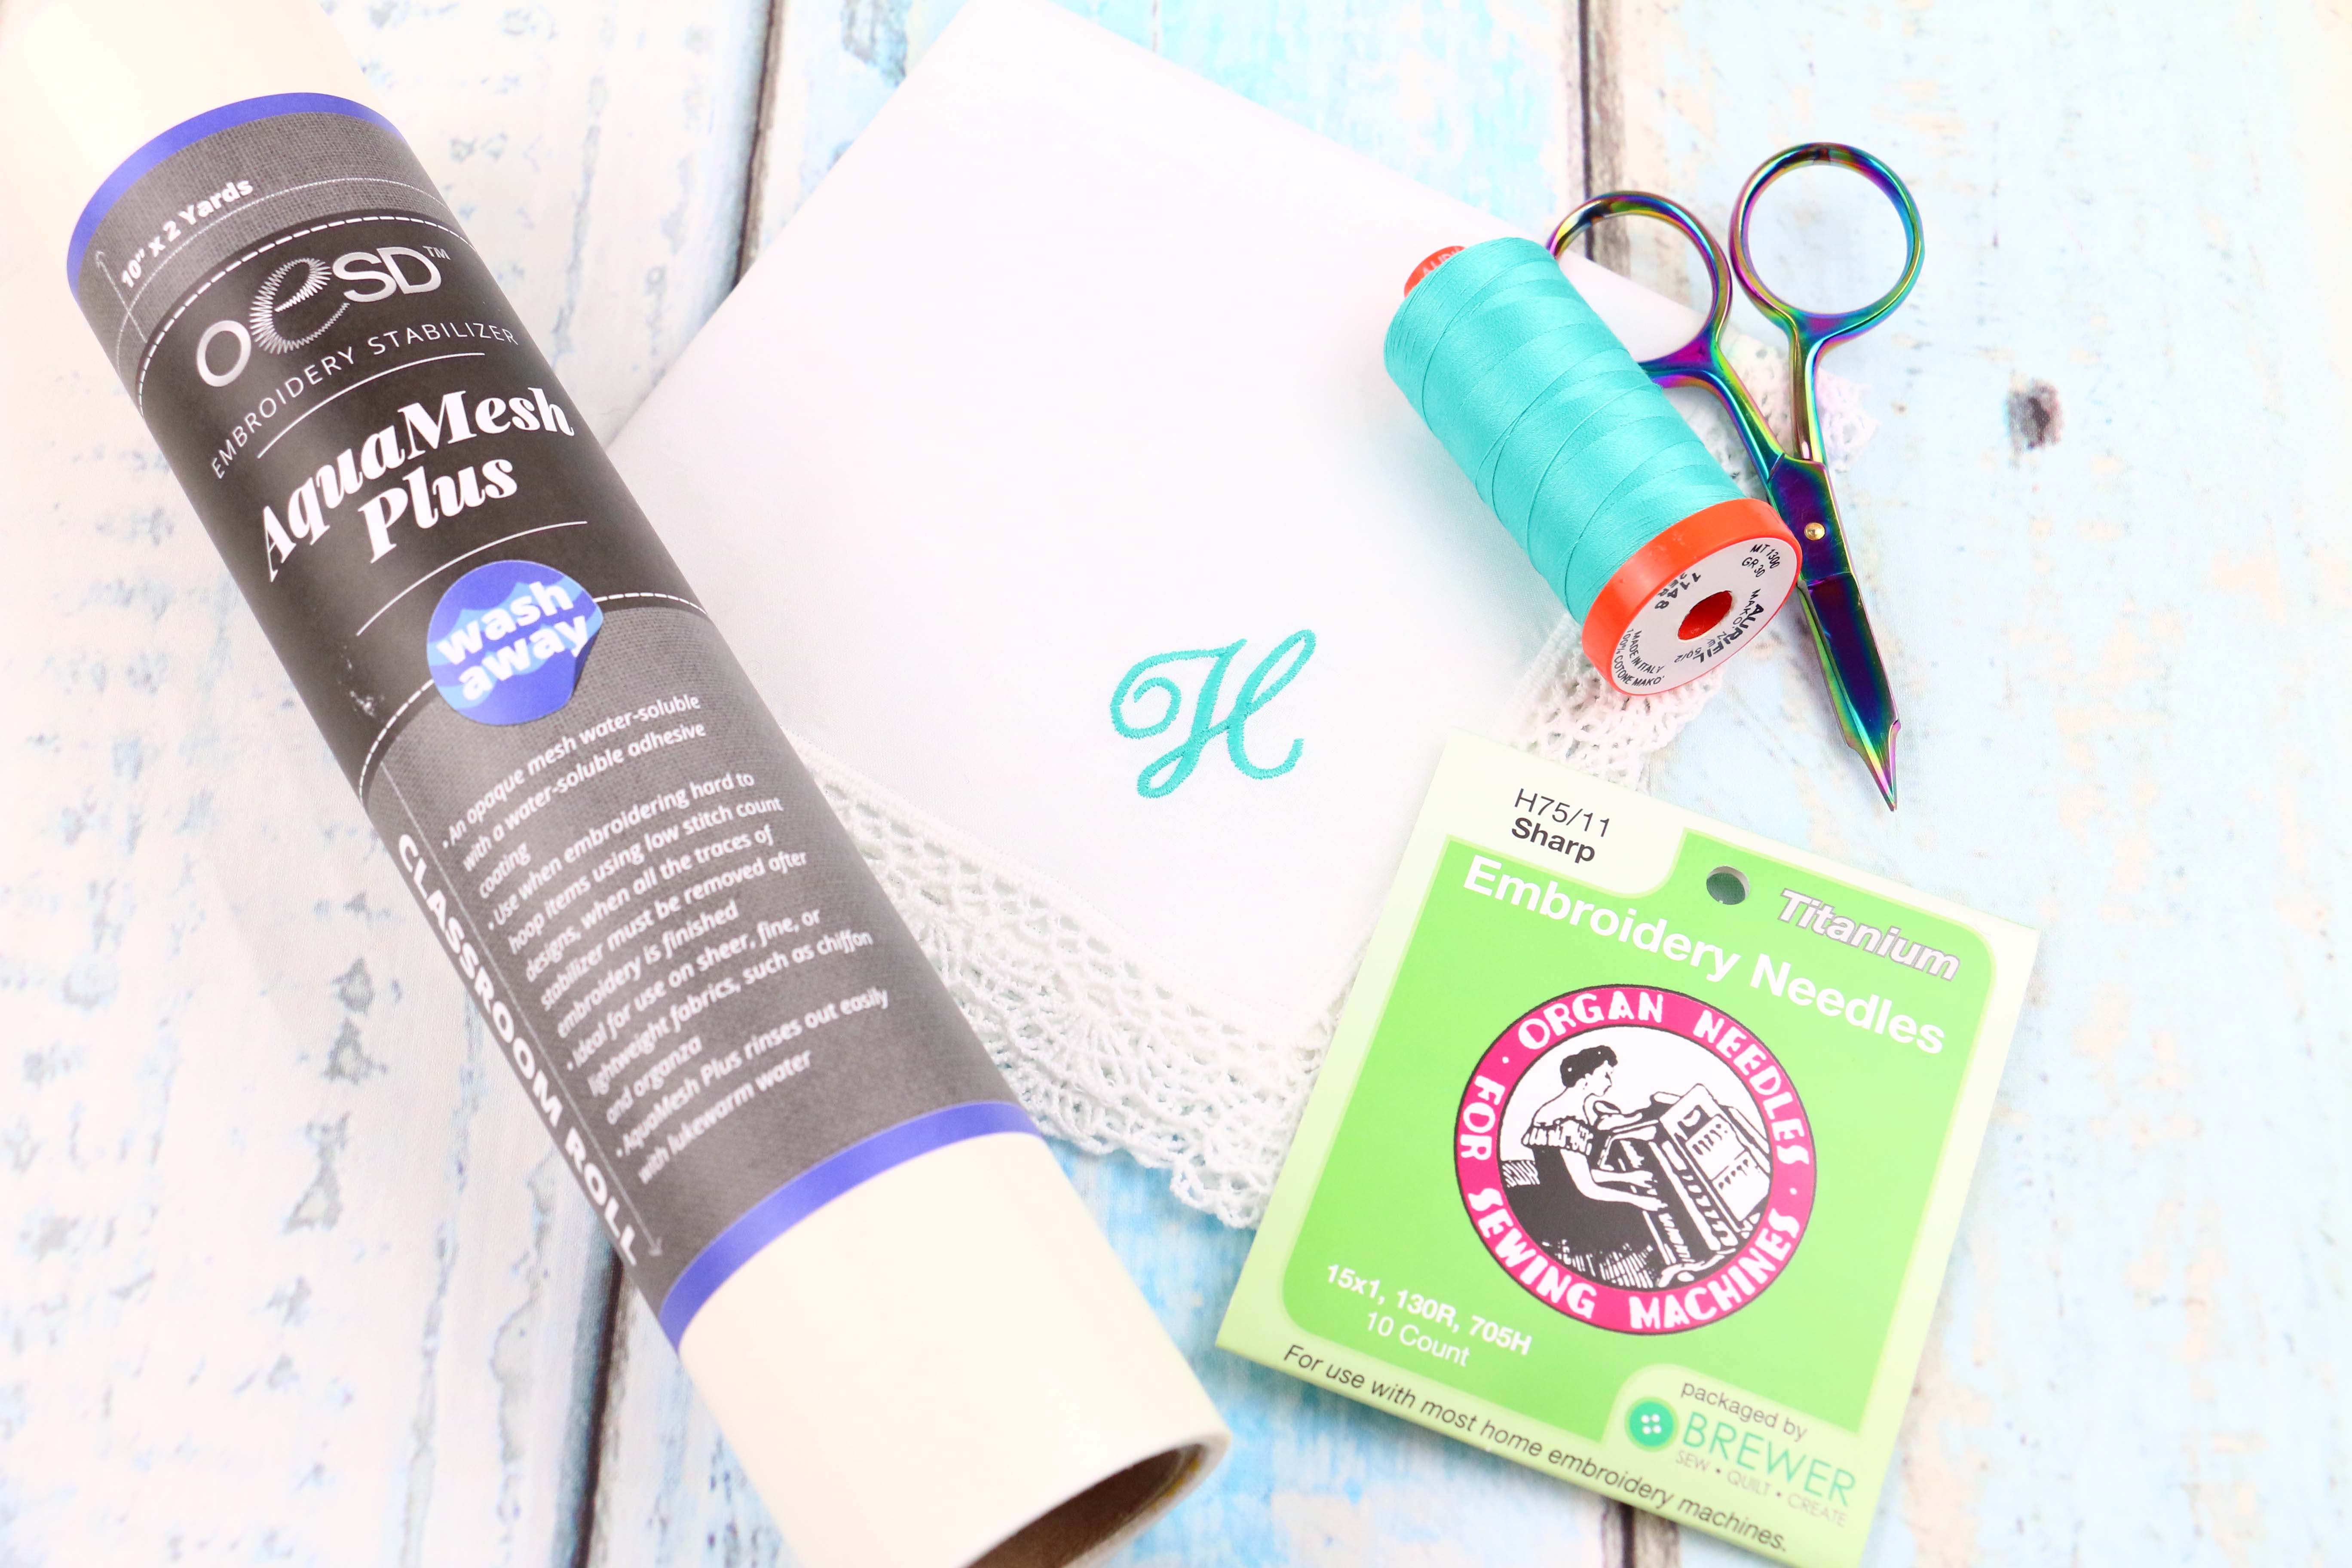
Selecting the stabilizer, thread, needle and design
Based on my stabilizer guide above I would hoop the Aquamesh Plus Wash Away stabilizer and peel away the paper revealing the sticky adhesive. Depending on how light or dense the design is you might find it necessary to slip a second piece of wash away underneath, such as Aquamesh. As for thread and needle with the handkerchief I love the look of cotton so I am using the Aurifil 50 weight Cotton in my bobbin and on top and the Embroidery 75/11. This beautiful font is built into my BERNINA 790 Plus. Check your user manual for built in embroidery designs or ask your local shop for additional monograms.
Preparing Handkerchief
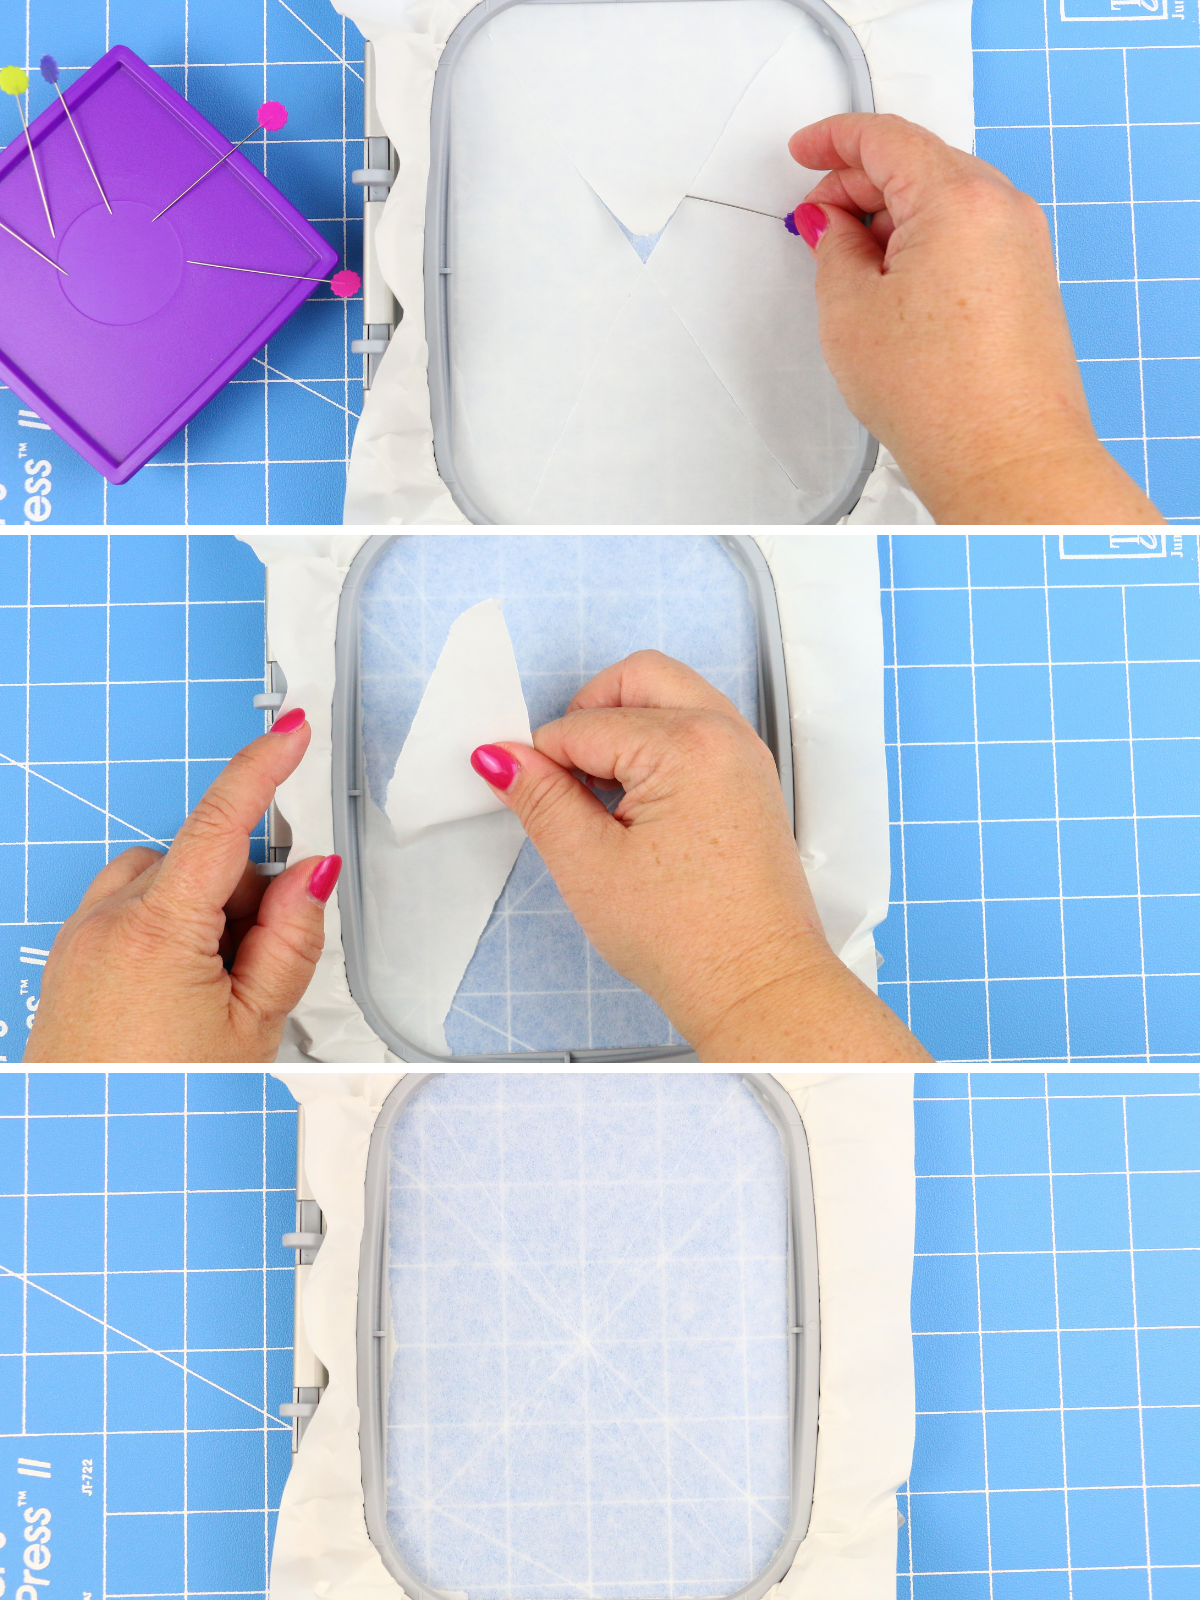
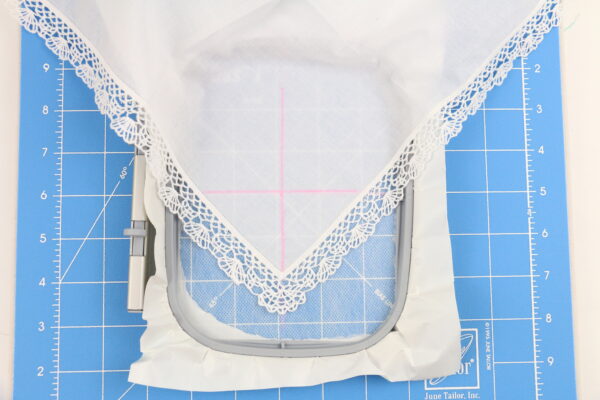
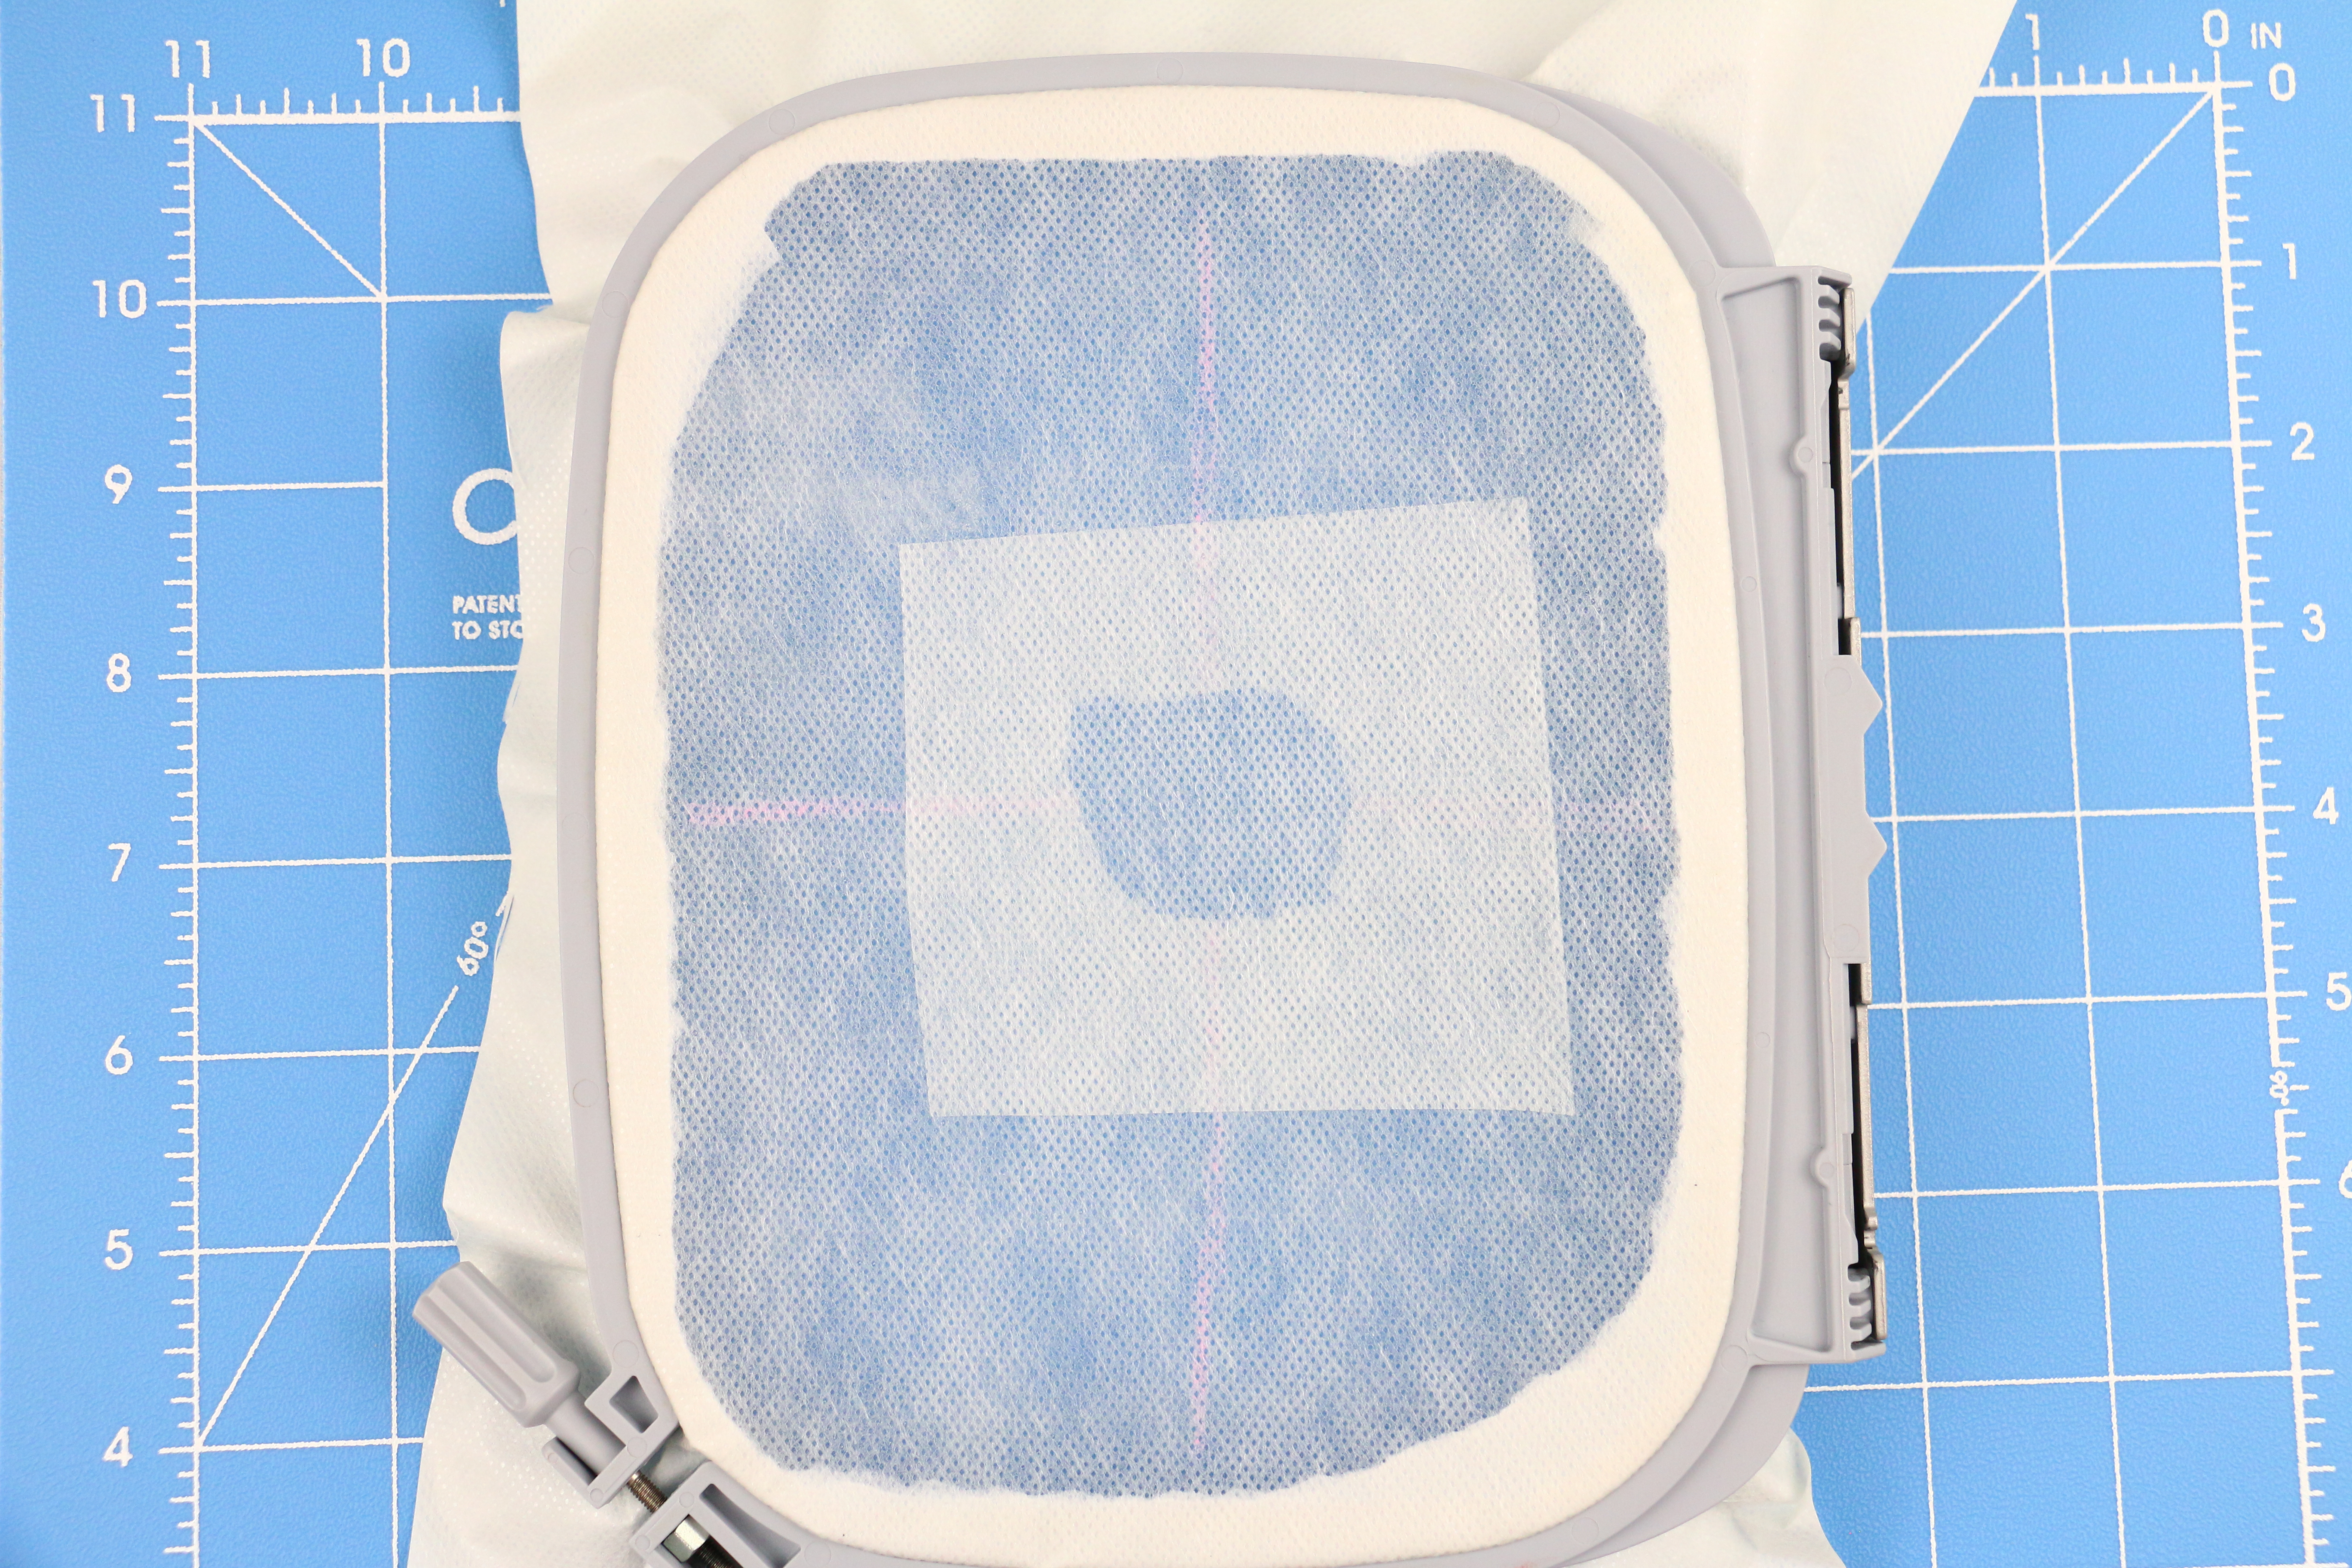
Press the handkerchief to remove any wrinkles. Begin by hooping the Aquamesh Plus Wash Away. You will notice that is has two layers. The sticky side and paper side. Hoop a large piece covering at least 1″ outside the hoop with the paper side up. Use a pin to score the paper side of the sticky stabilizer without going through to the sticky side. Notice I marked an “X”. Use the pin to pull away the paper revealing the Aquamesh Plus Wash Away stabilizer below.
Mark Stabilizer
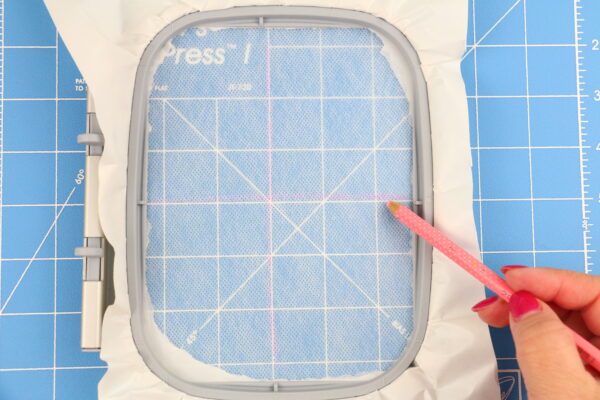
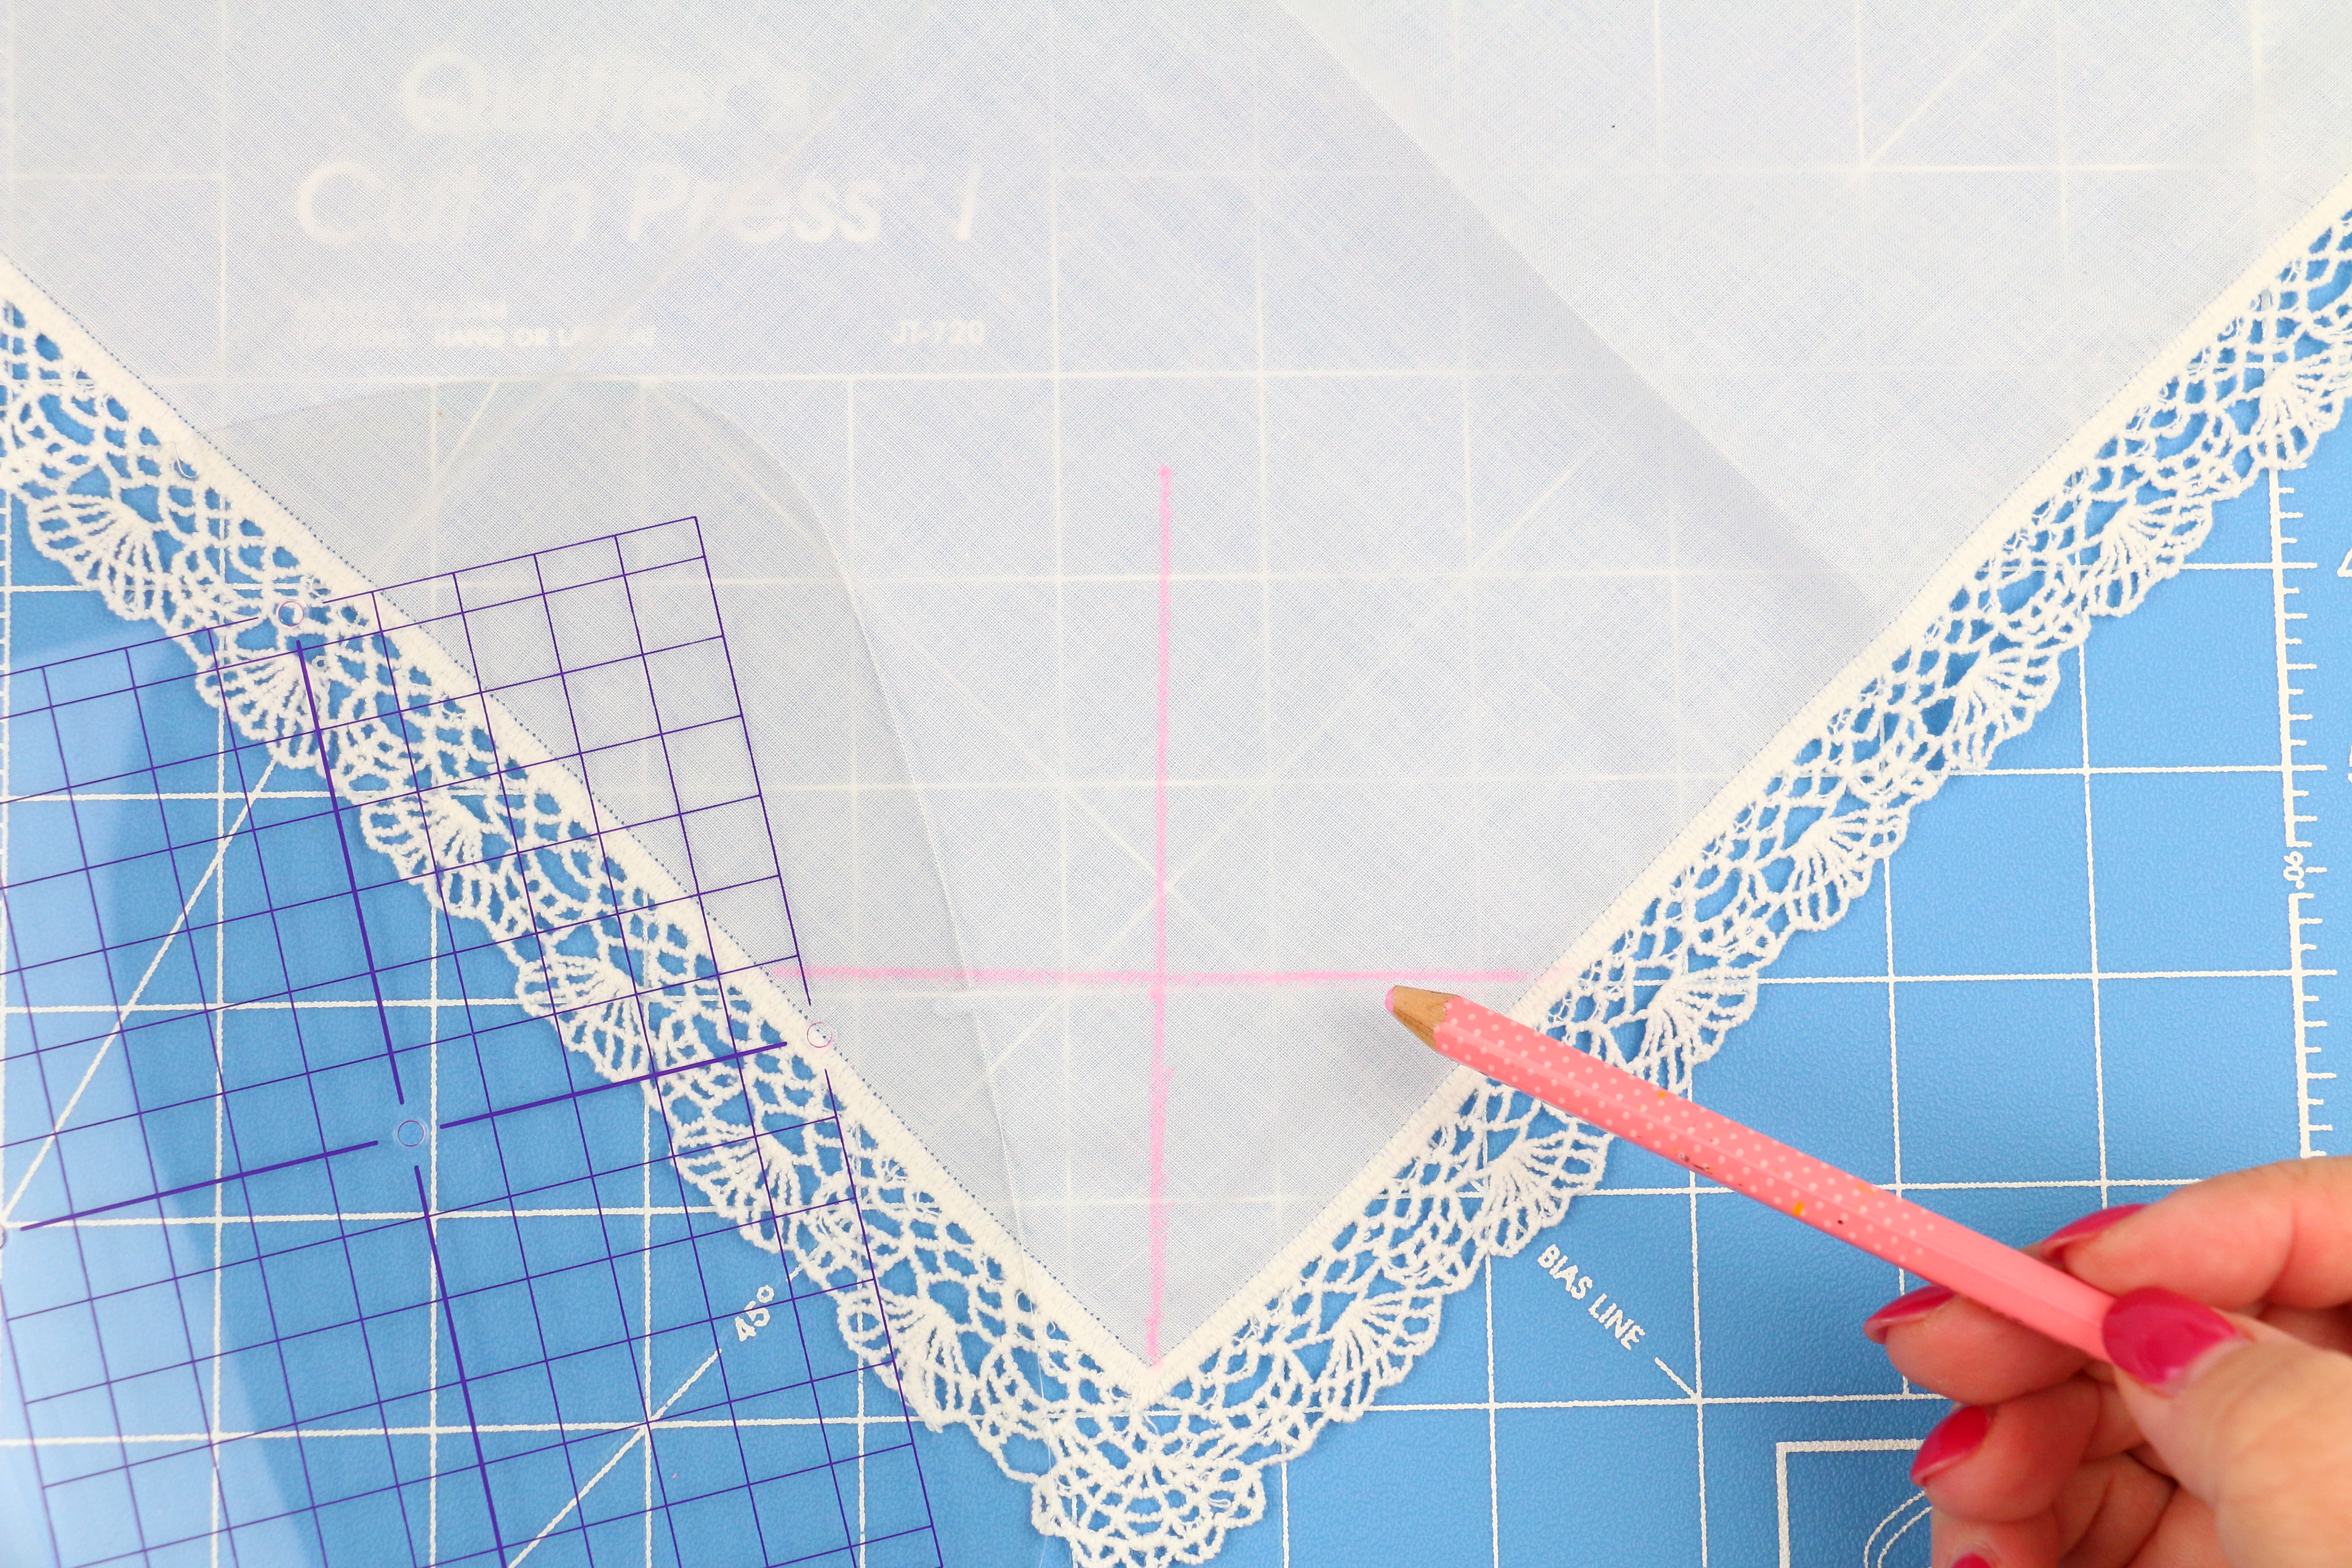
Use the hoops grid and marking pen. Mark directly onto the Aquamesh Plus Wash Away stabilizer. Connect marks to make a cross hair line. Keep the center mark on the stabilizer over the center mark on the cutting mat, this will help align the handkerchief.
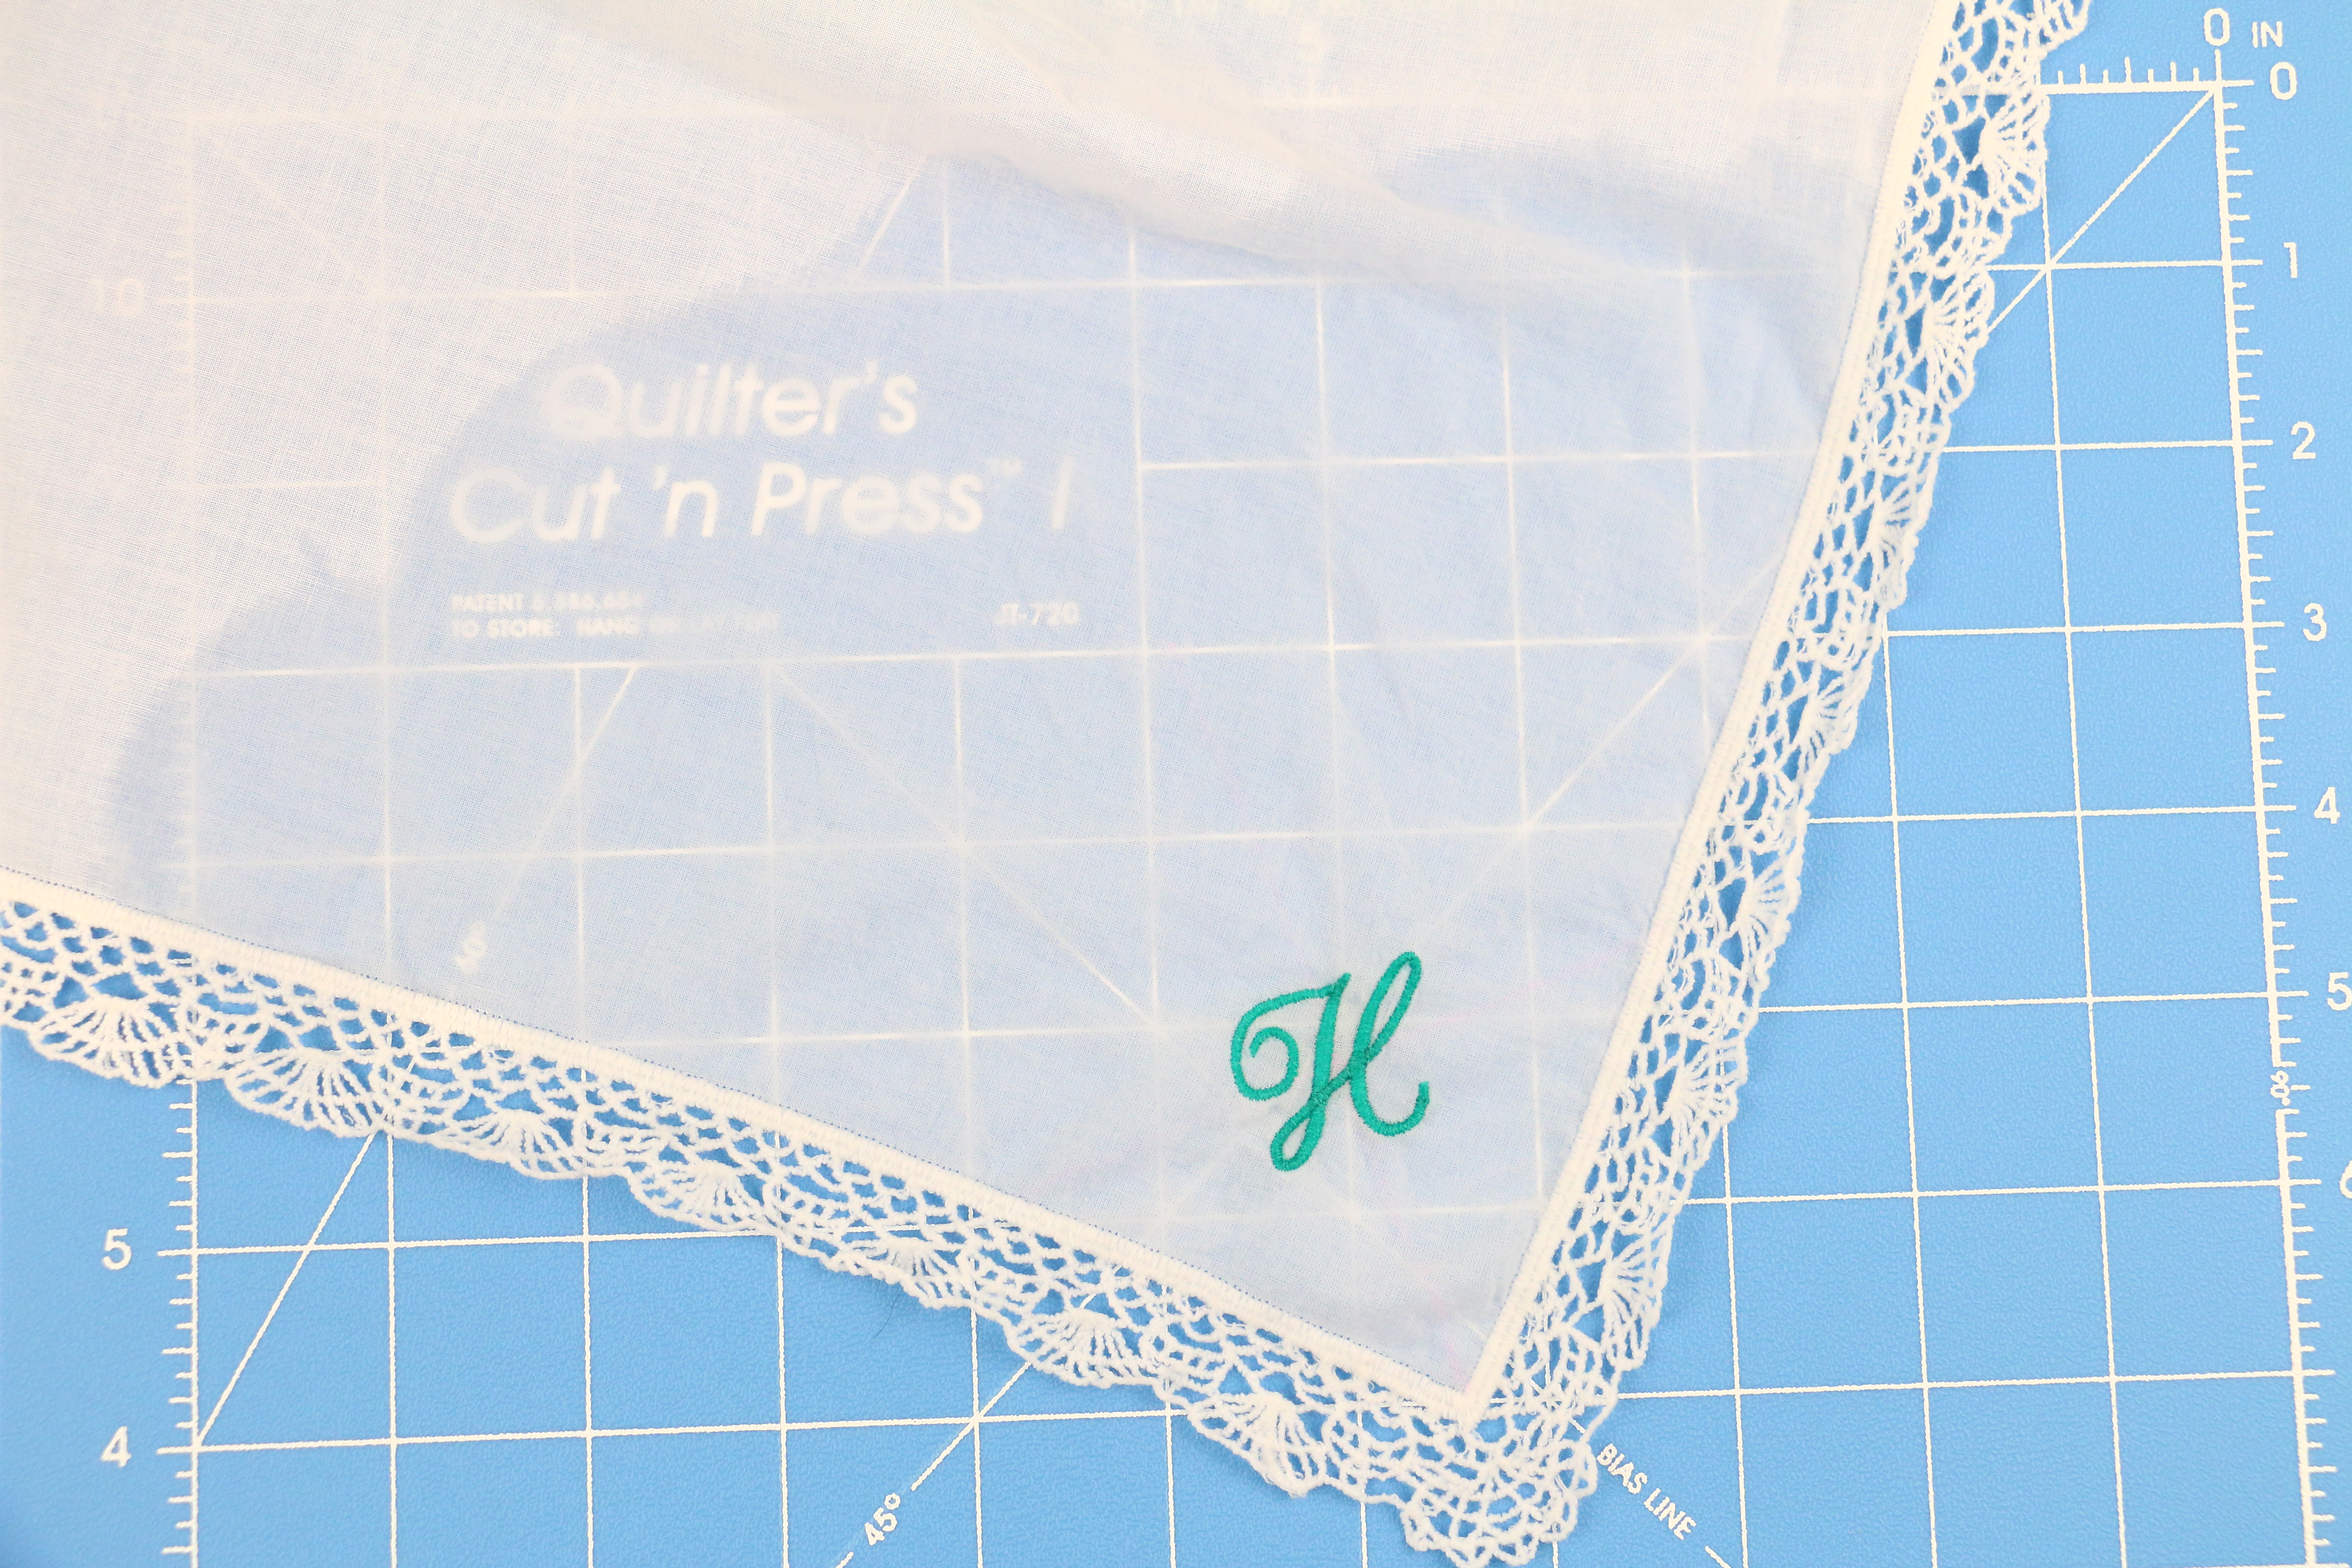
Pro Tip: Use a rotary cutting mat, Quilters Cut ‘n Press shown, to lay the hoop/stabilizer over. Use the lines from the cutting mat to help you connect your dots to form the cross hair line.
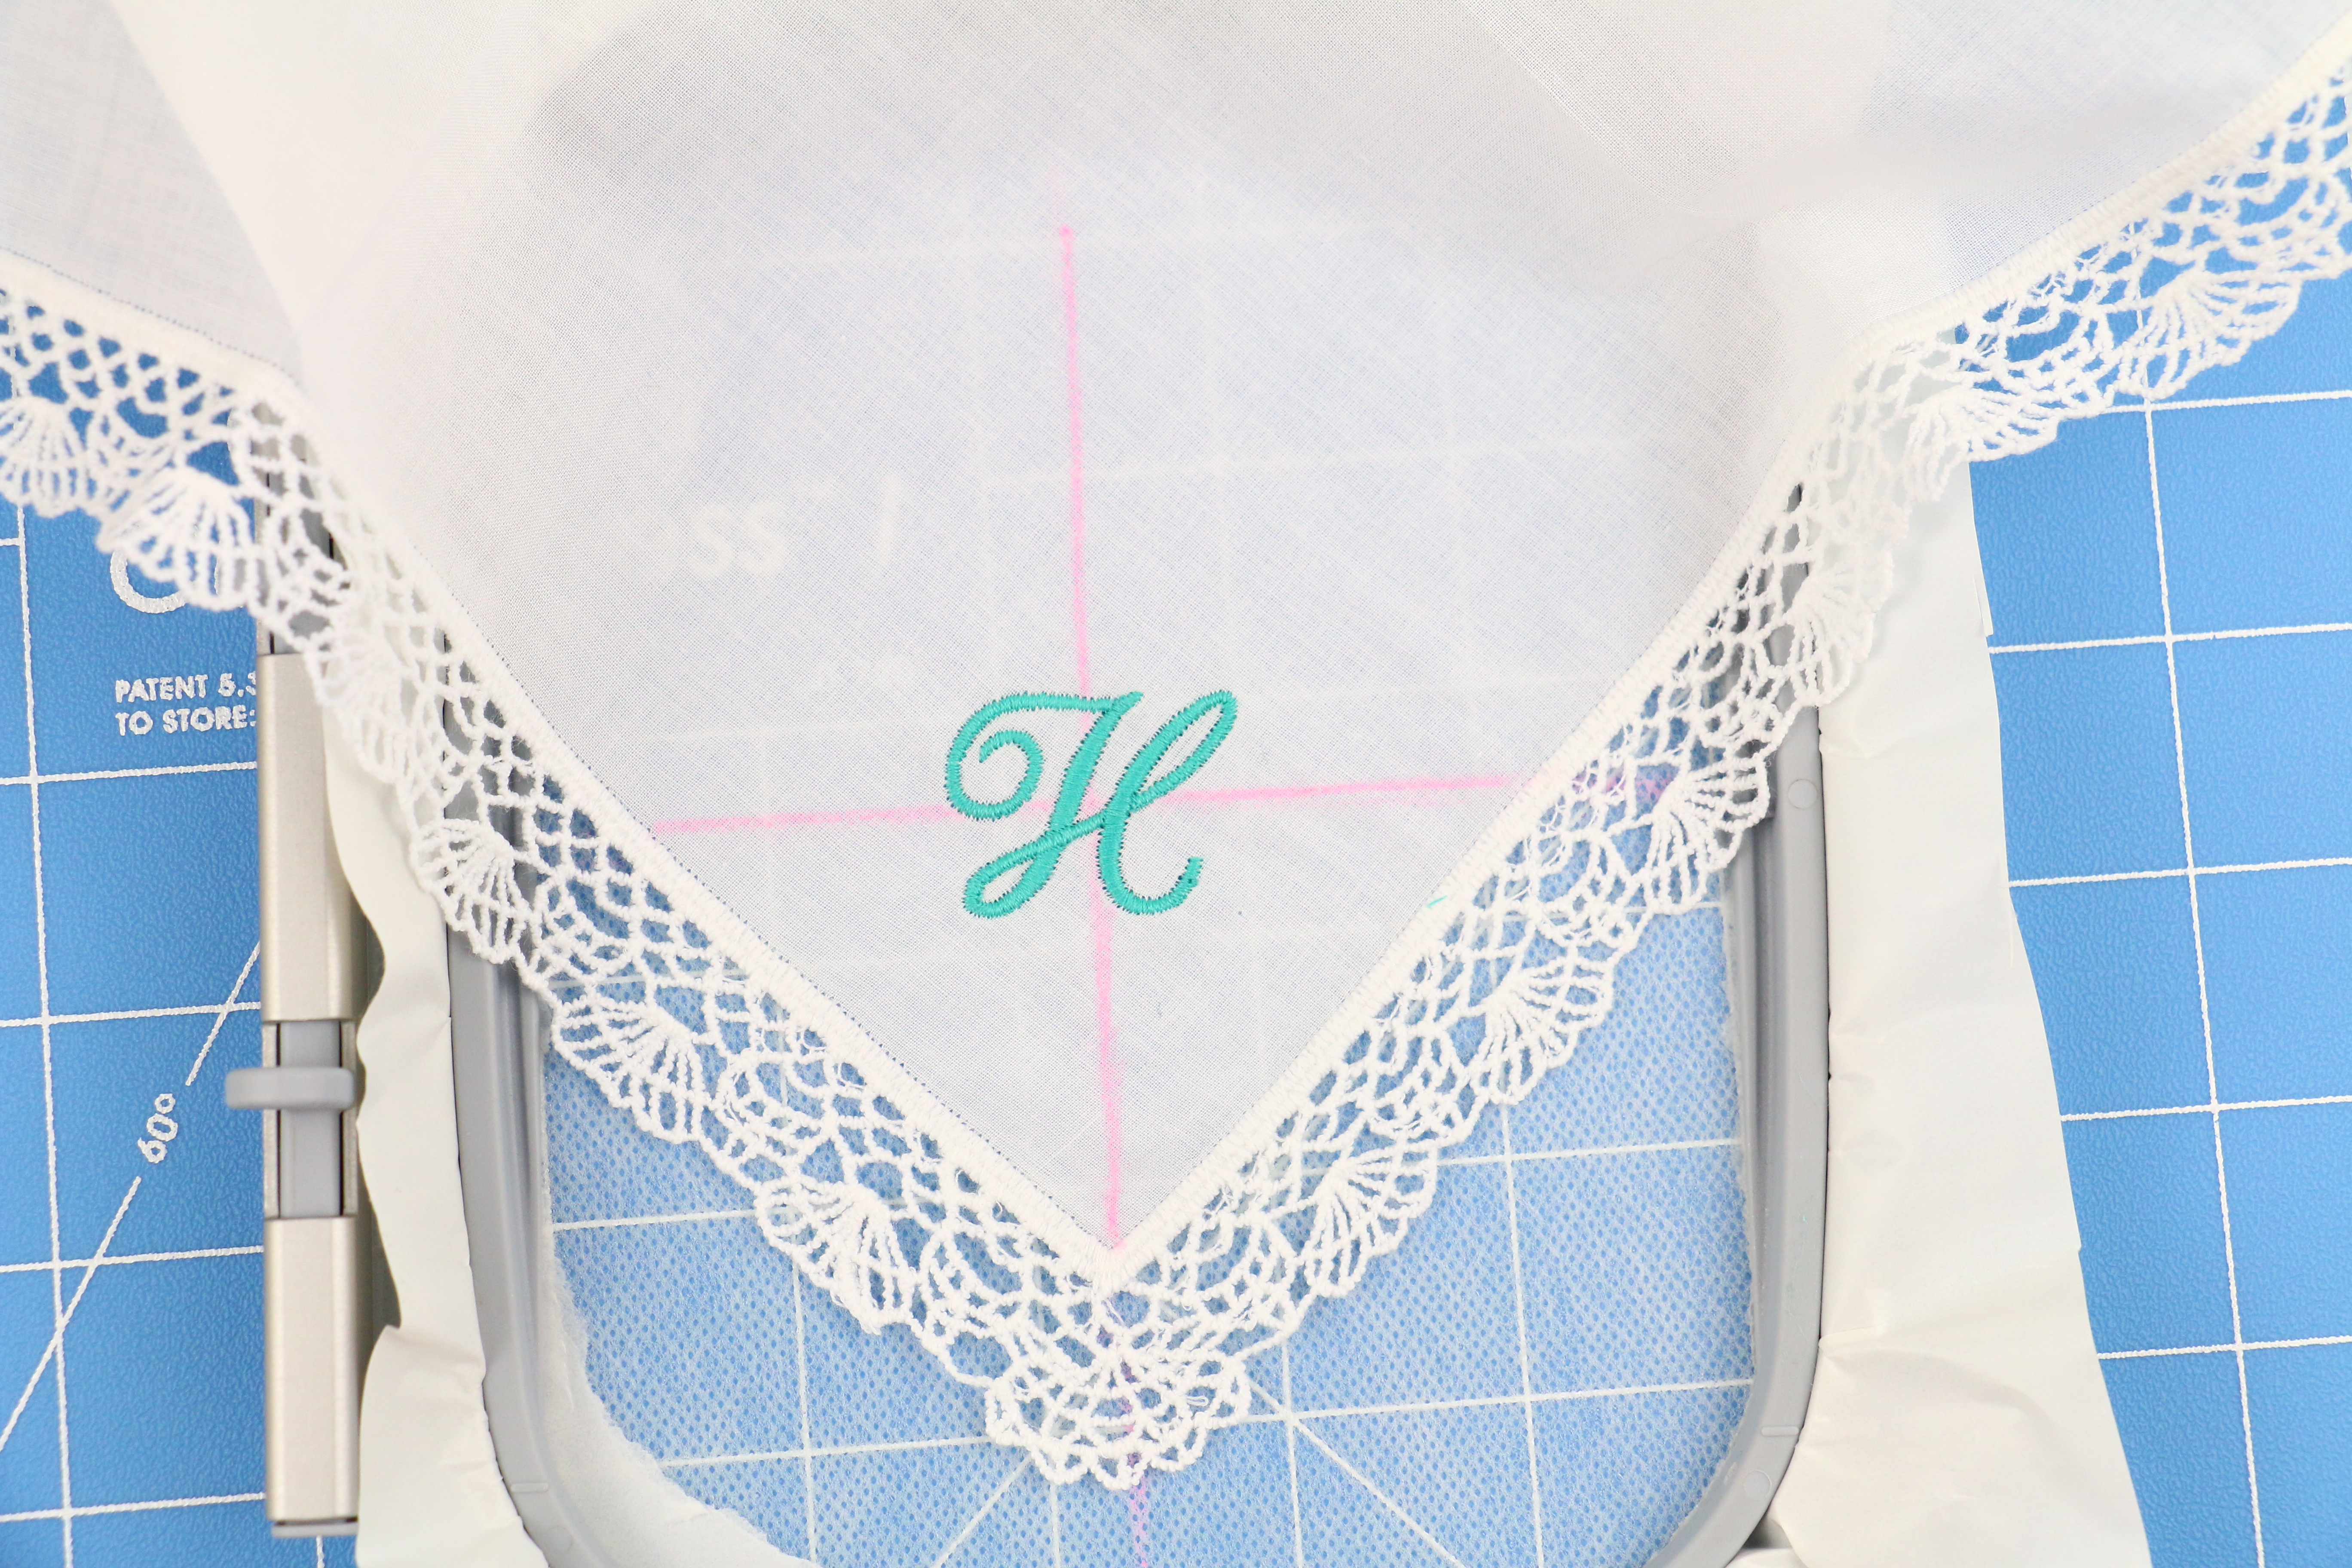
Embroidering
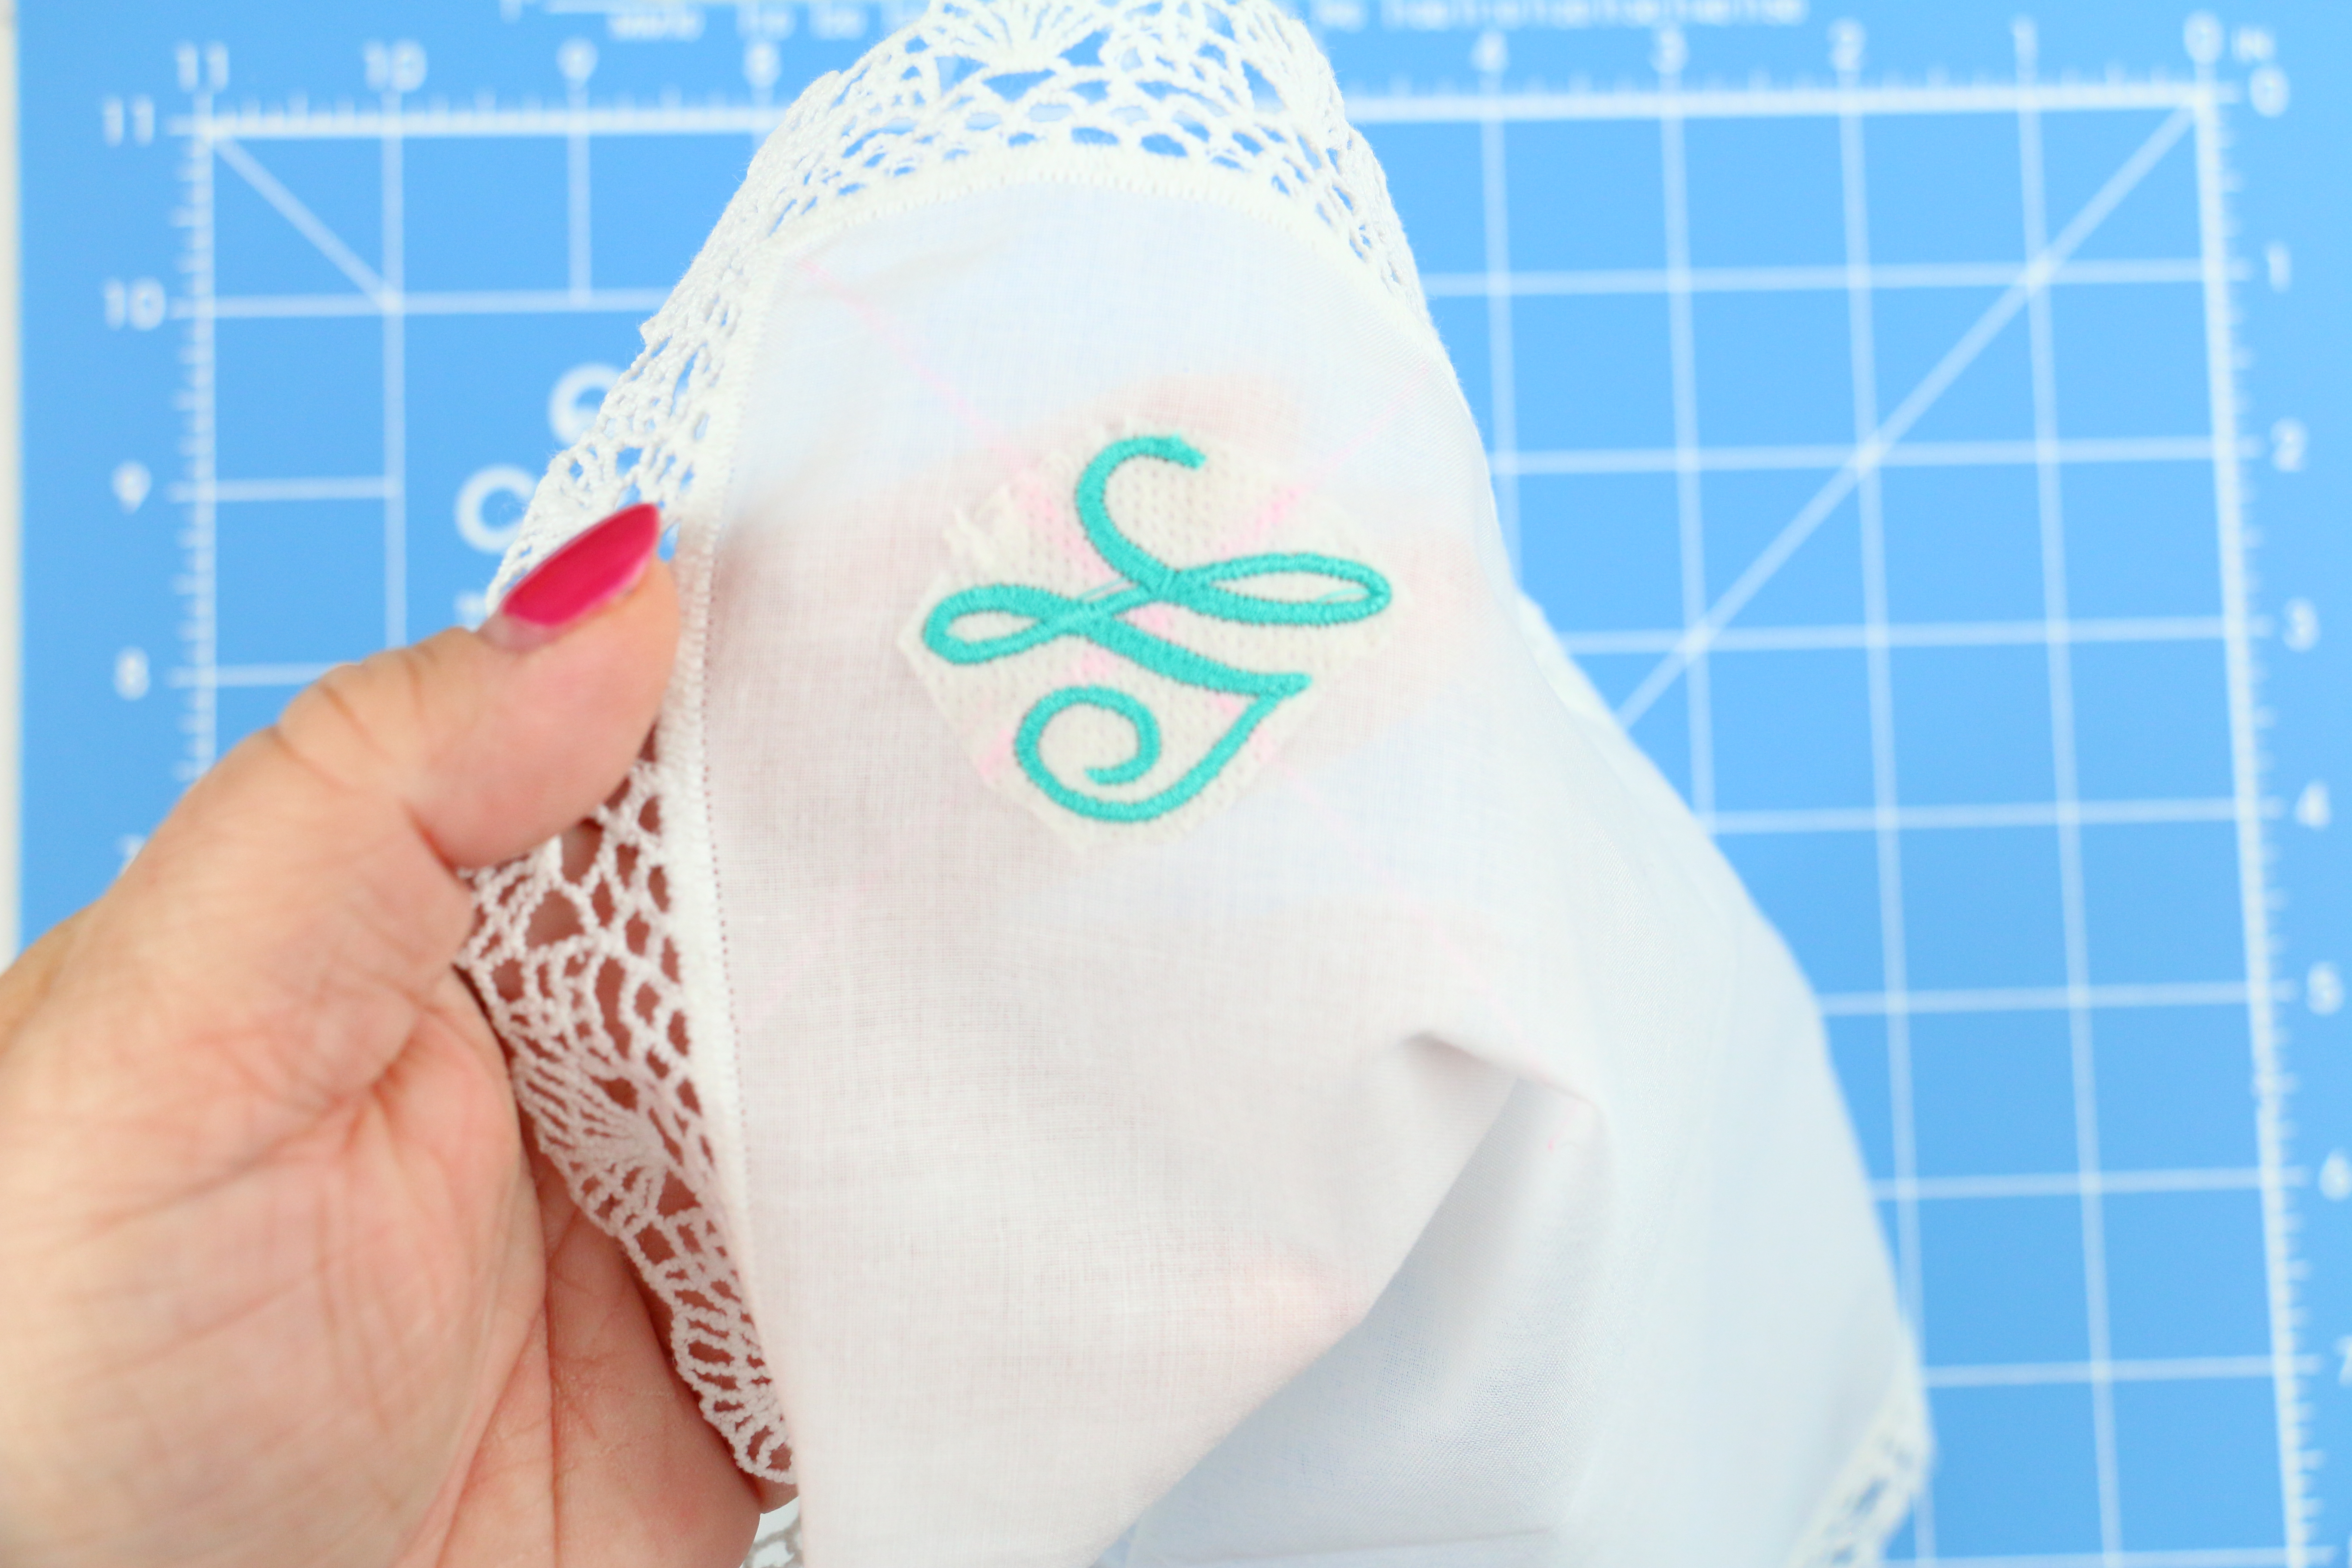
Using the aligning tools on your machine, place the design in the center over the cross hairs. Stitch.
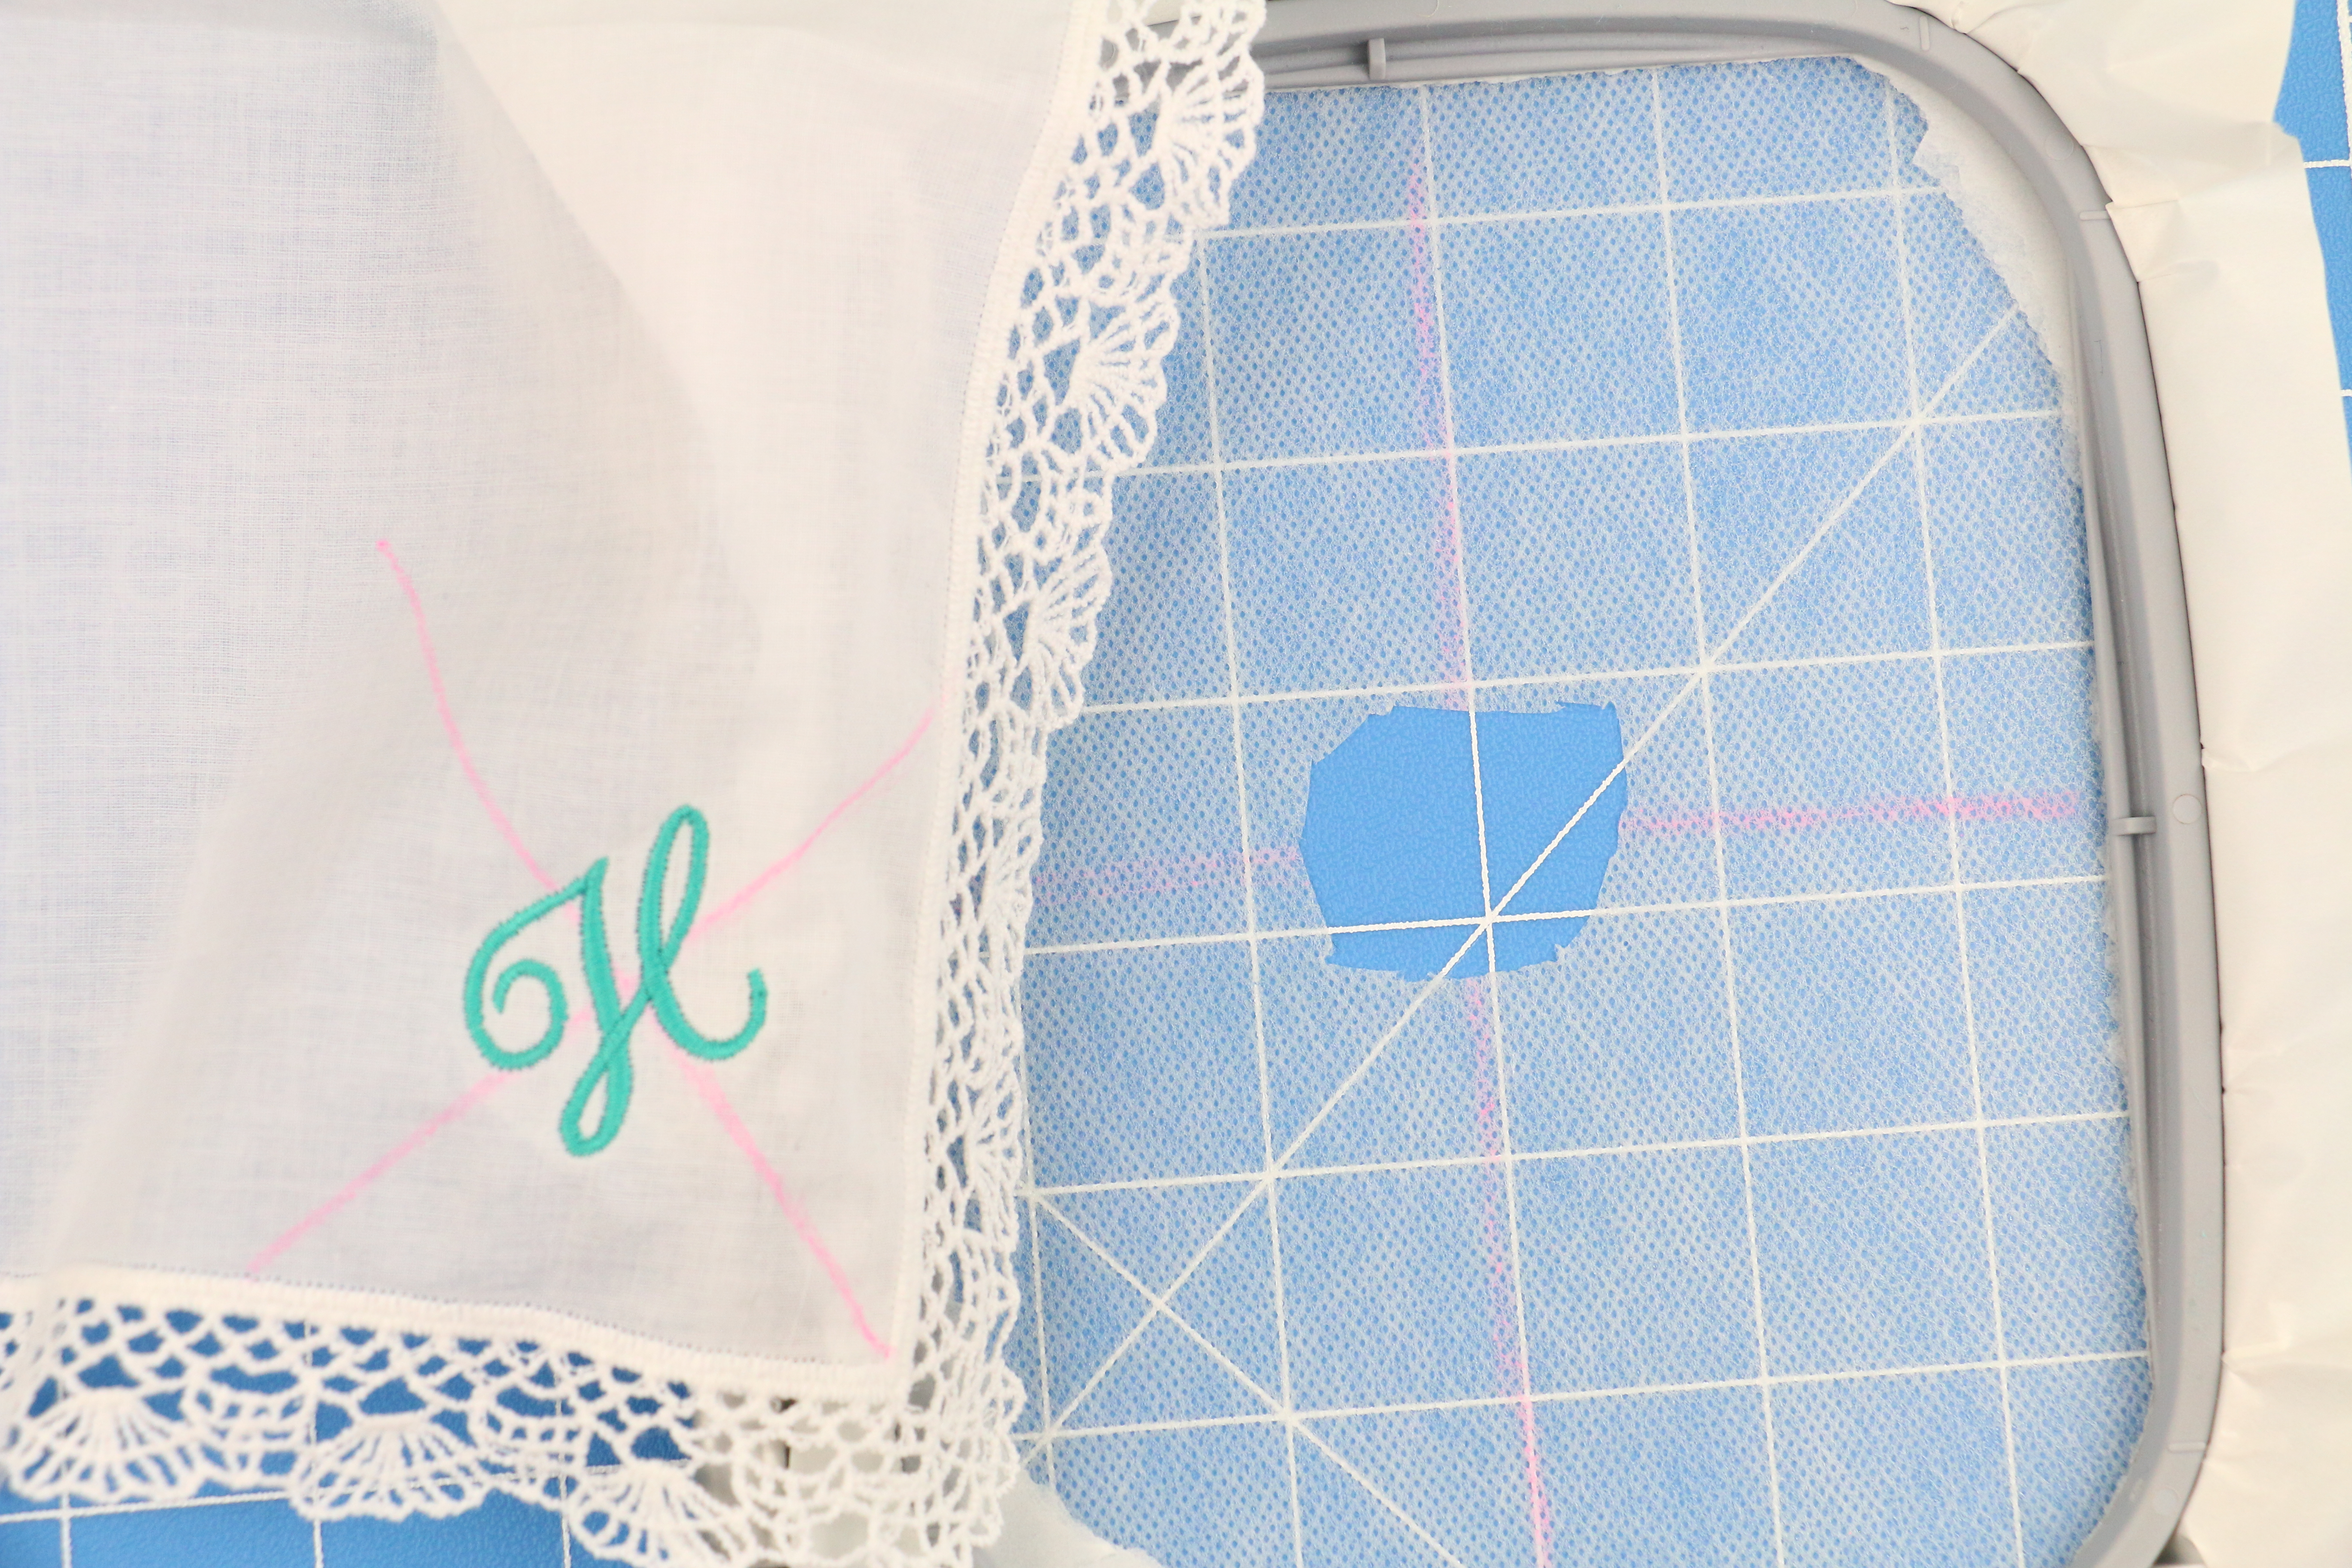
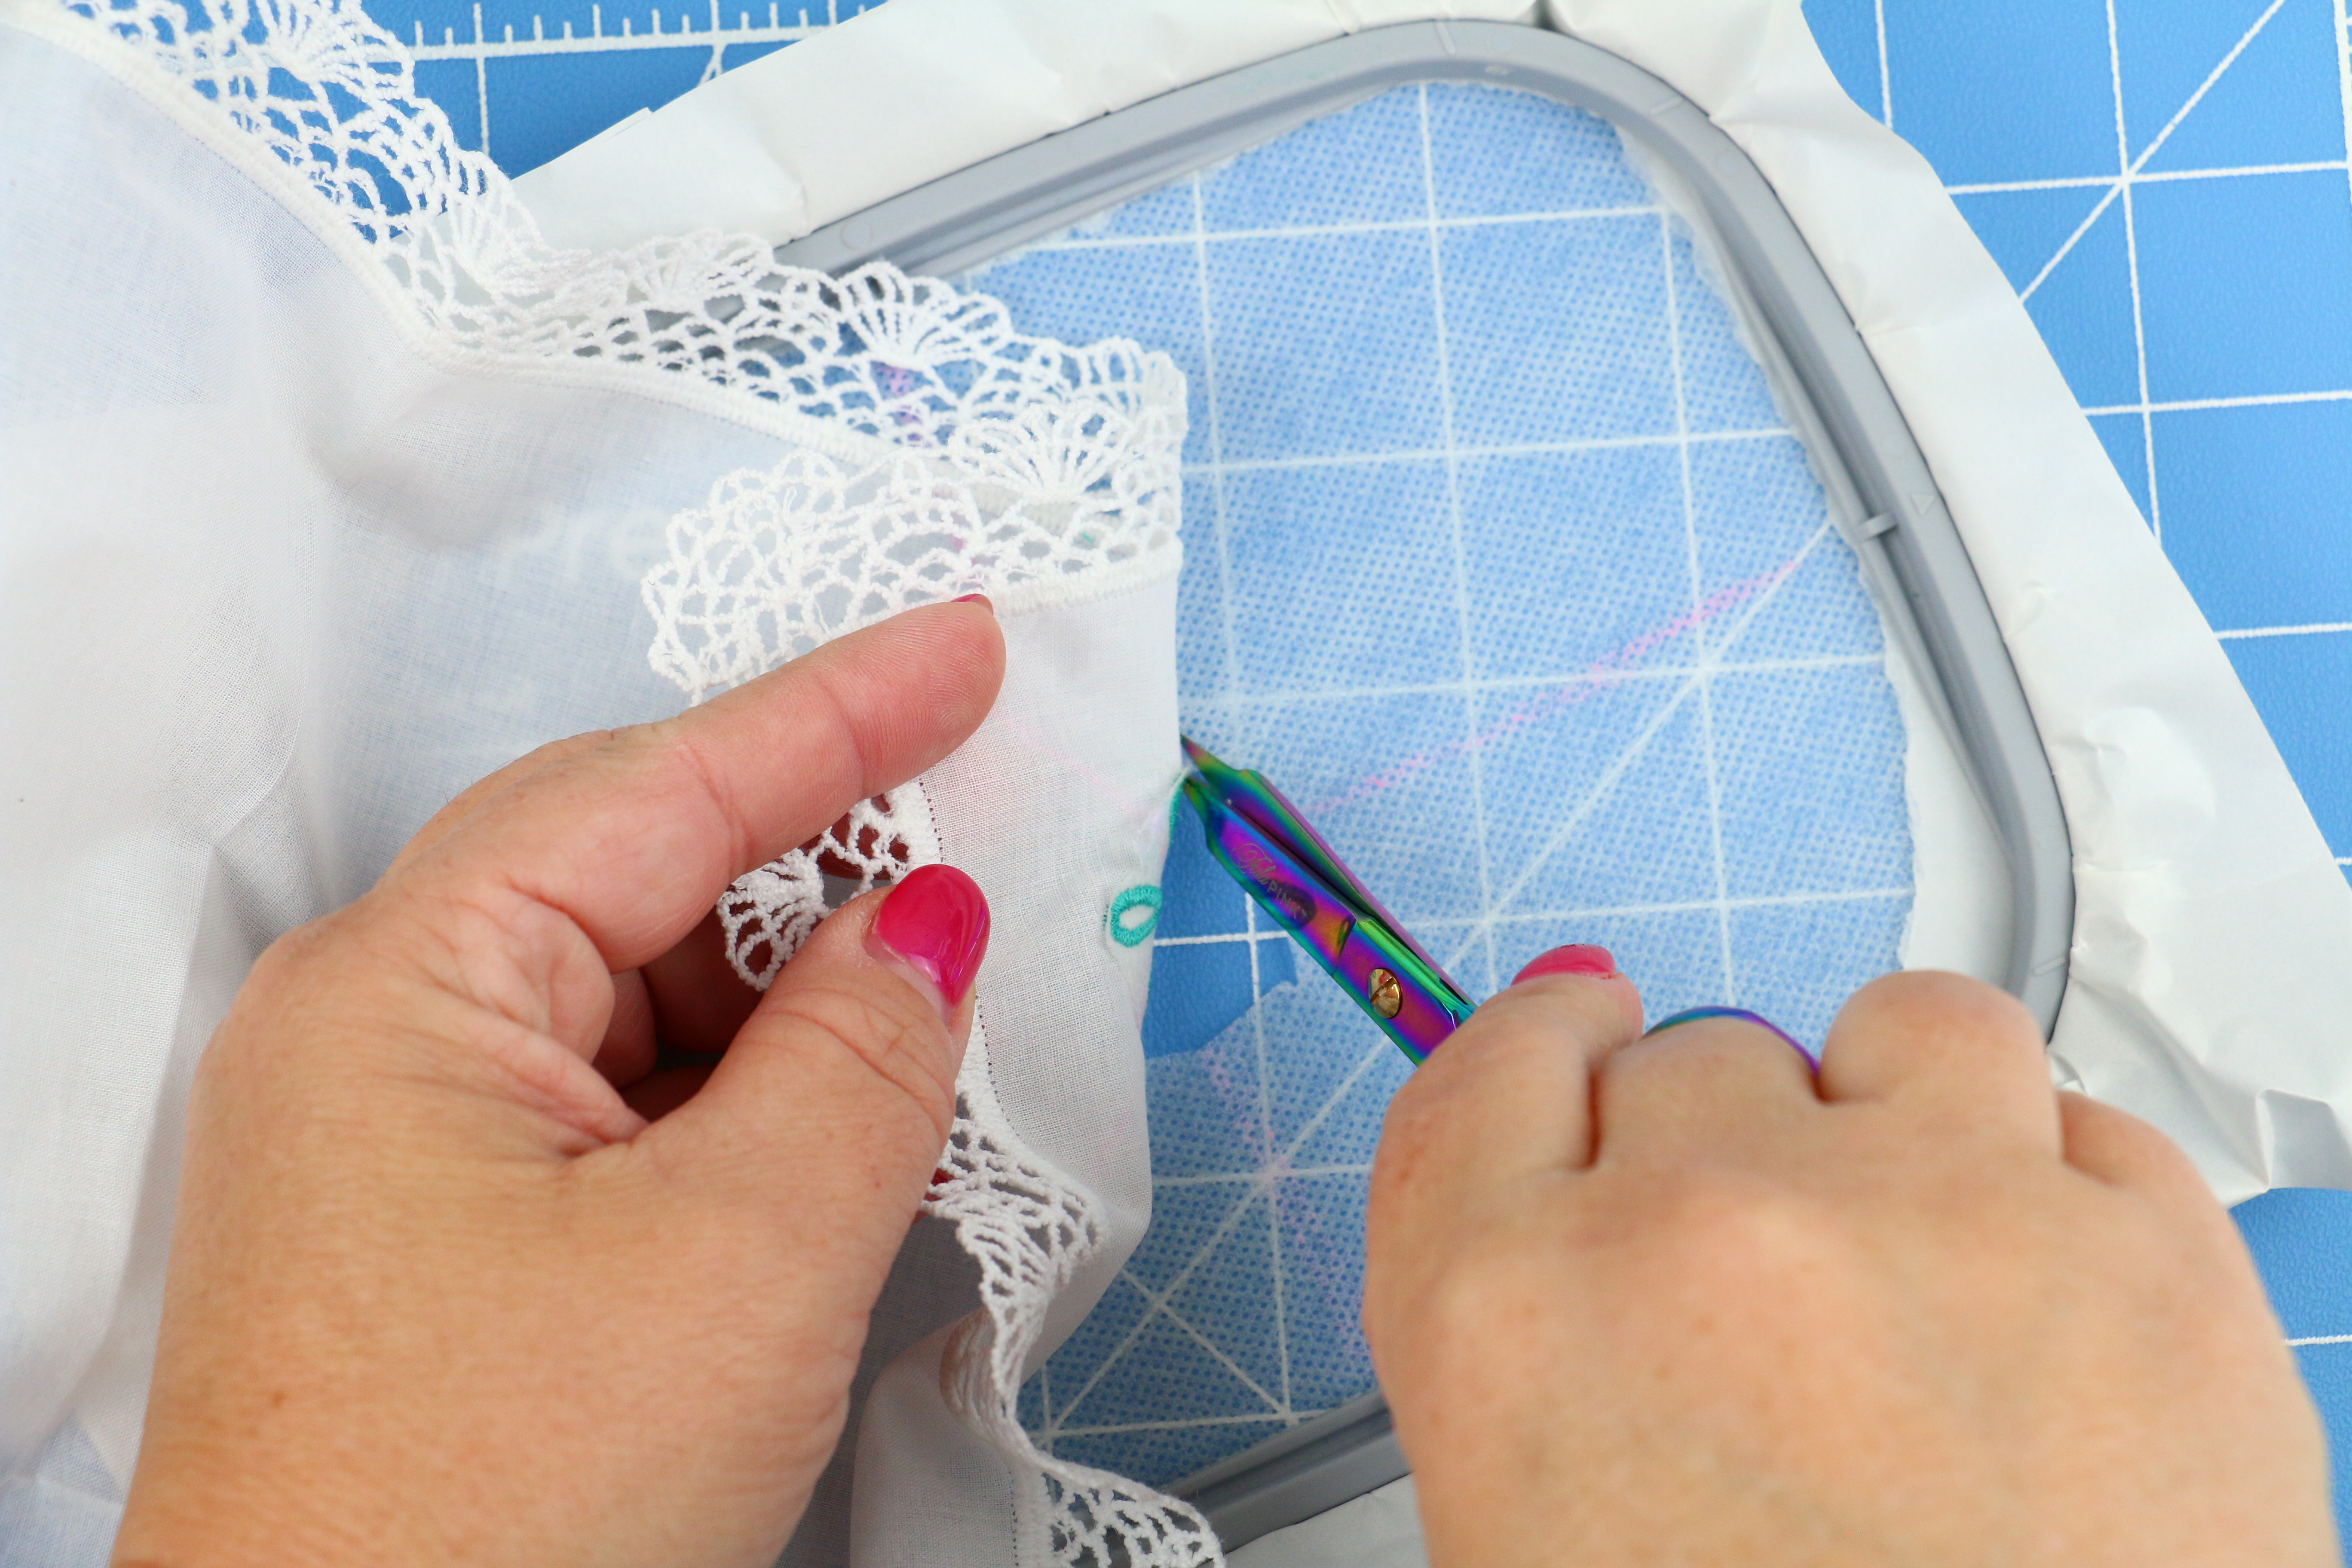
Remove stabilizer
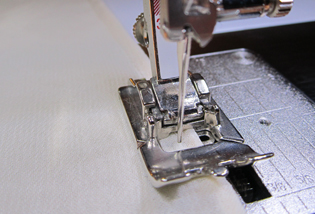
Once stitching is complete, remove hoop from machine, and using a pair of short scissors carefully perforate the handkerchief from the sticky stabilizer. The goal is to leave as small of a hole on the stabilizer without tearing the stabilizer. You can patch the hole the same way I showed you in Part 6, reference there to see how easy it is.
Wash Away
What makes a wash away stabilizer so amazing is that it actually washes away. All of it will disappear leaving only material and thread. Use lukewarm water and gently massage the stabilizer away. Avoid pulling or tugging the material.
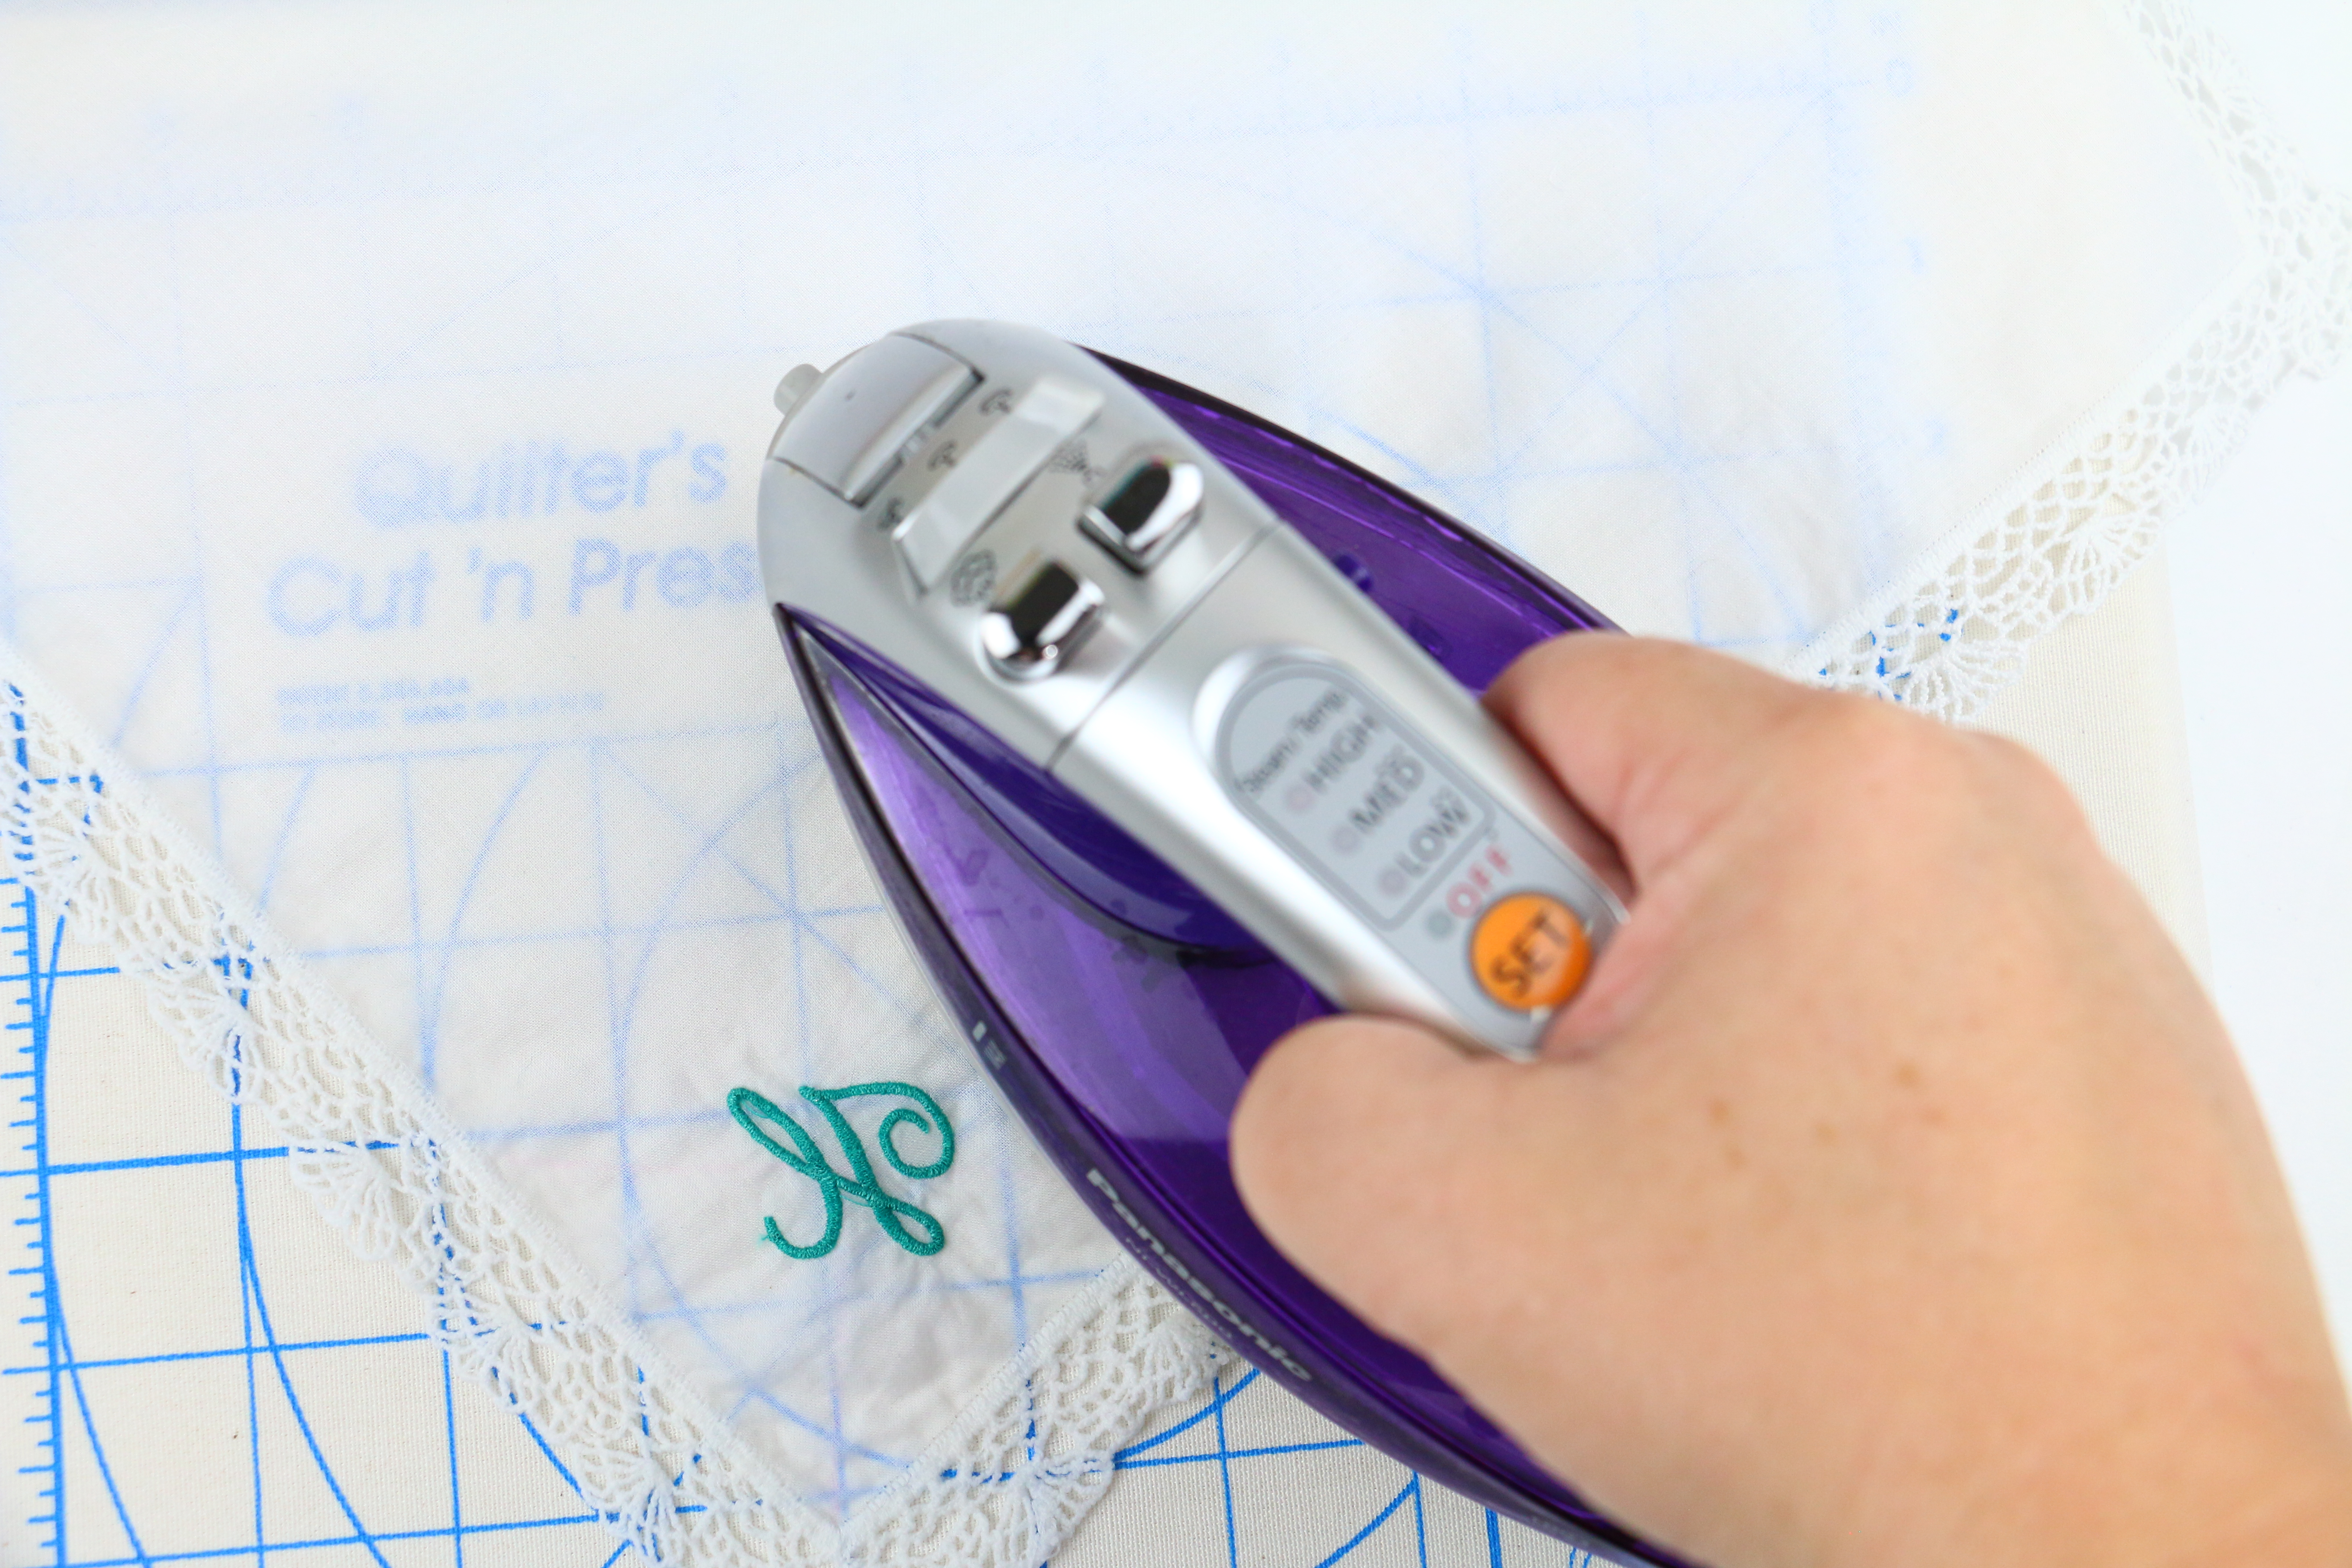
Use a low temp steam iron and press on the wrong side of the handkerchief to remove the wrinkles and dampness. Project is now complete and just as lovely as ever.
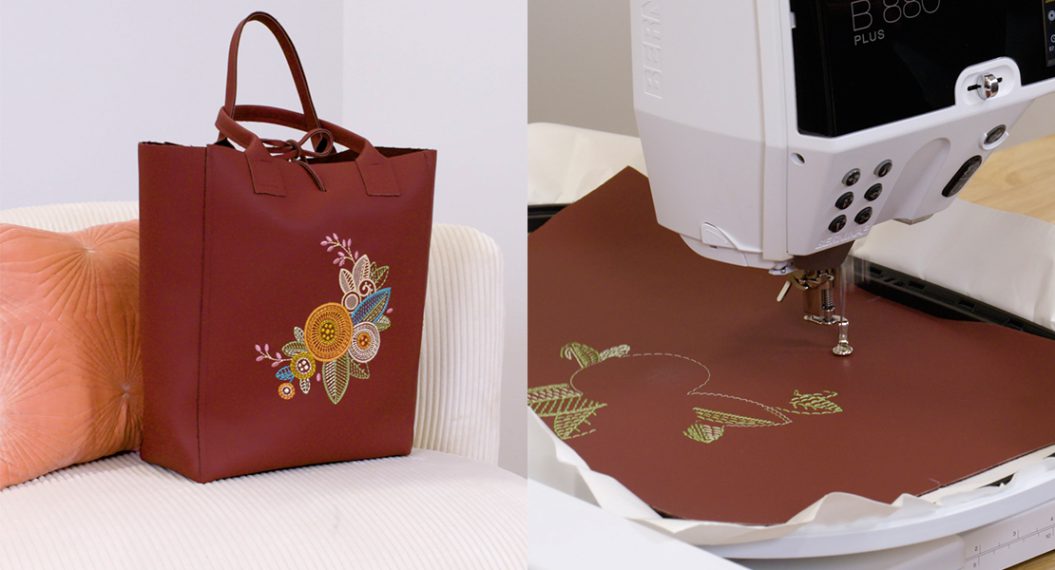
What is next?
The last four parts of the Embroider-Along go into detail on how to embroider one item from the basic four material groups. There will be some fun complimentary designs and lots of detail pictures.
What is one thing you’ve learned from this Embroider-Along you didn’t know before? Let me know in the comments below and please ask any questions you might have about materials we haven’t covered. Be sure to keep following along here, you can also follow BERNINA on Instagram and Facebook to see the latest post!
Here is the Embroider-along schedule:
- Embroider-Along Part 1: Intro four most popular materials for machine embroidery
- Embroider-Along Part 2: Stabilizer and Materials
- Embroider-Along Part 3: Needles and Thread
- Embroider-Along Part 4: Placement and Hooping for Machine Embroidery
- Embroider-Along Part 5: How to Embroider on Knits
- Embroider-Along Part 6: How to Embroider on Woven Materials
- Embroider-Along Part 7: How to Embroider on Napped Fabrics
- Embroider-Along Part 8: How to Embroider on Sheer Materials
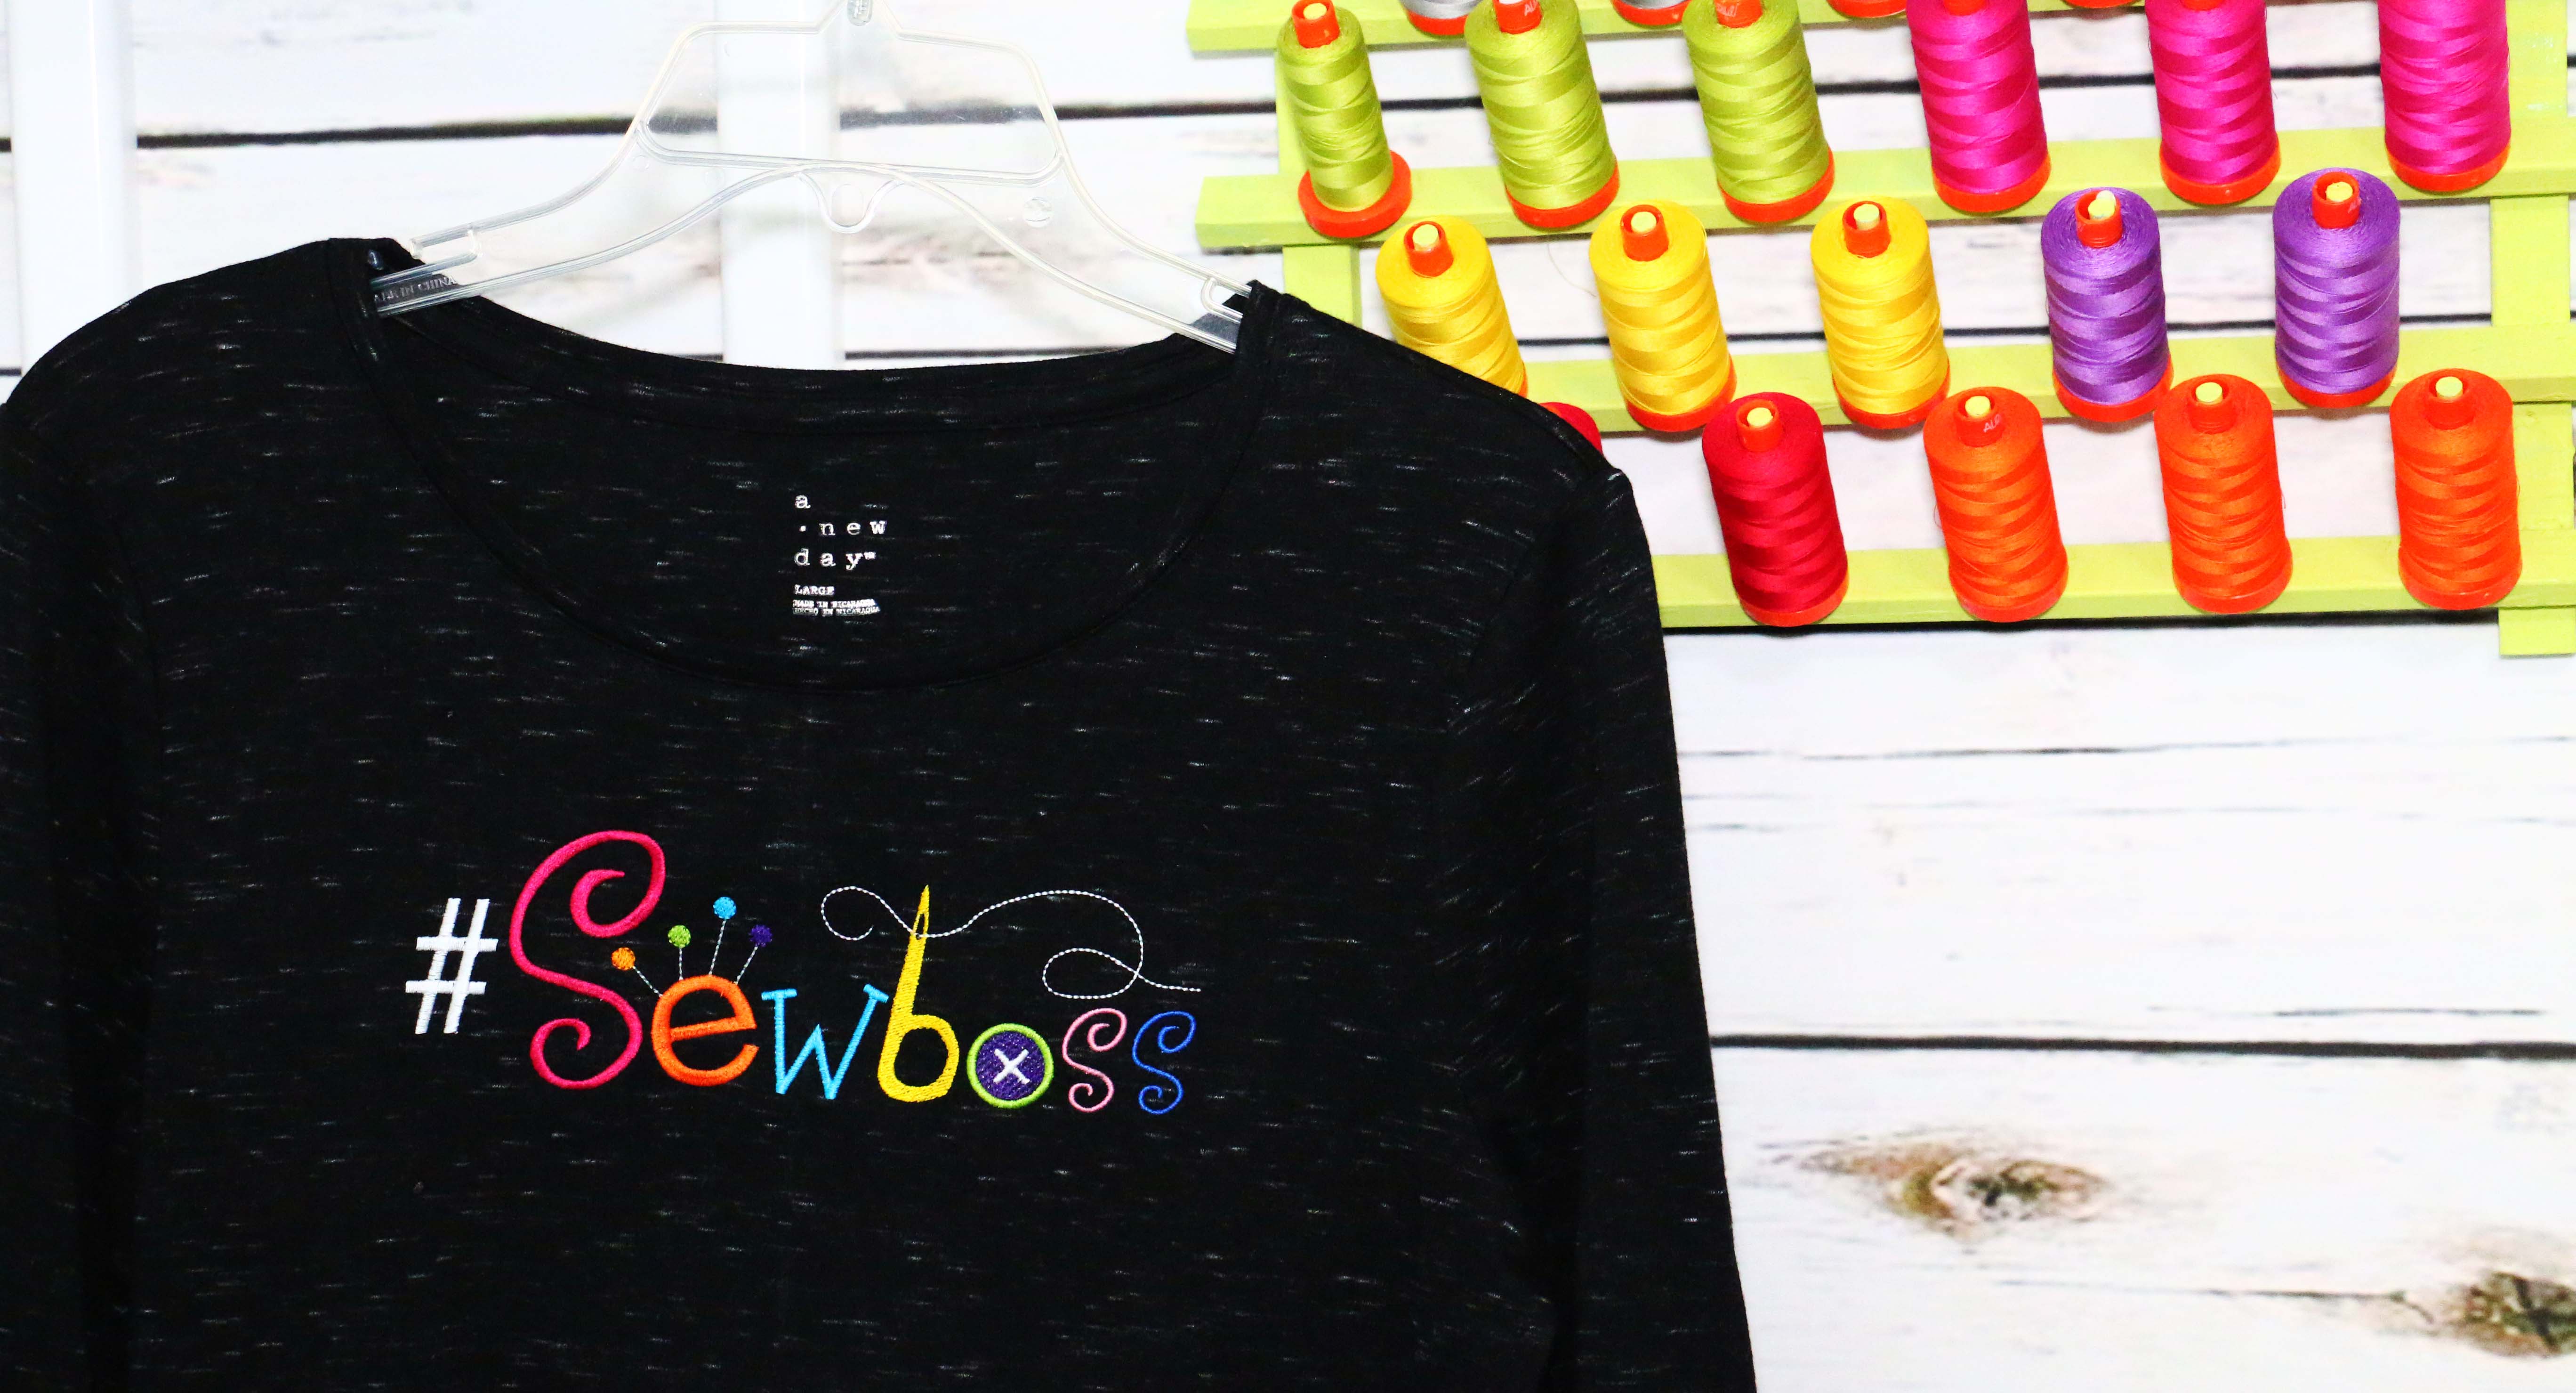
- Embroider-Along Part 9: How to Embroider on a Ladies T-shirt
- Embroider-Along Part 10: How to Embroider on a Pillow Case
- Embroider-Along Part 11: How to Embroider on Luxe Cuddle® Rose
- Embroider-Along Part 12: How to Embroider on a Pet Screen
Until next time I hope you have a creative day, bye-bye!
Sue
Used Products

What you might also like


7 comments on “Embroider-Along Part 8: Embroidery on Sheer Fabrics”
-
-
I just love to hear this!! Now you have to share what you’ve learned with another stitching friend. Pass the embroidery knowledge along. Thanks for following along my Embroider-ALong ~ Sue
-
-
Enjoying your Embroider-Along, Sue! This will be a great reference tool to refer back to when trying out different projects on my embroidery machines. Thank you!!
-
So glad you’re having fun with following along. Here is a quick link for you to get to the entire series: https://weallsew.com/category/projects/embroider-along/
Go ahead and bookmark it 🙂
Sue
-
-
Hi Sul, love this tutorial and technique for embroidering on a handkerchief or other sheer material. The technique that you used for embroidering on the handkerchief corner is a technique that we can all use when embroidering on napkins, collars or any item that we need to embroider on corners.
-
Hi,
Absolutely!! Excellent point. Thank you for mentioning this technique will be great for all sorts of corners 🙂
Sue
-
-
One thing I never knew the way to do successfully changed into center my designs. Sometimes they might come out crooked or just never in which I desired them to be. I didn’t understand a way to use the crosshairs to help me with embroidery placement, however this lesson has helped lots. Thanks!
Leave a Reply
You must be logged in to post a comment.

One thing I never knew how to do correctly was center my designs. Sometimes they would come out crooked or just not at all where I wanted them to be. I didn’t understand how to use the crosshairs to help me with placement, but this lesson has helped a lot. Thanks!