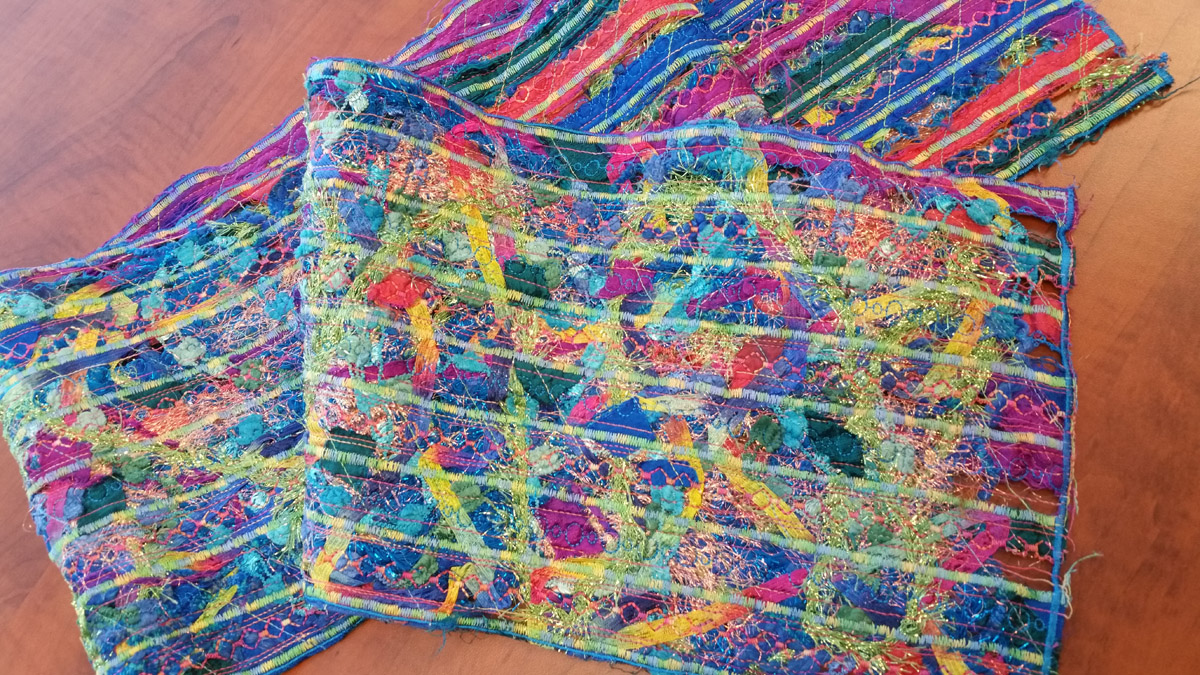
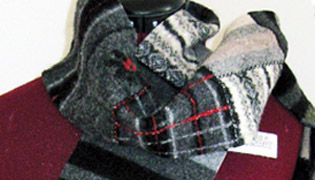
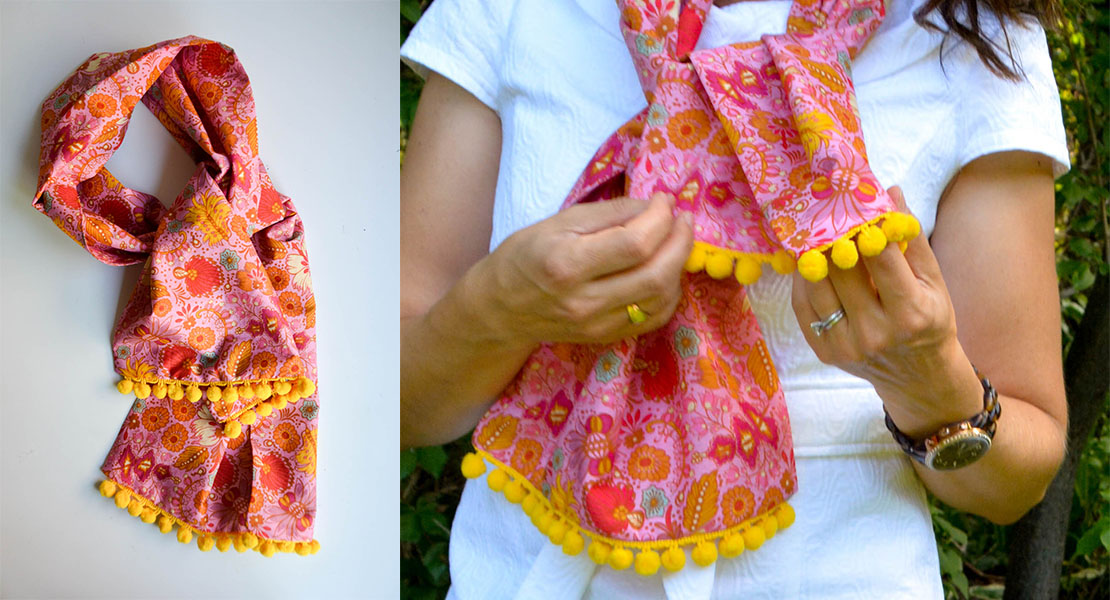
Fabric and Fiber Scarf Tutorial
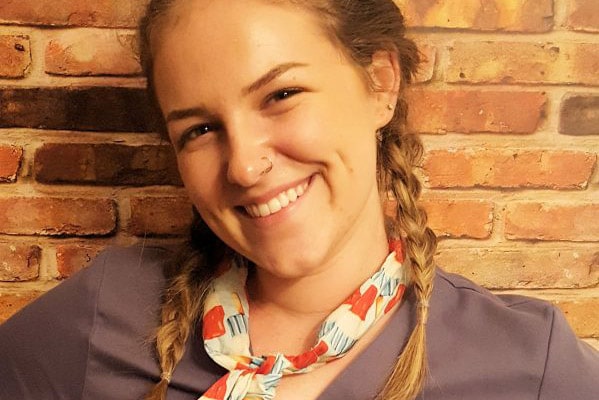
BERNINA Ambassador, Heidi Lund, shares her technique for creating a fabric and fiber glitzy scarf. Dig out some silk scraps, your favorite fibers both fuzzy and shimmering and some threads you adore.
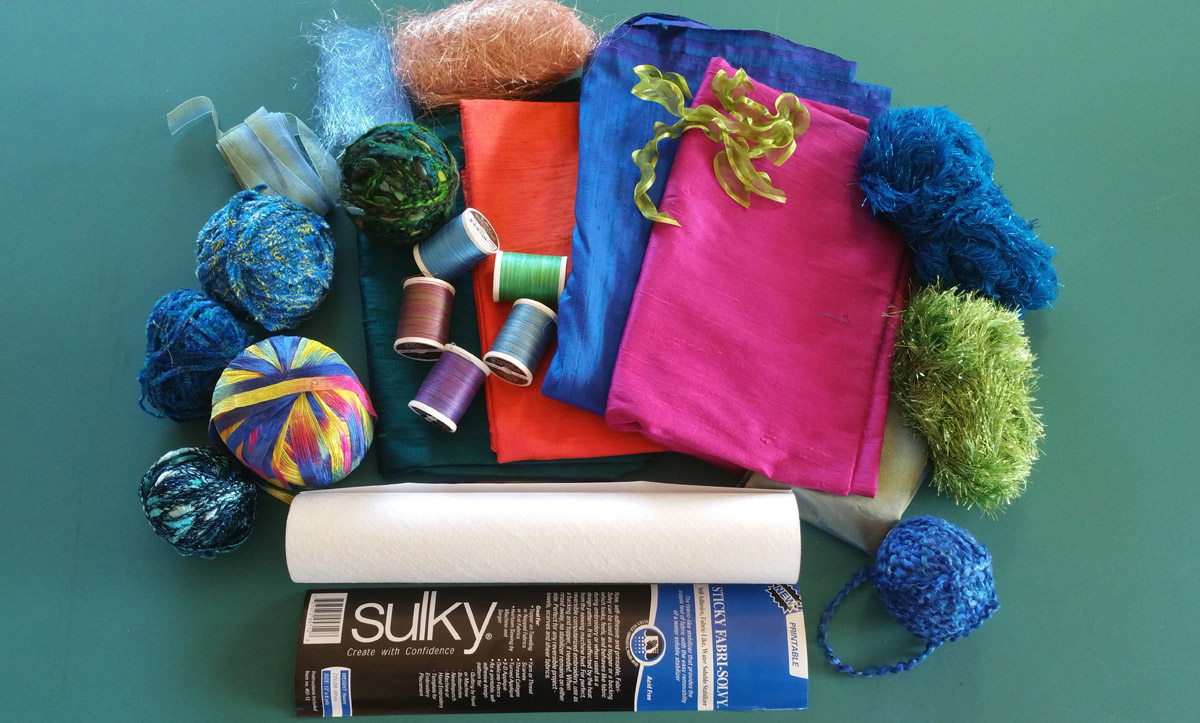
Materials to Make a Fabric and Fiber Scarf
This scarf sample measures 10″ x 60″
- 3-4 colors of Silk Dupioni (1/8 yard each color)
- Yarns and fibers in various textures, colors and sheens (throw in a furry one or a sparkly one)
- Angelina Fibers
- Ribbon Tape
- 30wt Cotton Blendables Thread
- 1 roll Sulky Sticky Fabri-Solvy (12″ x 6 yard size)
- 90/14 Embroidery or Topstitch sewing machine needle
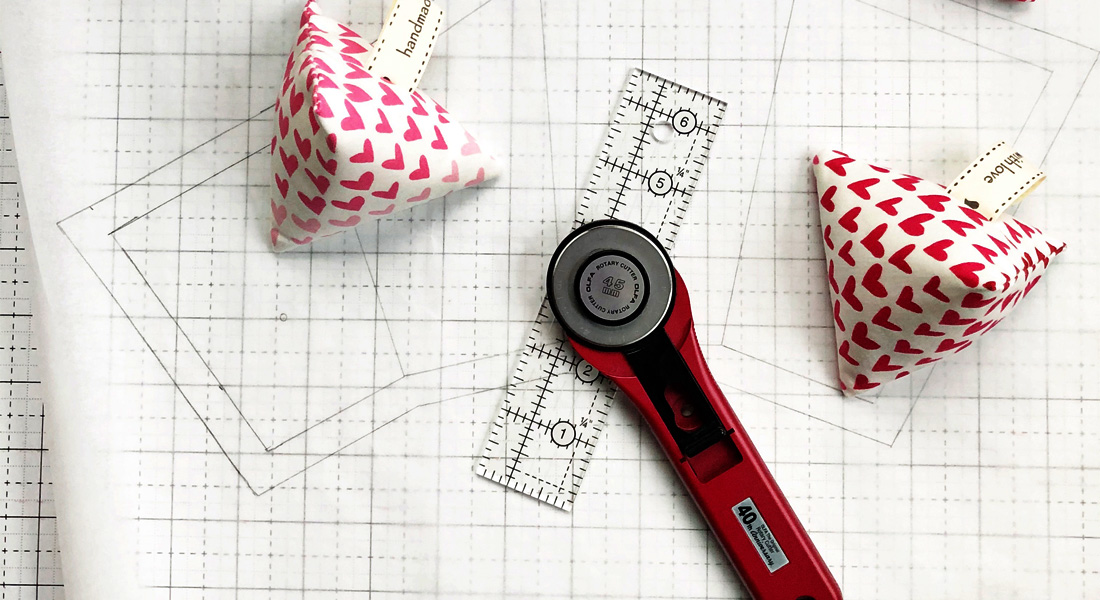
- Rotary Cutter
- 6″ x 24″ Ruler
- Sharpie permanent marker
- Large rotary cutting mat
- Spring action scissors for ease of cutting
- Blue Tape
- Sewing machine (I use a BERNINA 770 QE)
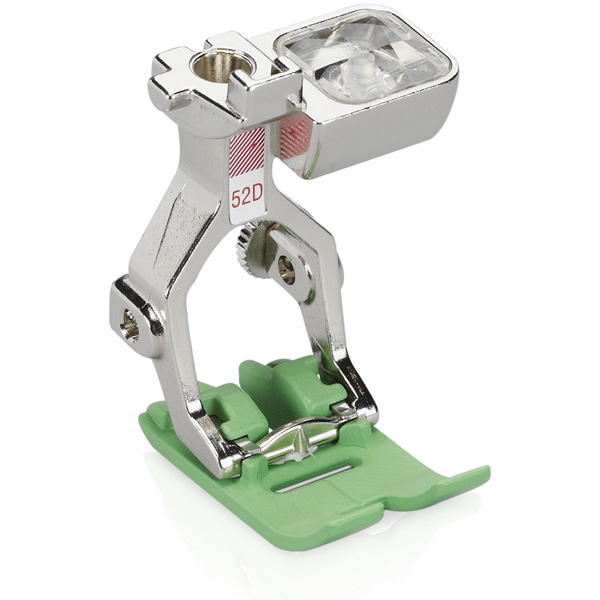
- Non-stick presser foot such as Zigzag foot with nonstick sole #52D
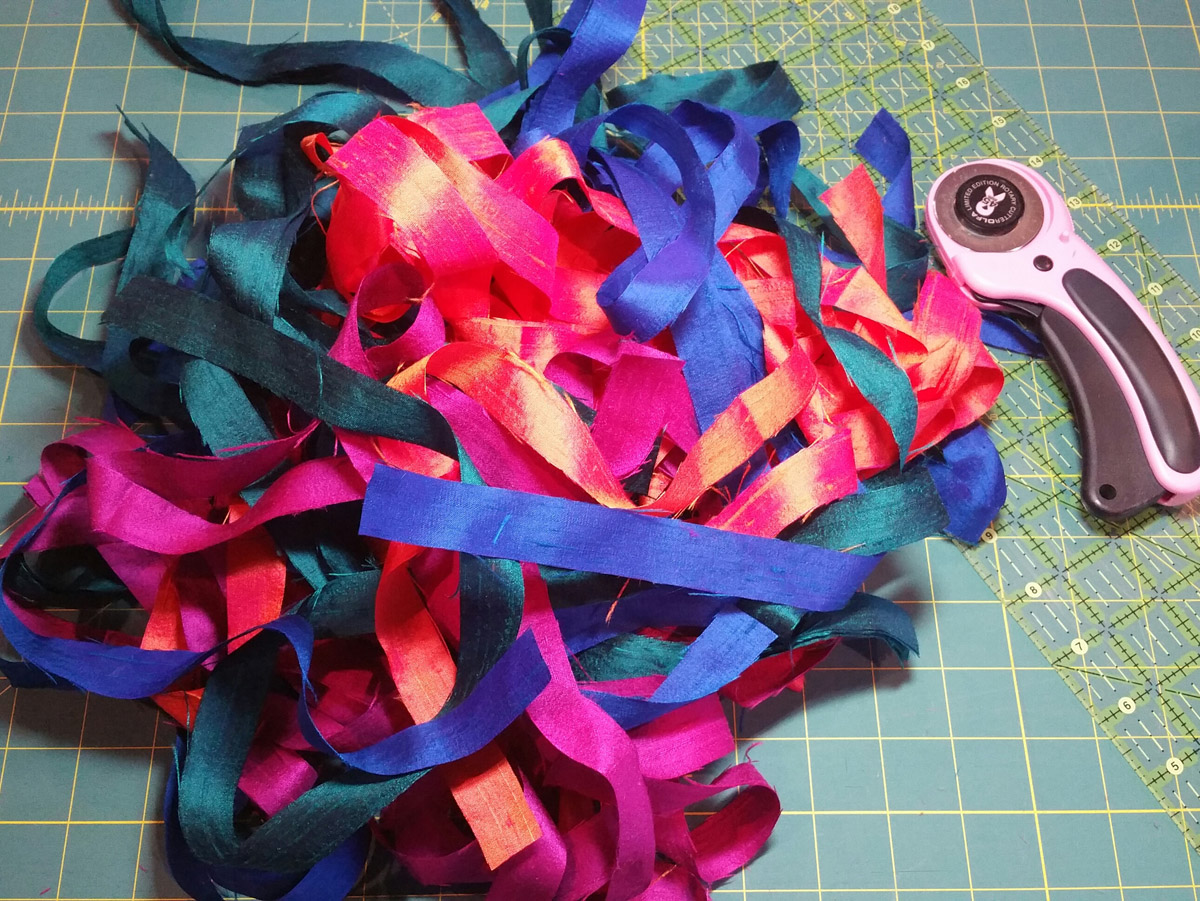
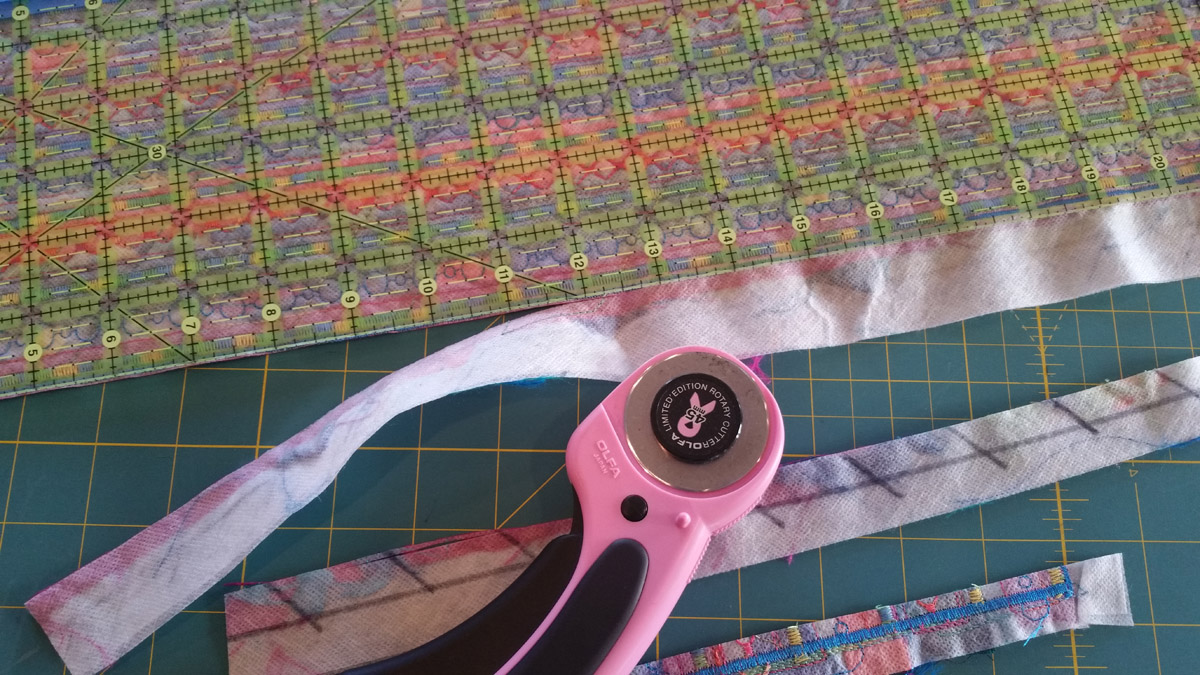
Using your rotary cutter, mat and ruler, cut silk dupioni into 1/2″ or 3/4″ strips.
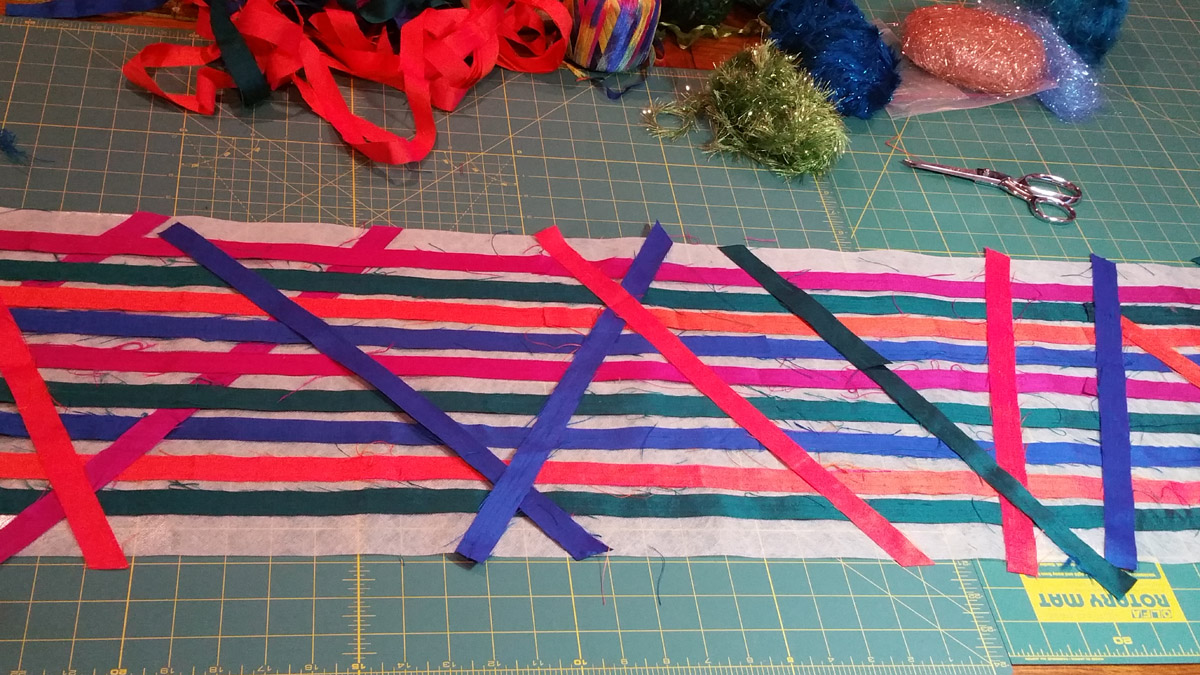
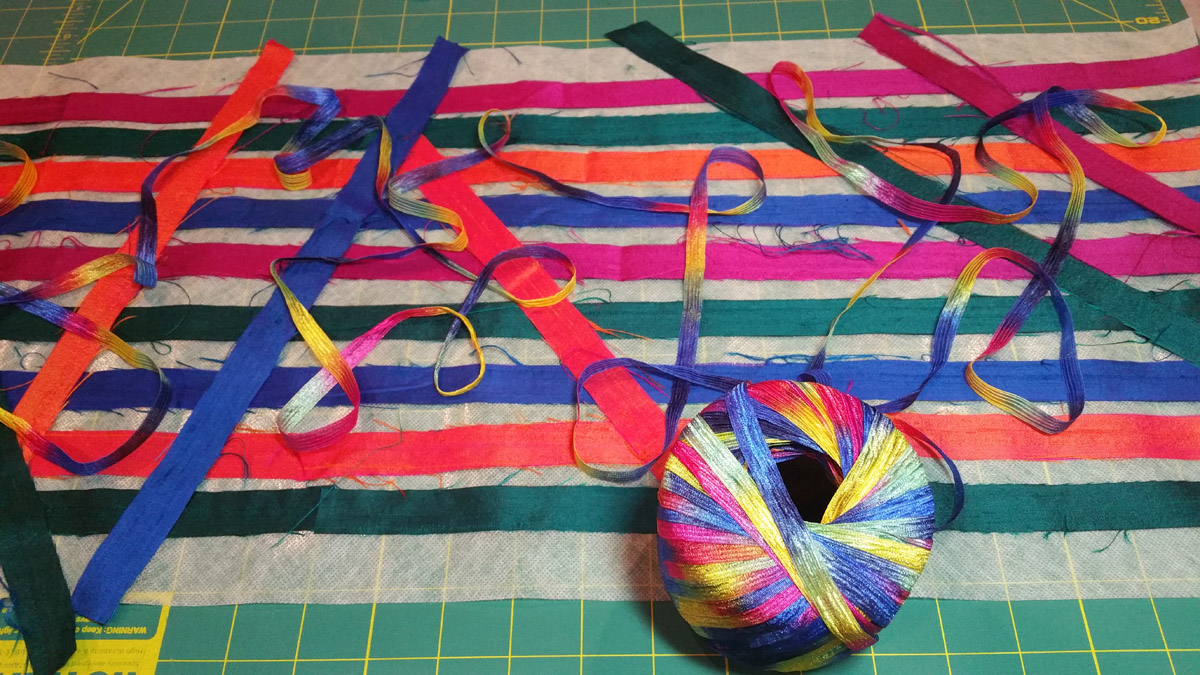
Roll out 60″ of Sulky Sticky Fabri-Solvy onto a long table. While you’re at it, cut a second 60″ long piece and set it aside to be used later. Now, place the strips of cut silk dupioni on top of the Sticky Solvy in a design that you like. I chose lengthwise and then crosswise at an angle.
Next, you can now add your first layers of fibers. Spread them randomly across the silk strips. For my first layer, I chose a rainbow ribbon tape fiber.
Place your next layer of fibers on top of the first. Continue to build up your layers for desired thickness. Add fibers of different textures, sheen and fullness. I decided to make this scarf rather dense, and even added snippets of extra silk dupioni.
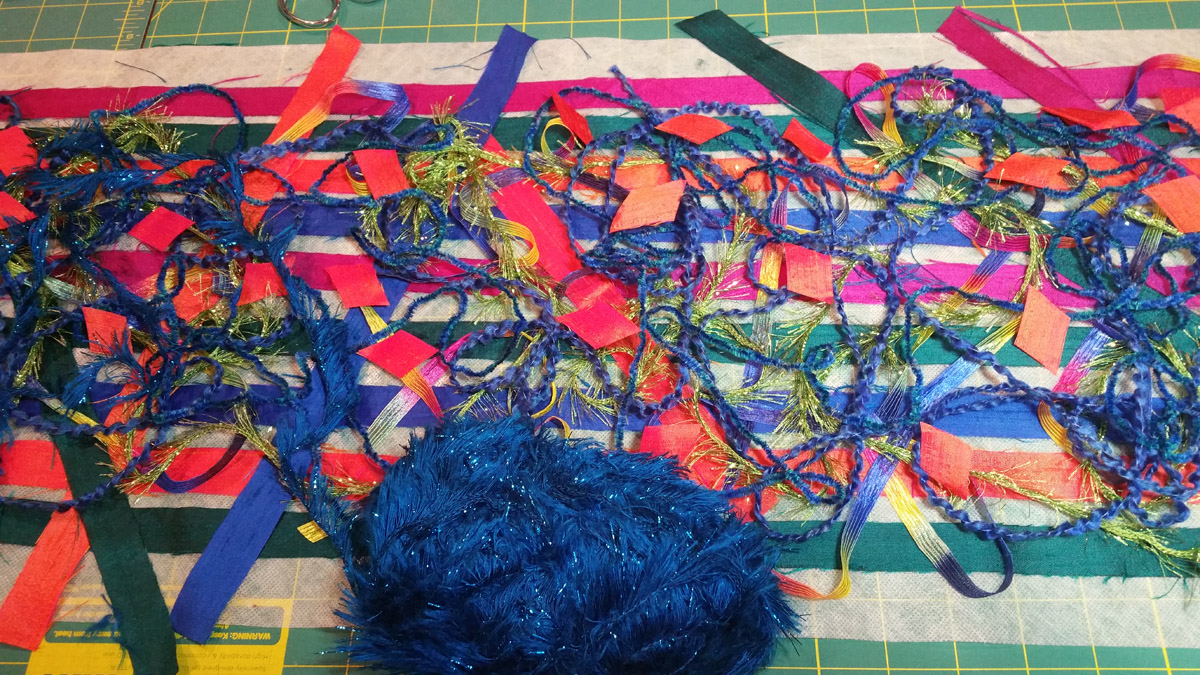
Add bits of Angelina fibers on top of the previous fibers.
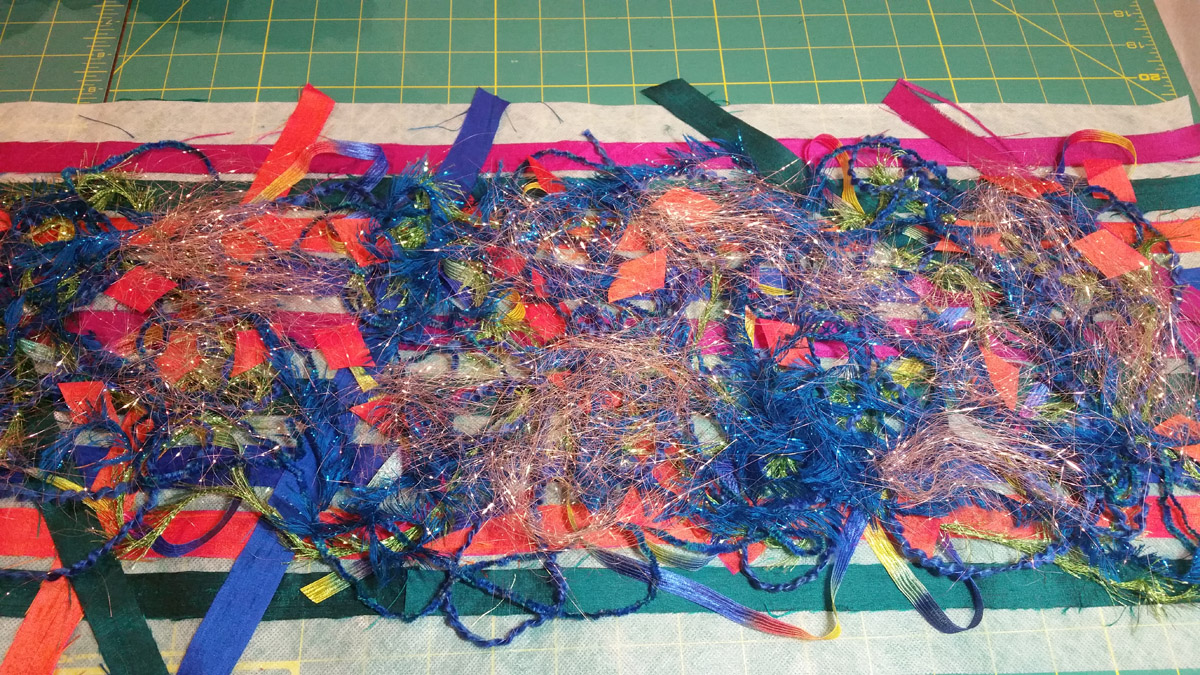
Add your last layer of fiber. This one looks like a little ladder and will add great texture.
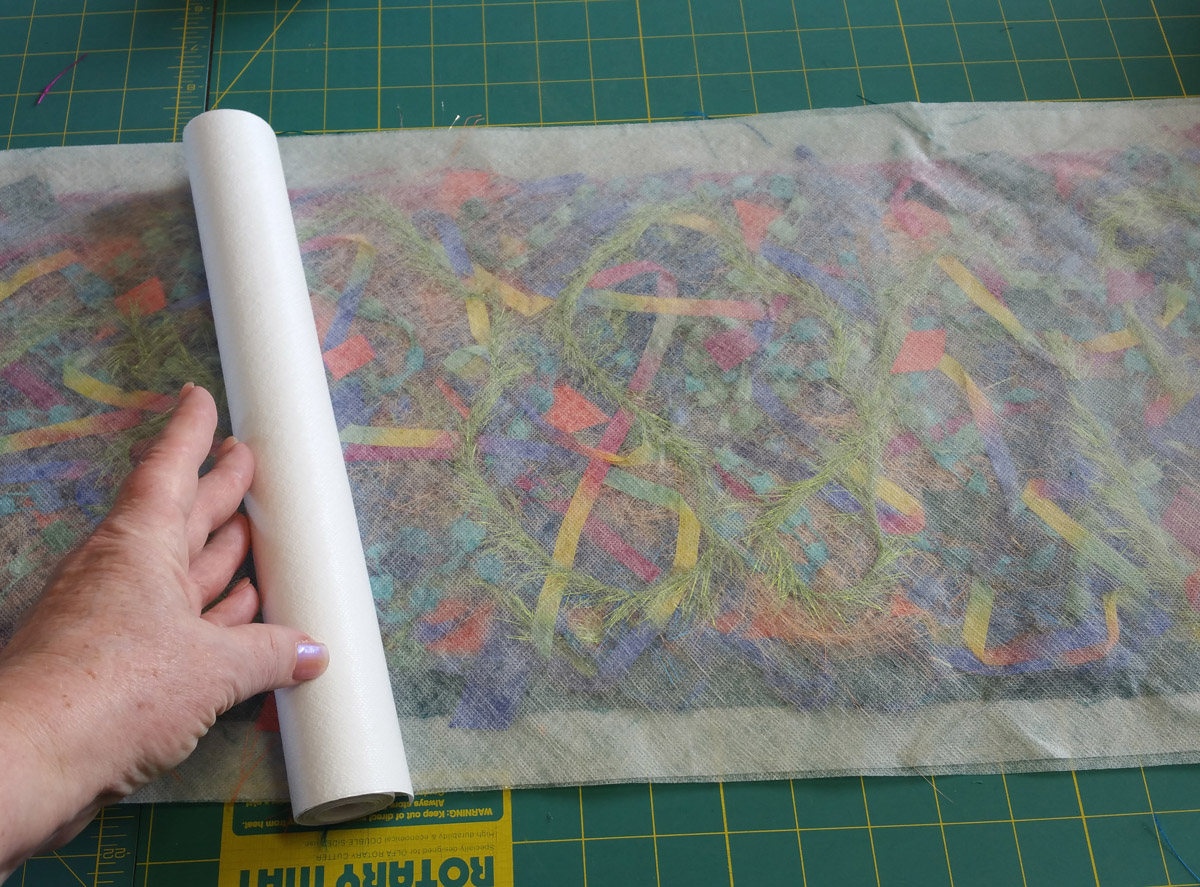
It is now time to cover the scarf with the second layer of Sticky Fabri-Solvy.
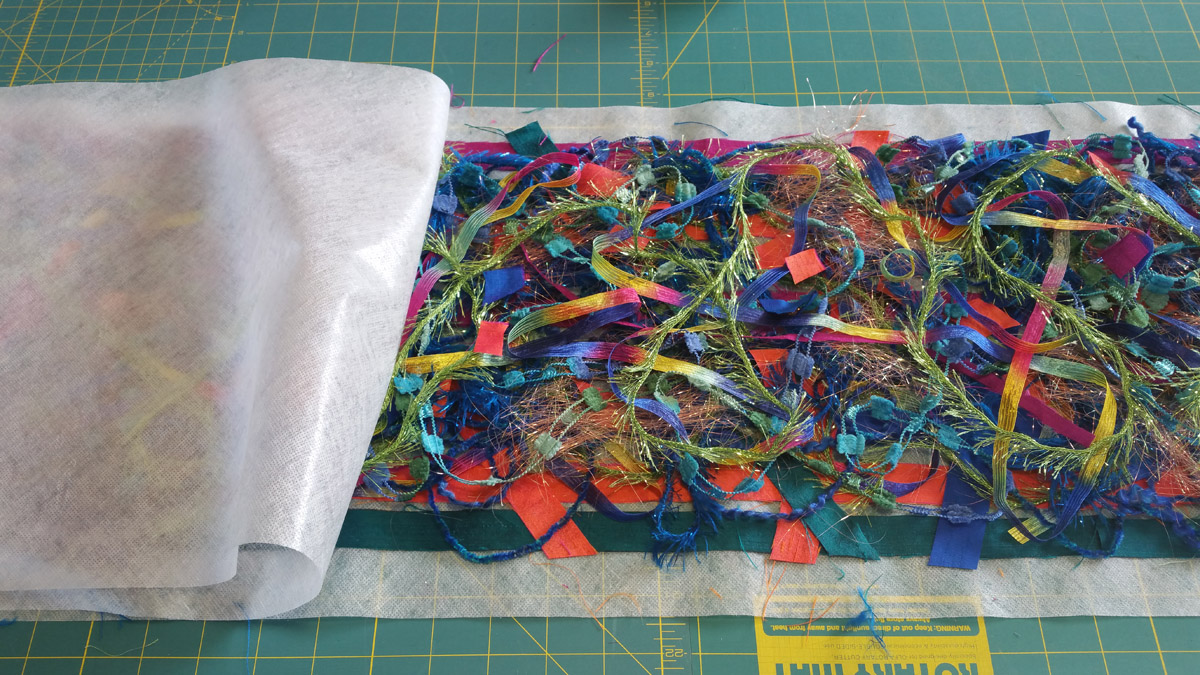
Use the leftover roll of stabilizer like a rolling pin and roll it across all the layers of the scarf. This will secure the two layers and assuring they are “stuck” together.
Take your 24” long ruler and cover one edge with blue painters tape. You will use this side of the ruler to mark your scarf.
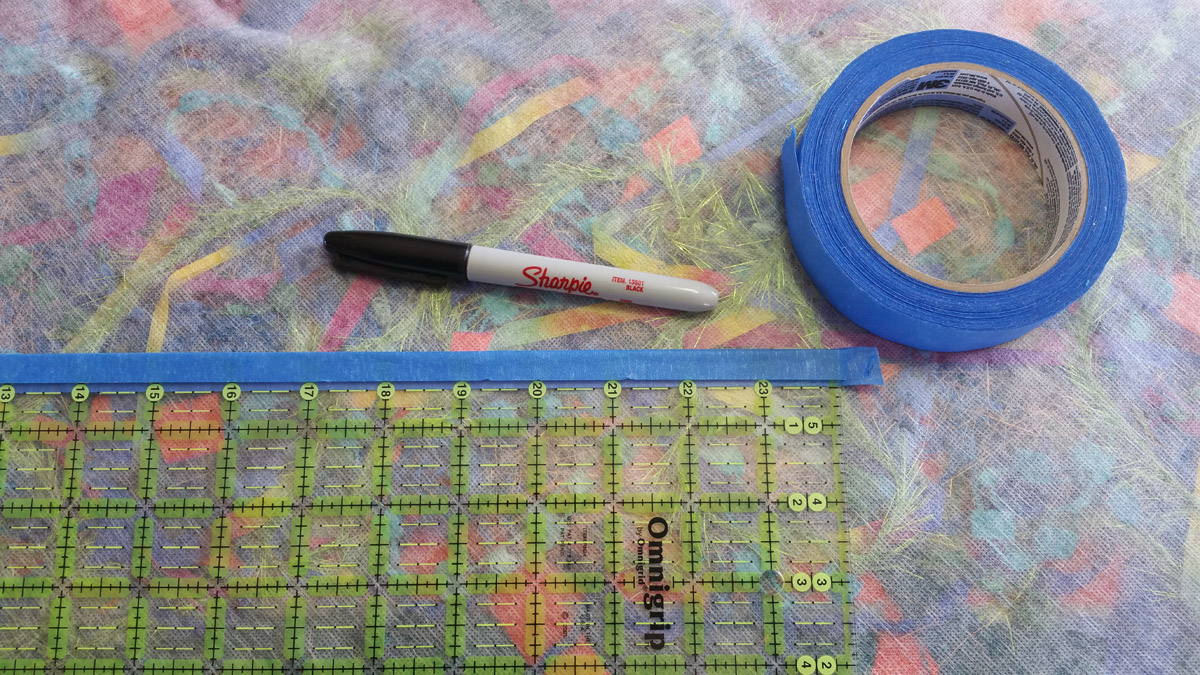
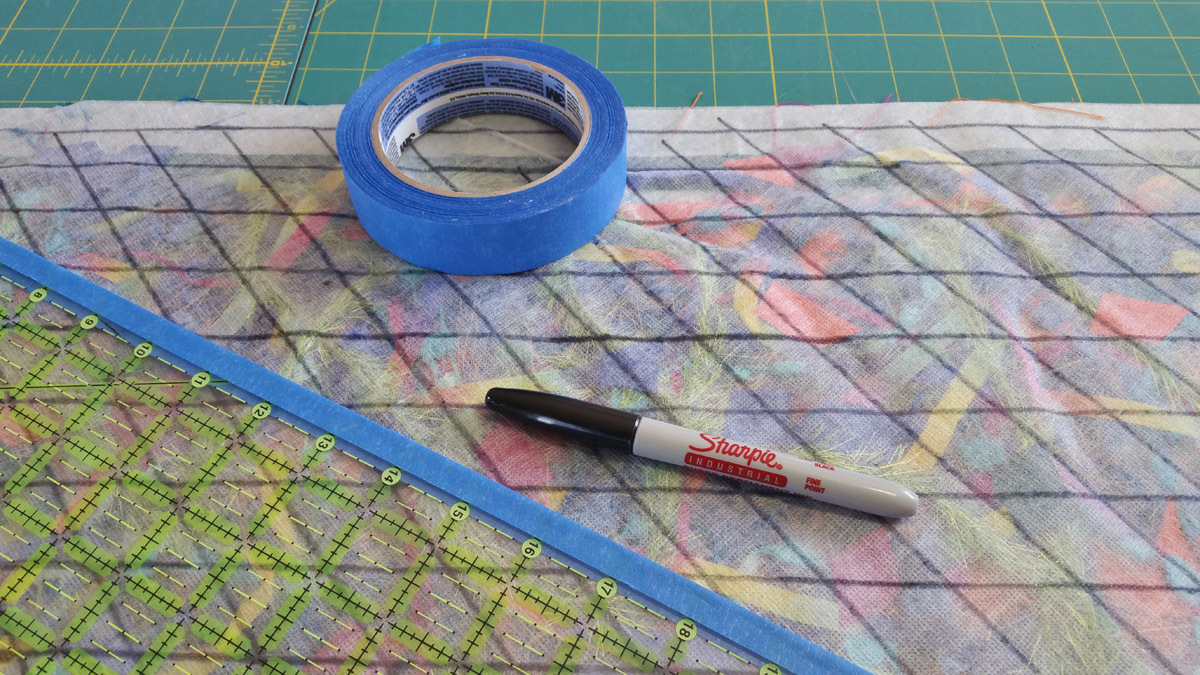
Use the ruler and a Sharpie to mark 1” guidelines on your scarf for stitching.
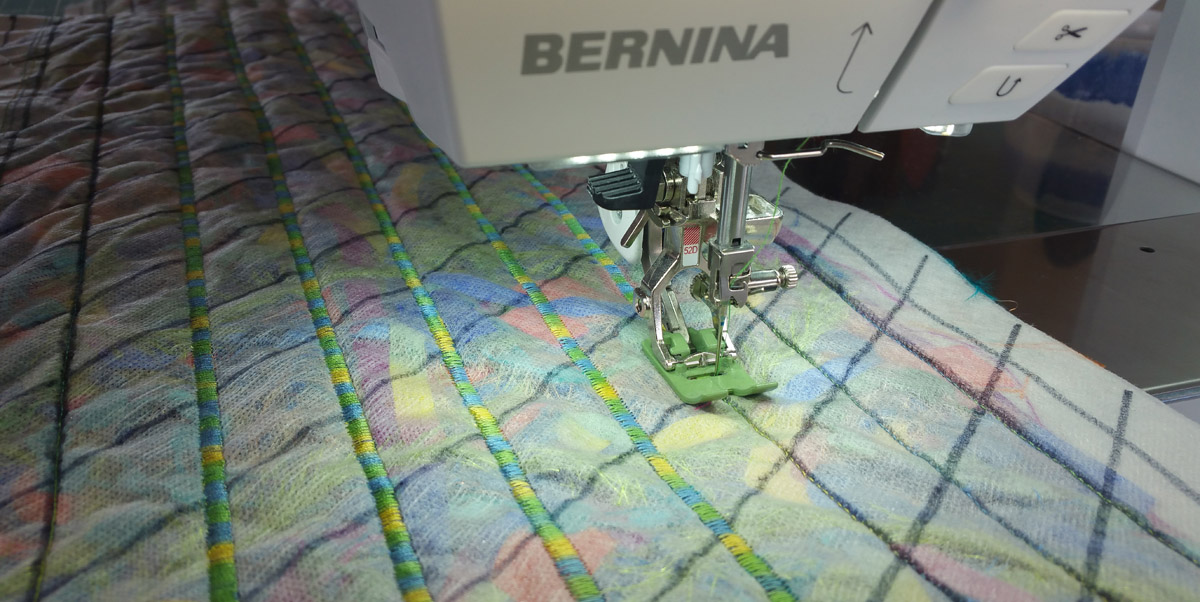
Set your sewing machine up with your thread of choice. Use the same thread in the top and bobbin of the machine. Attach BERNINA foot 52D and engage the dal feed feature.
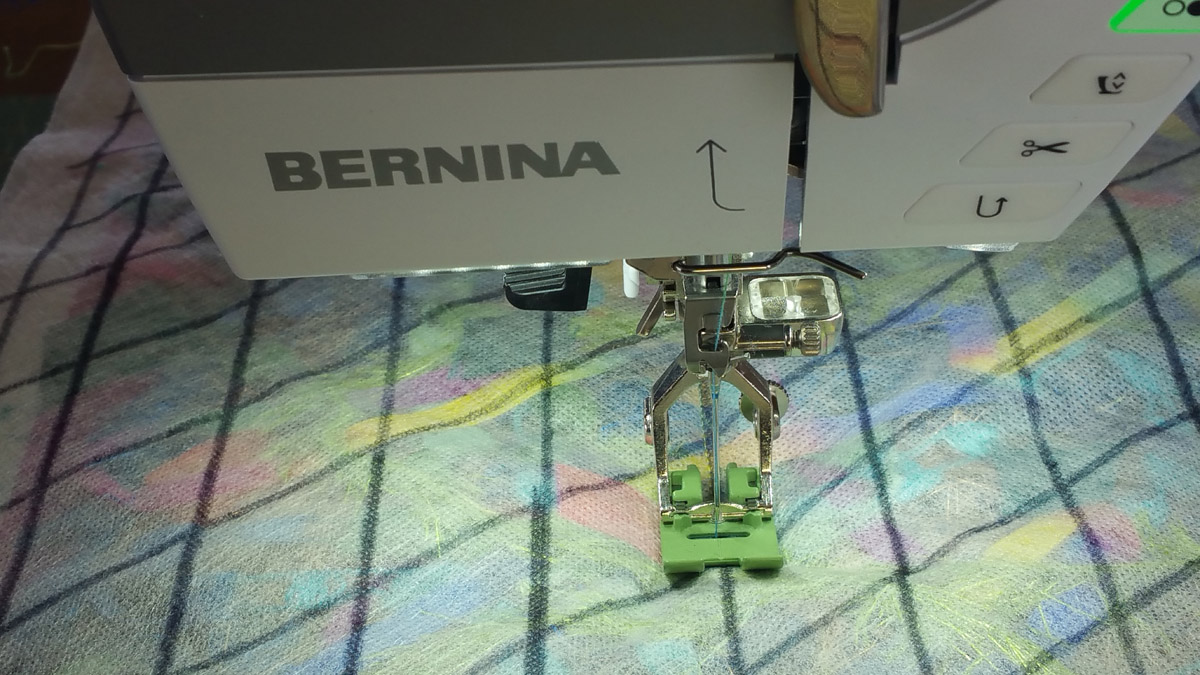
Set your machine on #1 straight stitch and the top tension to 4.0.
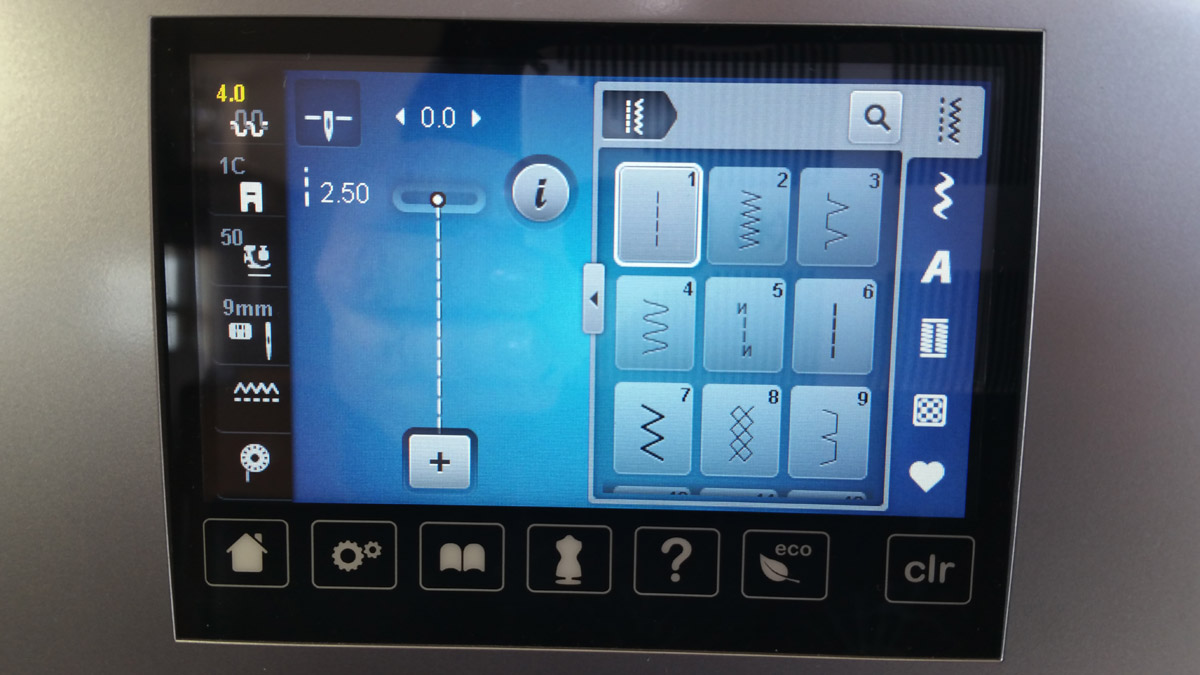
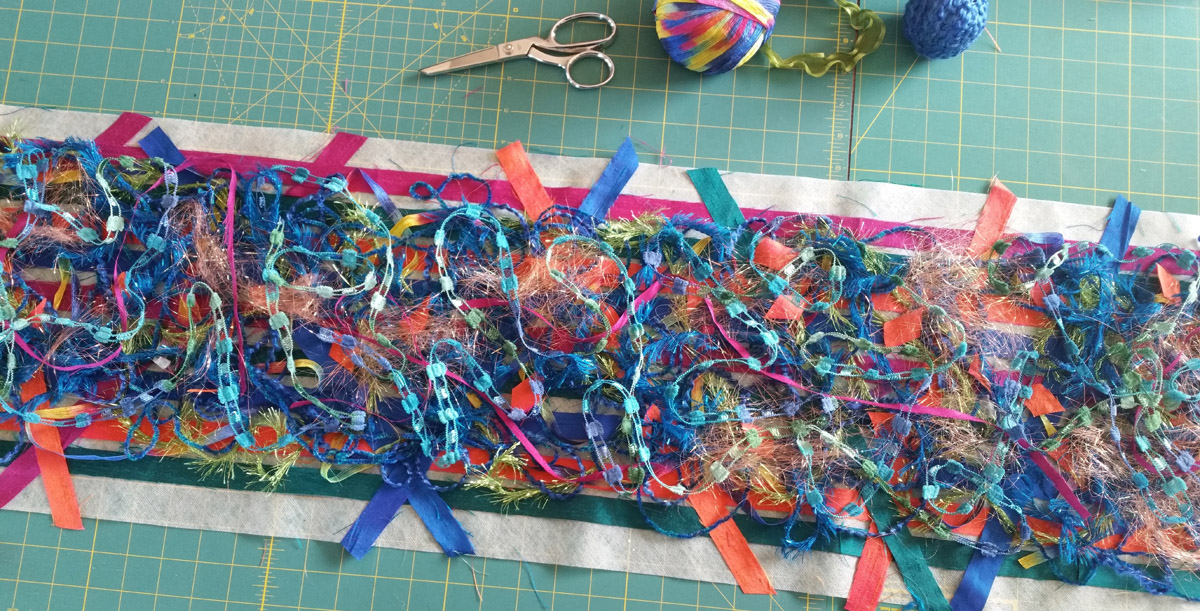
Begin by straight stitching all of your gridlines.
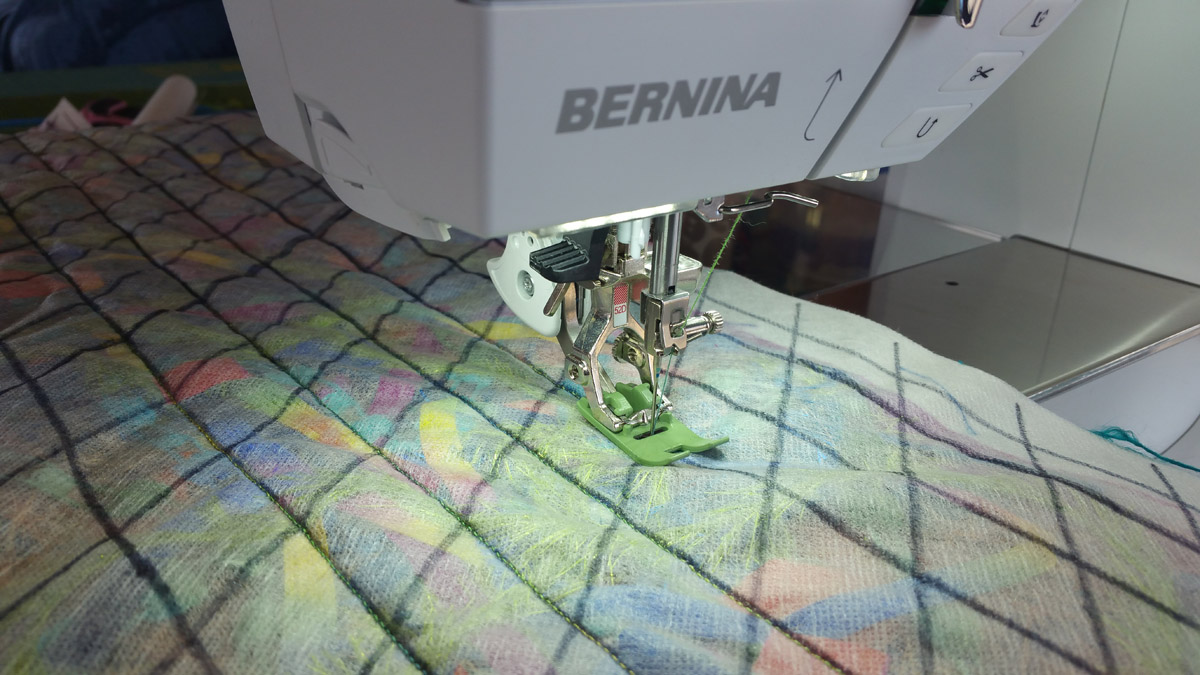
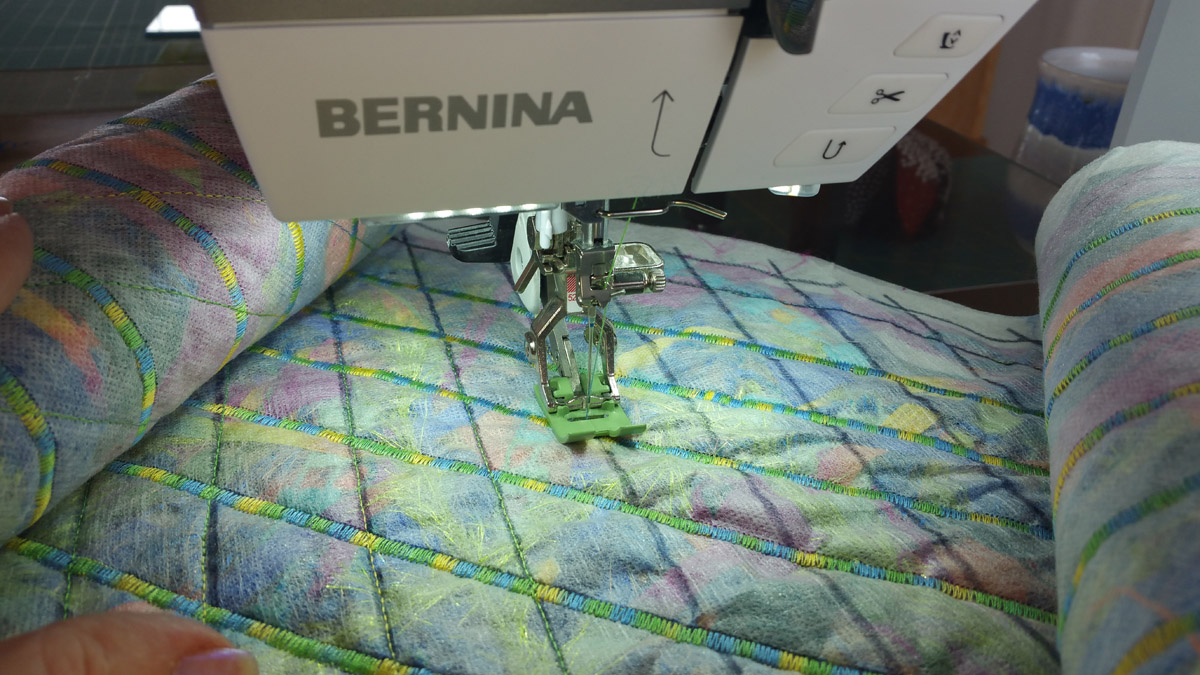
Next, set your machine for #2 Zig Zag satin stitch. Chang the width of the stitch to 5.0 with a .5 density.
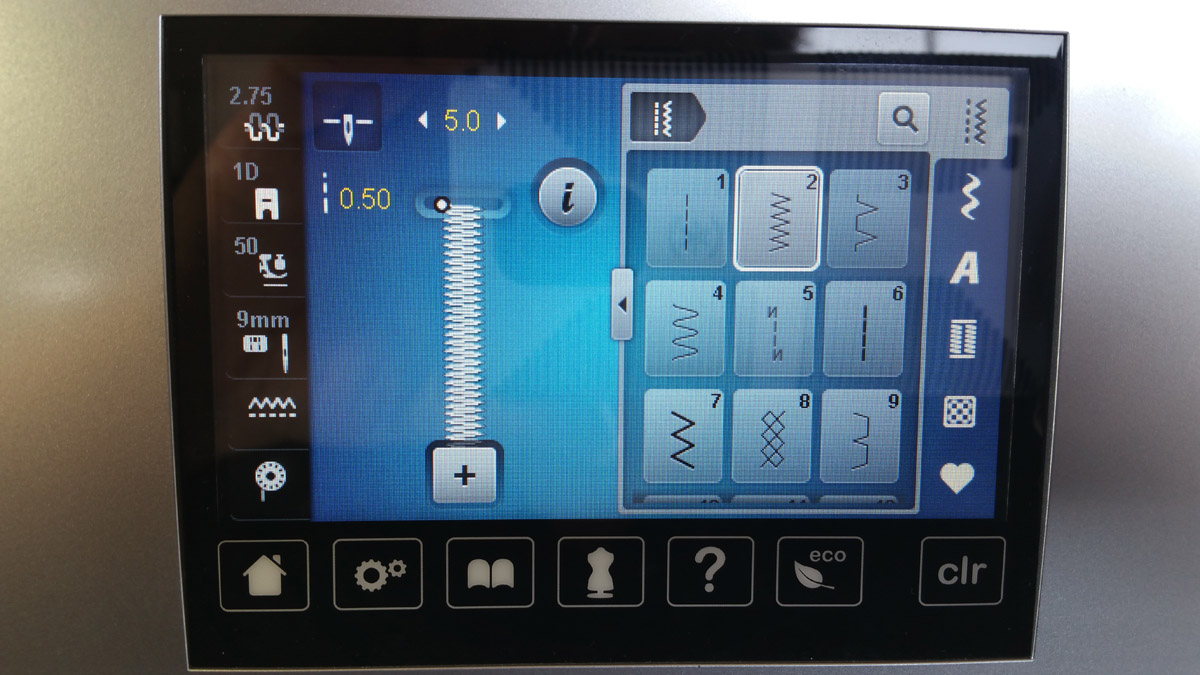
Zig Zag satin stitch over your straight stitch lines.
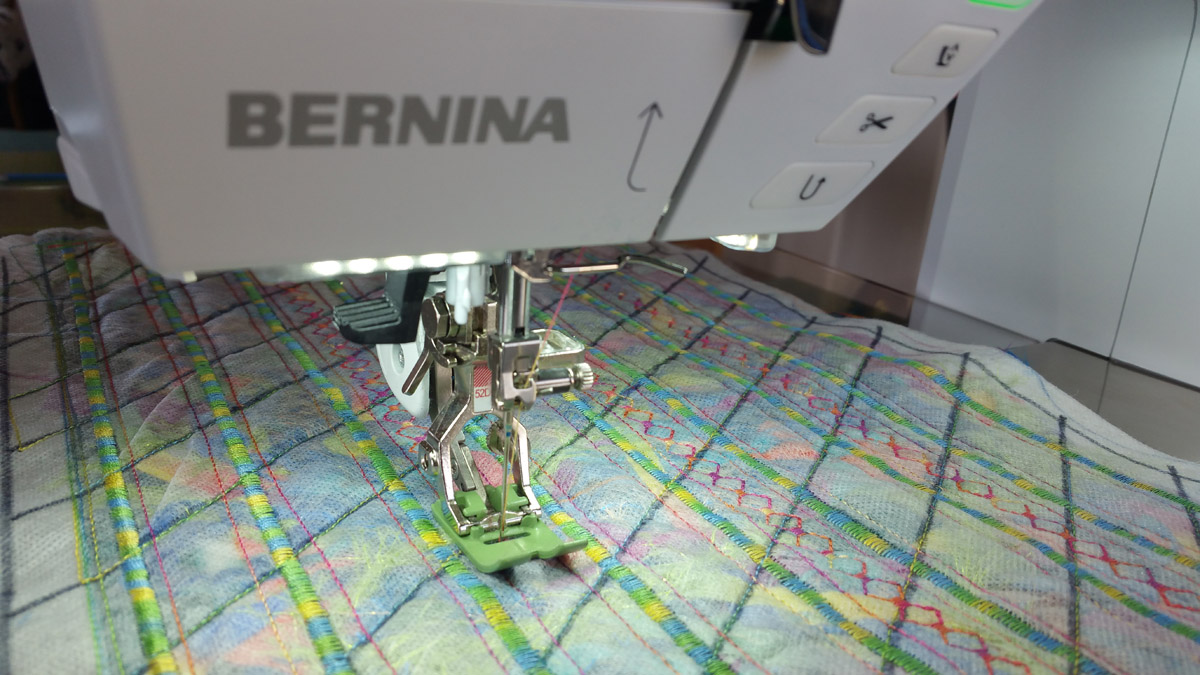
Diagonally add more stitching on your marked gridlines. I chose to go back and add a simple straight stitch.
Go back and add another type of decorative stitches between your satin stitched lines and change thread colors if you desire.
When using cotton threads, be sure to clean your machine often, even during a project. I choose to clean at every bobbin change. I remove the stitch plate and clean underneath it as well as in the bobbin area. Always use a brush and never canned air.

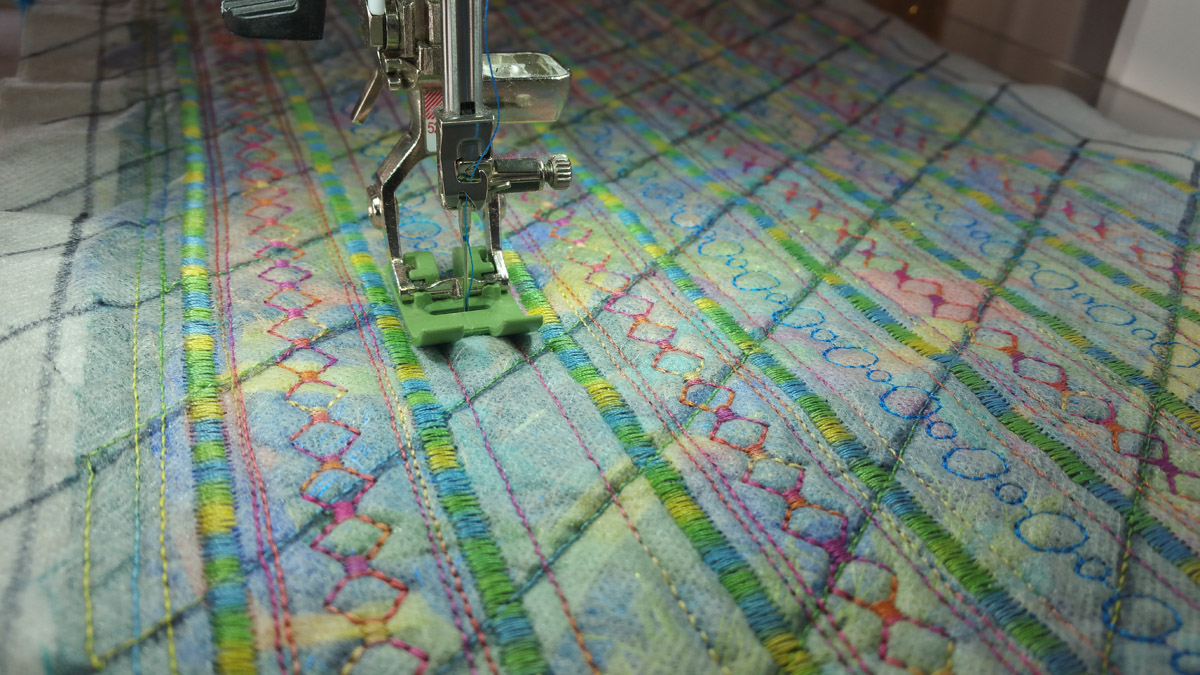
Add more decorative stitches next to the ones you’ve already done. You can do this freemotion or with an assigned stitch. I chose to use stitch #302 and #607 on my BERNINA 770 QE.
Once stitching is complete, trim off the excess stabilizer with your ruler and rotary cutter.
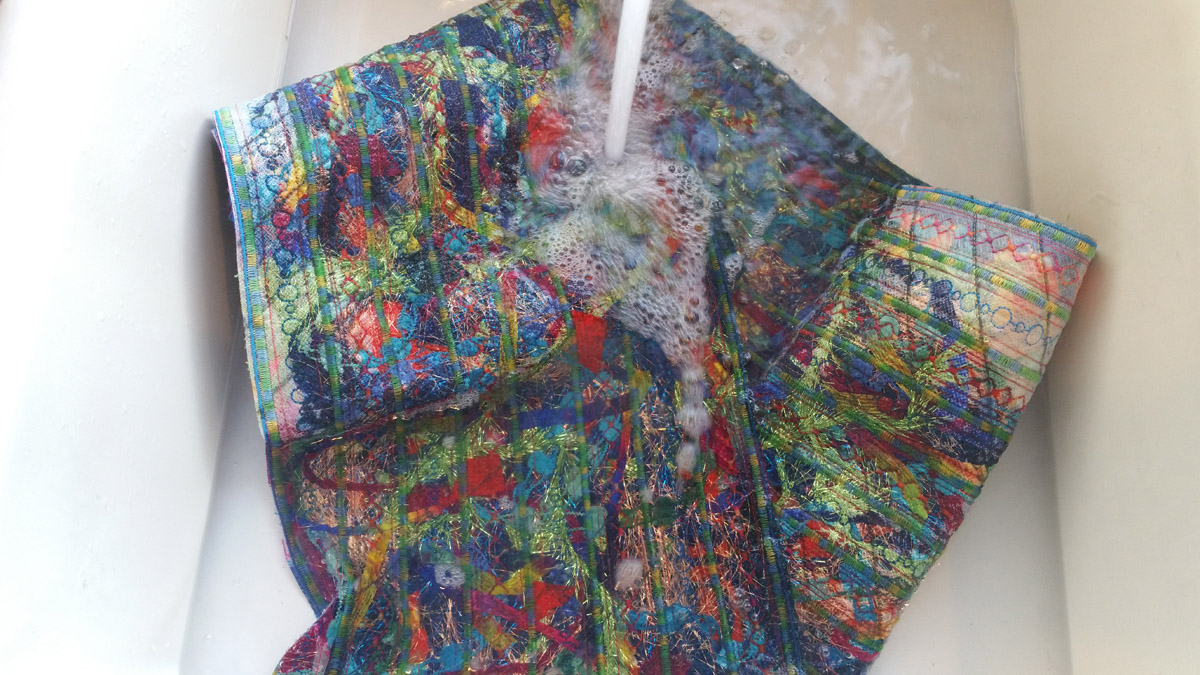
Fill a sink with very warm tap water and immerse your scarf. Let soak for 10-15 minutes. Rinse, and repeat at least three times. The hand your scarf over a towel rack or coat hanger to dry overnight.
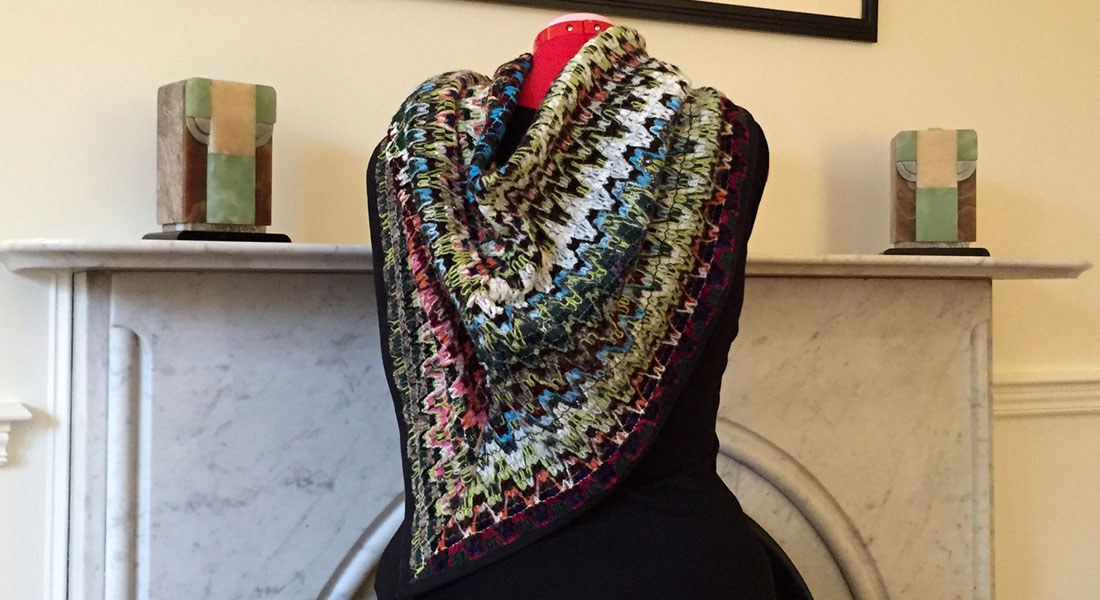
You can make these carefree scarves in a variety of shapes, sizes and with any kinds of fabrics and fibers. Give it a try and enjoy your new piece of art to wear!

Used Products

What you might also like


4 comments on “Fabric and Fiber Scarf Tutorial”
-
-
Thank you very much. Give it a try, your Bernina will sew thru it all like butter.
The Sulky water soluble products come in a blue color top (think blue=water and they wash away). The green top one I use is called Totally Stable and is used as a iron on stabilizer.
-
-
Are the small pieces of fabric placed on the sticky side of the two Sulkys?
-
Yes, all the bits and pieces are laid out on the sticky side of the Sulky Solvy.
-
Leave a Reply
You must be logged in to post a comment.

Everything is beautiful! Congratulations! Regarding the Sulky Sticky Fabri-Solvy, is it the blue or the green format?