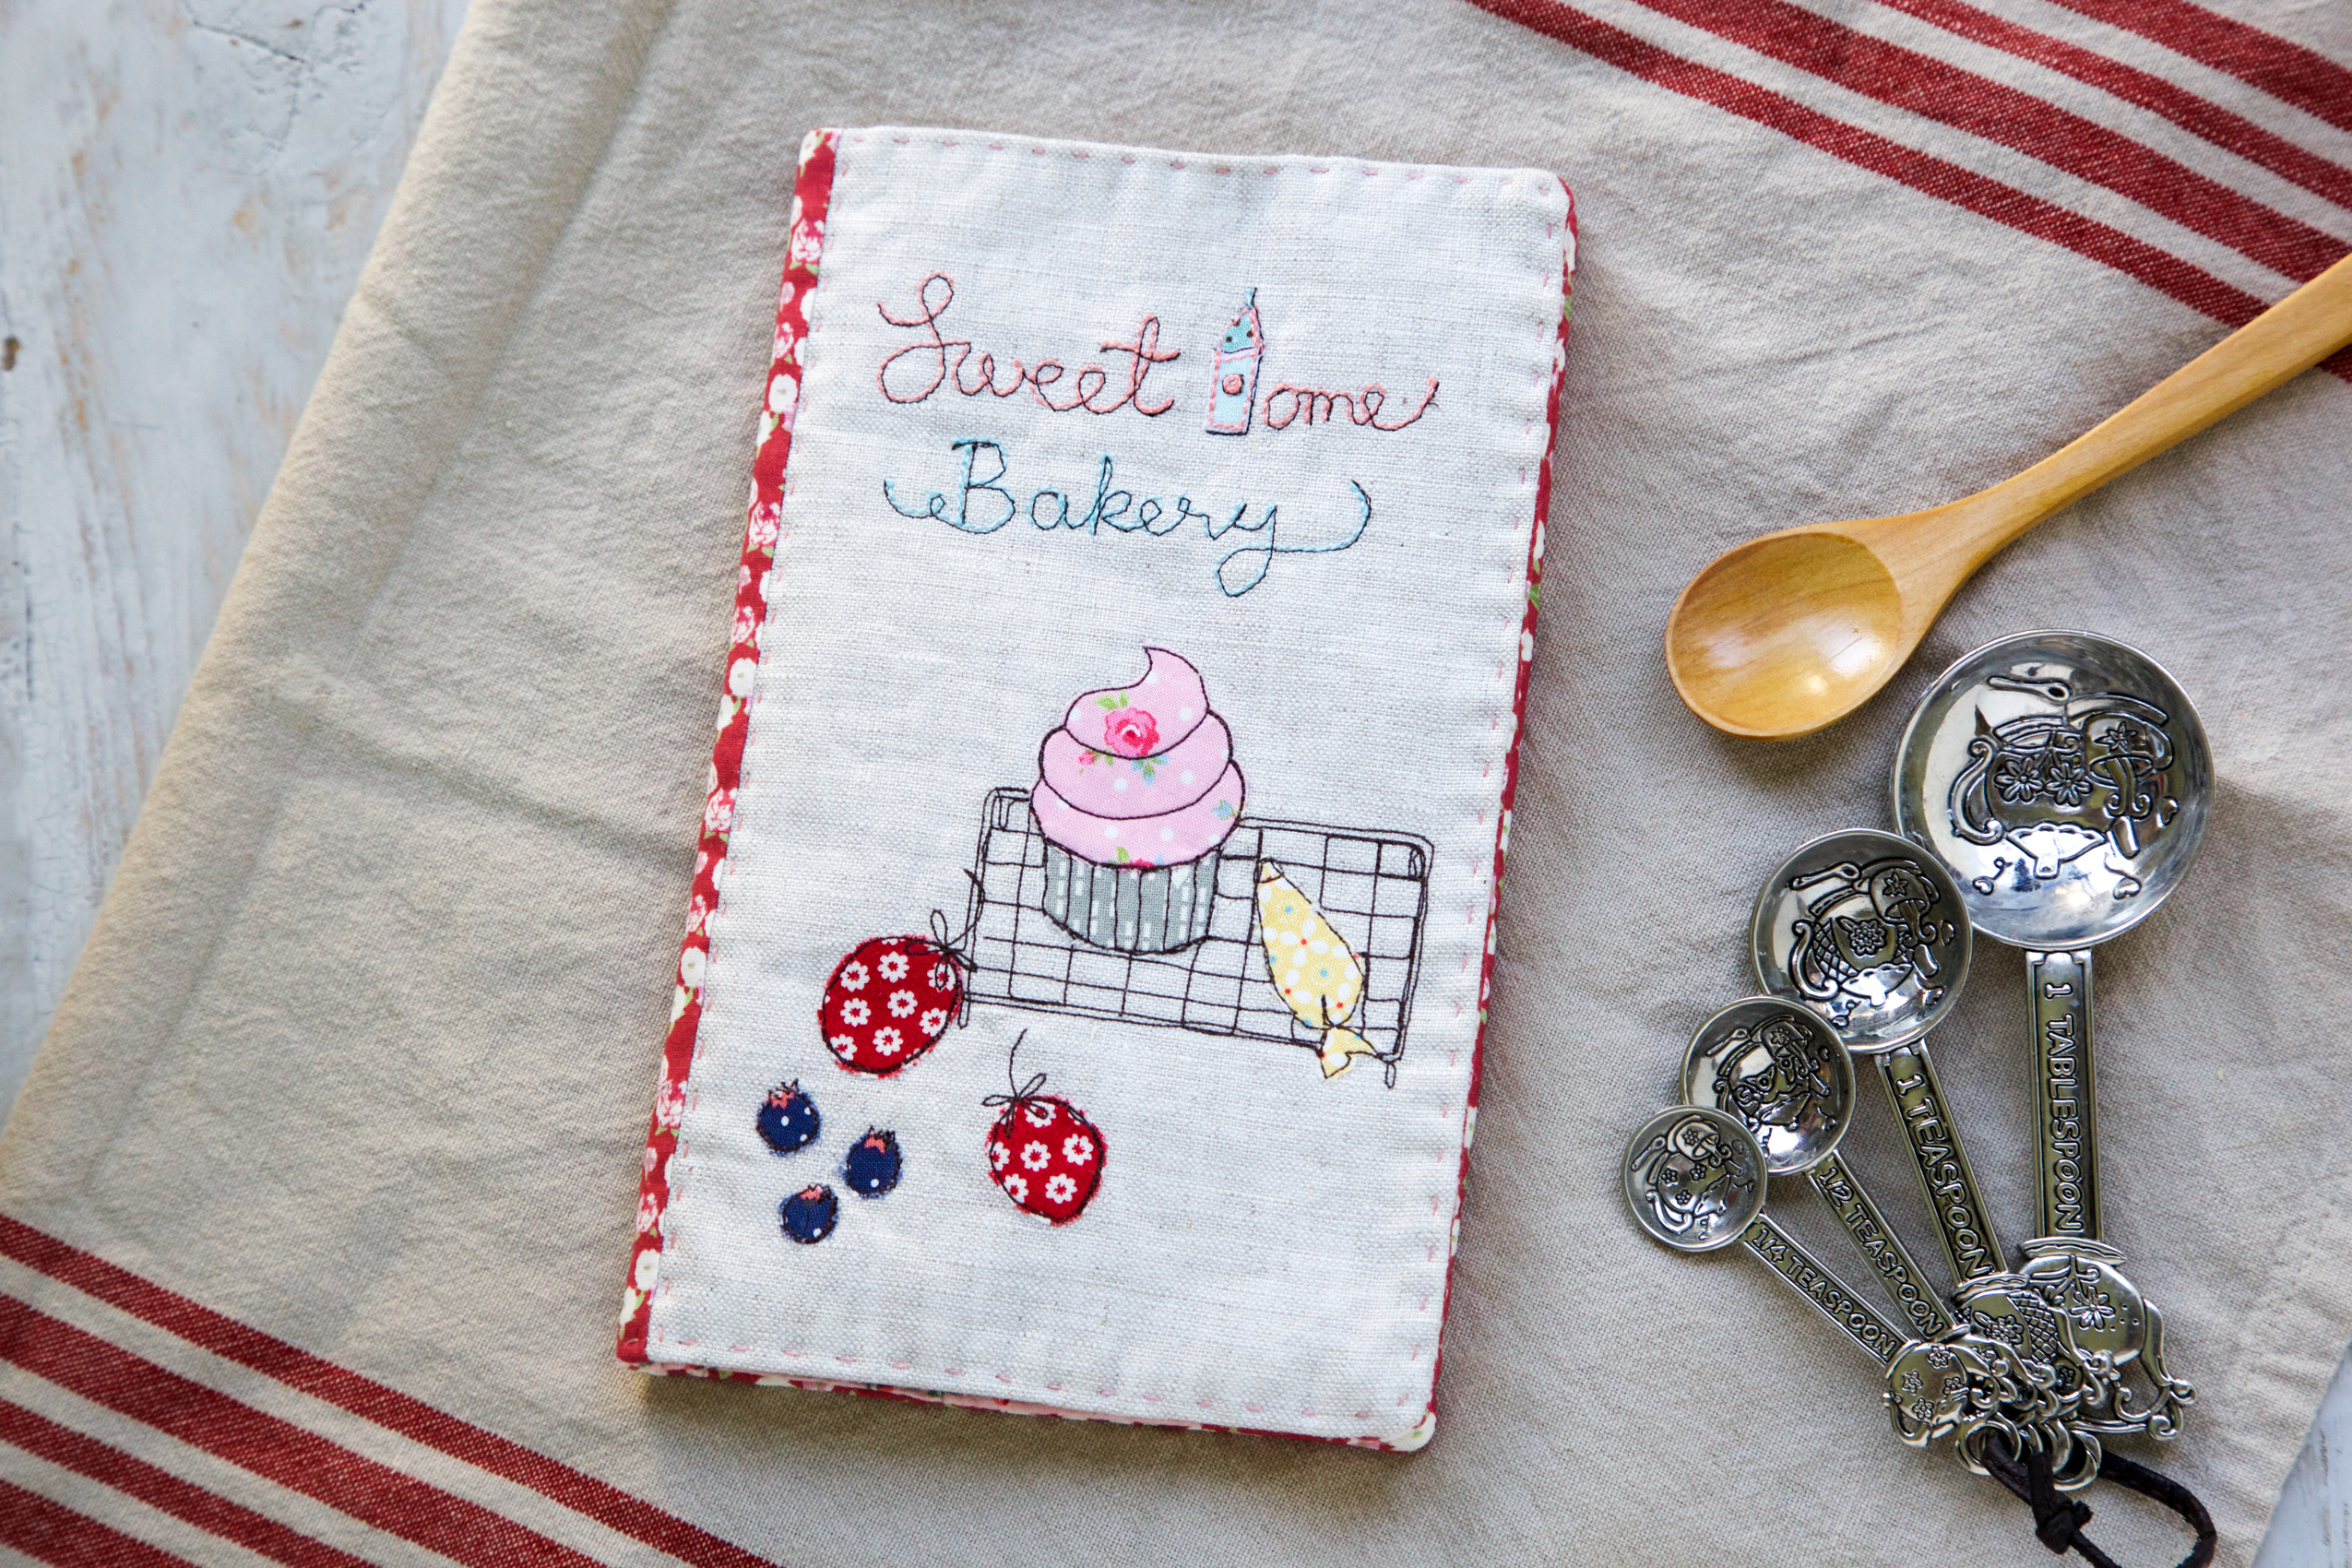
Fabric Book Cover Tutorial
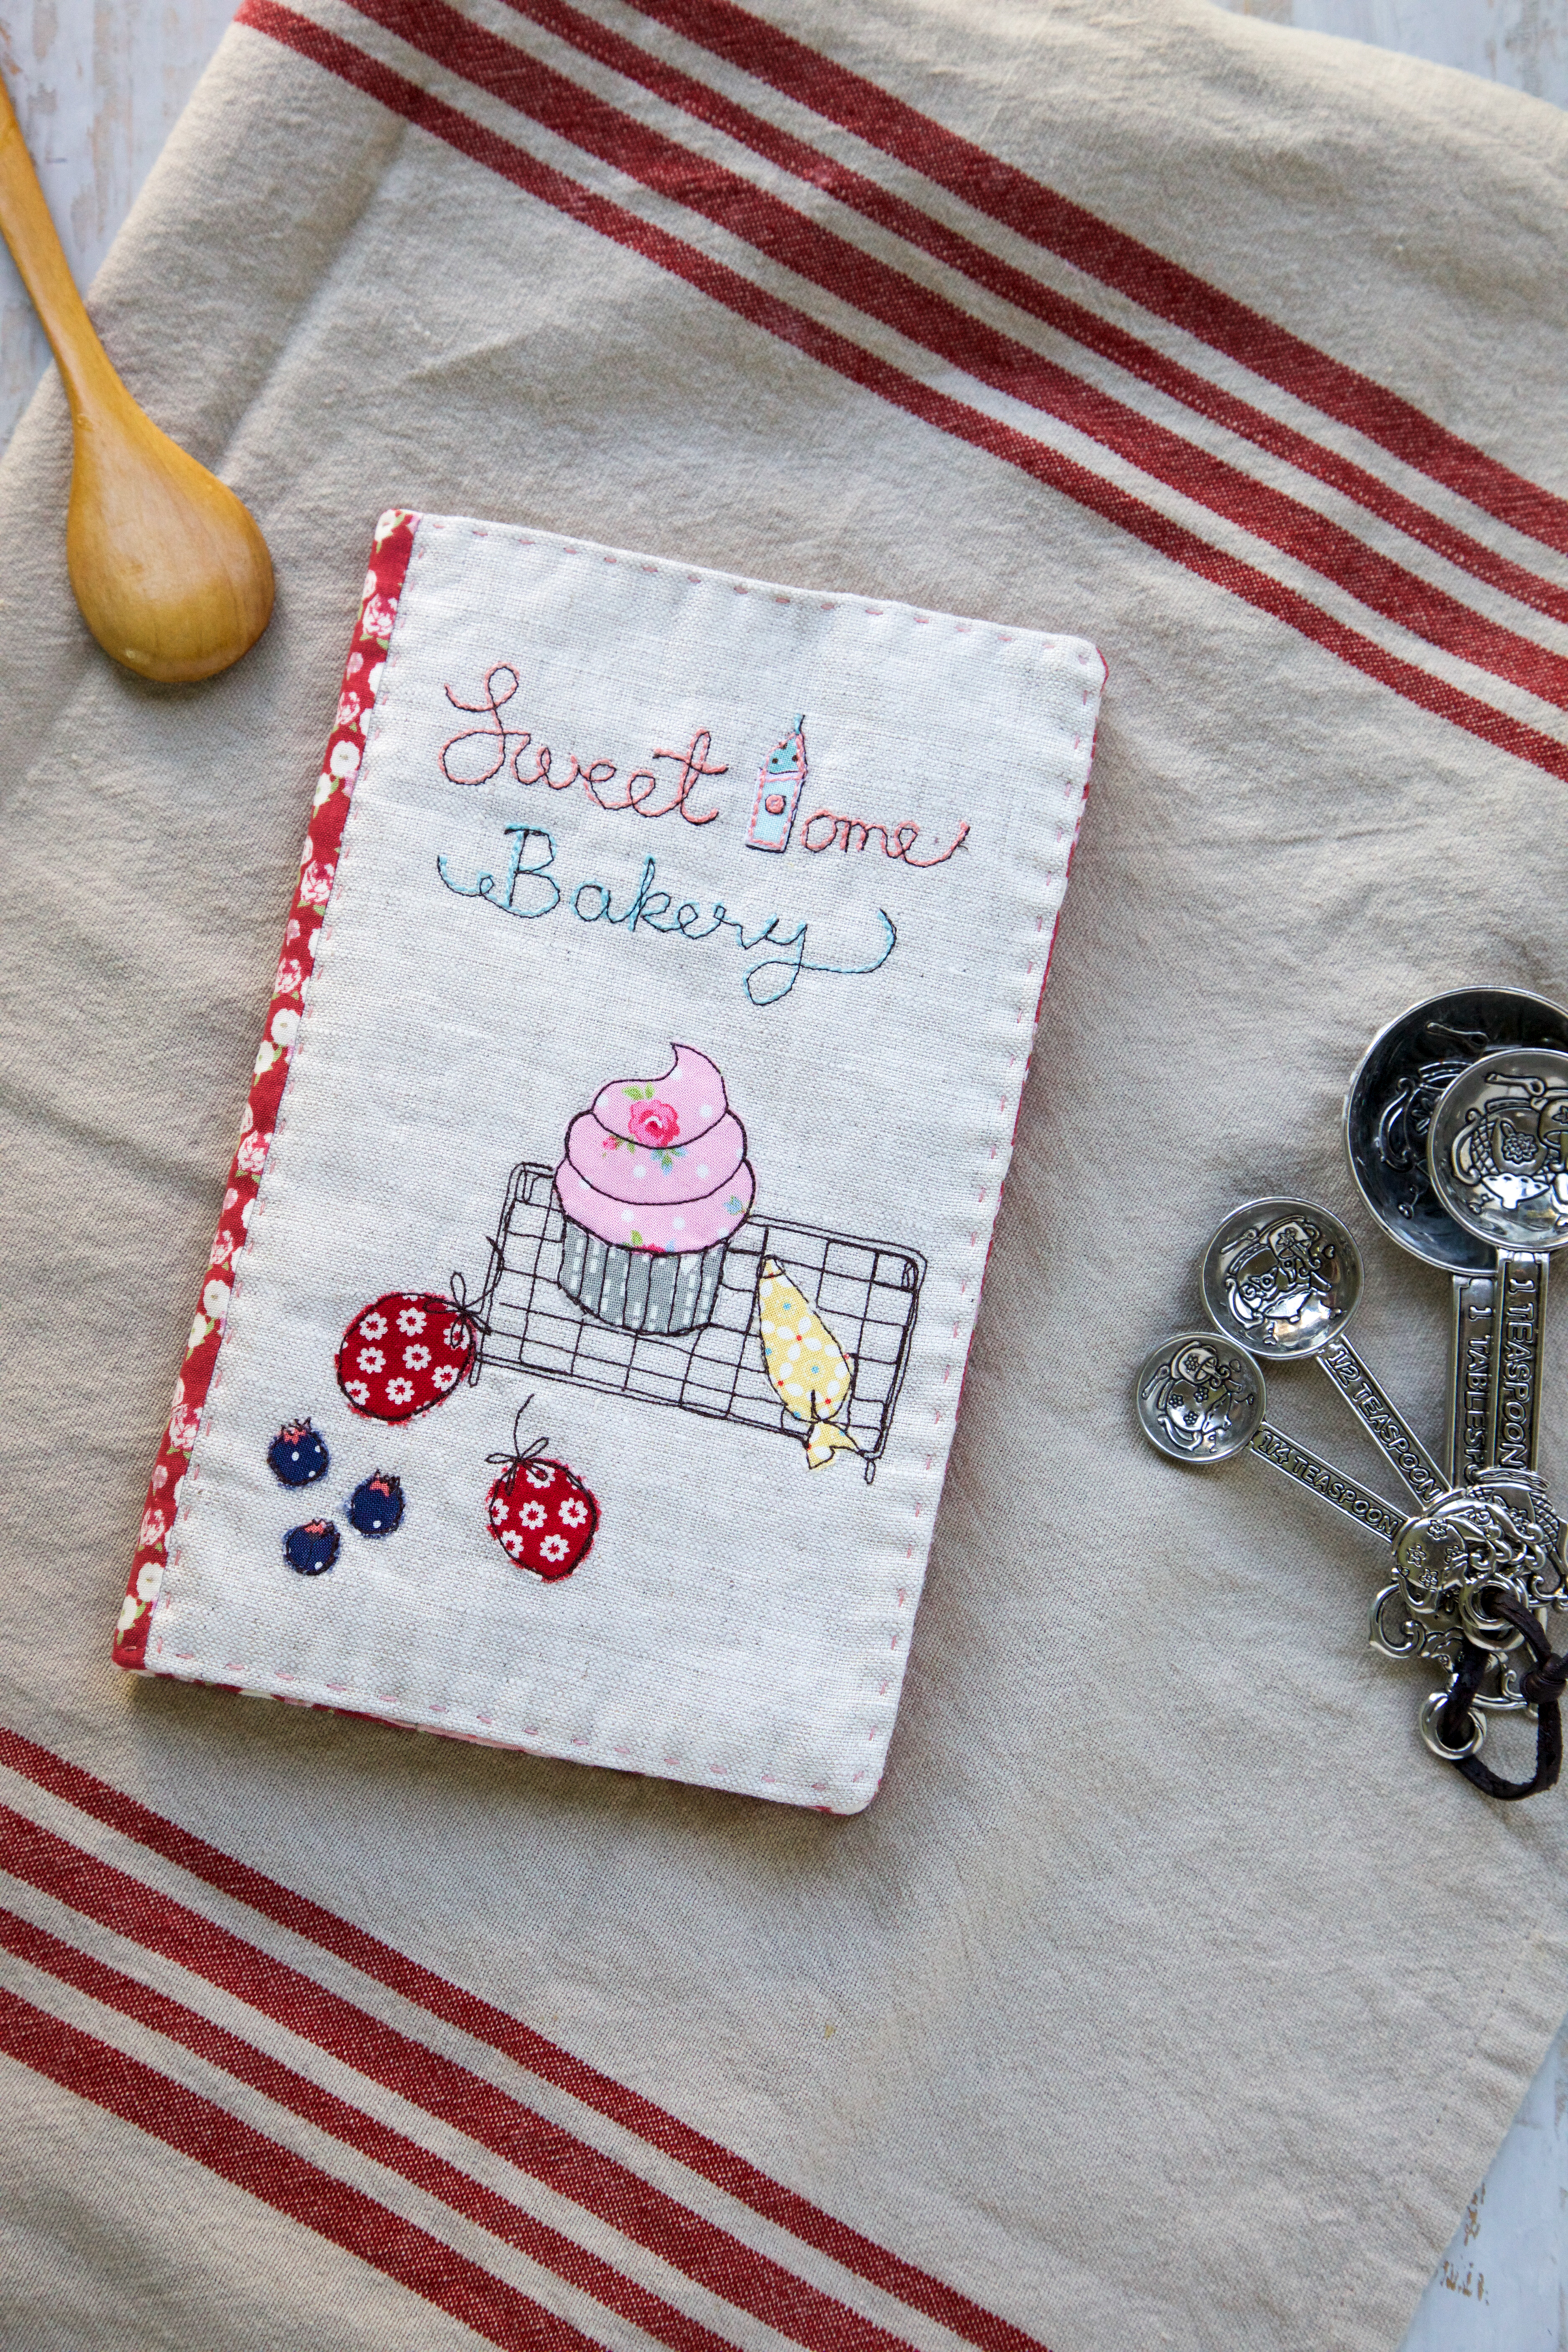
Hello WeAllSew readers! It’s Minki Kim, and you can find me on Instagram @zeriano and MinkiKim.com. I also design fabric for Riley Blake Designs and I have my own line of sewing patterns. I would like to share my recipe book cover today.
Materials to Make a Recipe Book Cover
- Download the Recipe Book Cover Pattern
- Recipe book
- 1 piece linen: measure your book length and width and add 1/2”
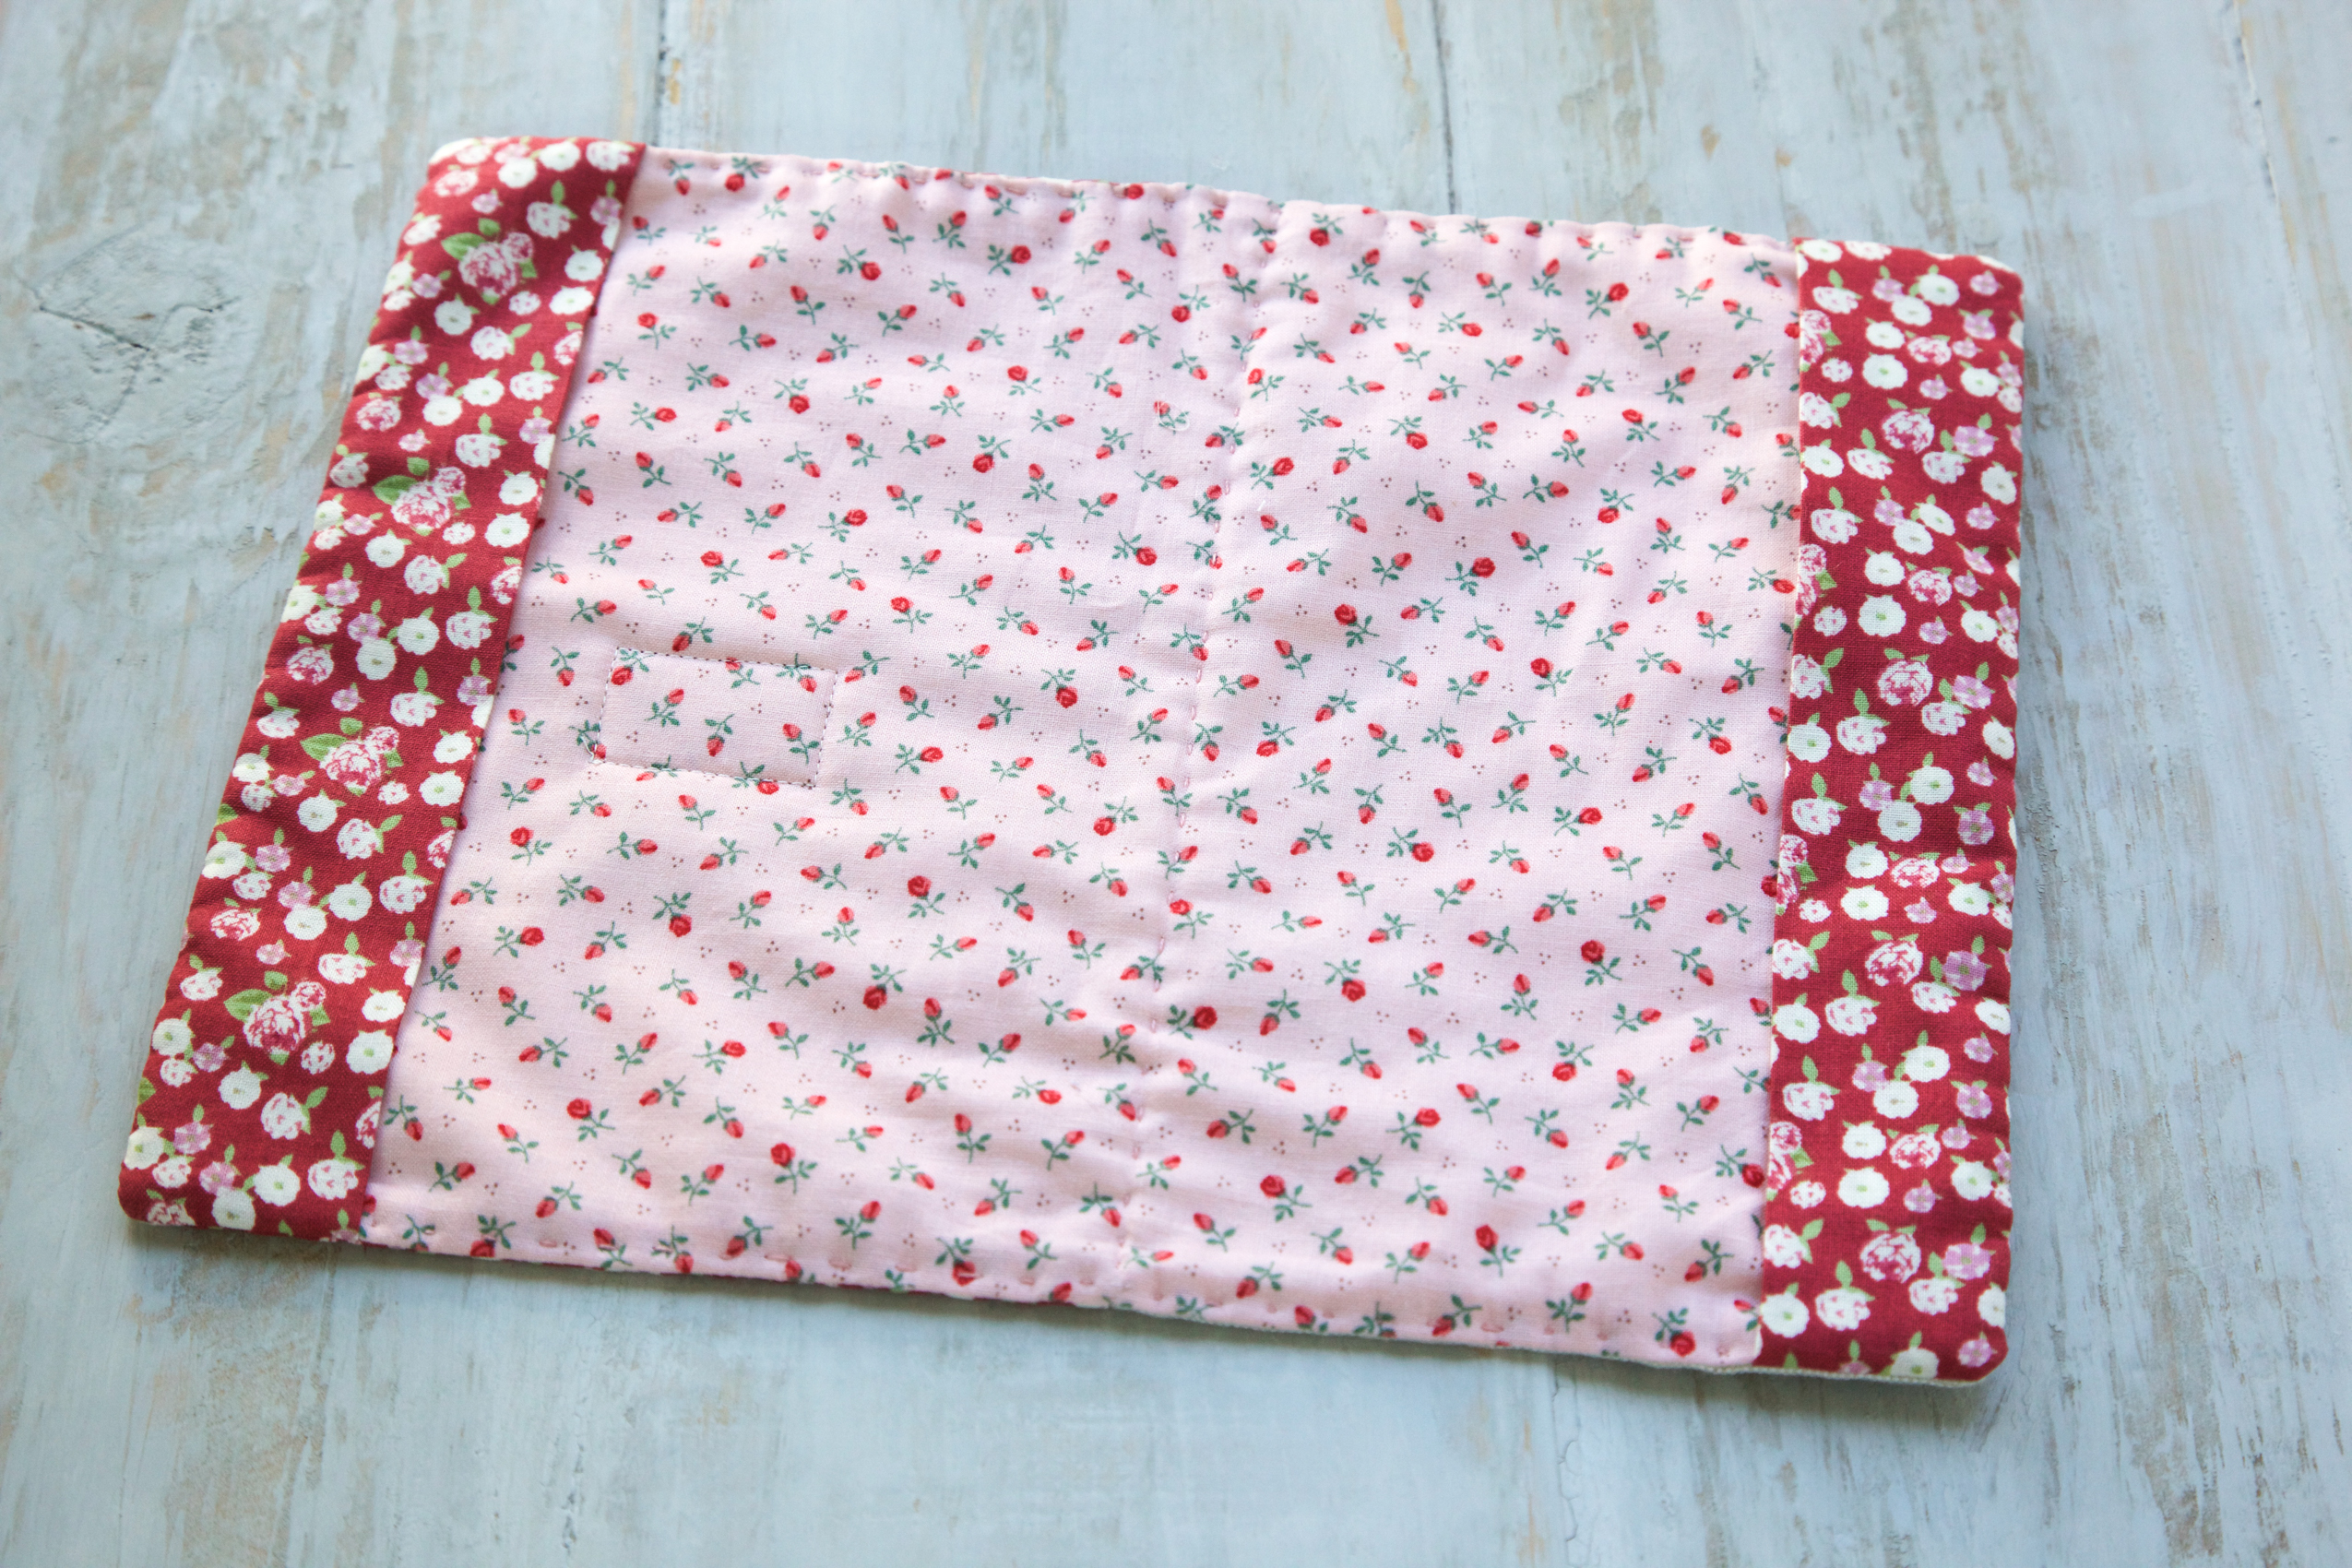
- 1 piece fabric for back cover: measure your book length and width and add 1/2″
- 2 pieces fabric for inside book cover pockets: 4 1/2″ wide x length of book with 1/2″ added
- 1 piece cotton batting: add 1” to the width and length of your open book size
- assorted fabric scraps
- embroidery floss
- decorative label (optional)
- fusible interfacing
- fusible webbing (such as Lite Steam-a-Seam 2)
- fabric pen (such as Frixion)
Note: all seams are 1/4″
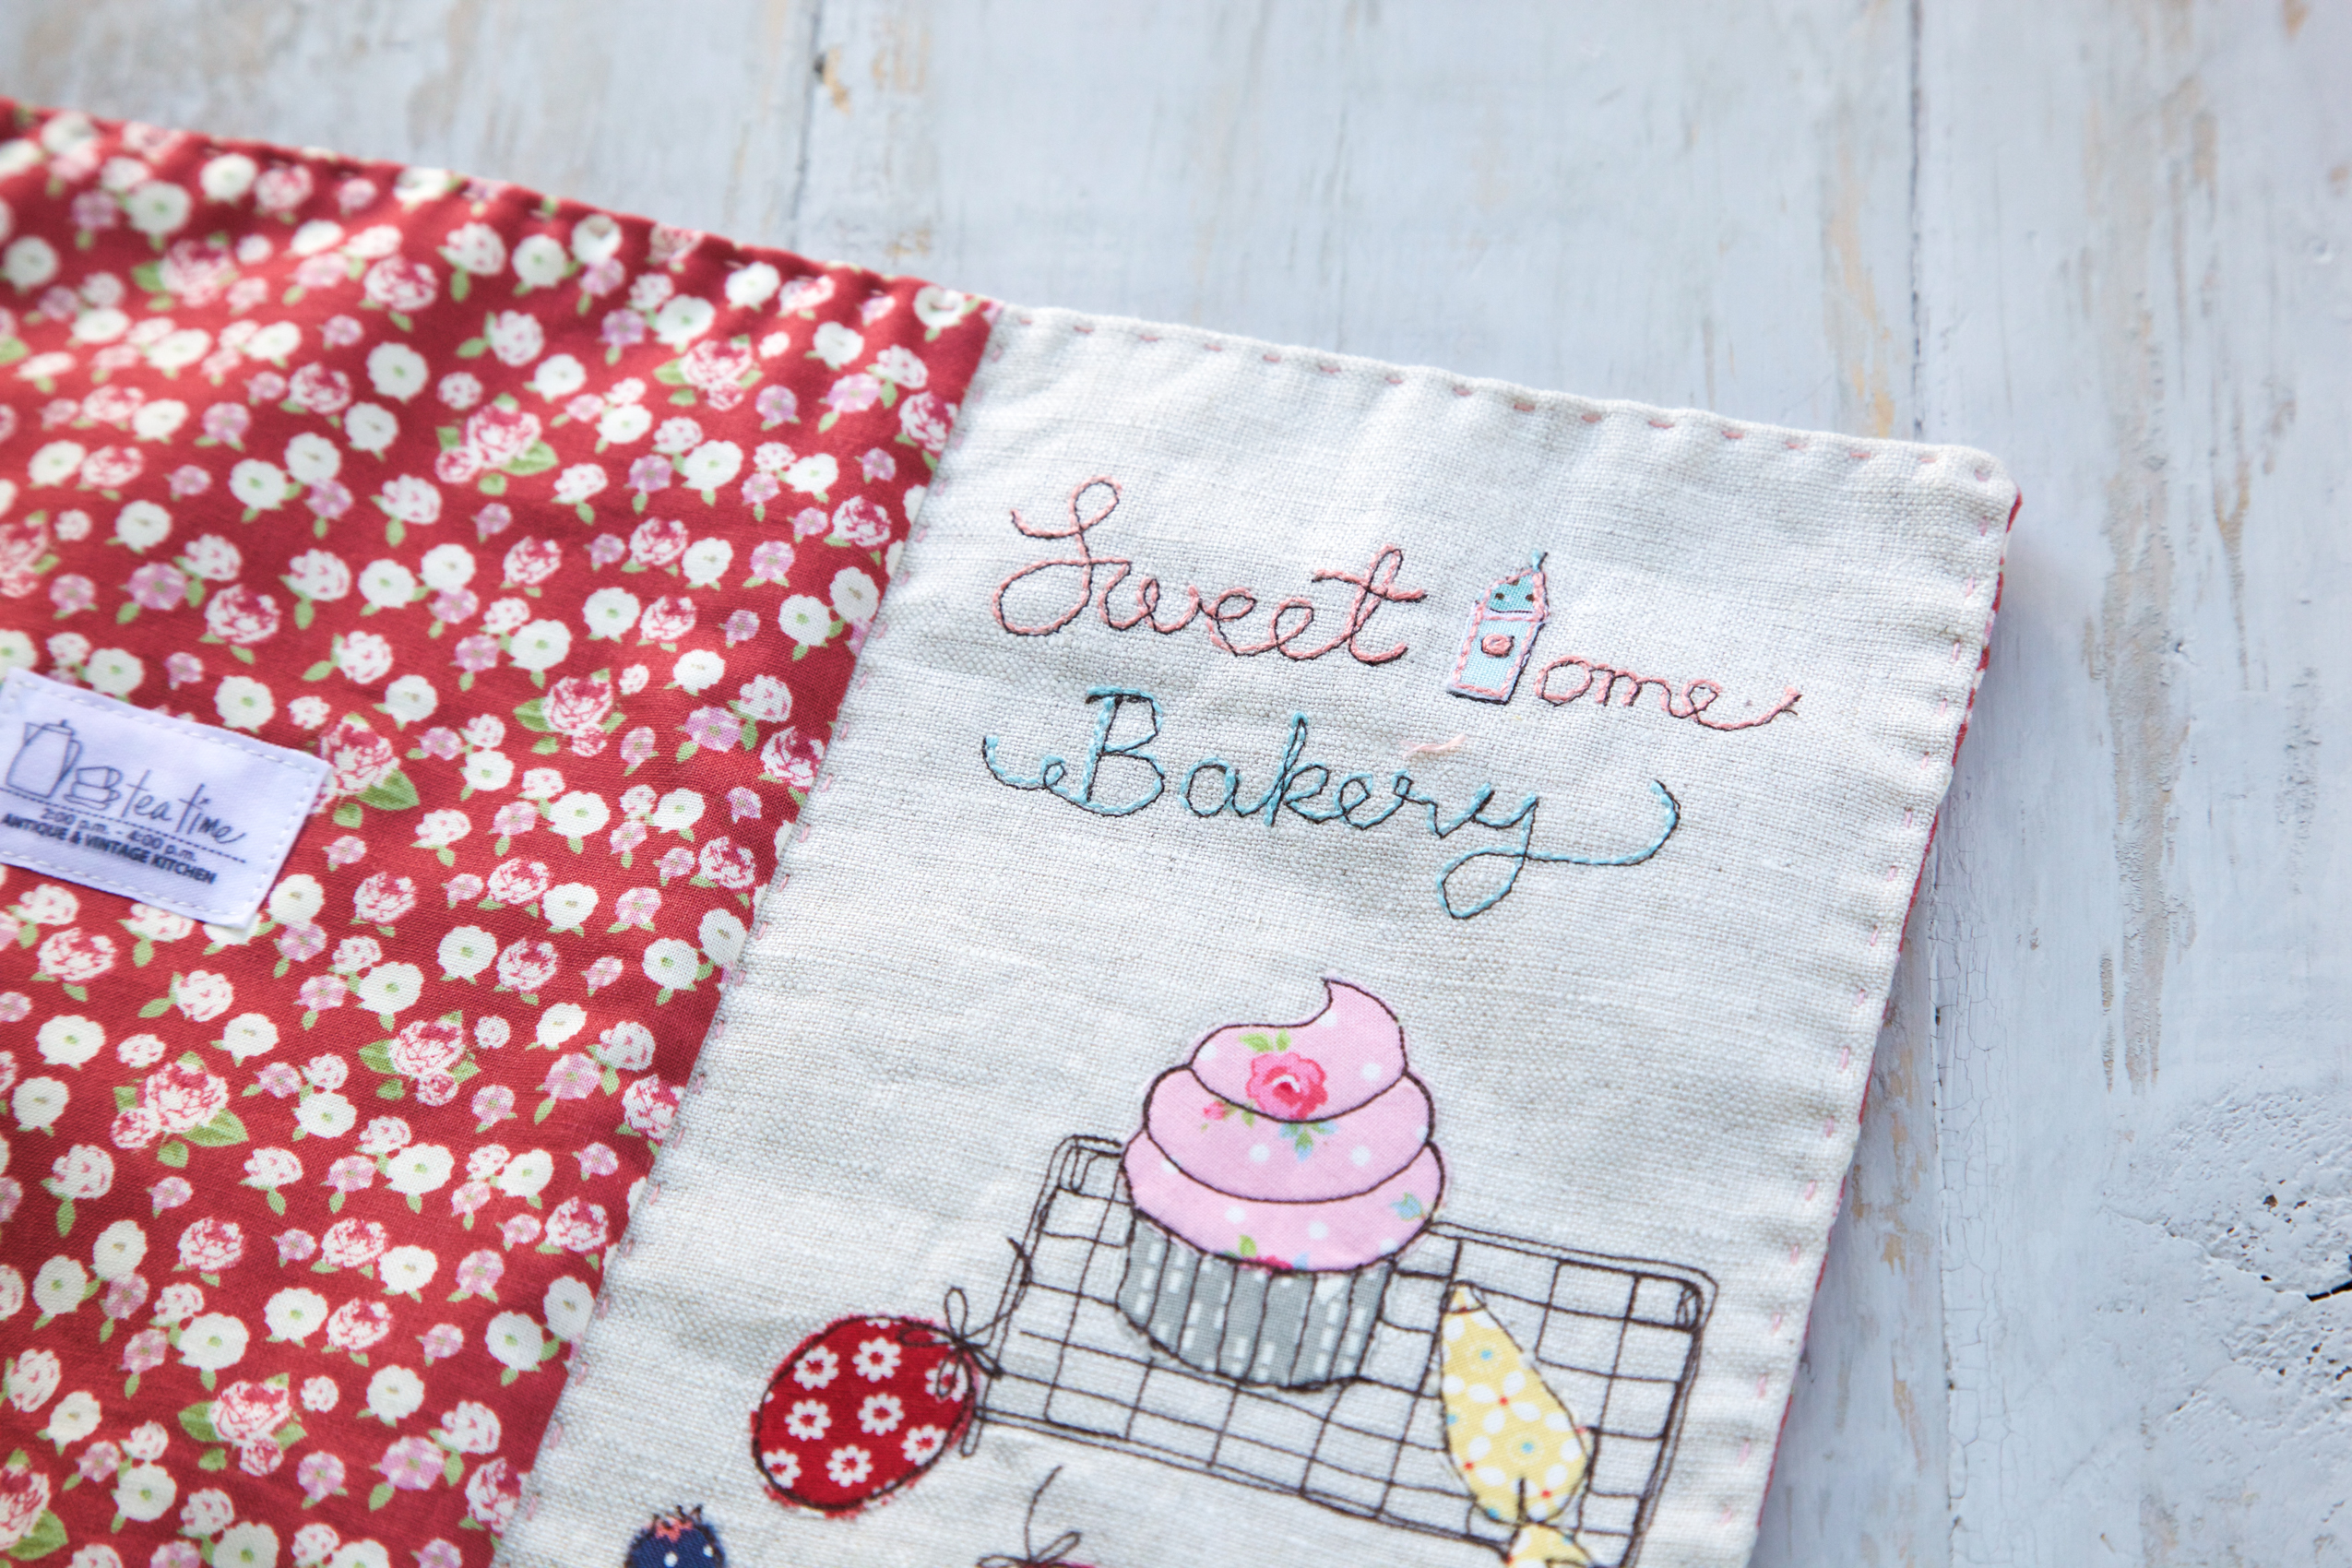
1. Choose fabric scraps for each element and cut out the pieces after attaching the fusible web on the wrong side of the fabric.
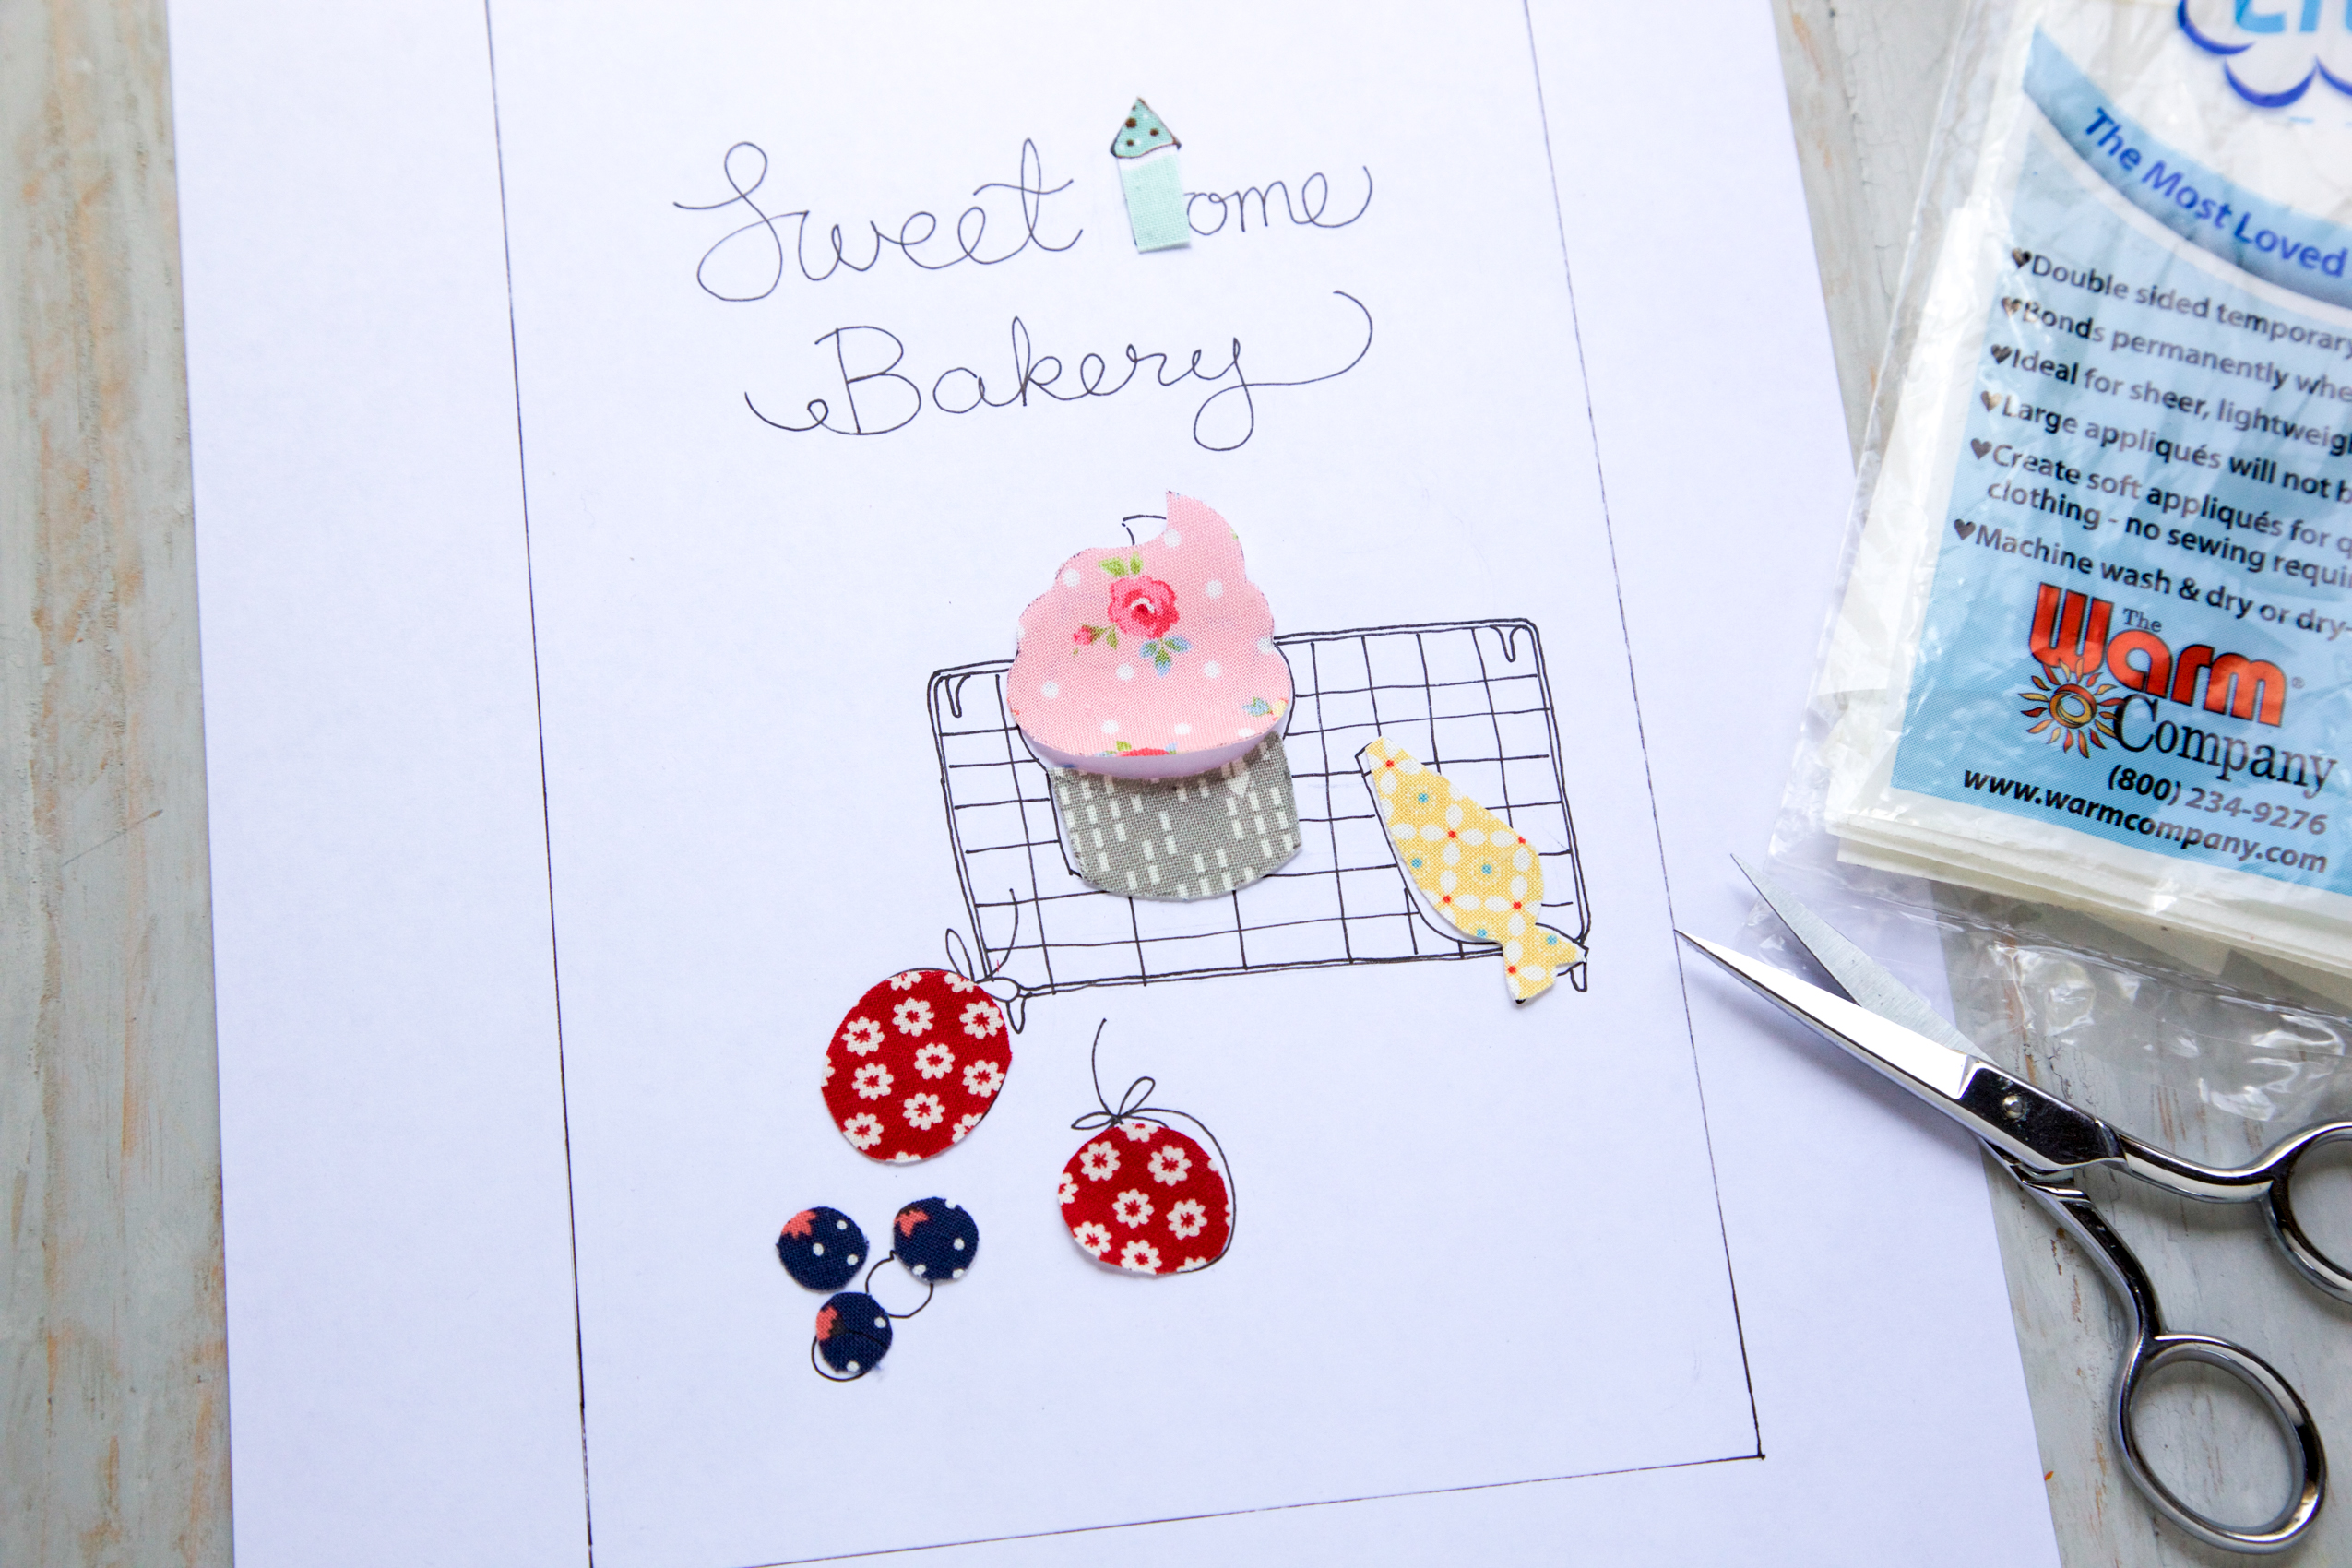
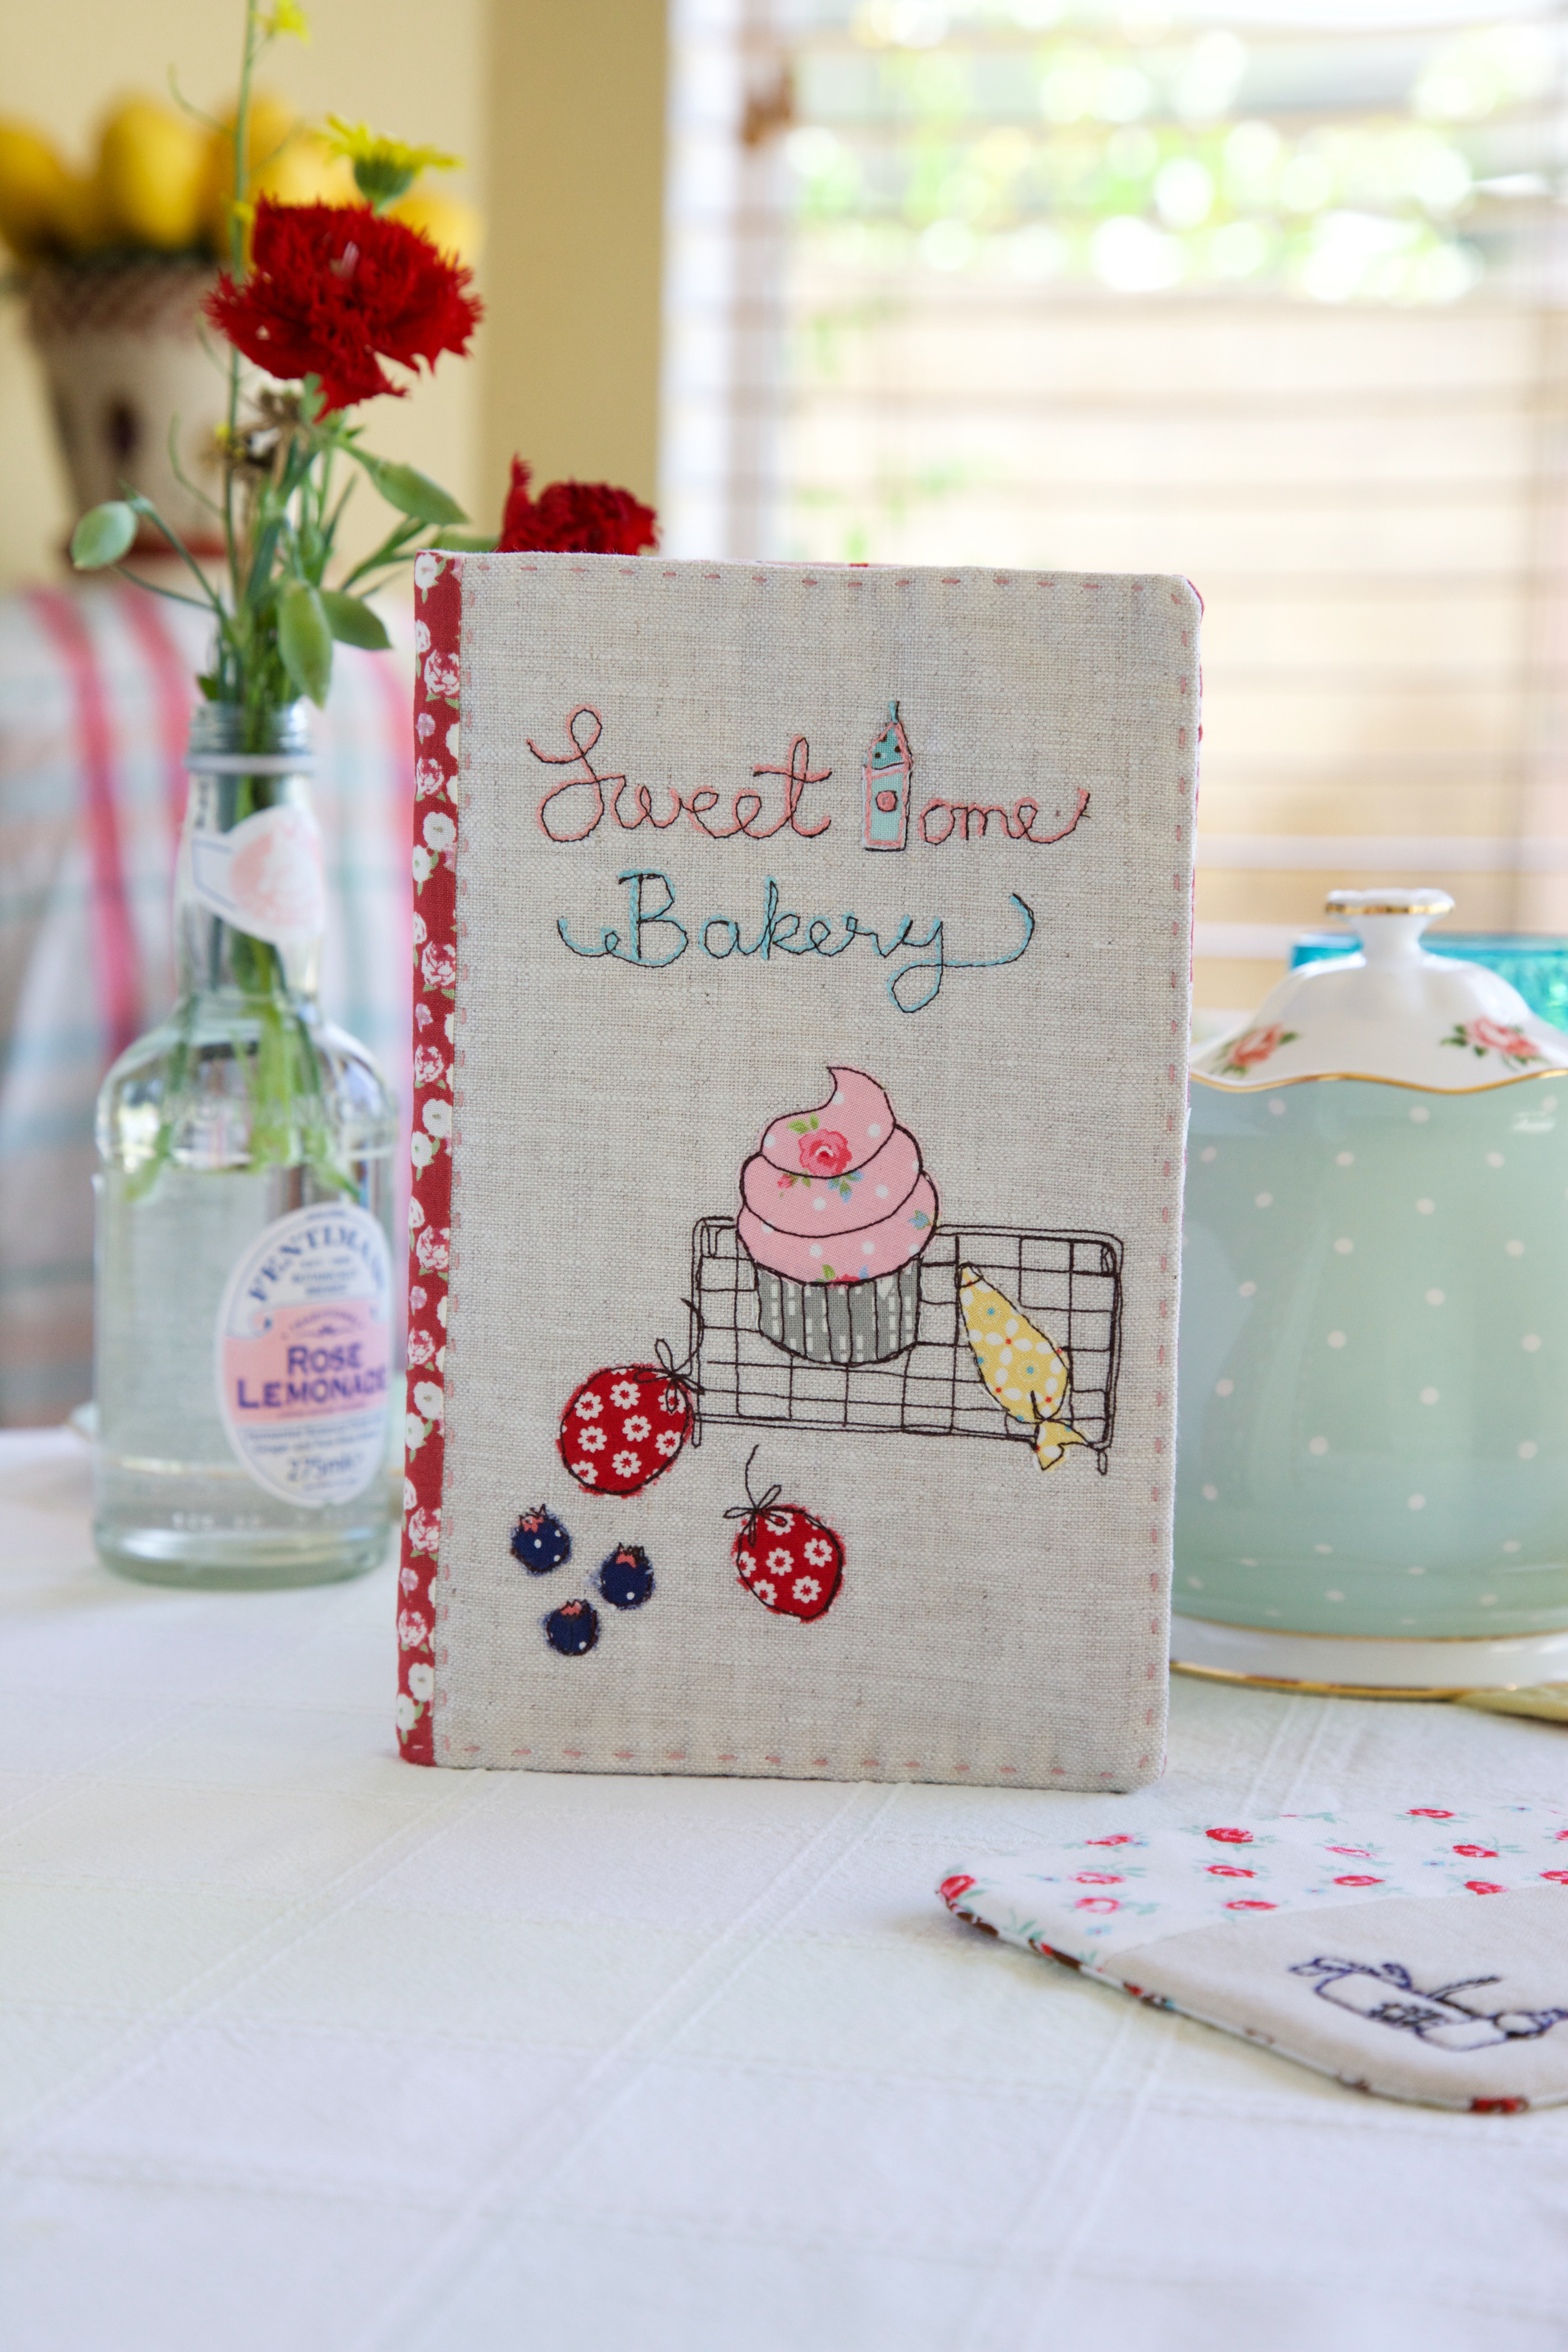
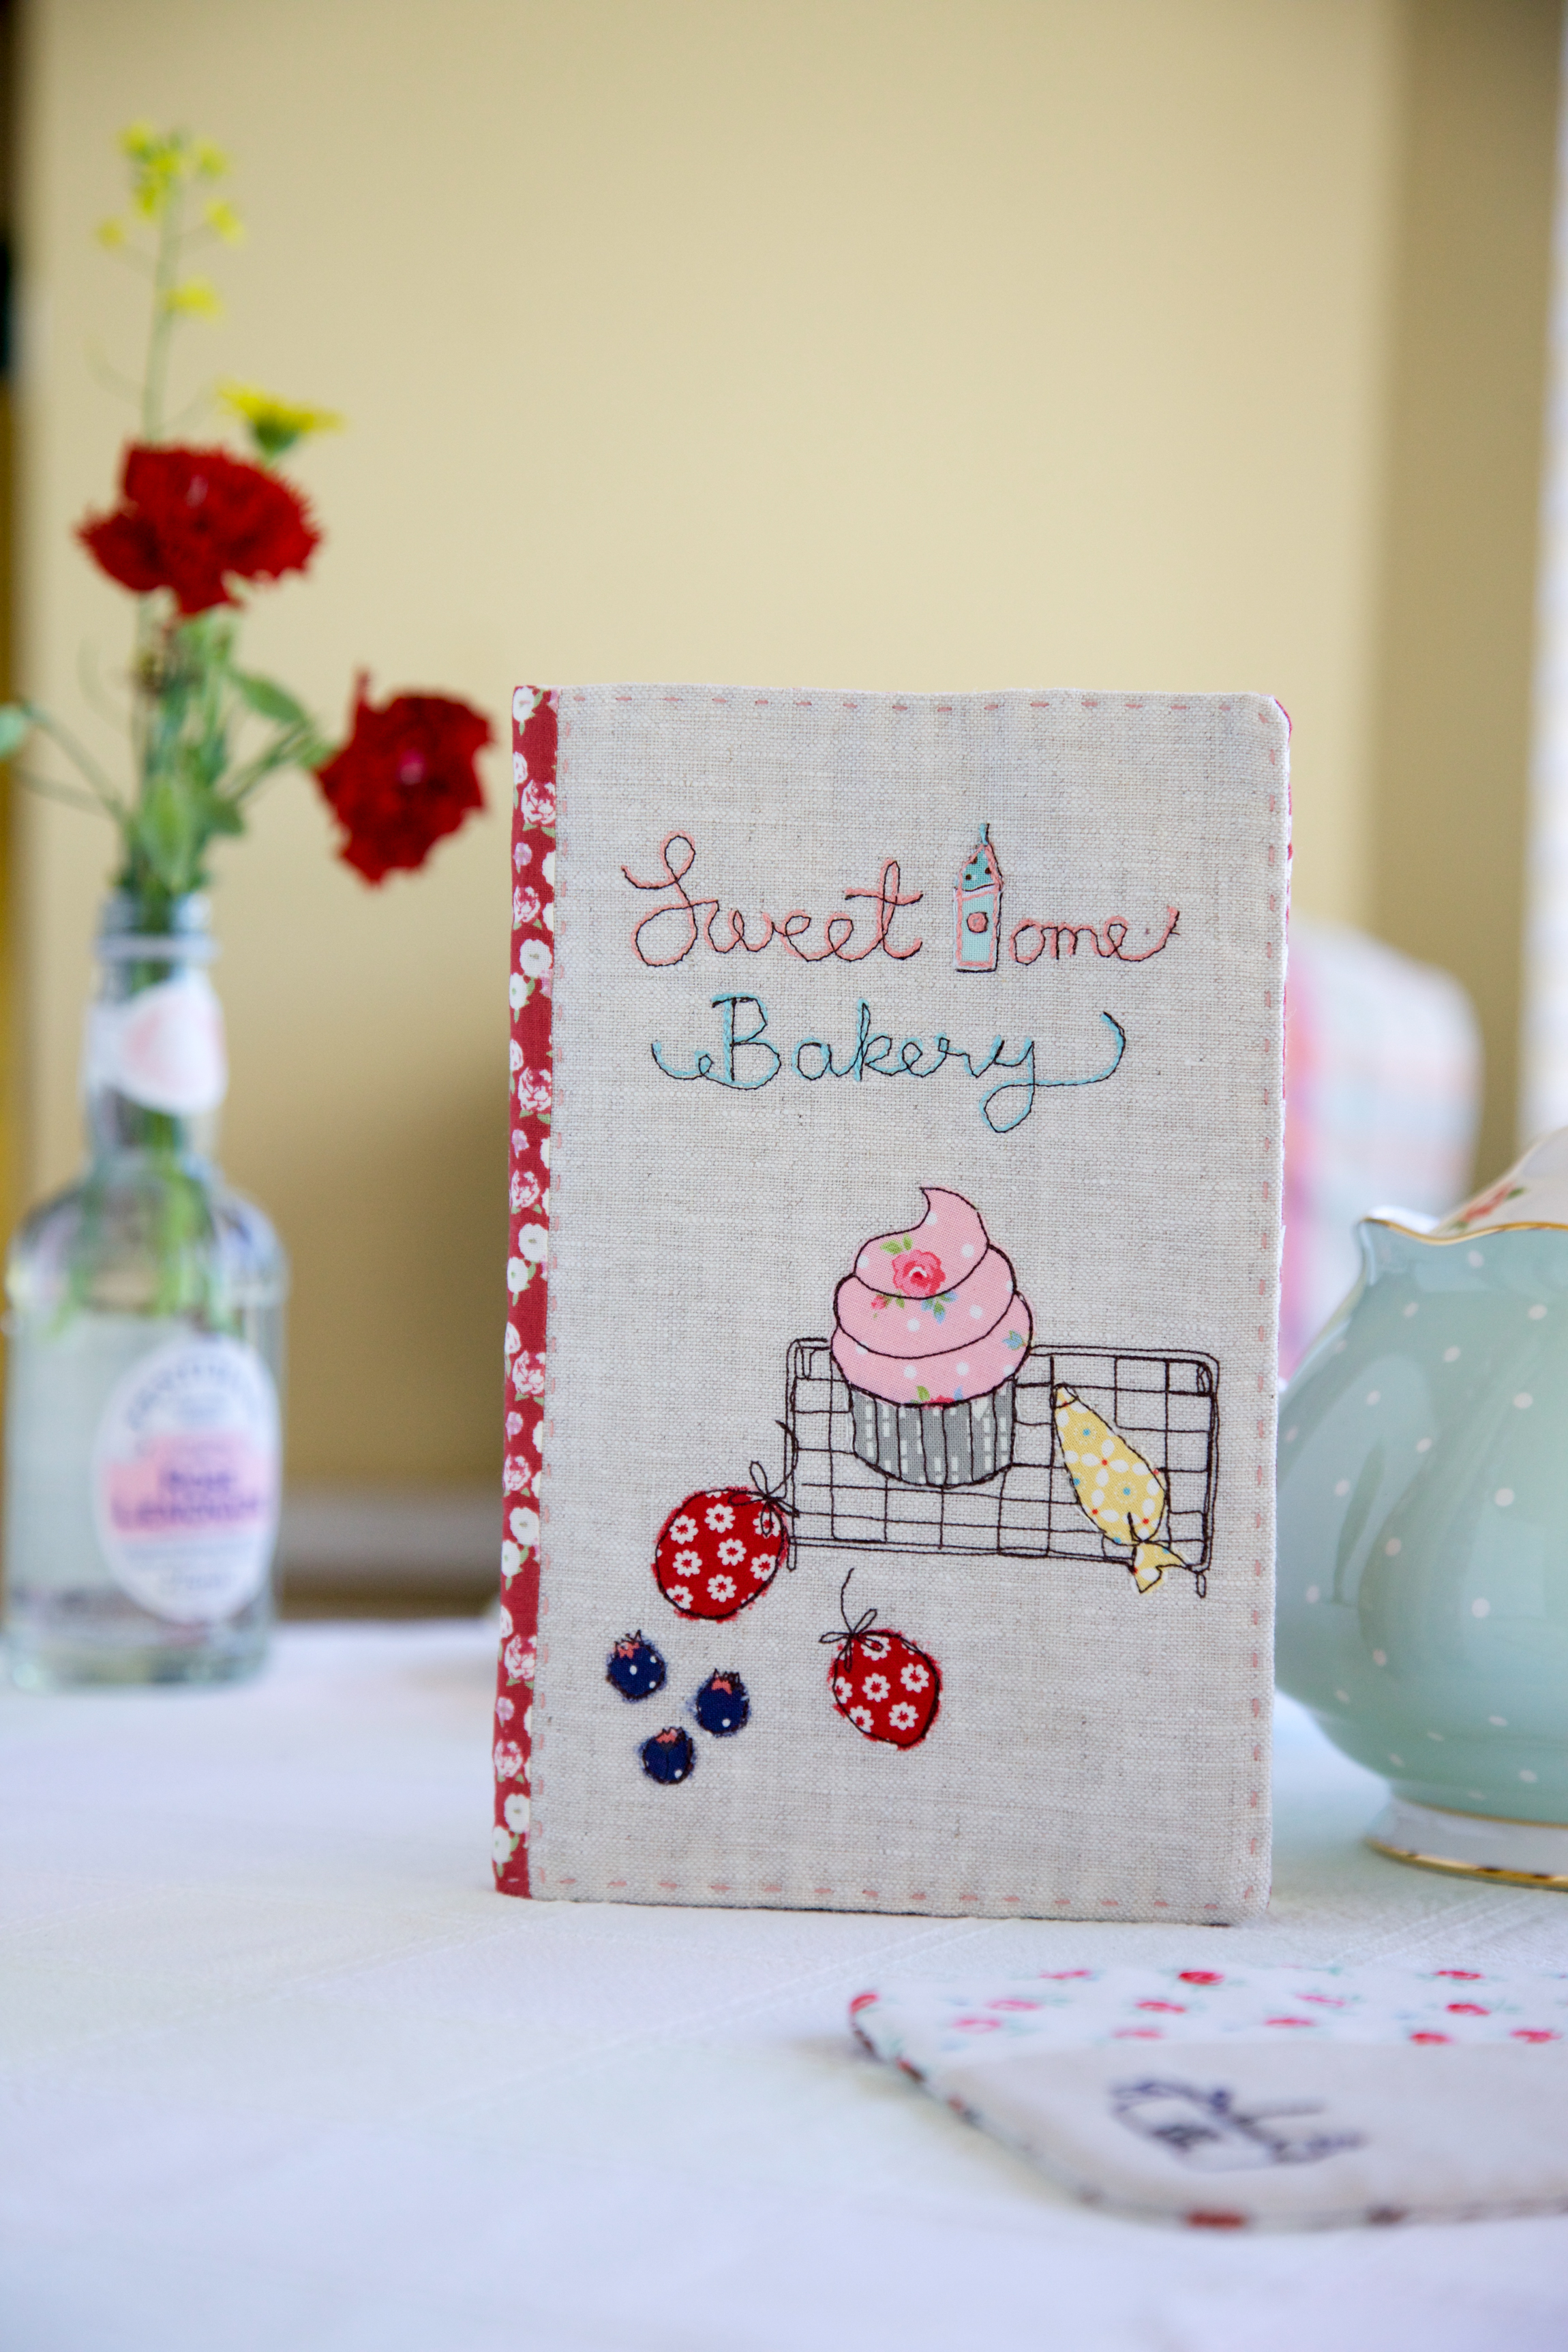
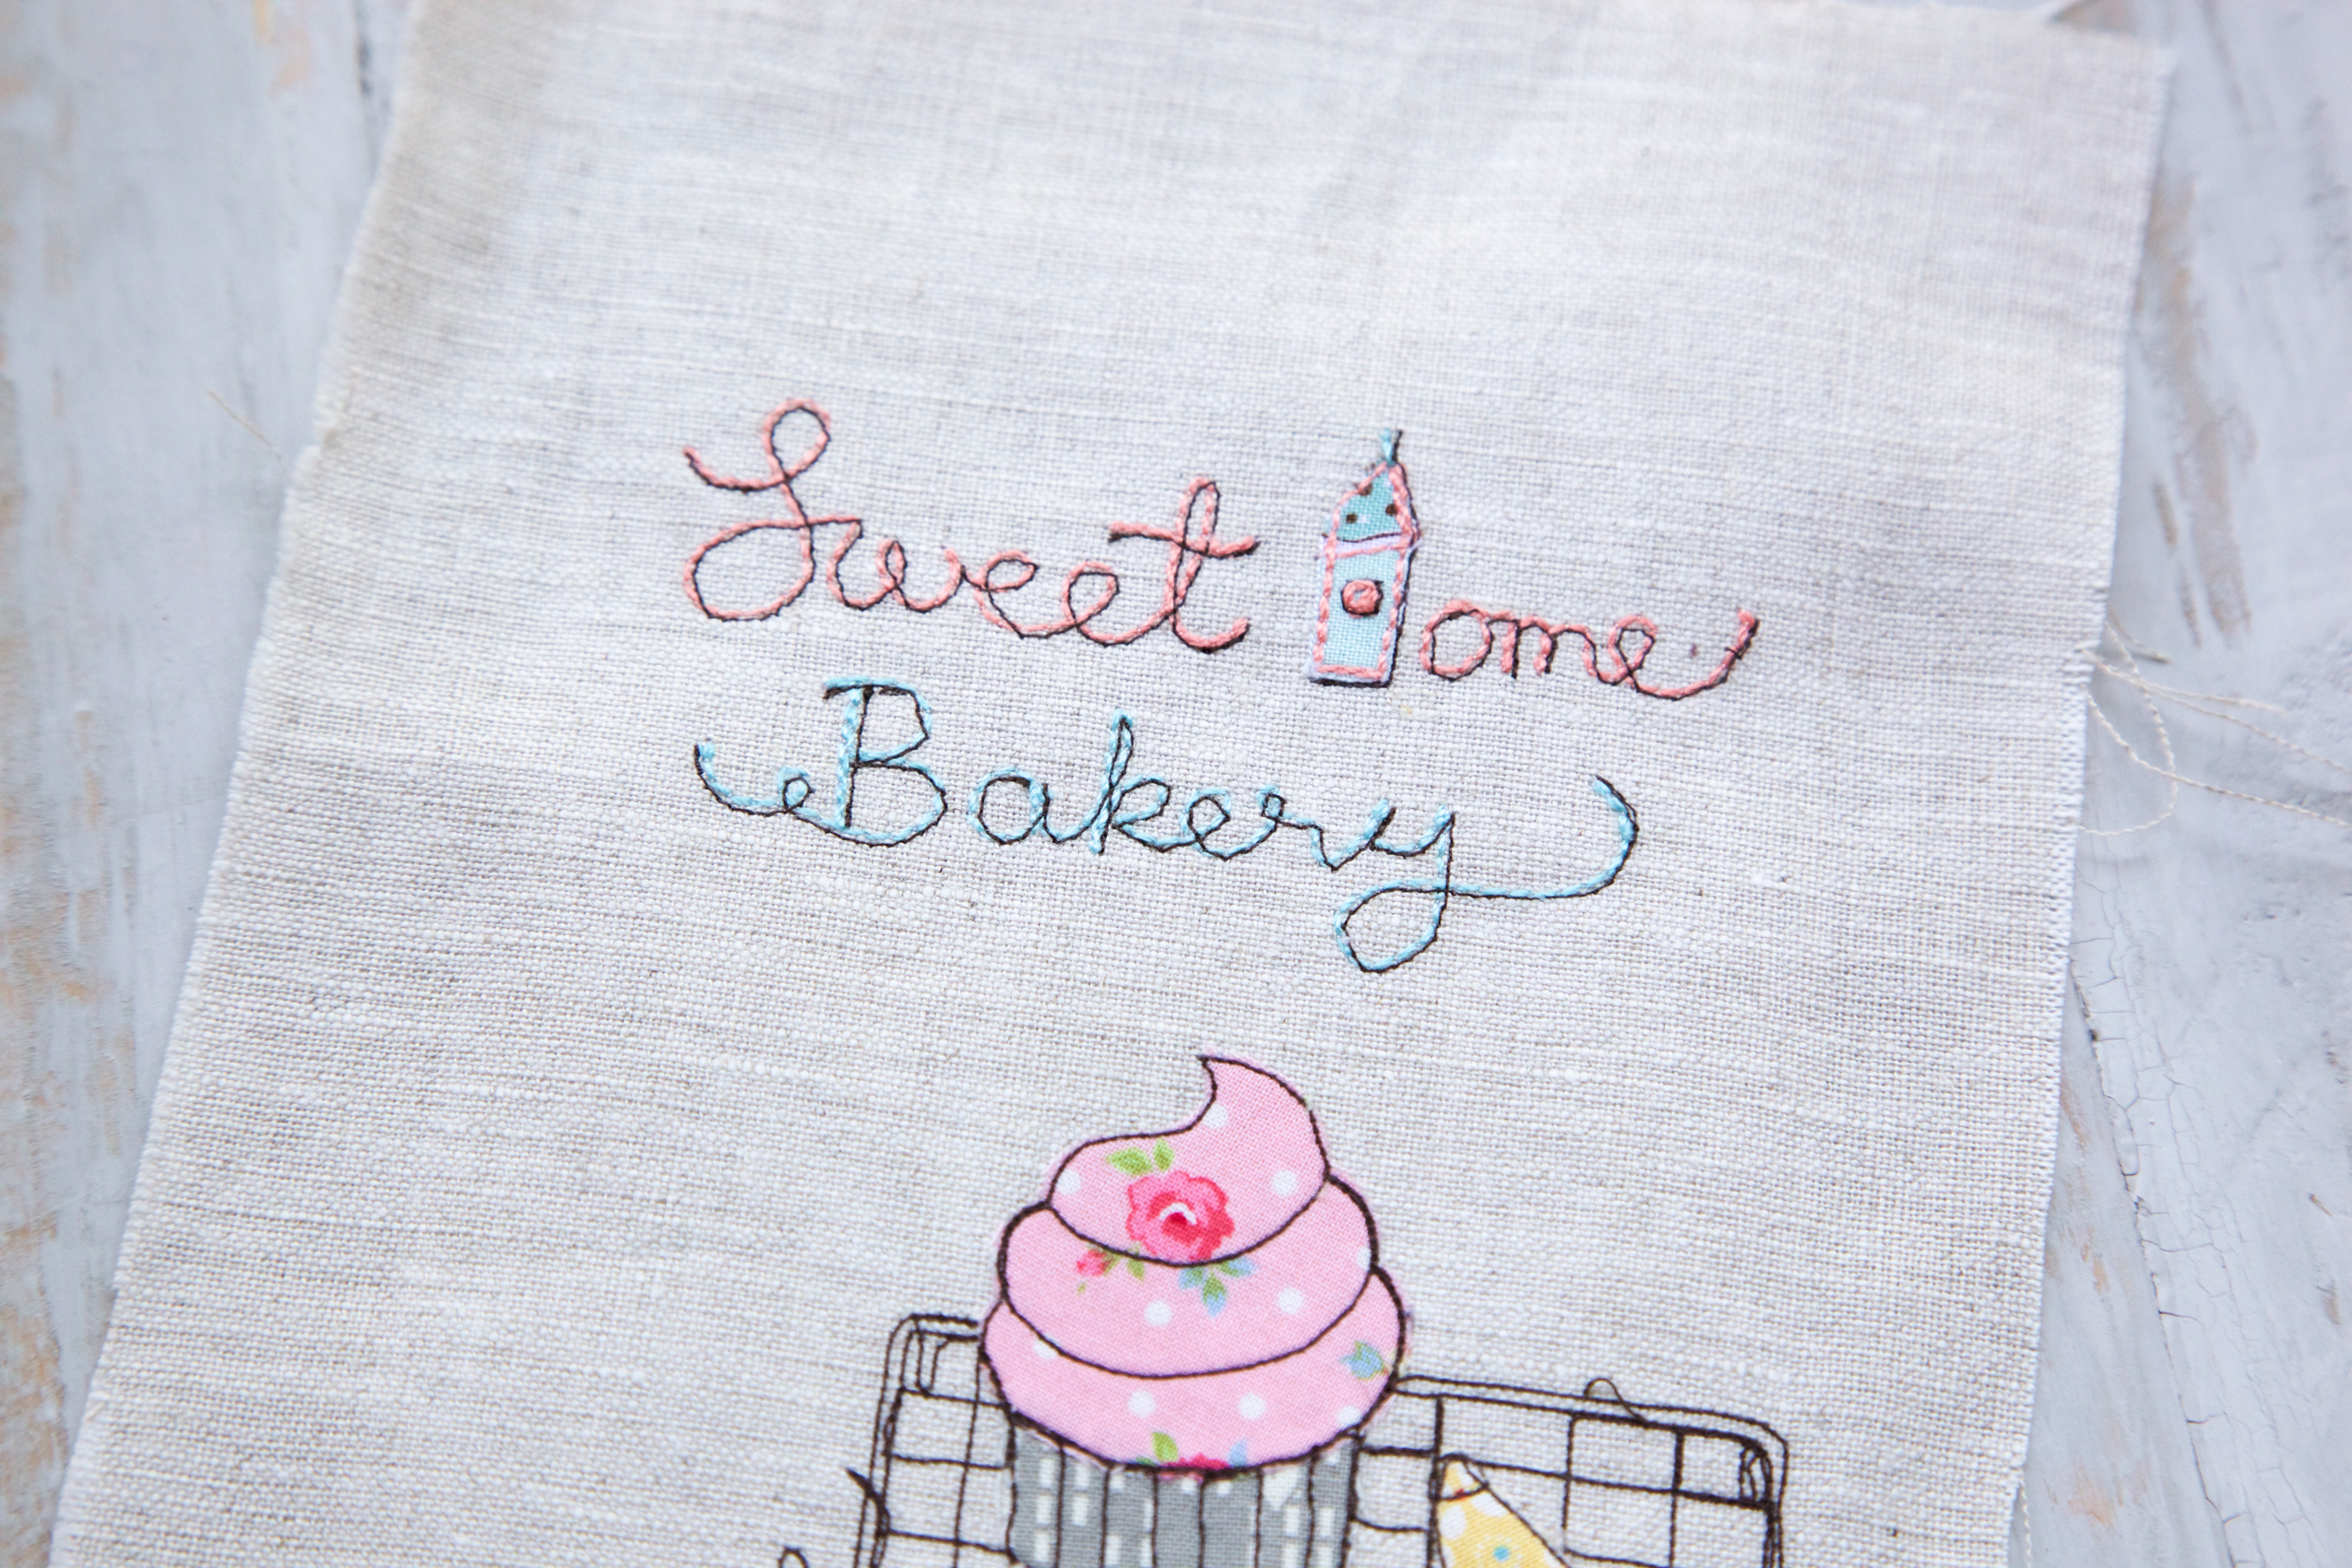
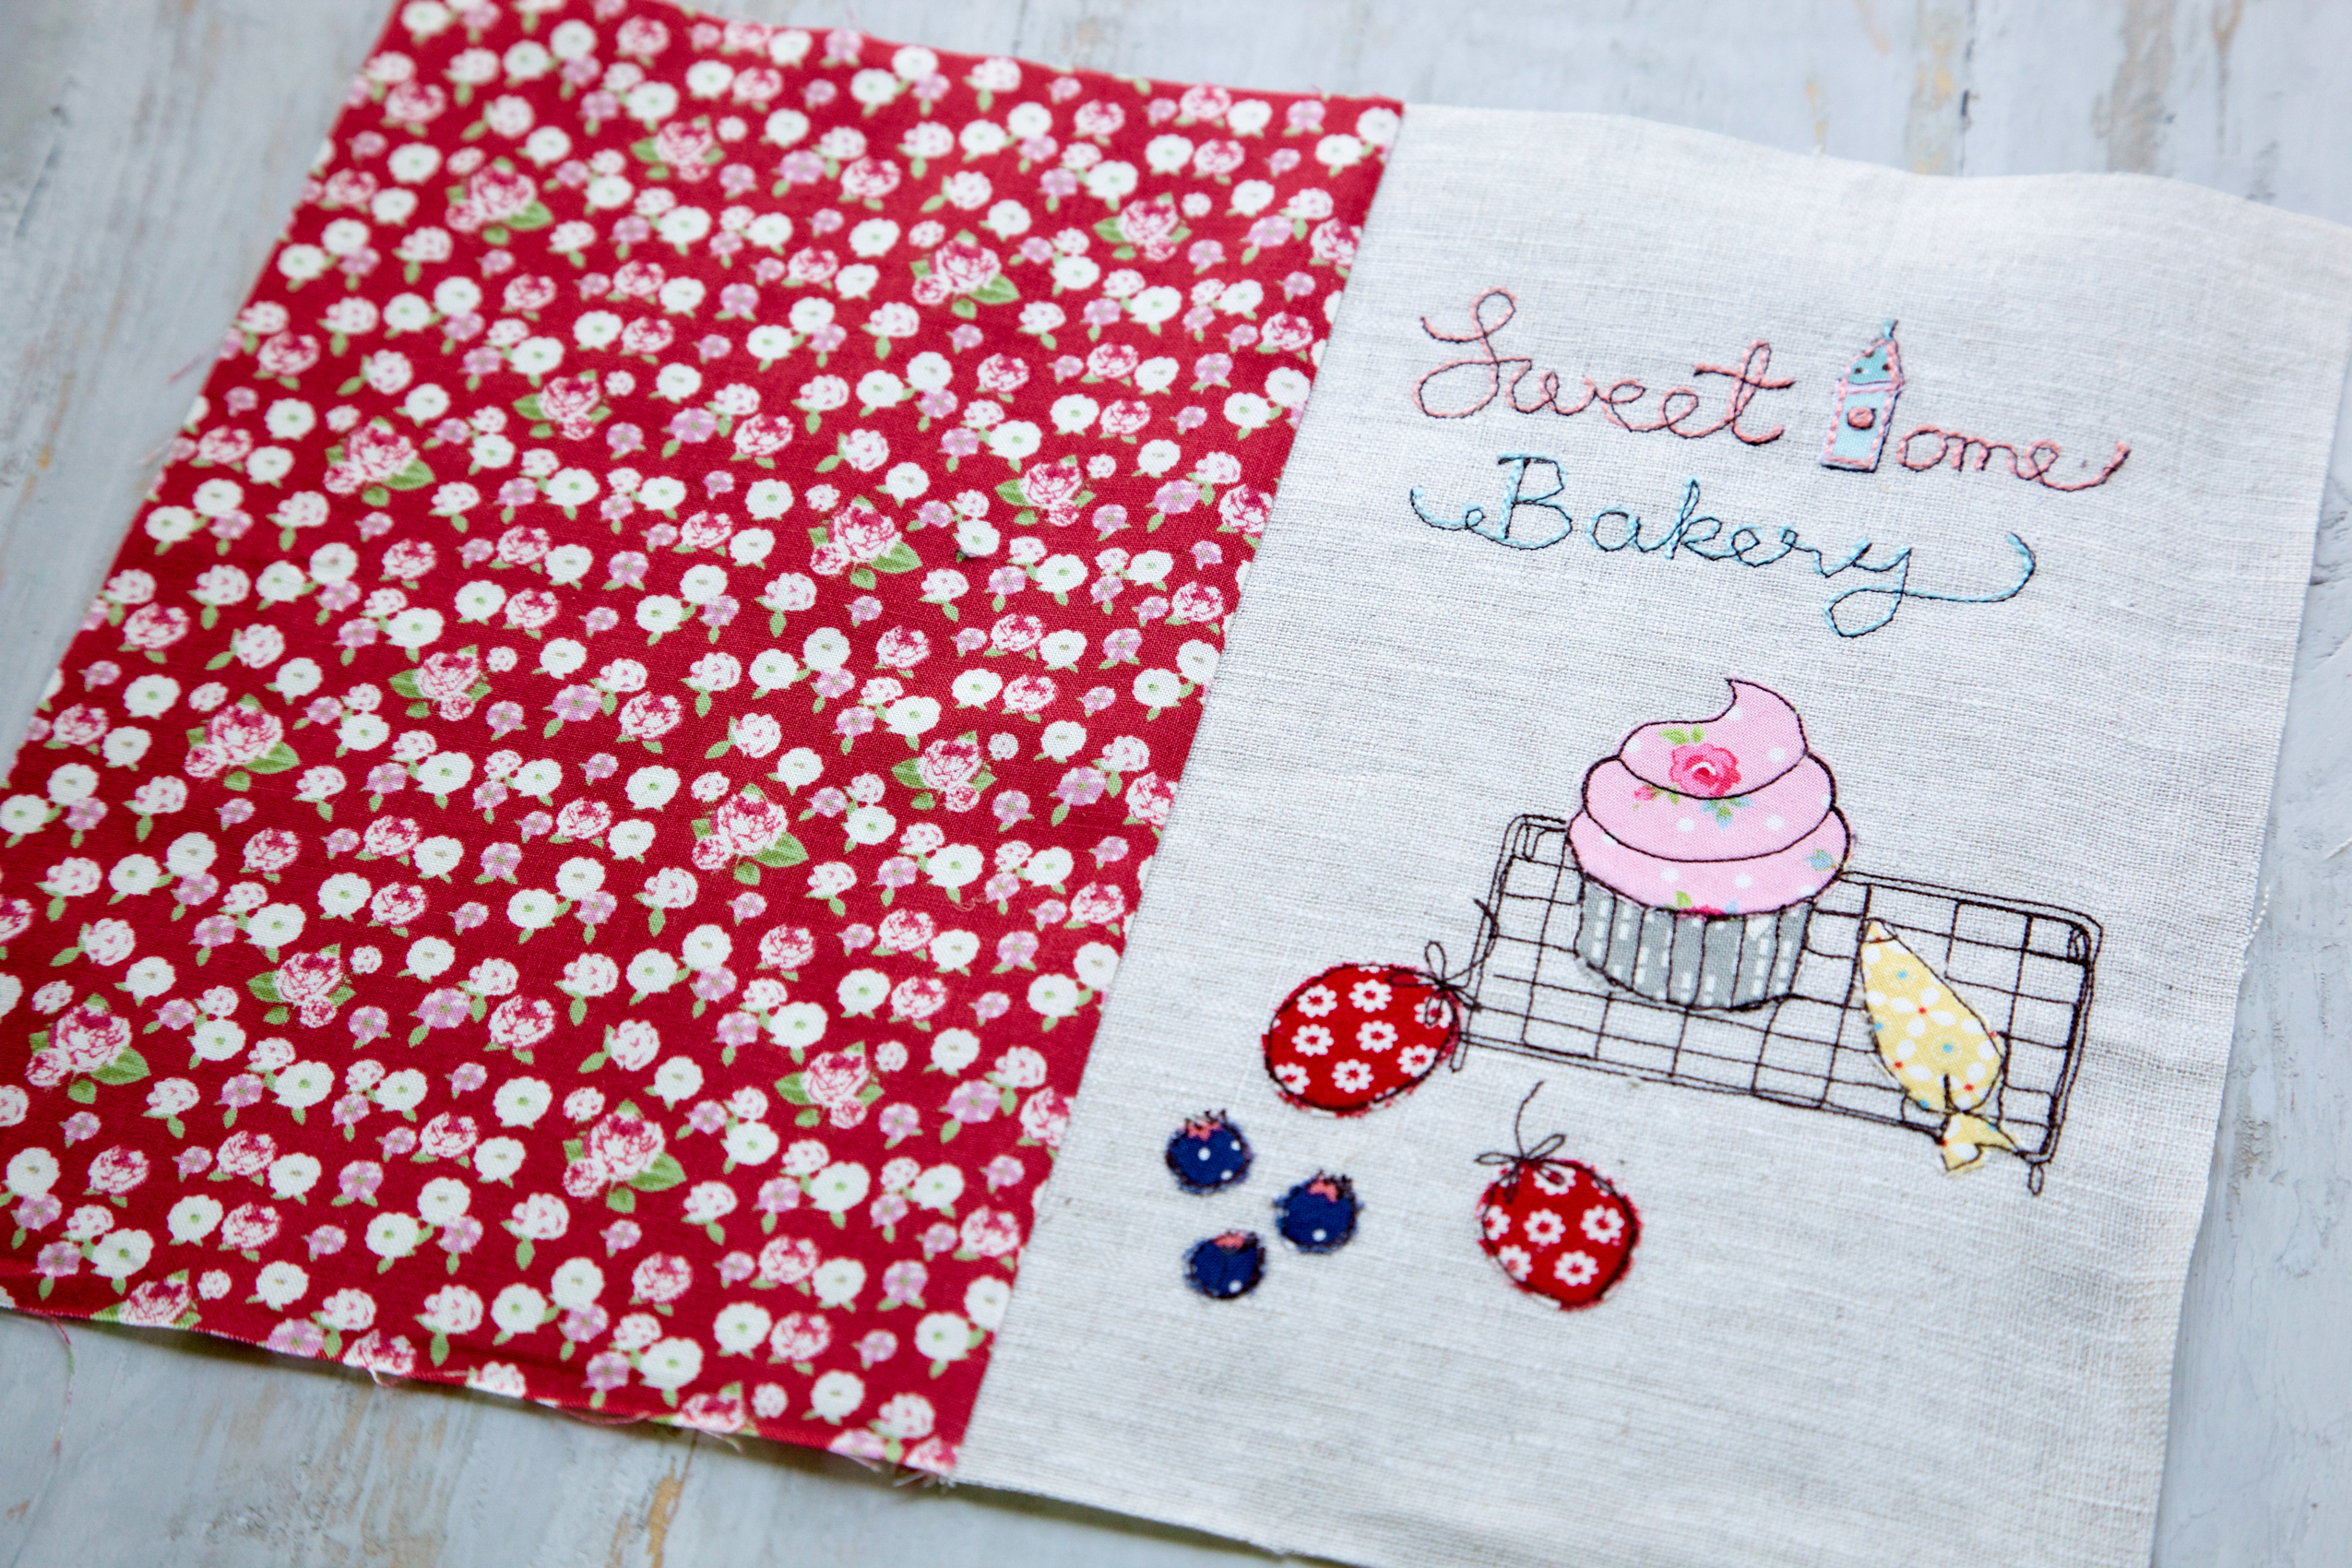
2. Fuse the interfacing on the wrong side of the linen. Referring to the pattern, arrange cupcake, piping bag, strawberries and blueberries on the linen rectangle. Remove paper backing from fusible web and press the shapes into place. Using a soft pencil or vanishing pen (such as Frixion), transfer the remain design and words.
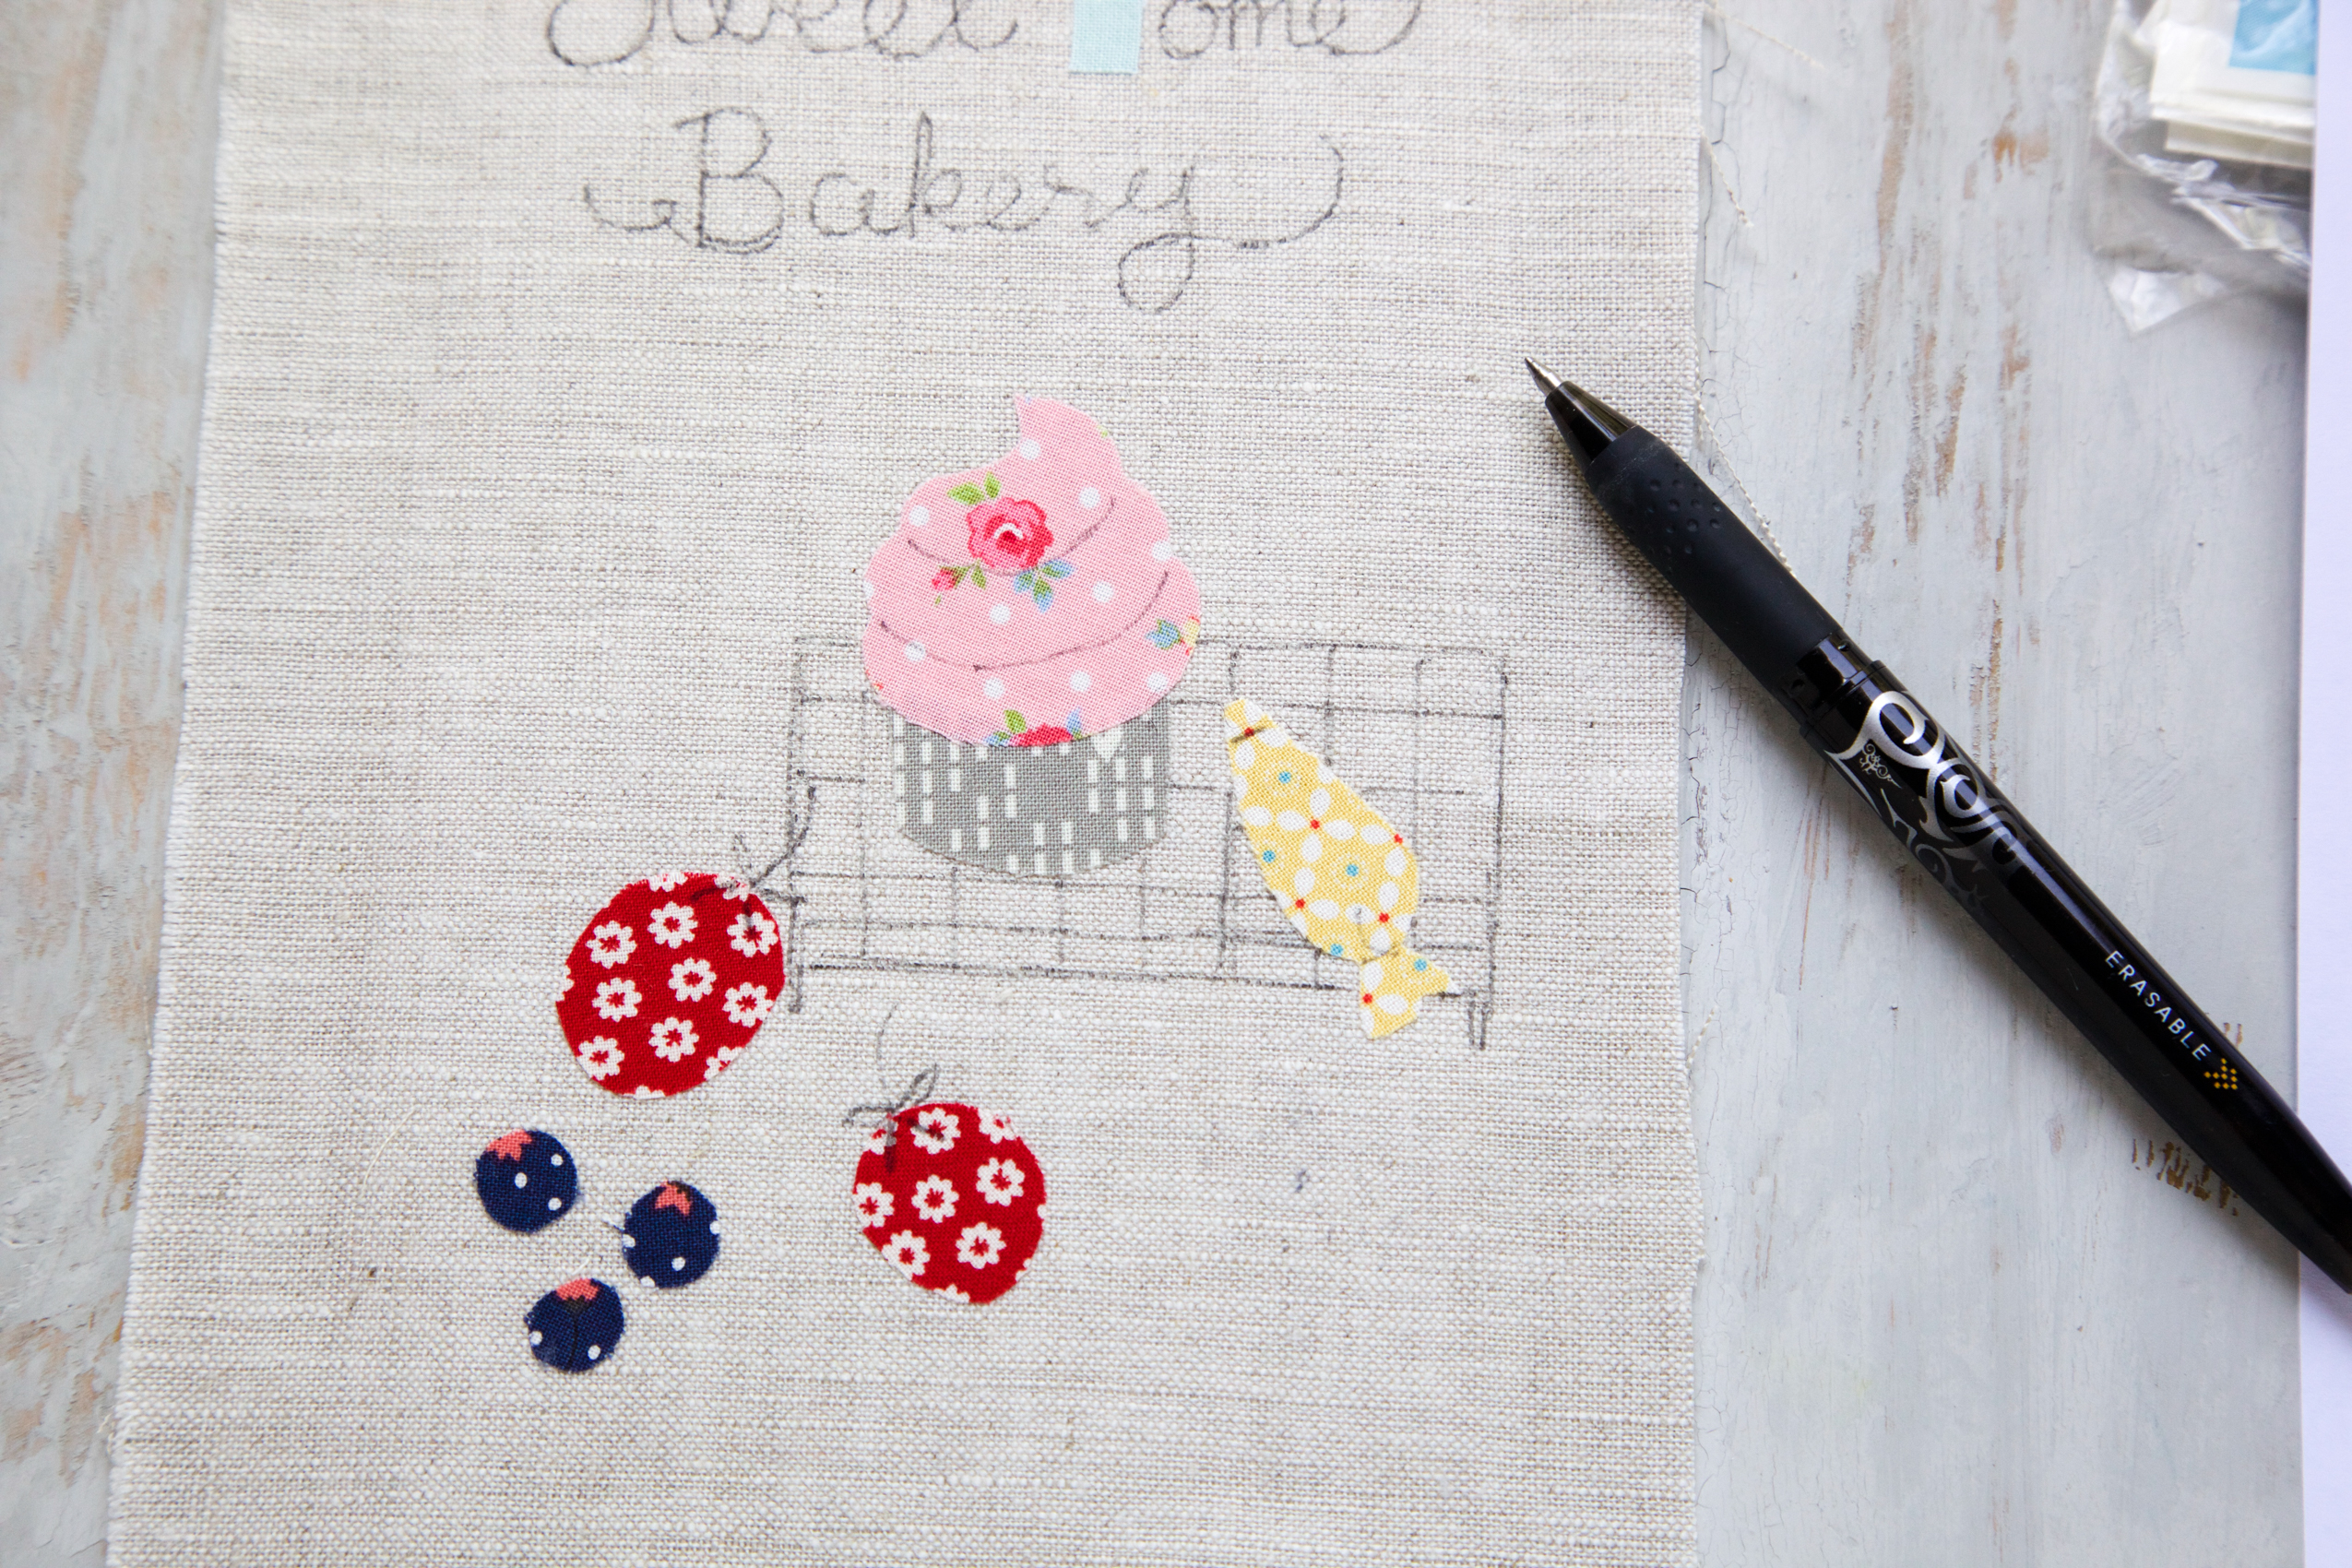
3. Set up your sewing machine with the dark thread, shorten the stitch length to 1.8, and start to sew over the design.

4. I used pink and teal 12wt thread for the words, and sewed over them again with black thread to make the words pop. You can choose to stitch the words as desired.
5. With right side together, layer red floral rectangle to the linen. Pin and then sew together.
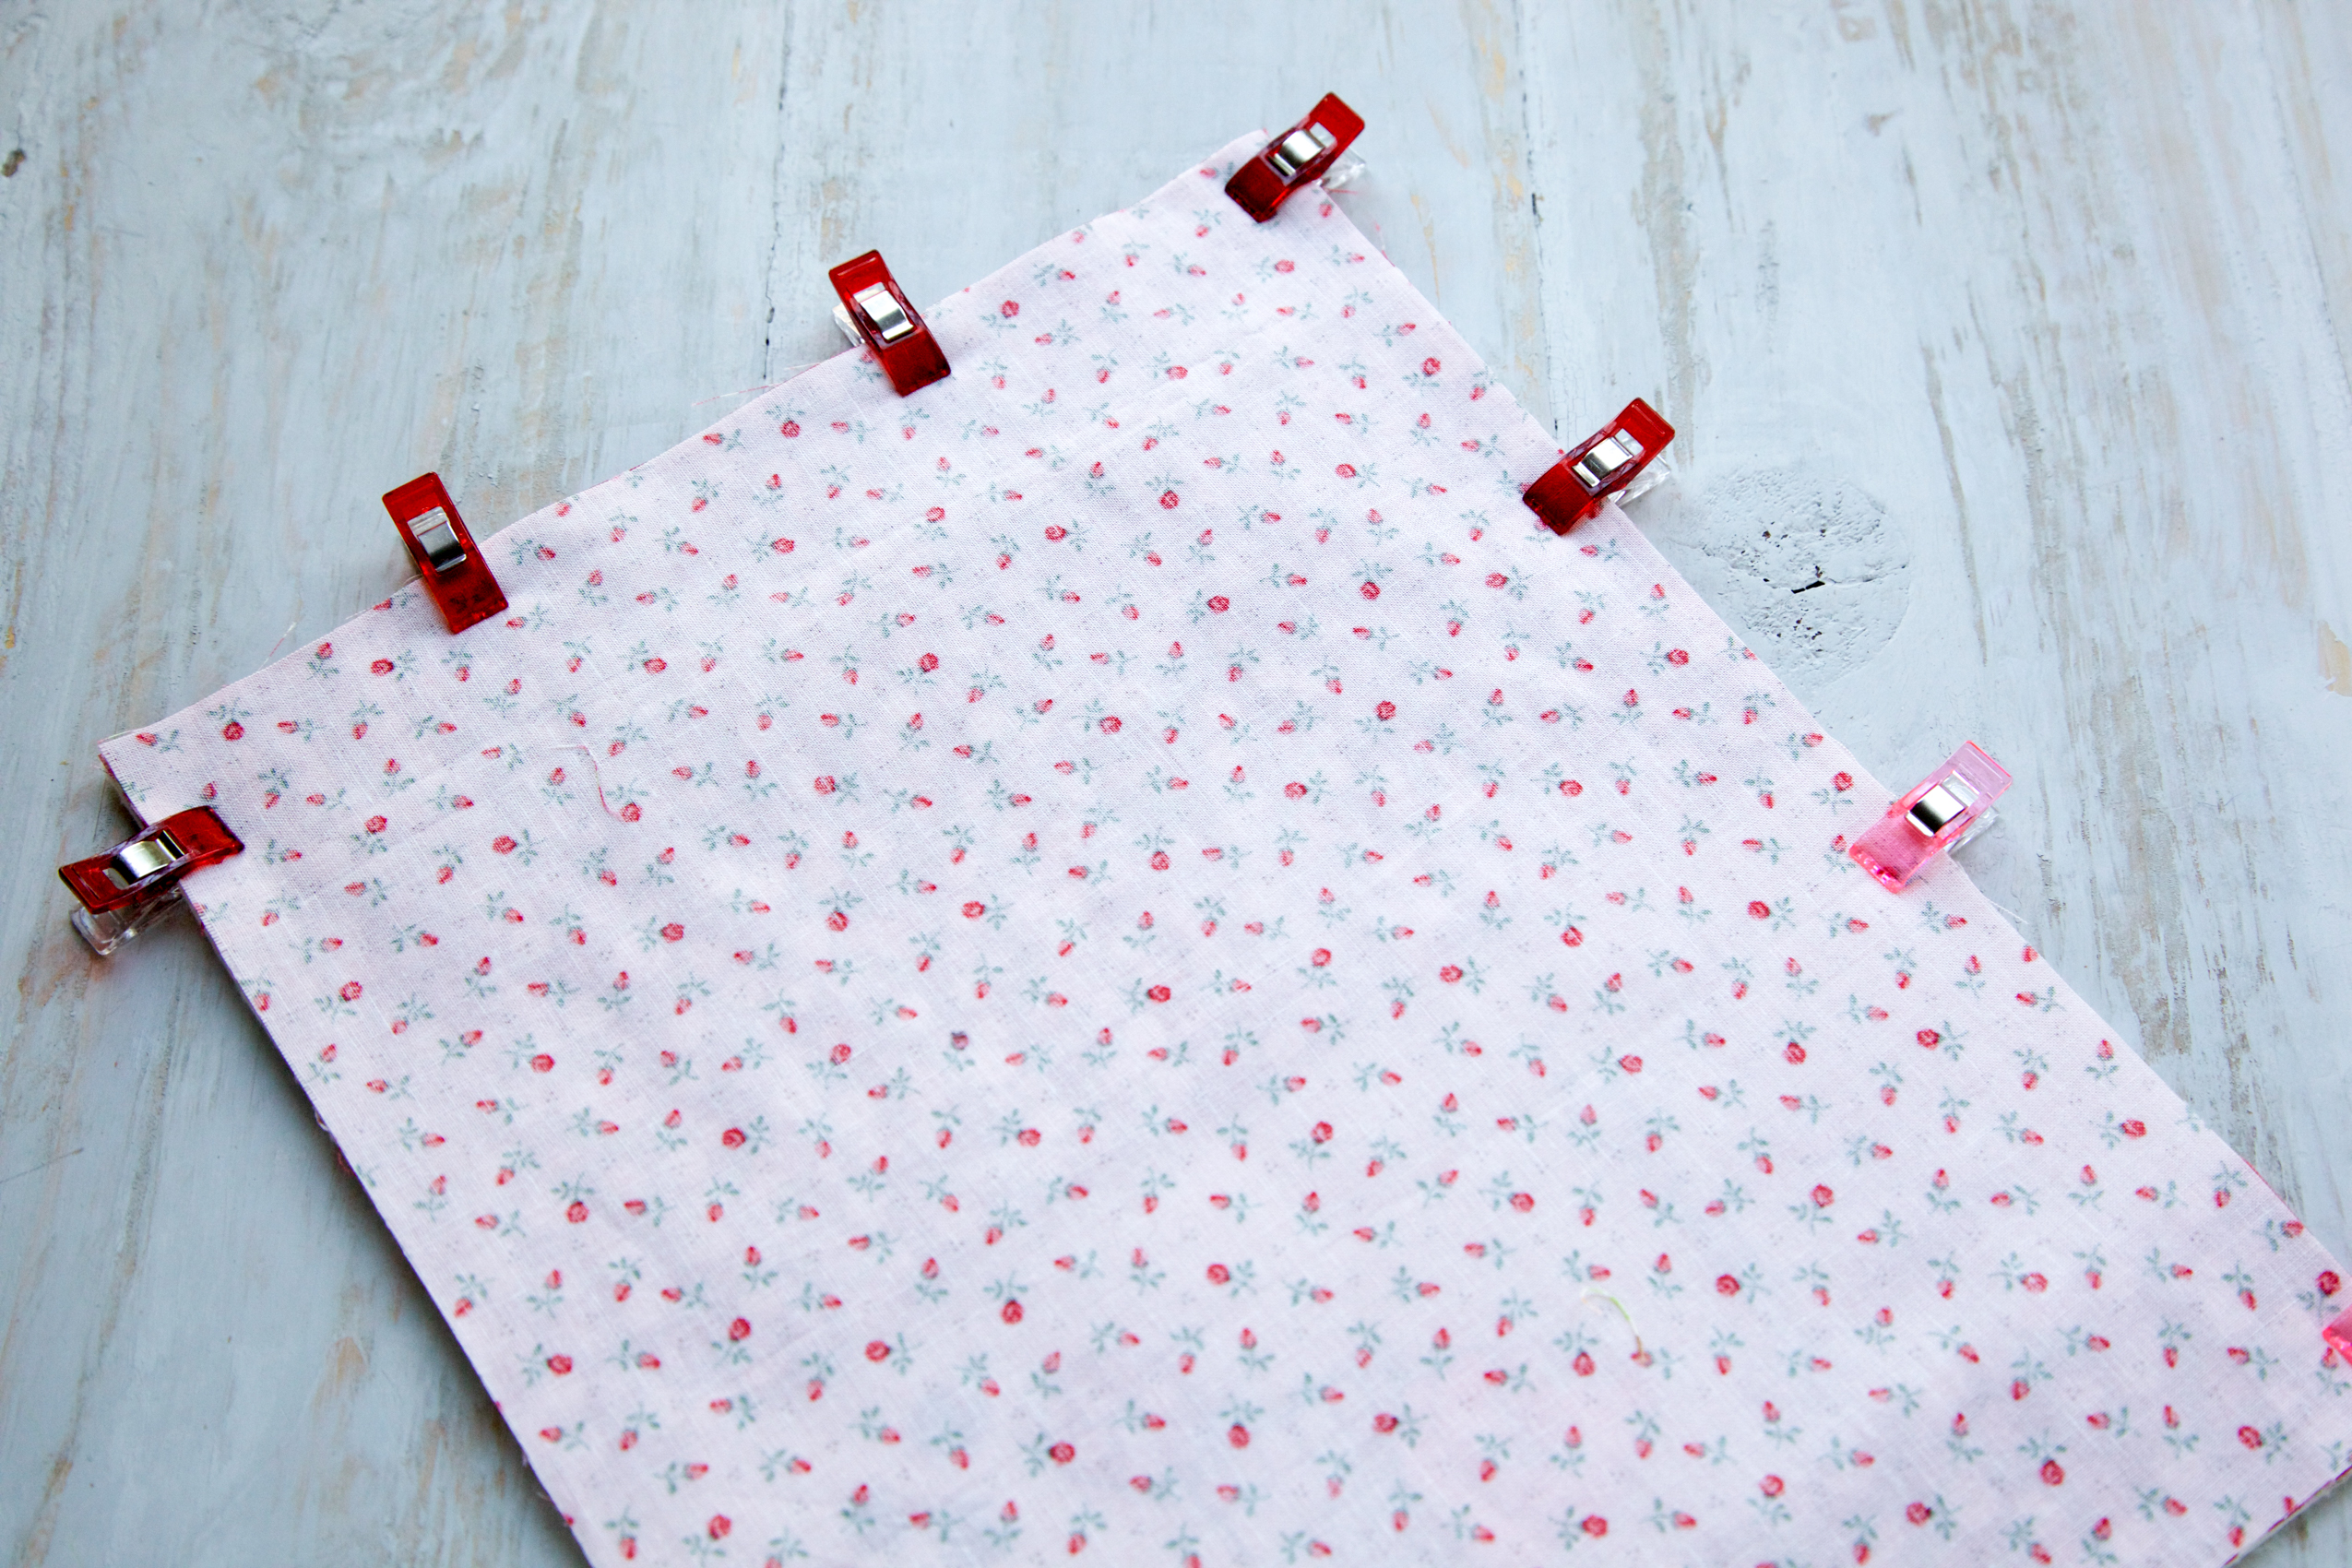
6. Press book cover back fabric in half lengthwise along the centerfold with wrong sides facing. This will create the two pockets to hold the covers of the book. Layer the batting, front book cover, two pockets on each end (raw edges out and fold facing in) and backing on top, right sides facing, and pin all in place.
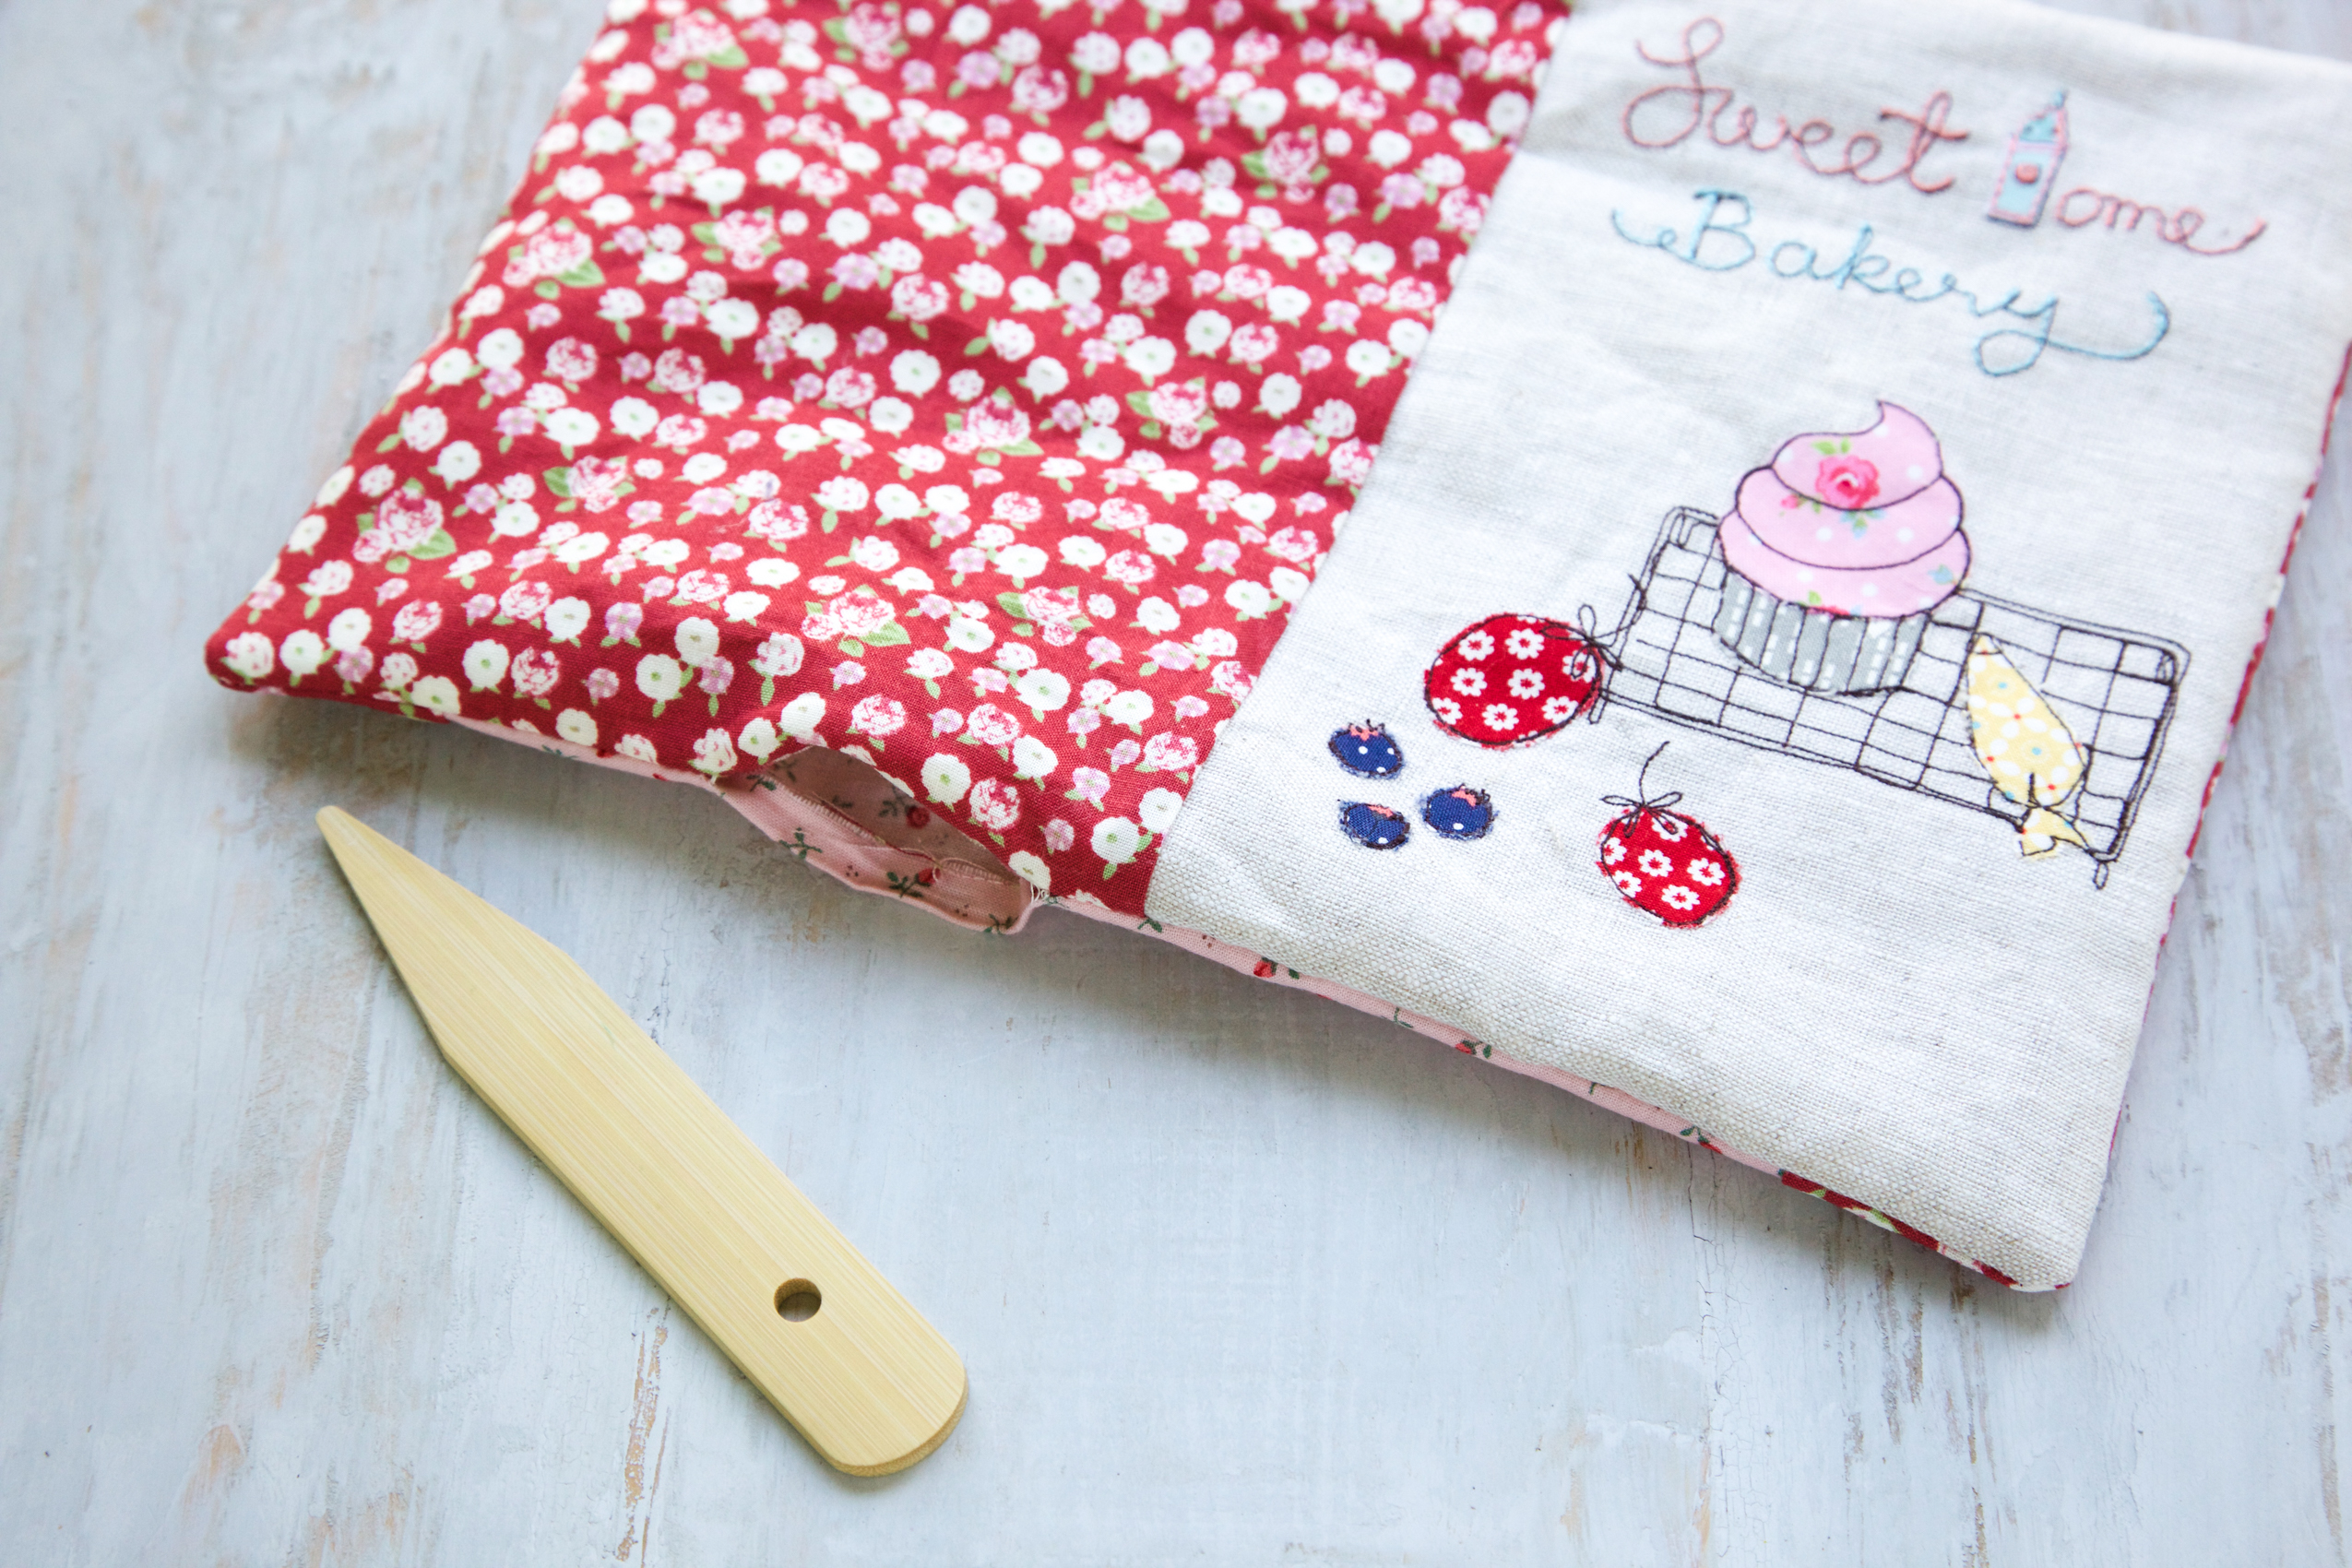
7. Sew all the way around your cover, leaving a small gap at the bottom edge for turning. Turn right side out and press in shape. Stitch the opening closed by hand.
8. Sew a label on the center of the backside (optional).

9. If you wish you can add stitching elements to the cover of the book. I used hand stitching using two strands of pink embroidery floss all the way around. You could also use topstitch with your sewing machine.