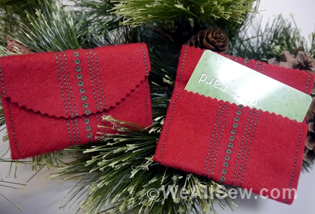
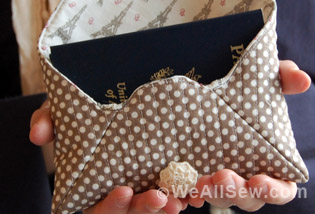
Fabric Envelope Tutorial
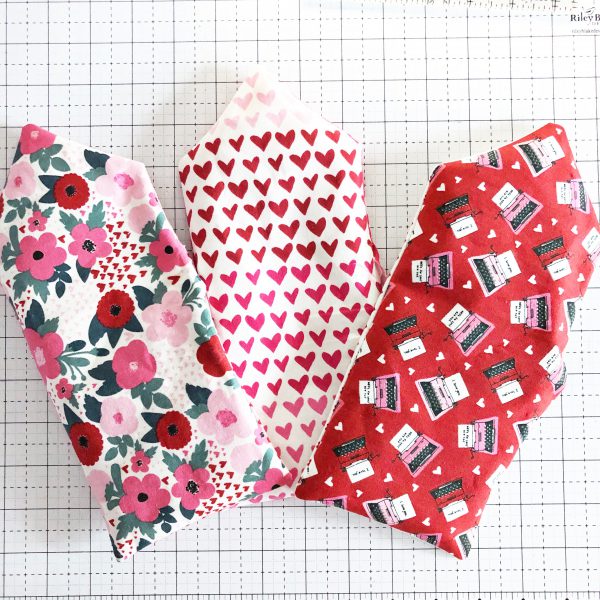
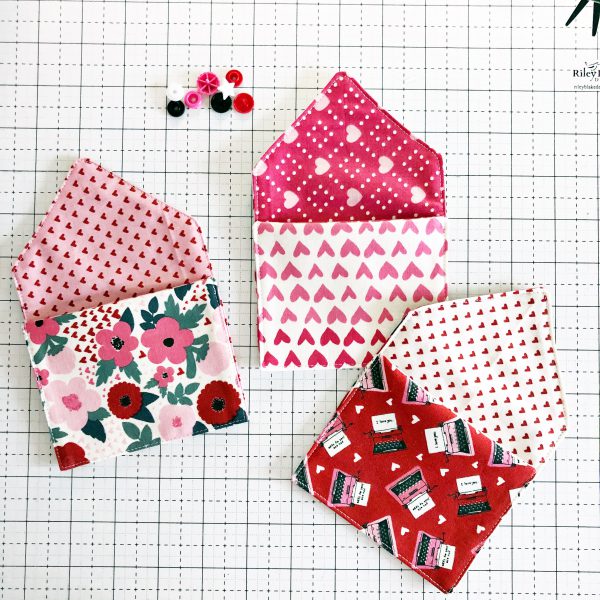
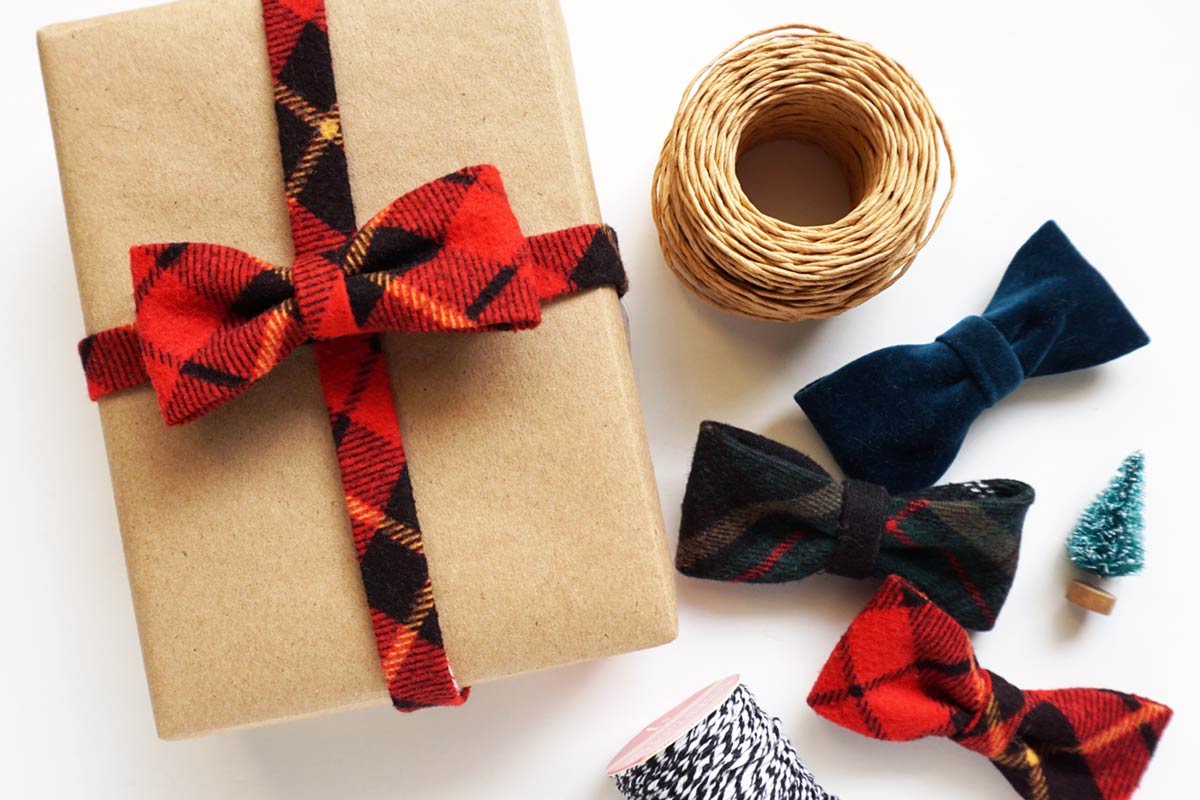
Hello everyone! Kymona here, and I’m wondering if all of you are ready for Valentine’s Day? Do you give gifts to loved ones or perhaps to coworkers, maybe even your child’s class? If one or all is true, then I have the perfect project for you. Check out these neat fabric envelopes that are perfect for cards, gifts, or candy!
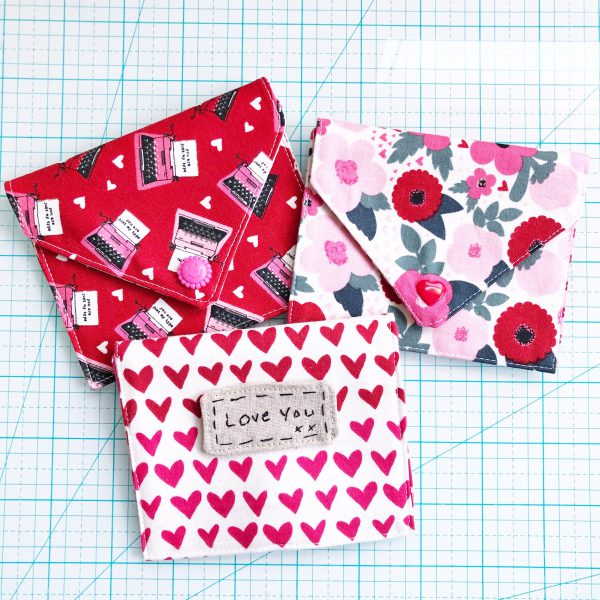
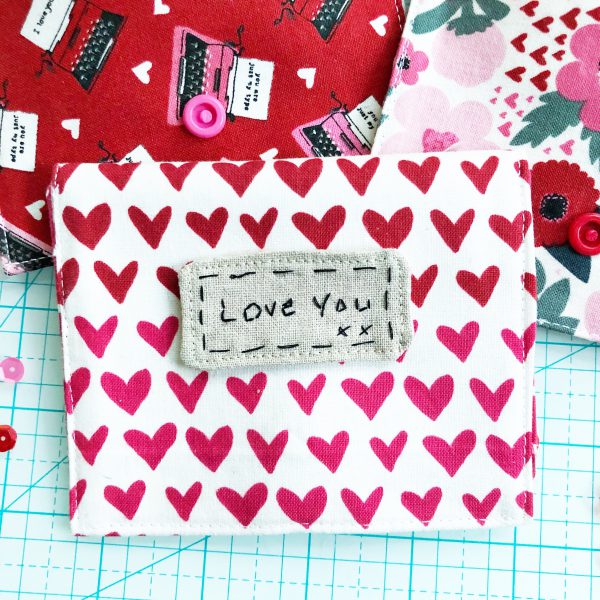
Finished envelope size: 4.5 inches x 3.5 inches
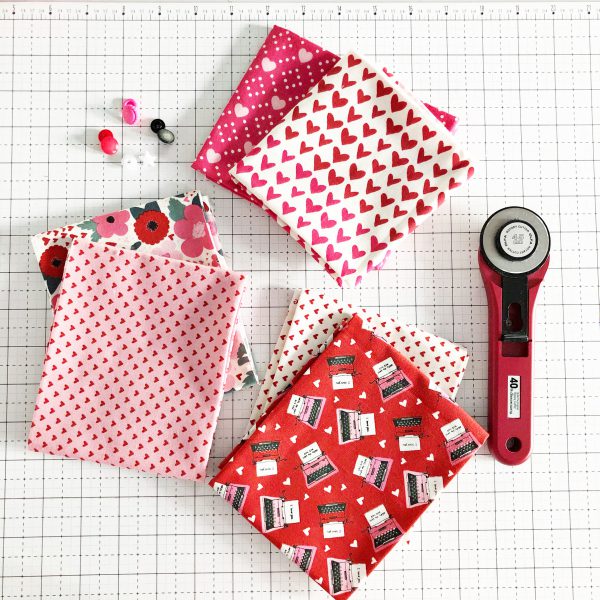
Materials to Create a Fabric Envelope
- 2 Fat Quarters (I used Hello Sweetheart by Echo Park)
- Lightweight Fusible interfacing
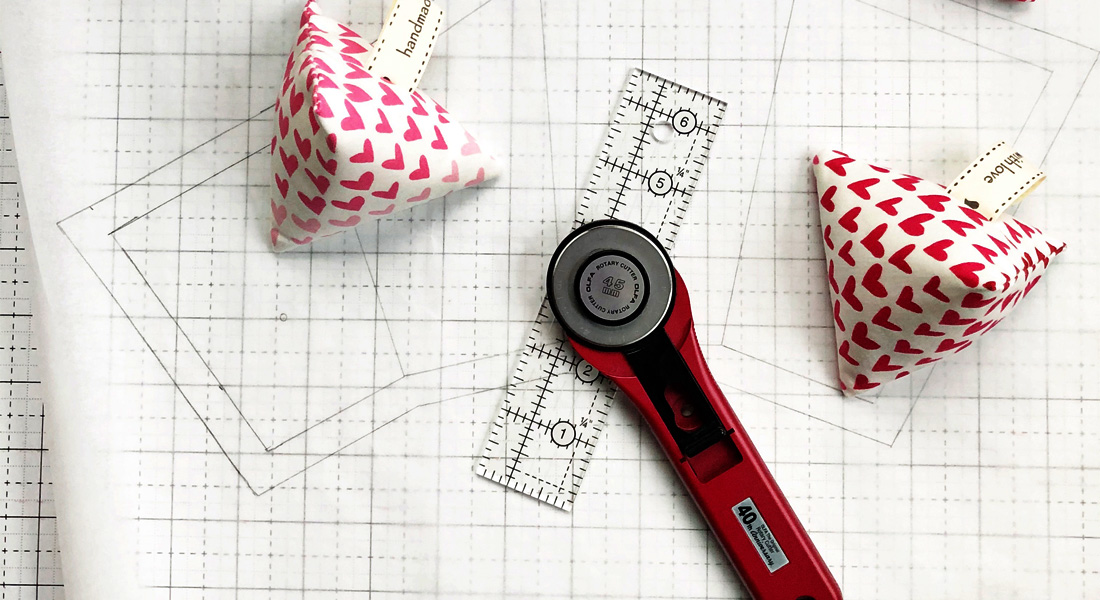
- Straight ruler
- Triangle ruler
- Pins/Clips
- Rotary cutter and mat
- White thread
- Point turner
- Plastic snaps
- Snap tool
Optional materials for label
- Scrap linen fabric
- black thread
- sewing needle
Instructions to Sew a Fabric Envelope
Step 1 – Cut the fabric
Cut (2) different fat quarters to 5 inches x 11 inches.
Cut (1) piece of fusible interfacing to 5 inches x 11 inches.
Note: All seam allowances are 1/4 inch unless otherwise noted.
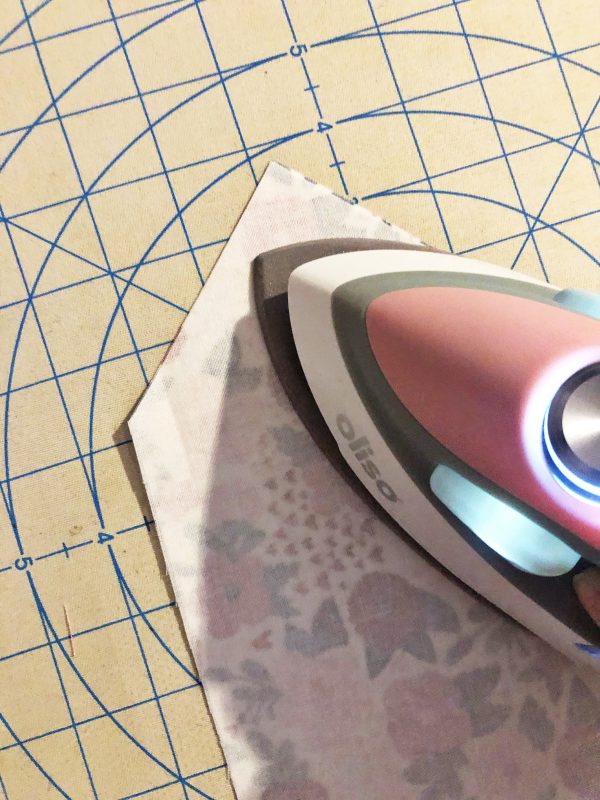
Step 2: Prepare the fabric for sewing
Fuse the lightweight fusible interfacing to the wrong side one of the fat quarters.
Place the fabric pieces right sides together.
Use the triangle ruler and cut the top of the regular into a triangle.
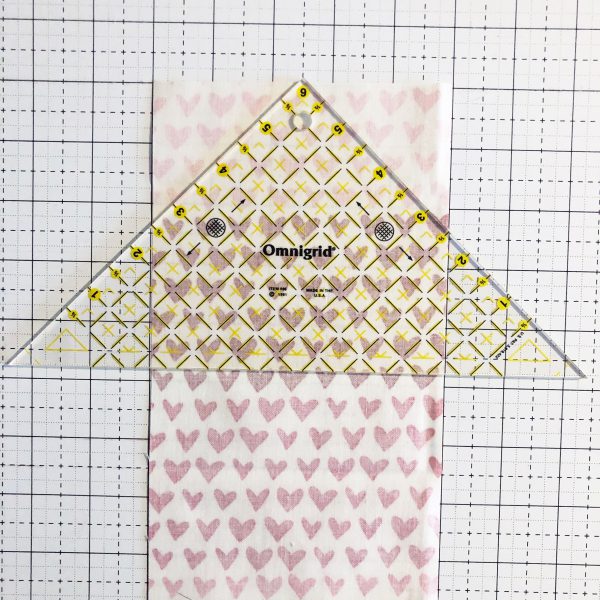
To do that, fold the fabric in half, iron press it. Open the material and line the tip of the triangle ruler with that center line. Cut the side off.
Pin or clip both fabric pieces right sides together.
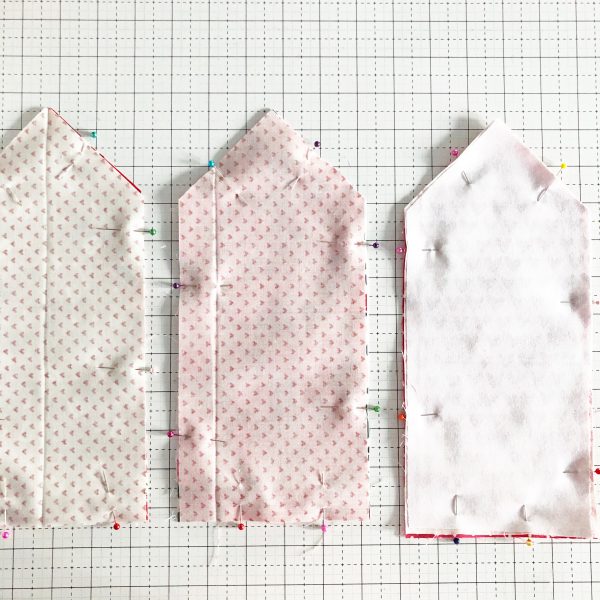
Leave about 4 inches open on the long side for turning.
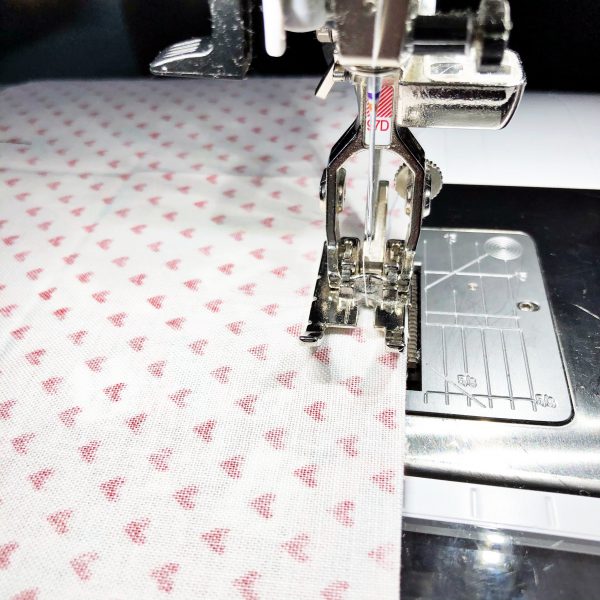
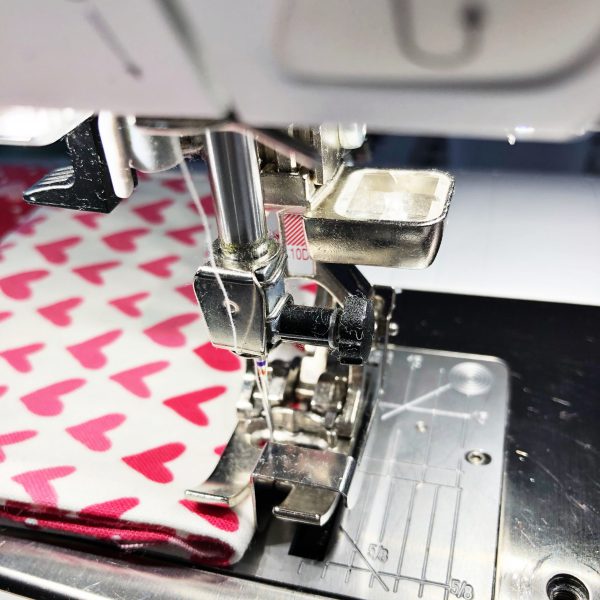
Step 3 – Sew the front and back together
Attach Patchwork foot #97D to your machine.
Begin sewing on one of the long sides where the 4-inch opening will be. Backstitch and sew around the entire piece stopping to leave the 4-inch opening.
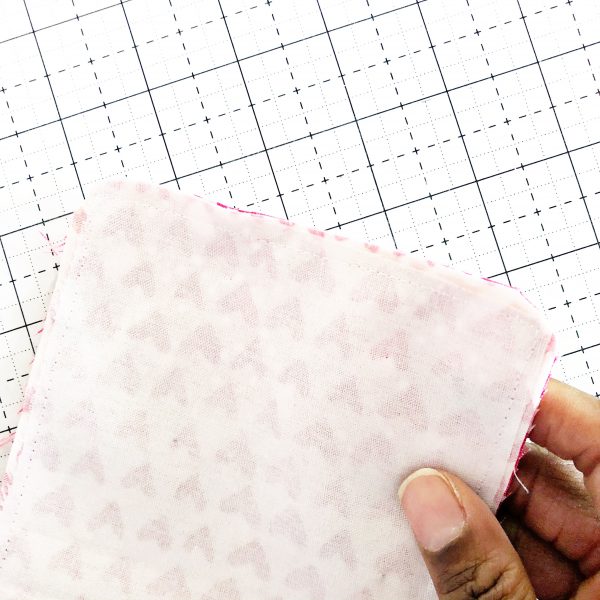
Step 4 – Ironing and Cutting
Iron all of the stitches to set them in place. Use scissors and round the bottom corners of the fabric envelope.
Step 5 – Turning the project
Turn the fabric inside out. Use a point turner to poke out the corners.
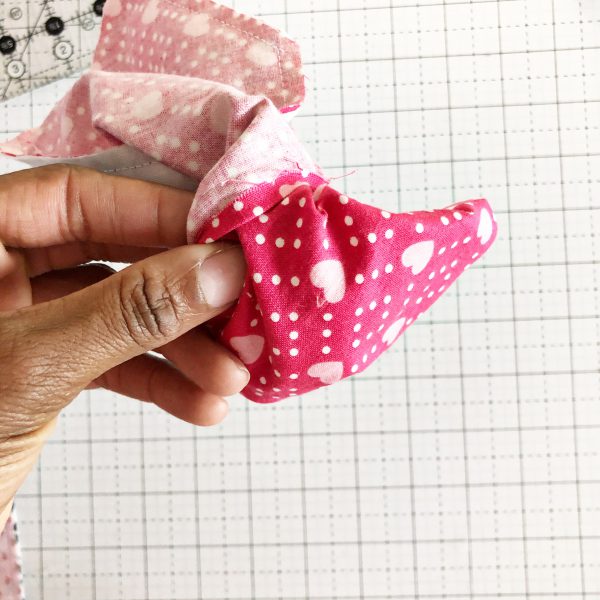
At the 4-inch opening, fold the fabric in and iron to set the shape.
Step 6 – Edge-stitching
Fold the bottom of the fabric envelope up to 3 7/8 inches and pin or clip it together.
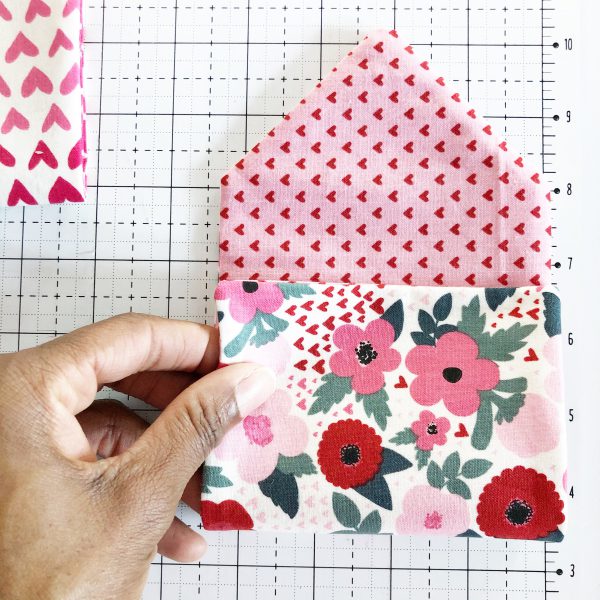
Attach Edgestitch foot #10D to your machine.
Set the needle position to -3.
Start sewing right at the fold and continue around the envelope.
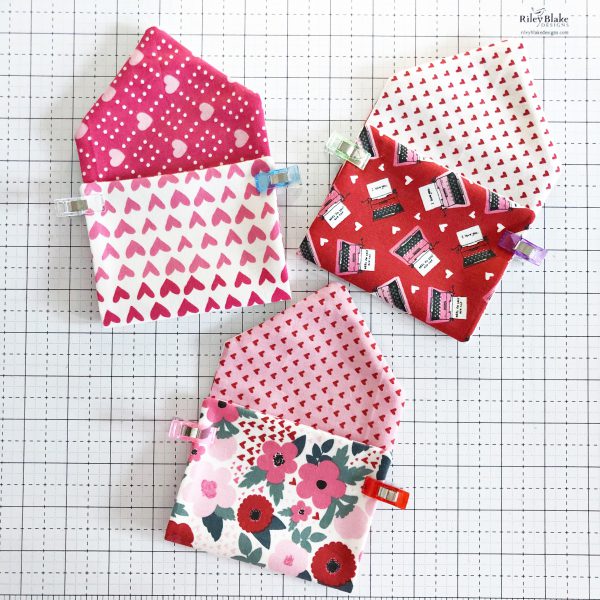
Step 7: Attach the snap
Decide where you want the catch to go.
Bore a small hole and place the snap through it. Attach the back and use the tool to snap it in place.
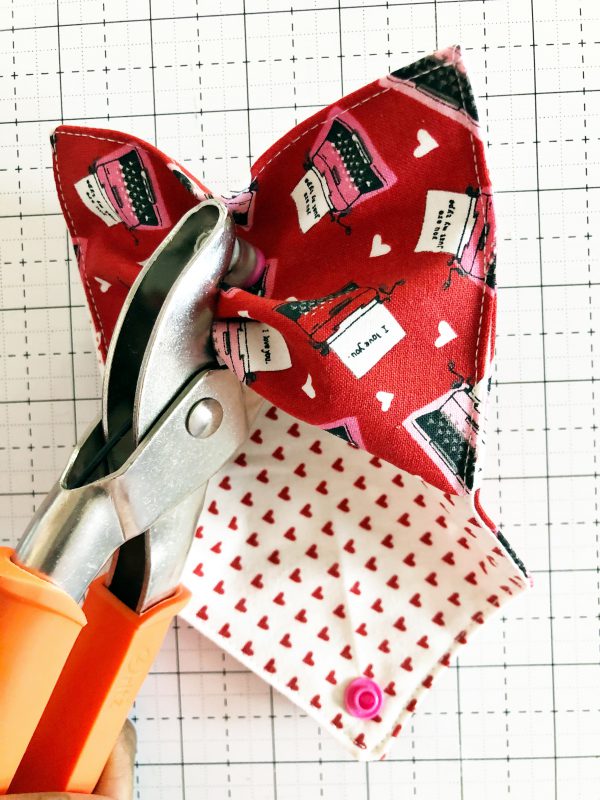
Repeat for the closure.
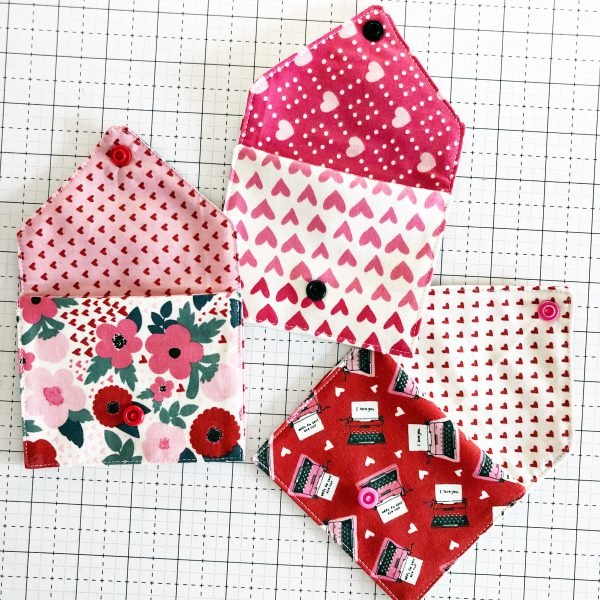
Super simple and easy fabric envelopes, right?!
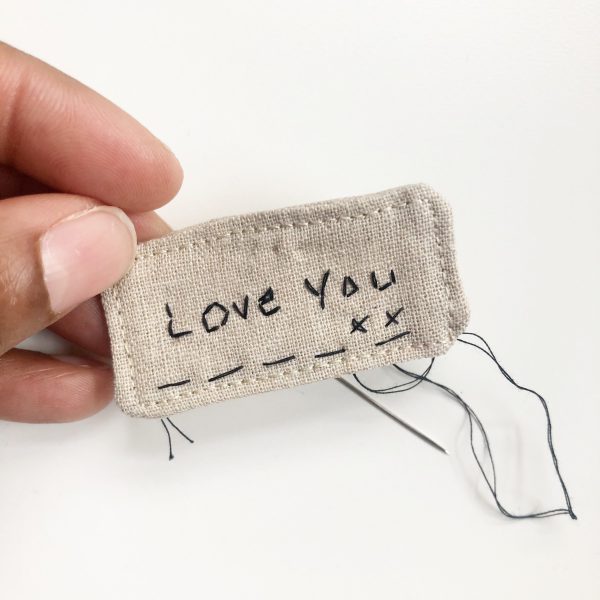
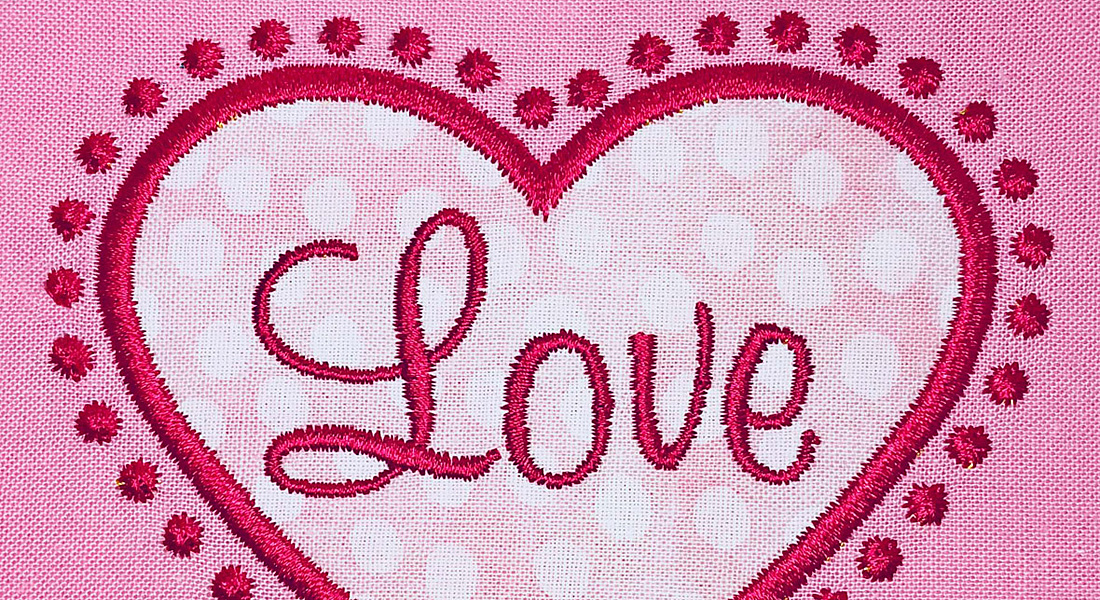
Wait, the fabric label is optional, but such an excellent addition.
Step 8: Optional Label
To create them, cut out a small piece of linen fabric and non-fusible interfacing to your desired size. Then stitch them together on all four sides. Make a short cut in the middle of the interfacing. Turn the label inside out. Write your sentiment on the front of the patch using a fabric pen. Use thread or embroidery floss to stitch out the words by hand or your sewing machine. Hand-stitch the label to the envelope.
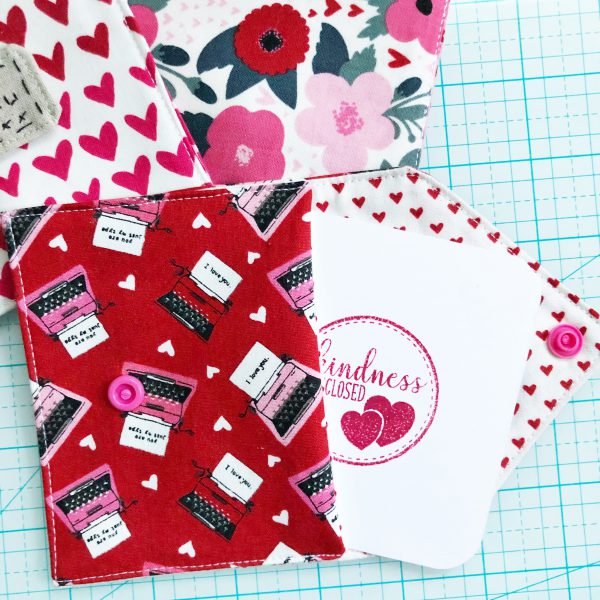
Giving someone a gift packaged in this envelope will blow them away!
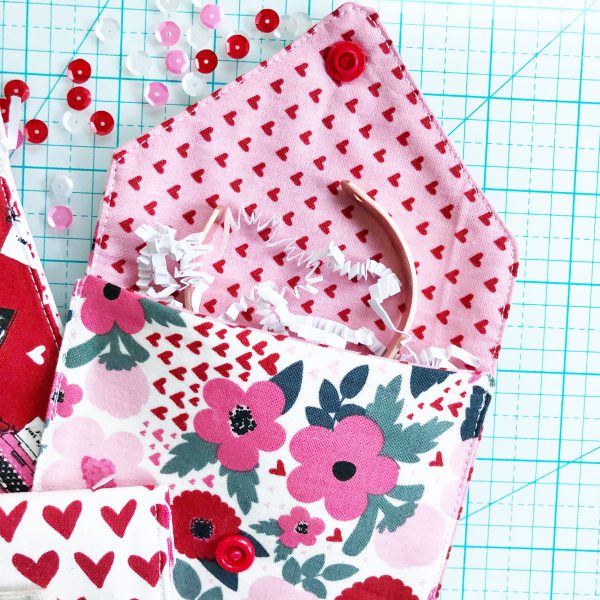
Who wouldn’t want to receive candy in this envelope?!
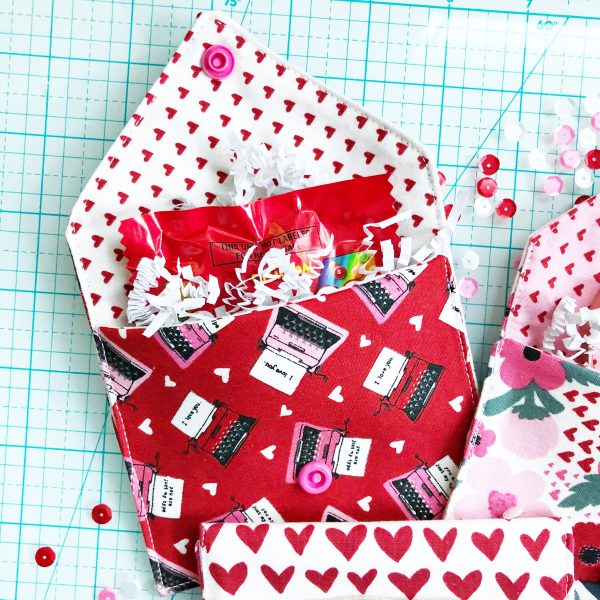
Sending a card never looks so cute.
So, are you making and sending your Valentines in a fabric envelope this year? I would love to see them.
Used Products


What you might also like

8 comments on “Fabric Envelope Tutorial”
-
-
Hello Vegiehead!! Thank you so much. Yes, this project is perfect for stash-busting. You can make a bunch of them in one hour. If you make one, please share it with me. I would love to see it.
-
-
This is adorable. I need fat quarters and snap tool. My plan is to make one for each grandchild and put chocolate hearts inside. I will make them Monday and post a picture. Thank you 🙂
-
Hello Lauralee!! Thank you so much. Yes, pick up those supplies from your local craft store remember to use a coupon. I can’t wait to see what you create. I’m excited.
-
-
Wow! That is so cute and so easy. Look out, stash, here I come!
-
LOL, Jckern!! Exactly! This project is a great stash buster! You can make them for any occasion! Please share what you create!!
-
-
Wow, great tutorial. You made it easy. Thanks for sharing.
-
Hello Embroider88! Thank you. I’m so glad you like it. Have fun creating!!
-
Leave a Reply
You must be logged in to post a comment.

These little envelopes are Adorable! I have fabric in my stash that will be so much fun for this project. Thank you!