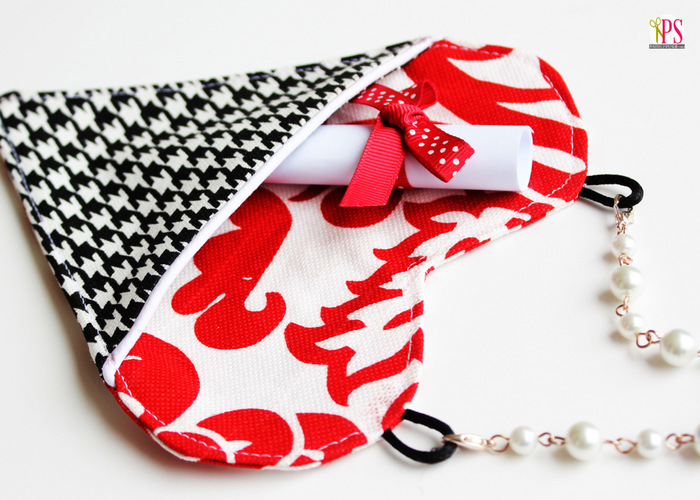
Fabric Postcard Valentines
If you’ve been out shopping, you know from all the red, pink, and white merchandise that Valentine’s Day is just around the corner. But why not MAKE cards for those special people rather than buying them? Donna Krebill recently demonstrated fabric postcard-making at her quilt guild, and generously shared her instructions with us. Jo
Our January quilt guild meeting was designated “School House,” and members volunteered to speak for 10 to 15 minutes about some aspect of quilting. I chose Fabric Postcards, something I did as a kid but an activity I now understand has an international following of crafters who share their cards.
Supplies
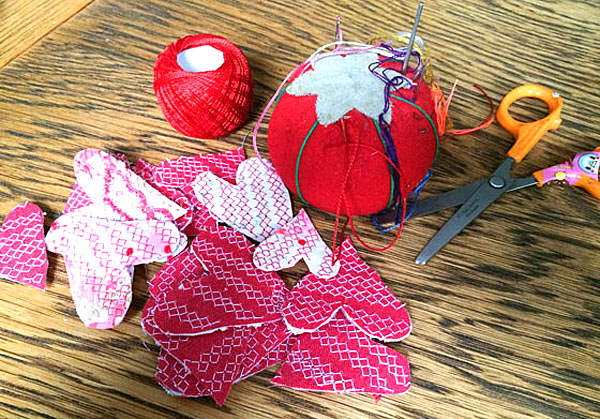
- Basic sewing kit, including fabric shears.
- Paper scissors (Don’t cut paper with your good sewing shears!)
- Cardstock – much of it can be junk mail. What a way to recycle!
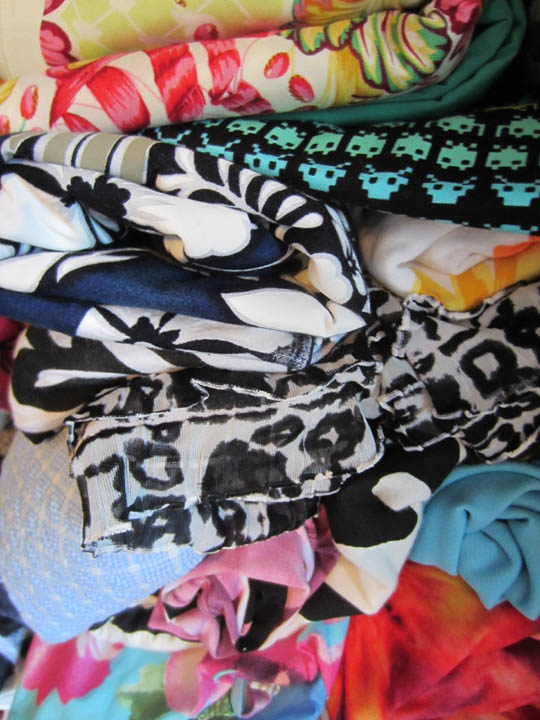
- Regular stash of fabrics – which we all have, don’t we?
- Fusible web such as WonderUnder, Steam-a-Seam 2, or poly-web, or fusible interfacing or batting.
- LOTS of imagination!

Post Office Requirements
Obey every point – they are stiff about this. And, if mailing outside the United States, there are additional restrictions.
- 4 x 6 inch finished card size.
- No more than 1/8 inch thick.
- Use a self-adhesive stamp.
- Embellishments are okay, but if bulky, place card inside an envelope.
Note: Behind the scenes at a Post Office, many carriers are excited about seeing these cards and take extra care in getting them delivered.
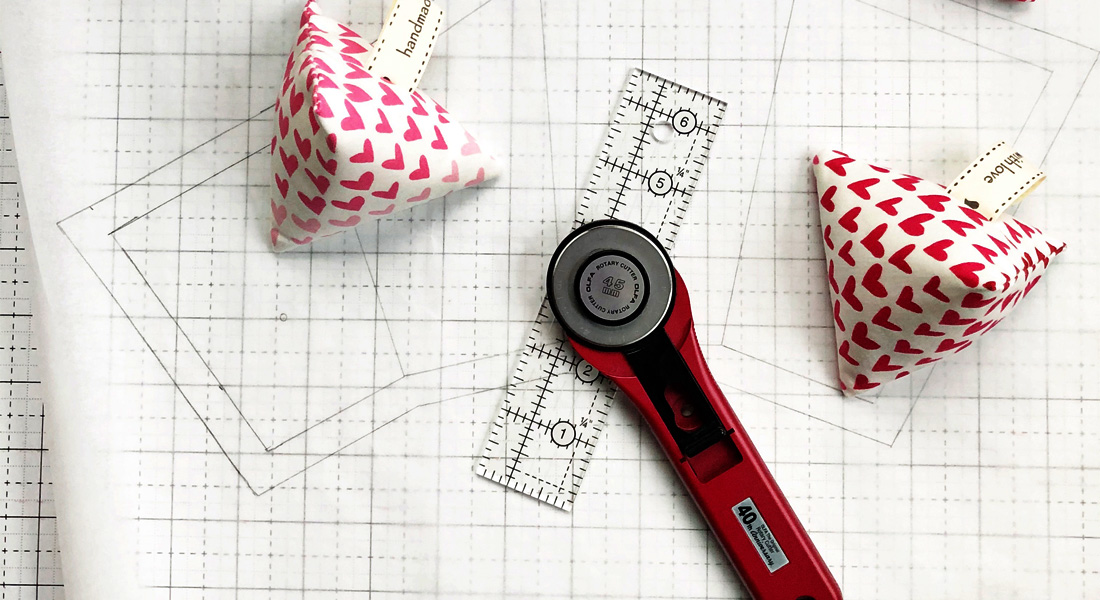
Construction
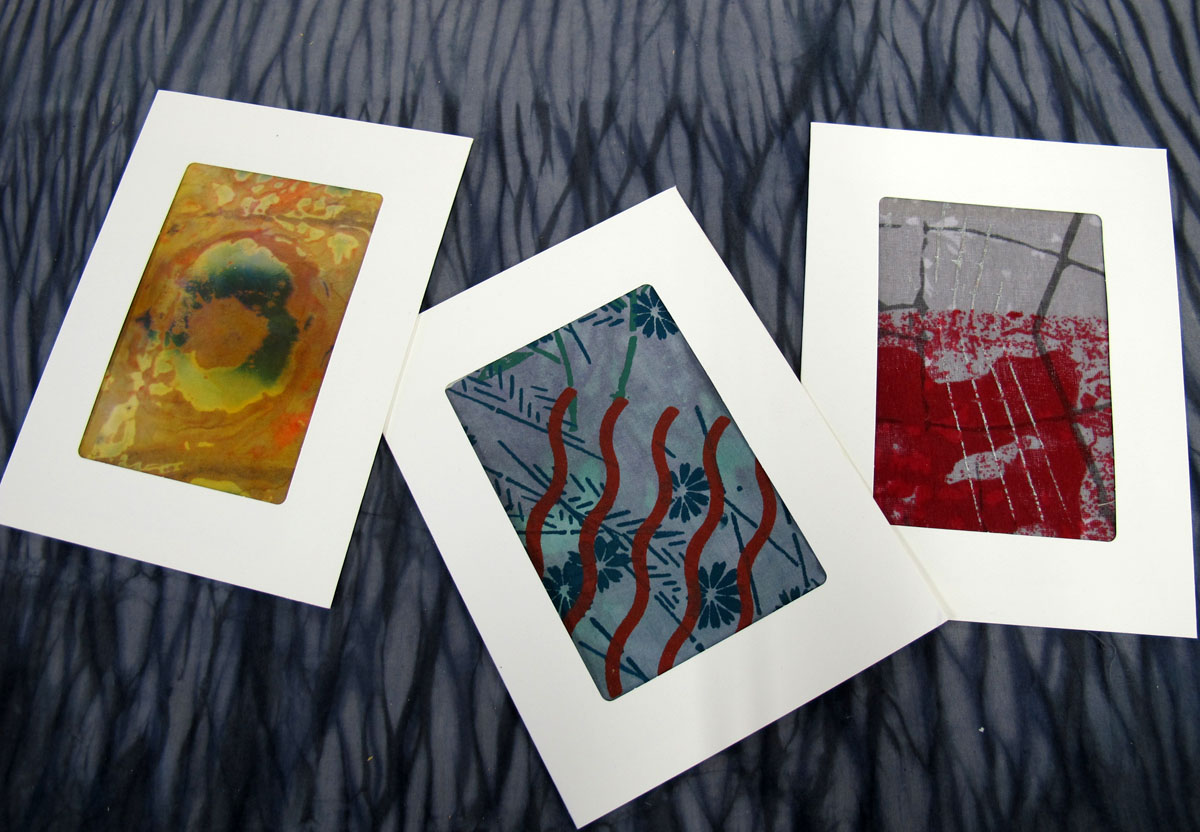
1. Construct the top of the card like a quilt, layering the backing, batting, and top. Card tops can be pieced, appliqued, or whole cloth in appearance.

2. For the back of the card, fuse plain muslin to the cardstock using your chosen fusible product. On the front of the cardstock/muslin piece, stitch a vertical line. The right-hand side is for the address and stamp, while the left-hand side is to have the words Post Card written at the top. I suggest writing personal messages in the opposite direction (vertically) to make them clearly different from the address.

3. Fuse the card top and back together using fusible web. Trim to 4″ x 6″. Satin stitch around the card.

4. Add the address, etc. with a permanent pen and there you go – a personally-crafted item from a crafty person to someone who knows you love fabrics and quilting. They will love it, and you will have saved $4 to $5 on a purchased card.
Everyone found it funny that those tiny half-square triangles are the cut off portions of flying geese I made for another quilt. No need to throw them away! I simply iron-tapped them upon the fusible batting and then satin-stitched them into a pinwheel. I finished off the card by adding and fusing scraps around the pinwheel, then pressed everything down and trimmed the edges.


This is great. Thanks.