Festive Wrap Scarf Tutorial
Hi everyone! Julie Eilber here with a cozy wrap/scarf that will keep you warm and stylin’. I made one of these last winter, and found it so handy to have in my bag to wear in chilly restaurants and theaters. Let’s face it, when you get to a certain age, it’s all about “chic temperature management,” isn’t it?

My BERNINA 560 (AKA “Karl”) and I have been fiddling around with knits on my blog, JetSetSewing.com, and we’ve a made a startling discovery. French seams, which are usually used with light woven fabrics, are great on bulky knits. Who knew?!
A lot of people are intimidated by sewing knits, but really it comes down to two things: pick knits that aren’t too slippery (such as wool or matt rayon jersey, sweater knits, ponte, cotton interlock etc.), and sew with a machine that has a high-quality feed, like a BERNINA. It makes a huge difference.
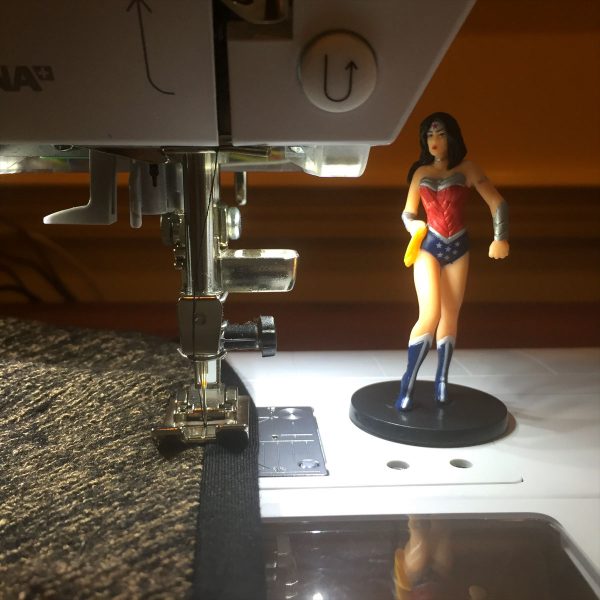
Sewing knits with Karl makes me feel like Wonder Woman!
Materials to make a Festive Asymmetrical Wrap Scarf:
- 1 yard of stretchy sweater knit—the stretchier the better (I almost always use sweater knits with wool, because they steam into shape so nicely.)
- 3 Yards of 1″ wide Foldover Elastic
- Thread matching the color of the elastic (plus thread matching the fabric, if it’s a different color)
- Ballpoint or Universal Needle
- Bulky Overlock foot #12/#12C (recommended)
- Reverse pattern foot #1/#1C/#1D
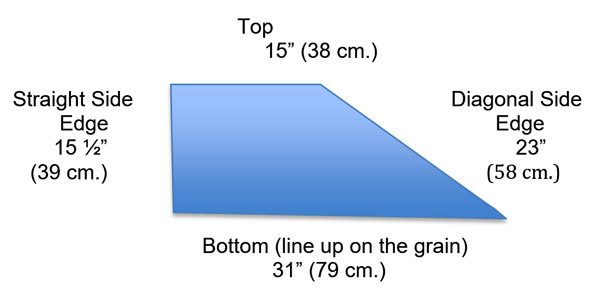
1. Grab a large piece of paper, or tape several pieces of paper together to make the pattern. Draw out the pattern on paper from this highly technical schematic. (Readers of my blog know that when I create patterns, I’m assisted by the talented “Jet Set Sewing Graphics Team,” also known as the chipmunks who live in my kitchen. Well, Chip and Dale have learned how to use the computer now, and though it’s sounded like “Kitten on the Keys” around here, they’ve managed to come up with this “almost to scale” drawing.)
(Note: the pattern is “one size fits most,” but if you want to wear it tight around your shoulders, and you have a larger bust, you may need to add some width to the straight side edge. If your shoulders are narrow, you can reduce the width on the straight side seam.)
2. Open your fabric and fold it crosswise. Put the pattern on top and cut the two layers. Note: If you are matching stripes on the fabric, cut one piece at a time in a single layer to match them.
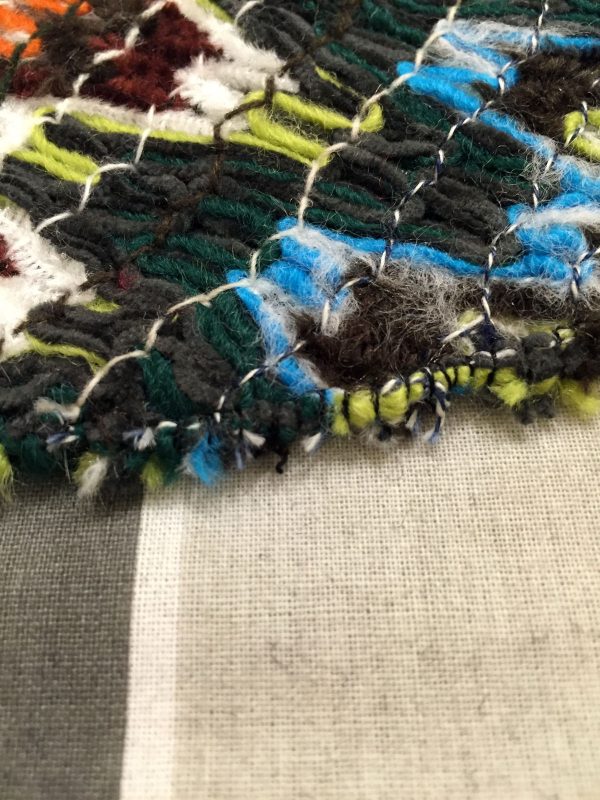
3. FYI, to make French seams, first you sew them wrong side together close to the raw edge, then flip them inside out, and sew them right sides together, a little further away, to enclose the raw edge.
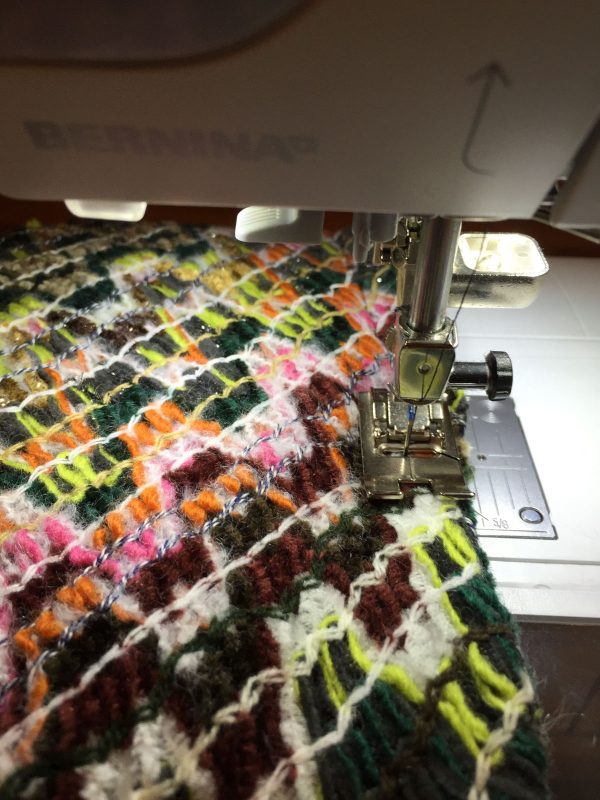
4. Sew the diagonal side seam WRONG sides together, using the thread that matches the fabric, Bulky Overlock Foot #12C, and a stretch overlock stitch that’s 7.0mm wide by 3.00mm long. (I used stitch #13 on the B560, which looks like a blanket stitch.) Or you can use your Reverse pattern foot #1C and a zigzag stitch sewn very close to the edge.
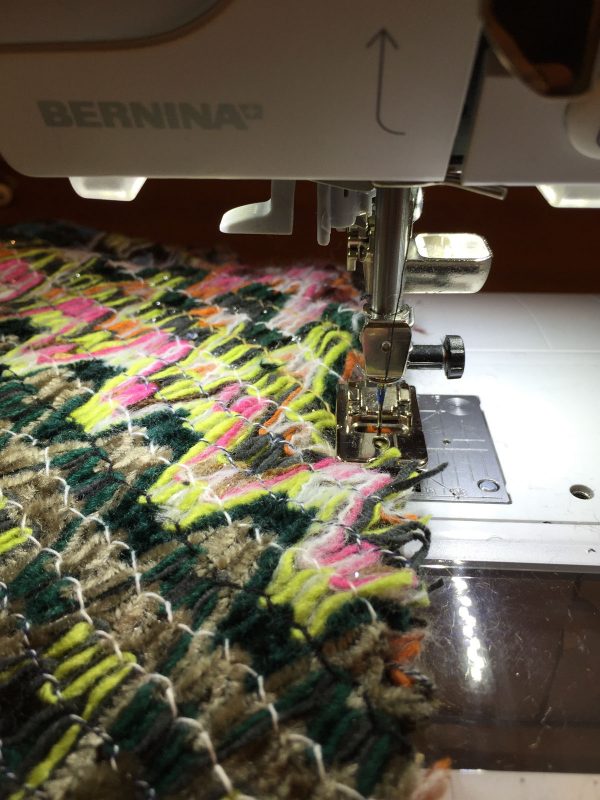
**Tip for sewing knits: don’t stretch the fabric as it goes under the needle. Keep it flat and gently guide it through the feed dogs.
5. Press the seam flat, then press it open.
6. Turn the scarf inside out, and pin same seam RIGHT sides together. Use Reverse pattern foot #1C and a narrow 1.0mm wide by 3.00mm long zigzag to stitch the seam about ½” from the edge. Be sure to enclose the first overlocked seam inside as you sew.
7. Now make a French seam on the short, straight side seam. WRONG sides together, use the same overlock or zigzag technique to sew the seam the first time. (Note: this is a good point to check and modify how it fits.)
8. Press the seam flat, then open. Then turn the scarf inside out so the seam is right sides together. Sew the French seam again with the narrow zigzag.
9. Switch to the thread color that matches the elastic.
10. Cut a piece of foldover elastic 31″ long. Make it into a circle, but don’t overlap the ends.
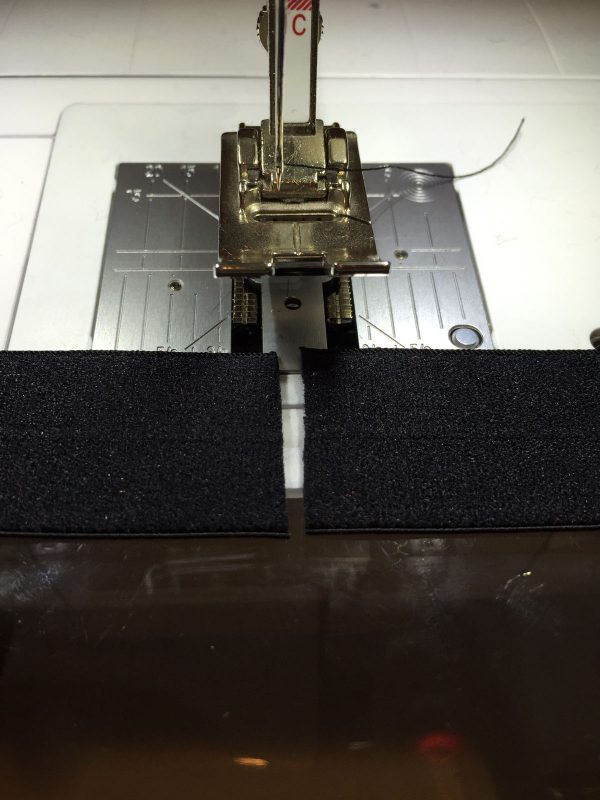
11. Put the two ends of the elastic together, side by side, under the presser foot. Sew the ends together flat, not overlapping, using Universal Stitch #15. Sew over the ends a second time. (You can also use a wide zigzag to join the two ends.)

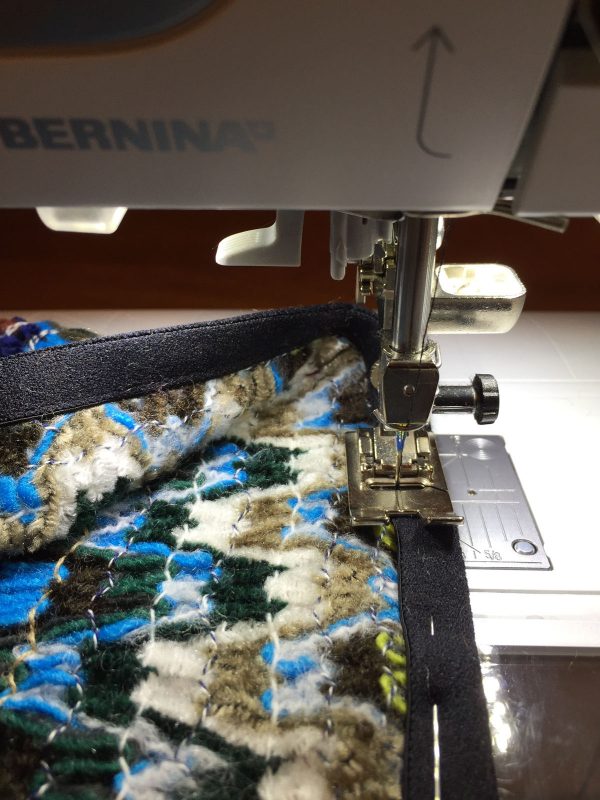
12. Pin the top raw edge of the scarf to the lower half of the circle of folding elastic, wrong sides together, and stitch with the BERNINA Reverse pattern foot #1C and the narrow zigzag. The right edge of the presser foot should go along the middle of the elastic.
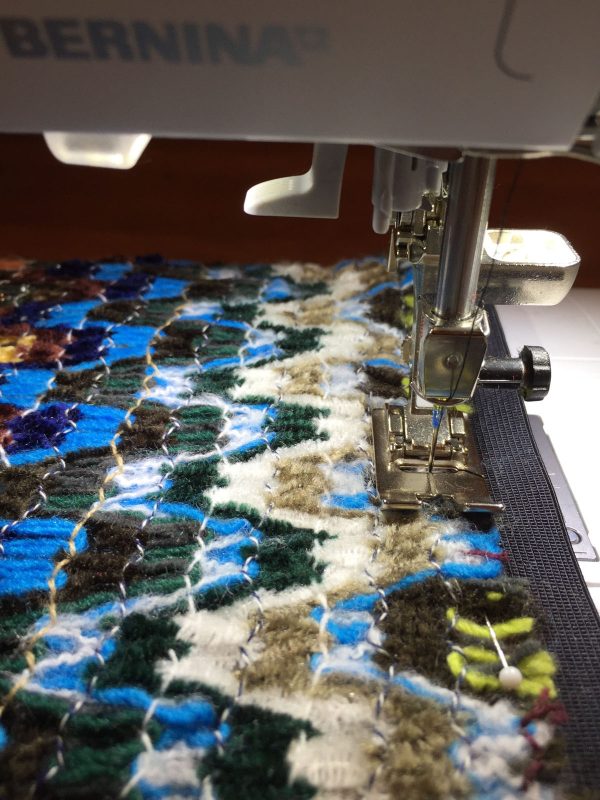
13. Fold the elastic over to the right side of the fabric, enclosing the top raw edge, and stitch close to the edge of the elastic with the narrow zigzag.
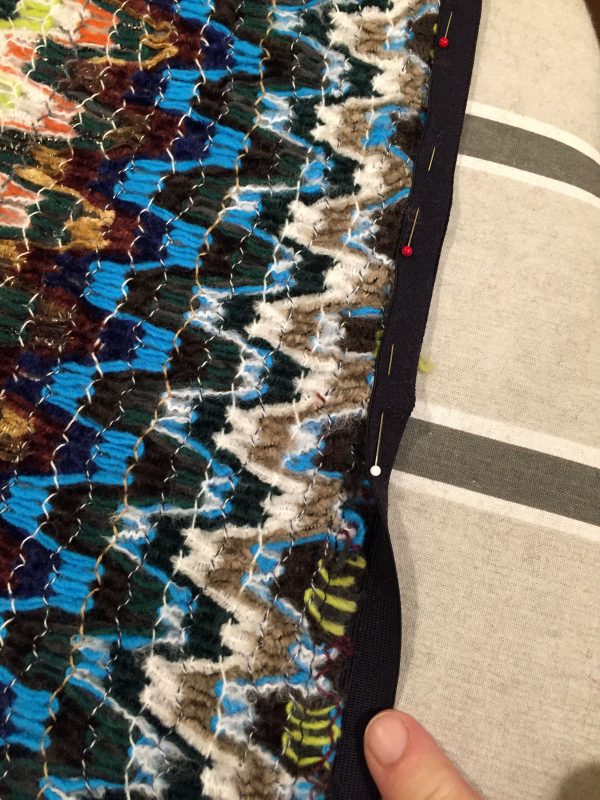
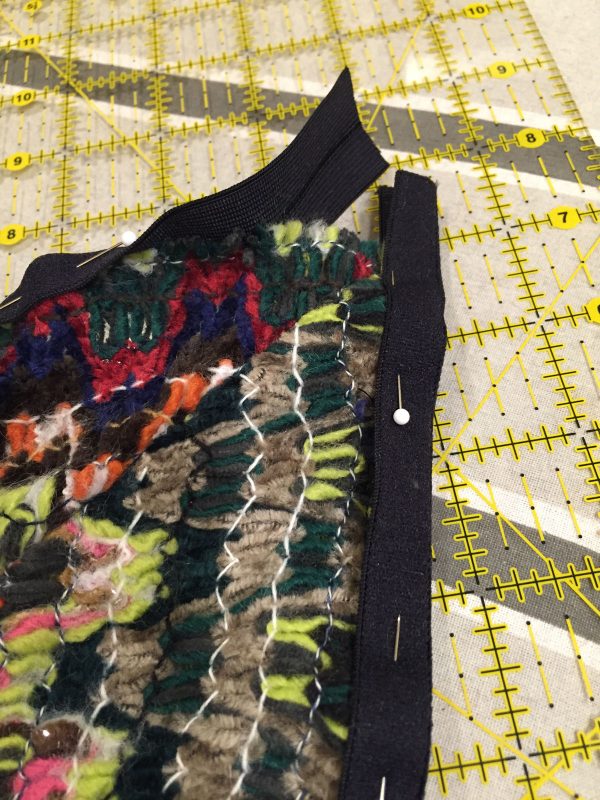
14. Pin the foldover elastic to the bottom hem of the scarf, wrong sides together, starting at the pointed end. Overlap the elastic at the point for now, but don’t sew it.
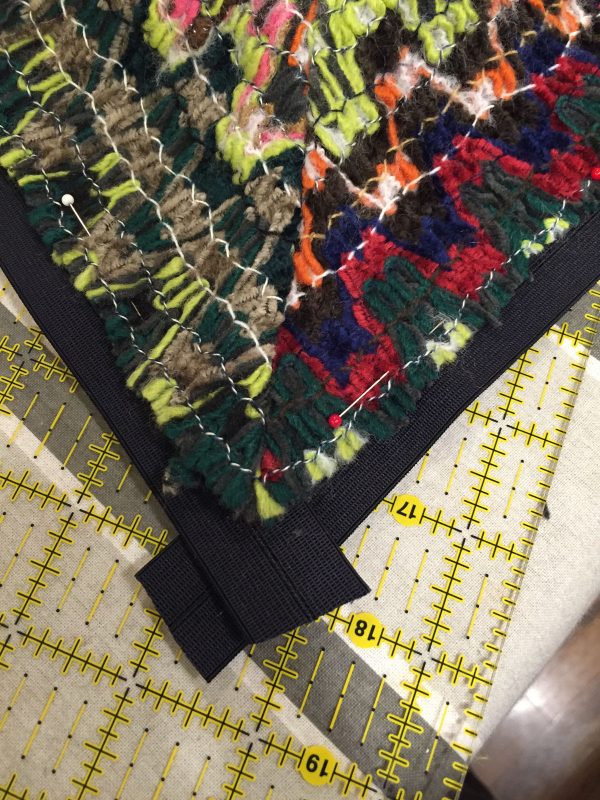
15. Stitch the elastic to the hem using the narrow zigzag, starting and ending one inch away from the point.
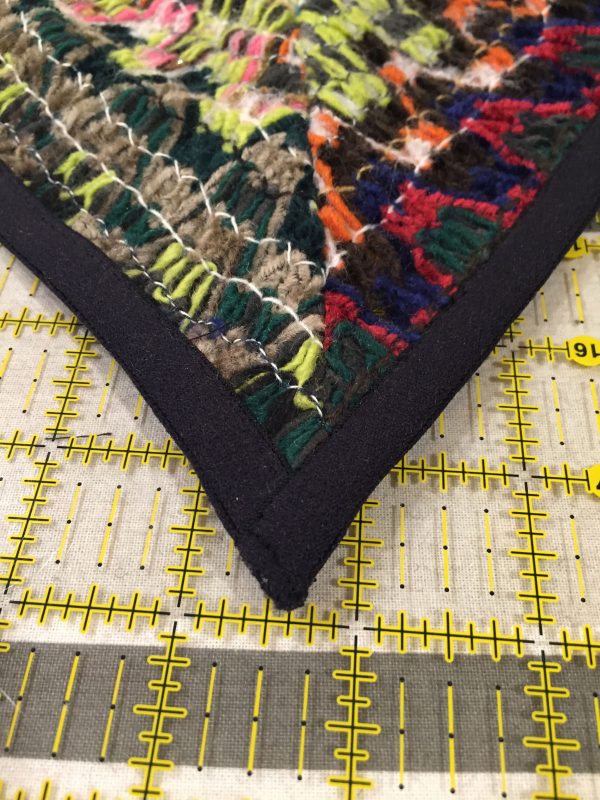
16. Fold over and pin the elastic to the right side of the fabric, covering the raw edge, then start sewing at the beginning of the point, using the narrow zigzag. Leave the elastic at the other end of the point out of the stitching. Sew all around the hem until you’re one inch away from the point again.
17. Cross the elastic over at the end of the point and trim. Secure the end of the point with a straight stitch.
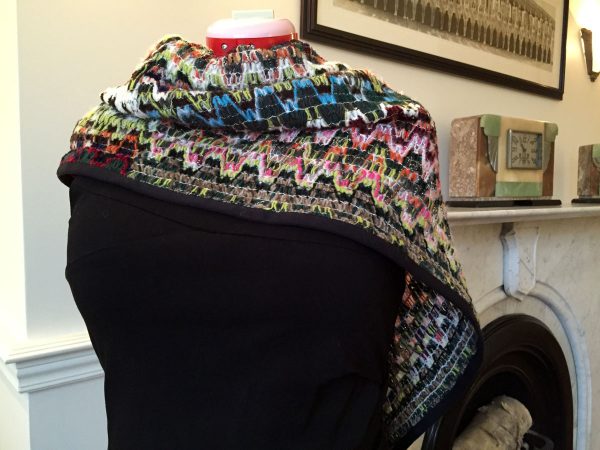
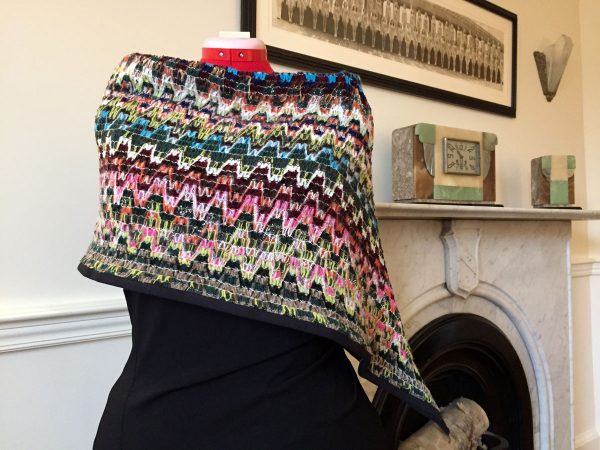
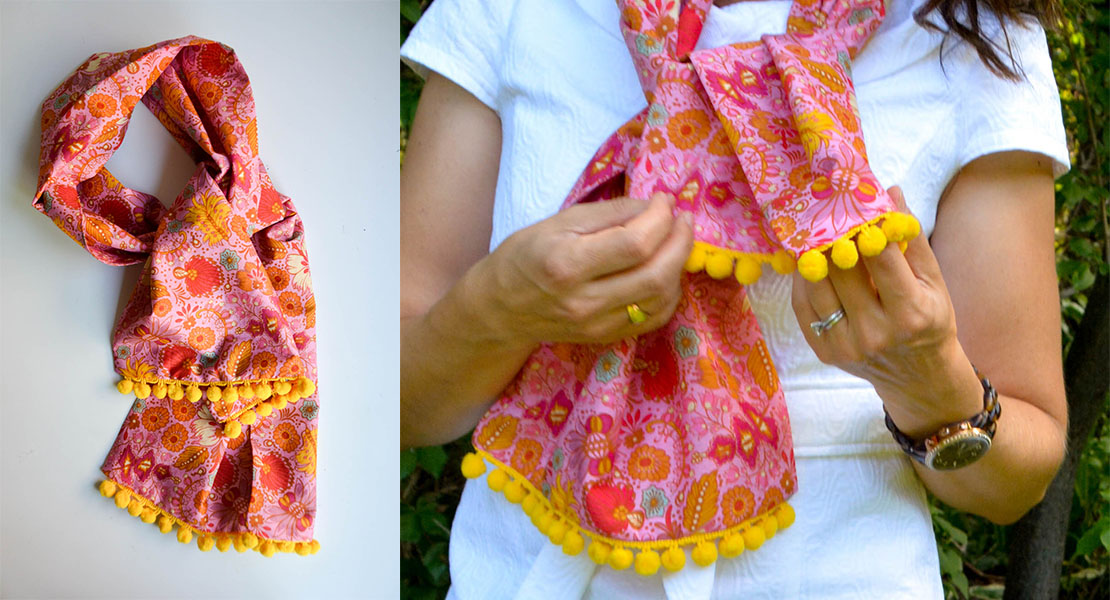
You can wear your scarf gathered in front of your neck, with the point falling down the back, for that “Italian Contessa” look:
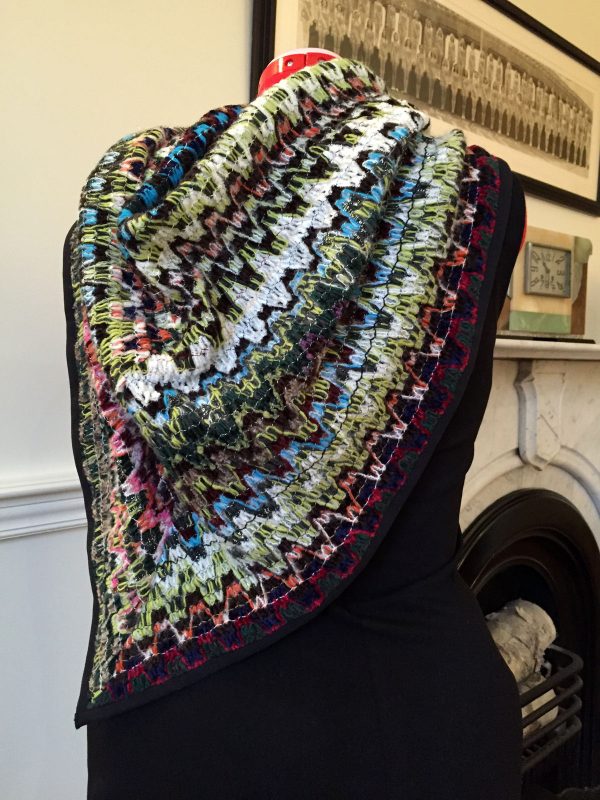
Or wear it wrapped around your shoulders for more of a “Judy Jetson” retro look:
Enjoy!


5 comments on “Festive Wrap Scarf Tutorial”
Unique shhawl
Great idea! I know a few young people would love this idea.
What a clever idea I will have to also share this with my daughter. Thank you for sharing.