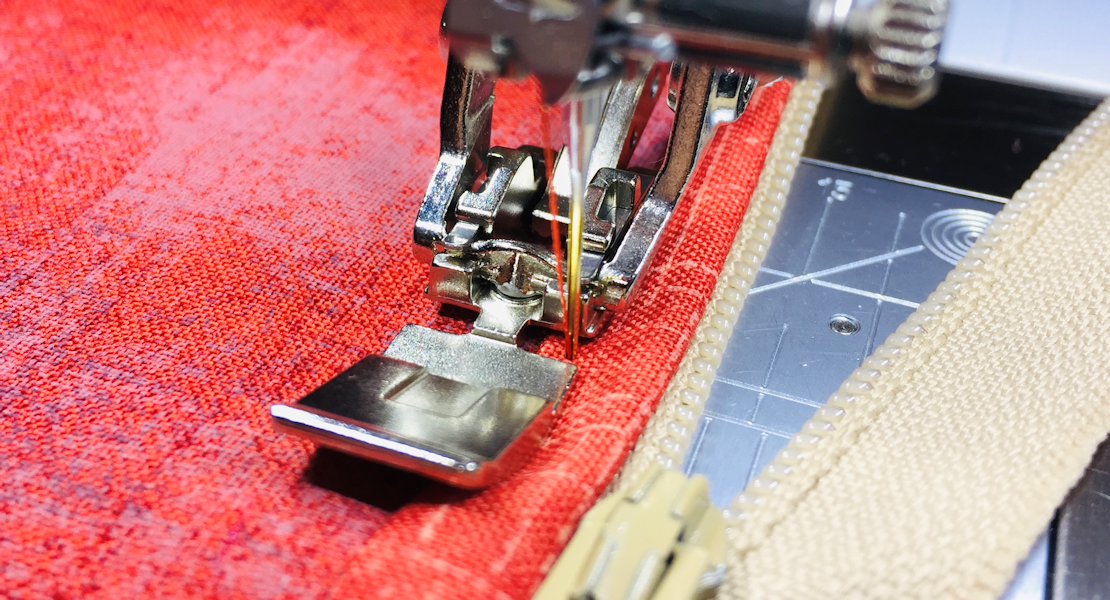
Sewing Needle Guide: What to Use and Why

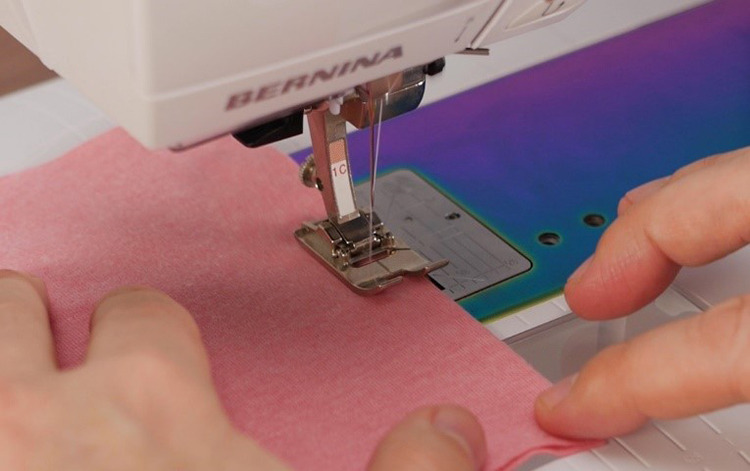
Regardless of how simple or sophisticated your sewing/embroidery machine is, the needle is at the very heart of the stitch formation process. Its role is to deliver thread from the top and through the project while the machine’s hook gets a hold of the thread to intertwine it with the bobbin thread. With the right needle your machine will stitch away without a glitch. With the wrong needle, even the best machine in the world can skip a stitch . . . or more.
There are detailed descriptions of sewing machine needles and how they are made on the internet. A great post about needles can be found on the BERNINA WeAllSew blog. Click HERE to read the post.
My goal in this article is to focus on the everyday practical considerations for the average sewist like me, and to address concerns about what types of needle one should keep on hand in the sewing room to cover regular sewing, embroidery and quilting. There are so many needle types and sizes that I’m not going to keep all of them in stock in my sewing studio. So let’s look at a starter set that will cover a wide range of sewing scenarios.
How to choose a sewing needle for a project
I base my selection on these two basic factors, in the following order:
- Needle type:
- First choose the type to match the fabric(s) in your project. The needle type impacts the shape and size of the needle eye, the depth of the thread groove in the front, etc.
- Needle size:
- Choose the right size based on the fabric thickness and number of layers. I think of this as the ‘bulkiness’ of my project materials.
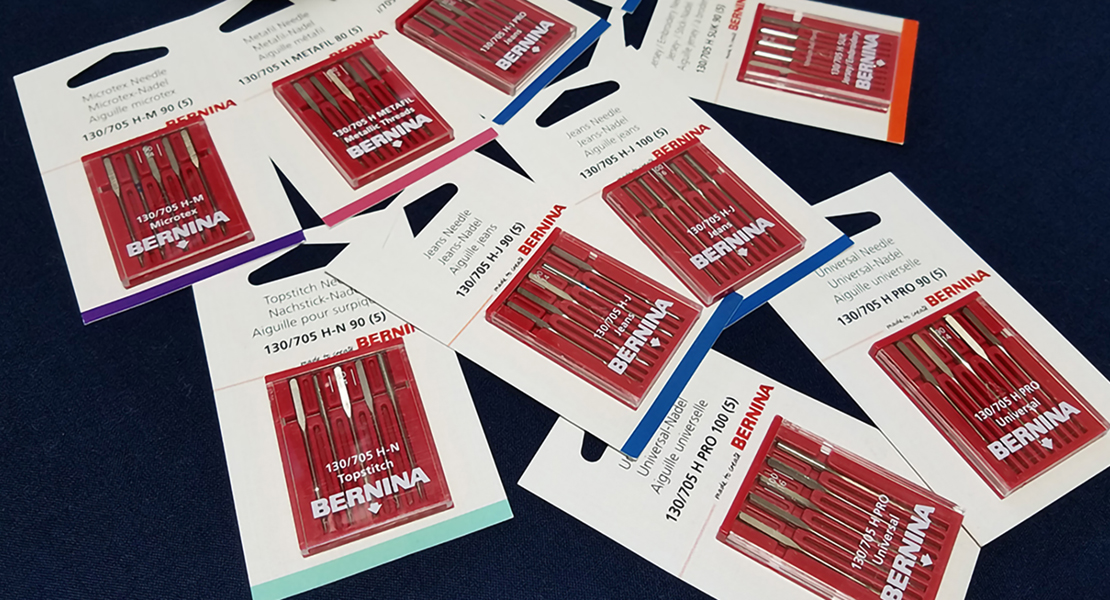
With this in mind, here are the five basic needles I personally keep on hand, some in more than one size:
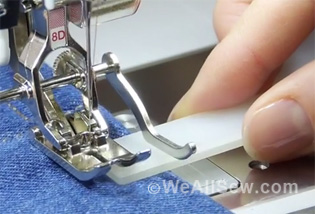
Jeans/Denim
Sharp point for precise seams on woven fabrics (and not just for denim!)
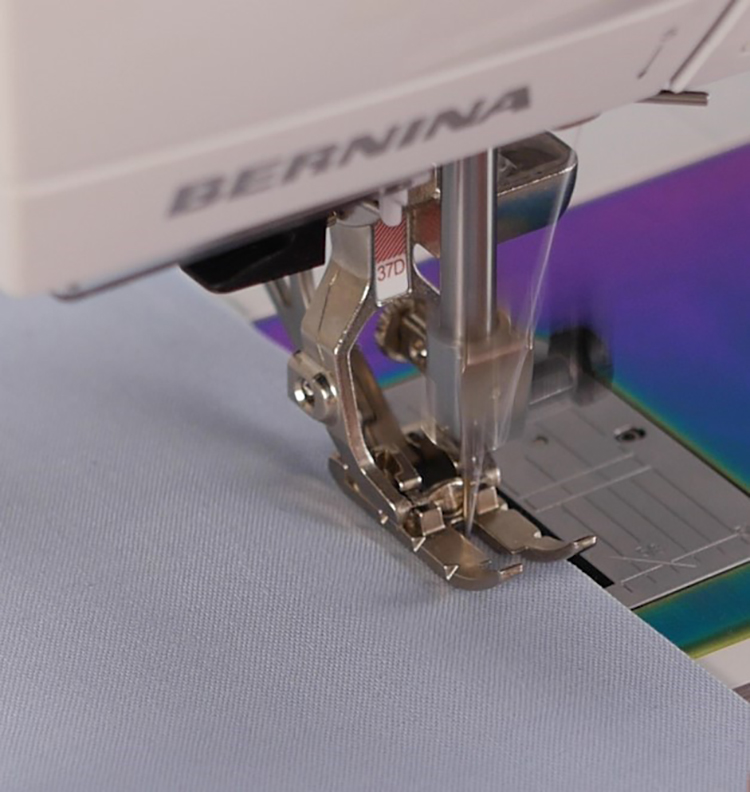
- Durable point (e.g. compare to a finer point like Microtex)
- Stronger shank that can handle layers well
- Great for quilt piecing (I use a Jeans 80 since my quilts typically have embroidery stabilizer fused to the cotton fabric). My colleague Nina McVeigh (BERNINA’s quilting expert) uses a Jeans 70 needle for piecing on plain cotton fabric.
- Sizes to keep on hand: 80 and 90
- TIP: A jeans needle isn’t just for heavy fabrics. A size 80 jeans needle will not be any larger than any other type needle. Only the groove, eye and point will differ. So, a Jeans 70 needle (fine needle) will do great in fine woven fabrics and a Jeans 80 needle will excel at piecing quilting cotton fabric.
Microtex
- For fine to medium weight fabrics and microfiber
- Finest point available: will not disrupt a weave (but won’t last as long as a denim needle)
- Excellent for finishing work like edge stitching or top stitching, yielding precise stitch lines (note: for heavier projects a jeans needle may work better)
- Sizes to keep on hand: 70 and 80
- TIP: Most applications requiring such a fine point are well served by a size 80 Microtex needle.
Embroidery Needles
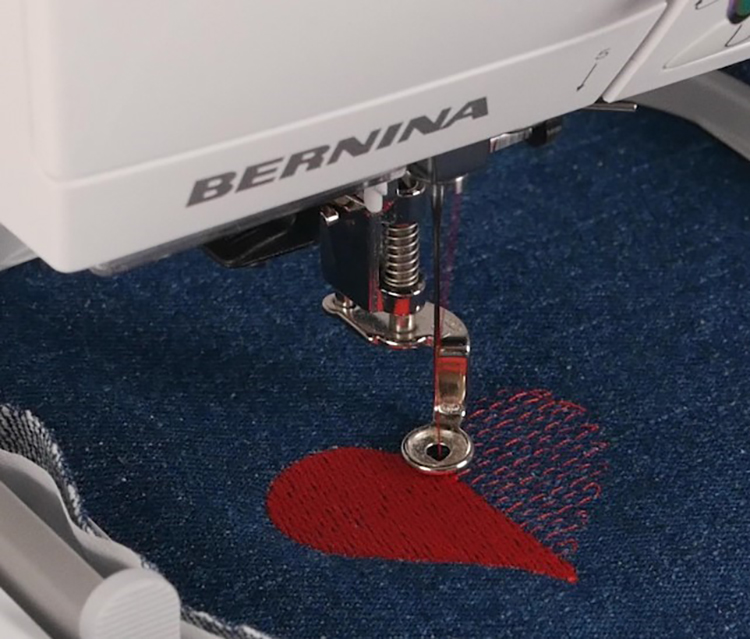
- Designed specifically to stitch through dense embroidery
- Yields best result at your embroidery machine
- Sizes to keep on hand: 75, 80 and 90.
Considering the wide variety of embroidery designs, base fabrics/materials and the potentially high stitching speed and stitch counts, having just the right embroidery needle is crucial. - TIP: I use Titanium-coated embroidery needles in general: the point stays sharper longer and gives bests results over time. They cost a bit more but more than make up for it in longevity and performance.
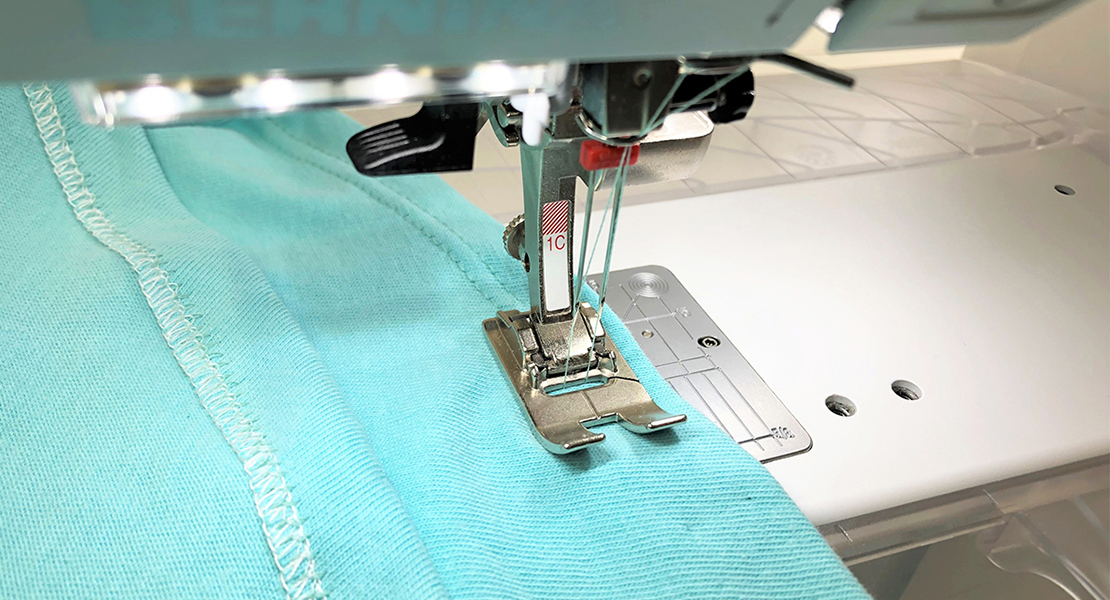
Ballpoint (for knits)
- The rounded point of this needle lets it pass through a knit without snagging the fibers. Remember that knits are composed of very fine threads, with interlocking loops to form the fabric. While knits are typically thicker than a woven fabric, their fibers are often finer or thinner than those of wovens, and thus are easy to snag.
- These are not used as commonly by most sewist but are still the best whenever you sew (or embroider) on knits
- TIP: It sounds counter intuitive to many, but for embroidery on knits a ballpoint needle can make the difference in some applications for smooth designs and no fabric puckers.
- Size to keep on hand: 80
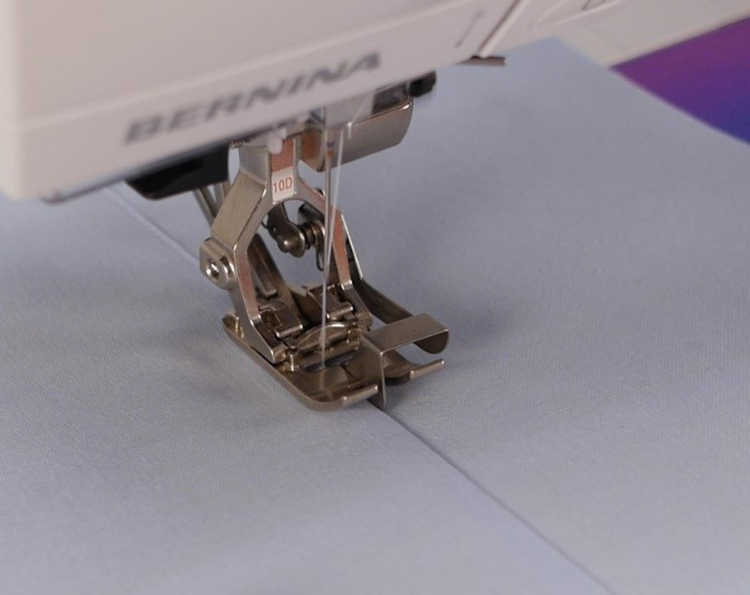
Quilting Needles

- The slightly rounded and slender point lets the needle go through the layers without leaving a permanent hole. It’s almost like a self-healing perforation as it nudges the fibers aside rather than piercing through them (which could cut fibers).
- The deeper groove lets the thread slide freely, avoiding interference from the many little fibers of the batting, thus avoiding skipped stitches.
- TIP: When quilting a thin project (e.g. a table runner with quilter’s flannel as the middle layer) I often use a Jeans 90 needle. I always use a Quilting needle when using batting, regardless of thickness.
- Size to keep on hand: 90
Universal Needles
While I do have some universal needles in my sewing room, I consider them ‘in case’ needles and not my go-to needles in general. Here’s why:
- Universal needles are a compromise between a sharp and a ballpoint. It’s like a sharp type needle that has been slightly rounded at the tip.
- They won’t necessarily compromise your sewing (they tend to do well on light to medium wovens and knits), however they won’t perform as well as a dedicated needle type for the fabric you’re sewing.
So, I use a sharp needle (usually Jeans/Denim) when I sew wovens and a ballpoint to mend a T-shirt. I use embroidery needles in general for my embroidery.
Again, I consider Universal needles my ‘in case’ needles. If I’m out of the ideal type I can fall back on the Universal needle to stand in. They are a good back-up option and I keep a pack of assorted Universal needles in my sewing toolbox. So, in the end, yes, I do recommend having these around.
Basic Trouble Shooting Tips for Skipped Stitches
Skipped stitches happen to the best of us . . . we just hope not often. If you find that your machine is skipping stitches after ensuring that you have an adequate stitch (including length and width) and (needle) thread tension setting for your application, consider the following:
- Select the right type of needle for the application or technique. Refer to the information above to get started.
- For example, if embroidering a quilting stitch pattern through a quilt sandwich, I will try a Quilting needle first. While the quilting is done with the embroidery machine, the technique is still “quilting”, so I use the same needle I would have use if I were quilting with the sewing machine.
- Check the needle tip.
- Rub your fingers along the needle and past the tip.
- Change the needle if you feel a scratchy area (burr)
- Try a needle one size larger.
- Often times, a stitch will be skipped when the project is too heavy for the size of the needle.
- If the fabric and materials ‘squeeze’ around the needle too tightly, the thread cannot slide freely in the groove on the front of the needle. Using a larger needle will open a larger hole, allowing the thread to pass freely.
- This is generally my first line of action when I observe skipped stitches, assuming I have already selected a needle type recommended for my project. If that doesn’t fix it, I go through the troubleshooting steps below.
- Consider another type of needle than the ‘obvious one’.
- This is for special cases when your sewing results throw you an unexpected curve after you selected a recommended needle and size.
- It requires trial and error.
- Sometimes a counter-intuitive needle choice is the right choice. For instance, a Jeans needle does the best work when embroidering lines of triple stitch. My art quilts have a lot of thread lines and I came across this option by necessity when I was getting occasional looping at specific angles in the lines of stitching while using embroidery needles. After trying a Jeans needle instead (after all, they work really well with triple stitch on a canvas… from experience) the looping went away. The deep groove of the Jeans needle made the difference
- If you keep getting skipped stitches regardless of needle type and size, you may need to bring your machine to you BERNINA technician. They will be able to verify that your machine is in proper working condition before further testing with needles.
- A broken needle (they happen!) may have scratched your hook and left a burr which would snag the thread and lead to skipped stitches.
- However rare, if the timing of your machine is a bit off it can lead to skipped stitches, as the hook may not be passing by the needle at the expected time when forming a stitch.
Did you know?
BERNINA machines have the tightest ‘needle-to-hook’ clearance of any brand. This means that the hook gets the closest to the back of the needle compared to any other brand of machine. The result? It’s hard for a BERNINA to skip a stitch! That’s one of the many aspects of what we call Swiss Precision. Yes, that’s precision with a capital P!
Every seam comes to and end . . . In conclusion:
The information above was just an introduction to sewing machine needles. This covered the basic types of needles that I personally keep on hand in my sewing room. But there are many more!
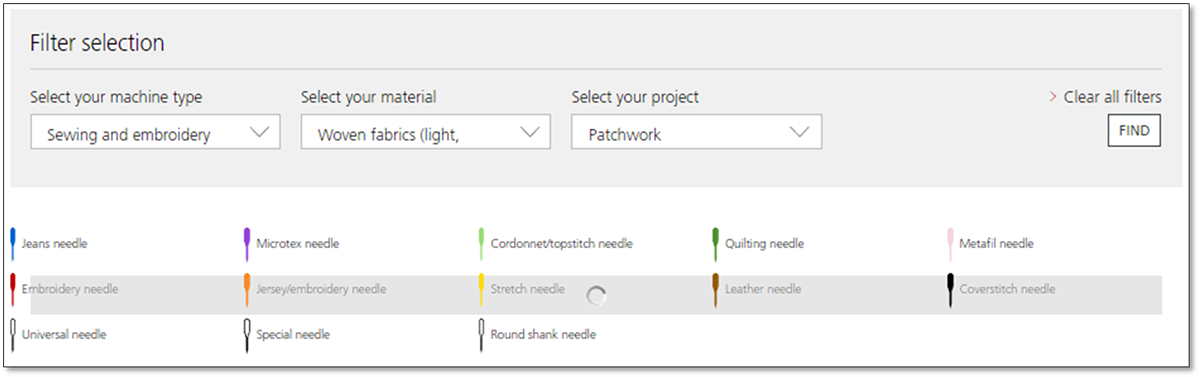
If you need to explore needle types, we have an online resource. Click HERE to open the BERNINA needle search.
Just fill in the information and get started.
There’s information about more needles than you may need in an average sewing room. Yet with the information here, you’re sure to find the right needle no matter the project, fabrics, techniques or applications when you need it. Whether you’re stitching on leather, using metallic or super heavy thread or sewing clingy elastic, there is the right needle type for every project. And that’s good news!
In the end, your sewing machine does everything to bring the fabric to the point where the needle will go through it. The needle handles the thread so that the stitch can be formed by the hook system. And this all happens at high speed most of the time. So, while the needle is the first thing to select when setting up, that needle has the last word in your stitch formation.
Happy sewing! And remember to change that sewing machine needle—a fresh needle for every project!
Used Products

What you might also like


11 comments on “Sewing Needle Guide: What to Use and Why”
-
-
How in the world did I miss this when it was first posted? Simple, yet detailed article that every machine owner should read!
-
I have a question: What is the difference between a stretch needle and a ballpoint needle?
-
Hello kallyg, a stretch needle is specially designed to sew with extremely stretchy fabrics (think super stretchy knits, Lycra or Spandex). A ballpoint needle is very rounded to prevent breakage of fibers when sewing. You might choose a ballpoint needle for a sweater knit or a loosely knit fabric, and you might choose a stretch needle for a fabric made with Spandex.
-
-
I’ve been sewing for decades but learned some new things in this article. Thank you! Especially liked the info on skipped stitches.
-
WHERE CAN I BUY NEEDLES ON LINE DURING THE SHELTER IN PLACE RULE?
-
Always like having this information as needle size and make always make a big difference. Thank you.
-
I attended this webinar a few weeks ago. Can I get a printed copy of the attachments that were given out at the webinar?
-
You can access the main handout along with a recording of the webinar at:
https://www.bernina.com/en-US/Learn-Create-US/Classes/Webinars/Recorded-webinars/Recorded-SewingWhile the Schmetz needle guide was only available for direct download during the webinar, there is a link to the Schmetz resources (including the needle guide) in the handout mentioned above
-
-
The tips are very helpful and I plan on adding to my needle selection.
-
I saw the explanation about the difference between a stretch and ball point needle. How about a stretch needle versus a jersey needle?
This article also cleared up the misconception that I had about top stitching. I always thought top stitching required a top stitching needle. I never knew to try a microtex or jean needle for top stitching button up shirts.
Thank you for the online resource for needle selection. I have bookmarked it as a favorite. Excellent article
Leave a Reply
You must be logged in to post a comment.

Thanks for this informative article. I learned I need to update my needle collection and I appreciate having concise information in one place.