Free-Motion Snowman Vase Quilt
Every child listens with doubt when they hear an adult say “It is better to give than to receive.” That changes once the child reaches kindergarten and waits with joyful anticipation for his mother to open the carefully wrapped macaroni necklace under the Christmas Tree. From that day forward, the tradition of giving, especially handmade gifts, is rooted.
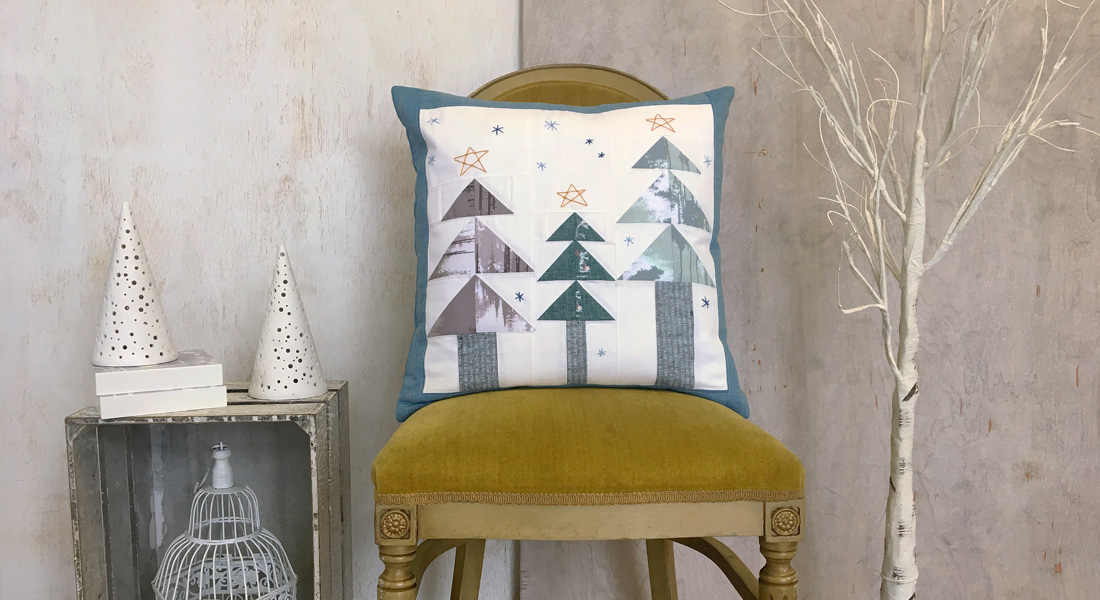
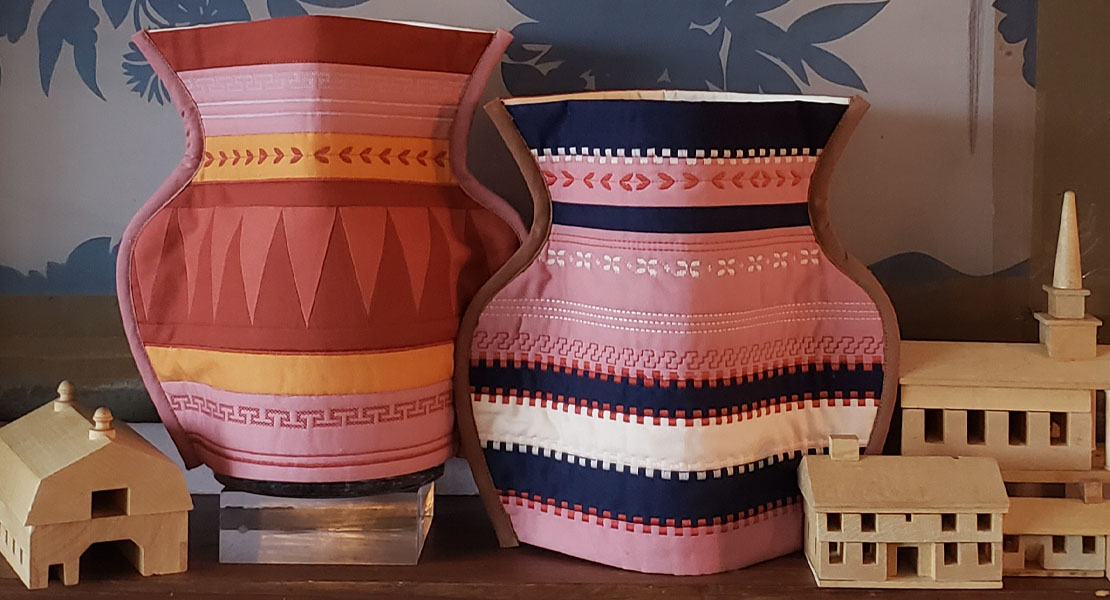
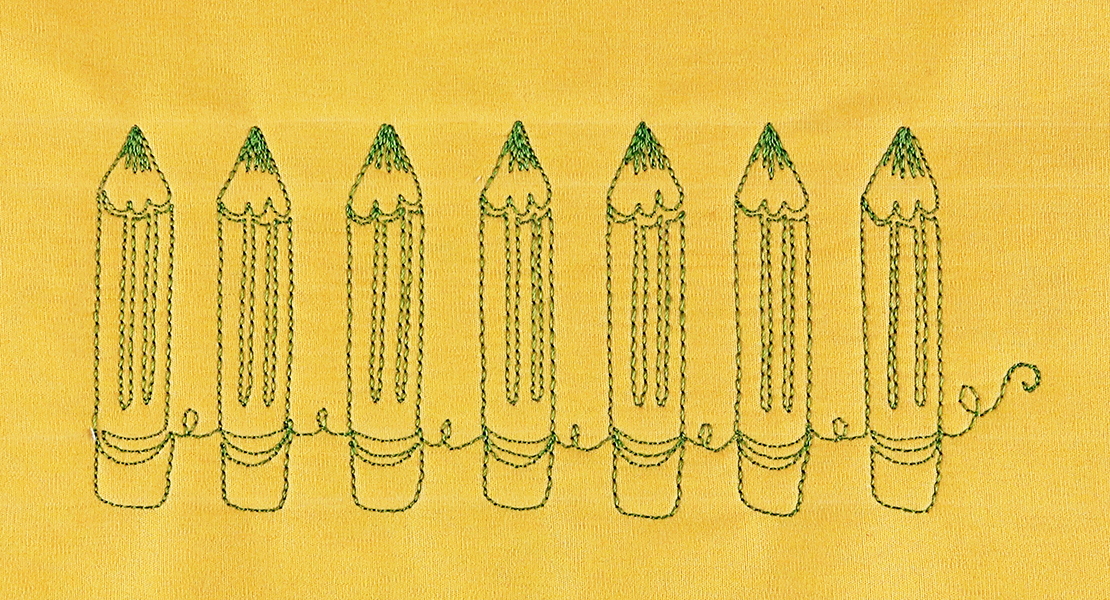
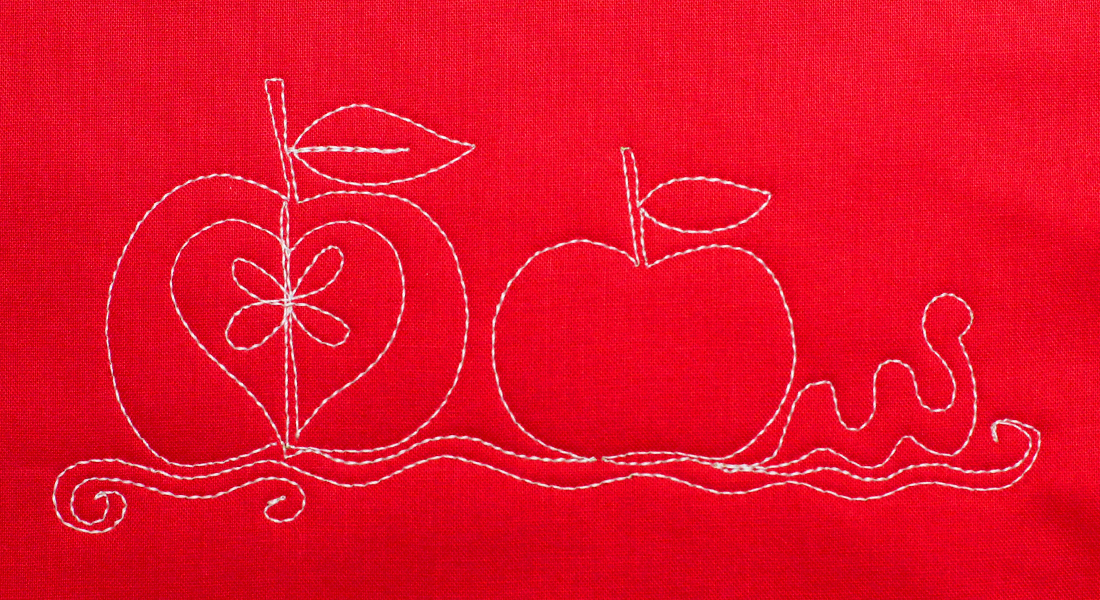
For my family, Christmas would not be Christmas without handmade gifts. This year, I’m working on small, free motion quilted “vase quilts” for my family and friends. Vase quilts are bigger than a mug rug but smaller than a table runner. They are the perfect size to place under a vase or candle, or use as a wall hanging.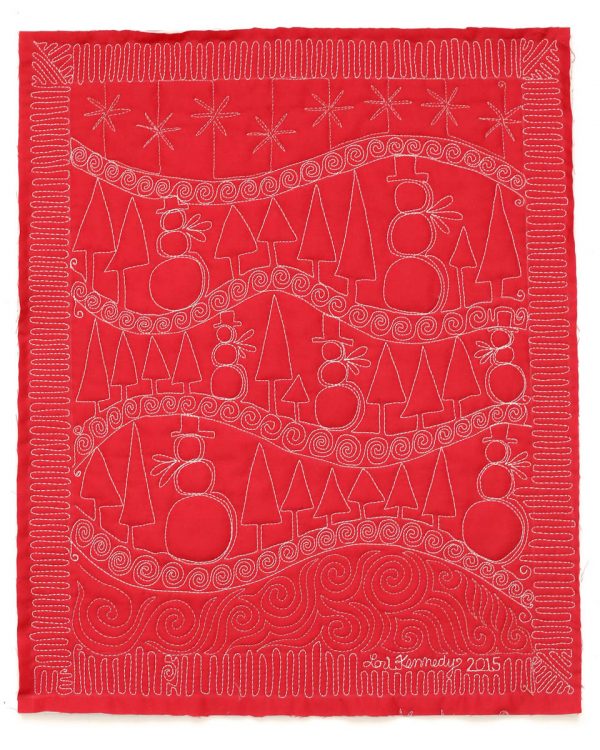
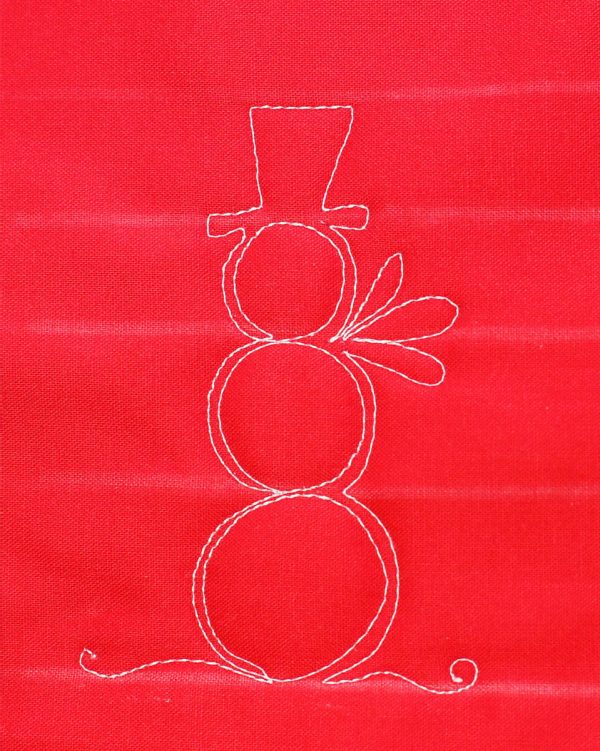
Here are the steps of how to free-motion quilt a snowman
The snowman is an adorable motif that can be stitched in the center of a block or stitch a row of snowmen to create a border for any Winter quilt.
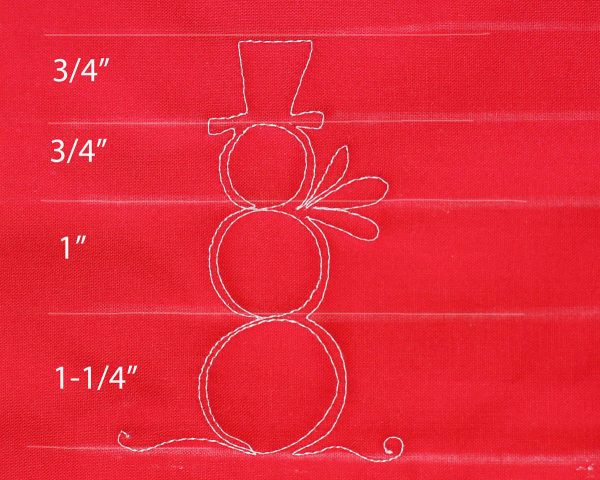
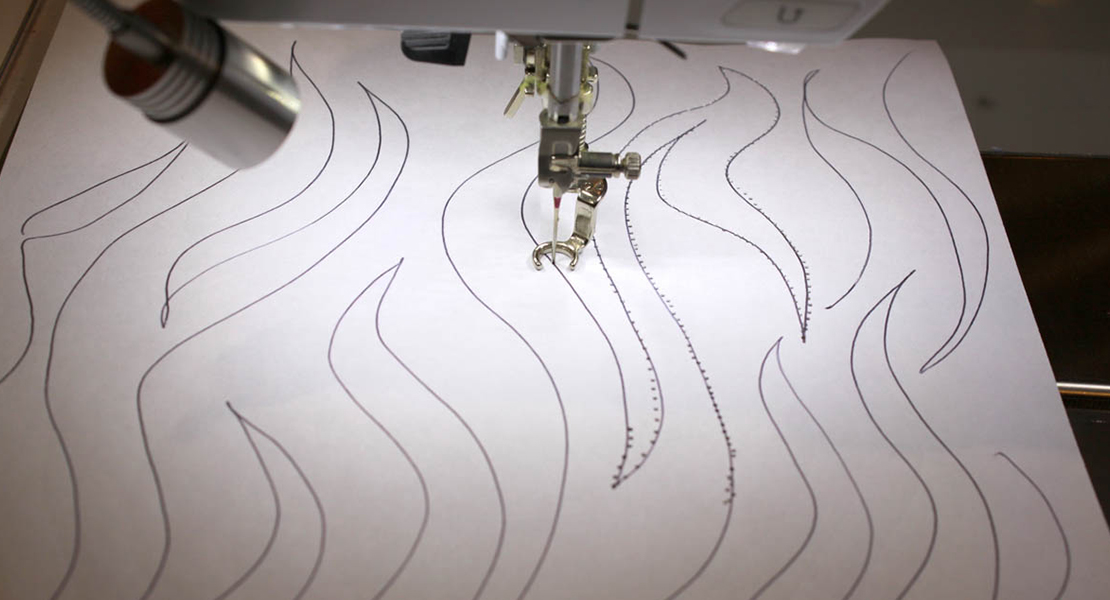
Begin by drawing five lines. The spacing indicated here is just a suggestion. Play with different proportions to create a variety of snowmen.
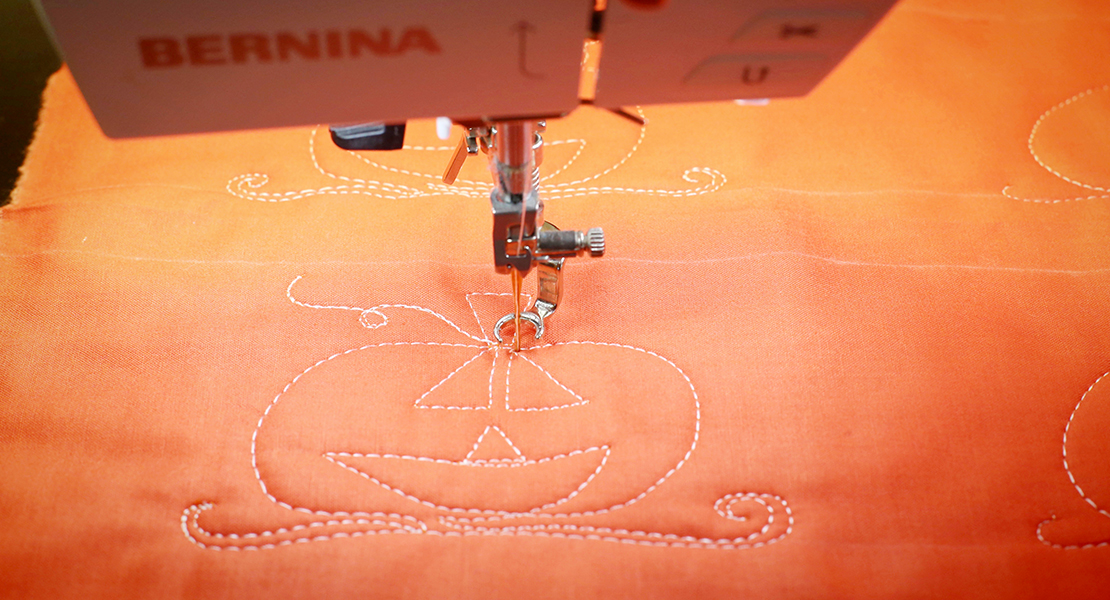
Stitching the Free-Motion Snowman
Set up your BERNINA sewing machine for free-motion quilting. Use the BERNINA Stitch Regulator (BSR) or use a foot designed for free-motion quilting such as the BERNINA Darning foot #9, BERNINA Quilting foot #29, or BERNINA Embroidery foot #15. My favorite is the BERNINA Free-motion Embroidery Foot #24 as it is open in front and offset, providing the best visibility.
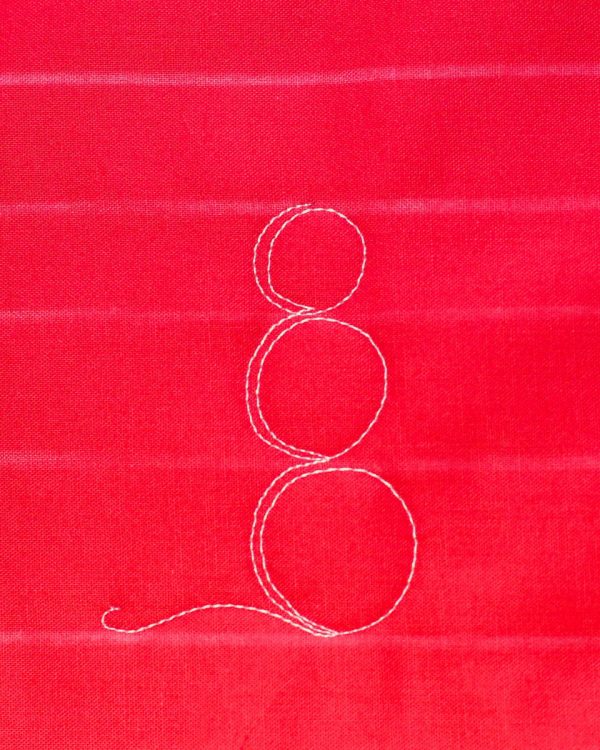
Begin stitching on the bottom line. Stitch a complete circle, then echo stitch the left side of the circle all the way to the next line.
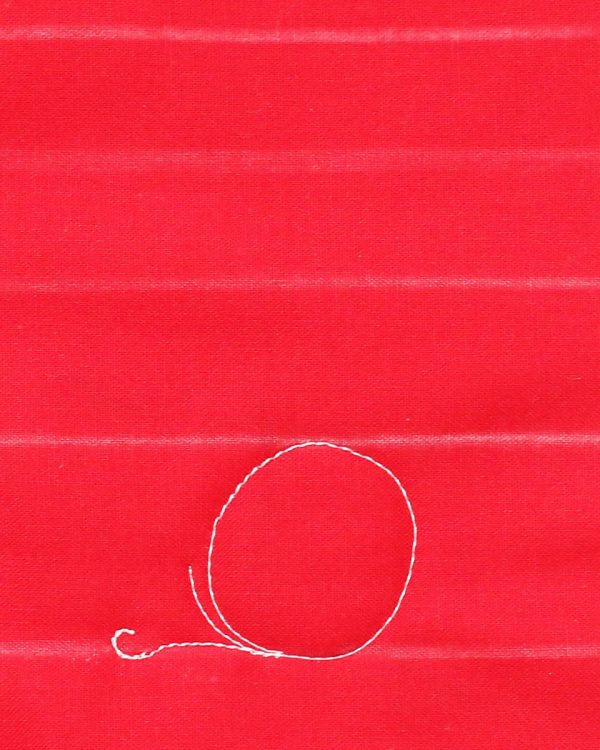
Stitch another complete circle and echo stitch the left side of the circle.

Stitch the snowman’s head—a full circle—and again, echo stitch the left side. Stop here with the needle down to adjust your fabric if necessary and to plan the next step.
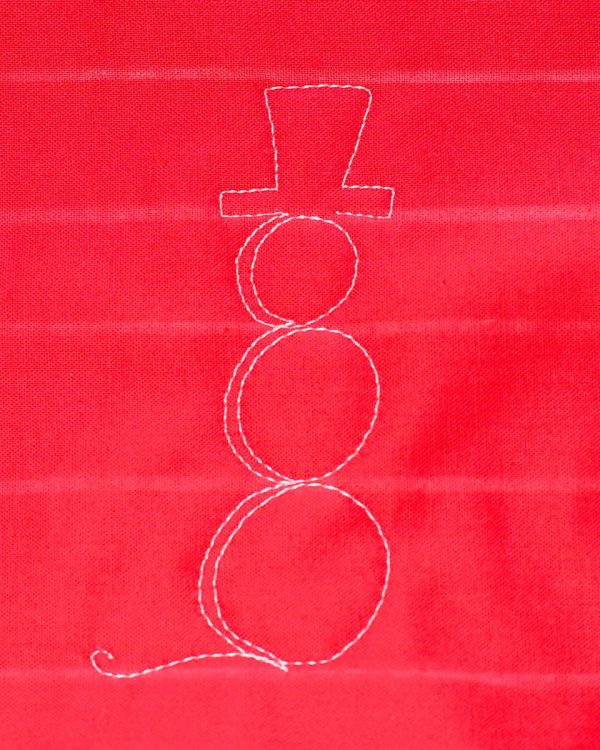
Stitch a top hat for the snowman as shown. Stop at the right side of the snowman’s head.
Echo stitch the right side of the snowman’s head, then add two to three small loops to create the scarf.
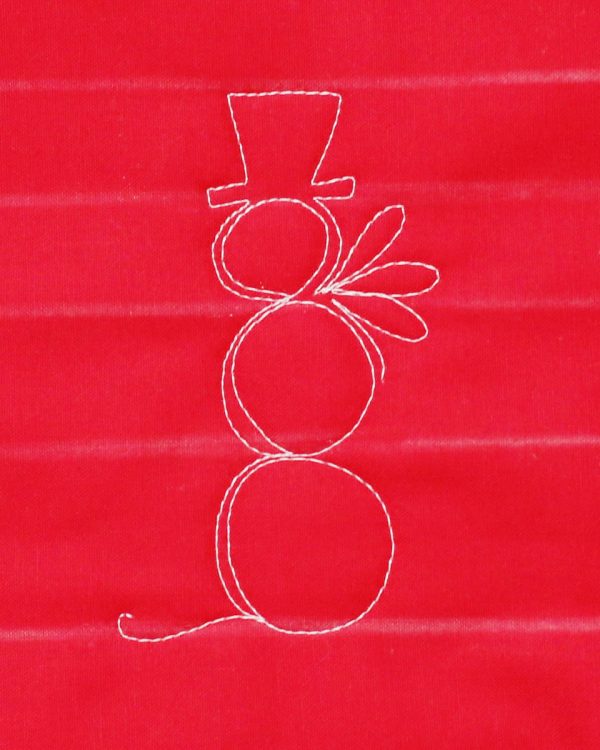
Continue echo stitching the right side of the snowman all the way to the bottom line. Stitch along the bottom line to create a border of snowmen motifs or add a little spiral to end the single snowman.
The perfect snowman and your hands aren’t even cold!

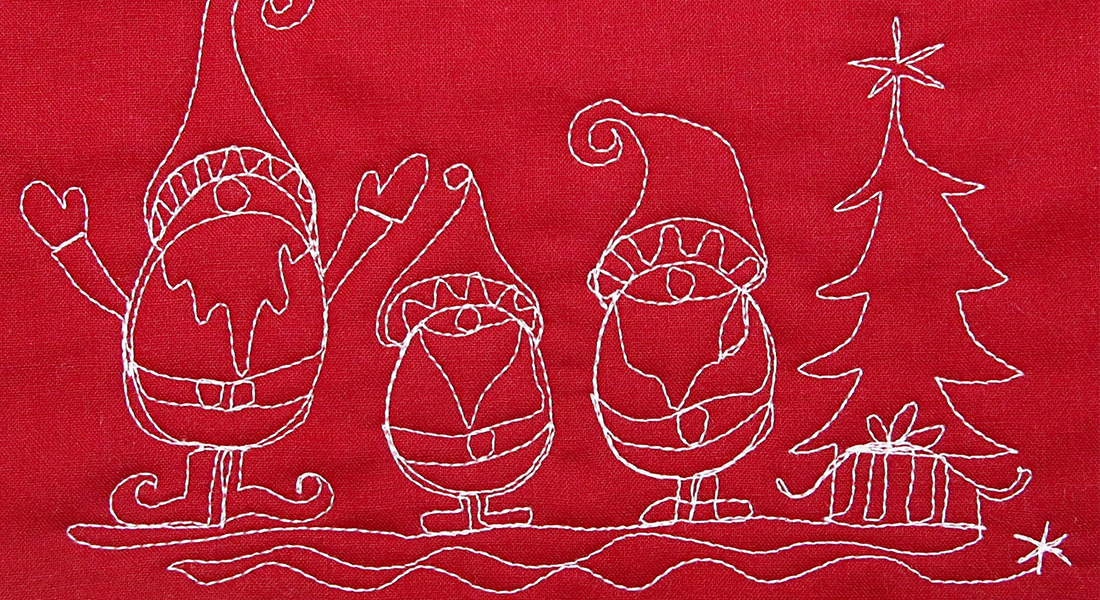
Add simple trees and spirals to create a fun vase quilt. Make one to give to your family, but make sure to stitch one for yourself as well!
It’s better to give than to receive, but why not give one to yourself as well!?
For more than 100 step-by-step tutorials like the snowman, visit Lori Kennedy at her blog, The Inbox Jaunt.
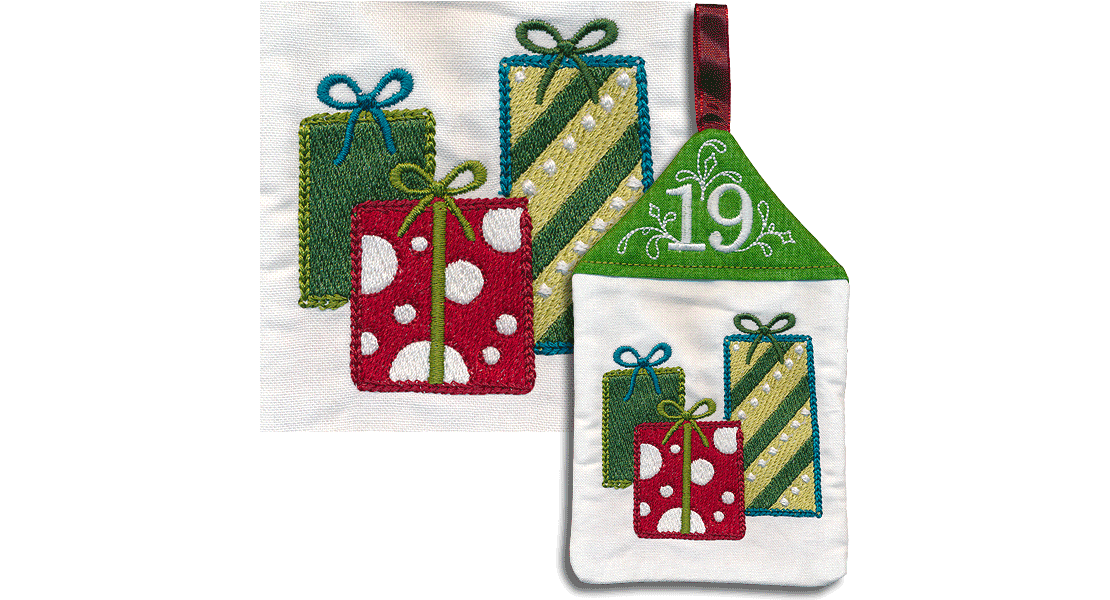
Our December 7 Gift For You
Today’s gift is the Free-Motion Quilting Idea Book by Amanda Murphy to one awesome WeAllSew fan. All you have to do is post a comment below answering the following question:
What will be your next free-motion quilting design?
A winner will be chosen at random on December 8, 2015 and announced later this week!
Good luck!
Congratulations to our WeAllSew reader “clamb”, the winner of the December 7 gift. Enjoy!
What you might also like


153 comments on “Free-Motion Snowman Vase Quilt”
-
-
working on free hand horses
-
The snowmen are my favorites.
-
I will be free-motion quilting Christmas Trees on a hot pad!
-
I’ll put some snowmen on a small quilt for a college girl.
-
I am finishing 5 small quilts for the Grands, I will or have FMQ on them with my new 770QE, and will slip this cute snowman into my swirls and whirls
Love Loris posts. So inspiring -
the snowman the tutorial makes it look easy enough that i can do it. oh yeah
-
I have been making christmas stockings
-
This looks like something I can do. Free motion seems so out of my range.
-
I am very much a novice free motion quilter. I plan to make a table cover with shamrock appliques and do free motion shamrock quilting on it.
-
-
This is wonderful! I can’t wait to try it but I have the most difficult time getting nice, round circles when free motion quilting.
-
Not sure, I’m always slow to start a project, that involves quilting.
-
I’m going to stitch some snowflakes on a lap quilt.
-
I am going to definitely try to make the snowman. You made it look so simple! Thank you for breaking it down into steps which can easily be followed!
-
I need to fmq a combination filler of swirls, circles and wavy lines to look like a blustery winter night.
-
I’ve will try the snowman vase next on my list.
-
My next free-motion design will be swirls.
-
My next free motion design ….. a snowman family under a starry sky. Thank you for the design idea.
-
I am still not very good at FMQ but I do like the look of the Snowman and I love Lori’s easy instructions. I just might have to try this one. Thanks for the opportunity to win.
-
So many projects to do, but I think I will do a Swoon quilt, but then I have been wanting to do some mini quilts to really practice my free motion quilting.
-
Sadly my free motion quilting skills are not good. No doubt my next design will look like all of the others, like intoxicated ants wandering around aimlessly trying to find their way home. Maybe the book could help – fingers crossed!
-
I don’t plan on doing any free-motion designs but this is lovely, as are many of the designs on her blog.
-
I am not a free motion quilter, so any attempt would be next design :-).
-
I have been practicing my free motion quilting and have used designs on my fabric to help. Next I want to try cat outlines.
Peggy -
I will be free motion quilting a purse for a birthday gift. It is such fun and thank you for the vase quilt idea.
-
I have yet to try free motion quilting, because I thought it would be above my capabilities. This snowman looks like a great starter project for me. Thank you so much for posting it!
-
I’m finishing a baby girl quilt with some pieced hearts so will fmq hearts on it as well as some swirls. Will bookmark this snowman pattern for my next winter piece. thanks.
-
Your instructions sound great. I am learning free motion. This sounds like it would be a good project.
-
It’s going to be a rabbit looking up at the moon while saying “I love you to the moon – and back!”
-
This is beautiful!
As for my next free-motion quilting design, HA! Can you say disaster? I can barely make straight lines but that is indeed what I will be working on.Thanks again for all of the WONDERFUL inspiration and ideas! I can’t wait to see what you come up with tomorrow.
-
I have appliqued teddy bears that need quilting==maybe it will be next!
-
I have not done any free motion quilting. Guess I feel rather intimidated. However, I will try that cute snowman. I can see him on a hot pad or kitchen towel.
-
Mug rugs for Christmas.
-
I am still trying to FMQ my Fall wallhanging. Having trouble with the leaf part of trees. Thank you.
-
Unfortunately, I am not a very good free motion quilter, but the snowman looks so intriguing I just might have to try it. So far, my free motion quilting has been limited to some baby quilts I made for my grandchildren when they were little. A long time ago! lol
-
Some placemats with hearts on them.
-
I just had to try to do this as soon as I read ( and re-read the instructions) , my poor snowman needs help but I will keep practicing.
-
Oh how I would love to have a Bernina with a BSR. Sigh. Alas, I need many hours of practice to gain any skill in free motion quilting. With such simple and well-stated instructions, I think I will have to give this snowman ⛄ a try. INSPIRED ?
-
I am using several of Lori’s motifs on some queen size quilt. I am going to sneak in a snowman.
-
I plan to fmq on trivets for Valentines Day gifts.
-
A very geometric design. I need to learn how to make sharp, straight corners when free motion quilting squares, stars, etc.
-
I want to try Lori’s little poinsettia quilt from a prior tutorial. Already have a sparkly red fabric. 🙂
-
feather and flames on a wall hanging – illusion pattern by carol bryer fallert
-
My first free motion attempt will be something for myself as I probably won’t want to give it to anyone! It’s on my to do list but I have so many things to learn and do with all of the versatility of my B790, my V7 and Designworks software that I am going to have to retire very soon to fit it all in.
-
I am currently working on a wall hanging with a kind of flower petal free motioned on the triangles in the piecing. Finding it somewhat challenging though, not being a real experienced free motion quilter.
-
Free motion Snowman..and no winter gloves. It is a beautiful quilt.
-
I have never free motion quilted before so I would love to make a placemat and try this darling snowman design. Thank you for the wonderful directions.
-
I like to echo quilt.
-
I’d like to try the ‘woodgrain’ motif someday. I think Lori has a tutorial for it that I’ll have to look up.
-
I plan to do some free-motion quilting on my ext art quilt for the Hoffman Challenge.
-
I am going to add snowflakes to a table runner
-
I’m sewing two tree skirts-think I’ll try to free motion Christmas trees on them.
-
I like to do free motion purses that are quilted. This idea would work great!
-
I’m going to try this snowman–it will be a great change from the pebbles and stippling I usually do.
-
Working on more designs for borders!
-
For my next free motion design, I will attempt to do lettering for my new second cousins baby blanket!
-
I’m going to practice some free-motion feathers. I hope to become adept at them one day.
-
I am thinking about using some ideas like outline of a bear and fish for free motion quilting projects. This was interesting to beginners like me.
-
My free motion quilt design will be a deer.
-
I have done two free-hand quilt projects do far. I will try the snowman as the instructions are there for me to follow. !!!
-
I am working on a larger quilt with some rulers on my 830…choosing the designs is always a challenge…
-
I’m working on a Grinch wall hanging and want to do a free motion echo of him.
-
Christmas trees for a quilt border.
-
Wow! This is amazing!!! I have never tried free motion quilting so I will start small with a coffee mug cozy!!
-
Feathers
-
I will be trying to free motion bunnies for Easter table topper.
-
I have finished a lap-sized Christmas quilt TOP. The centre of the quilt top is a ‘decorated’ Christmas tree.
I will free motion evergreen trees and Christmas baubles in the borders. -
I just finished a table runner, my second quilting project ever. I will quilt it this week.
-
I have not been too successful with free motion. This is just so cute I will try it.
-
Thank you for the wonderful tutorials! I appreciate how much thought and time and creativity went into them all and I enjoy reading them every day. Thank you and have a wonderful holiday!
-
I am trying to master small circles, and I’m practicing them on every cosmetic pouch that I am making for Christmas.
-
I have plans to make a Valentine runner with free-motioned hearts in pink thread. I hope it will look wonderful!
-
The book/ library bag I am making for a Christmas gift.
-
I am making a library/
book bag and will free motion quilt it.
-
-
I have not done any free motion quilting yet, but I plan to practice on some old comforters after the holiday season. I will probably start with simple swirls, stippling, and then maybe branch out into something a little more difficult. lisajcowell(at)cs(dot)com
-
I’m a beginner at free-motion quilting but I’d love to try a snowman shape.
-
I would love to learn to do this. So many things I would try..angels, polar bears looking up at the stars on Christmas night etc.,
-
I will be working a baby quilts and will be trying feathers.
-
I’d love to win this to help me with free motion quilting. I have a hard time with circles and other rounded.
-
I’ve wanted to make a Christmas quilt for years. I’m a beginner at FMQ and am pleased at my progress making squiggles but have had no idea how to take the next step. Free motion snowmen? I had no idea! I can’t wait to try my hand at some FMQ Christmas designs and start planning my Christmas quilt.
-
I love snowmen and things that remind me of winter
-
I am just getting started. Hopefully it will be something easy.
-
I will quilt a “Over the Meadow and Thru the Woods” quilt that is a row quilt featuring various winter
scenes. Much of the applique is wool. -
I’d like to try free motion drawing a caterpiller using a series of circles similar to the snowman.
-
Thanks for the tutorial. The chalk lines and step by step detail are really helpful. The snowman design is too cute! He is in my “list” to try.
-
I will have to try this. I haven’t had much luck with this type of designing
-
I have never created scenes with fm questions, will try the snowman the directions are so clear I know I can do it and I’ll add some floating hats and wind gusts. Thank you.
-
I am working on quilted greeting cards with winter themes. The snowman will be a fun addition. Thanks!
-
I find free motion to be a real challenge, but would love to make bubbles.
-
I am working on learning to doodle from Lori’s Blog. My next FMQ will be a small wall quilt that is waiting.
-
Looks like fun!
-
I am practicing with circles small them large…i want to try the snowman now ⛄️☃, thank you for the tutorial. :))
-
I plan to make a Christmas hanging for my granddaughters.
-
This is awesome!!! I can’t wait to try this! Thank you for this great tutorial!
-
I am making several table runners. I love my B 750 QE!
-
my next FMQ design will be a tree, from Lori’s blog.
-
I can’t wait to try this on my winter table runner! thanks Lori.
-
Valentine wall hanging or table topper might be a good project for free motion.
-
FMQing a thread spool
-
I’ll be trying the snowmen for sure.
-
I will be perfecting the free motion quilting by doodling in a book. I have just begun to understand how quilting designs are drawn. After I get the rhythm I will so a sampler of designs.
-
I am determined to learn free motion quilting. I am almost to the point of thinking it can be fun!
-
I am working on a quilt that I want to do a Spirograph type design in the center of the blocks. Love following Lori and seeing her designs.
-
I love FMQ and this is a great design. Thanks for the great tutorial. I’m hoping to get better with stippling and feathers.
-
I will do several table toppers for christmas gifts in the snowman motif! thanks Lori Kennedy
-
I just finished some table runners tops. It would be fun to quilt some spaces using the snowballs and snowman on them. Thanks for giving all the steps
-
I am making table runners for my family. I have been doodling different ways to do snowflakes. Found the style I like. It will be fun to do. I like this snowman too. It would be fun to try a mix of both.
-
love the free motion tutorial I need all the practice I can get
-
Being Jewish most of the designs that are given at this time of the year are more Christman oriented, which is why I just love this snowman motif — it’s good for all religions as it is about the season and not the holidays. I have been toying with making a door quilt for my front door to leave out throughout the winter months. This would be a fantastic design to quilt it with and I do thank Lori for giving it to us today–I think she is the “best” :o)
-
I think this snowman design might just be my next attempt at free-motion quilting. You make it look so easy!
-
i think my next project will be a star baby quilt with flowers all around quilting. Lori Kennedy is just a great teacher and a tremendous inspiration.
thanks so much,
shoshana
p.s., i love my bernina, which is already 35 years old a sewing just like a new one!! -
I can’t wait to try some of these patterns in the New Year. I have a Bernina old 830 from 1978 and am getting my Bernina 770 QE in the spring. Found a Bernina store in Tecumseh Ontario (Joy Quilts) that takes lay away with a deposit. When I pick it up it will be fully paid for! I appreciate the tips about the feet. Did some free motion quilting about 15 years ago and can’t wait to get started again. Had planned to purchase the 750 QE last year but it didn’t happen; good thing they have big sales. So pleased you have the 770 Lori and that you are doing tutorials with it! Have been telling Quilt Guild members about your blog for awhile
-
I’ve got a Christmas tree that the snowman will look great on 🙂
thanks -
I really want to learn how to free motion quilt so next few projects will be just good old fashioned practice of basic skills.
-
your tutorial makes it so I can understand. I’m going to sew the snowman first.
-
Lori makes everything look so easy. I only wish I were half as good as you. I am doing some trees right now.
-
I think I need to try this snowman!! Thanks for the step by step instructions : )
-
I m free motioning on a purse I am making for Christmas present.
-
I have a snowman quilt that I am planning. This may very well work in to the design.
-
I will be doing a silk dupioni pillow top. Thanks for the cute snowman, I am always looking for ideas to free motion quilt.
-
This looks like an easy project — I’ll give it a try
-
I collect all things snowman so love this design. It will embellish a gift bag first of all and I can see many items to put it on,
-
I am cross stitching a Christmas tree skirt and will use this design to fill in all the large white spaces.
-
I am still in the “practice” mode and haven’t ventured to anything more than my practice sandwiches. It still scares me 🙂
-
As soon as supper is over I am going to my machine to try this! Thanks for the design.
E M -
lmitchell says
I think I will shoot for the stars and put them on my next quilt.
-
I’d like to try this snowman,….maybe on potholders or placemats.
-
I plan to free-motion quilt on my large bed quilt I’ve just finished piecing. I took a free-motion quilting class at my local Bernina shop. Anxious to incorporate this snowman into the design!
-
I love this idea for my friends who work from home. I have never tried any FMQ, but am looking forward to trying it.
-
The snowman will be my first free-motion project.
-
Straight line quilting maybe with one of the fancy stitches on my machine will be my choice.. I am so afraid of getting “lost” when doing FM I can;t get it even started!
-
I love this free motion snowman design, perfect for some mug rugs!
-
Pingback: Let It Snow! | The Inbox Jaunt
-
I’m practicing free motion quilting right now and am trying all kinds of things to perfect my skill.
-
I will be quilting stars and lops.
-
I’m working on a table runner and this Snowman will be a great way to finish it off. Thank you so much for sharing him with us. Gotta get busy practicing him.
-
It will either be a baby quilt, I have several to make or a mug rug…
-
I am pretty new to quilting and free-motion but so want to try the snowmen.
-
I am new to free motion but I think this will be a good beginner project.
-
I will be FMQ spiders on a mat that will go under my oldest son’s ashes, as spiders were his faorite thing. He died on 10/22/19.
-
Designing my own “space/rocketship border to FM on my grandson’s NASA cheater panel. I am FM around the various elements of the panel with both Reflective “Flash” thread & glow in the dark thread…backed by glow in the dark galaxy of stars fabric. I warmed up my FM on a fun “growth/how old” woodland animal cheater quilt for the 4th grandchild/bun in the oven due Christmas time. I outlined the animals, etc & provided eyelashes, fur, etc to provide some texture.
-
I would love to quilt some palm trees and tropical leaves on a quilt made of snowy holiday fabrics. It would be my tropical escape for Christmas when I am unable to get to the tropics myself! ;-))
-
Love, love working with Christmas fabrics. Made countdown to Christmas calendars for grandkids & great nieces/nephews.
Love my Bernina Q24 with Qmatic. Amazing machine & set up! Lots of presents coming off that frame!
-
I am working on a winter scene machine embroidered wall hanging.
-
I plan on doing some pebbles as the background on a free motion leaf quilt
-
Christmas trees on a table runner
-
I will make this snowman vase quilt. It’s so special. I love the way Lori Kennedy shares her designs with us!
-
I will be quilting the “Cabin in the Woods” for my next project. It will work perfectly for what I am making. A candle mat for each of my neighbors–and I will include a votive and candle with each mat. Just the perfect thing to brighten the holidays!
-
I created a design encorporating ruler work and FM feathers on a small sample quilt made with left over blocks.
Leave a Reply
You must be logged in to post a comment.

I am making several table runners as Christmas gifts. When the patchwork is complete, I will free-motion quilt them.