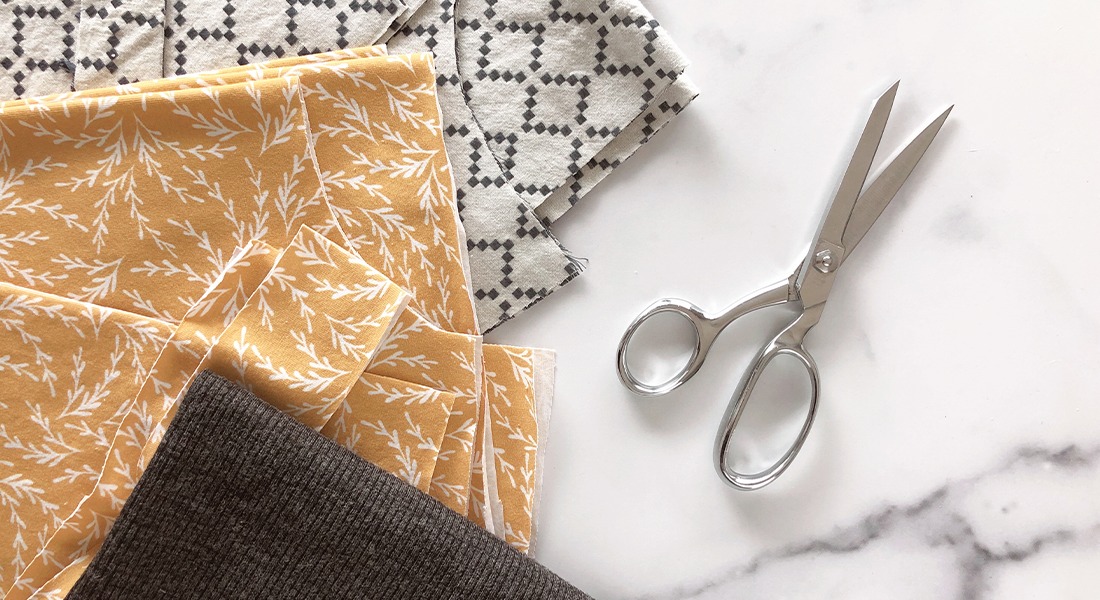
Garment Sew Along Part 7: Cuffs
Adding the Cuffs to the Button Up Shirt
Surprisingly, cuffs are attached to the garment using similar steps as the collar. This pattern calls for cuffs to be made out of one solid piece, which is folded in half. Other patterns may call for the cuff to be cut out of two separate pieces of fabric. A lot of times wearers will turn their cuffs up as a different style choice. Some may want a different fabric on the underside of the cuff so that when it is rolled up, it shows off the other fabric.
You will need the following pieces:
- Pieces 15 & 16 for cuffs in View A
- Pieces 17 & 18 for cuffs in View B. I will be using these cuffs for the instructions below.
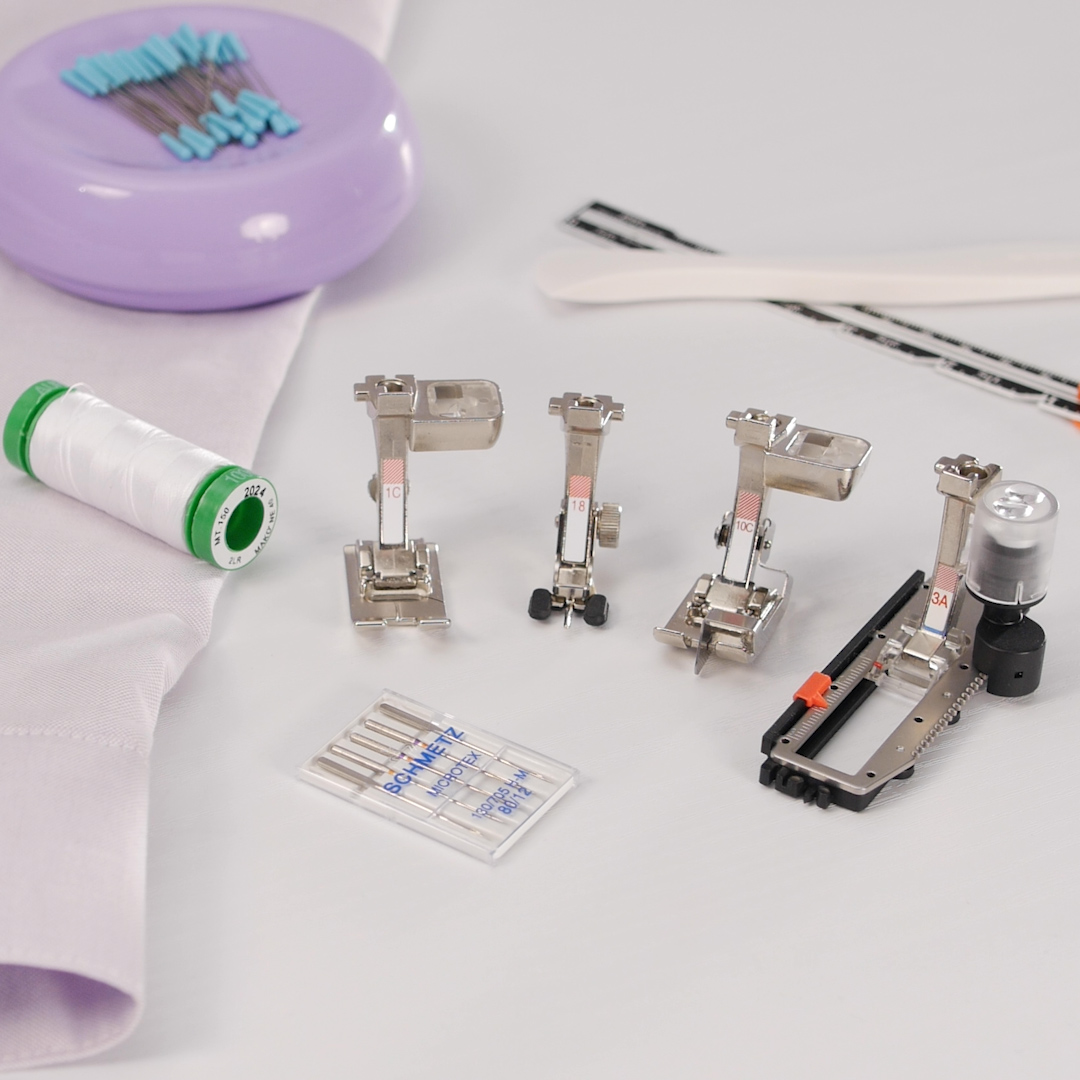
You may also choose to use the following BERNINA presser feet to make the cuff-making process easier:
Cuff Construction
For the cuffs, two pieces of interfacing should have been cut using piece 16 or 18, depending on the view you are using. One piece of interfacing should be fused to each of the fabric pieces, either 15 (View A) or 17 (View B).
Start by pinning the cuff to the edge of the sleeve, right sides together. The interfaced edge of the cuff should be aligned with the raw edge of the sleeve. The edge of the cuff should hang off both placket ends of the sleeve by ½”. I find it helpful to remove the sewing table from the machine and use the freearm to sew the narrow sleeve opening. Sew on the cuff with a 1/2” seam allowance.

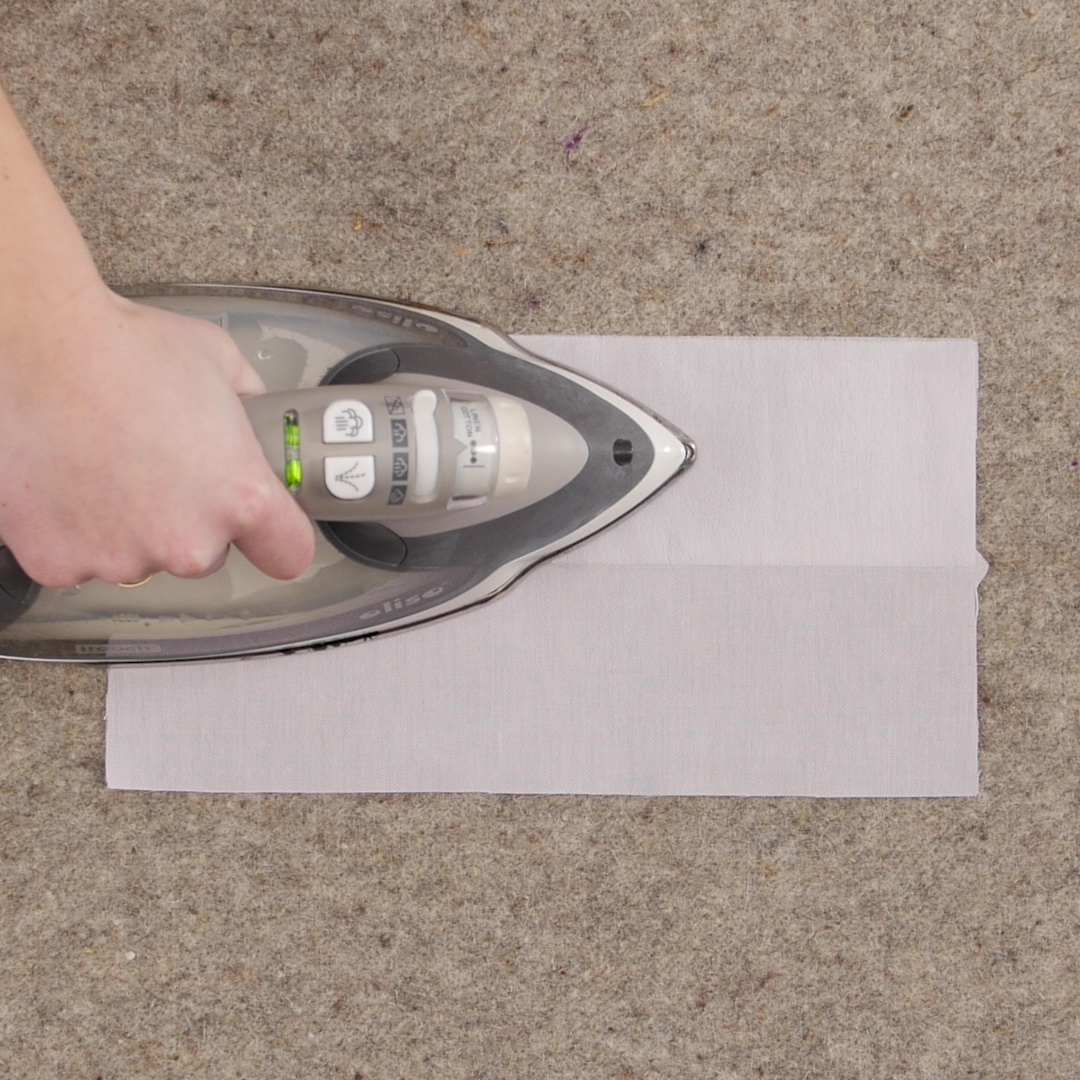
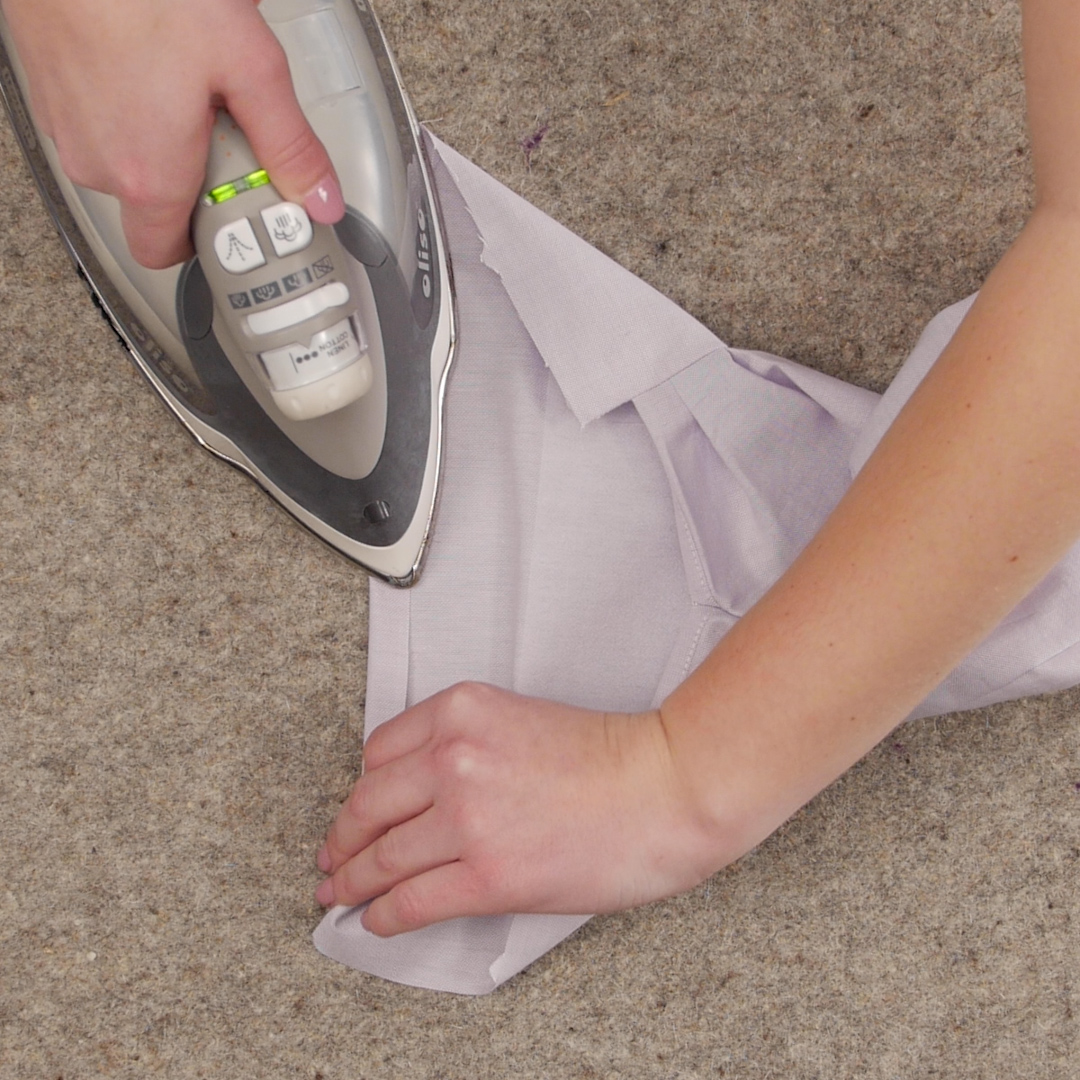
Press the seam allowance down towards the cuff. Iron up the raw edge of the cuff 1/2”, the same as the seam allowance, then fold the cuff in half with wrong sides together and press. I found it easiest to press the ironed edge up to the seam allowance just sewn to find the center of the cuff. These steps will help hide any raw edges and create a clean finish on the ends.

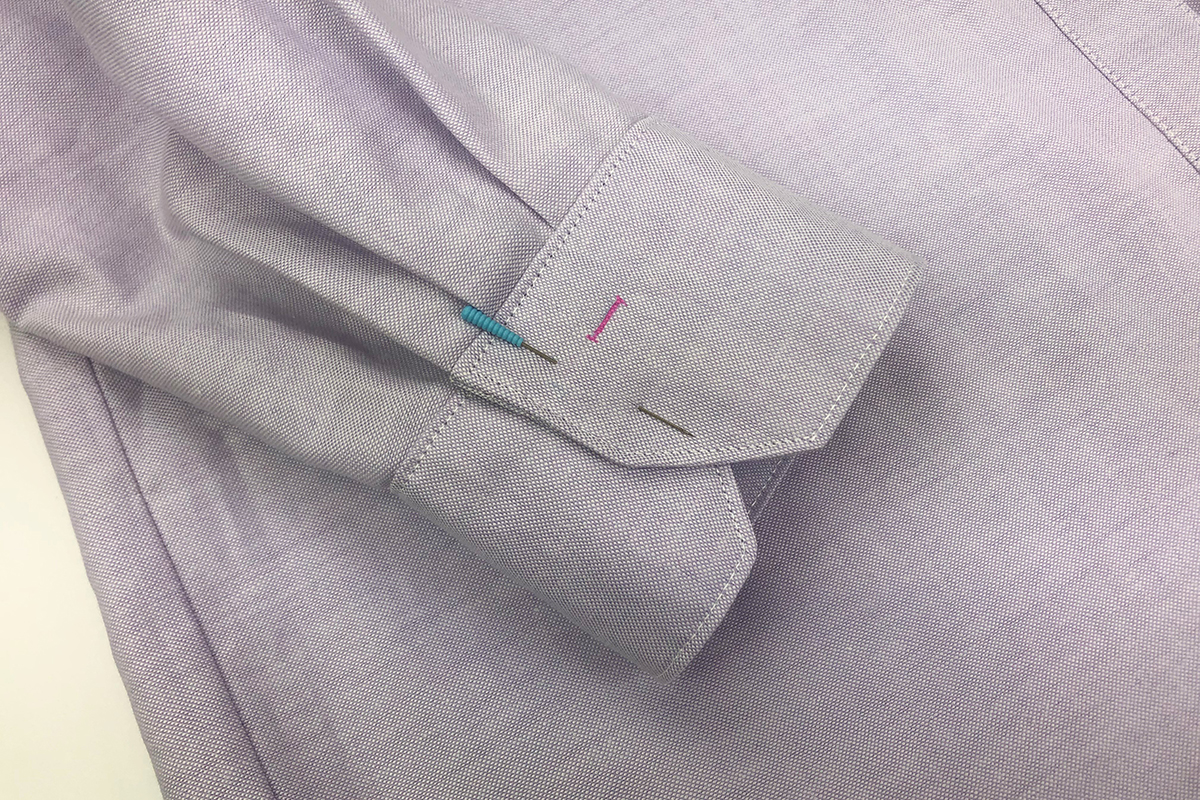
Do not forget to mark the cuffs where the buttons and buttonholes will be stitched. Do this after the cuffs are sewn to the sleeves and ironed it in half. Realign the pattern piece and mark. The mark for the buttonhole should be parallel to the bottom edge of the cuff.
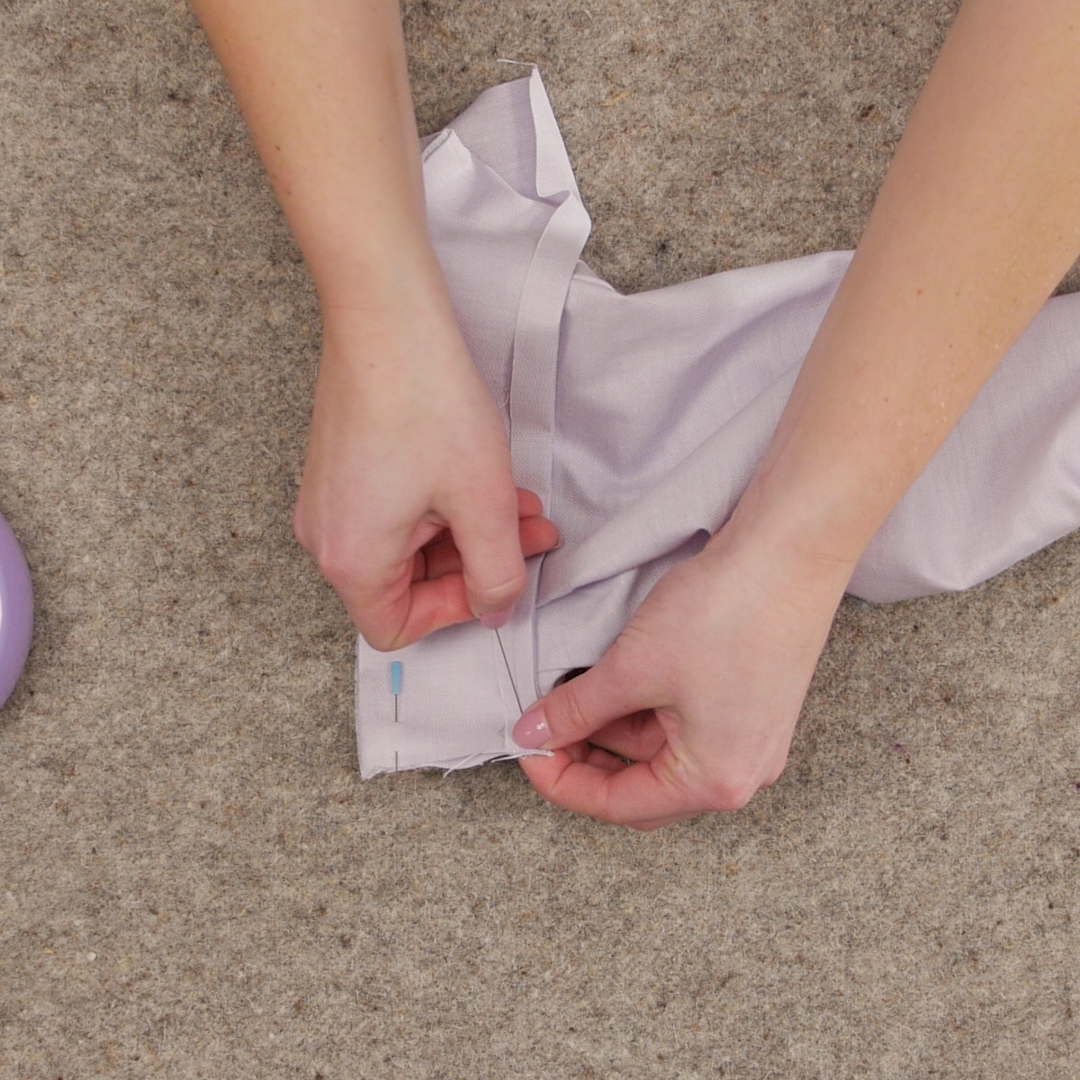
To encase the raw edges, match the right sides of the cuff together and pin the ends.
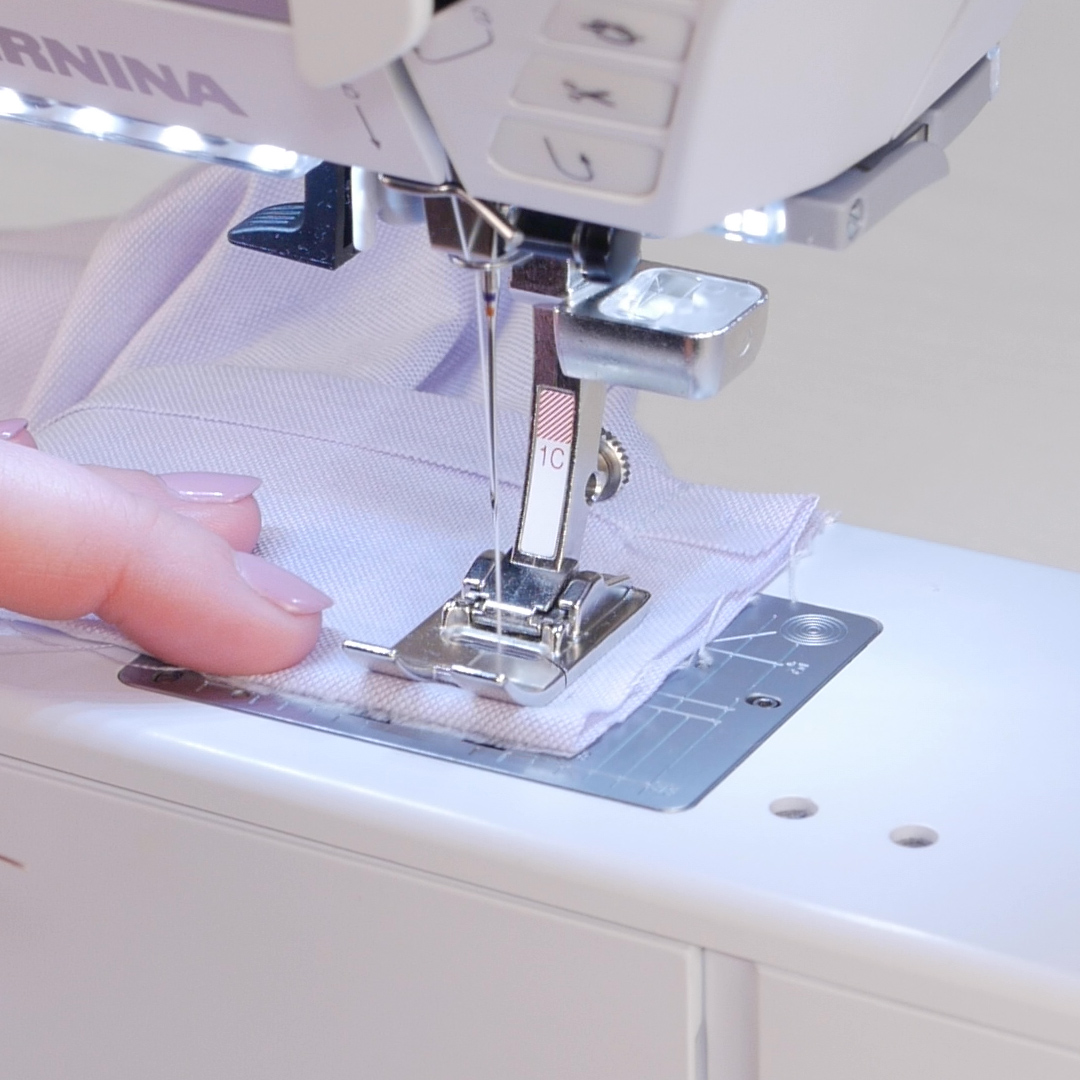
Using a ½” seam allowance, stitch from the bottom of the placket to the bottom of the cuff. Backstitch to reinforce at the top and bottom.
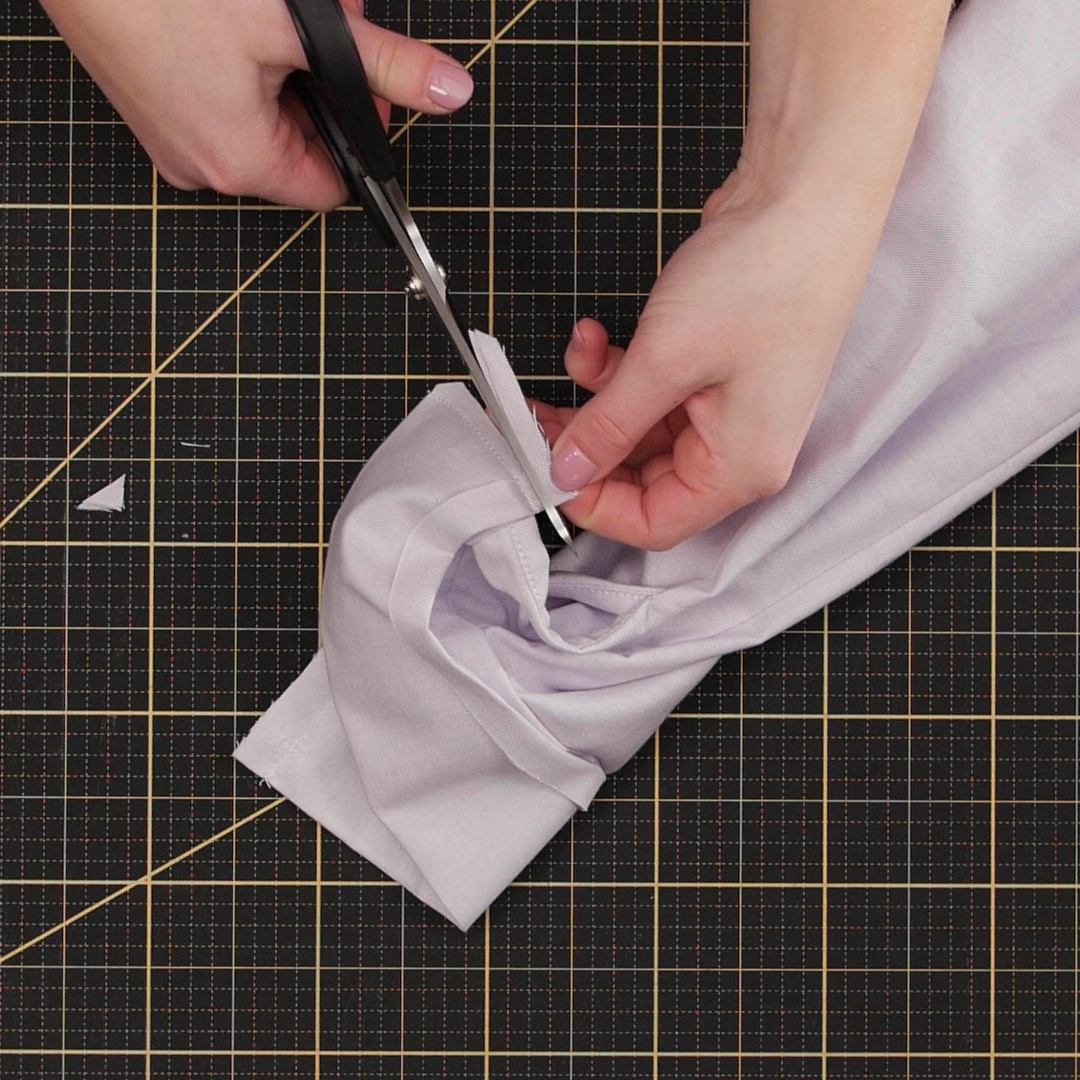
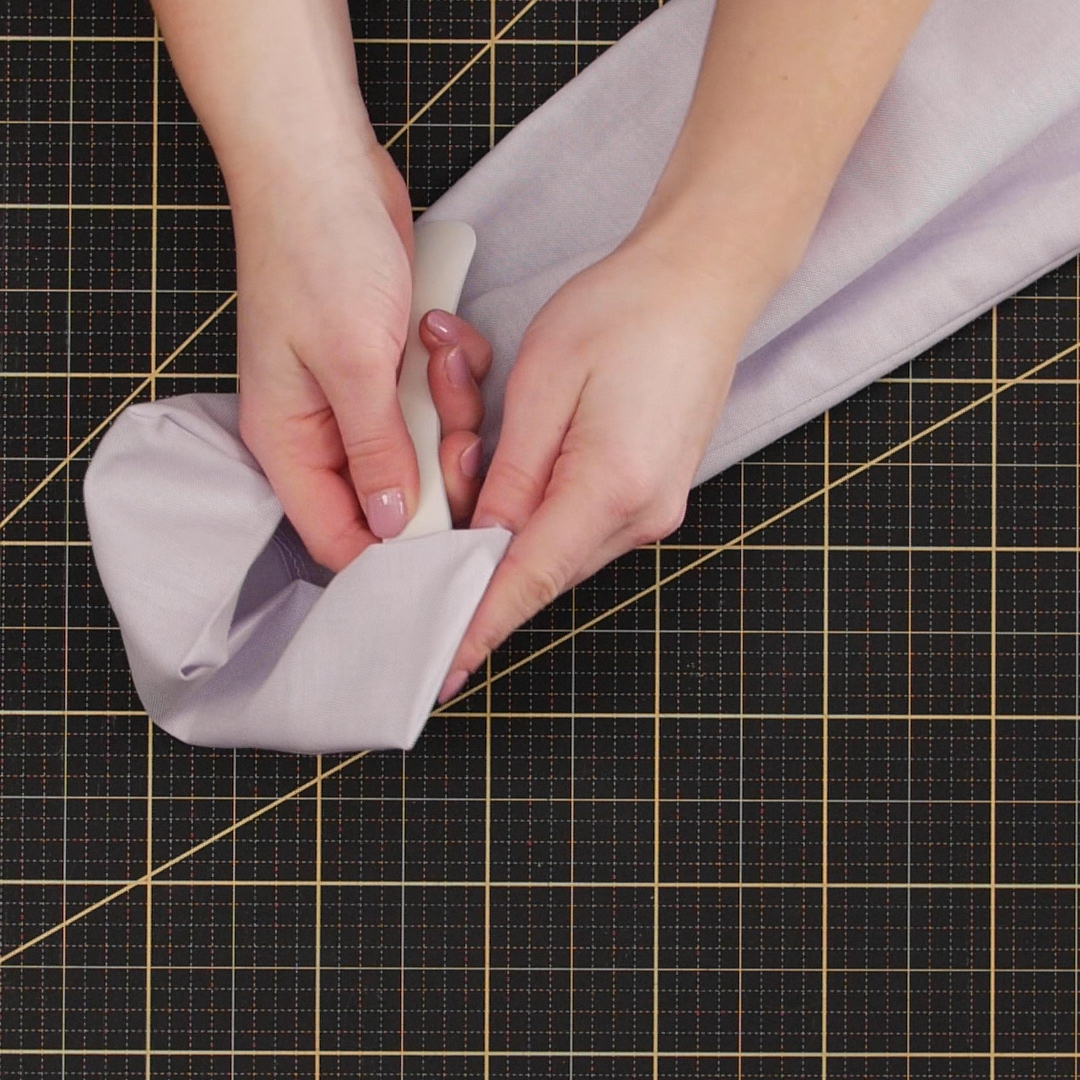
To reduce the bulk, clip the bottom corner at an angle and trim the seam allowance in half. Then flip the cuff right side out and use a point turner to press out all the corners.
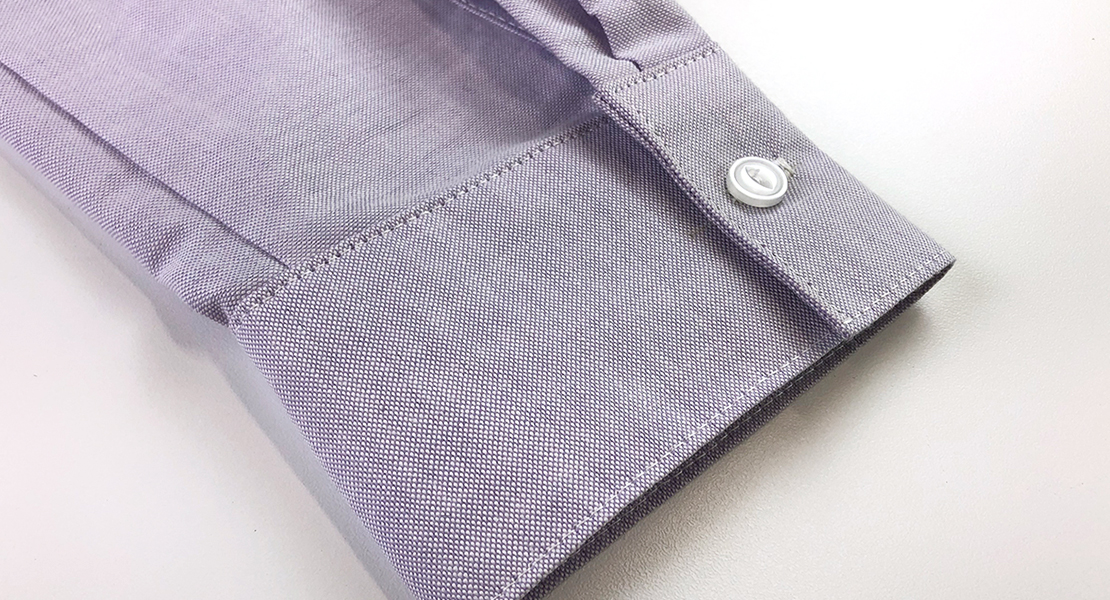
Use the ironed edge to cover the line of stitching that was sewn when the cuff was attached. Pin the folded edge in place to enclose the raw edge seam allowance. I used a blind hand stitch to tack down the cuff down before I edgestitched it.

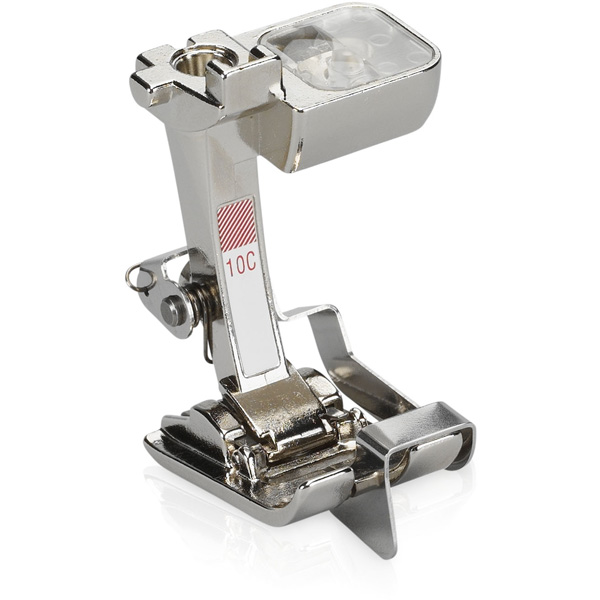
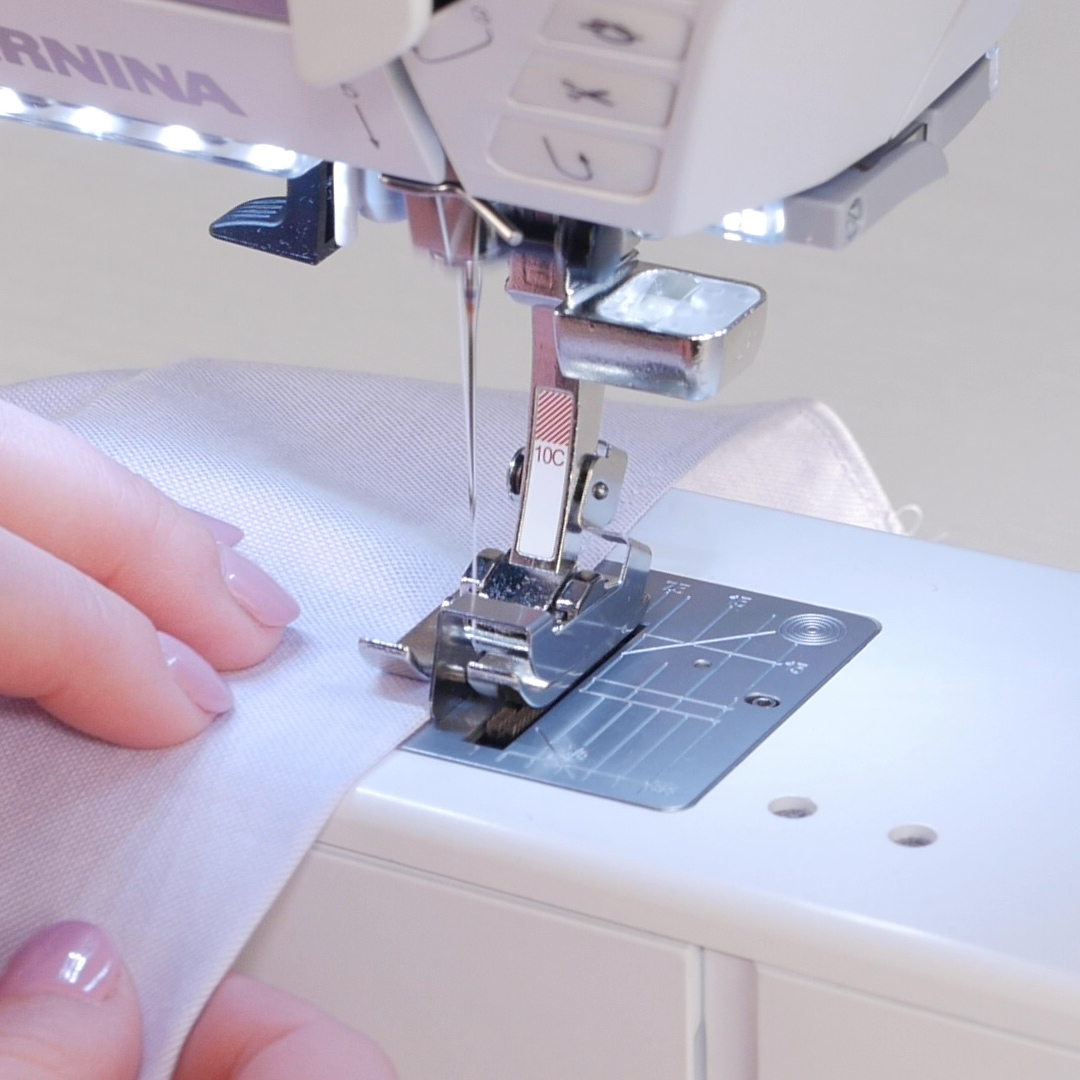
Add edgestitching for a finished look! Attach Edgestitch foot #10C. I increased my stitch length to 2.90 mm and moved my need 3 positions to the left of center.
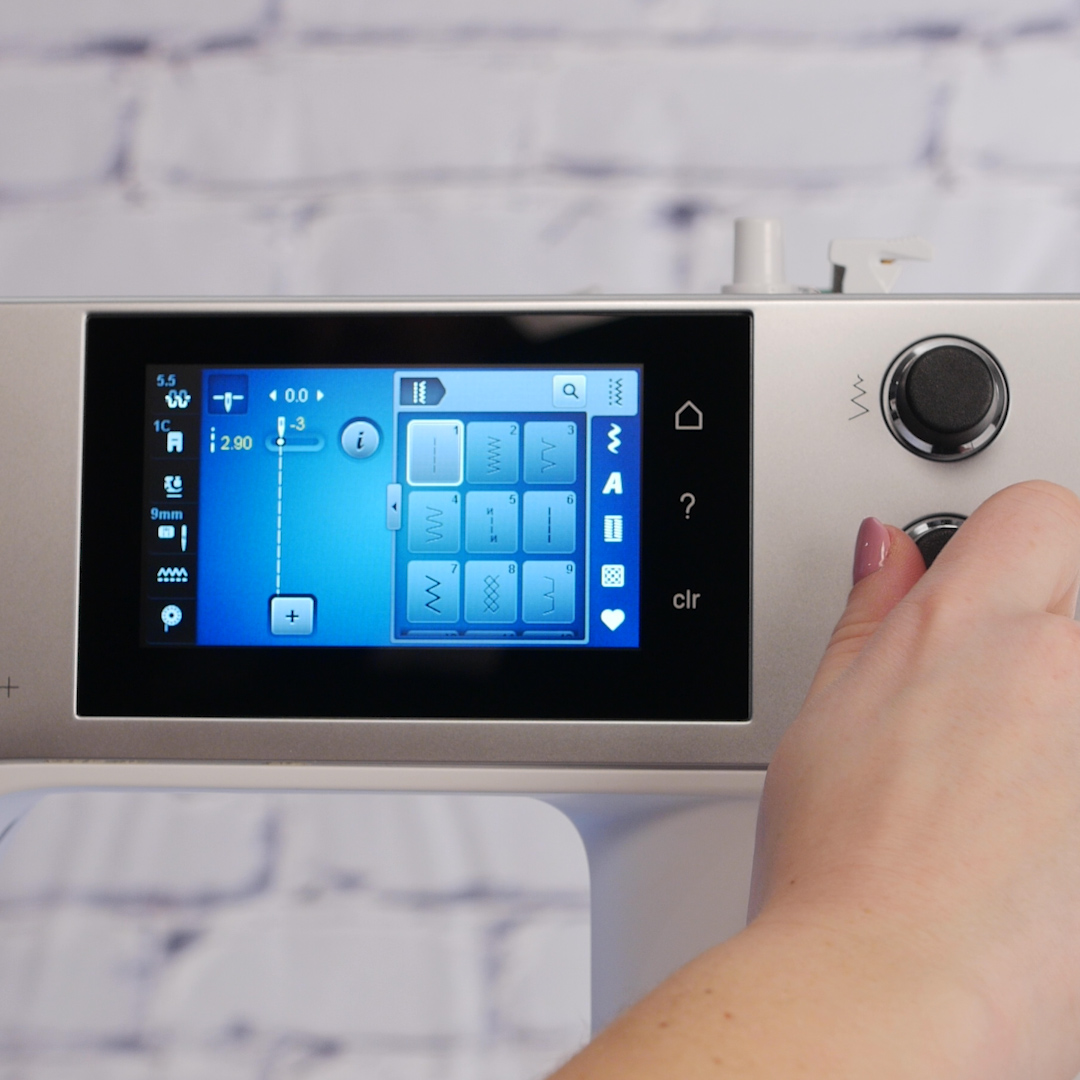
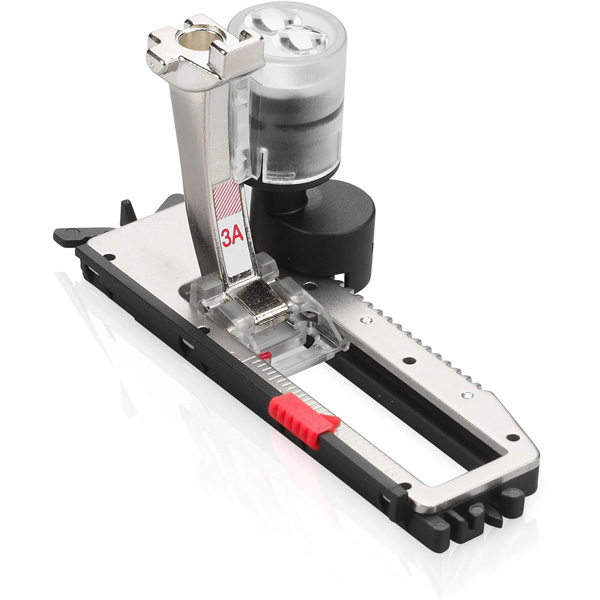
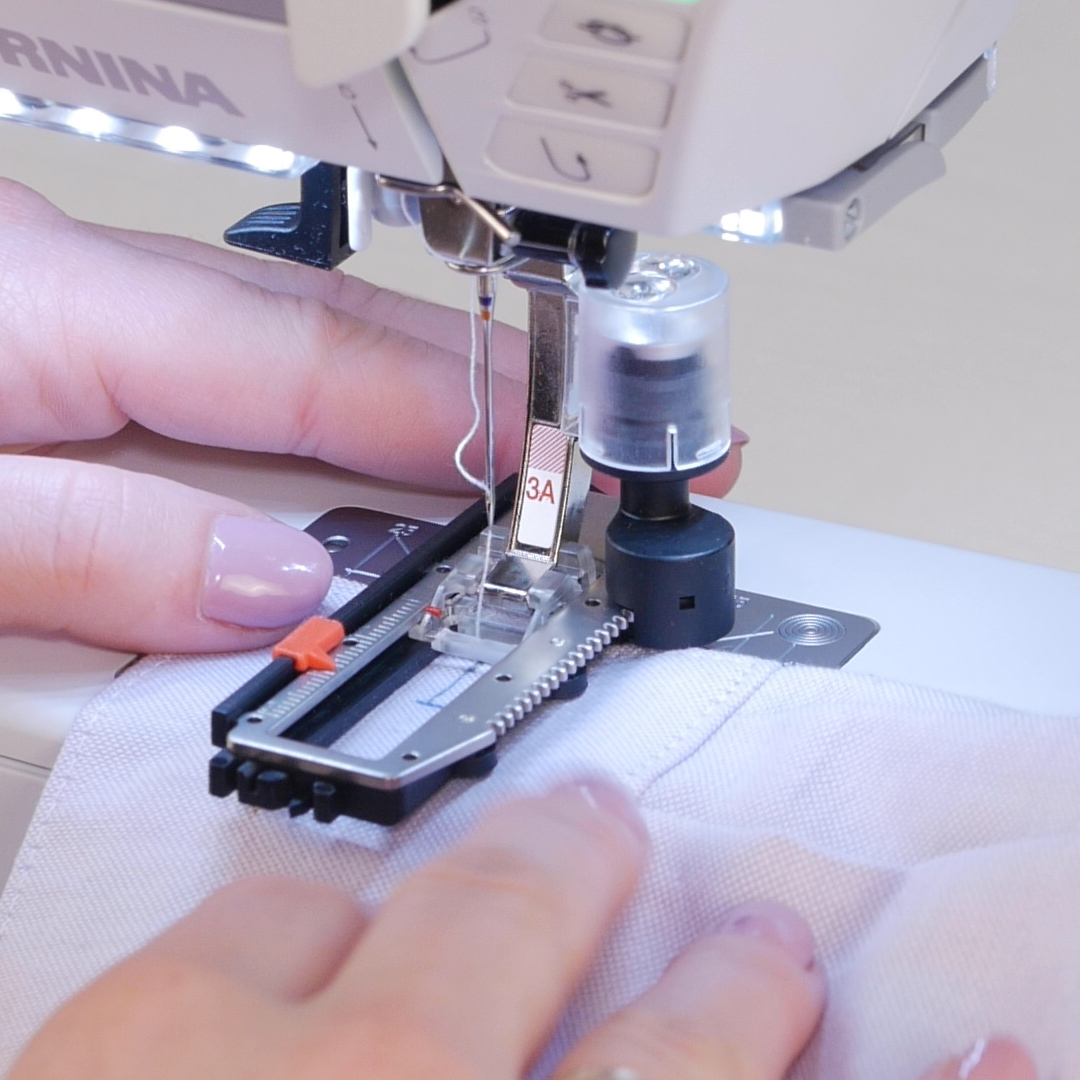
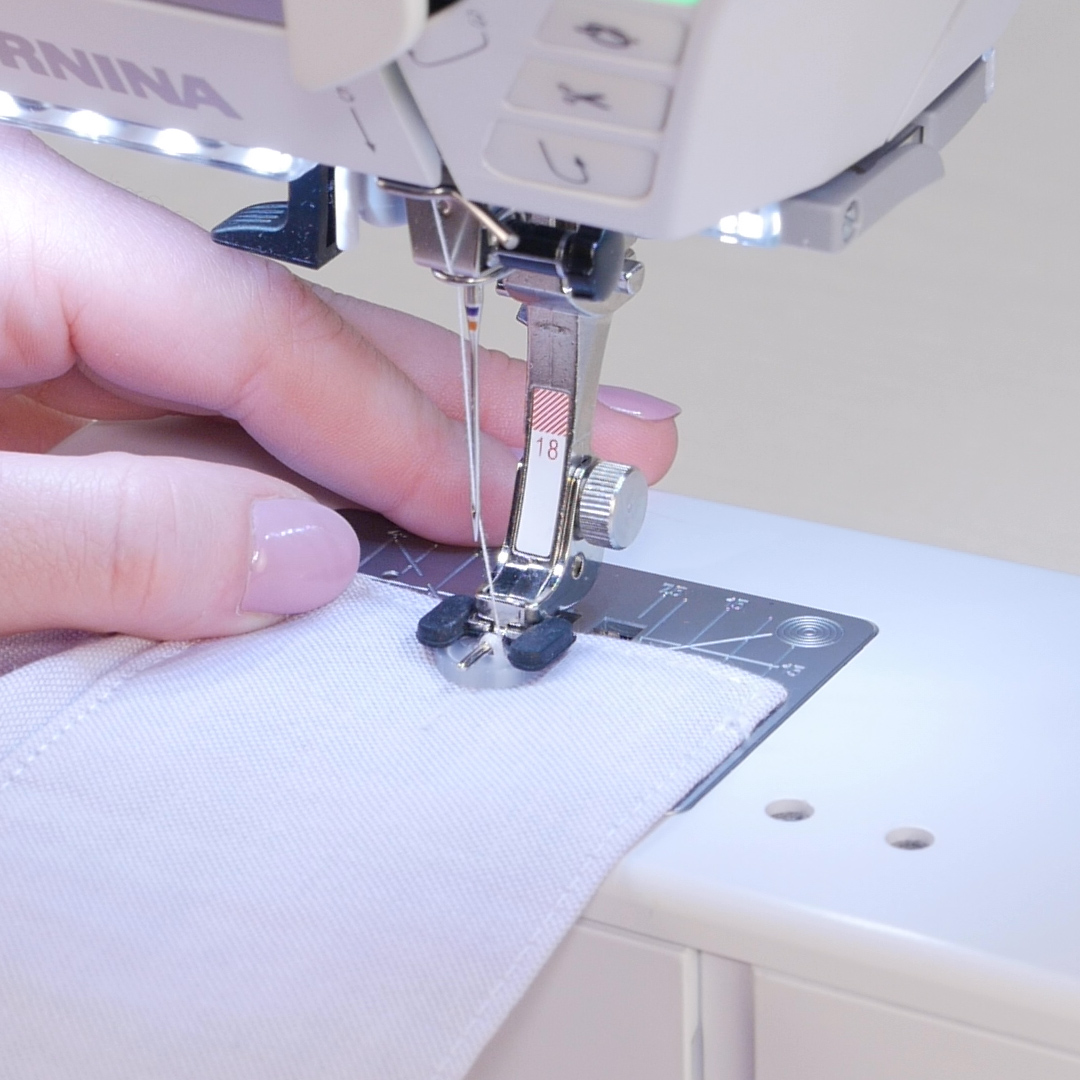
The final 2 steps include sewing buttonholes and attaching the buttons. Using the on-screen buttonhole ‘i’ menu of the BERNINA 480, set the buttonhole length to match the button you are using. Attach Buttonhole foot #3A, align the cuff under the presser foot, and stitch.
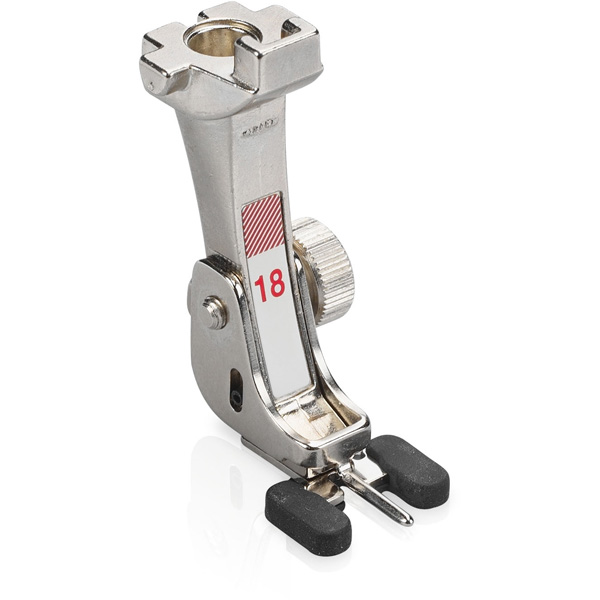
Using Button-sew-on foot #18, you can sew on buttons in seconds! Click here to learn more about how to use this foot.
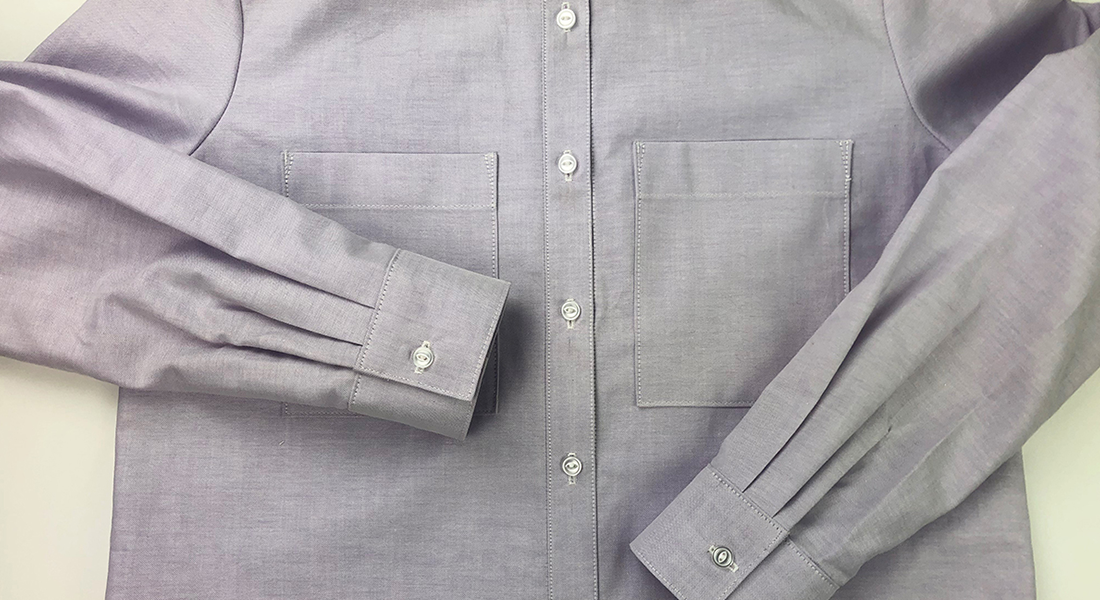
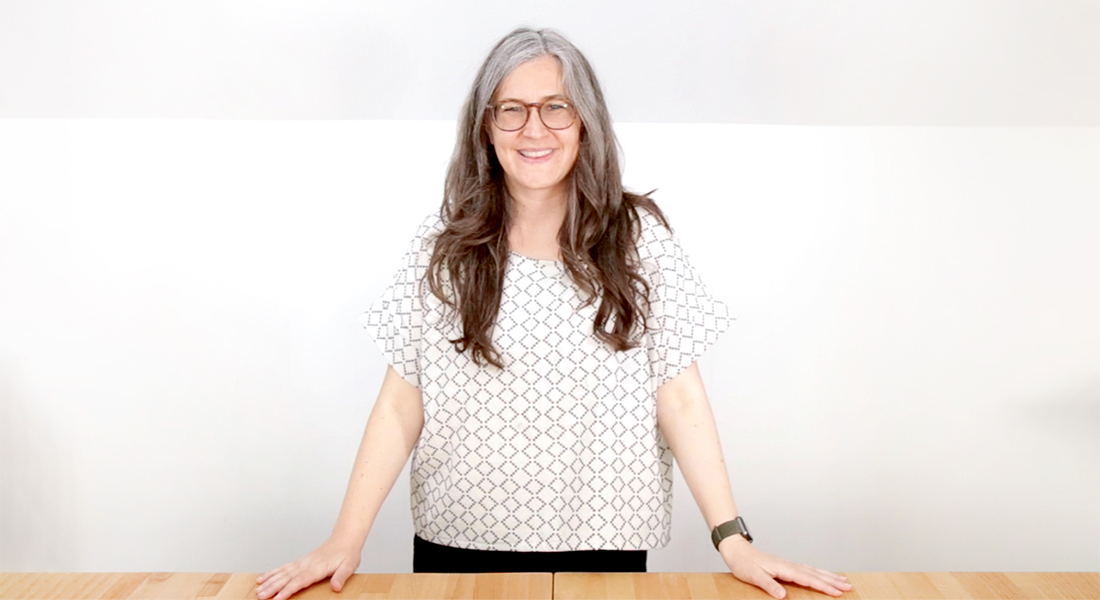
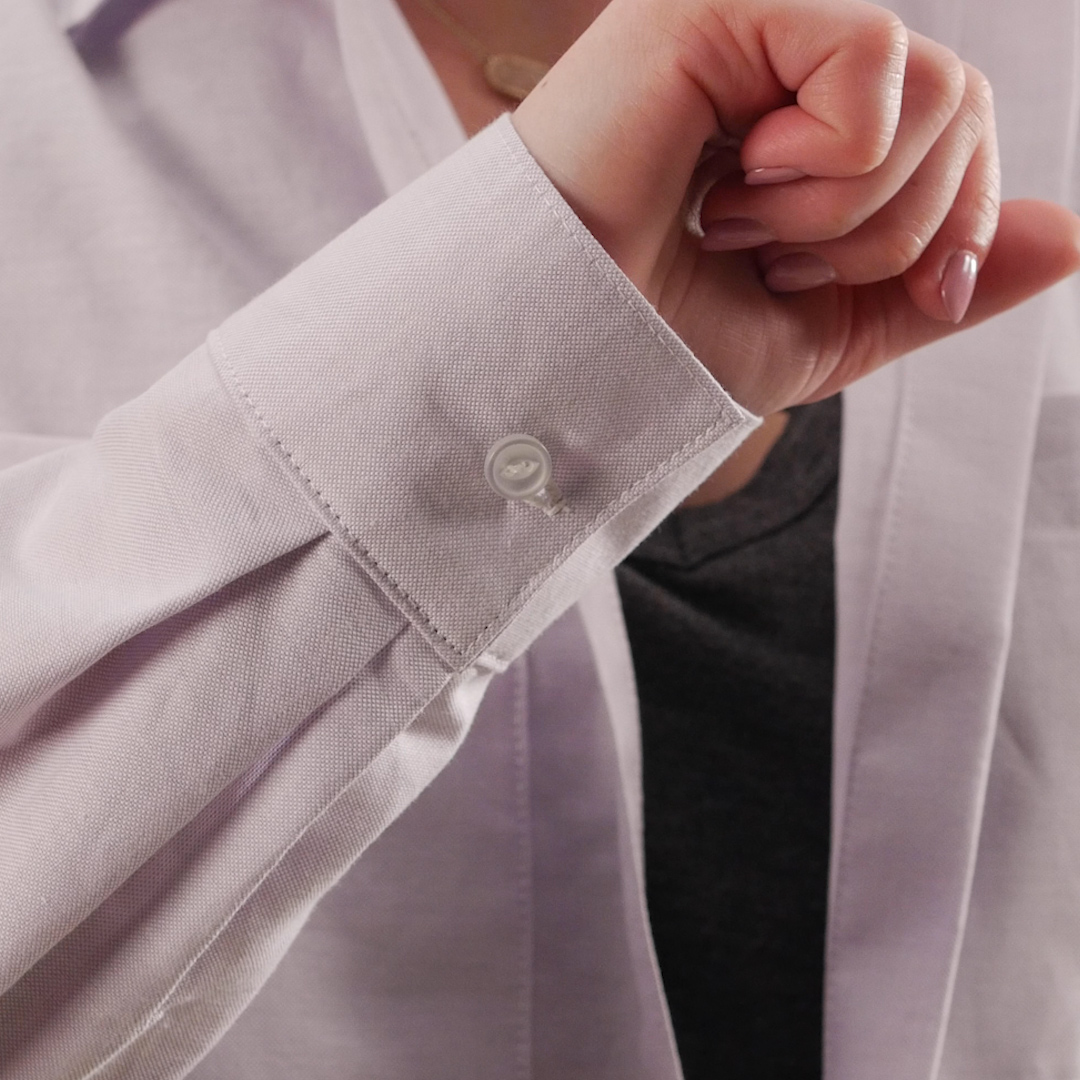
And there you have it— two completed cuffs!
If using the cuffs from View A, use the same steps as above. When encasing the raw edges on the side, maintain the angle of the cuff by pivoting slightly where the cuff starts to angle. I then cut at an angle next to the pivot point and trimmed the rest of the seam allowance in half.

Until Next Time
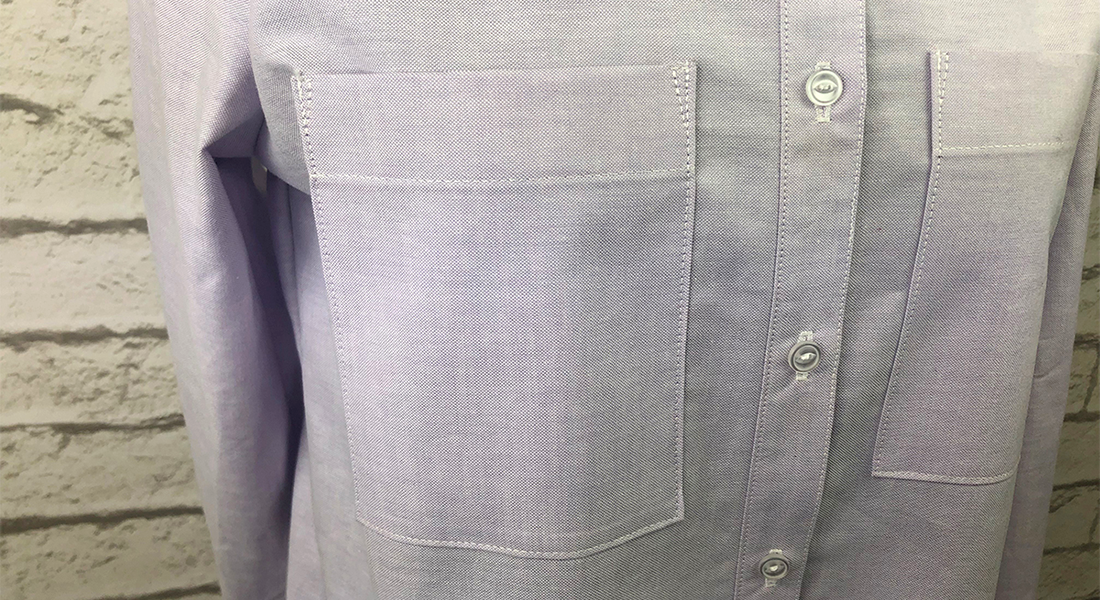
We are entering the final stages of our garment construction! The last few steps include adding the pockets, sewing on the buttons, and hemming the shirt. In the next post, we will sew the pockets to the front of the shirt and discuss different pocket types that could be used instead of what the pattern calls for.
I would love to see your progress on this button up! Feel free to share pictures on the WeAllSew community page. Be sure to mention the garment sew-along when you post. Talk about the different ways you have altered the pattern, fit the garment, or ask any questions you may have!
Garment Sew-along
Part 1: Garment Sizing and Fabric Selection
Part 2: Pattern Cutting, Markings and Fitting
Part 3: Different Stitches in Garment Sewing
Part 4: Fronts, Yokes and Seams
Part 5: Sleeves and Side Seams
Part 7: Cuffs