Half Square Triangle Piecing Tip
Before I was a quilter, I sewed primarily garments. I still have lots of garment sewing tools in my toolbox, and I’ve found a new use for one of them in quilting. I found that my tracing wheel has been helpful in temporarily marking fabrics for stitching patchwork and quilting. Here’s how I’ve been using my tracing wheel to make quick half square triangles (HST’s). Use this tip with any straight stitch foot!
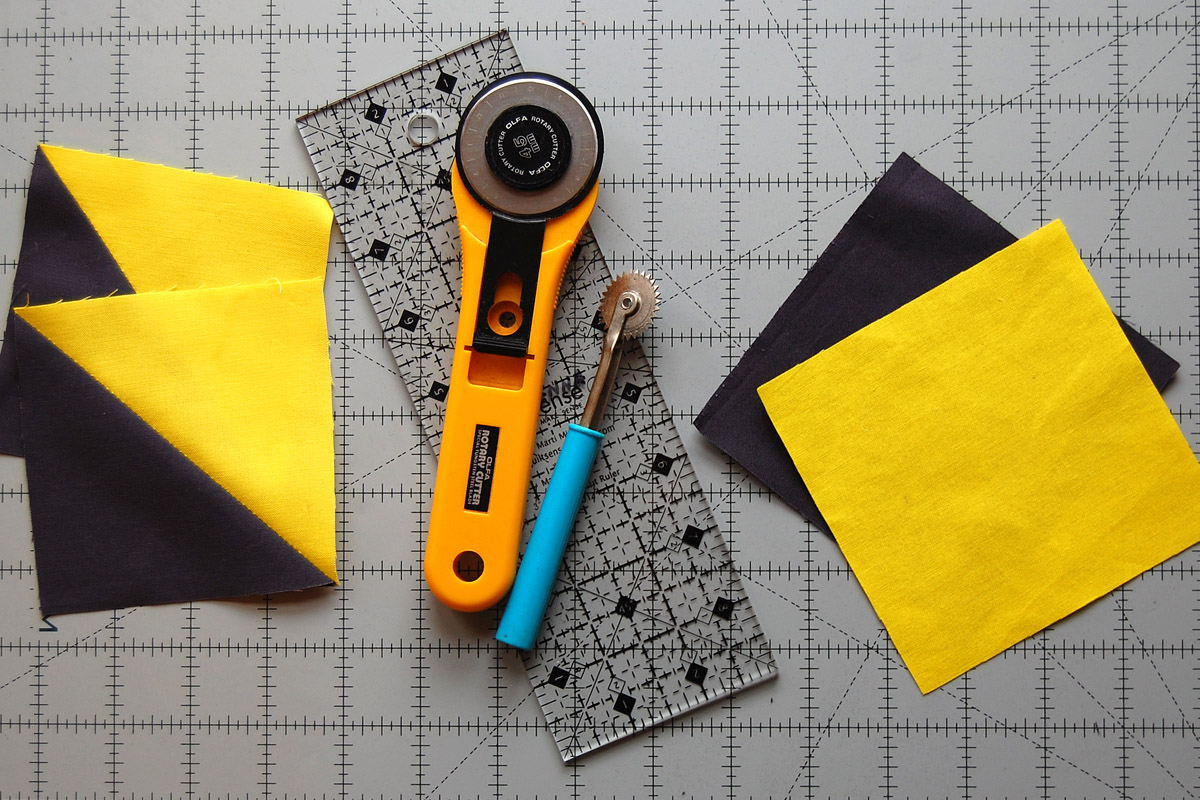
Materials to stitch quick half square triangles
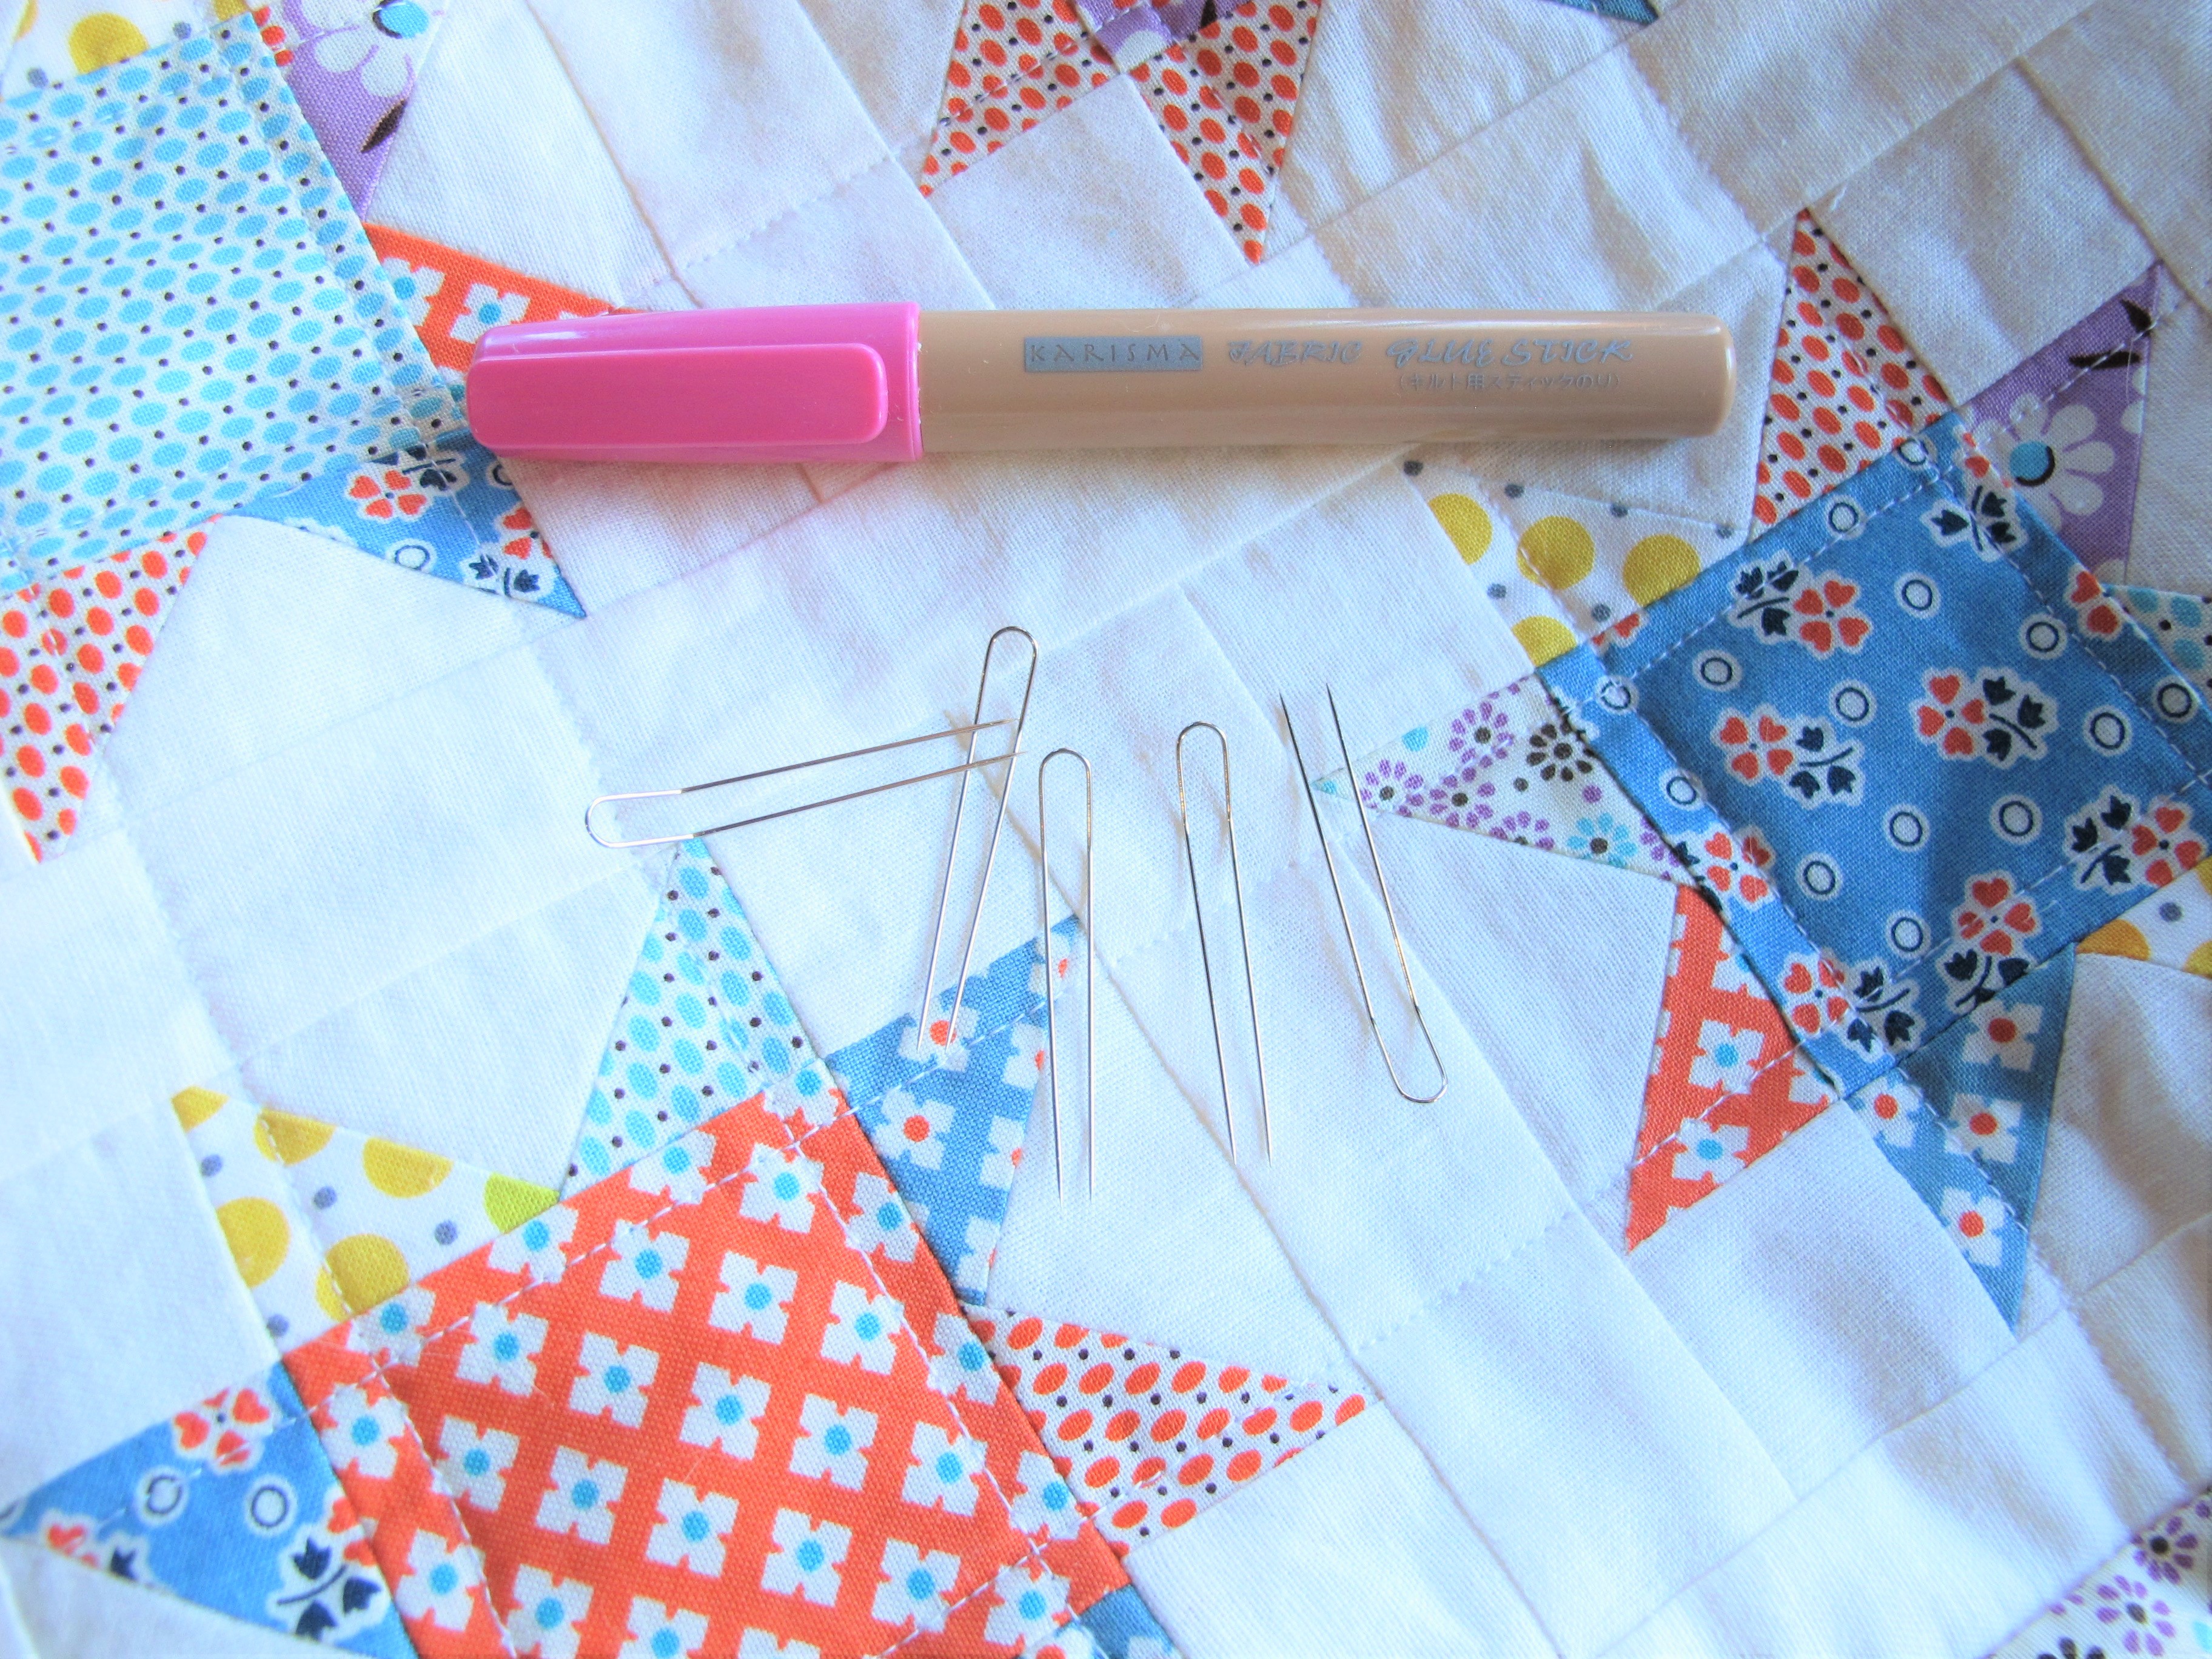
- Tracing wheel
- Rotary cutter, mat, and clear acrylic ruler
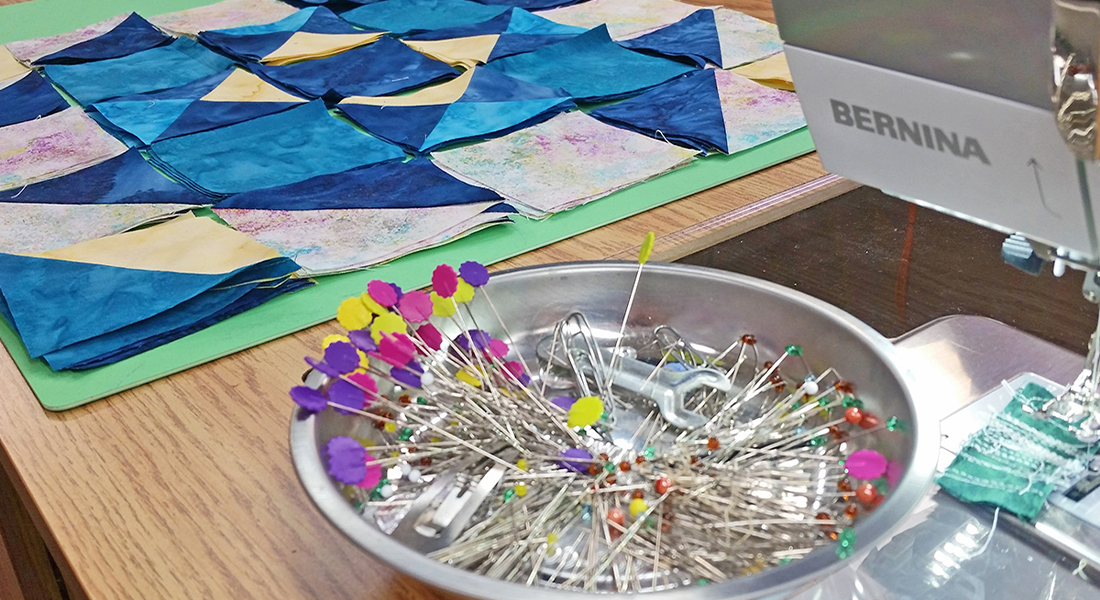
- Sewing machine (I use a BERNINA 770 QE)
- Straight stitch foot and needle plate for quilt piecing (I use the Patchwork foot #97D)
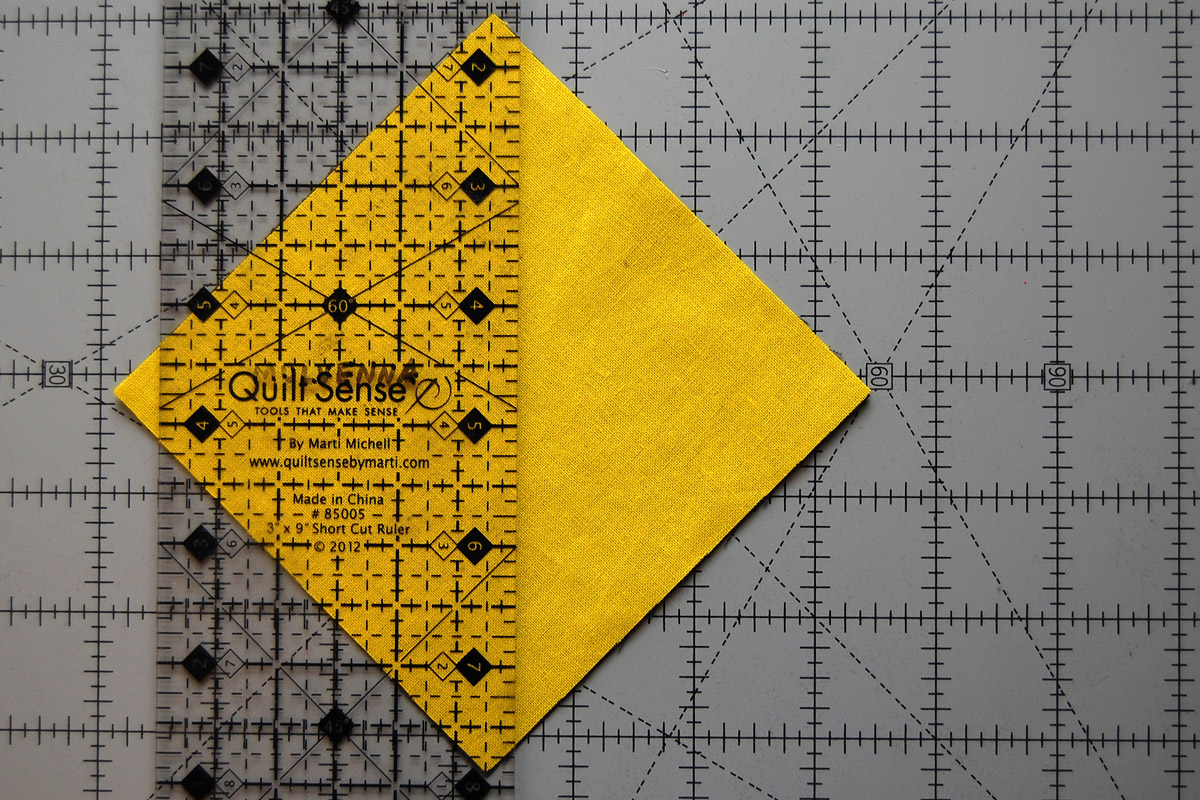
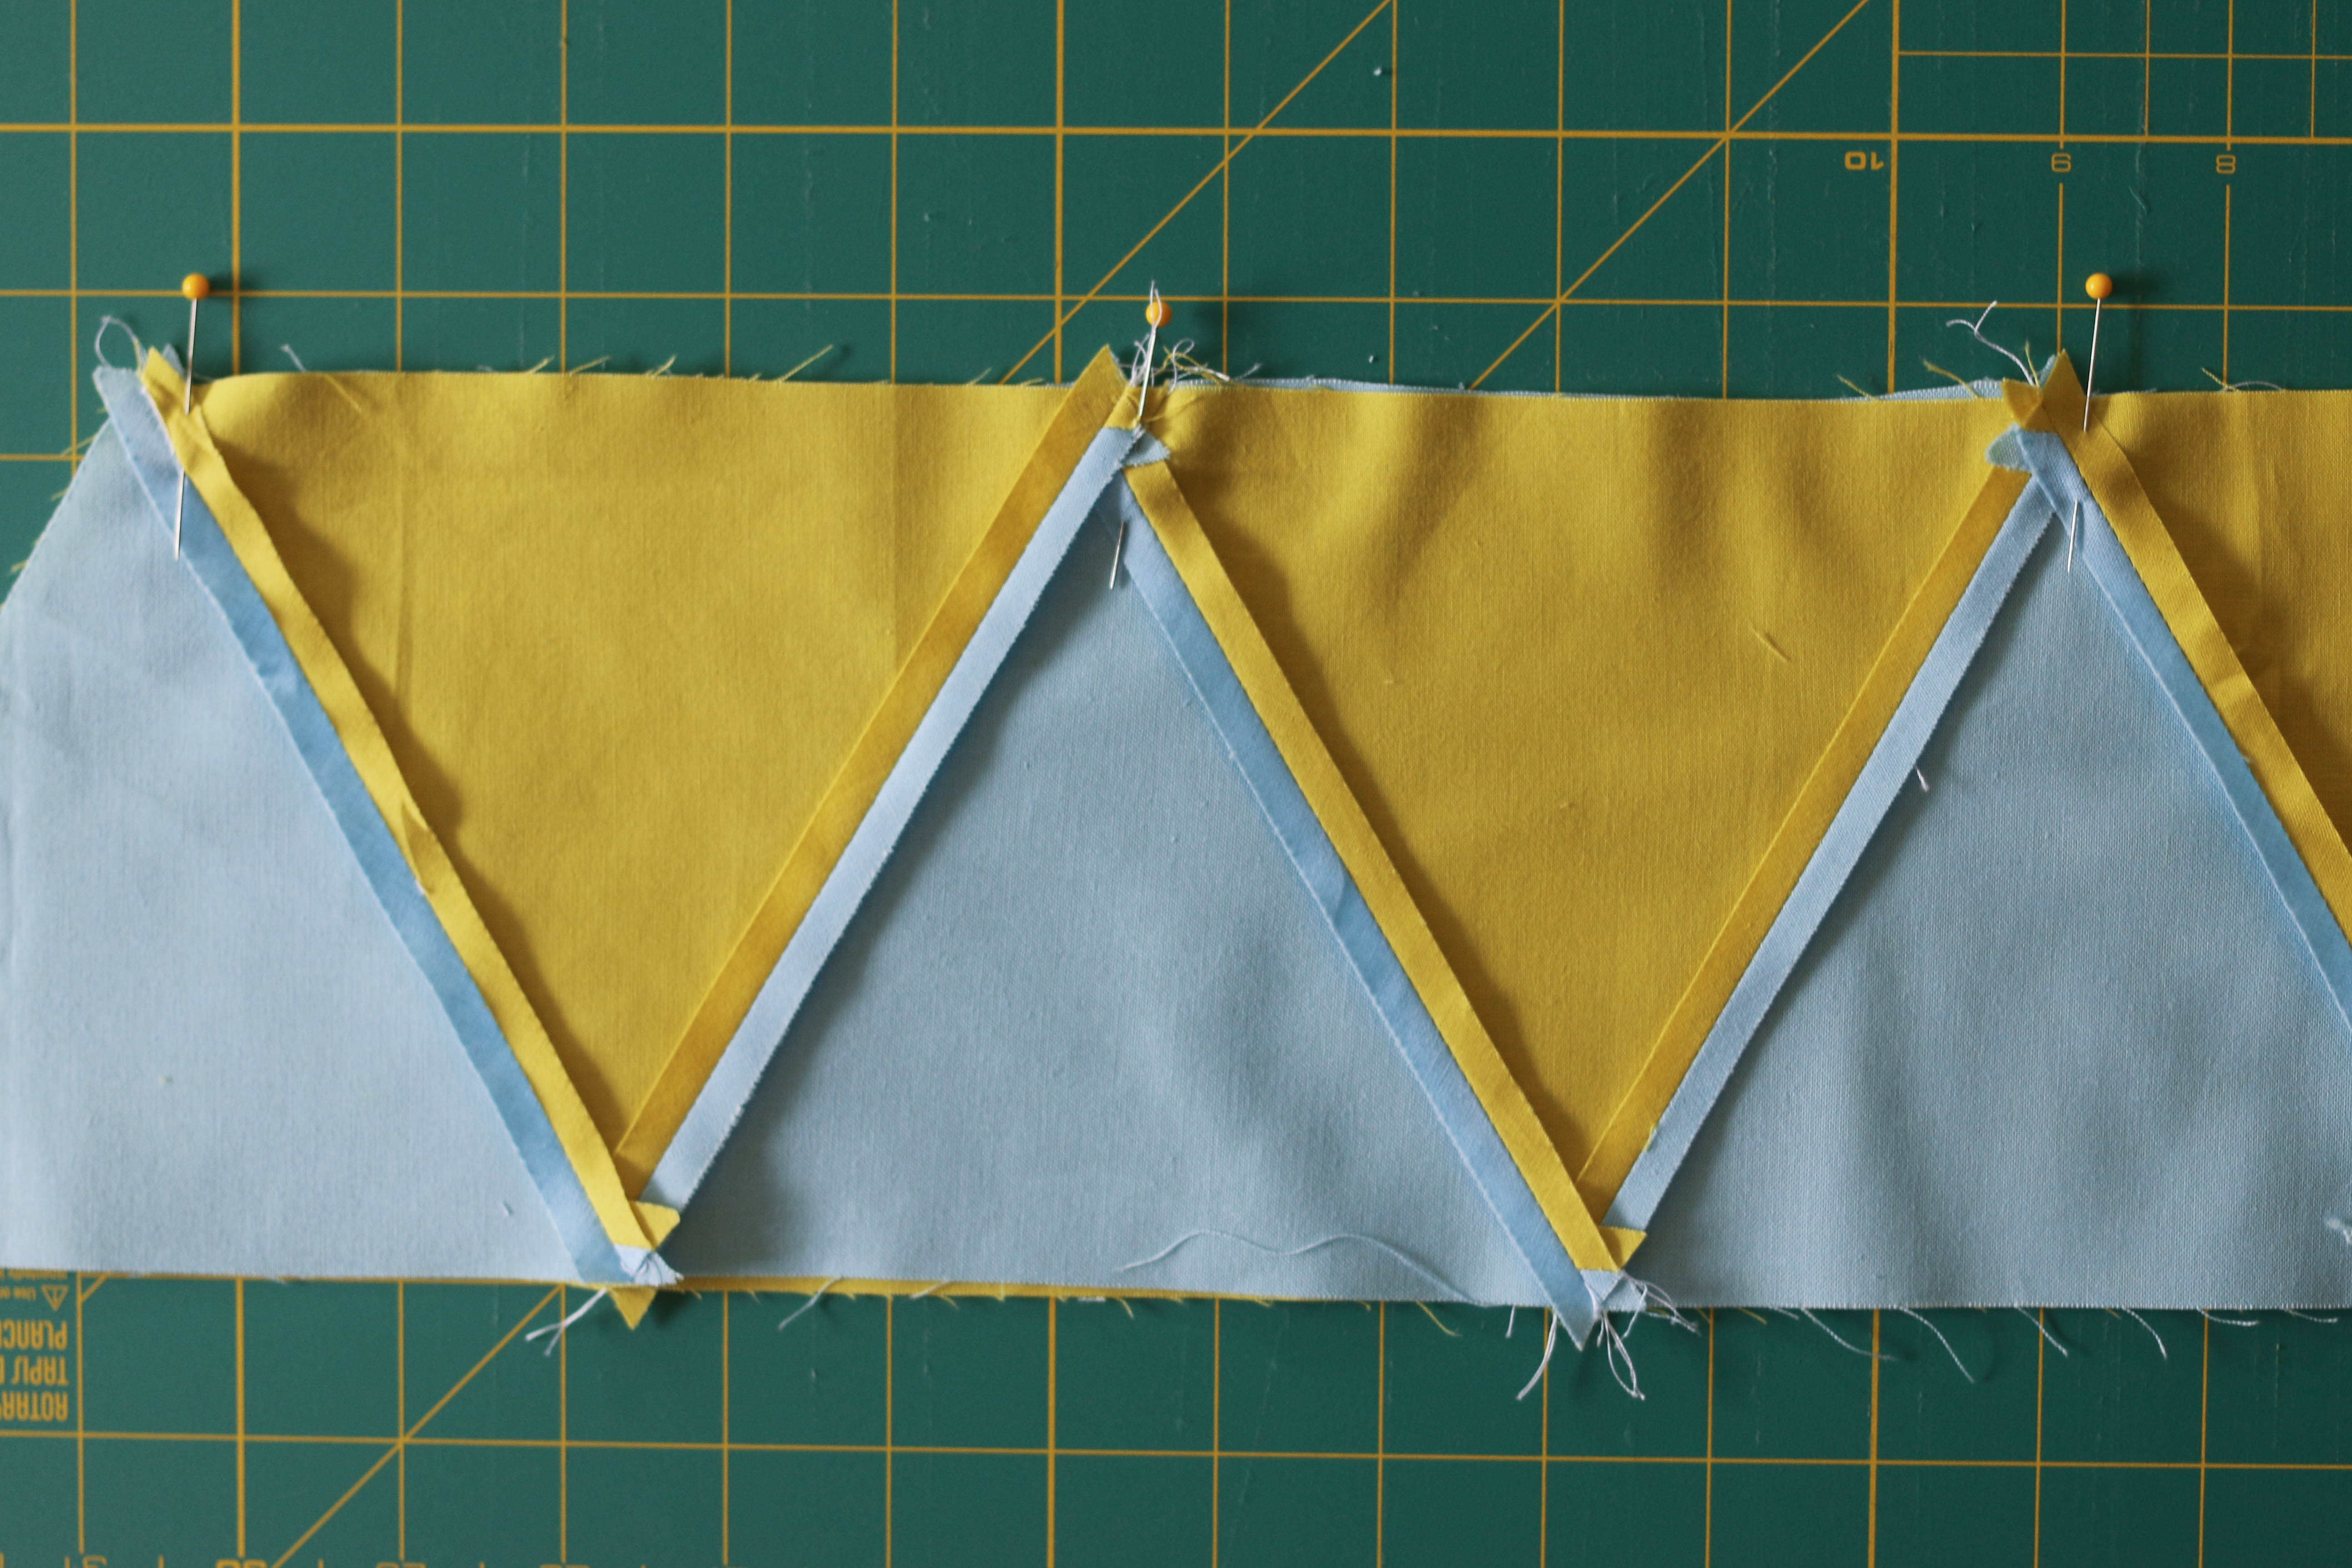
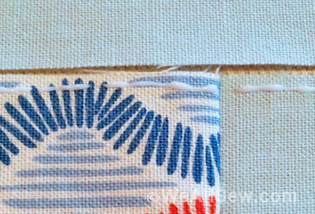
First, cut your fabric into squares. Your HST blocks will be about 1/2″ smaller than the squares that you start with. Layer two squares right sides together on your cutting mat, one on top of the other. Align your clear quilting ruler on top of the square with the first quarter inch mark from the edge. Make sure your quarter inch mark on the ruler is matching two opposite points of the square as in the photo above.
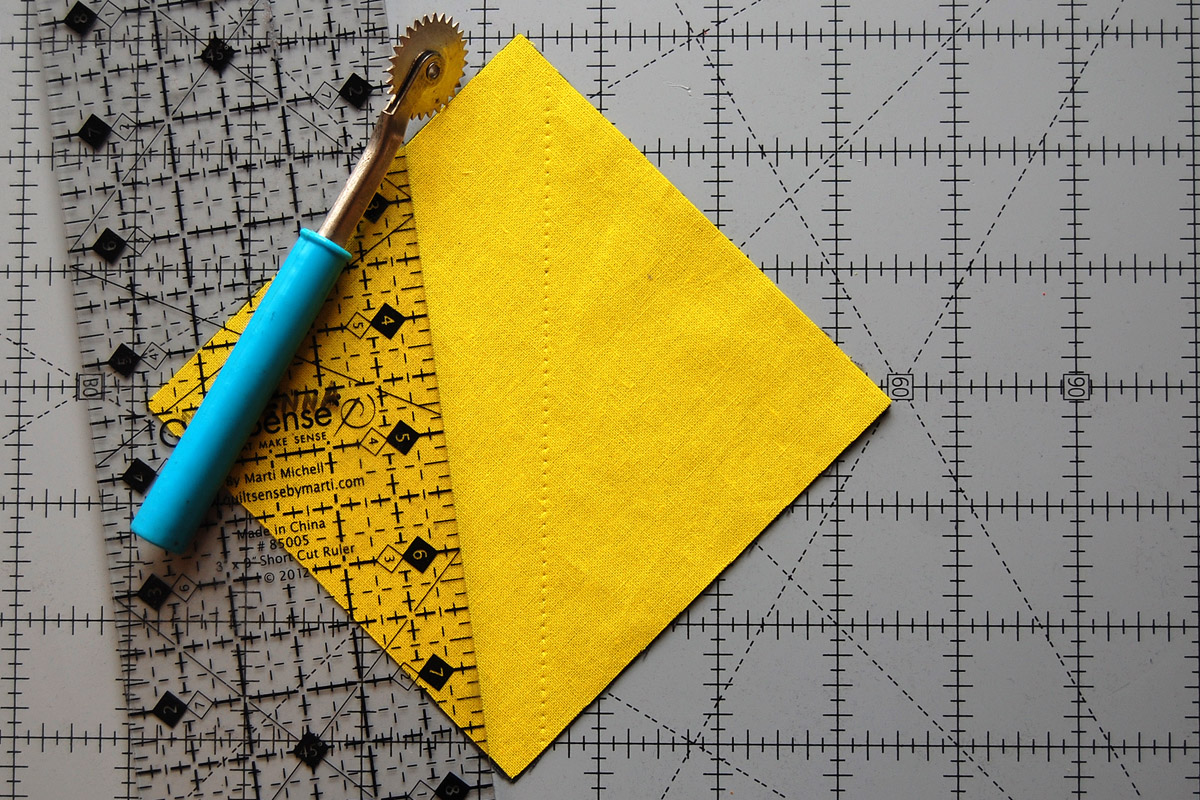
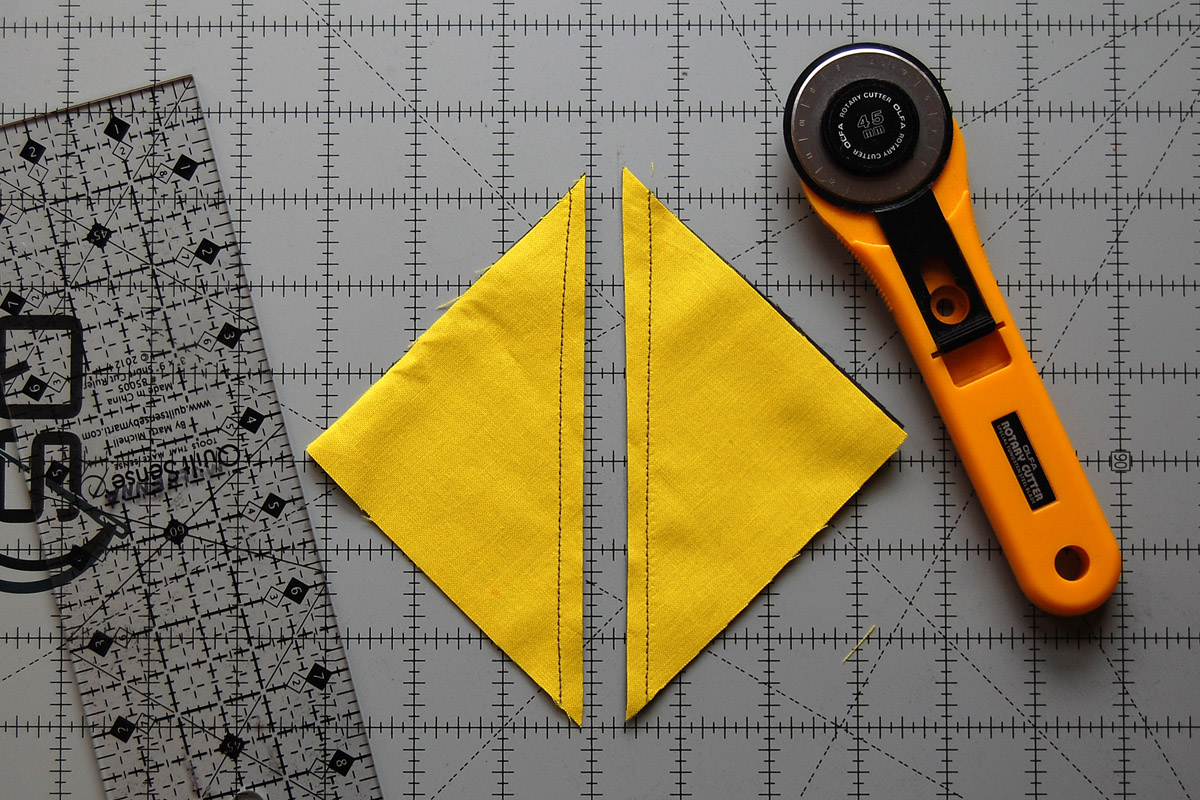
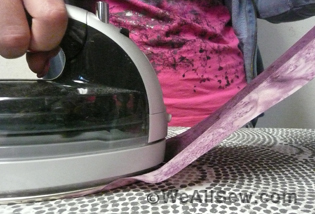
Now grab your tracing wheel, and press firmly along the ruler’s edge. Make sure you’ve got a firm grip on the ruler so it doesn’t slip as you’re pressing in the first line with the tracing wheel.
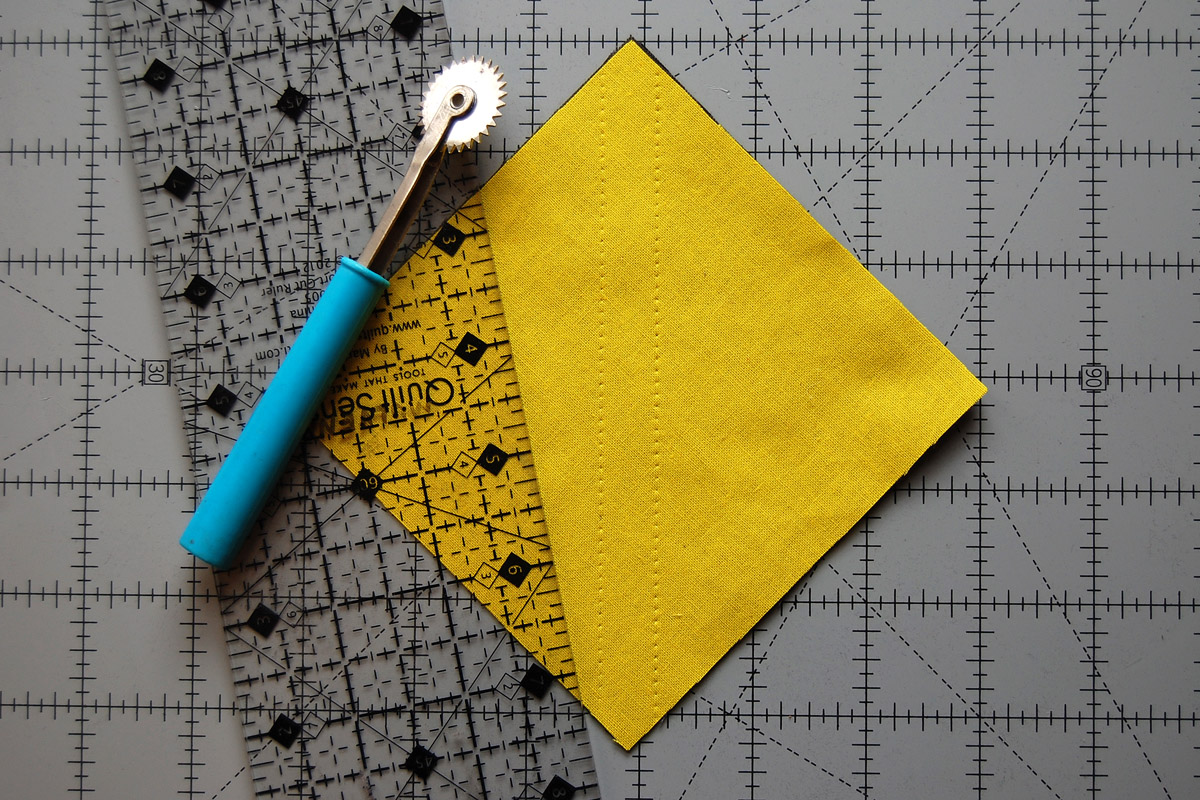
Flip the square over and mark the other side in the same way. These two marks are the stitching lines, they will be easy enough to follow along when you sew, and will disappear entirely when you press your HST’s.
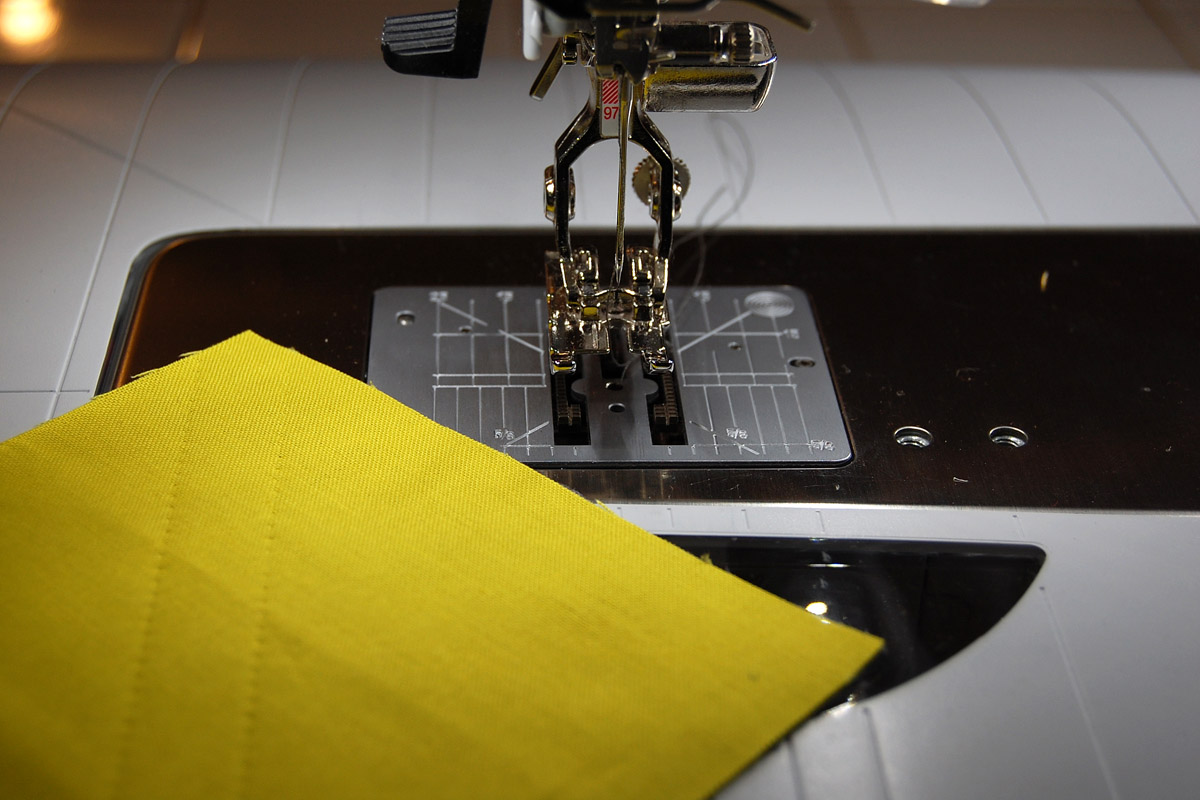
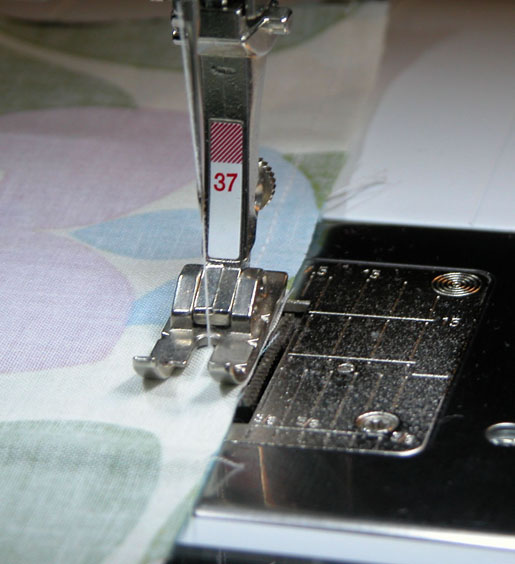
Set up your sewing machine for quilt piecing; I use a straight stitch needle plate and Patchwork foot #97D to optimize the straight stitch on the machine. You can use whichever piecing or straight stitch foot you prefer, and a straight stitch needle plate if you have one.
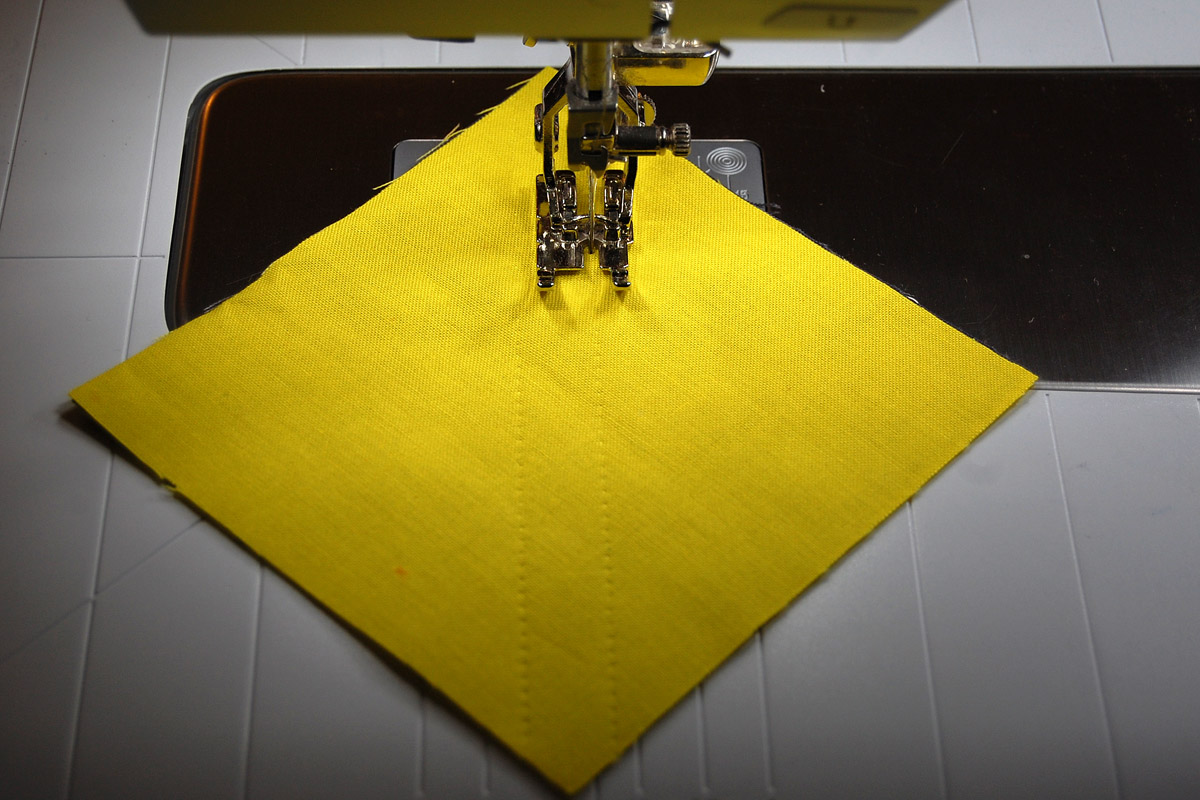
Stitch along the first line, following the mark you’ve made with your tracing wheel.
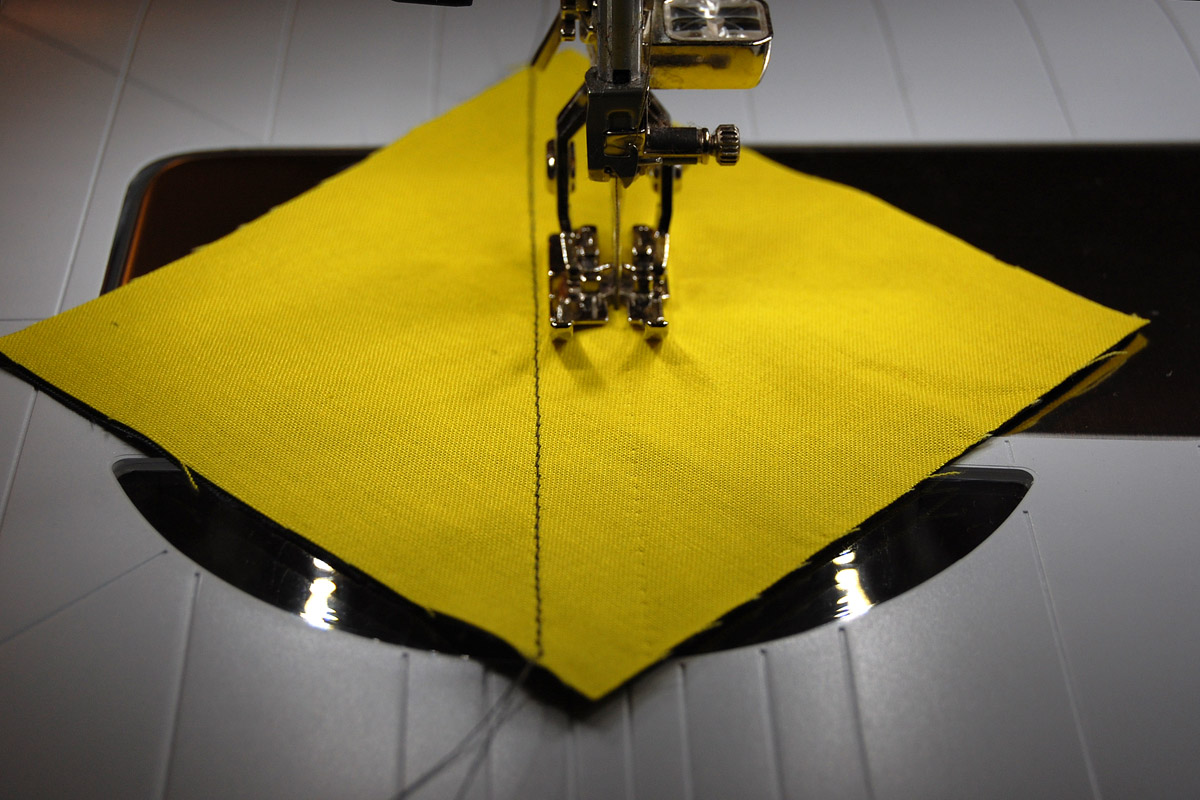
Next, stitch along the second line. Here’s a fabric tip: if you are working with fabrics that seem to shift as you’re sewing along the marked lines, try sewing both lines in the same direction instead of flipping the square over to sew the second line in the opposite direction. You can also use the Dual Feed feature to keep fabrics from shifting, or try the Walking foot #50.
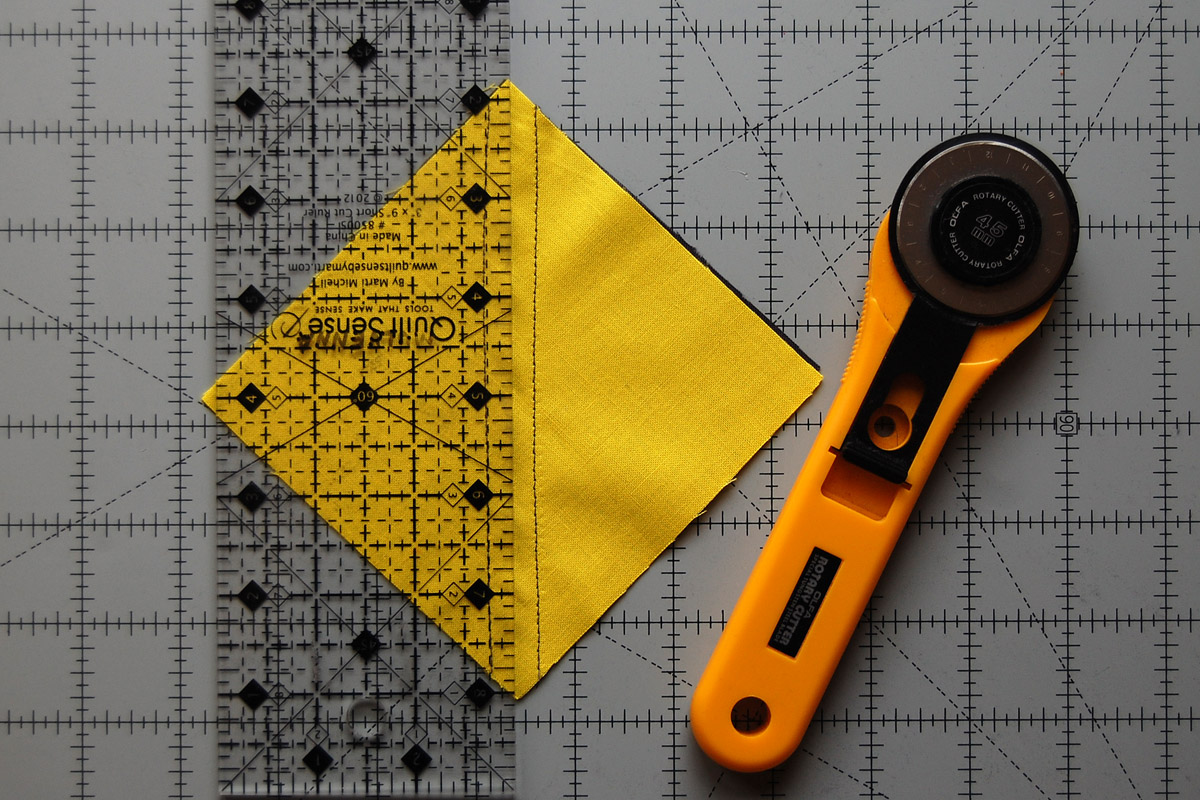
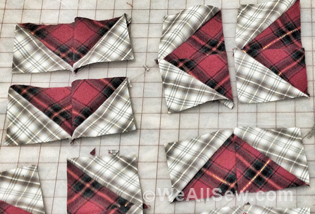
Take your stitched square back to your cutting mat, and cut from corner to corner in between the stitched lines.
Press your HST’s well after cutting. You can press your seams as desired – open, or to one side or the other.
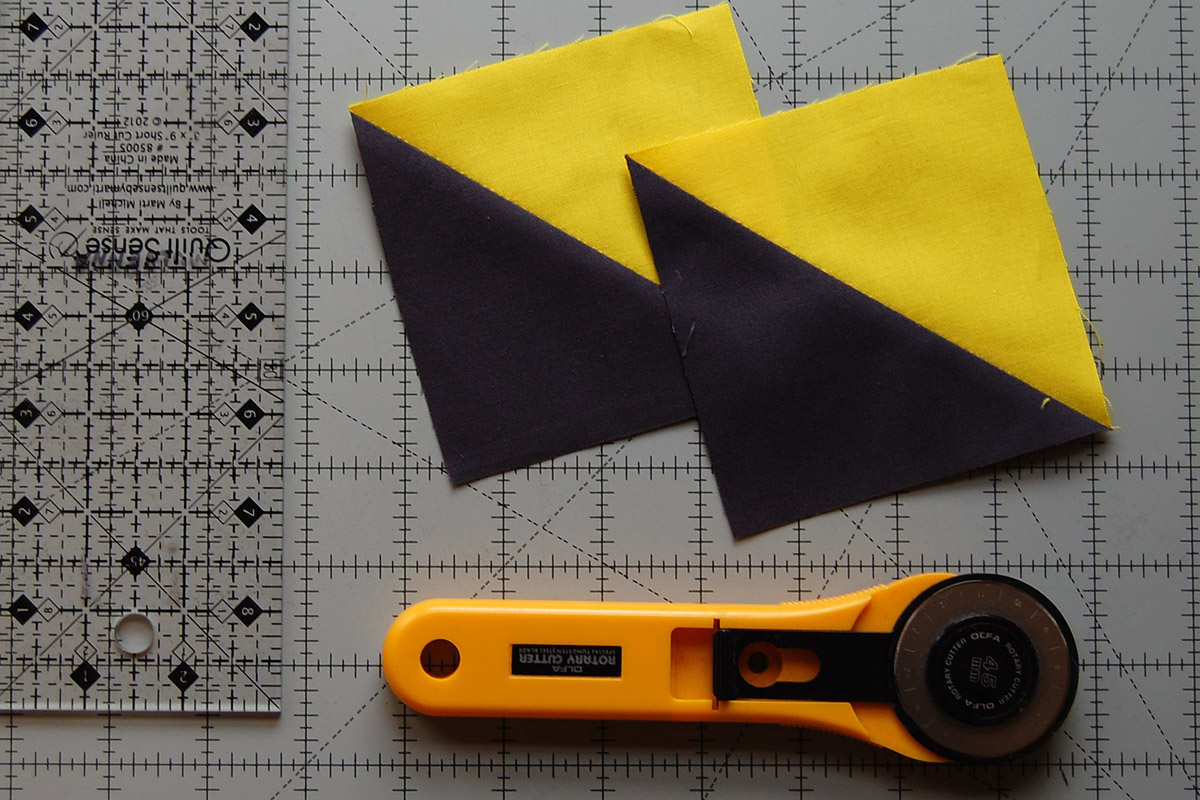
And finally, give your freshly pressed HST’s a trim to square-up and remove the extra seams.
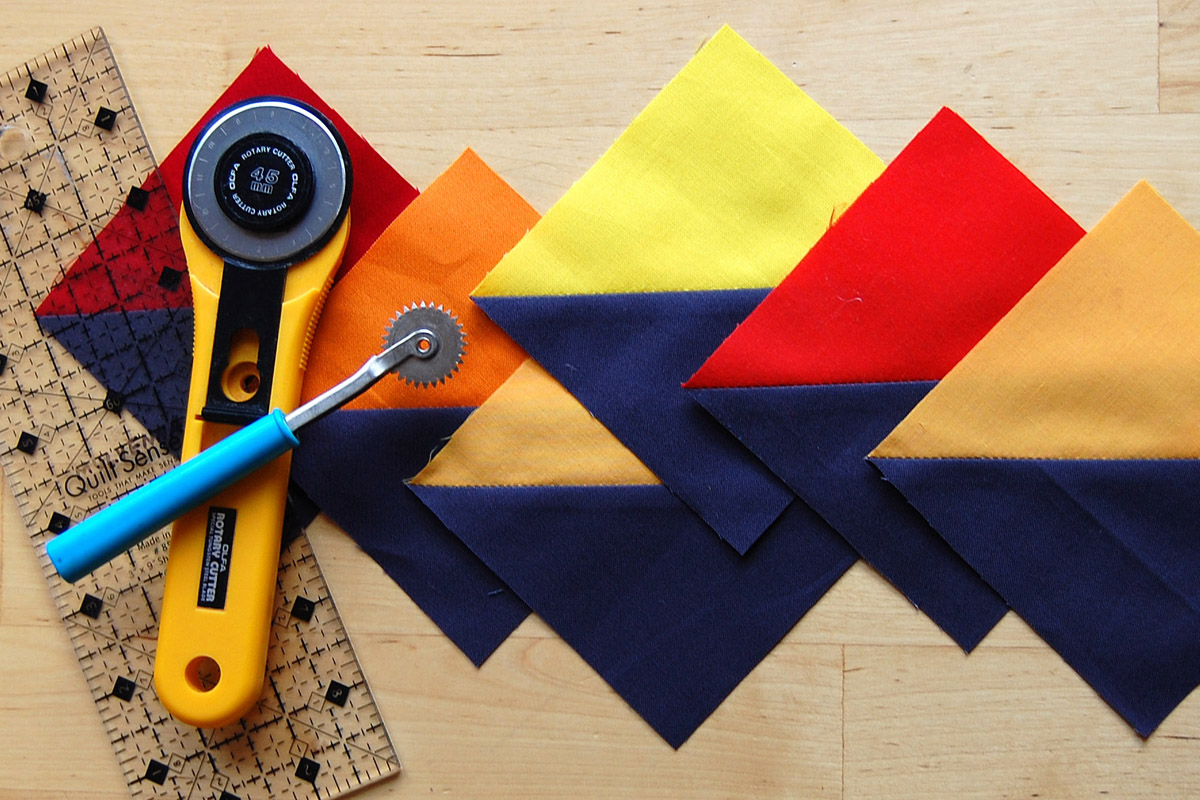
A quick and easy way to stitch up a bunch of HST’s!
What you might also like

12 comments on “Half Square Triangle Piecing Tip”
-
-
Awesome hint! Now I just have to find the garment sewing tools I abandoned when I became a quilter!
-
In order to insure accurate size of HST why not mention cutting 7/8″larger than desired finished size, then measuring finished size and trim up. It is sooooooo easy to sew just a tiny bit off the tracing wheel and get a wonky HST….or different finished sizes…
-
Hi quiltabeast, that is a great tip, thanks for your comment!
-
-
Great idea! I too am just beginning my journey into quilting as I have been a garment and decor sewing. Thanks for the great tip!
-
How smart is that?! Fantastic!
-
This technique may be great for a beginner to learn…however it is extremely labor intensive if you have hundreds of these to make for a quilt….basically all that is needed is to align the two squares RST, pin if desired, draw a line from corner to corner or use the tracing wheel, which is obviously a great way to avoid markings on the fabric, and stitch a quarter inch on either side of the line. If using the tracing wheel in this application, I’d probably use one of the papers that came with the wheel, to make a visible cutting. Less measuring, less marking, less time. Sorry, but the method above is just too time consuming when doing a large volume of HST’s.
-
Hello Peggr, thanks for your comment! Yes, marking the center line and following with an accurate quarter inch piecing foot is an excellent tip. As mentioned in my article above, I wanted to give readers a tip to use even if they do not have a quarter inch foot so they can still be successful with this method to create HST’s. Happy stitching! – Erika
-
-
What a great idea ! I have never thought of using the tracing wheel like that for quilting !
-
Wow….I think I know where mine is. I will pass along this great tip
-
I recently learned that a tracing wheel can be used in paper piecing. The tracing wheel is used on the cutting lines before stitching; this process is supposed to make paper removal easier.
-
I love HST designs and make a lot of HST’s. Some years ago I went searching for the best method as most are tedious…taking a lot of time per unit and prone to inaccuracy. I found a wonderful solution in Brenda Henning’s Triangulation DVD, which allows you to print off sheets of triangle paper in whatever size you want. The HST’s sew up quickly, easily and accurately…there is a demo page you can try (https://www.bearpawproductions.com/userfiles/file/Half%20Square%20Sample%20Grid.pdf). I just prep sheets to sew up and keep them by my machine…a big help when I did a Freddy Moran/Gwen Marston class that required you arrive with your Parts Department units in hand. I have pestered Brenda for years to re-release the product with papers to also make Half Square Rectangles!!! Another unit I love and which is tiresome and slow to make.
Leave a Reply
You must be logged in to post a comment.

B R I L L I A N T !!!