How to Make a Cross-stitch Valentine’s Day Card
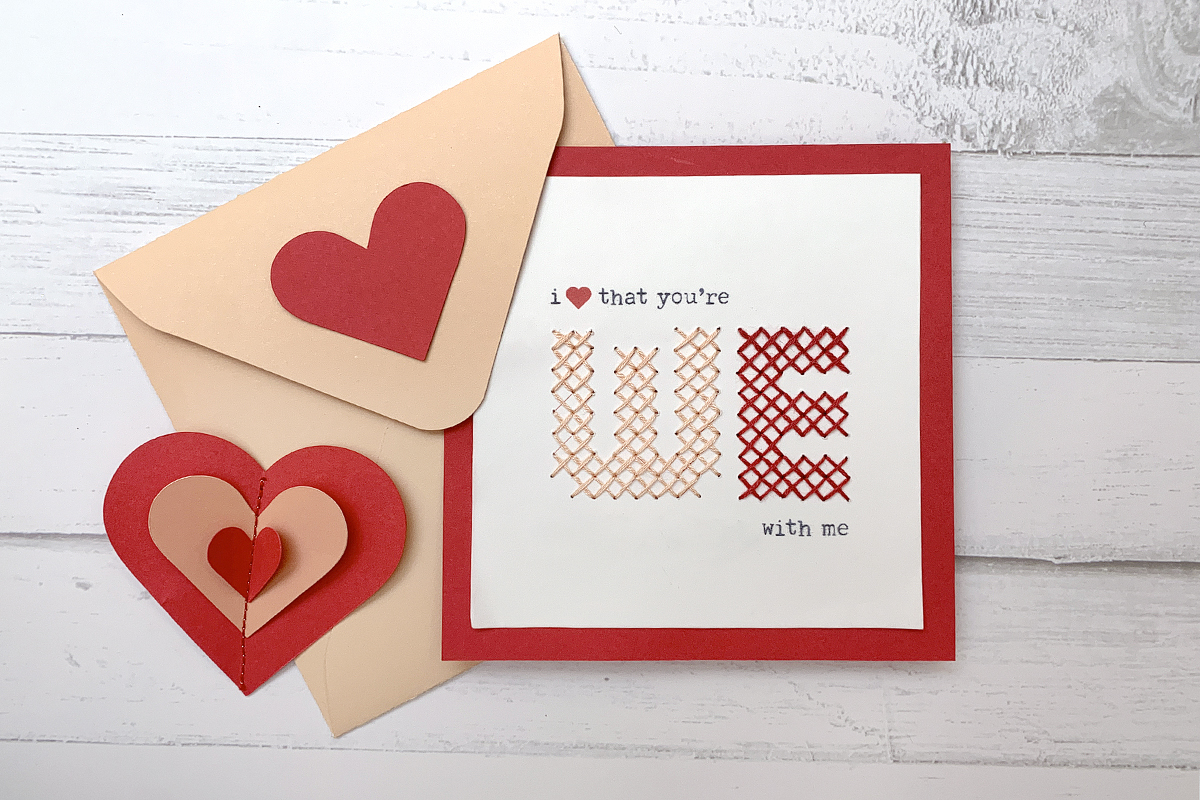
Who doesn’t love a simple DIY cross-stitch pattern for a Valentine’s Day card? This is the perfect project for a beginner or if you’re short on time. Or if Valentine’s Day snuck up on you (no one has to know ?). And as anyone who follows me on Instagram (@kplicanic) or at KharaPlicanic.com knows, if I can combine needle arts with paper crafts and graphic design, well . . . that’s 3x the fun!
Of course, no card would be complete without an envelope, so I’ve also included a template for creating your own, plus an embellishment template for adding paper hearts in three different sizes. (Super bonus: if you happen to have a cutting machine, I’ve included SVG cut files for the hearts and envelope too!) Ready to get started? I’ve got you covered with steps for all three pieces, so follow along to stitch up something special for your boo! ?

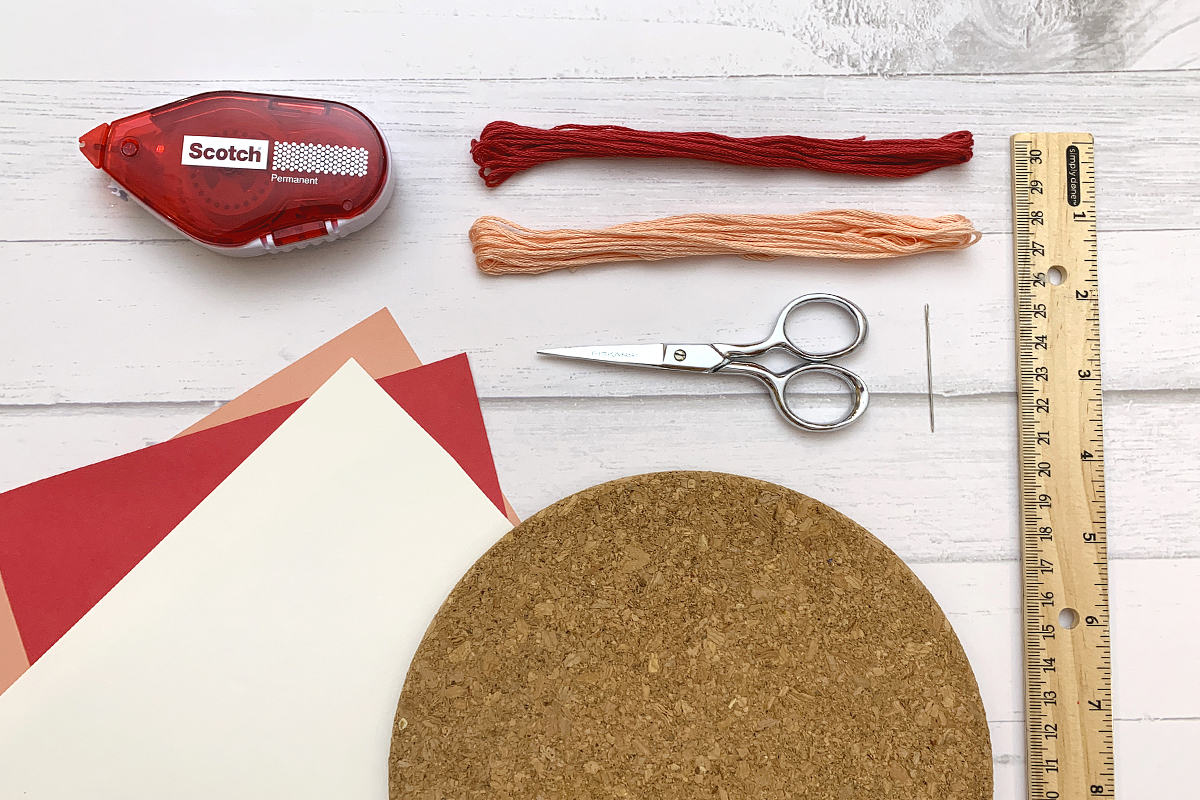
Materials to Make a Cross-Stitch Valentine’s Day Card:
- Downloadable pattern and template
- Card stock in coordinating colors (8.5 x 11-inches for the card, 12×12-inches for the envelope)
- Embroidery floss in two coordinating colors (DMC 353 and DMC 3831 shown here)
- Embroidery needle
- Punch-friendly surface for poking holes through the card stock (yoga mat, folded tea towel, coaster, cork trivet, etc.)
- Scissors
- Ruler
- Adhesive (glue stick, tape, etc.)
- Tape (not shown)
- Pencil (not shown)
- BONUS: If you happen to have a cutting machine, the download also includes SVG cut files for the envelope and hearts
Steps to Make a Cross-Stitch Valentine’s Day Card
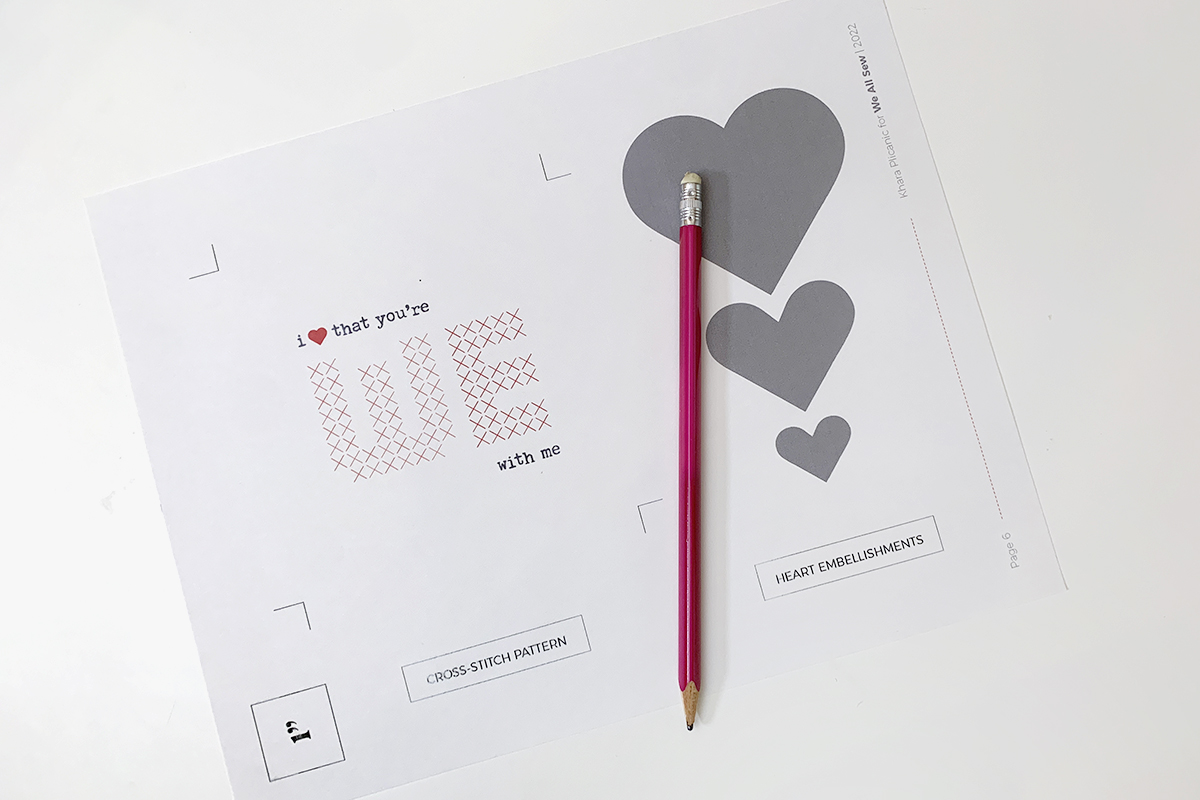
Step 1: Print
Make sure the scale is set to 100% and print the cross-stitch pattern on white card stock. (If your printer refuses to print on card stock like mine does, just print to plain paper and use a glue stick (or glue tape) to stick it to the card stock. Works like a charm and I won’t tell a soul. ?)
You’ll see that the hearts templates are on the same page. Just set them aside for now. We’ll come back to those later.
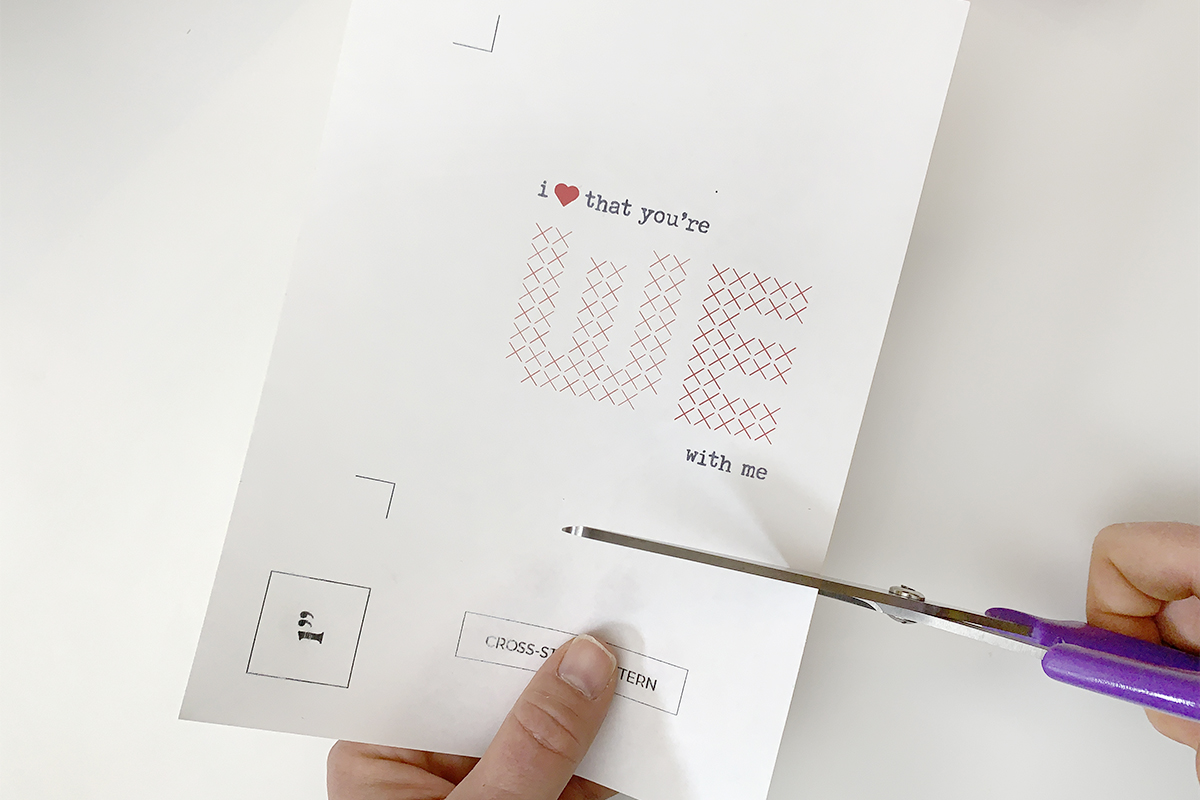
Step 2: Trim
Using the included crop marks, trim the card to a finished size of 4.5 in x 4.5 in.
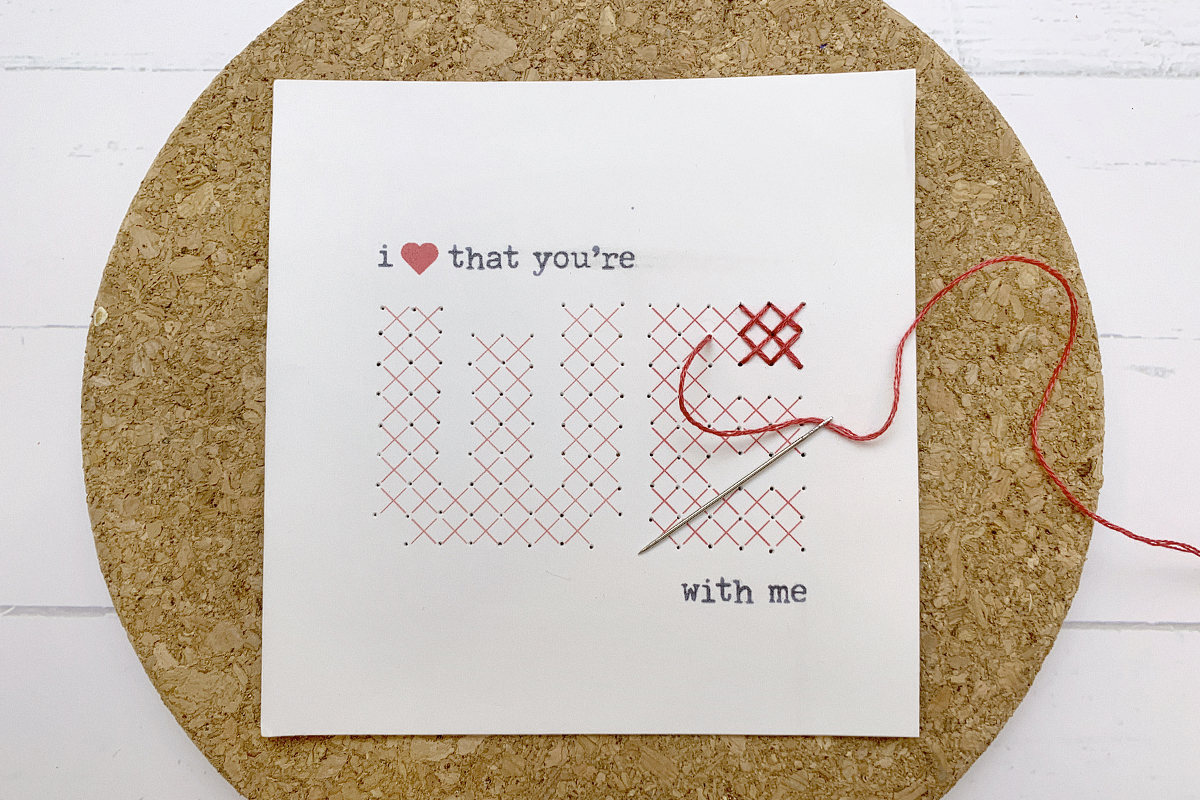
Step 3: Poke Holes and Stitch
Place the trimmed card on a soft surface (like a towel, cork board, etc.) and use an embroidery needle to poke holes at the corners and intersections of each X. (It goes faster than you think and is more forgiving than you might expect. It might help to use a thimble or, in my case, I used the cork from an empty wine bottle to press down on the needle. Another excuse for wine, think of all the cards you could stitch!?)
Finally, separate the six individual strands of the embroidery floss and use three to cross-stitch each letter in one of two colors.
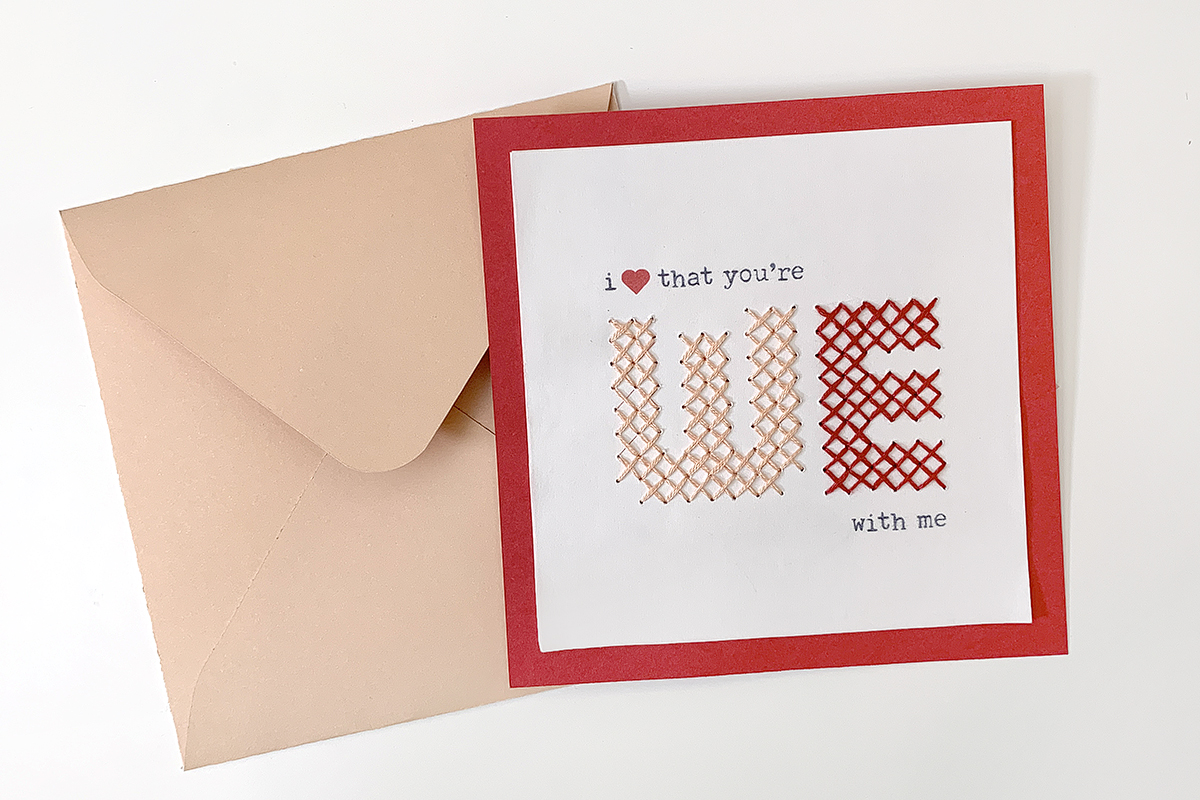
Step 4: Finish Back of Card
Trim red card stock to 5 x 5 inches and adhere to the back of your finished card.

Now that the card is stitched up, you’re ready to make the coordinating envelope. Once you know how easy they are to make, it’s empowering to be able to make your own from any 12×12 paper.
Steps to Make a Coordinating Envelope for Your Cross-Stitched Valentine’s Day Card
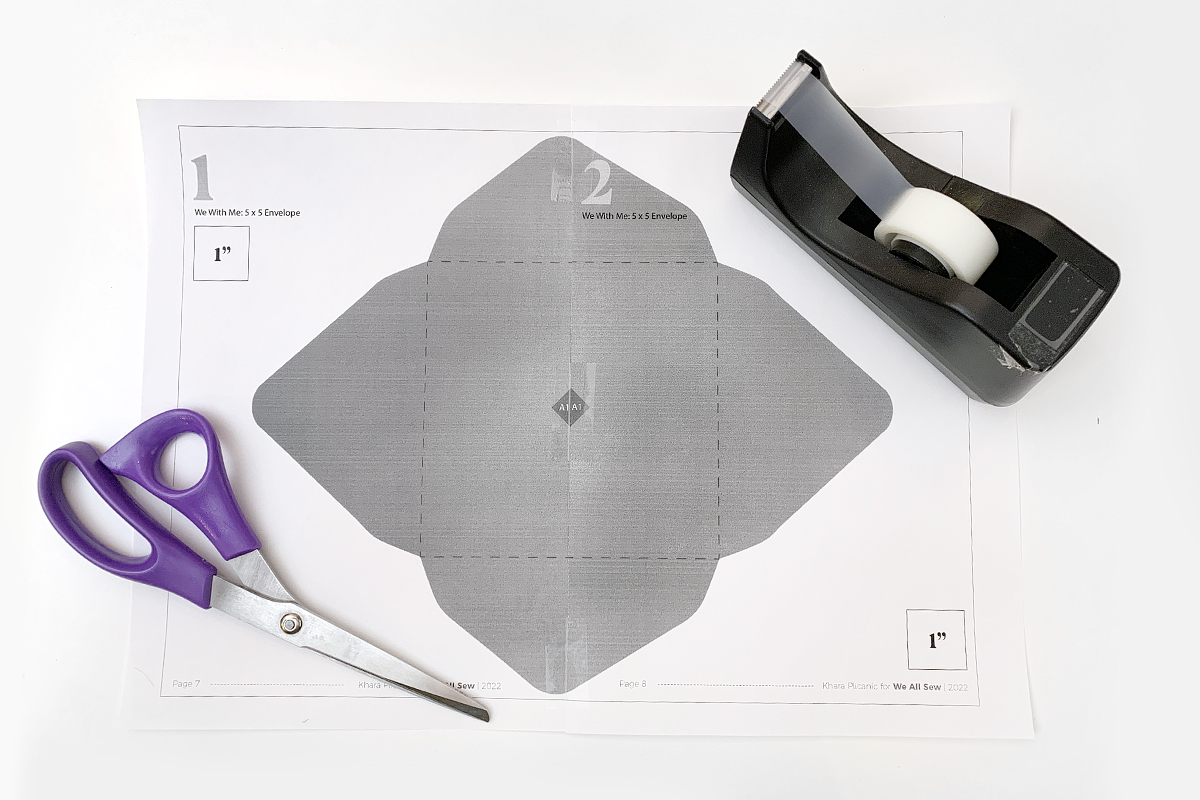
Step 1: Print and Assemble the Envelope Template
Make sure the scale is set to 100%, then print the 2-page template. Trim as indicated and tape the two pieces together to create the full-sized template. When finished, cut out the envelope shape.
(If you happen to have a cutting machine, you can use the included SVG cut file. Just make sure to check that the score lines are set to “score” and not “cut.” Or just delete them if you prefer to score by hand.)
Step 2: Trace the Template and Cut Out the Envelope
Trace the design onto 12 in x 12-inch paper and cutout.
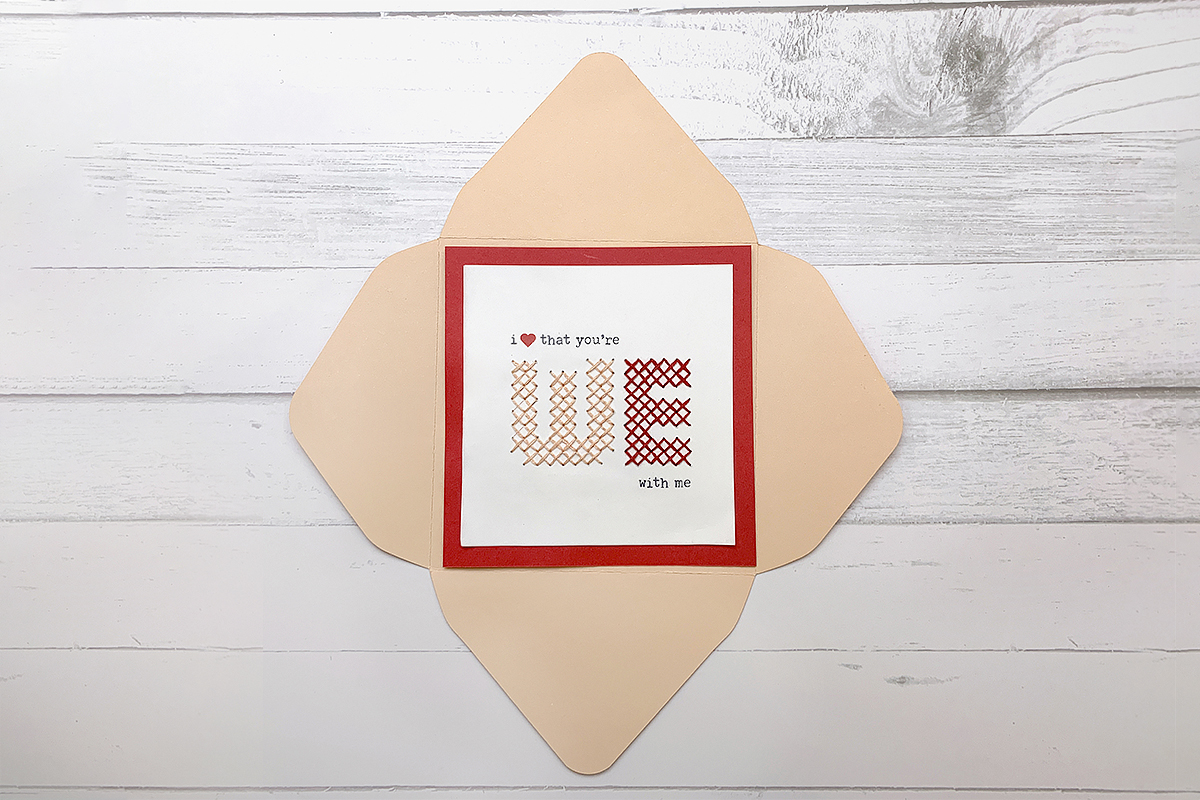
Step 3: Fold and Seal
Fold both side flaps (the two shorter ones) where marked, then fold the bottom flap up and use adhesive to fix it in place. Insert your card and seal it with a kiss. ? (Or a sticker. Or some washi tape.)
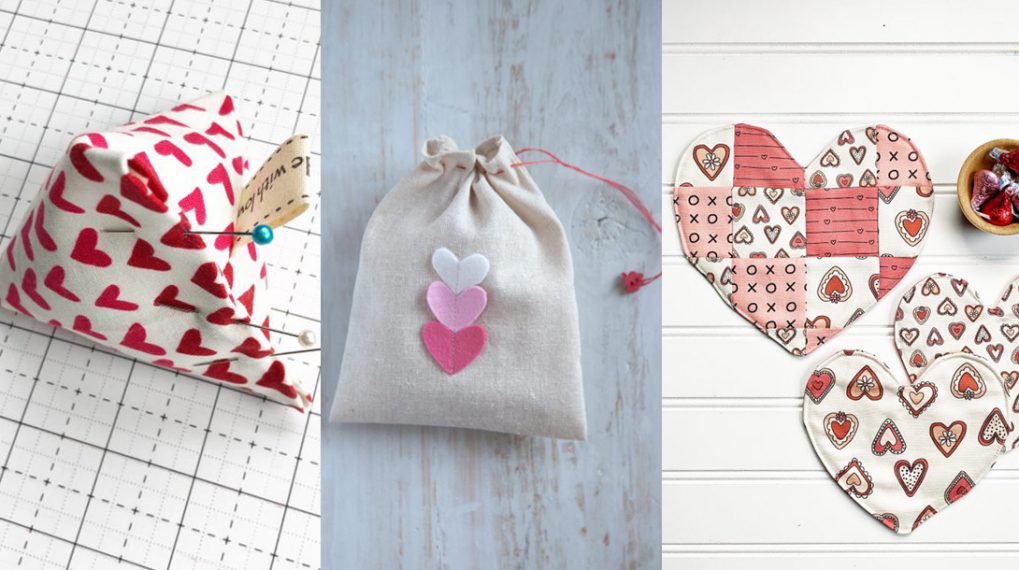
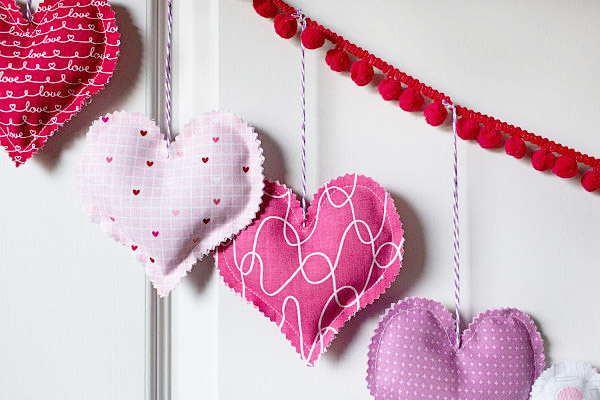
To polish off your creation, add a final touch with some paper heart embellishments. These are super fun and easy to machine sew, making it easy to whip up a whole bunch. You can make extras and hang them in your windows, use them as cake toppers, on gift bags, or glue a bar pin on the back and you have a brooch. So versatile! I like to make bunches and hand them out to everyone, especially the baristas at my favorite coffee spot. They’re an incredibly easy way to spread some cheer.
Steps to Embellish your Cross-Stitch Valentine’s Day Card
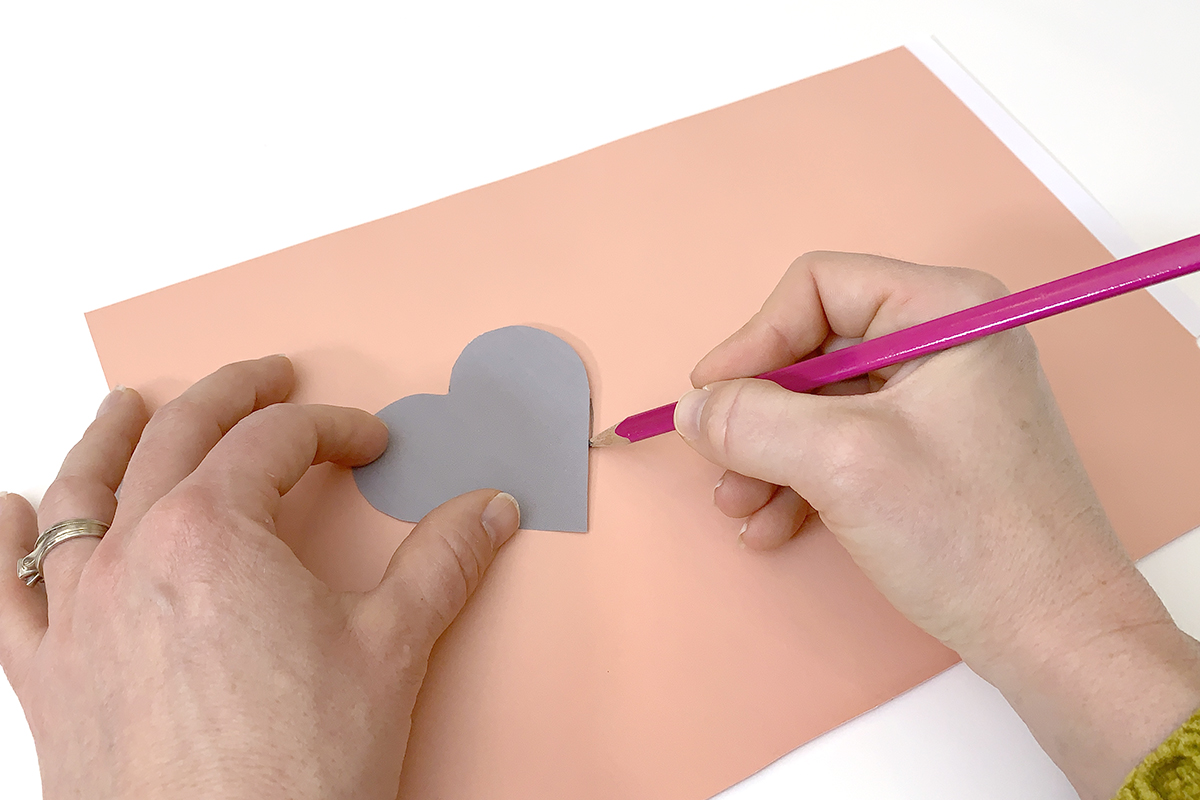
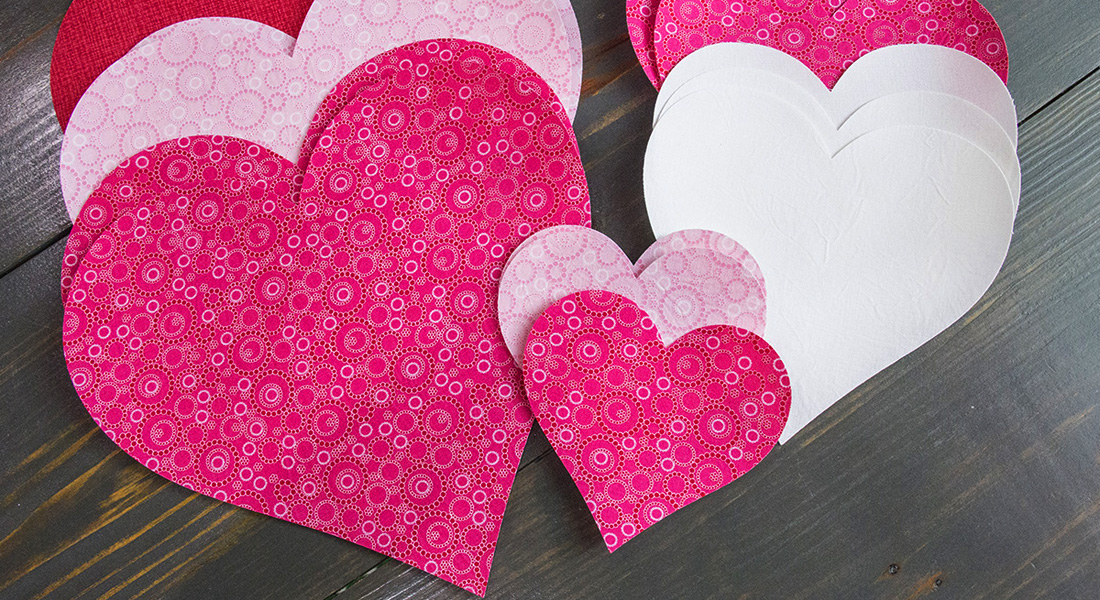
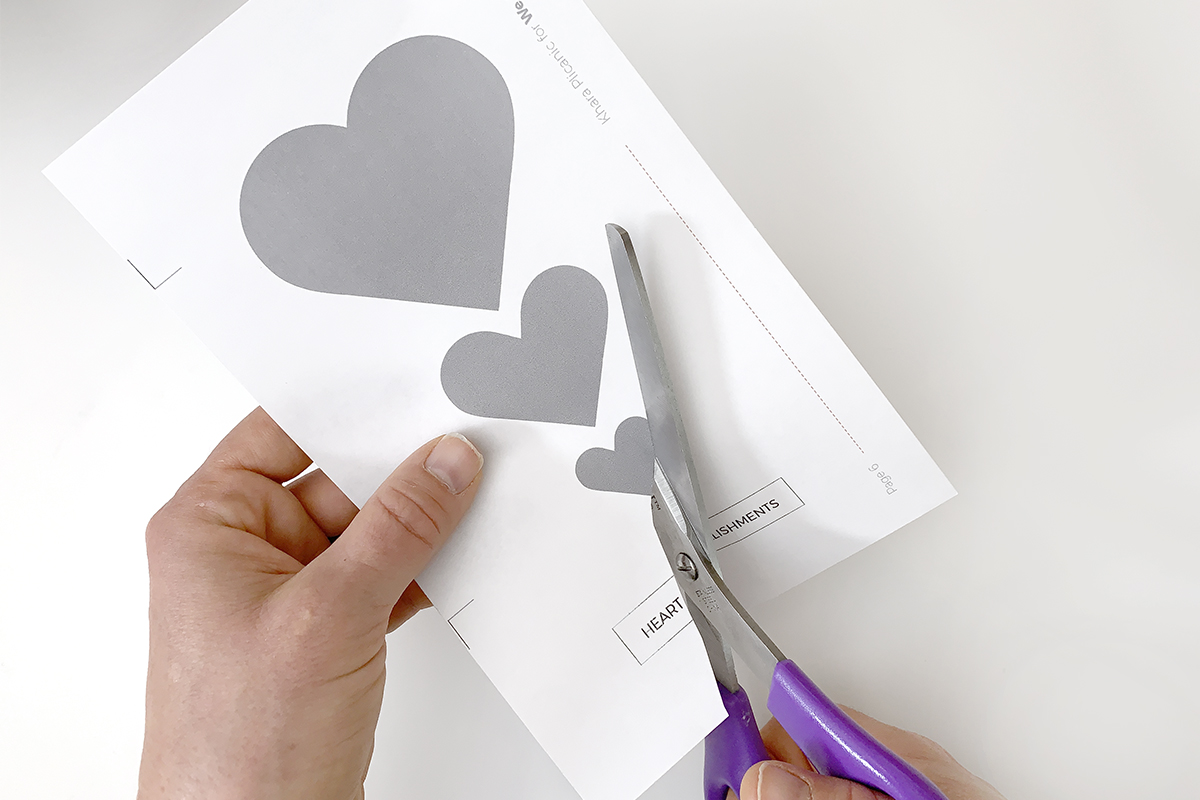
Step 1: Cut Out and Trace the Hearts
Now’s the time to go back to the printed heart templates from earlier. Cut them out and trace their shapes onto coordinating paper. Trace as many as you want of each size on as many different colors of paper as you feel like, then cut them all out. (If you happen to have a cutting machine, the downloadable pattern pack includes an SVG cut file to make this go faster.)
Step 2: Stack and Stitch
Layer the hearts as desired and stitch straight down the center of the stack from top to bottom. (If not machine stitching, pre-punch the holes using the same technique for the cross-stitch card, then sew together using a backstitch.)
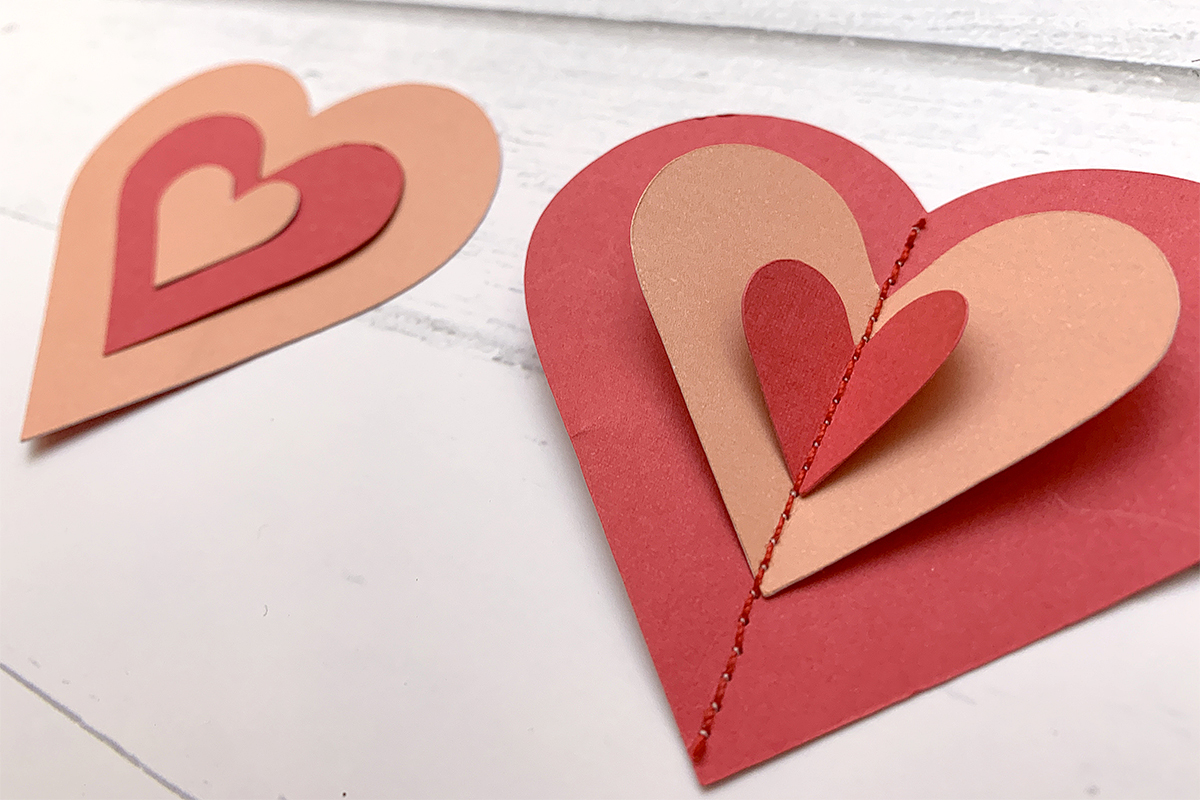
Step 3: Fold and Attach
Valley fold the hearts along the stitch line (so the center is down and the sides are up) and adhere them to the back of the envelope.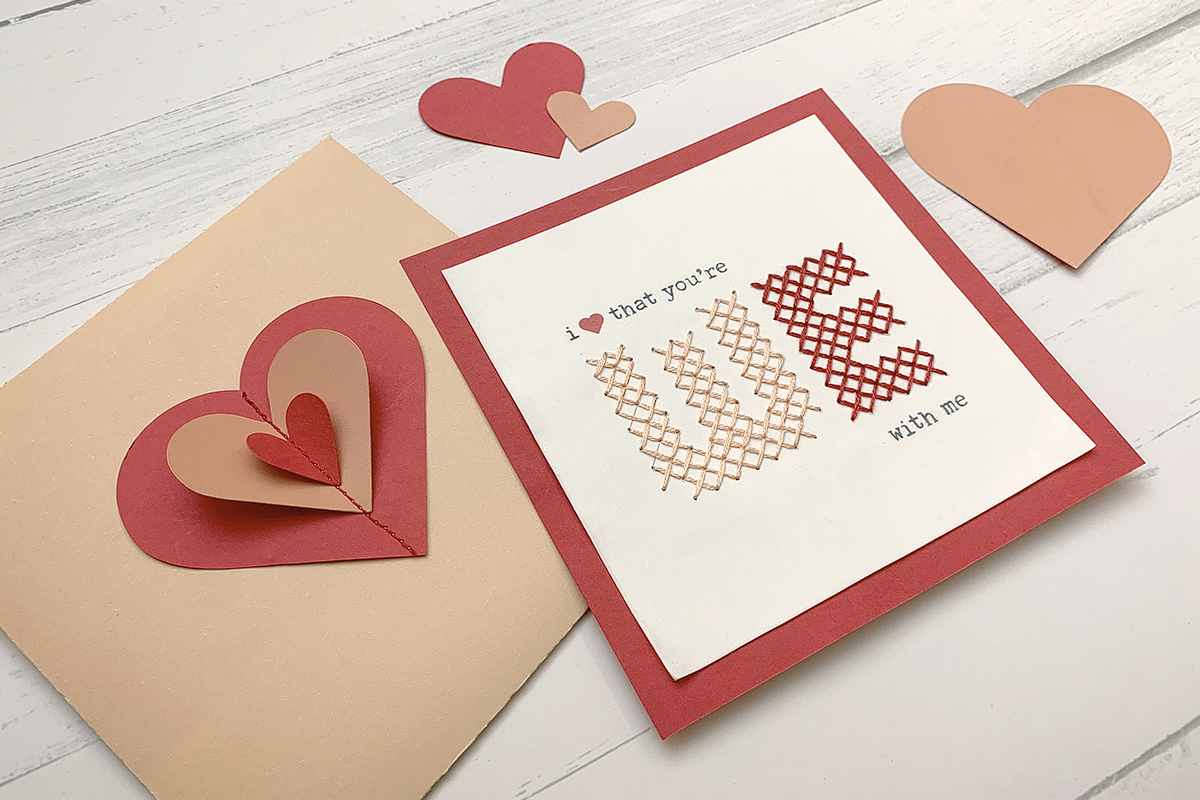
I hope you enjoyed this cross-stitch pattern for a Valentine’s Day card and that your boo enjoys receiving it. Tag me @kplicanic on Instagram to show off your finished card and let me know how it went. ?
Used Products

What you might also like


4 comments on “How to Make a Cross-stitch Valentine’s Day Card”
-
-
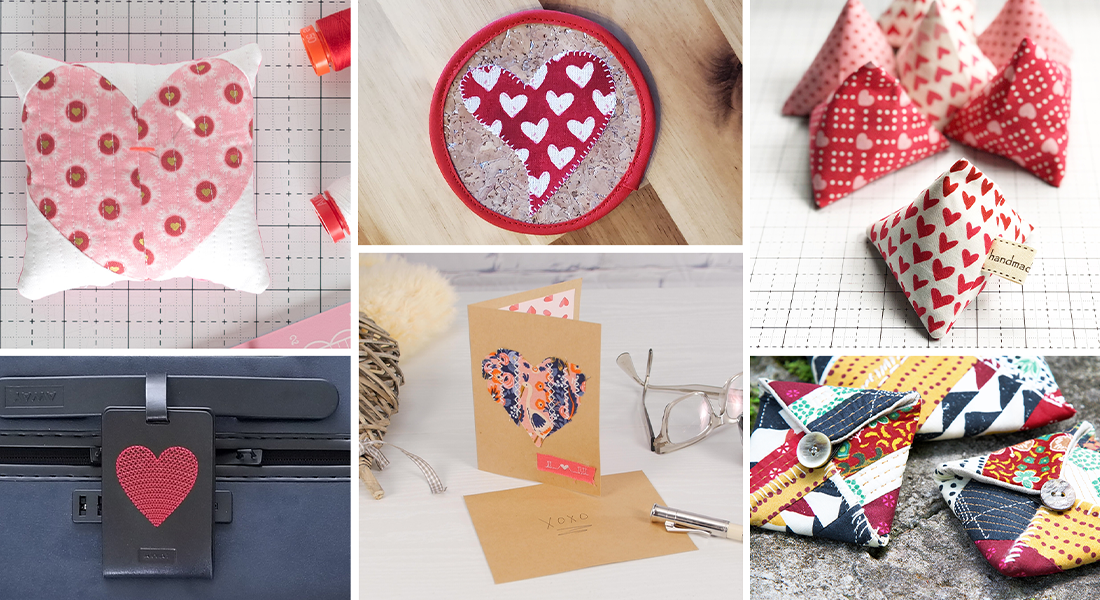
LOTS more fun ideas on an older Bernina website site: https://weallsew.com/valentines-day-projects-from-weallsew/
-
I couldn’t open the CROSS-STITCH VALENTINE’S DAY CARD.
-
Hello, please try clicking this link. The file will download as a .zip file and you may need to extract it before opening. If you are still unable to open the file, please let us know. Thank you!
-
Leave a Reply
You must be logged in to post a comment.

Very cute design.